You are viewing the Split Screen Van Club forum archive.
The forum archive is read-only.Unfortunately in 2021 the Split Screen Van Club forum suffered a ransomware attack and lots of the forum data was lost.
What threads that have been recovered are now searchable on this site. Some threads may be incomplete and some images are still being recovered.
Forum archive search
Forum Archive > Rides and Projects
1
1956 RHD Swedish 23 window samba full restoration
1956 RHD Swedish 23 window samba full restoration
by mabbo » Fri Oct 18, 2019 8:02 pm
Hi,
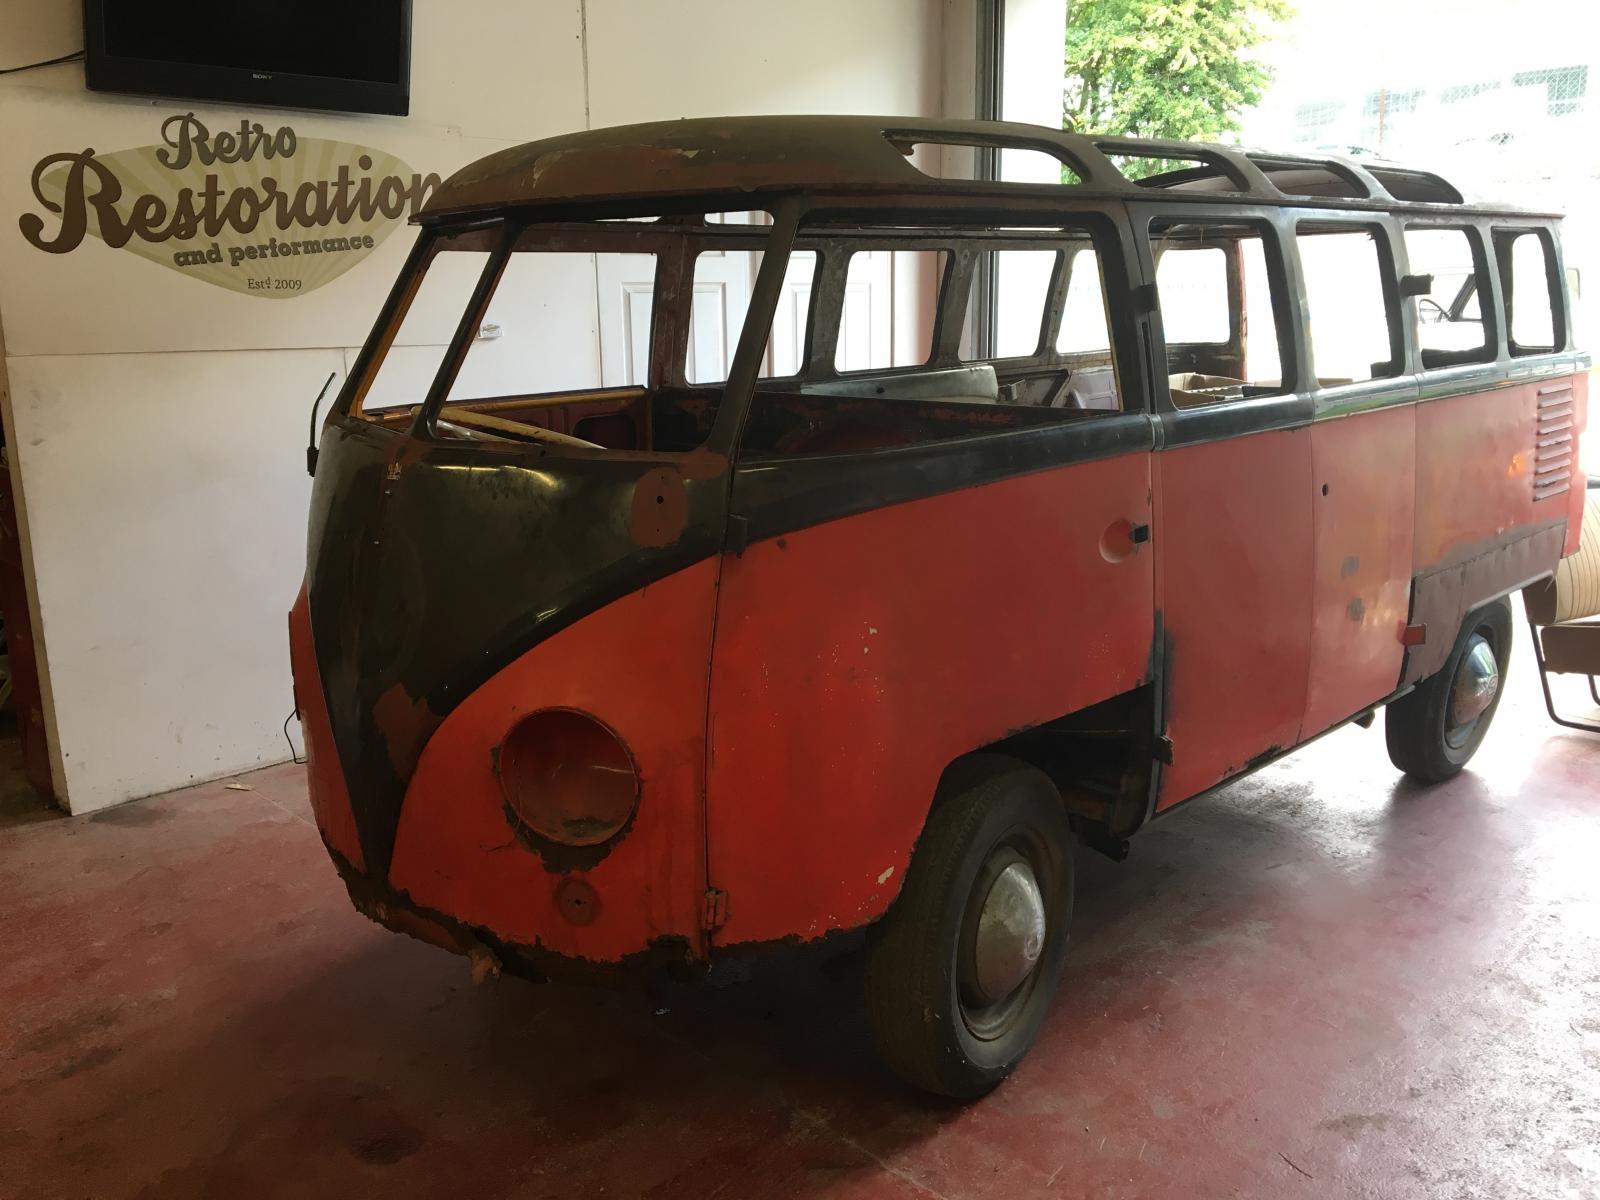
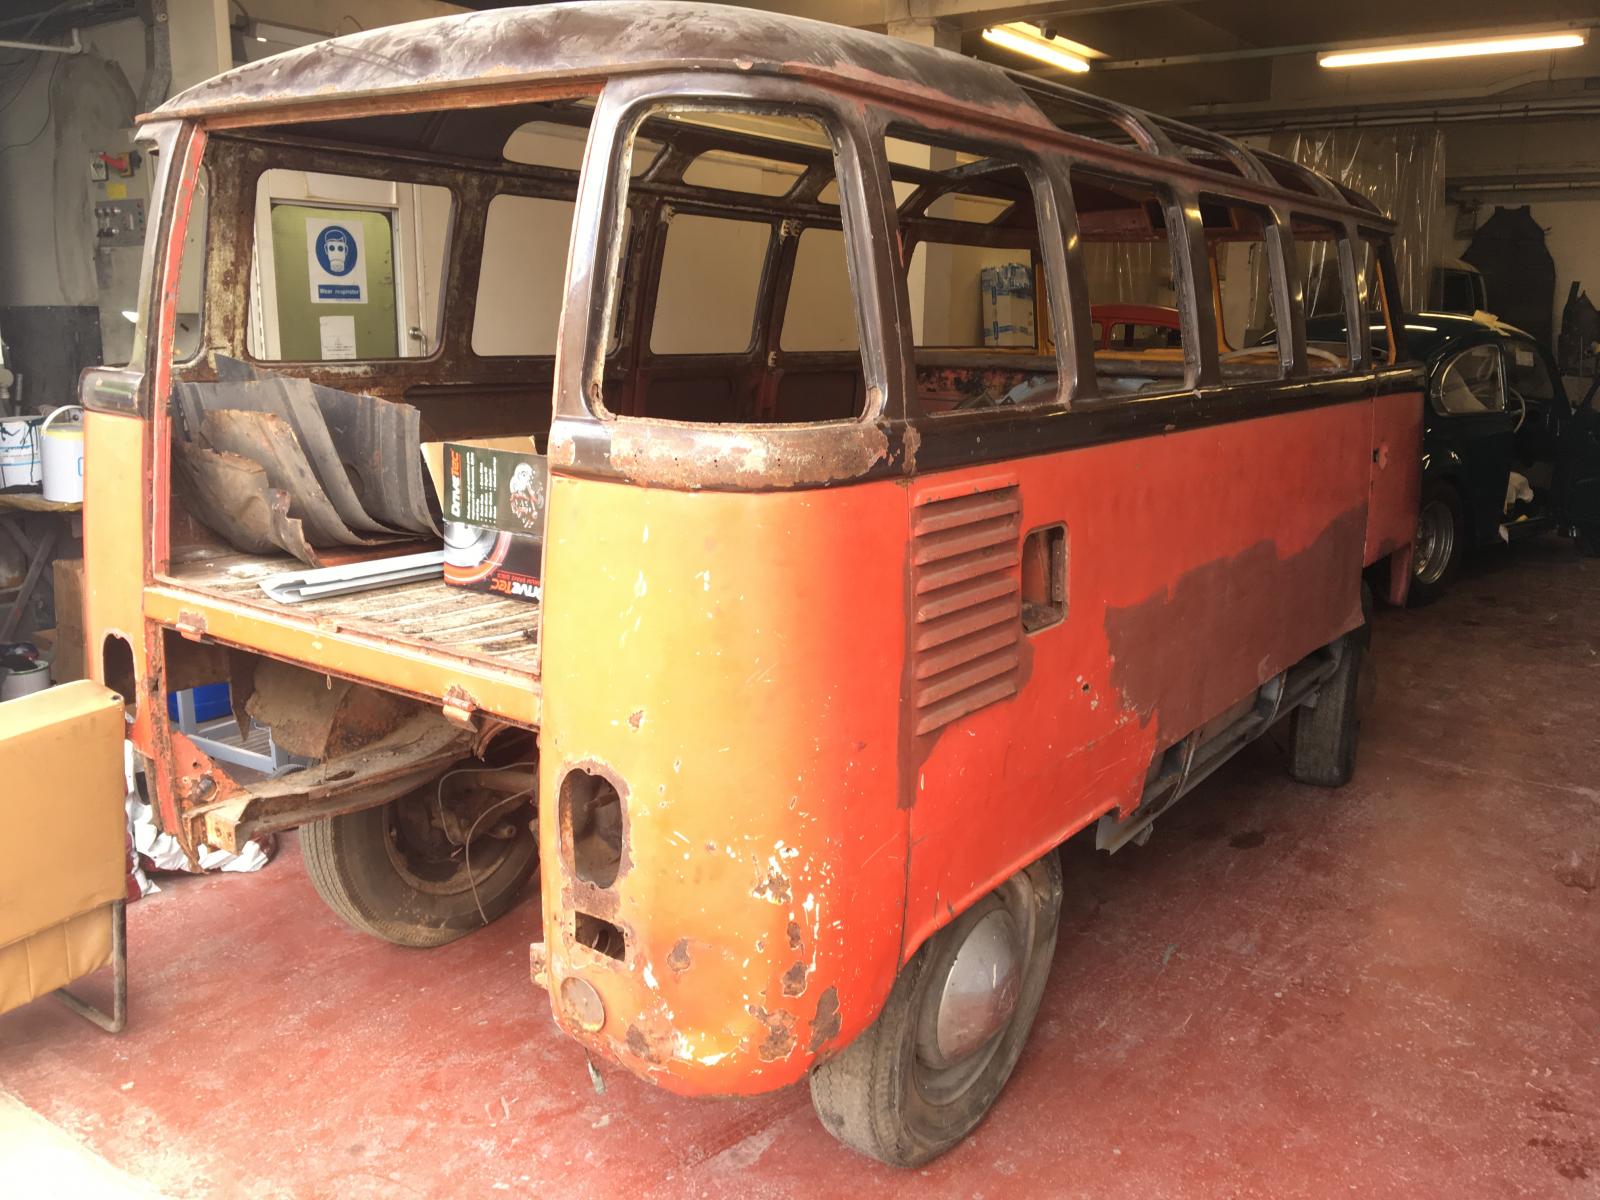
Im restoring a Swedish 56 23 window at the moment. Unfortunately its not mine, its a customers. I want this bus so bad. Its pretty rough and has had some really grim previous "repairs".
It will be as close to factory as possible, and has most of the parts ready to put it back together once we have finished the metal and paintwork.
Here it is as it arrived:
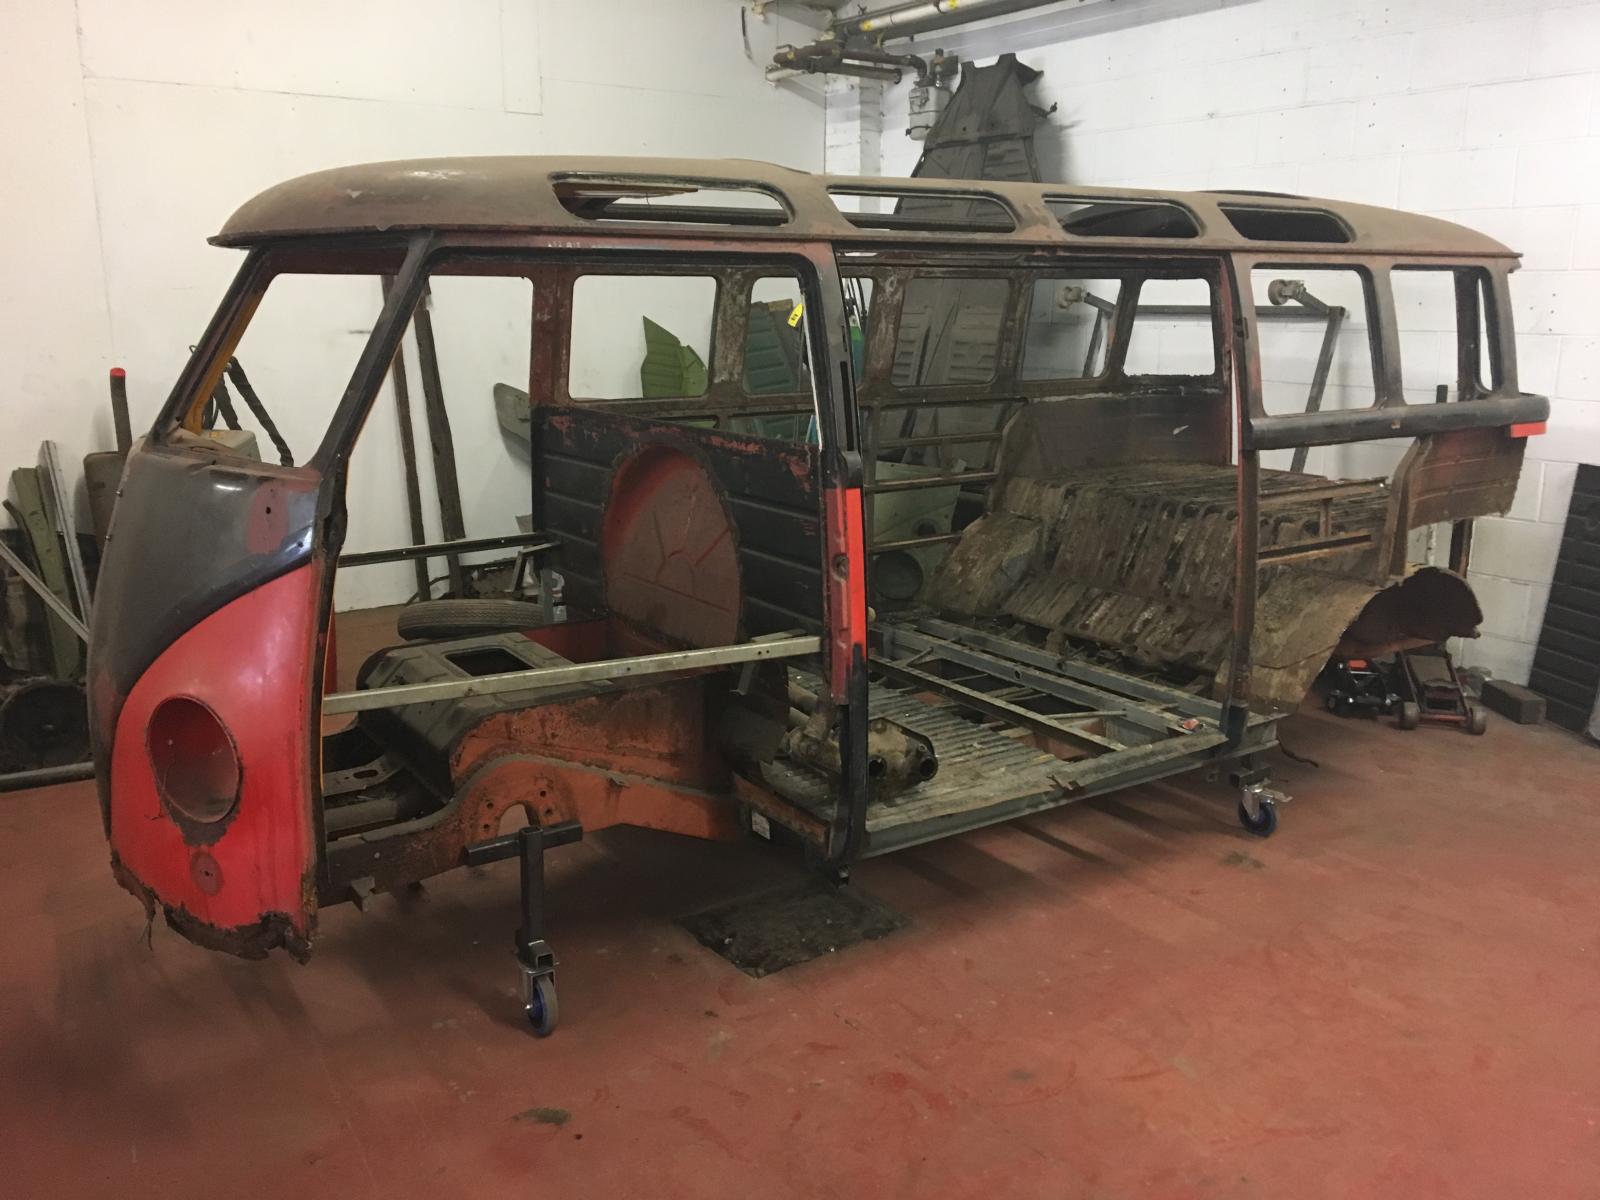
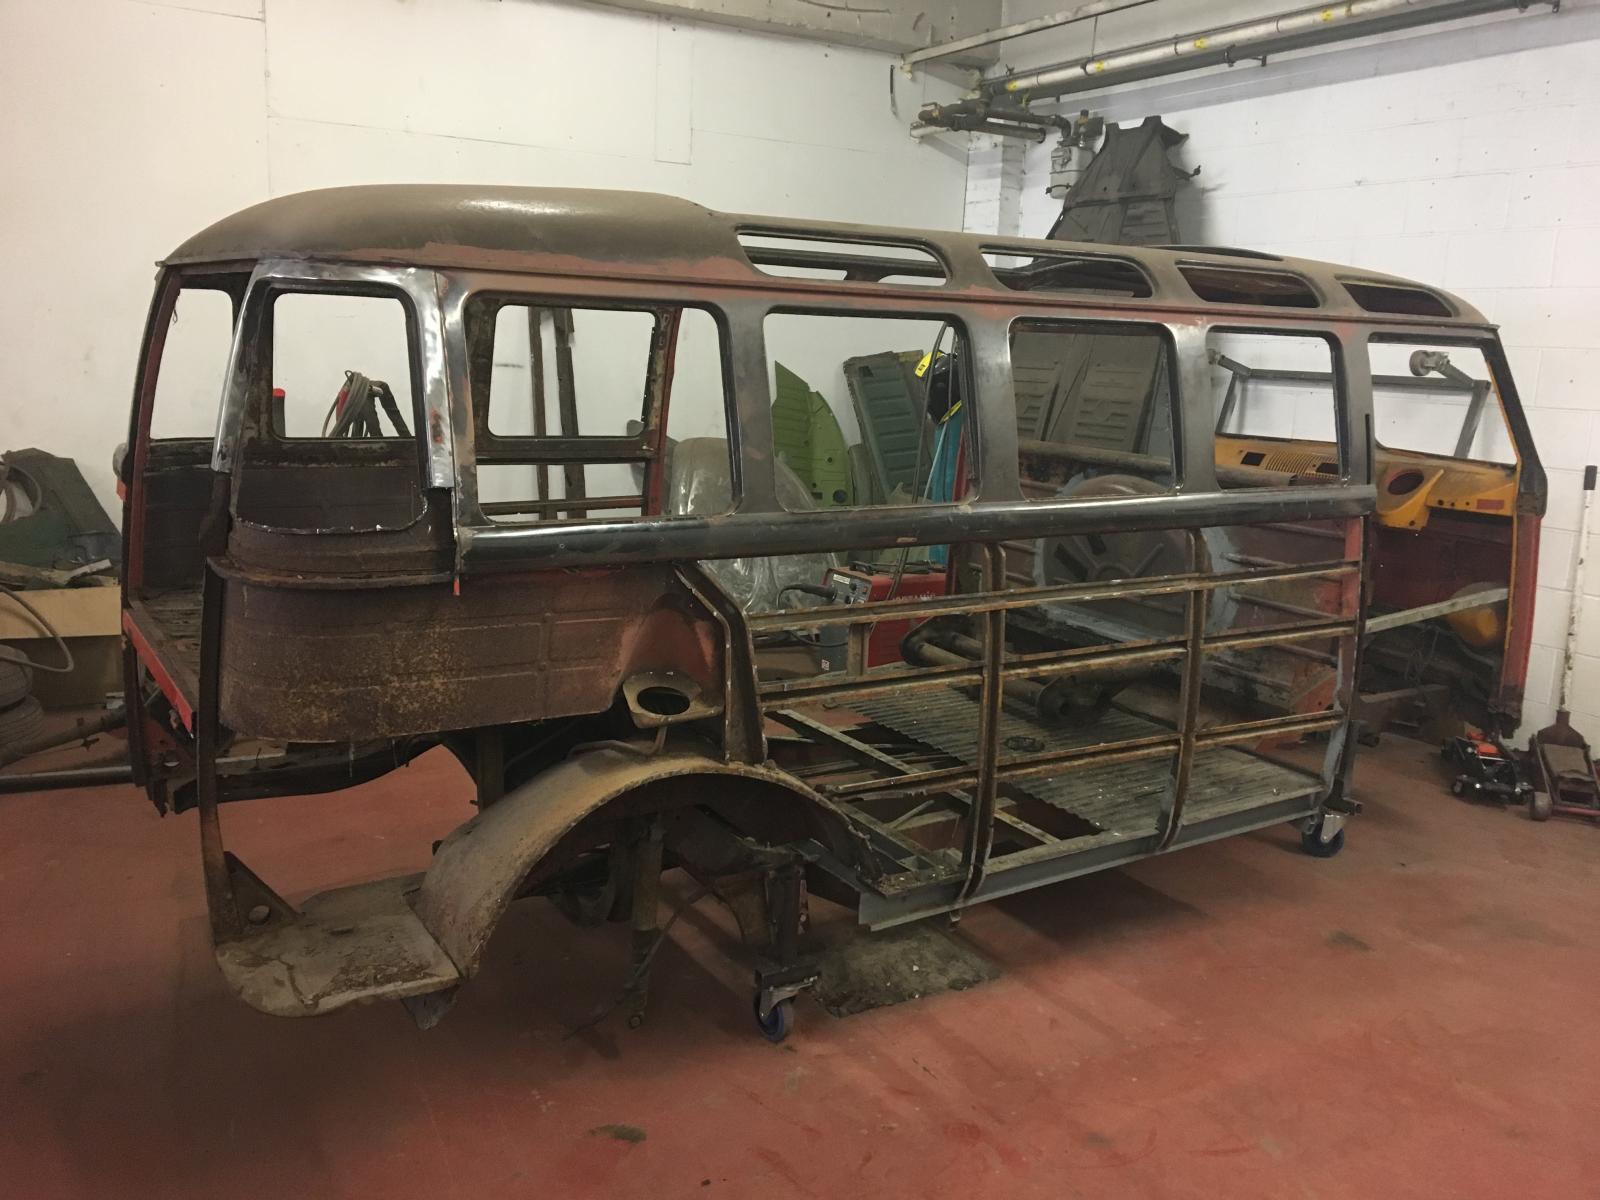
We cut the panels off we know are getting replaced ready for blasting:
A few pics the blaster sent me. Waiting to get it back:
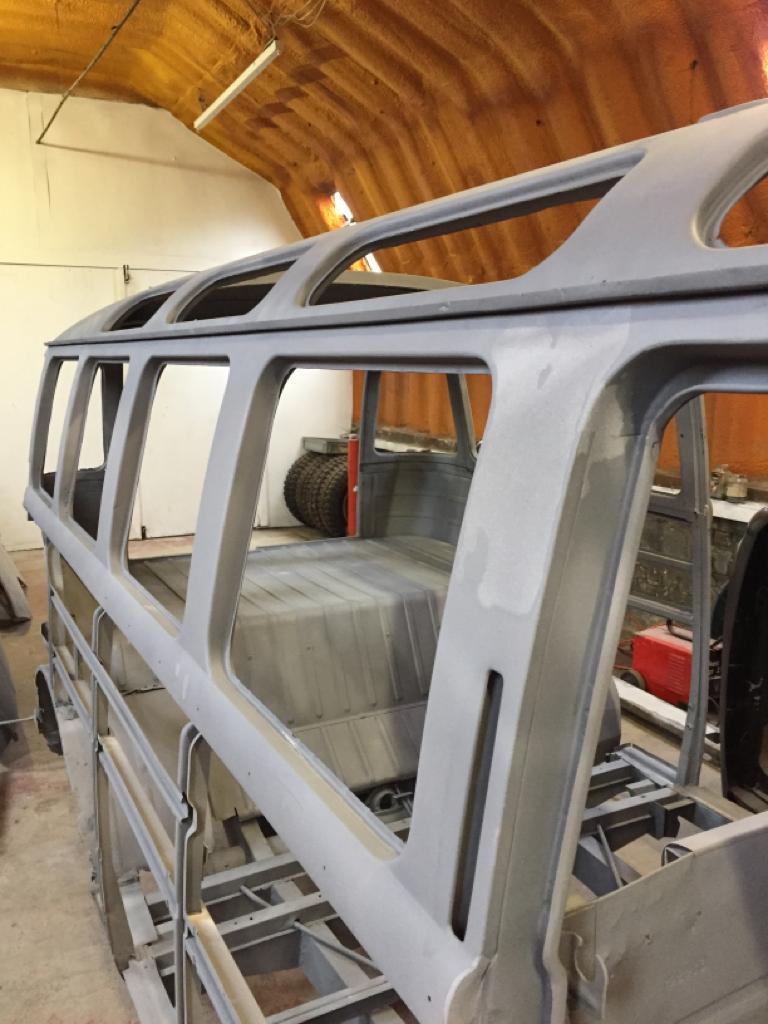
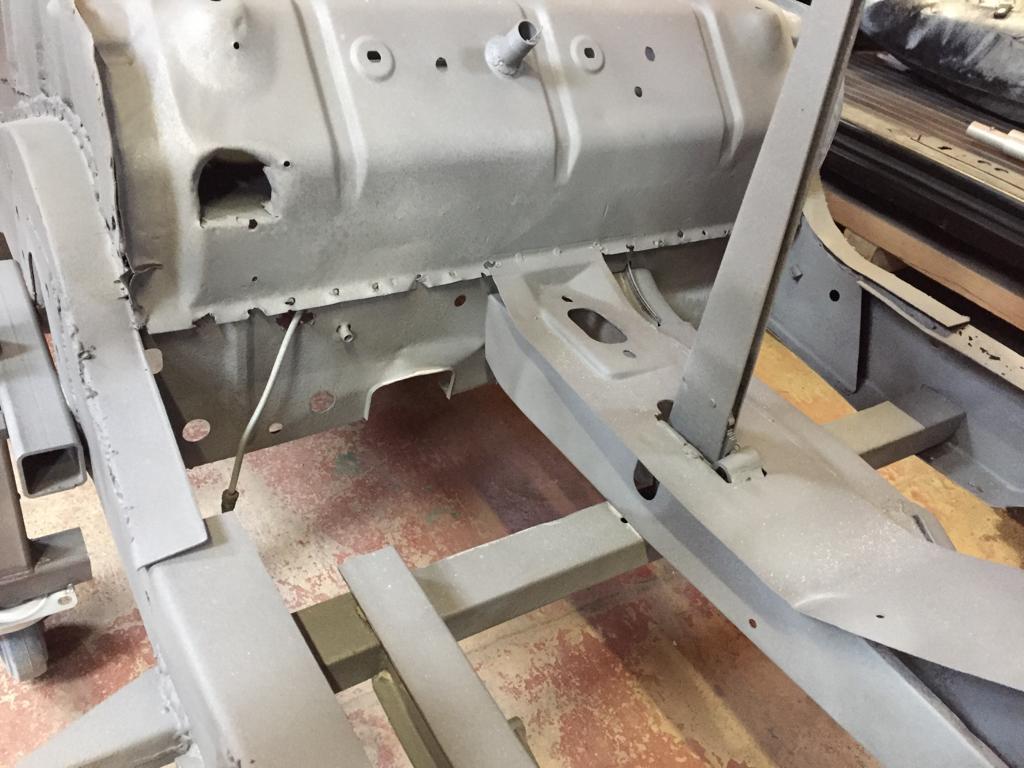
And the money shot...
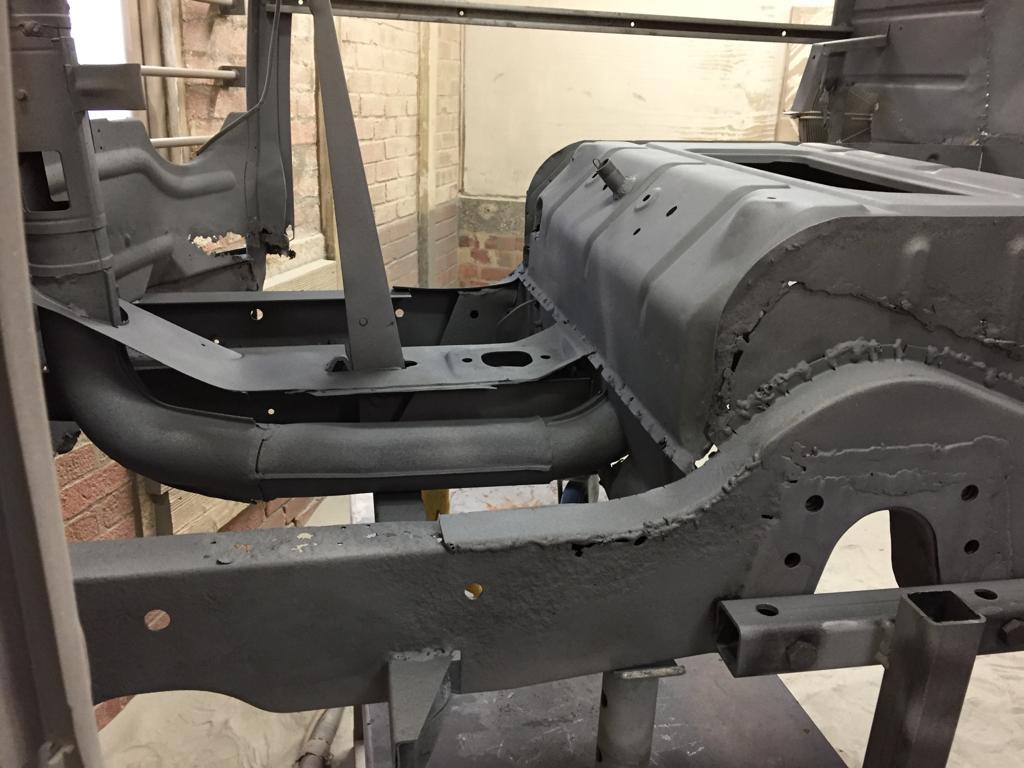
Im restoring a Swedish 56 23 window at the moment. Unfortunately its not mine, its a customers. I want this bus so bad. Its pretty rough and has had some really grim previous "repairs".
It will be as close to factory as possible, and has most of the parts ready to put it back together once we have finished the metal and paintwork.
Here it is as it arrived:


We cut the panels off we know are getting replaced ready for blasting:


A few pics the blaster sent me. Waiting to get it back:


And the money shot...

mabbo
SSVC Member
Posts: 83
Joined: Wed Jun 01, 2011 7:09 pm
Re: 1956 RHD Swedish 23 window samba full restoration
by Droger45 » Thu Oct 31, 2019 2:37 am
Man that's a precious project and you're doing great so far! Can't wait to see some updates.
Droger45
Registered user
Posts: 9
Joined: Tue Jul 11, 2017 9:33 am
Re: 1956 RHD Swedish 23 window samba full restoration
by mabbo » Thu Jan 23, 2020 10:27 pm
Had a bit of time on the samba... Heres a quick update of what we have got done.
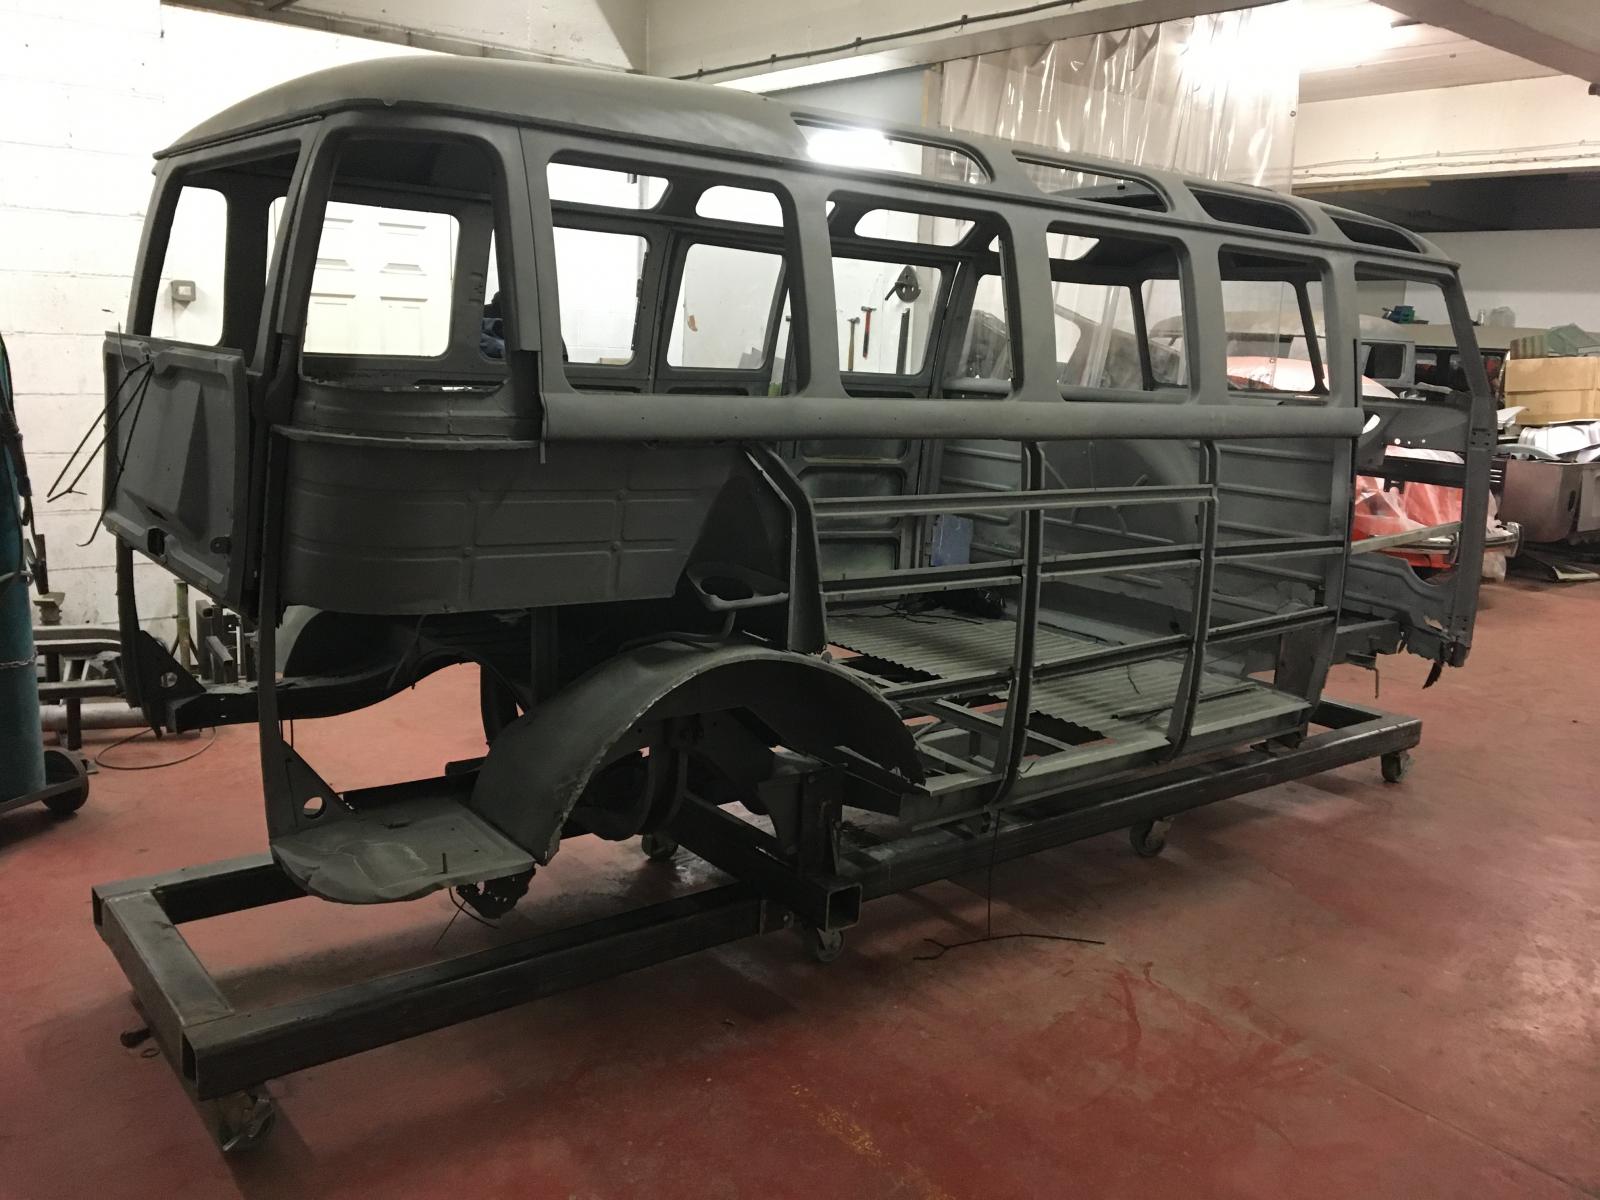
Got the bus on the chassis jig:
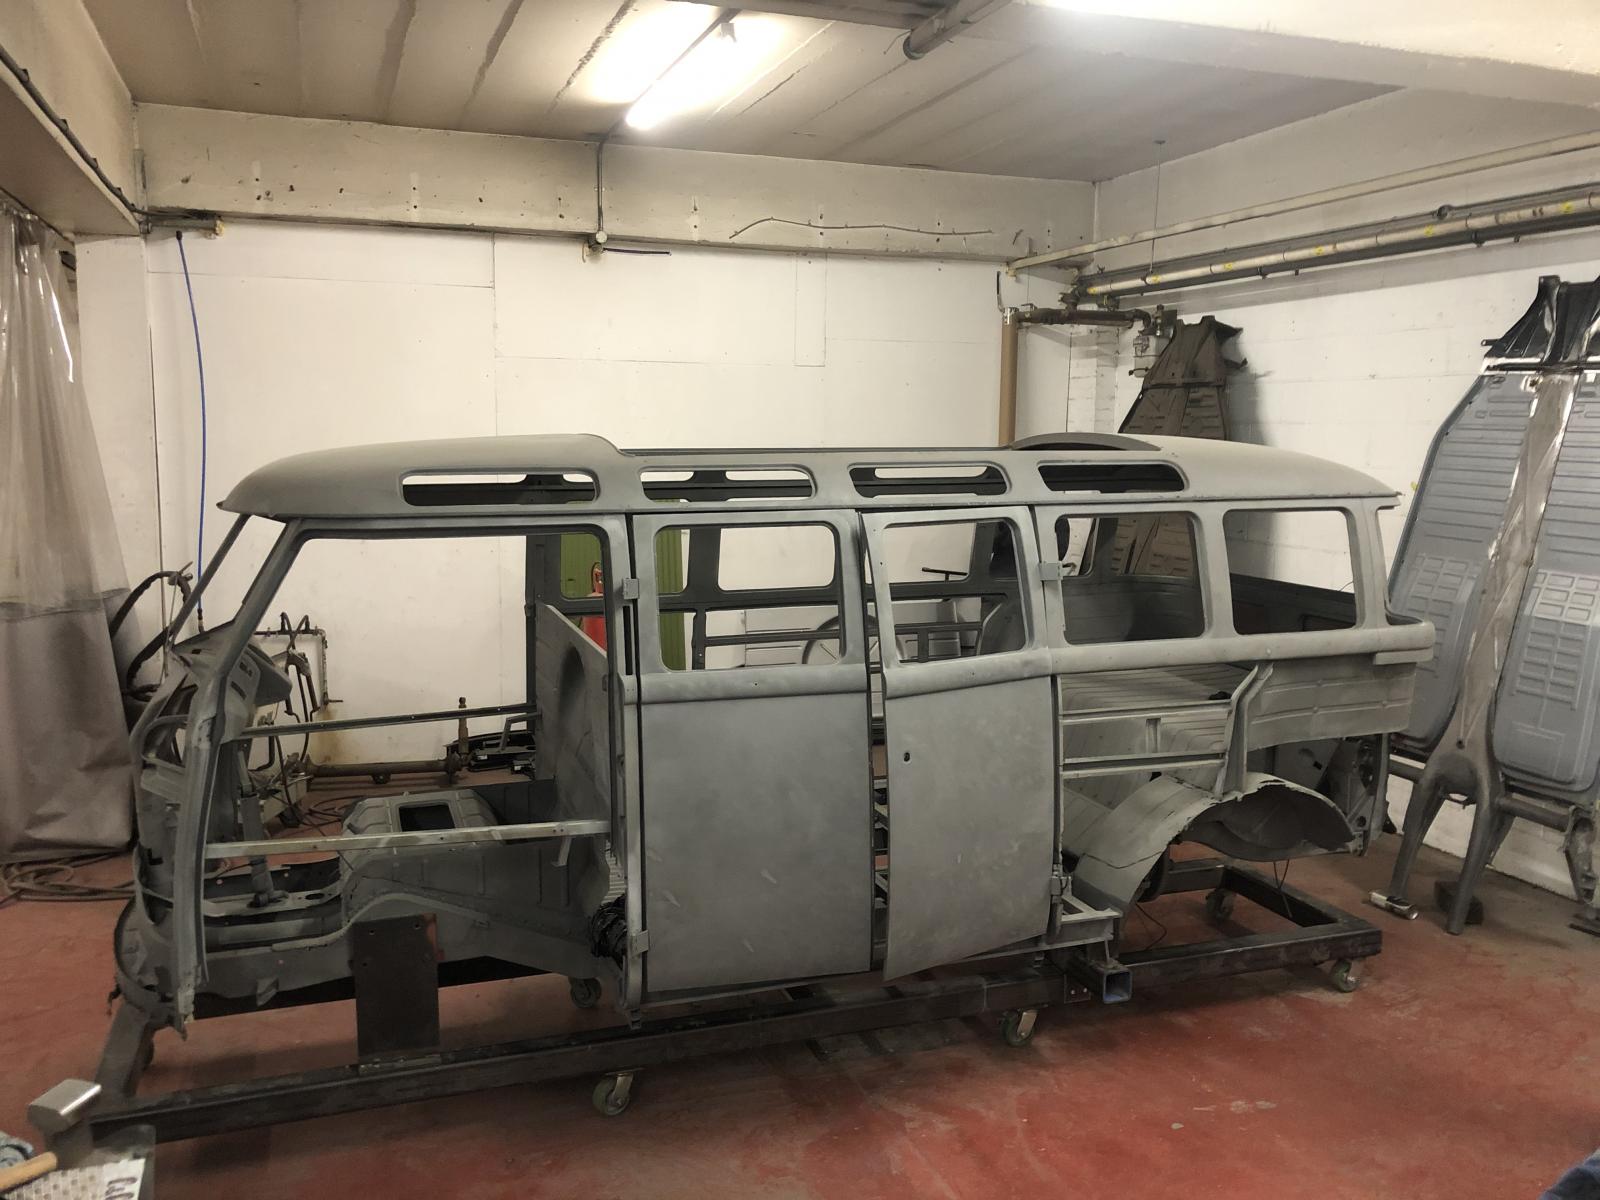
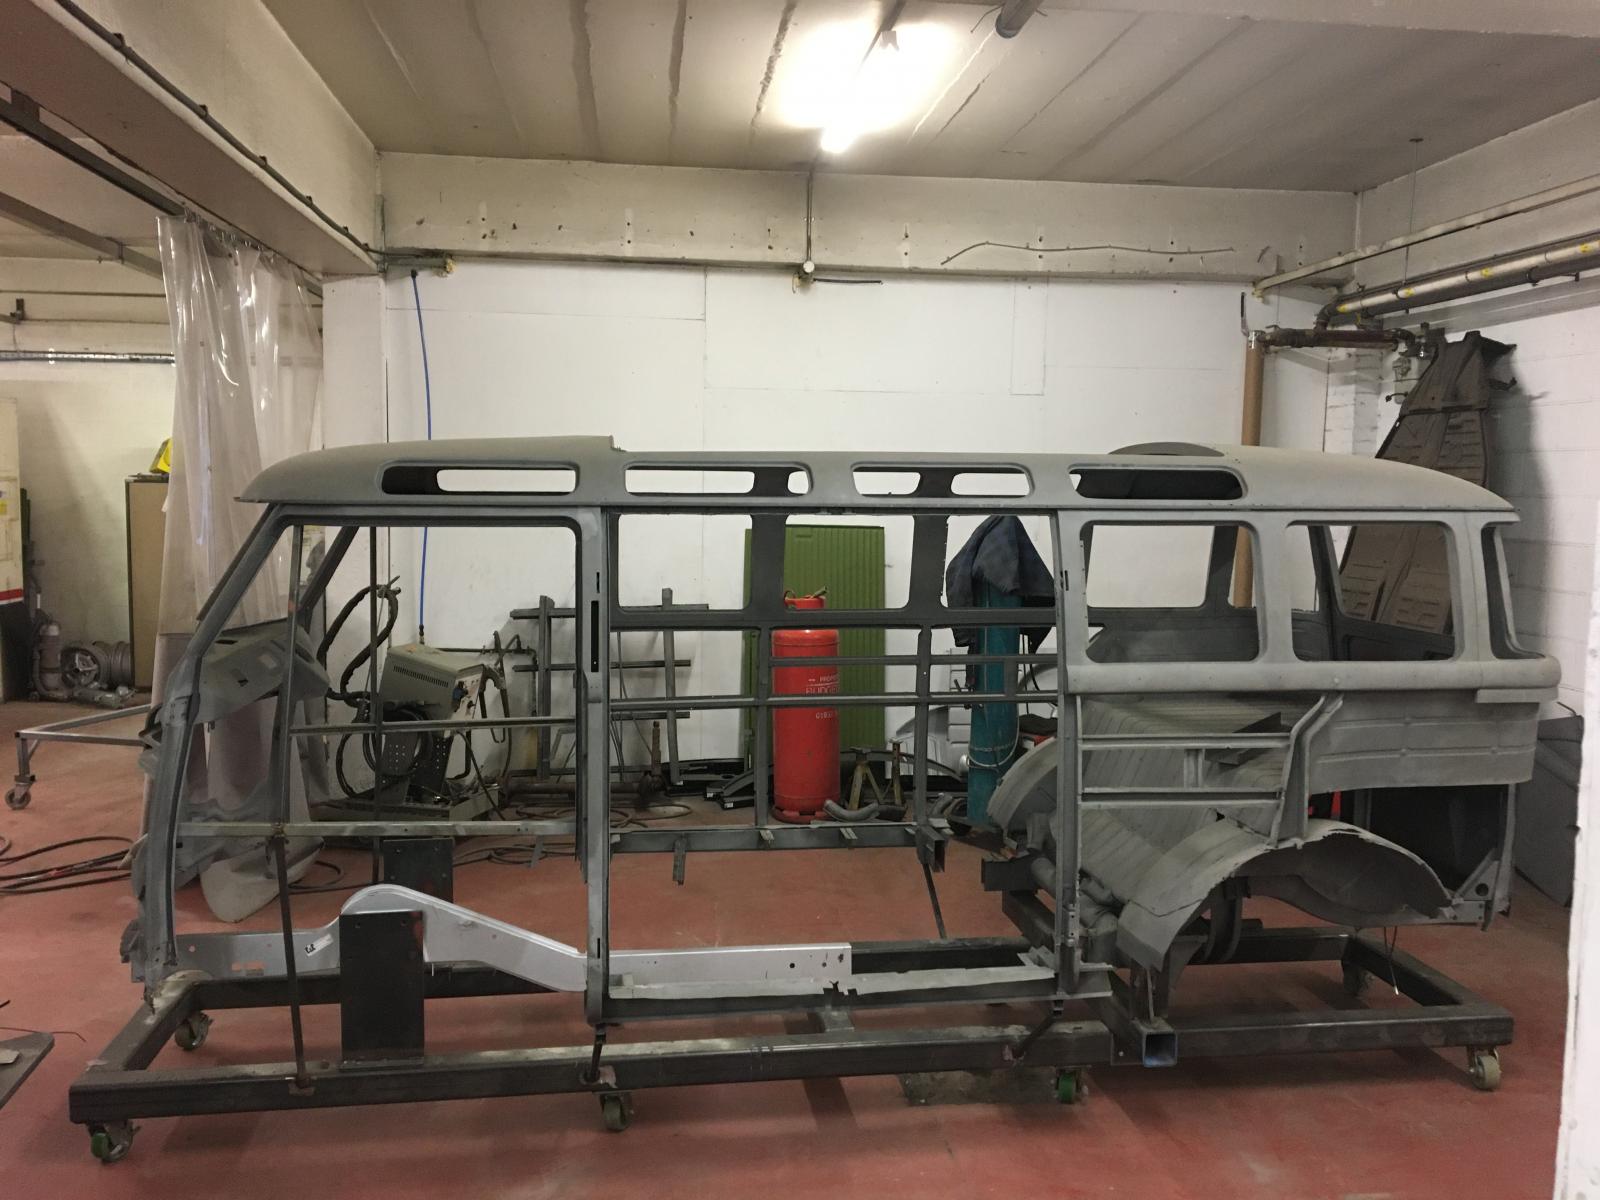
Braced the body up and cut the crap out ready for the new chassis rails etc:
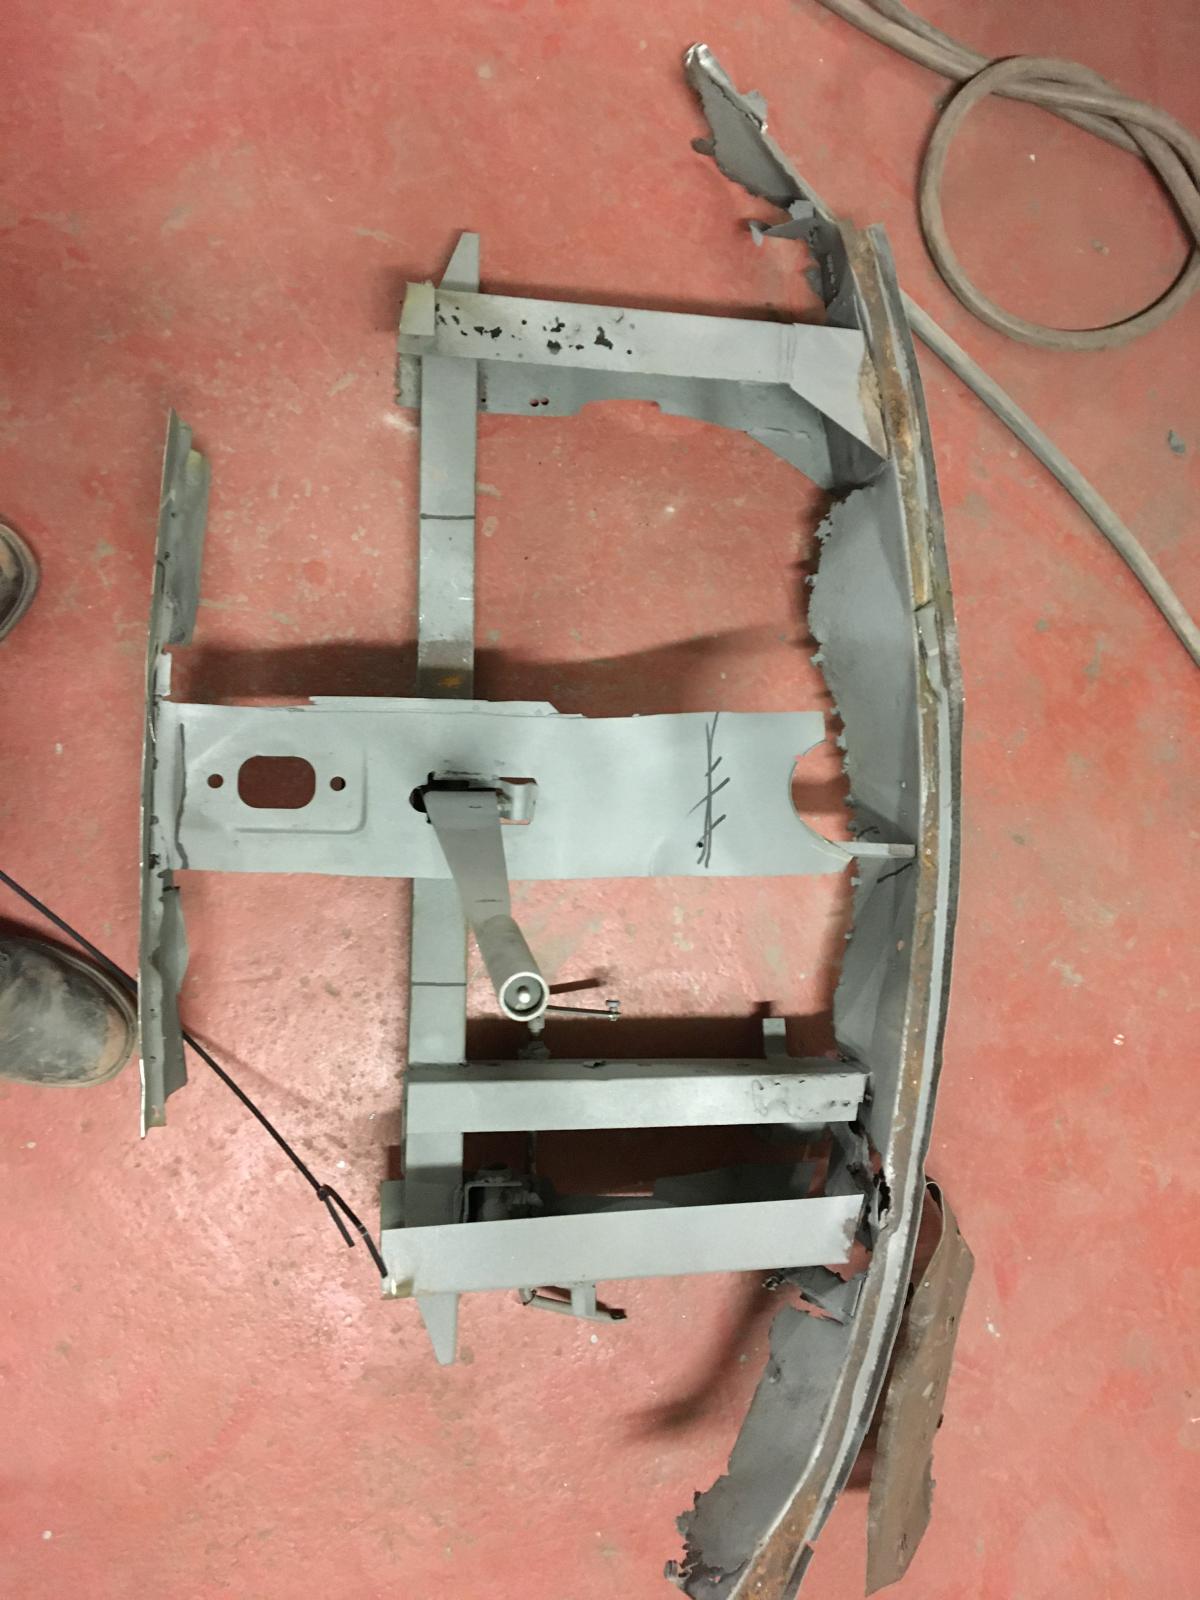
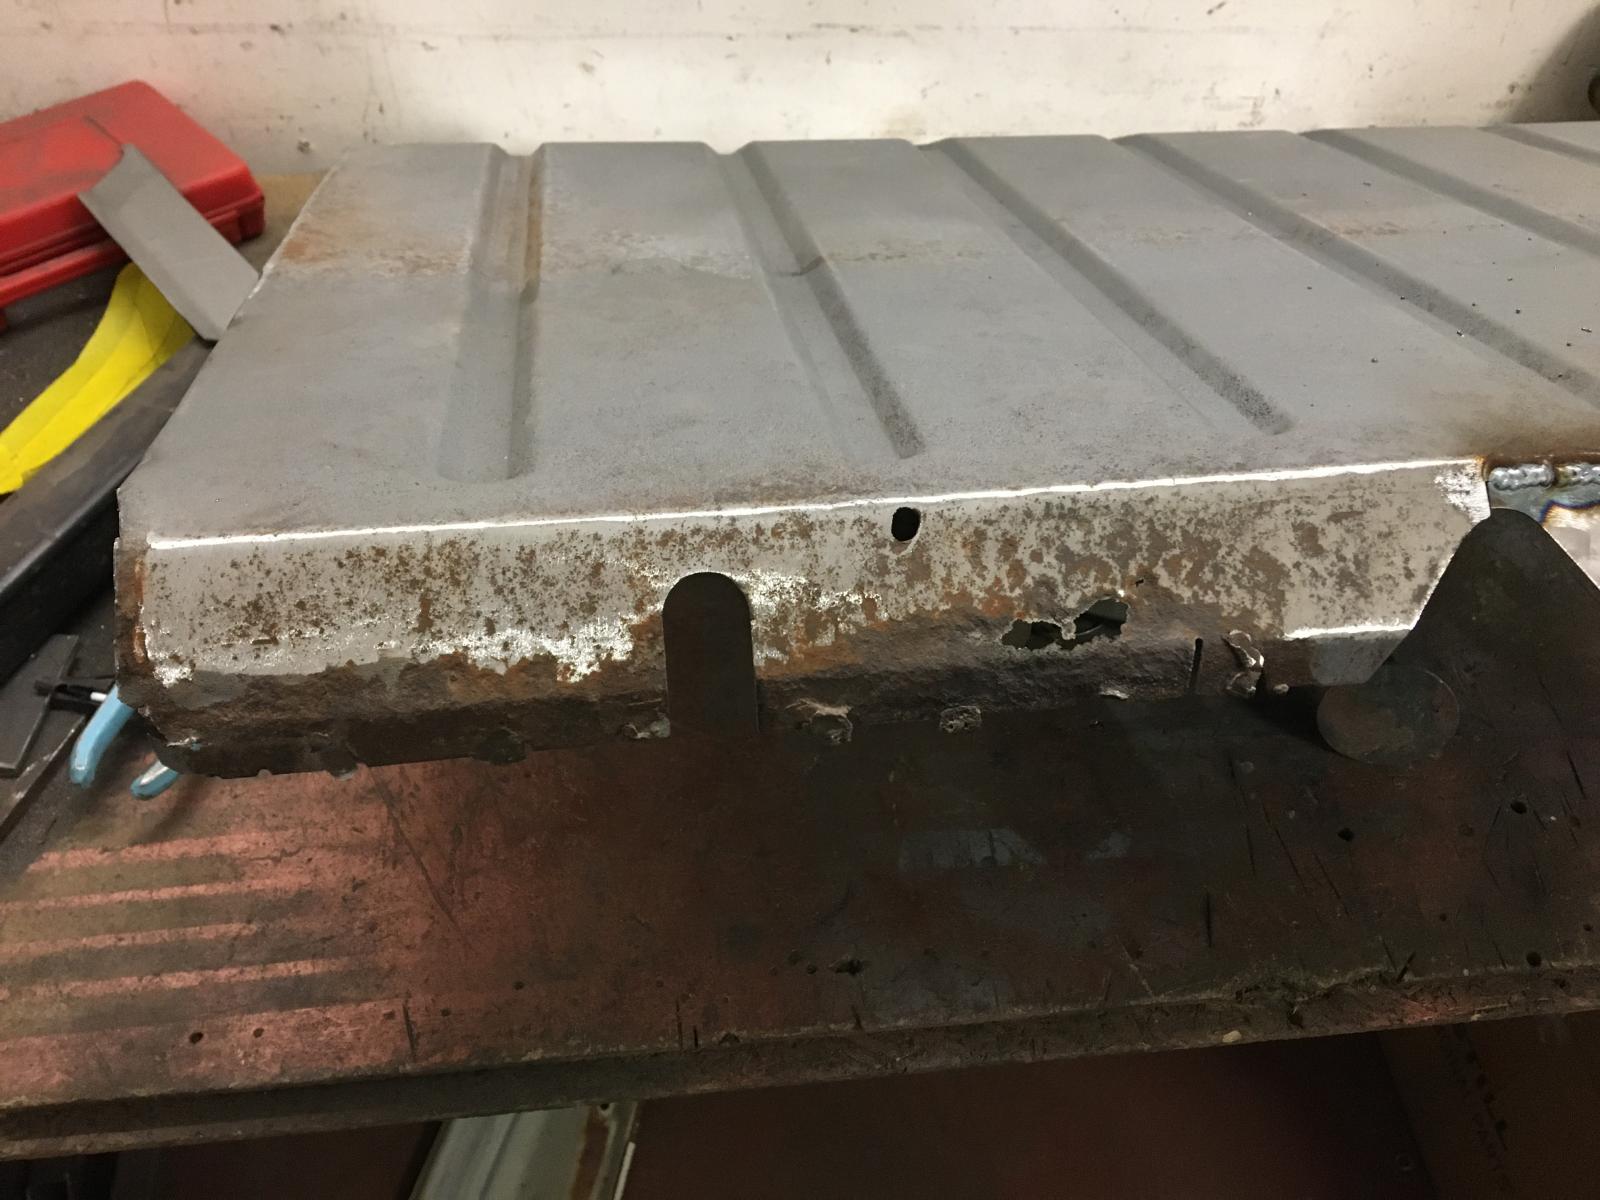
Repairing the front floor section under the treasure chest:
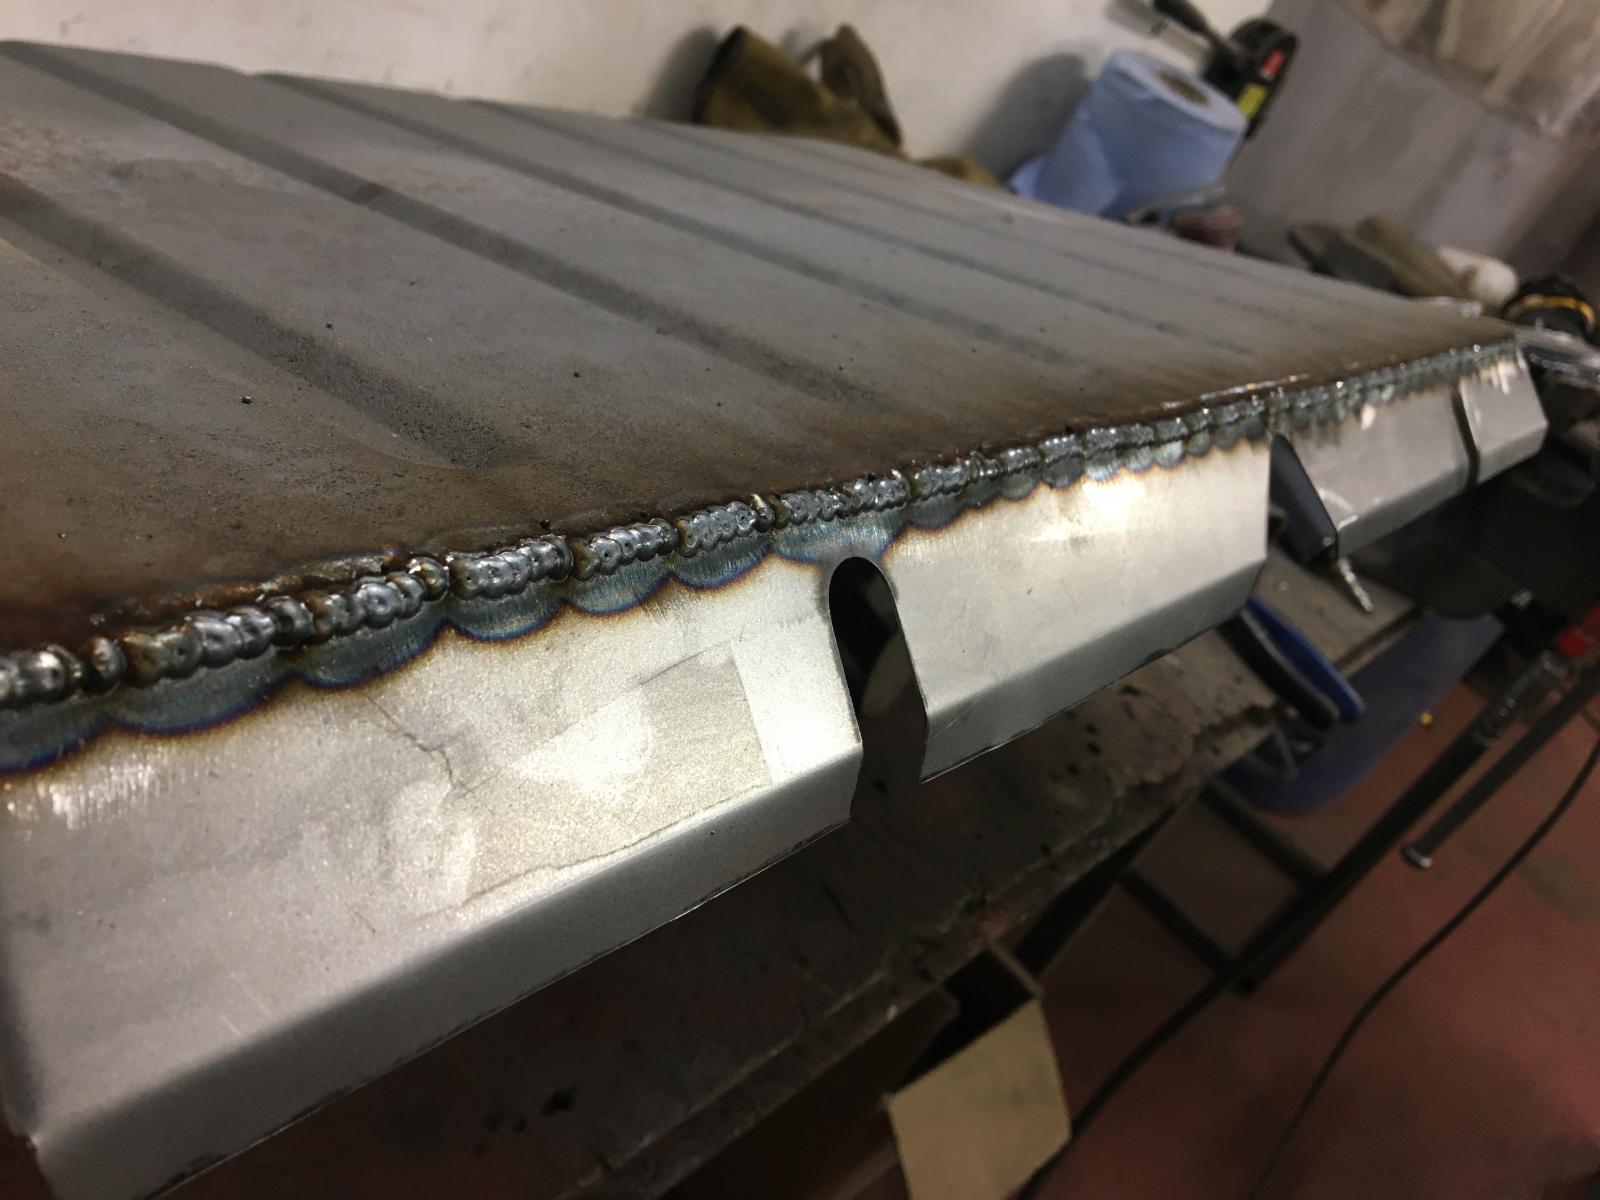
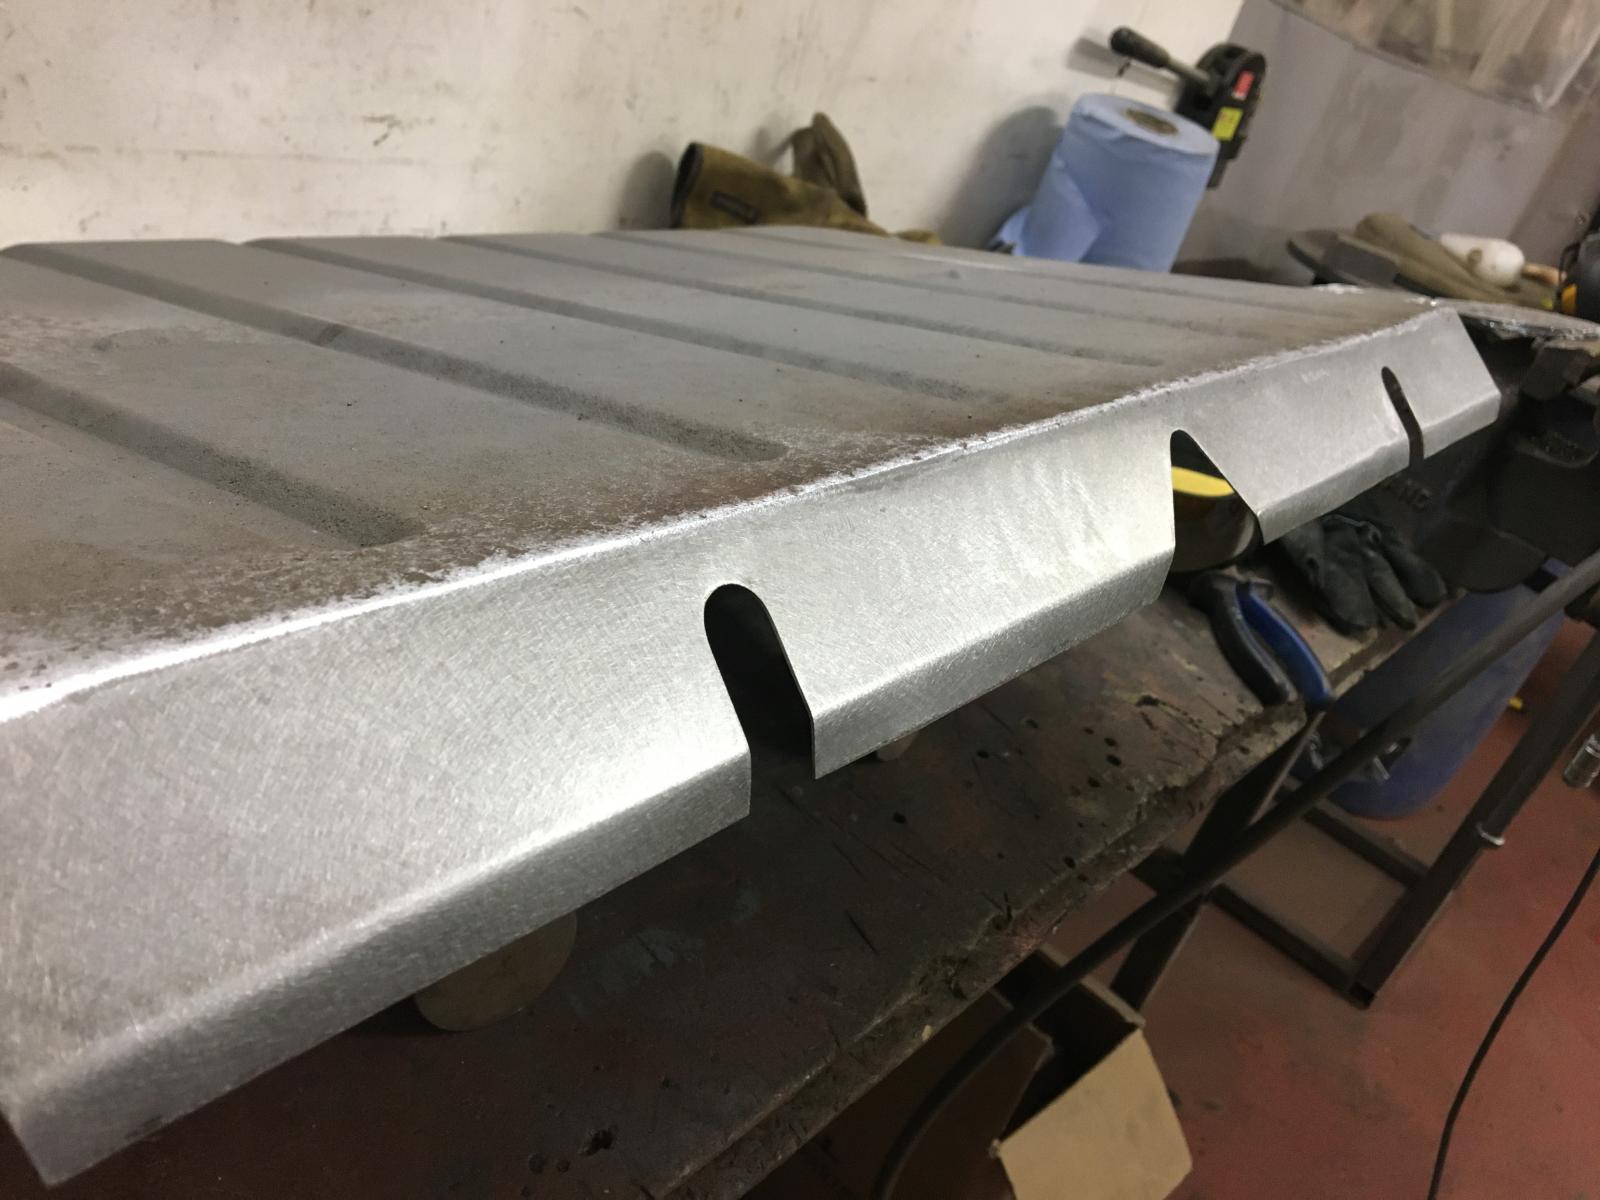
Repaired the chassis rails and mocked everything else up in place. Welded the sills / I beams / top hats etc together but so it could be removed to complete the welding on the chassis rails:
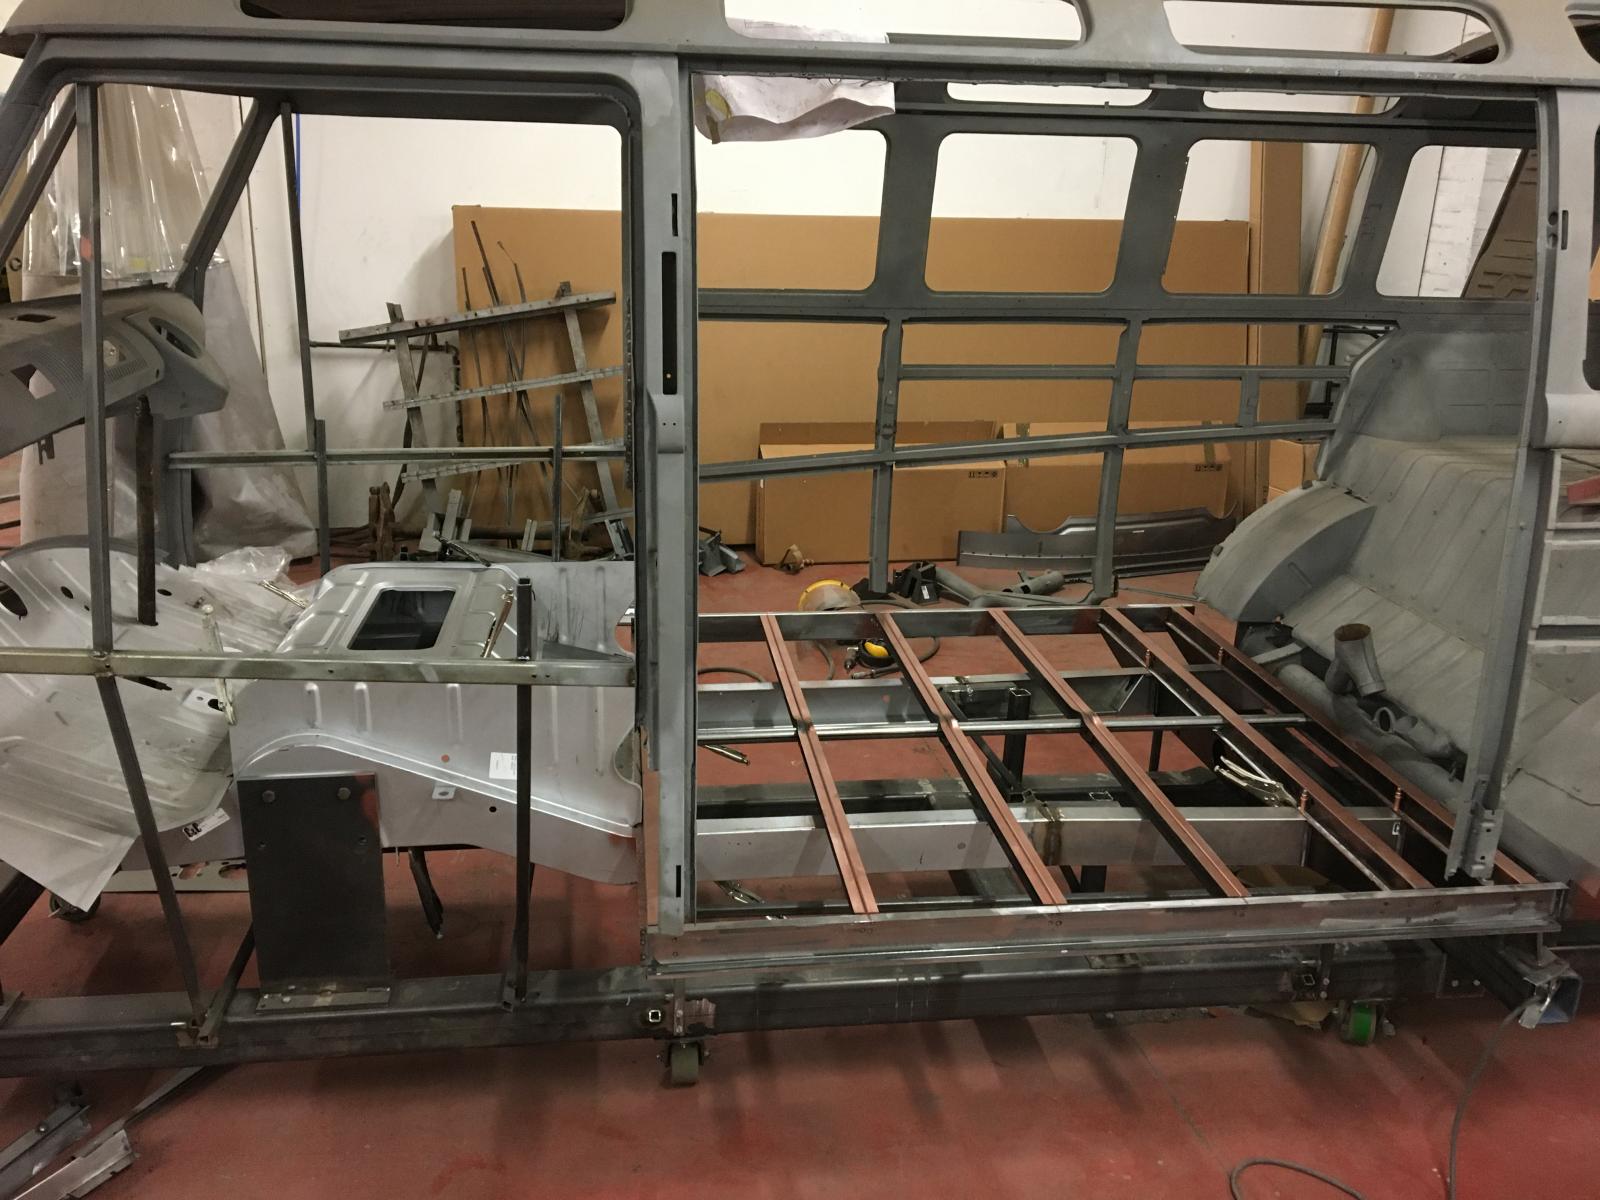
The new front chassis rails needed reshaping a little as they sat a little too low at the middle of the bus when they were bolted on to the jig at the beam mount and front bumper mounts:
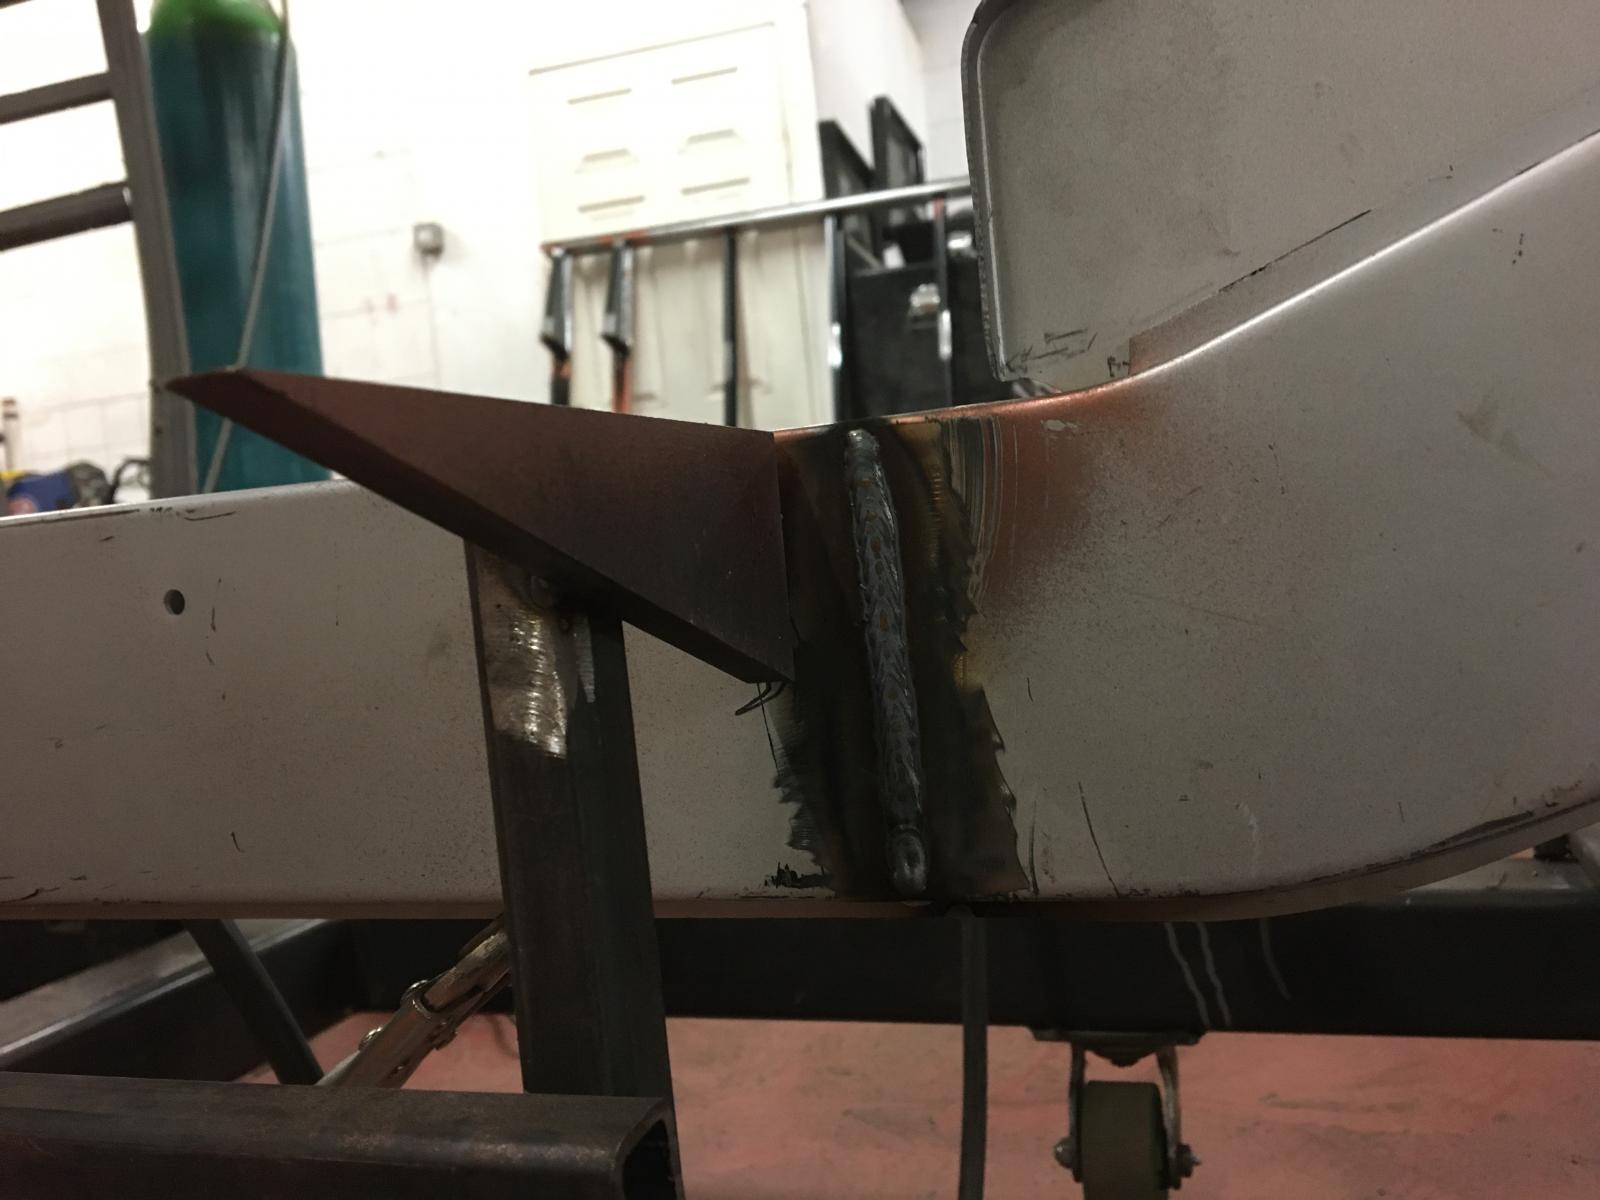
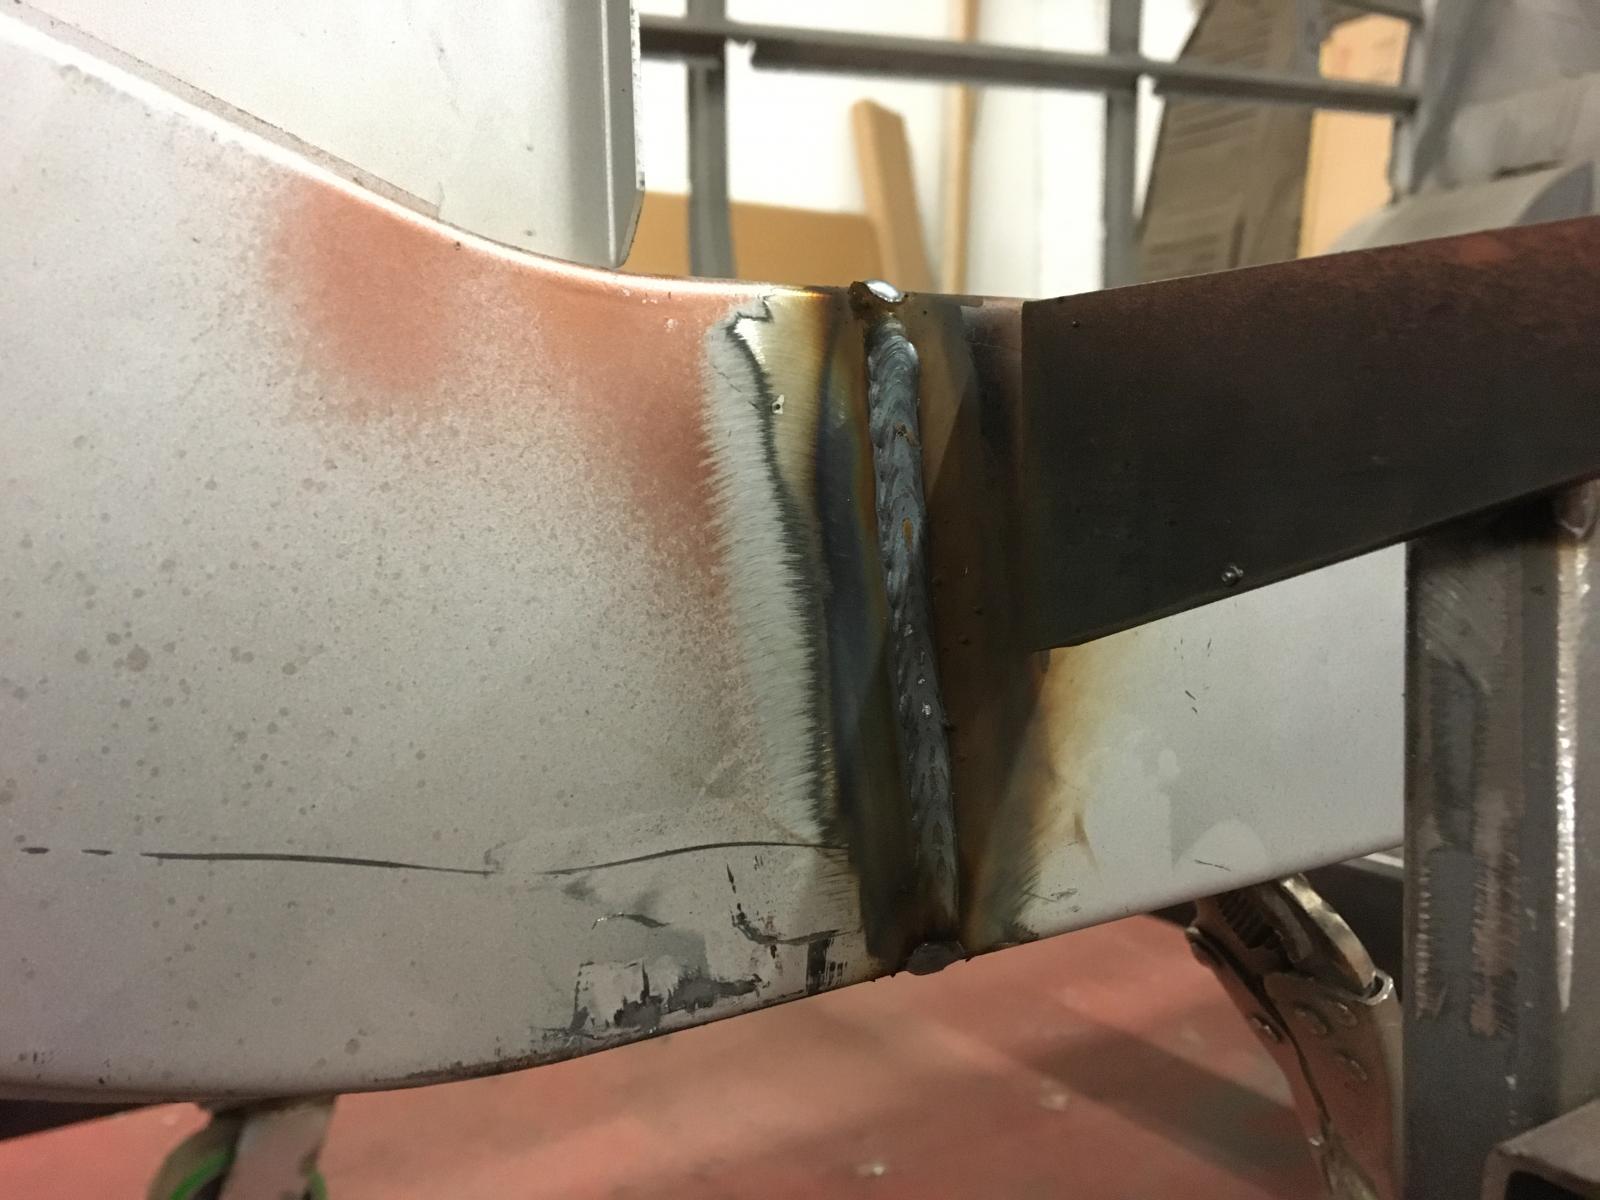
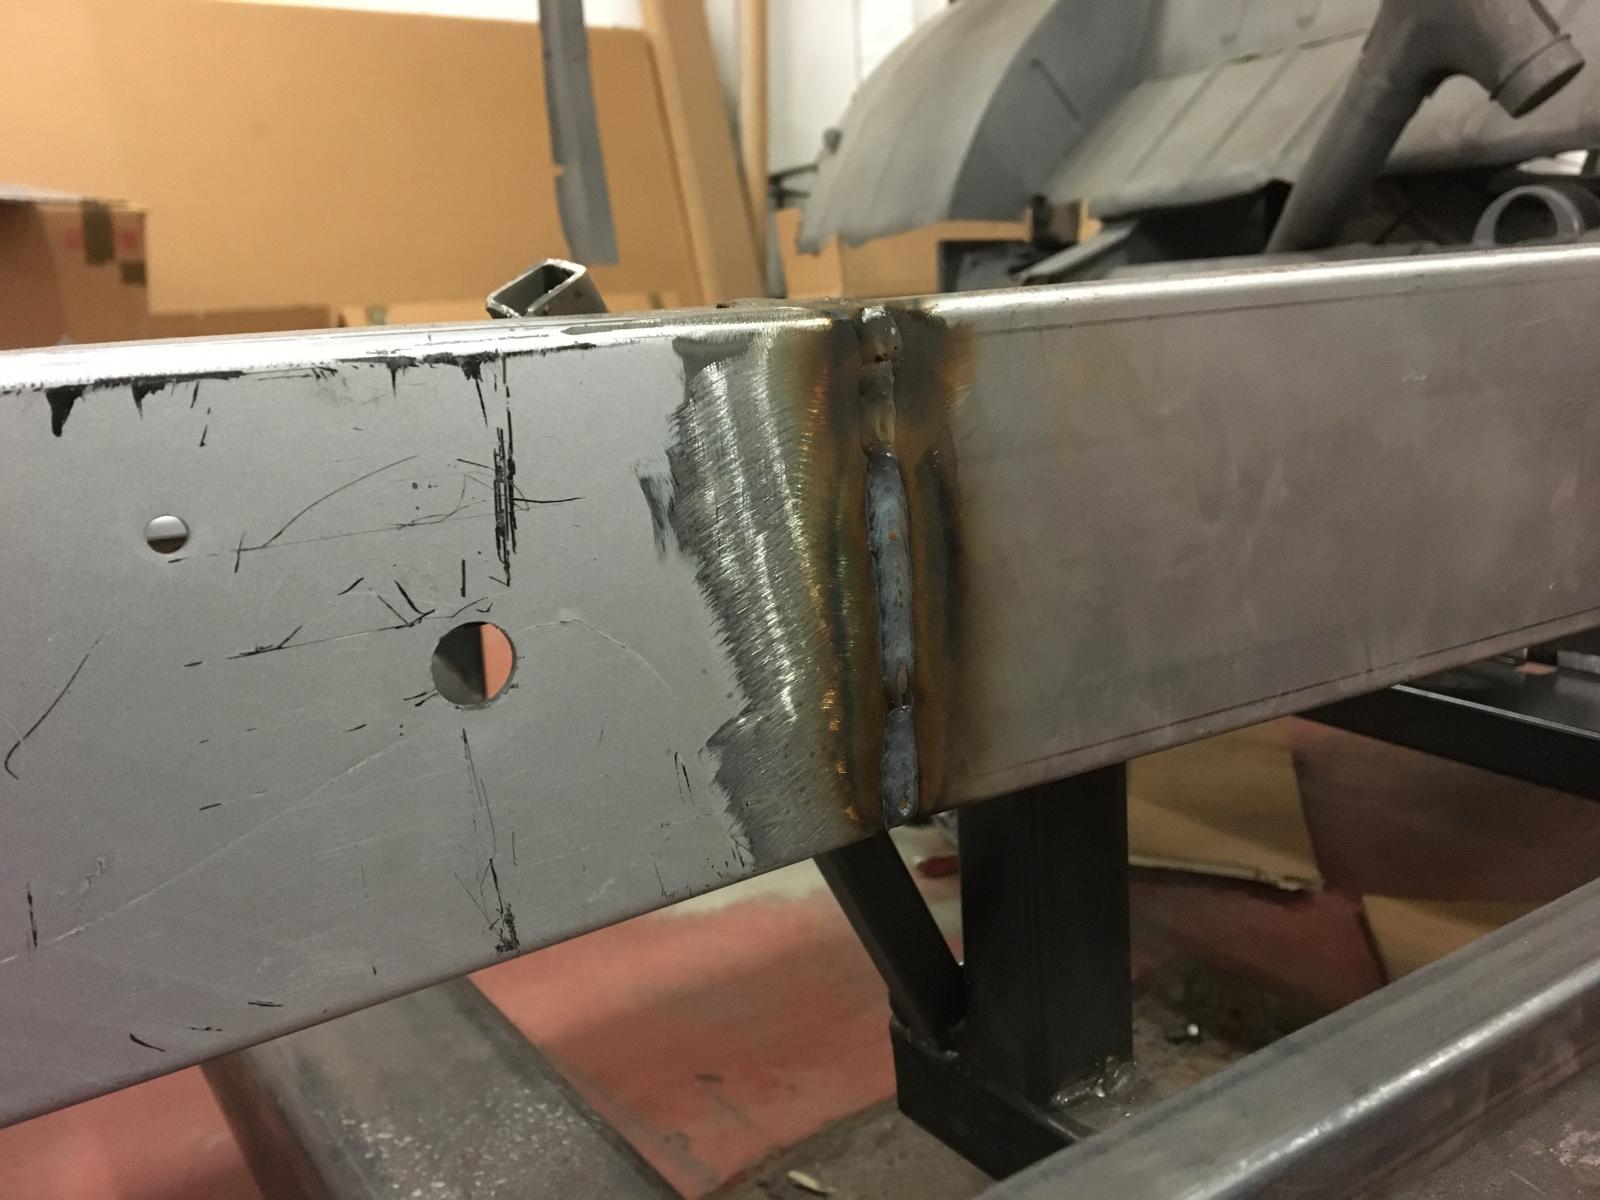
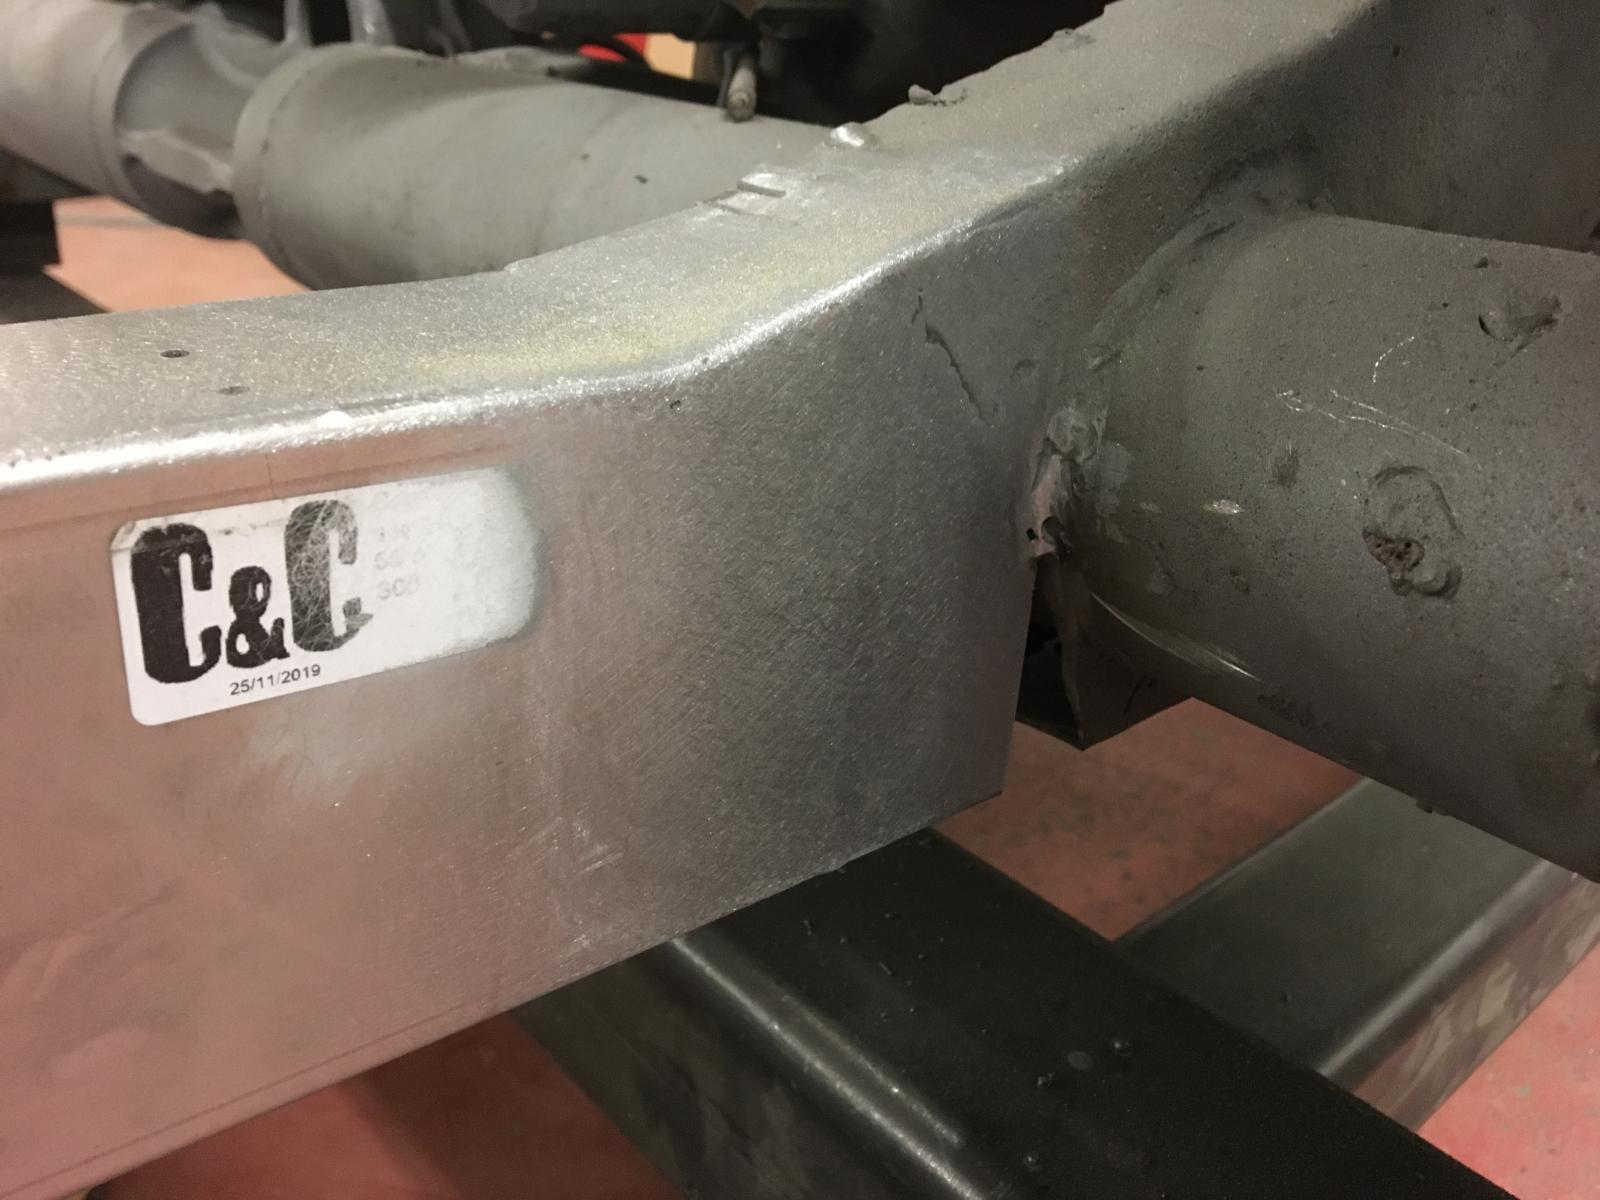
Welded the front repair section to the rear repair section, and the rear repair section to the original chassis rails at the torsion housing area. Cant get to the underside of this section while its on the chassis jig so will finish later:
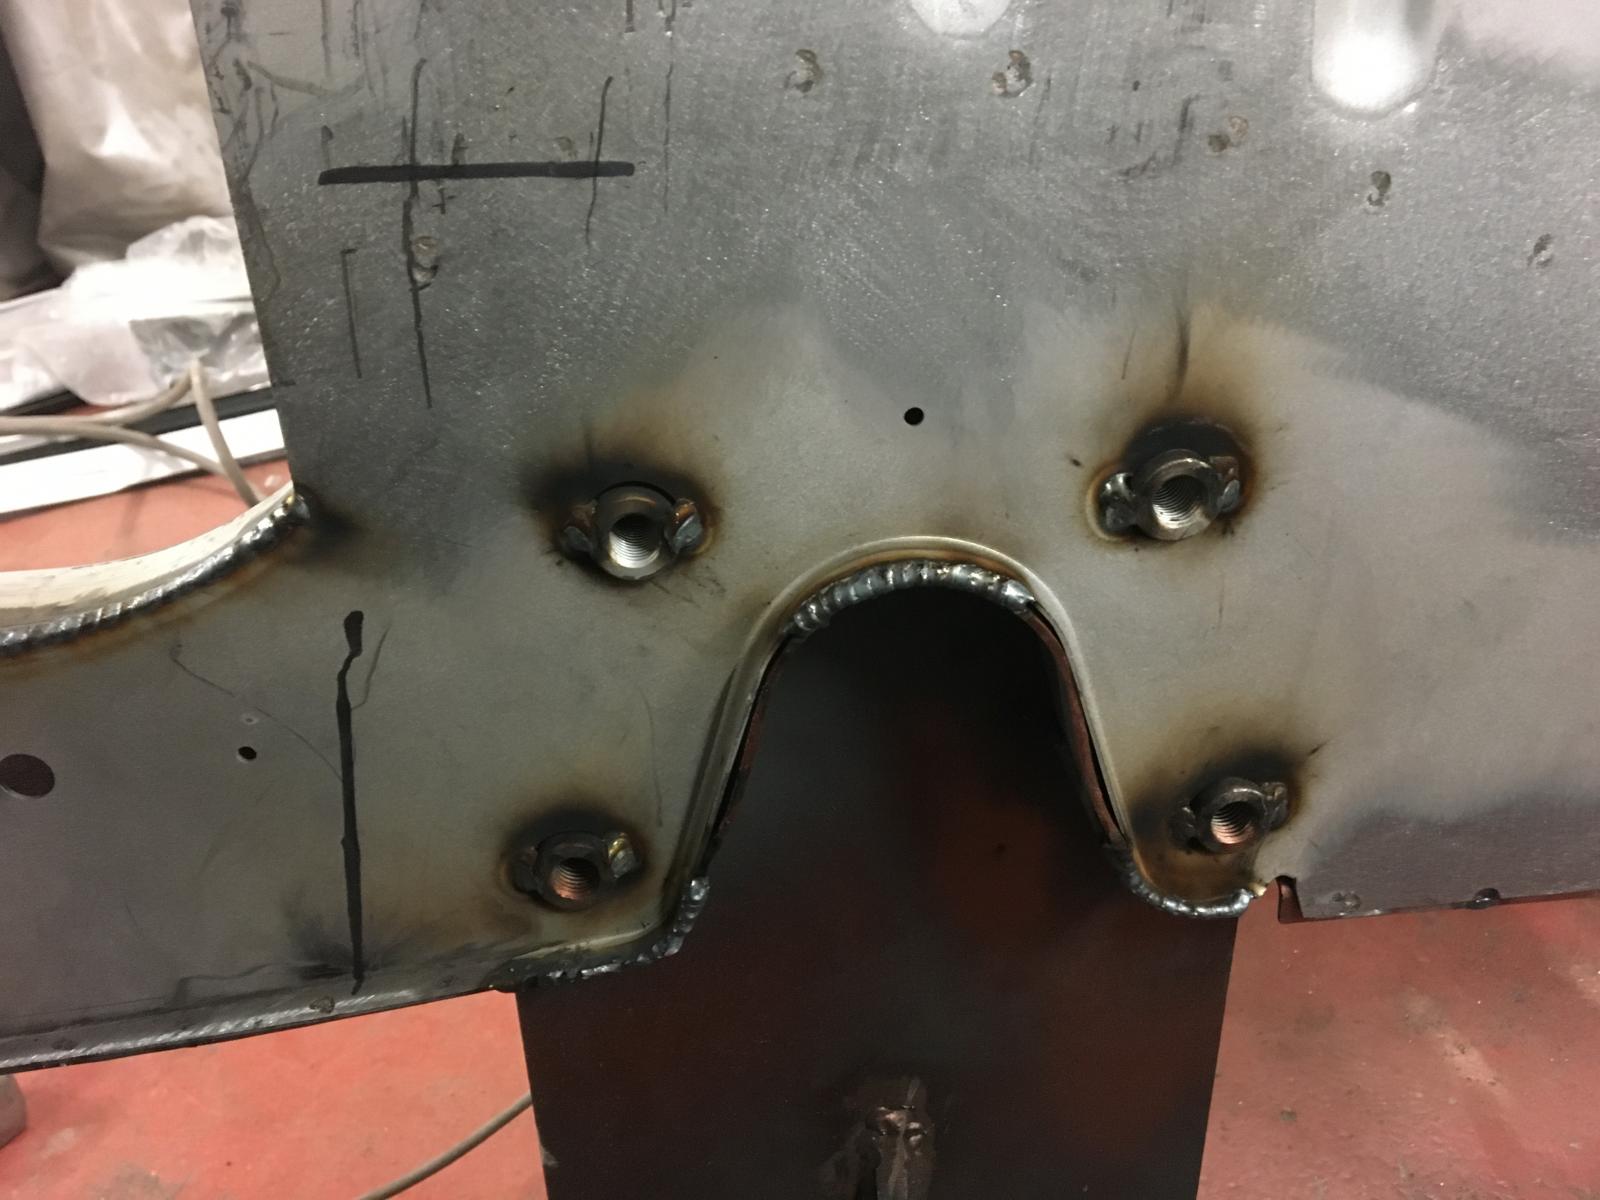
Welded the front inner chassis rails around the beam mounting area:
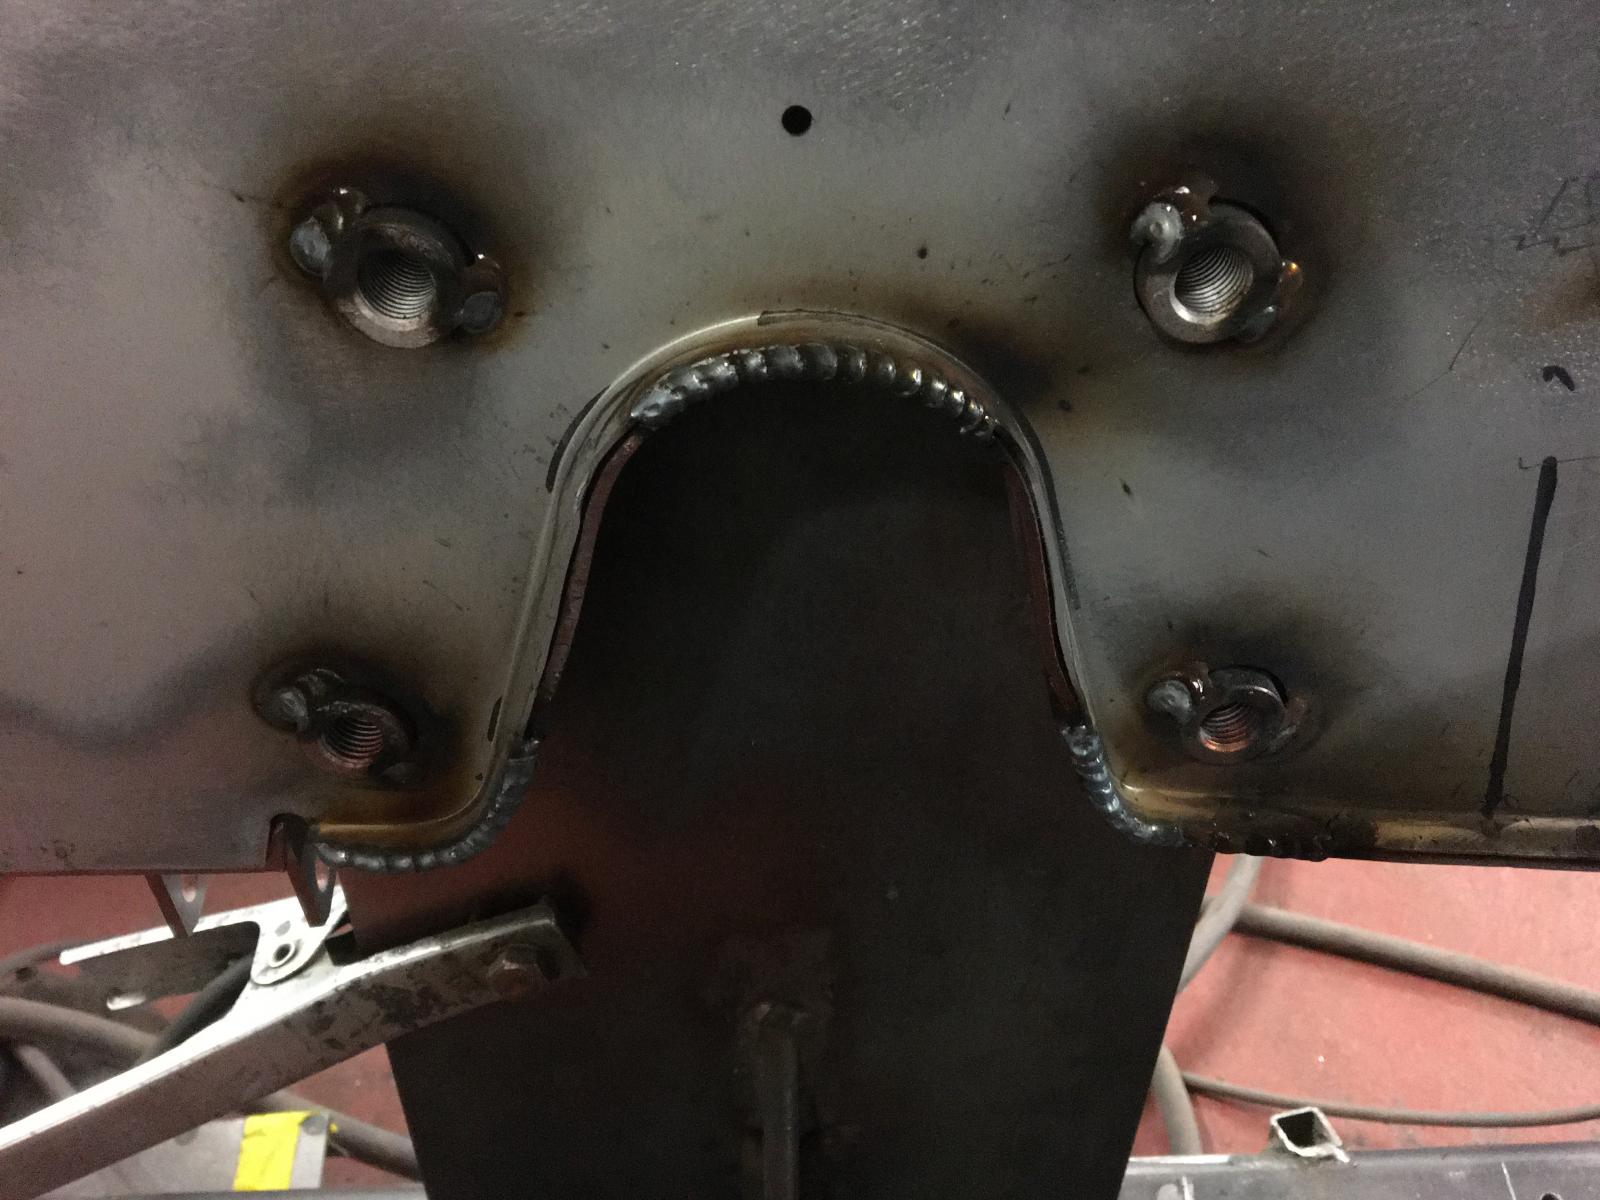
When we were happy with the fit of the floor and tool chest panel, they were spot welded as factory:
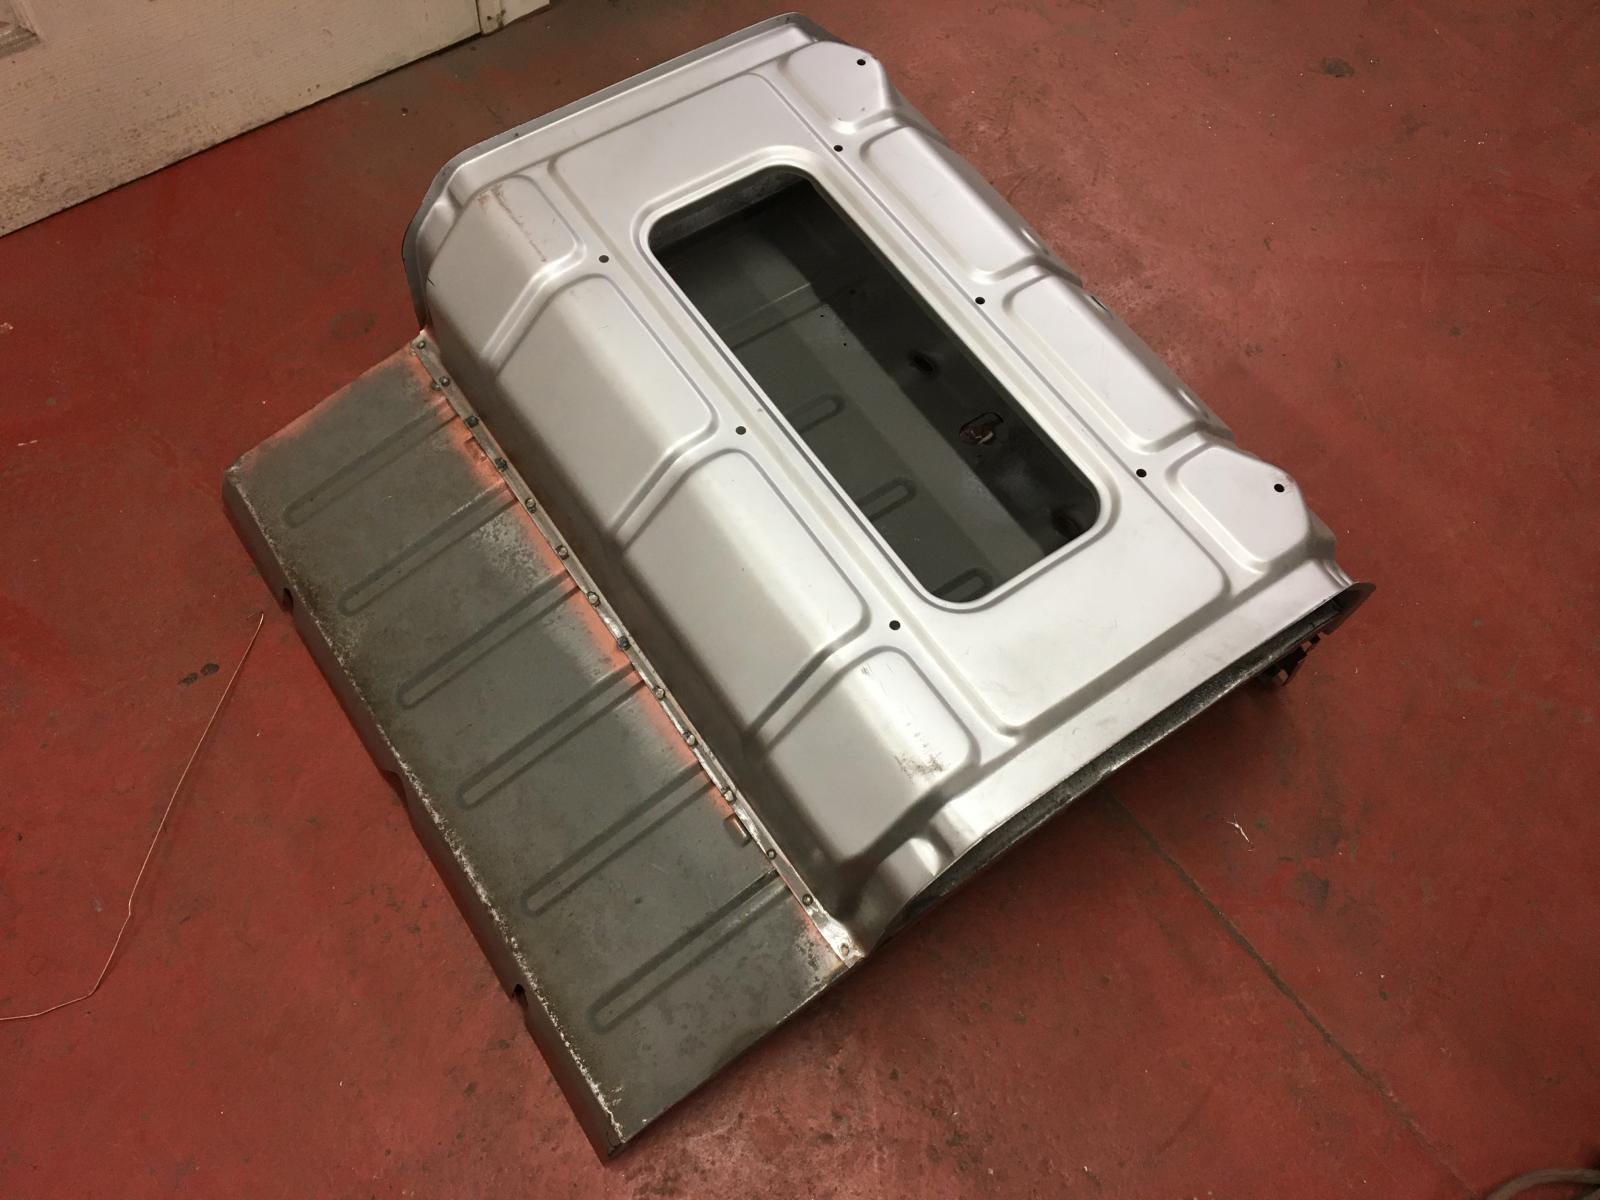
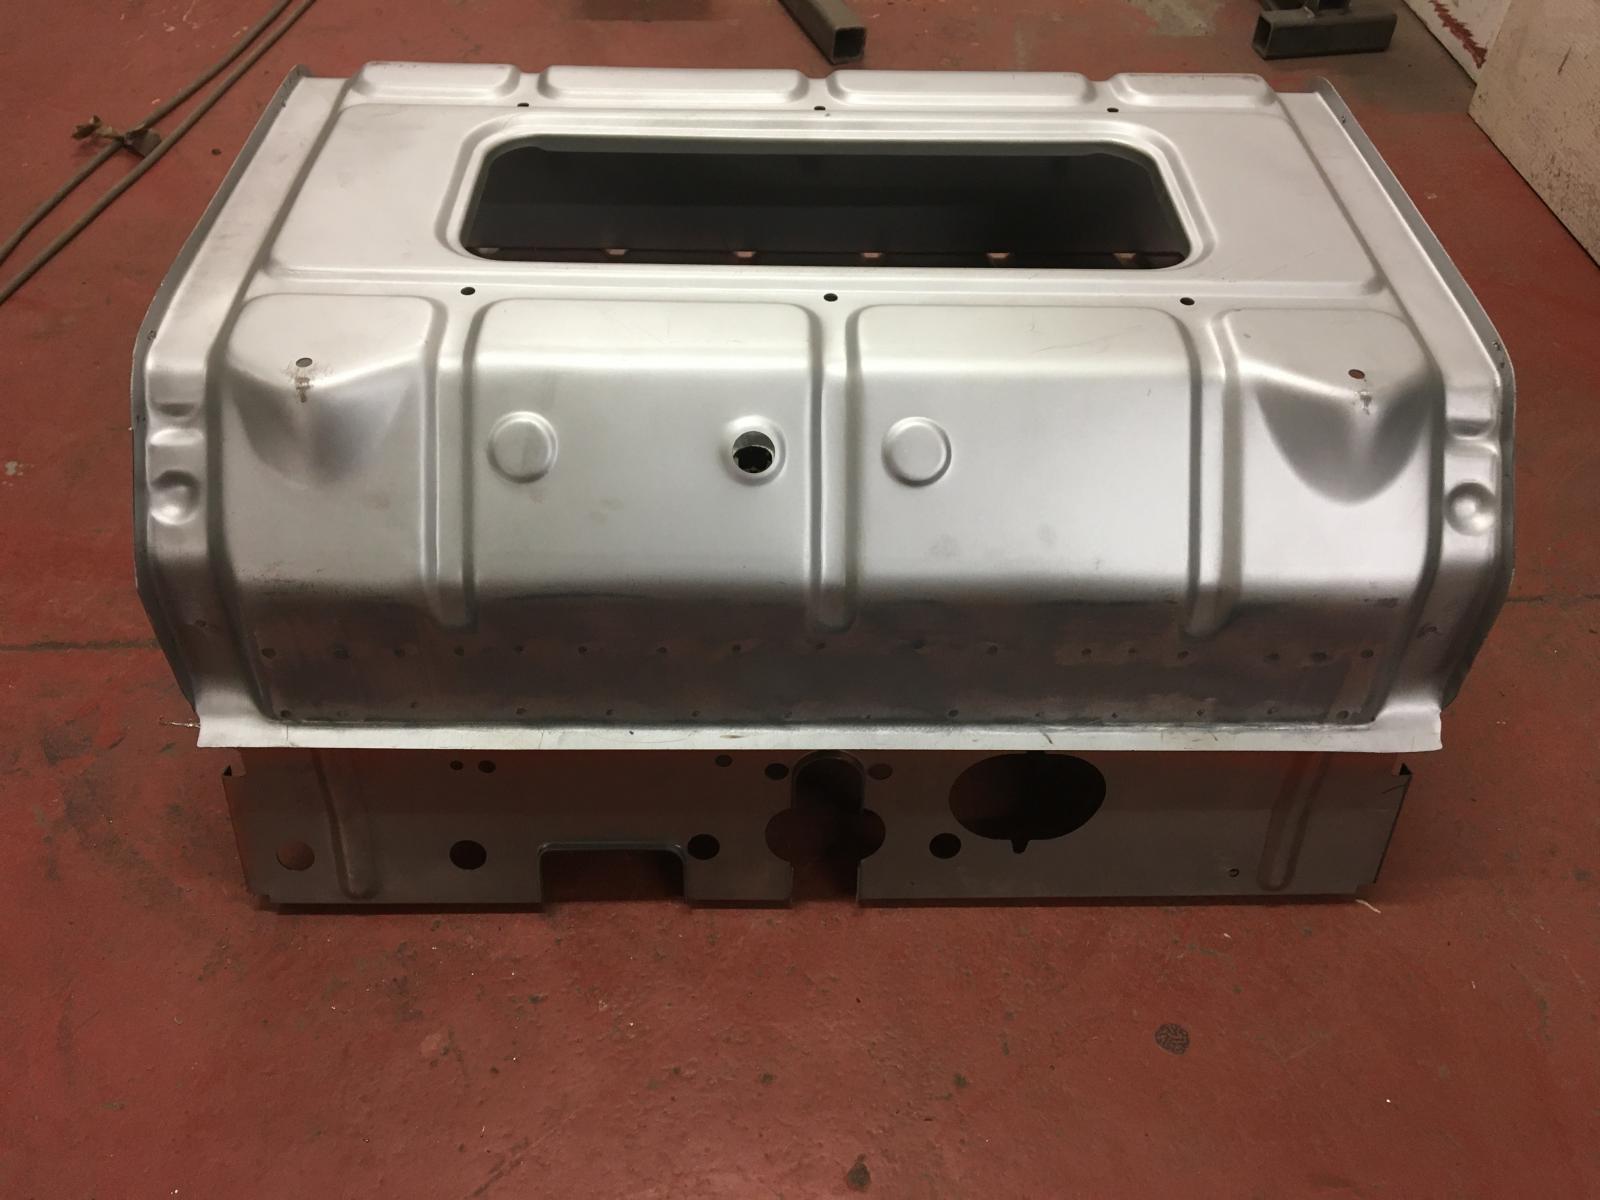
And fitted in position in the chassis:
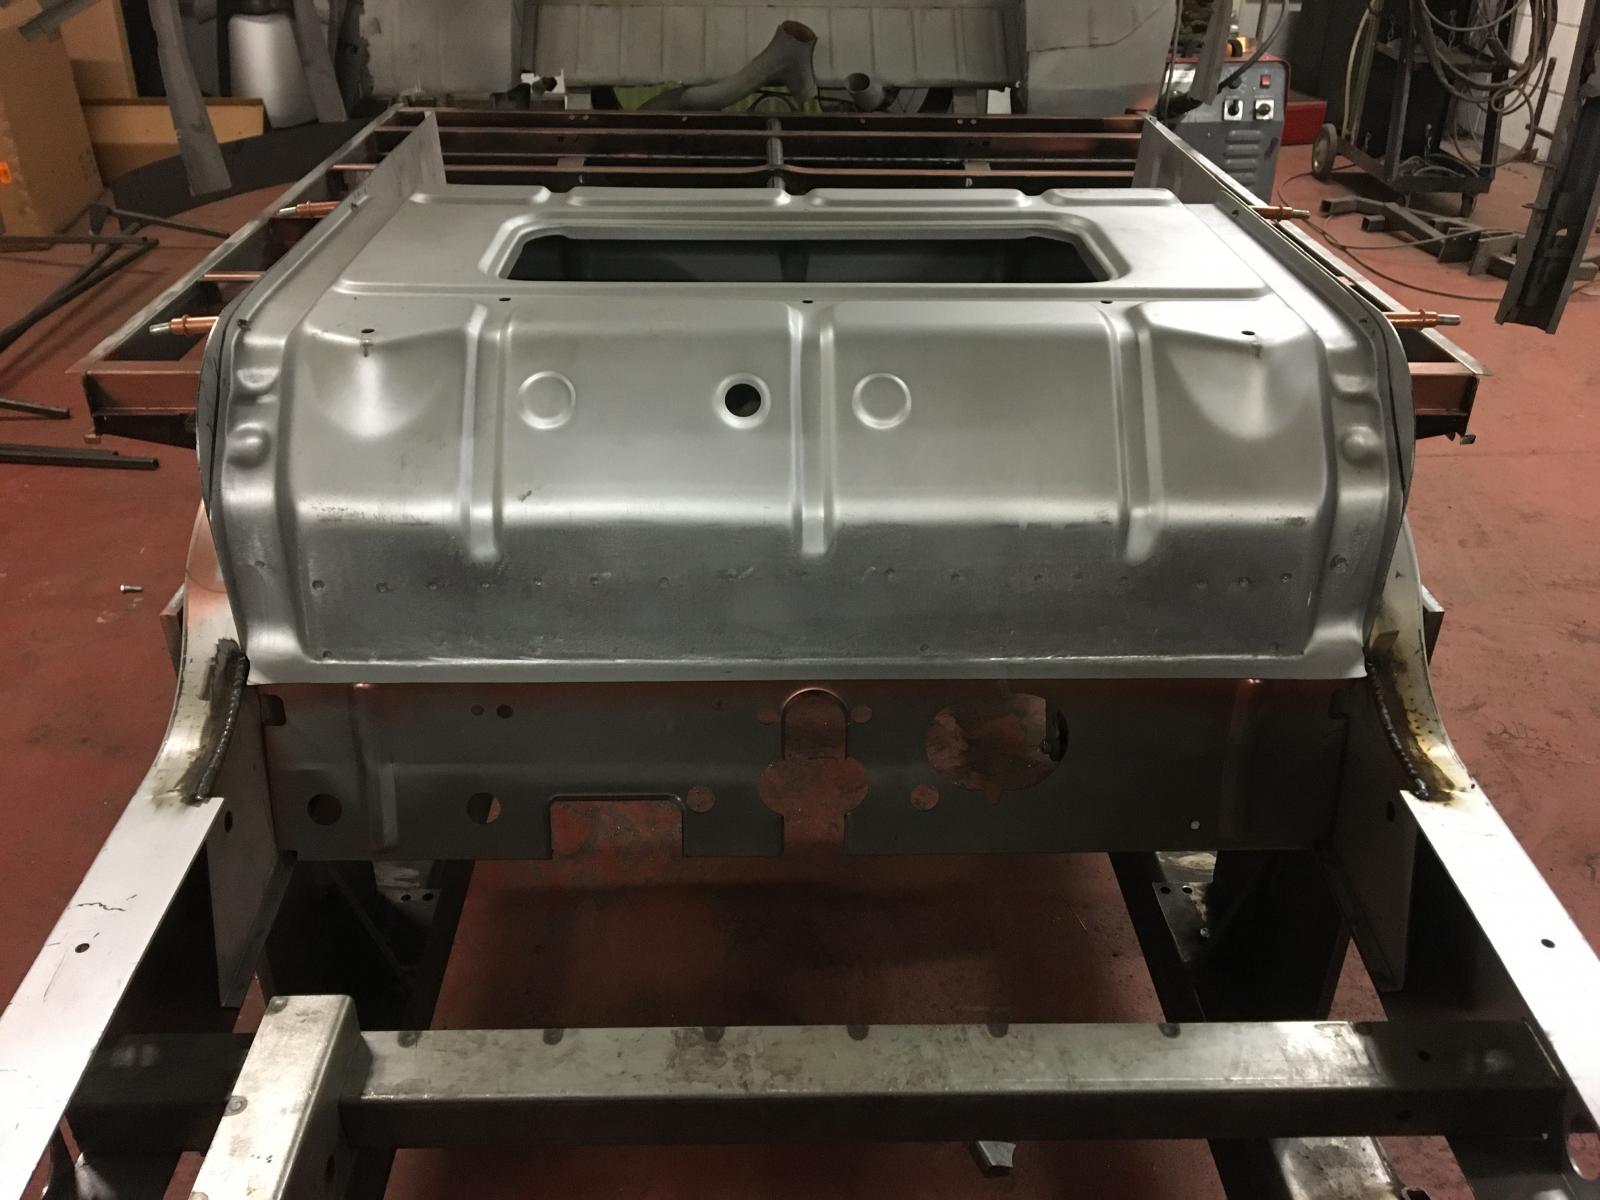
We slid the new heater cable tubes into place and welded to the original tube that holds the heater knob/mech:
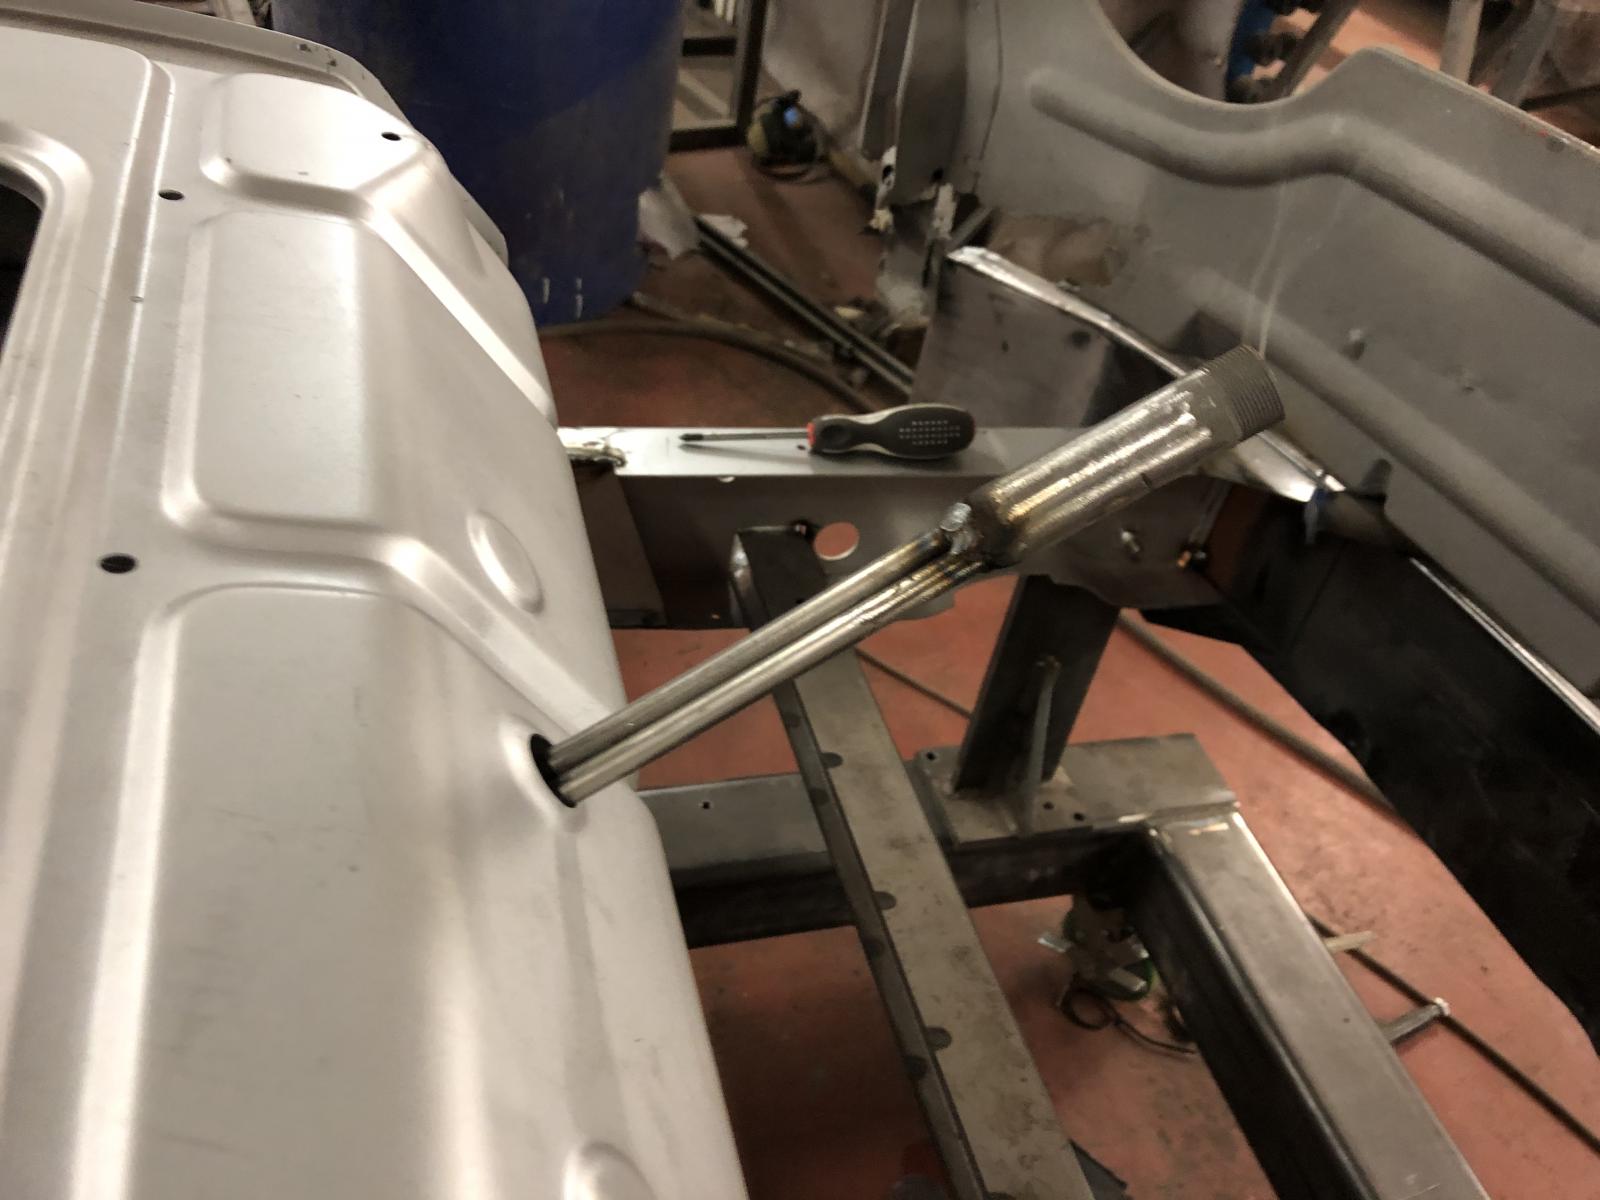
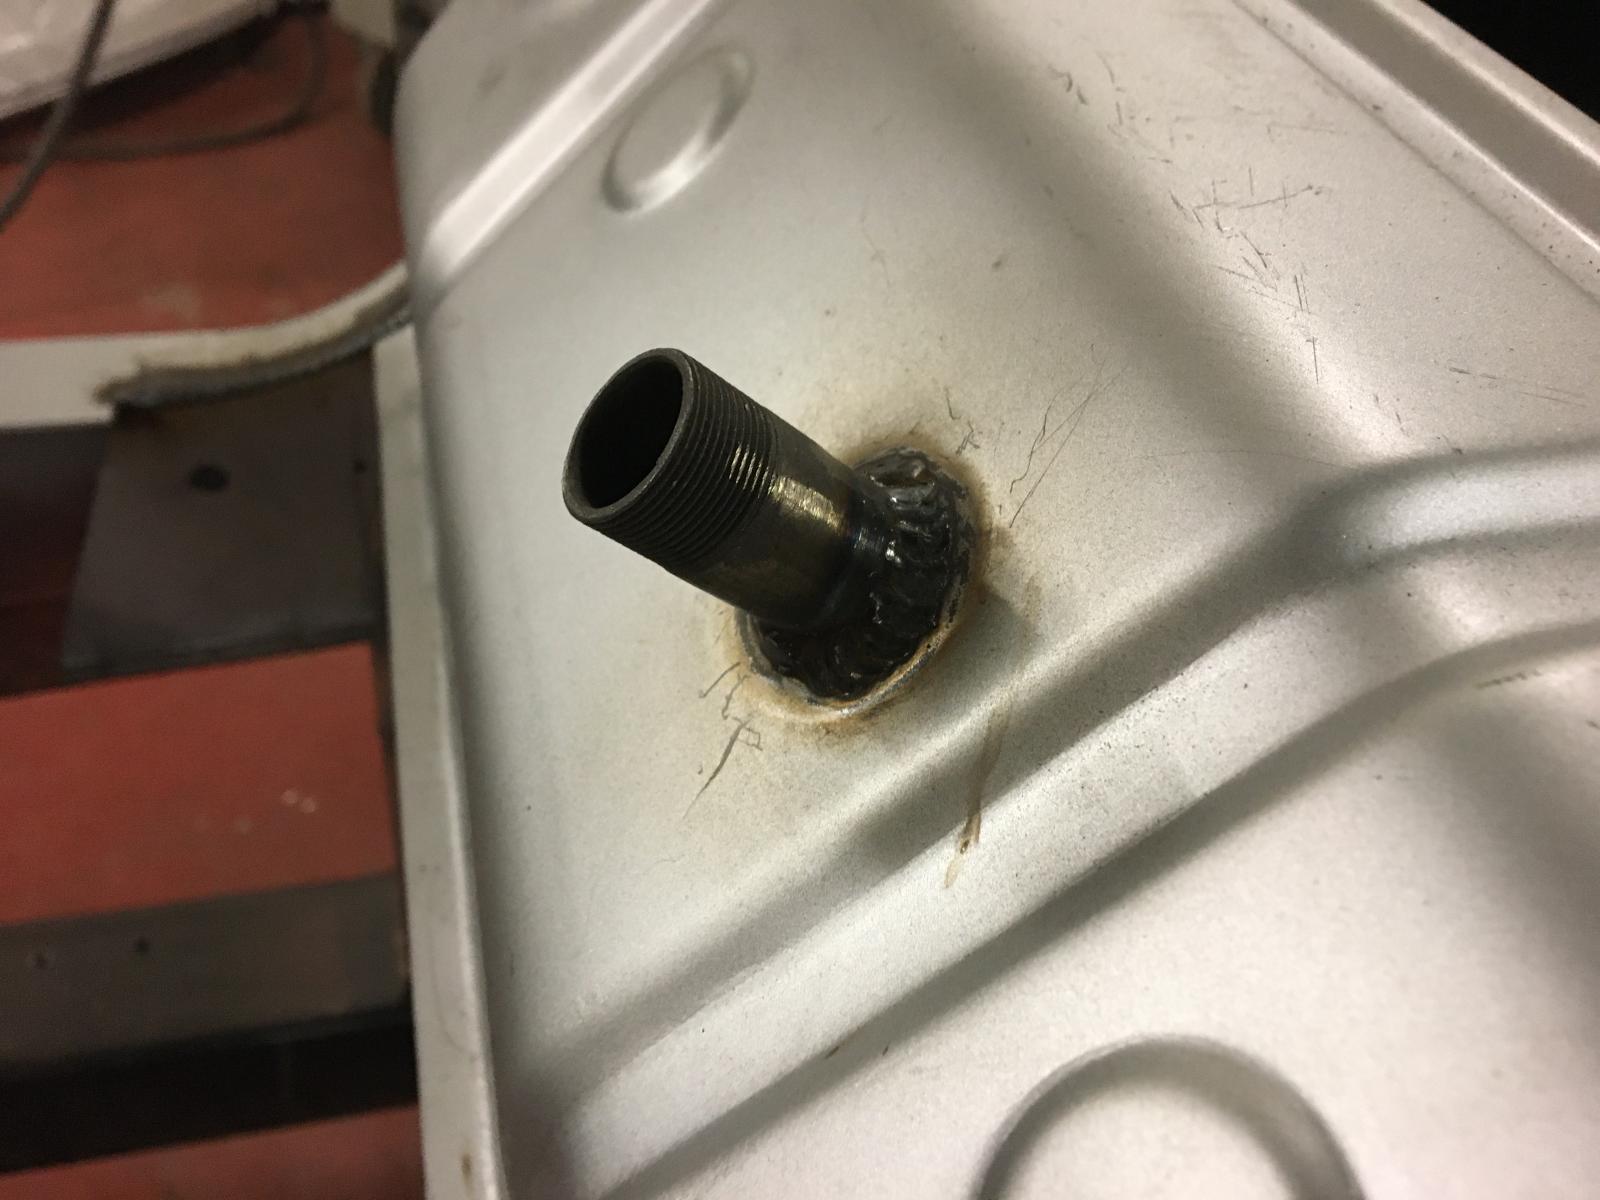
Positioned into the new tool chest panel and welded in place:
The door gaps were pretty bad:
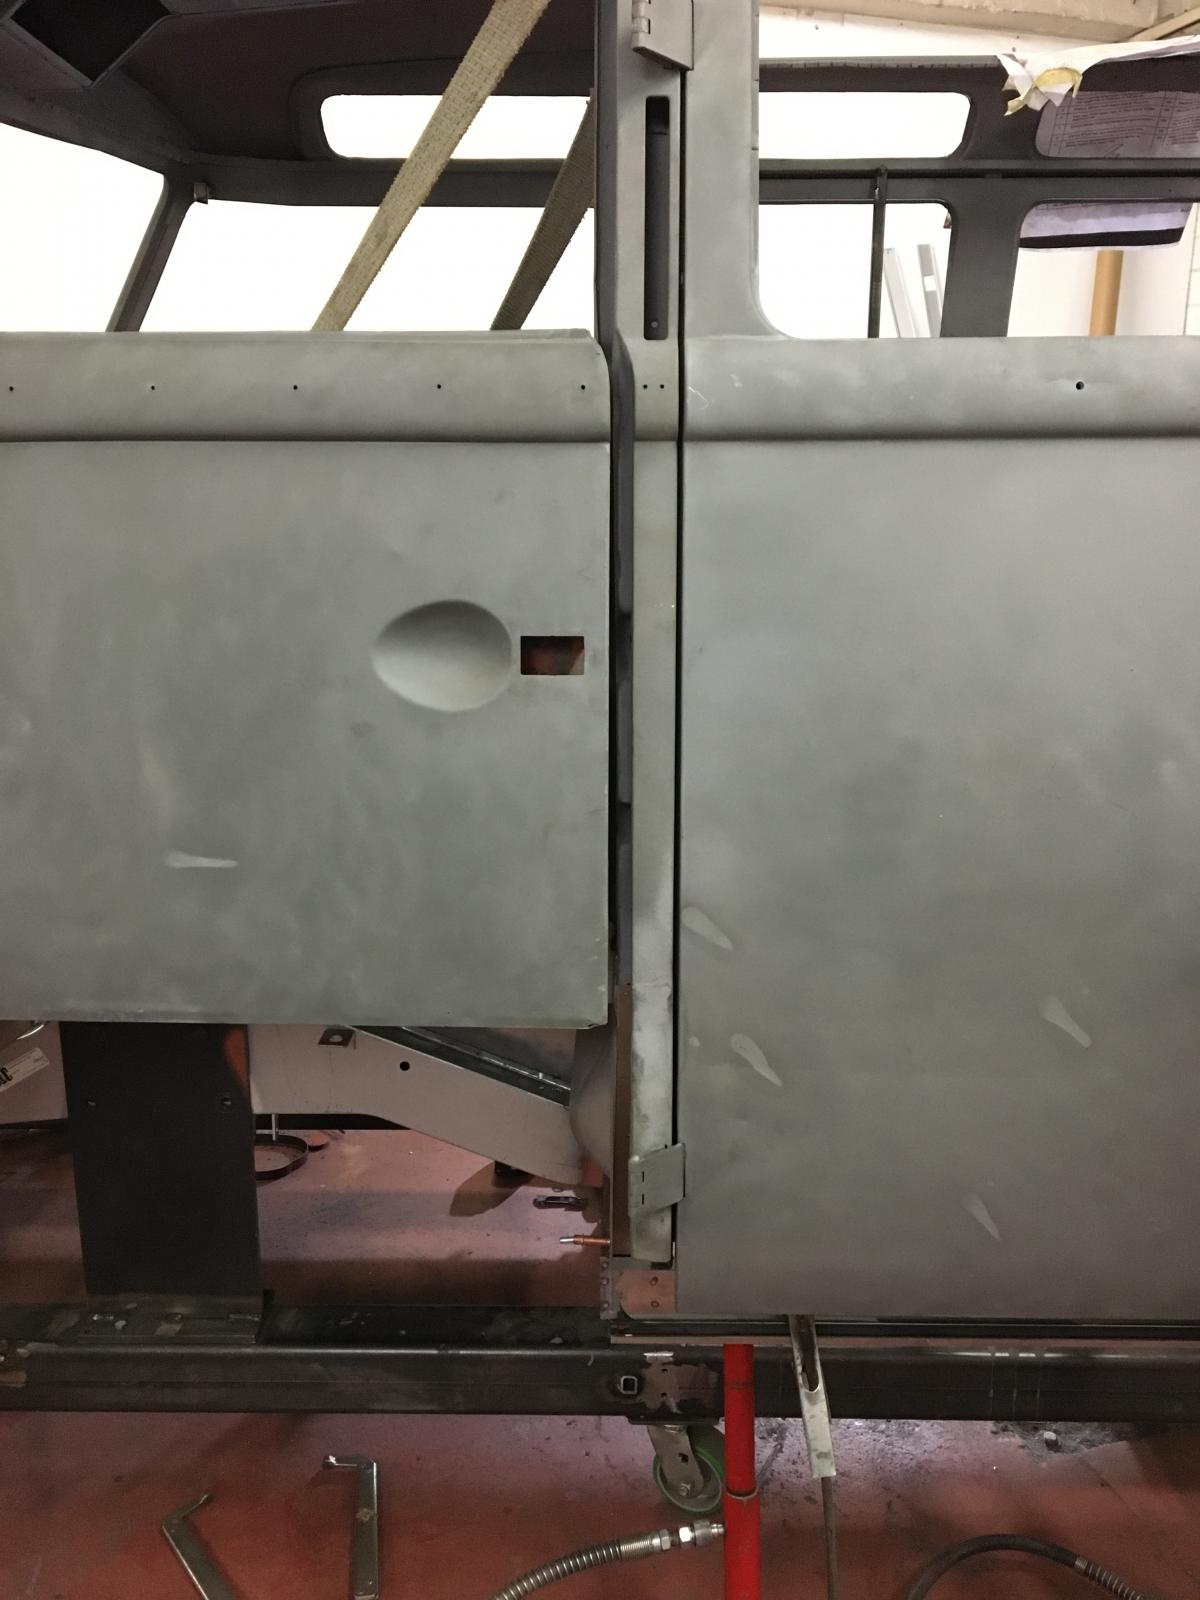
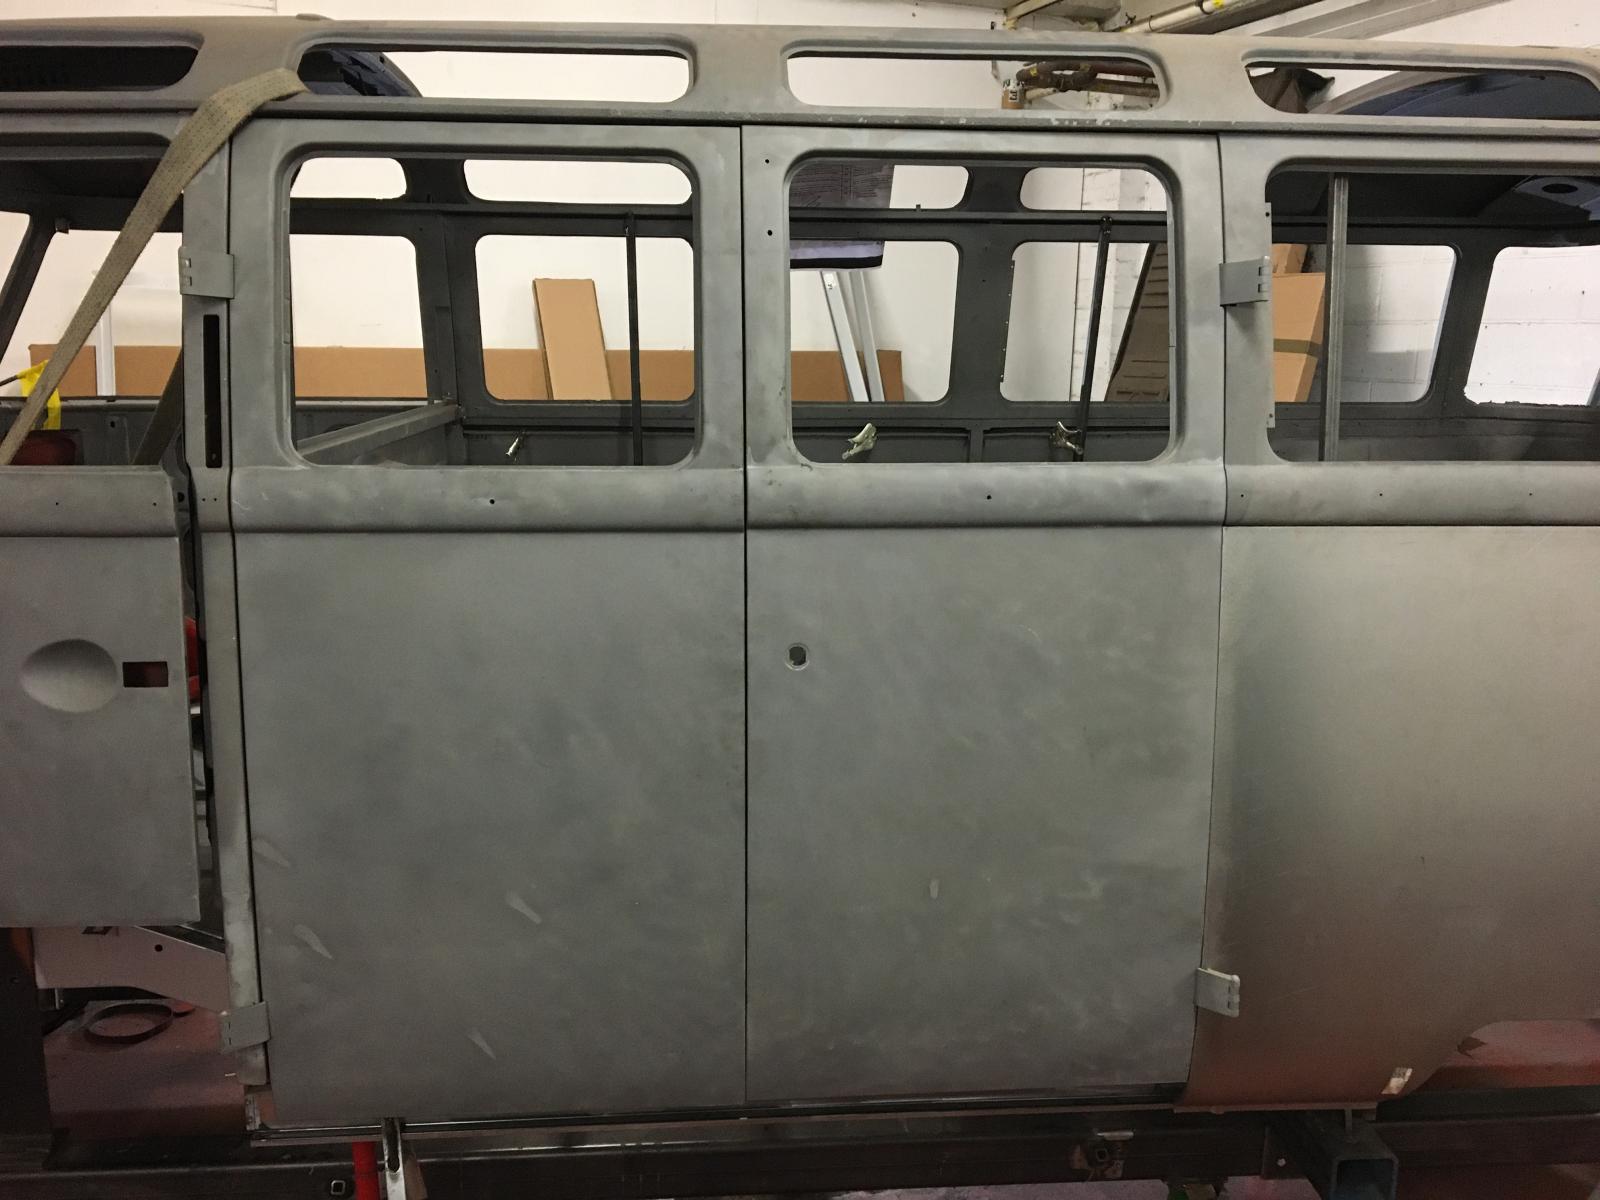
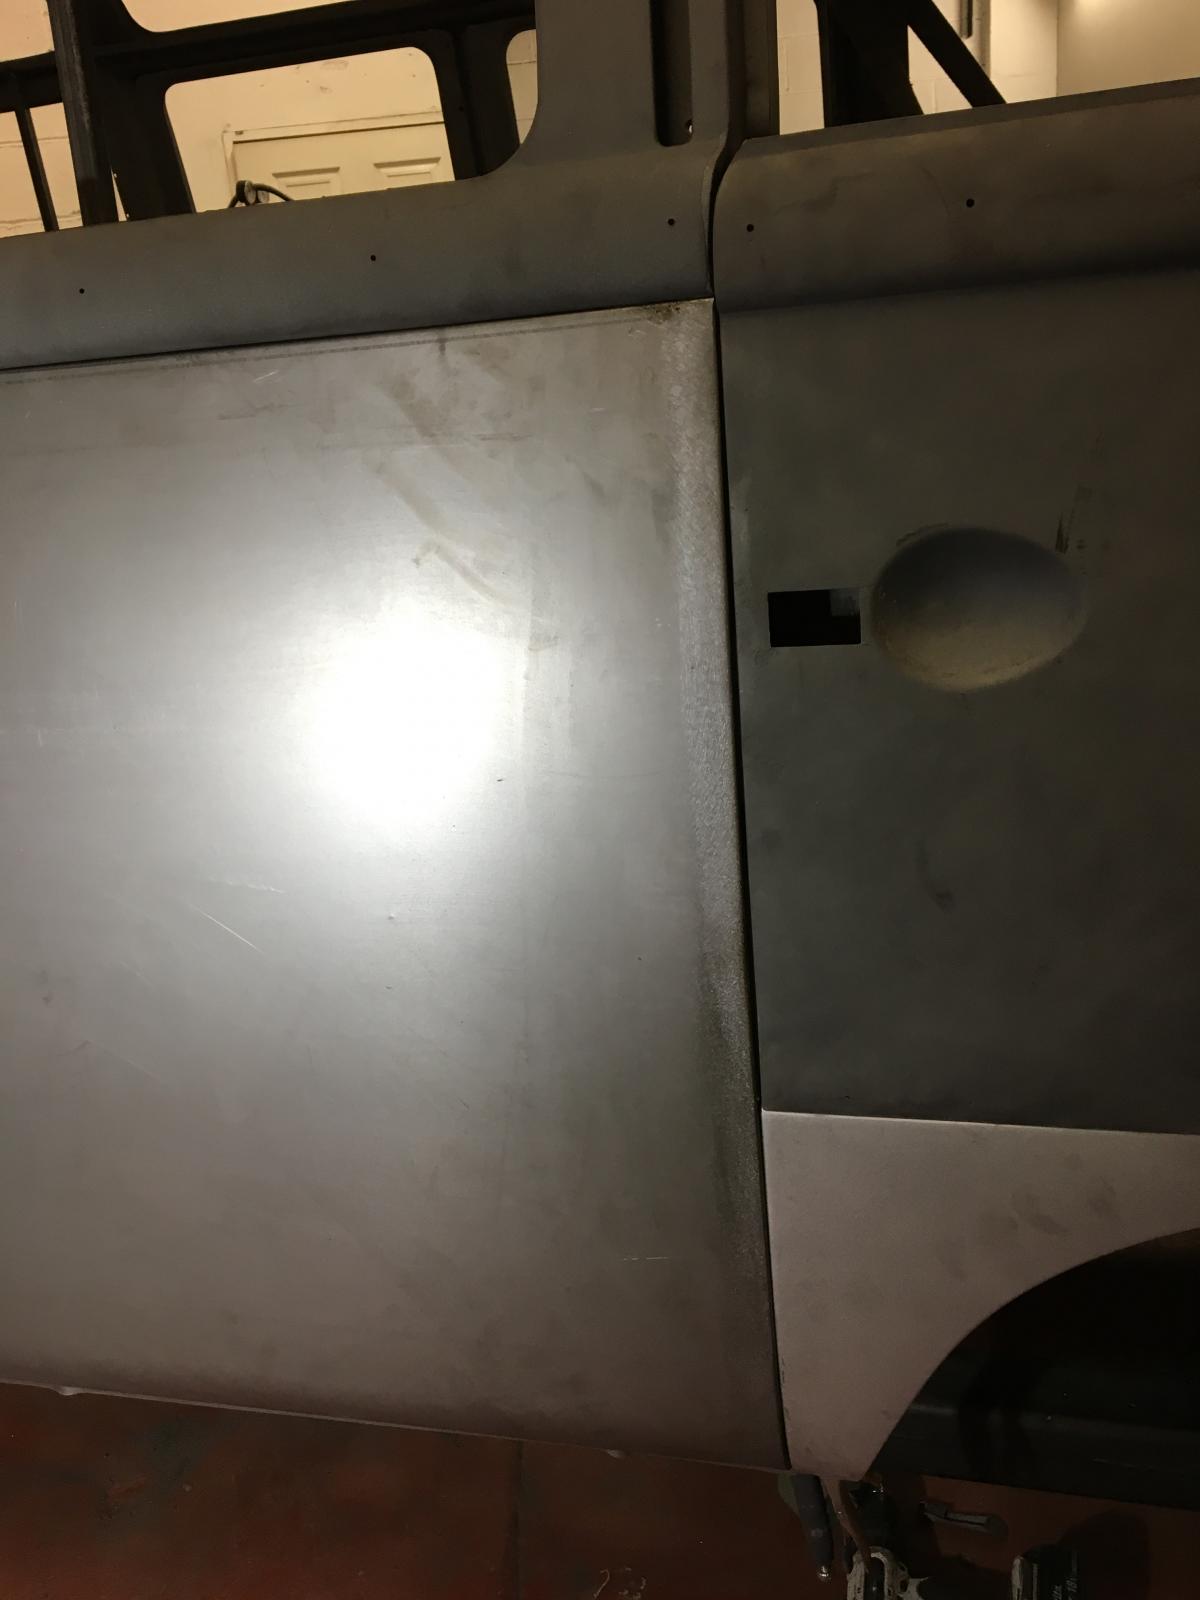
So we decided to repair the posts next so we could work on the door gaps.
Repaired the A posts next. The originals were rotten around the lower hinge mount but were good above that. The door seal channel we bought wasnt the right shape so we put it in the stretcher:
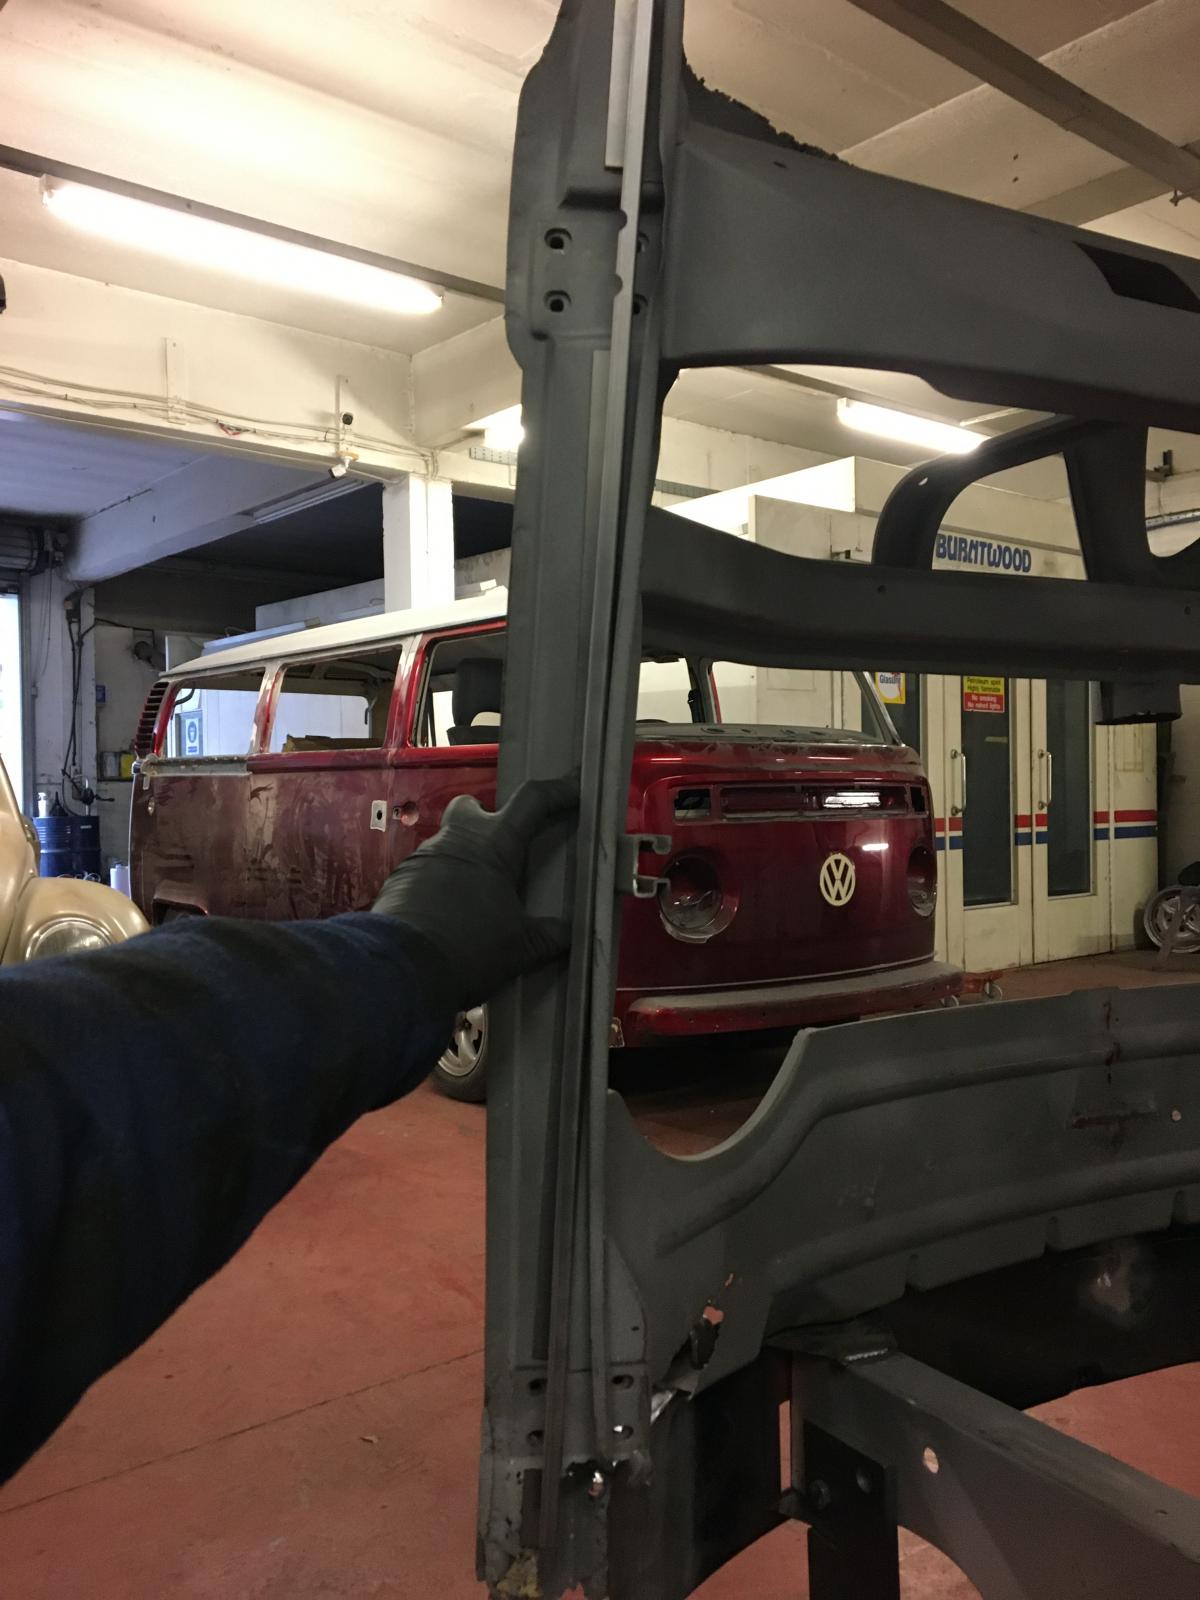
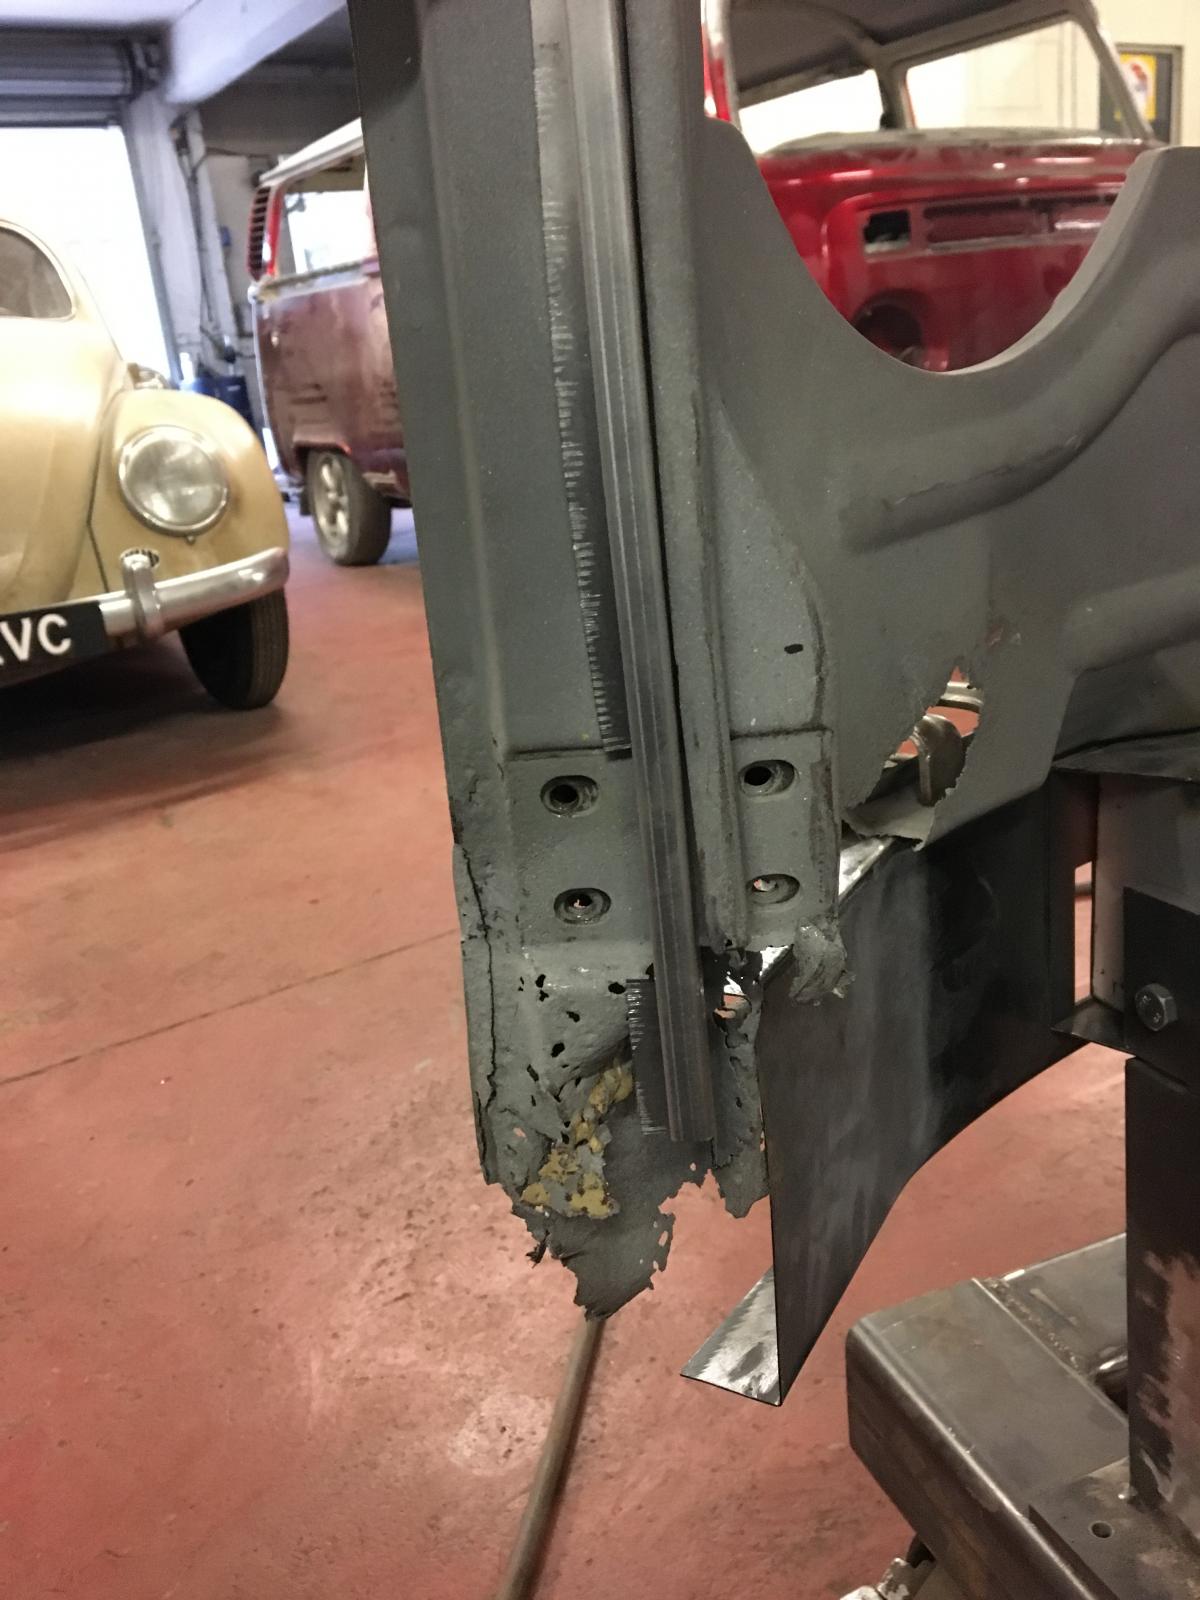
Then we were ready to repair the A post:
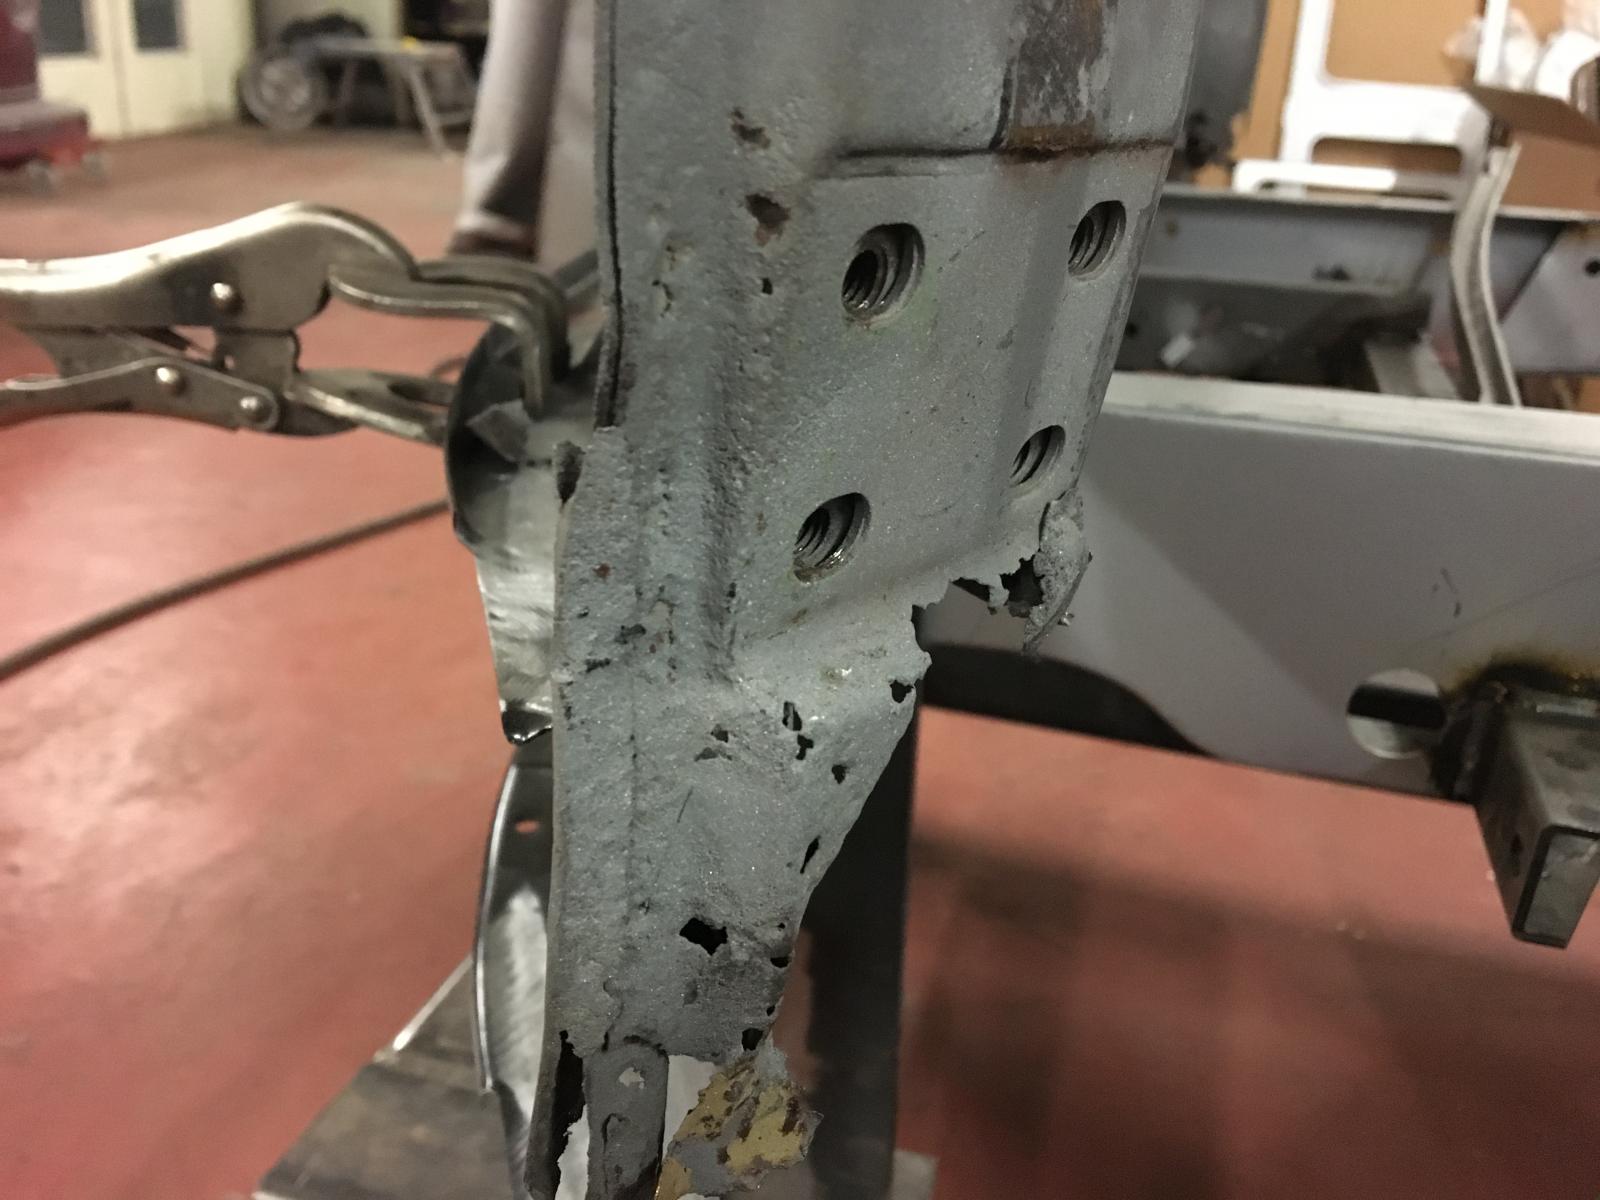
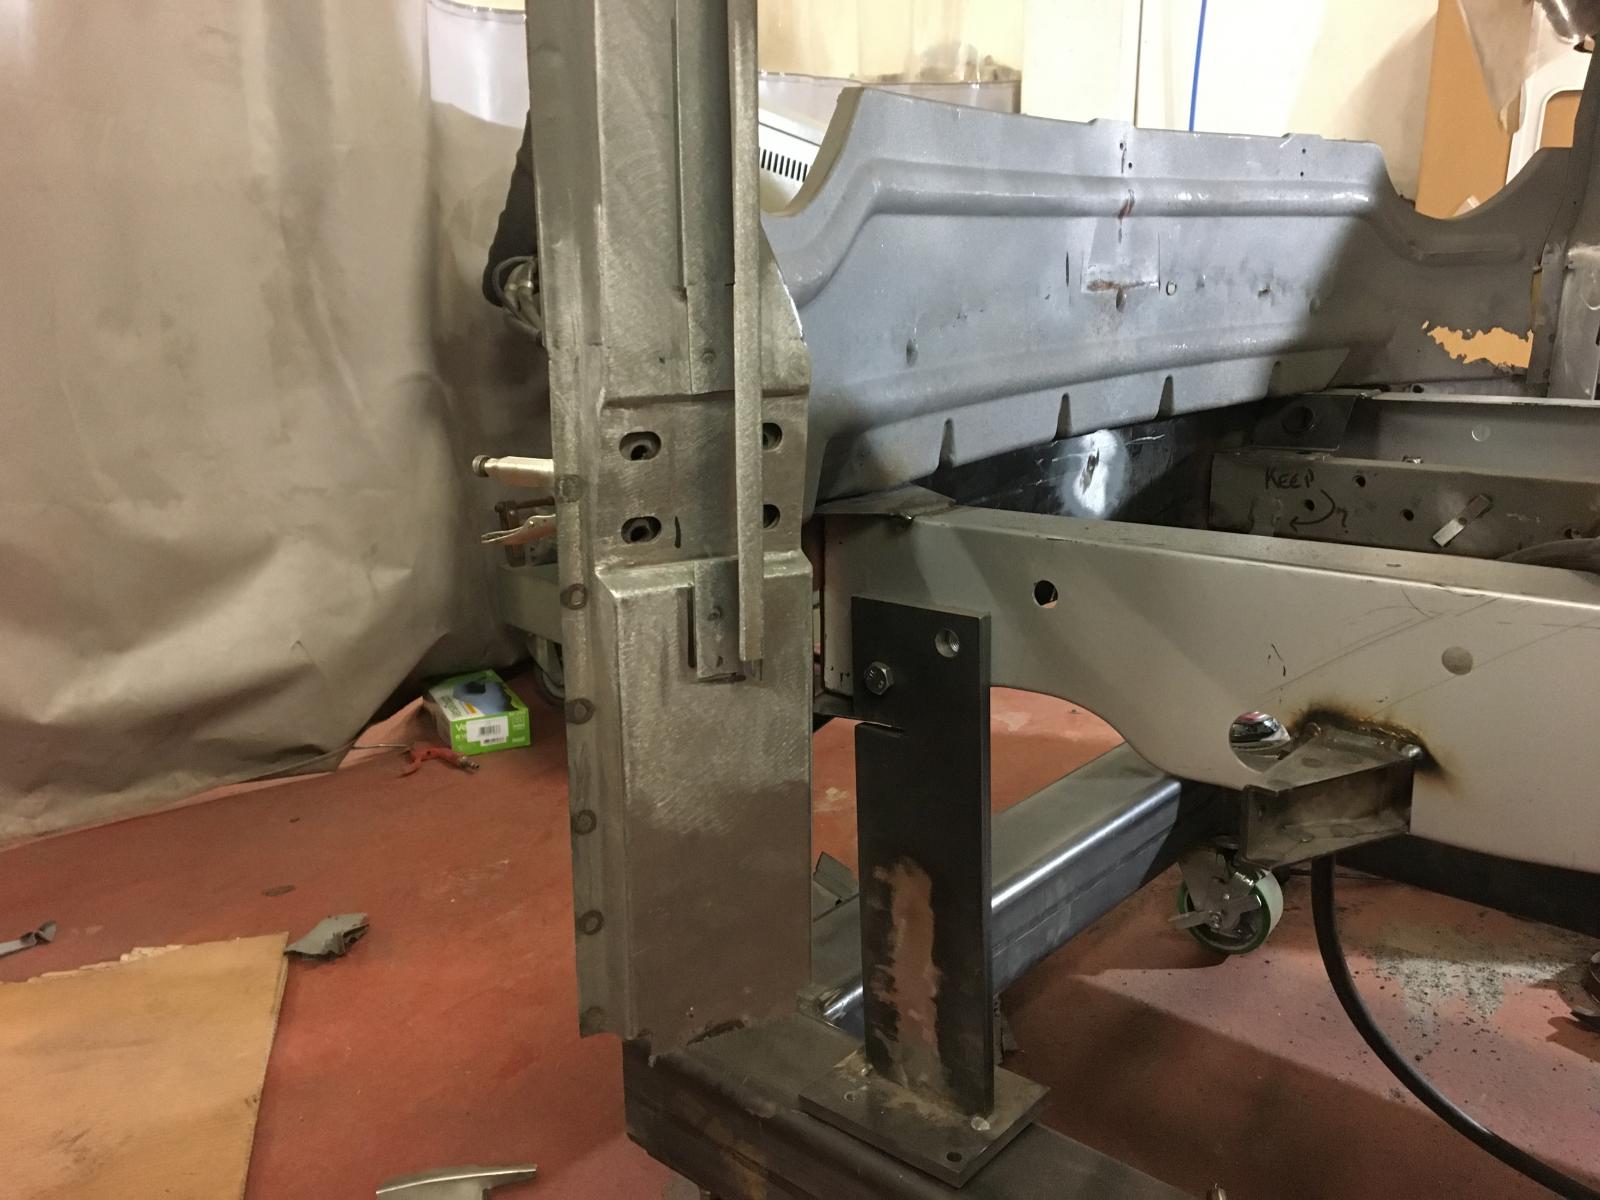
Same on other side:
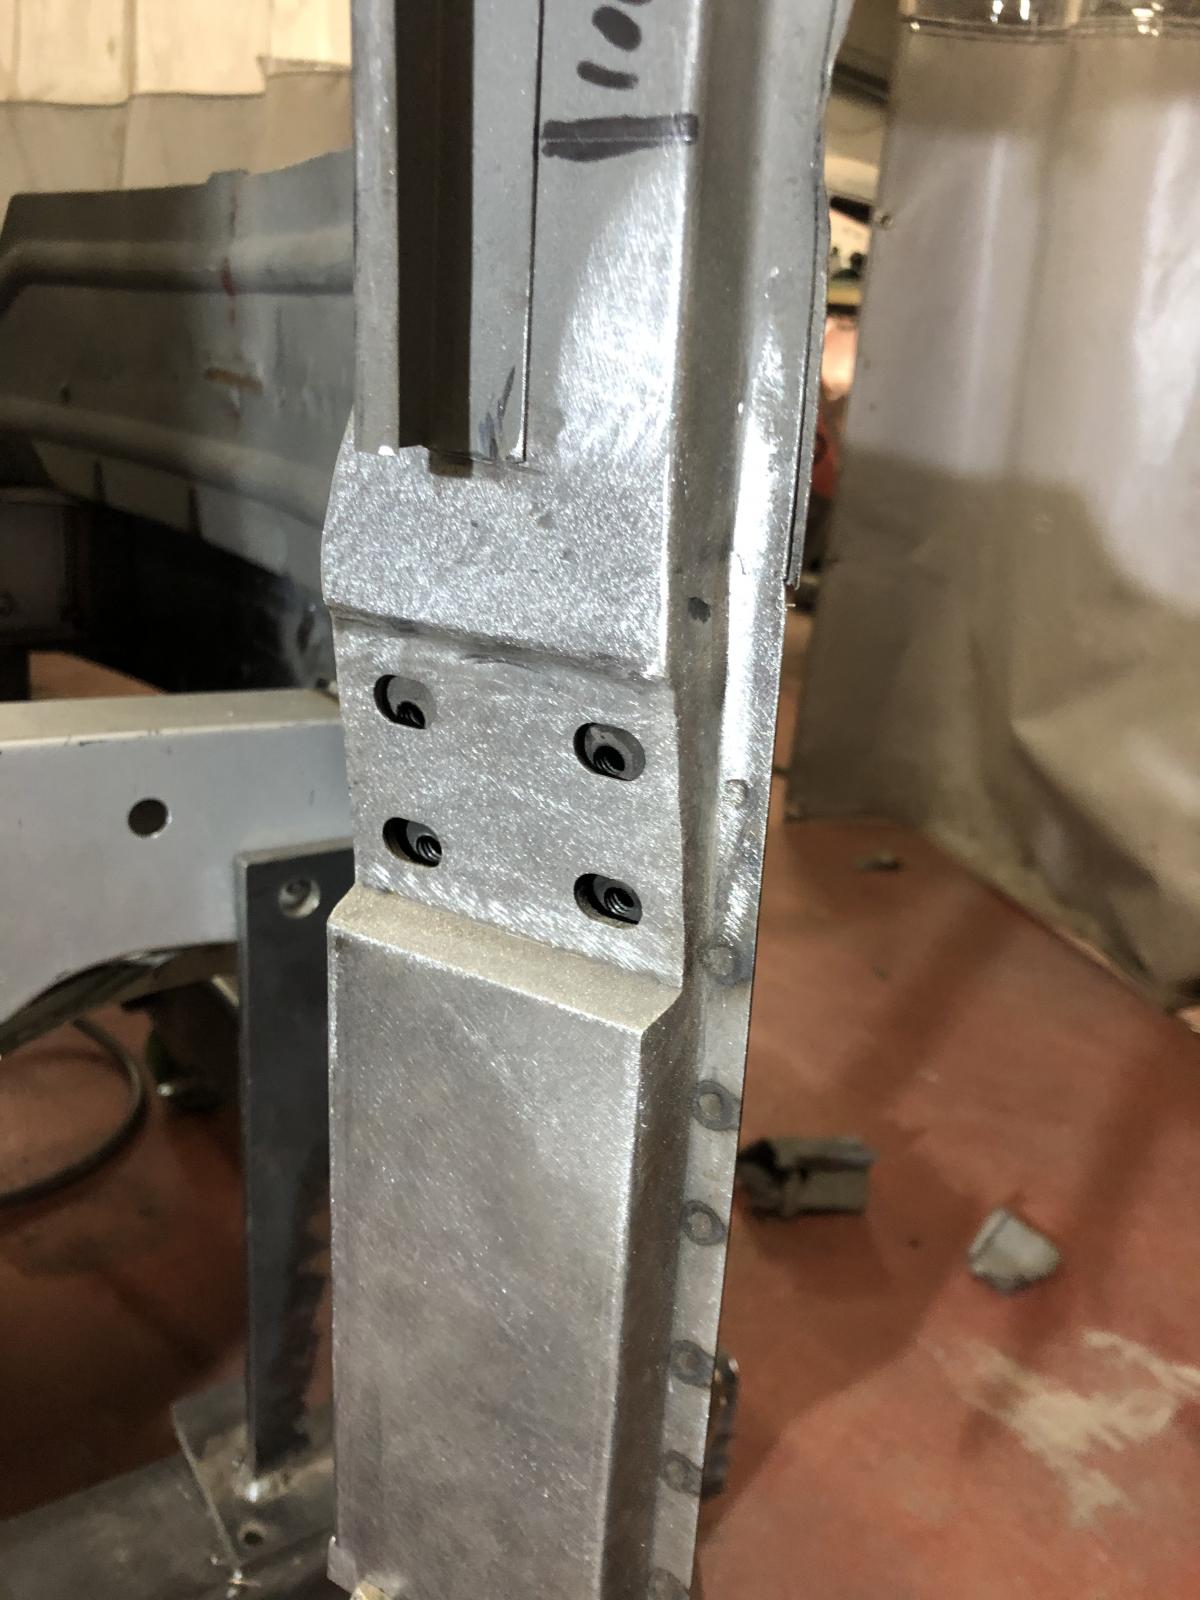
The RHS B post inner was repaired:
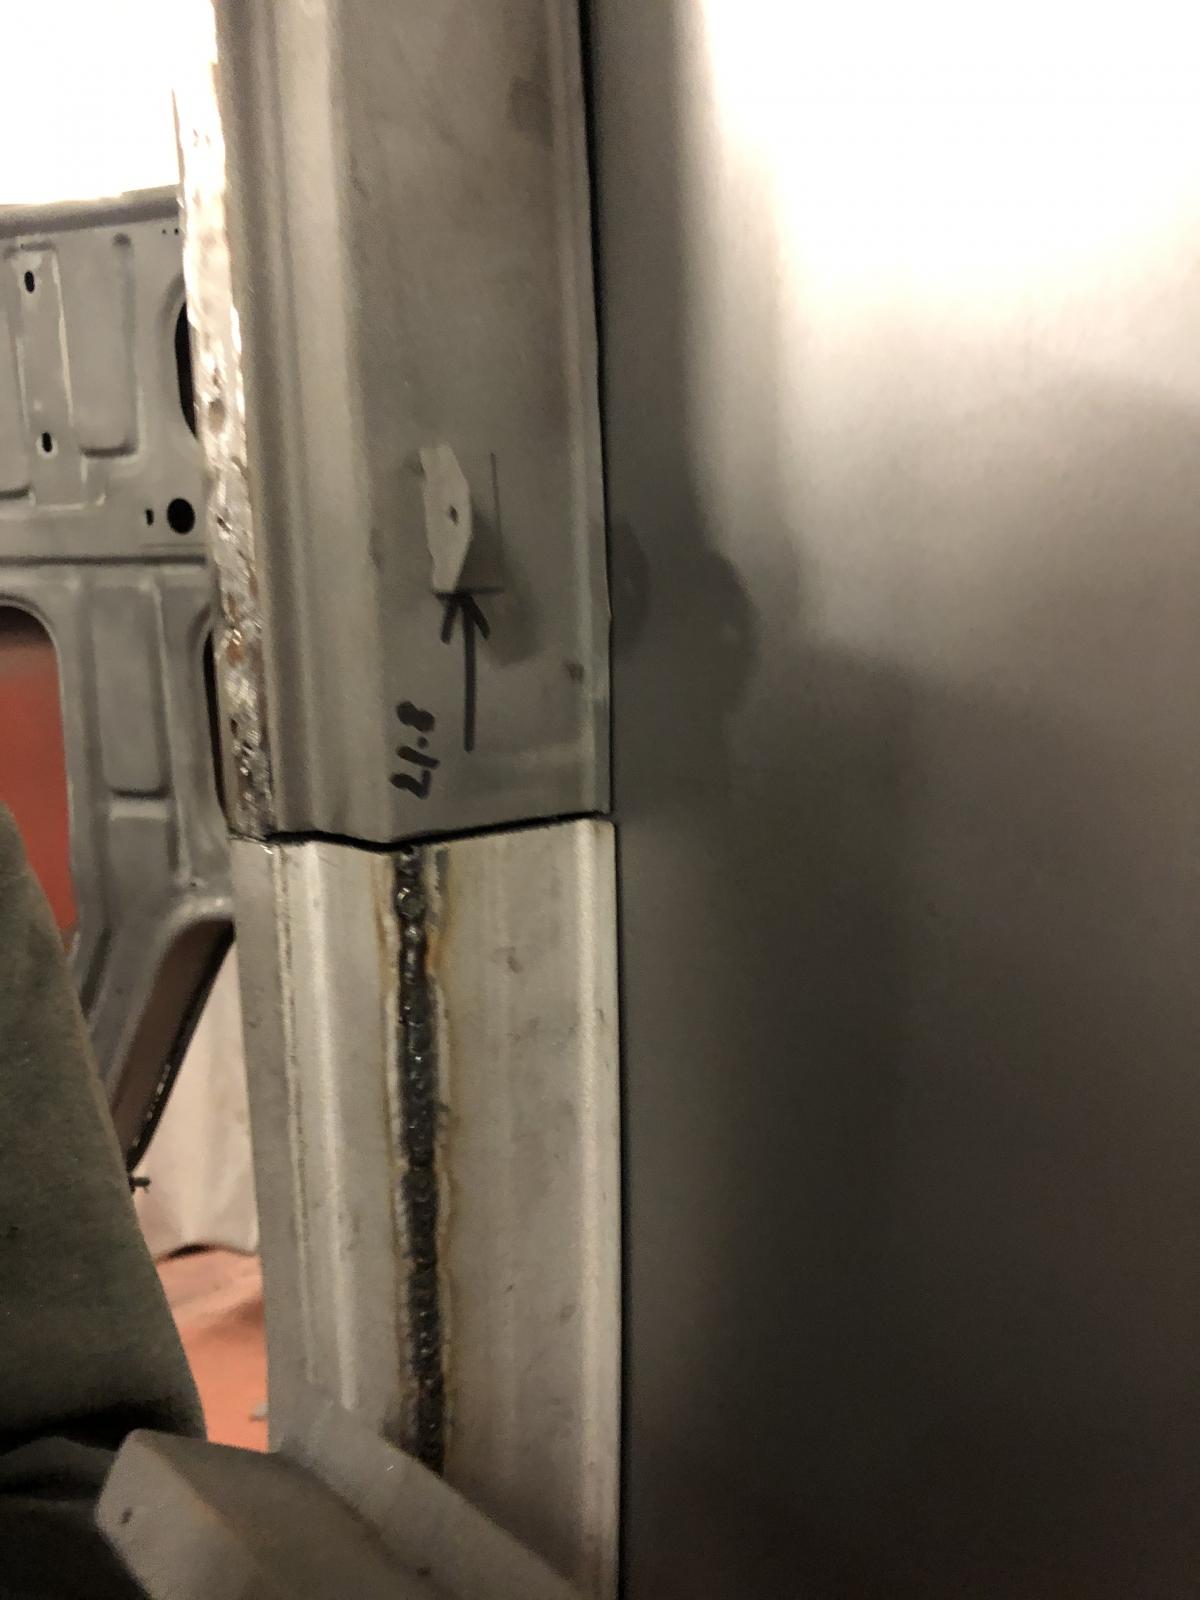
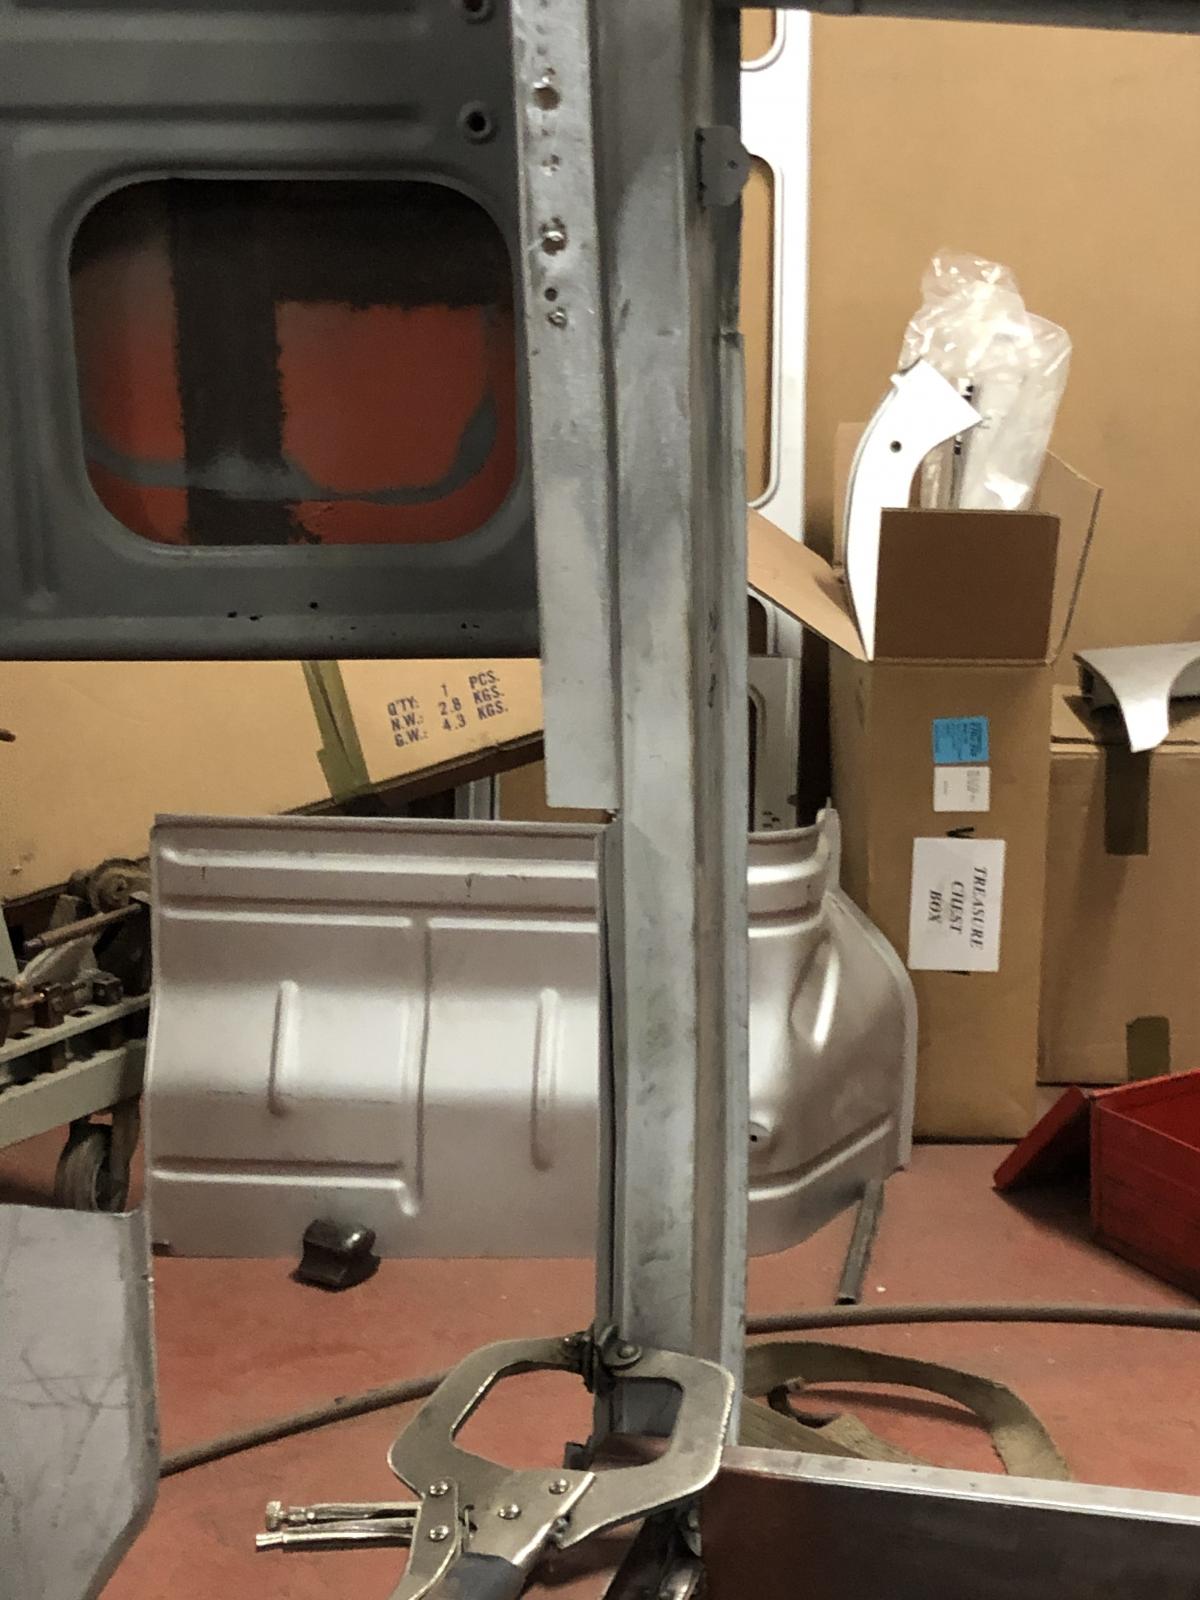
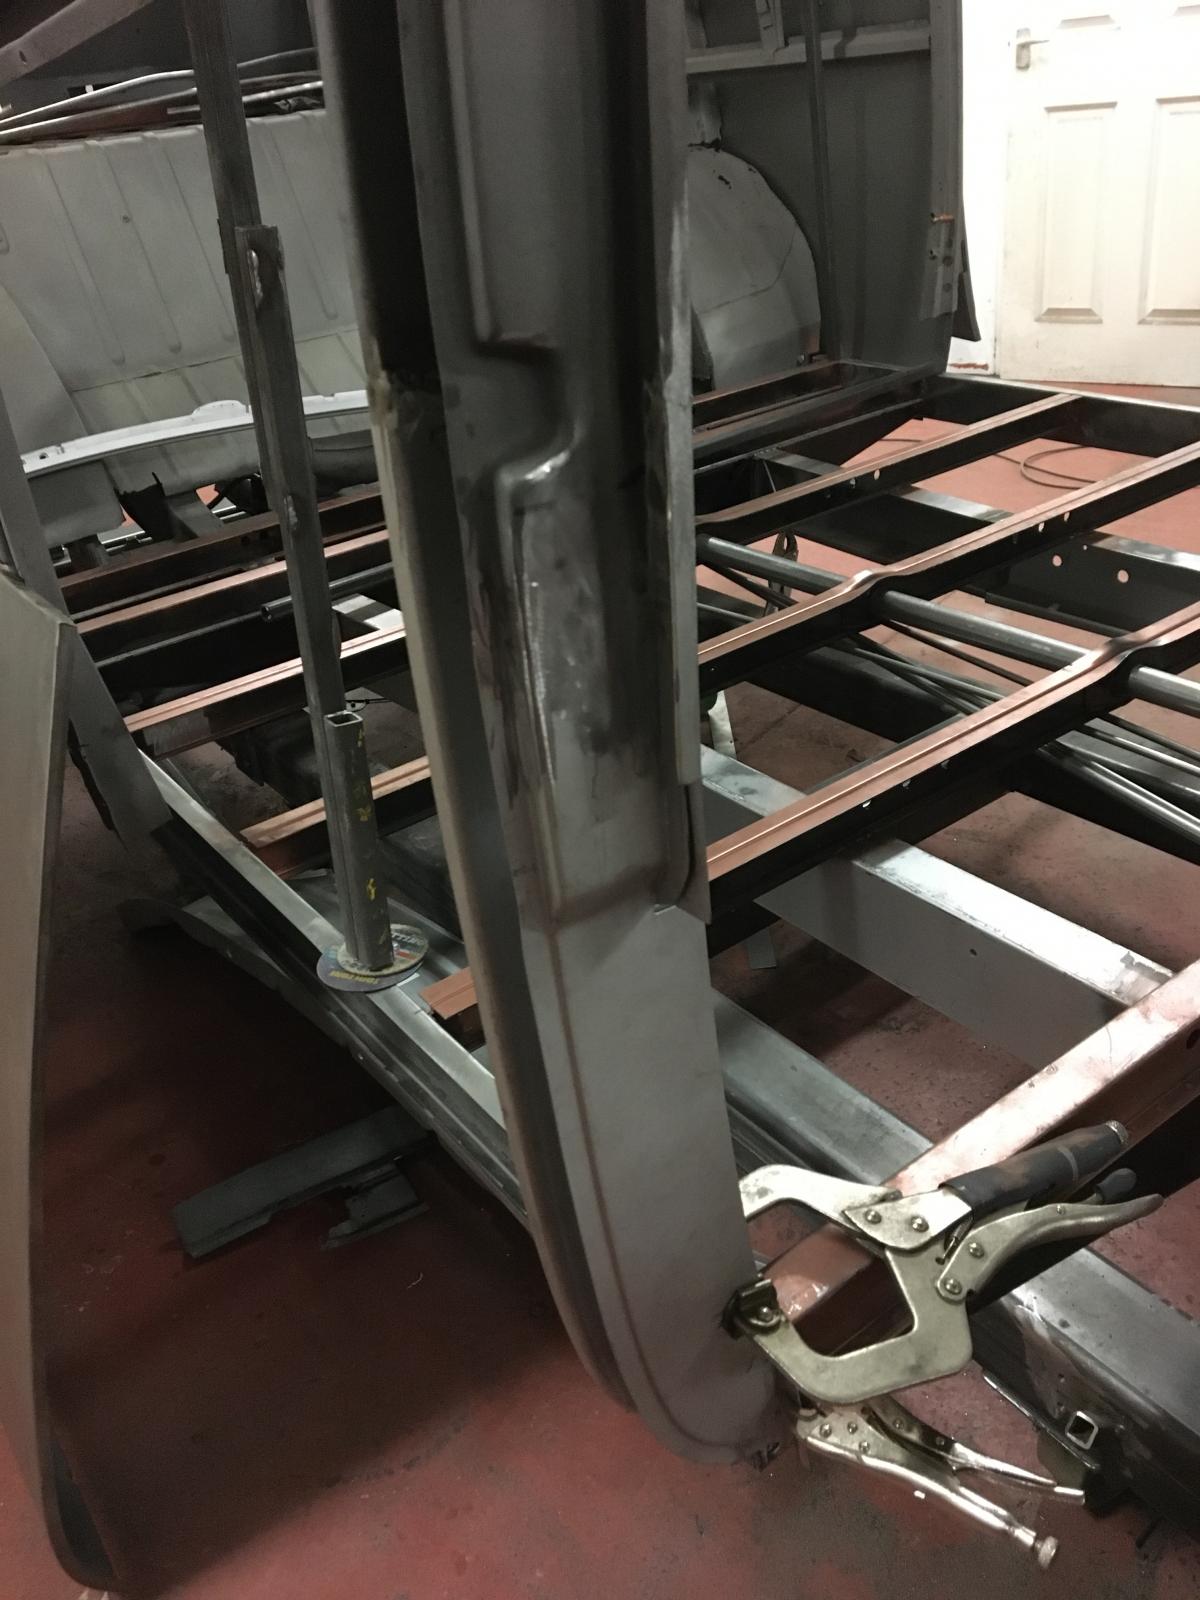
The LHS B post inner didnt look too bad but was full of pin holes but a lot of the outer was good, so we kept as much of the outer as possible, and removed the full inner:
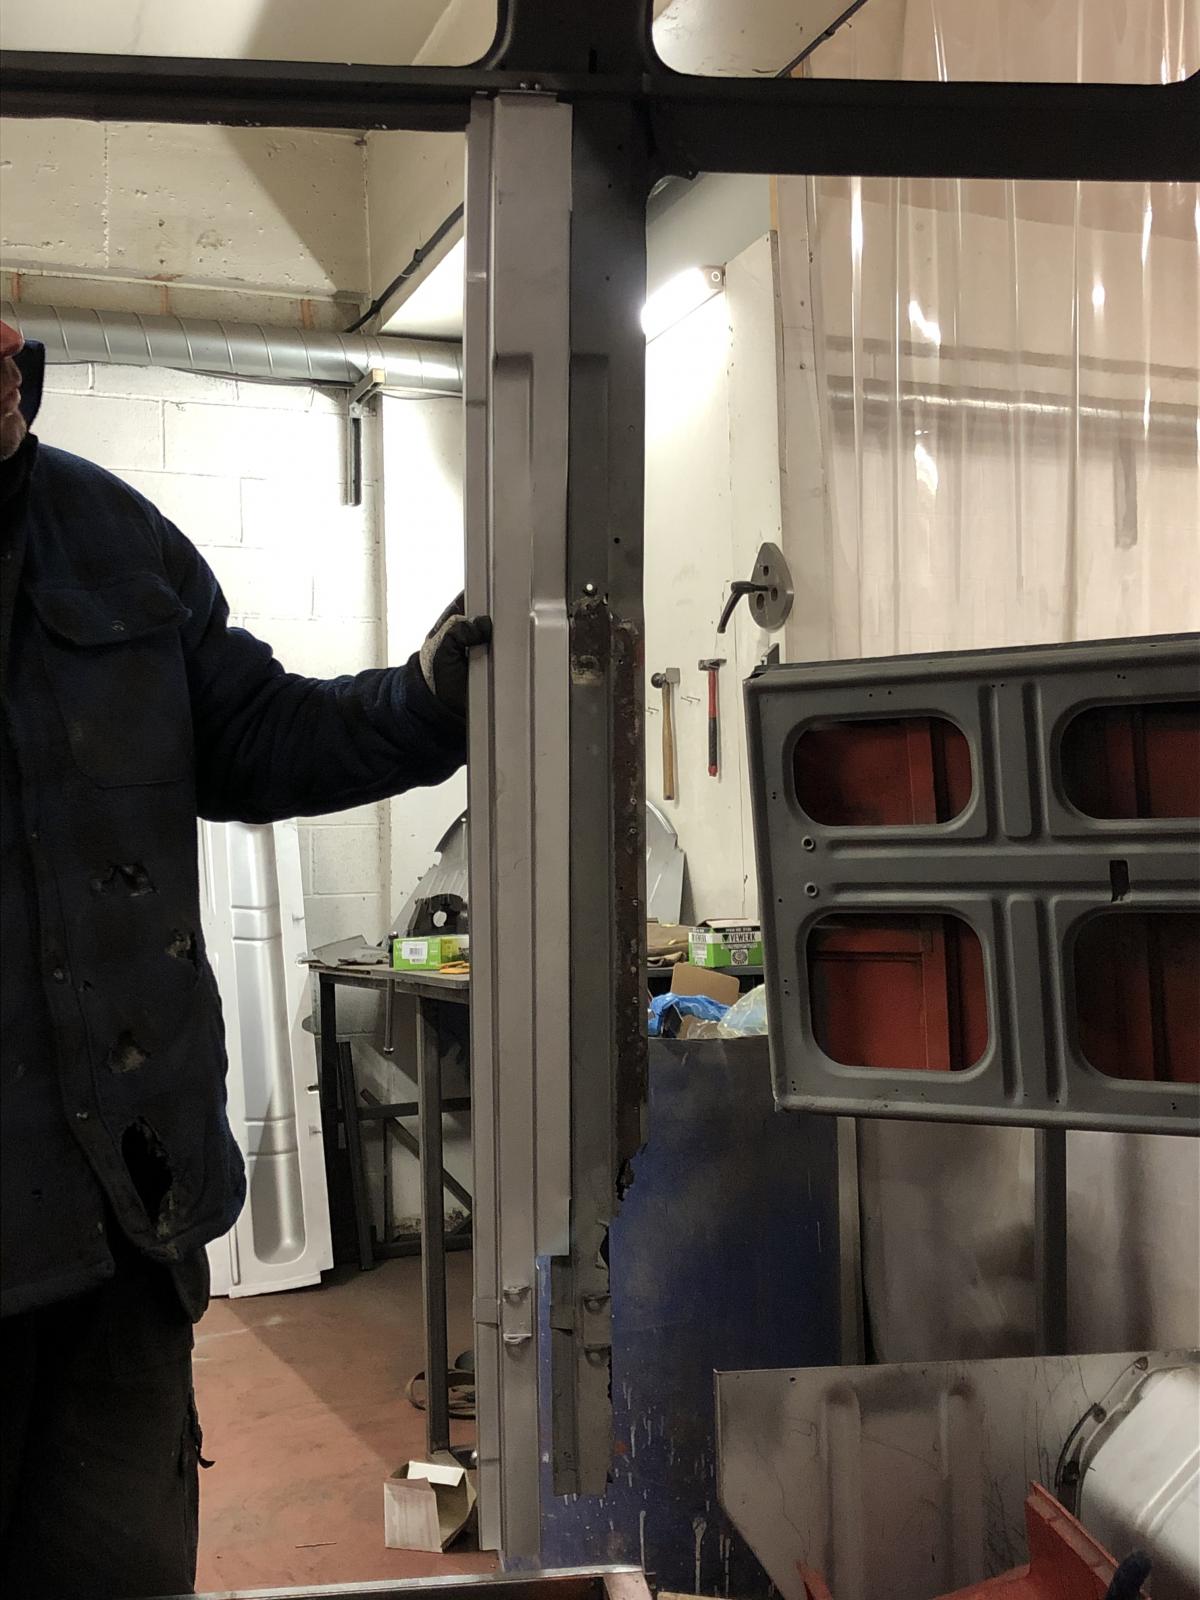
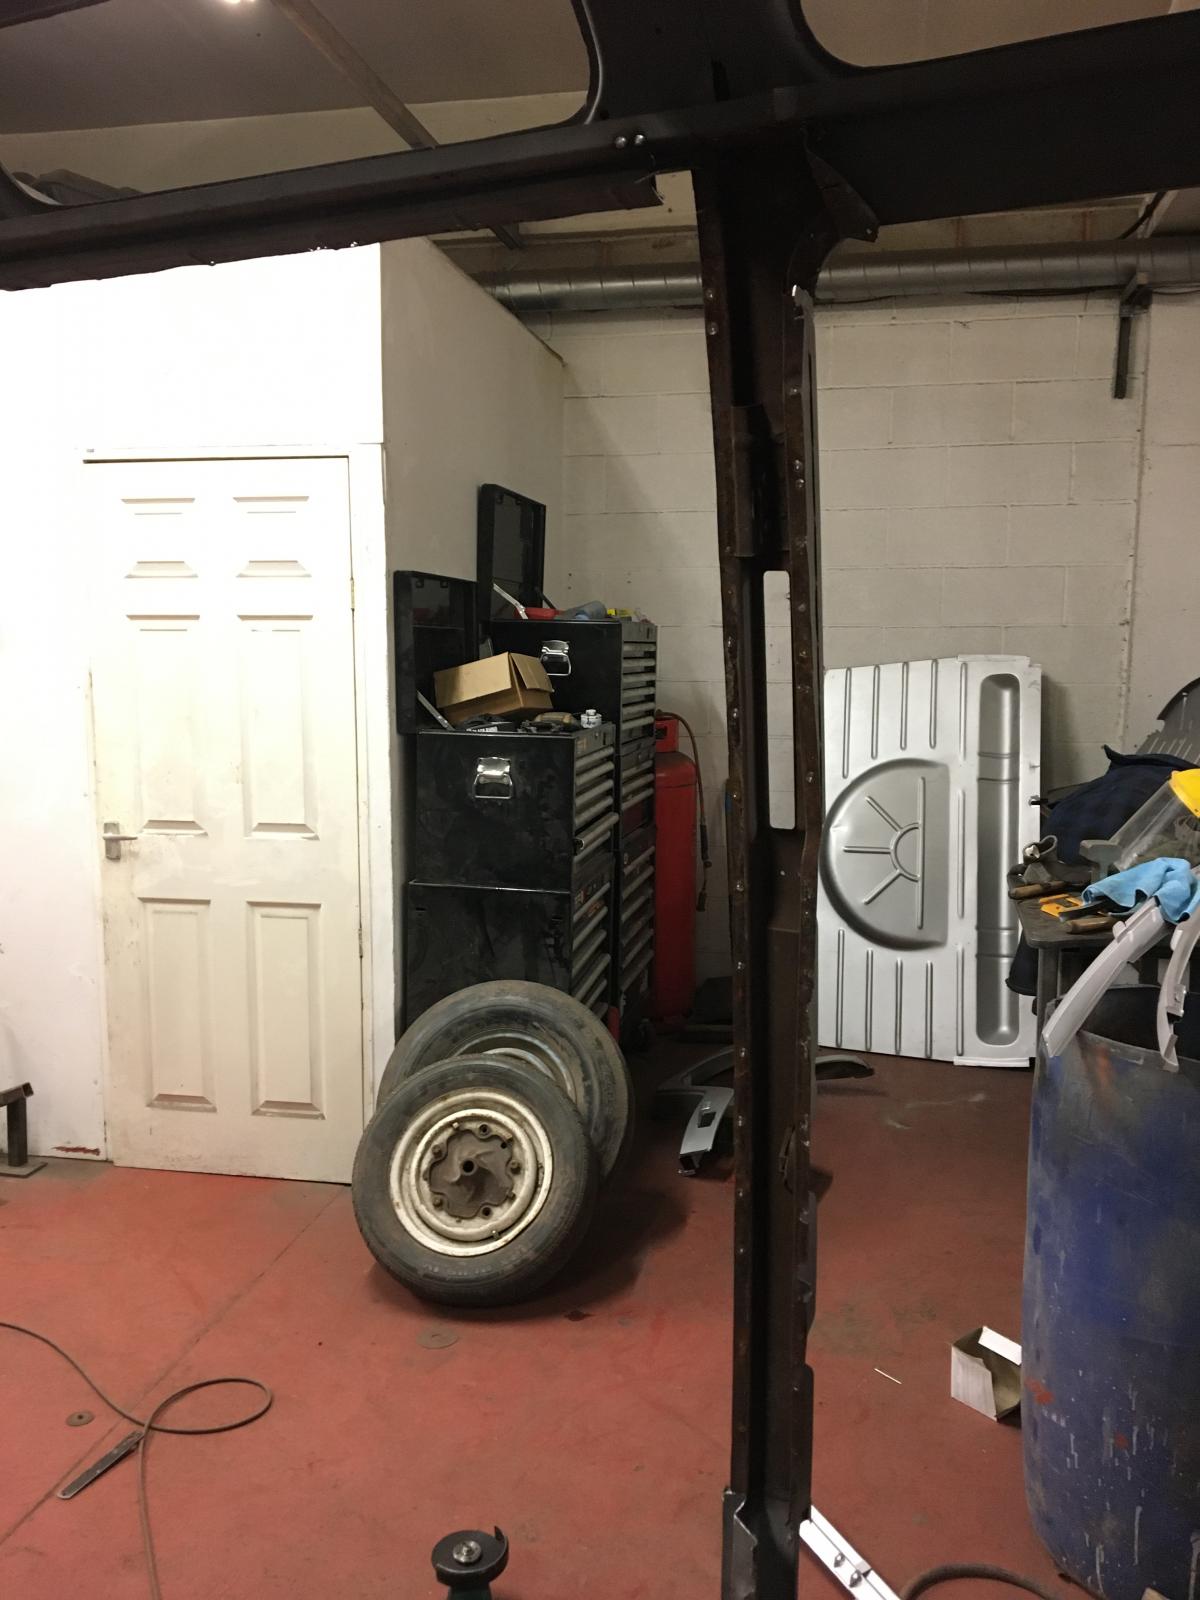
The new panel has no mounts for the semaphores, so they were taken from the OG panel and fitted to the new panel:
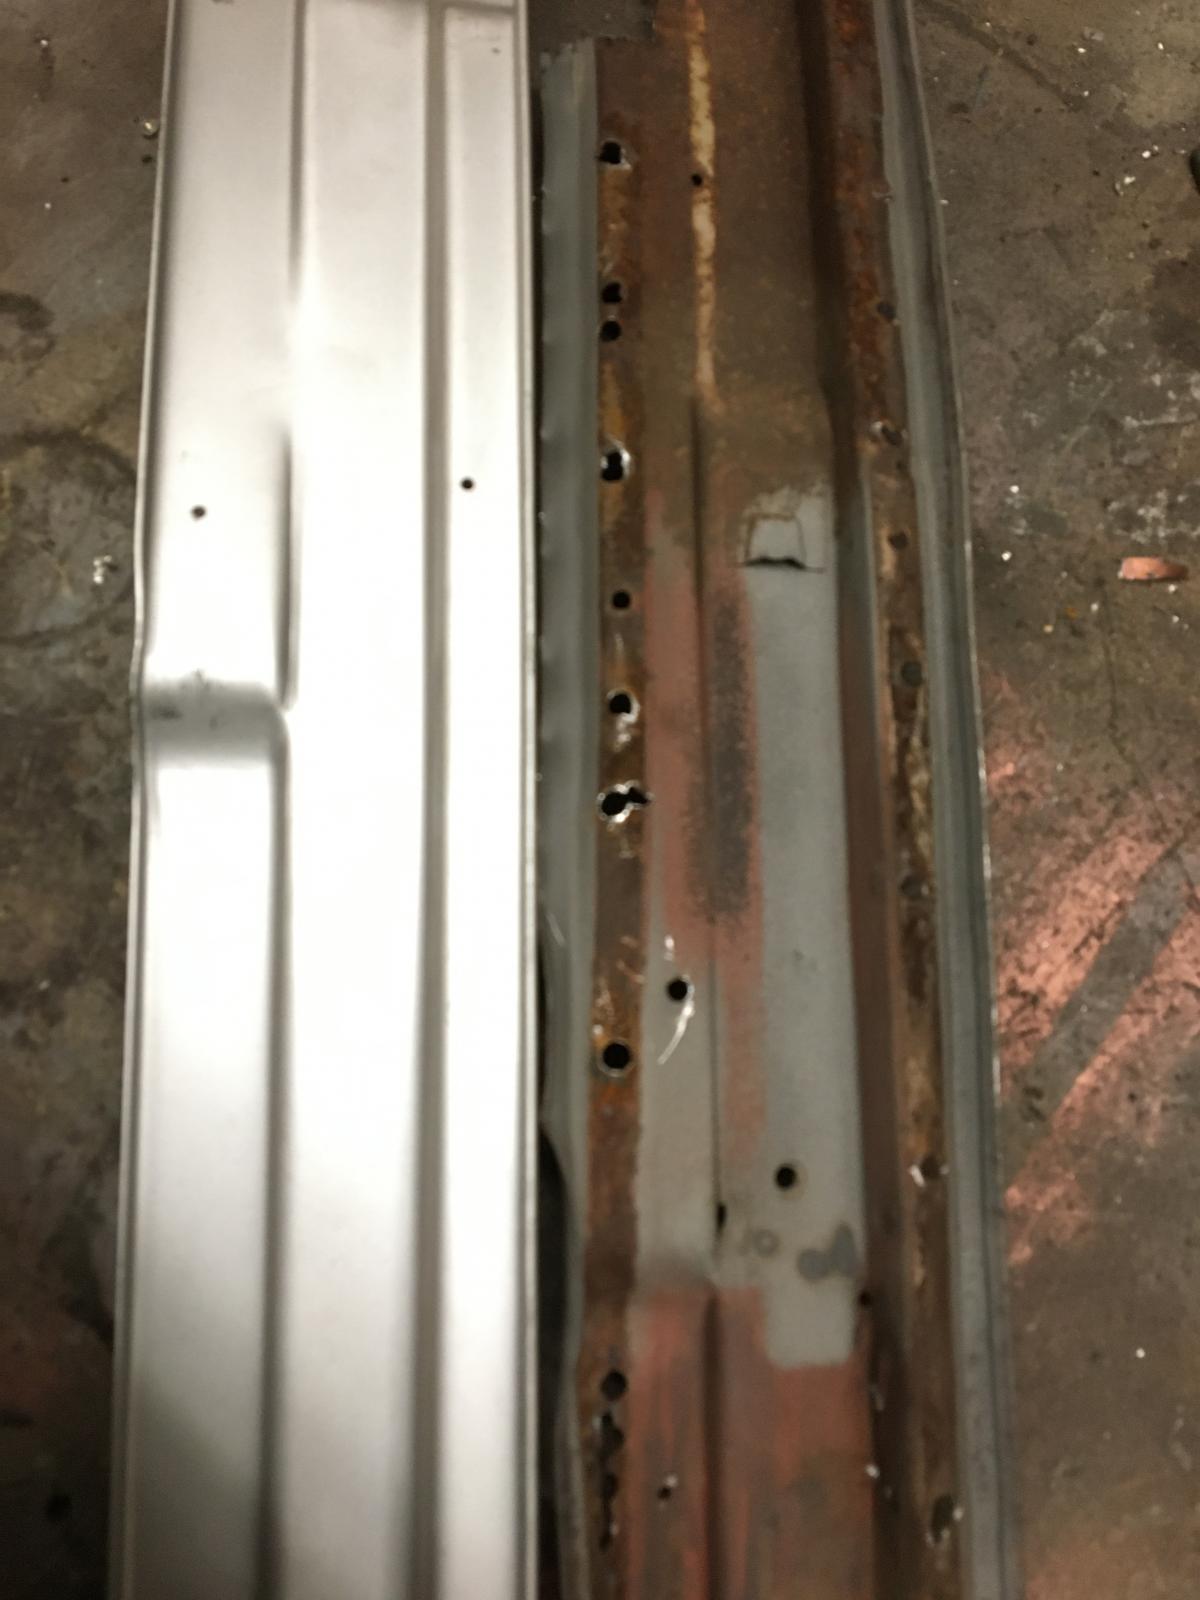
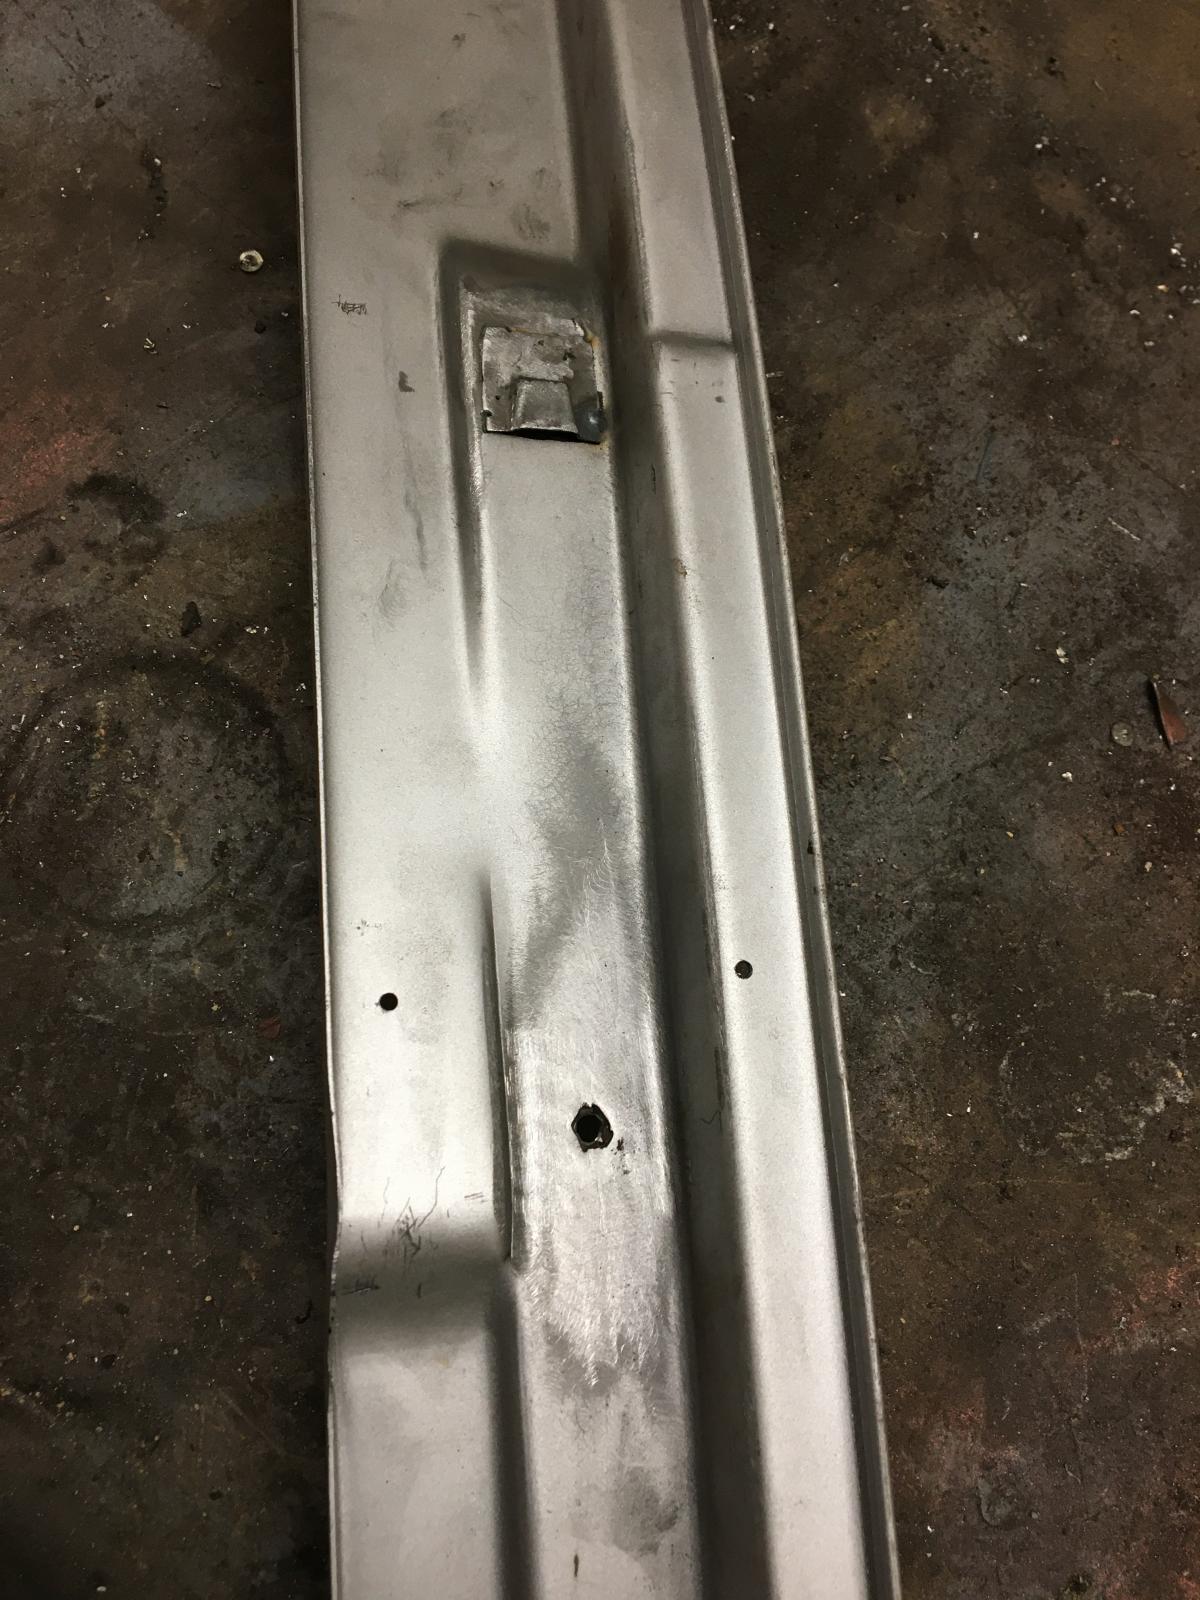
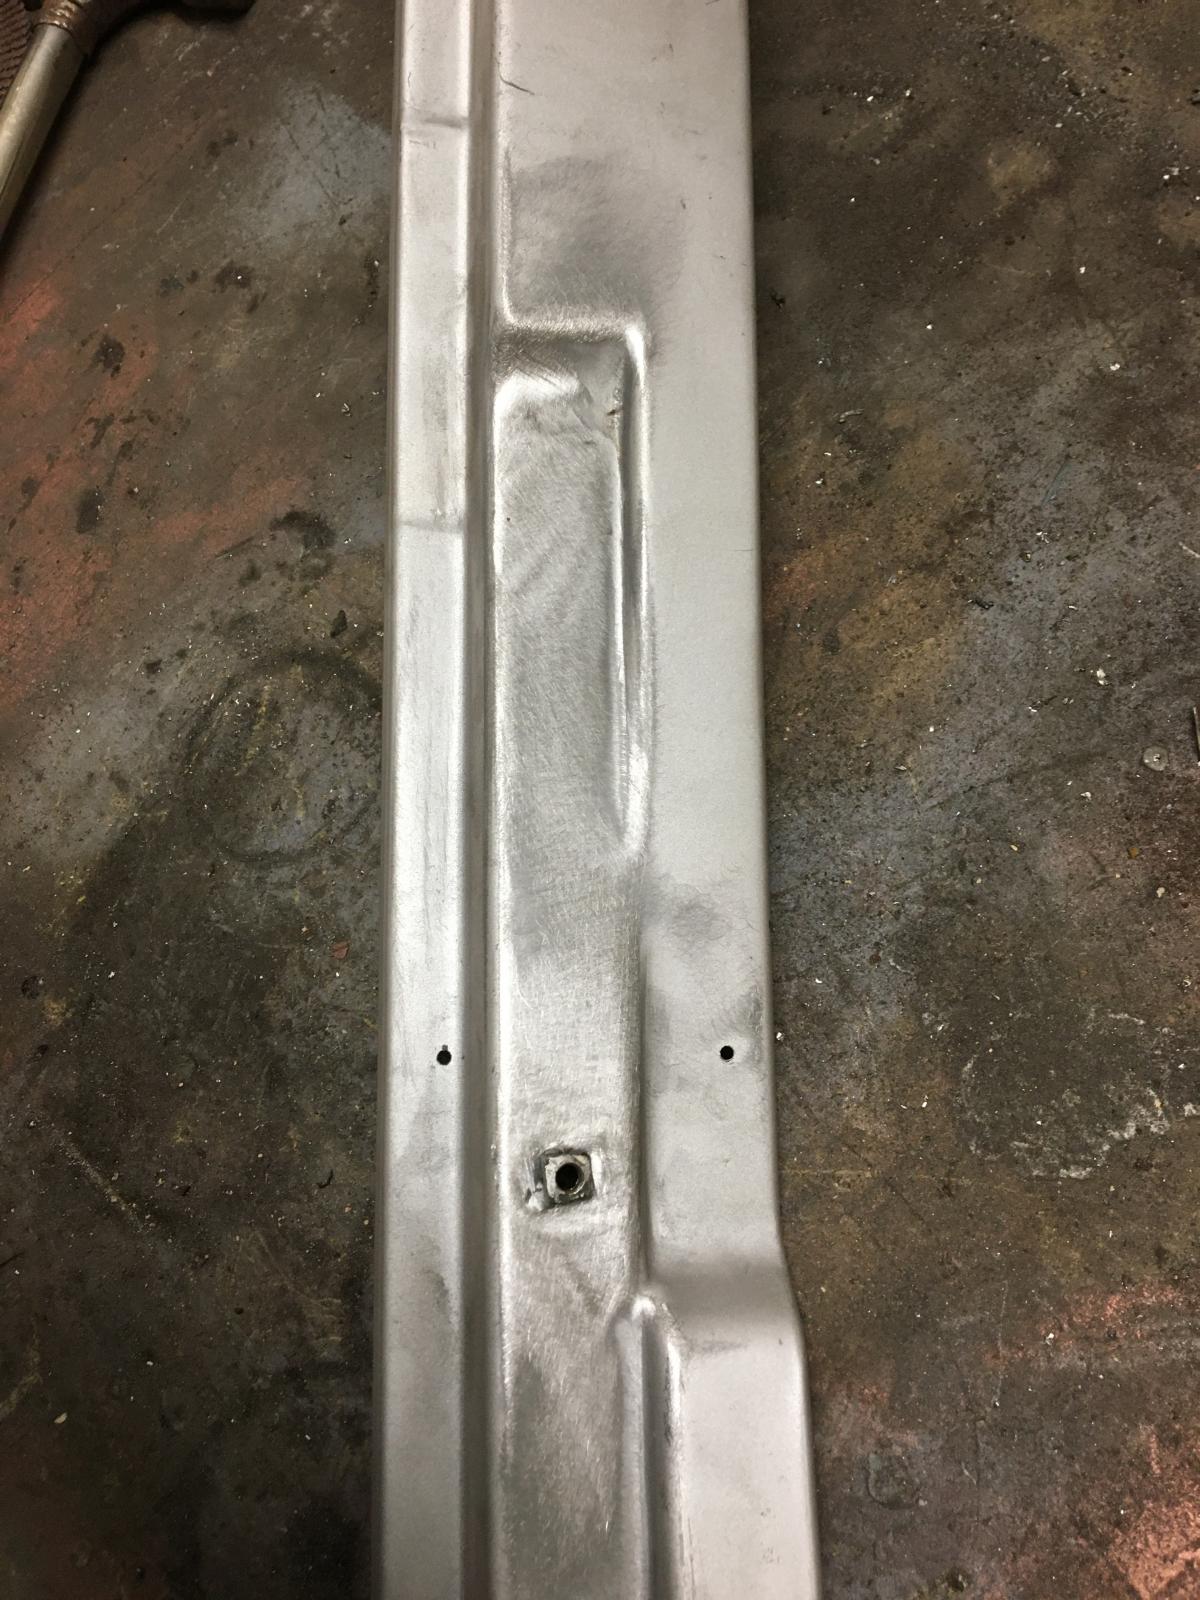
Pinned in place:
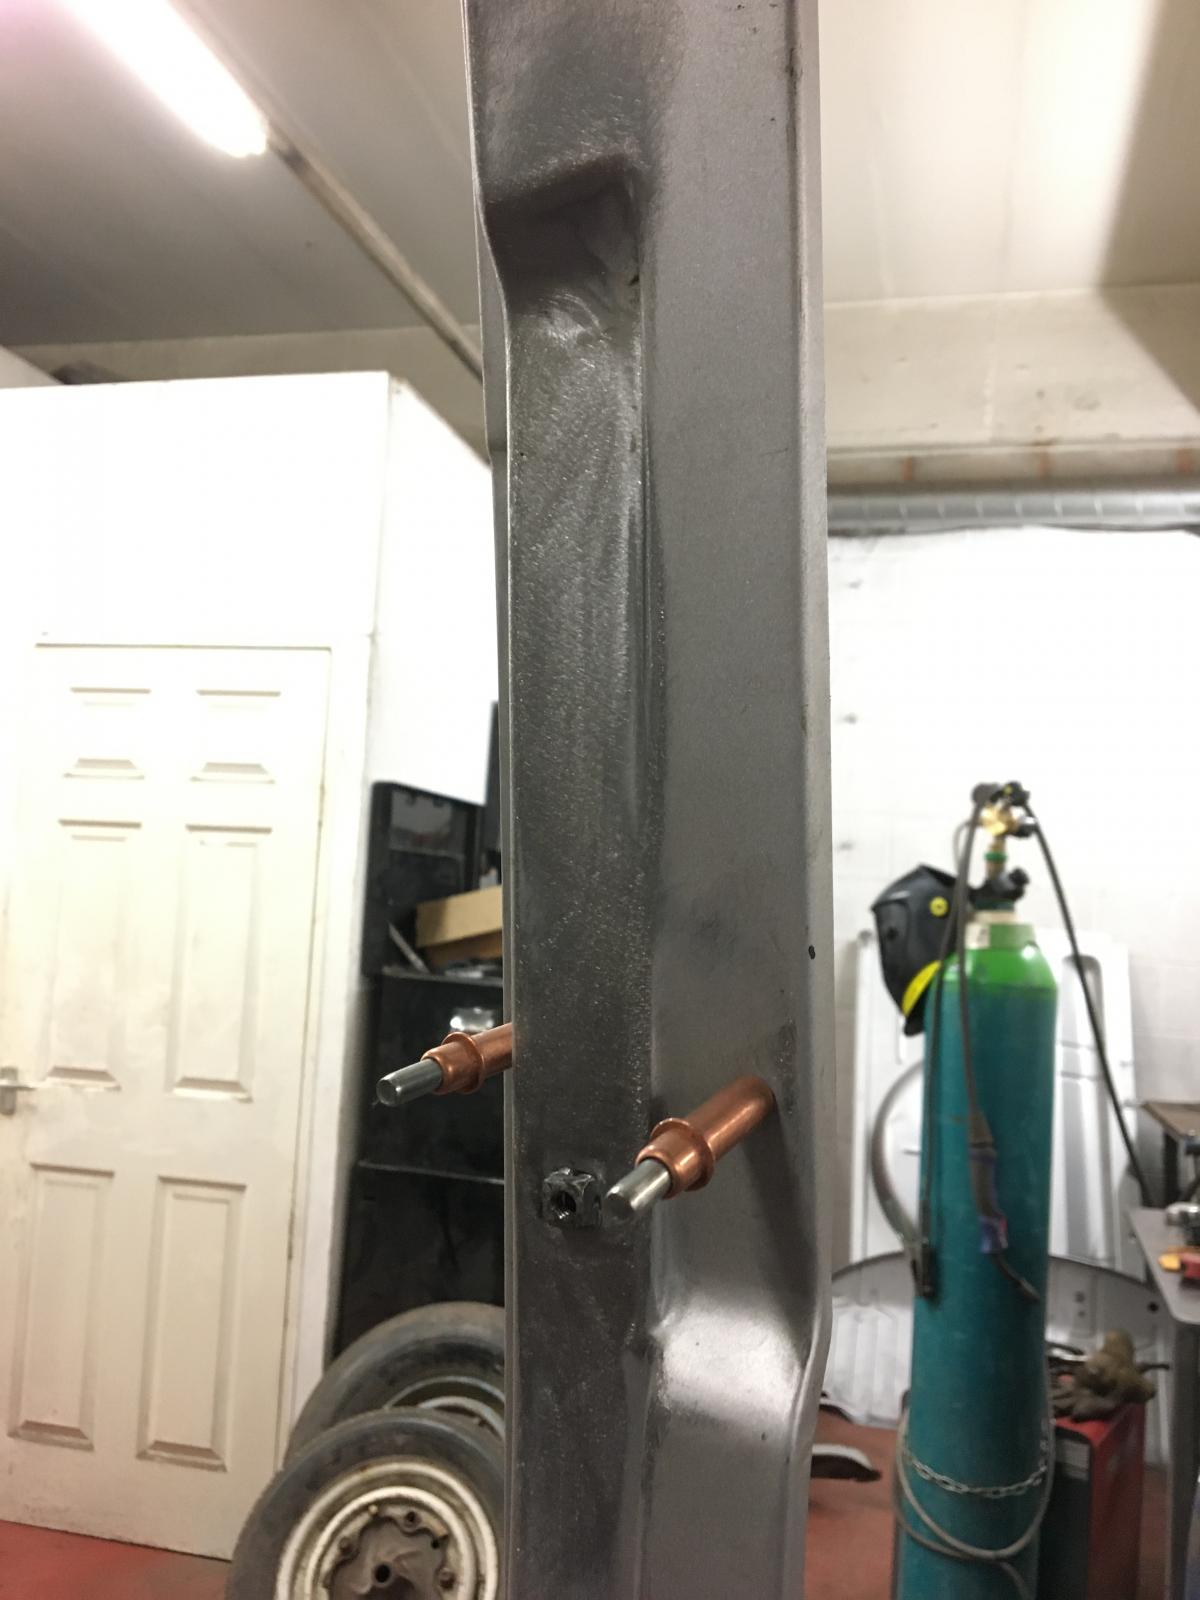
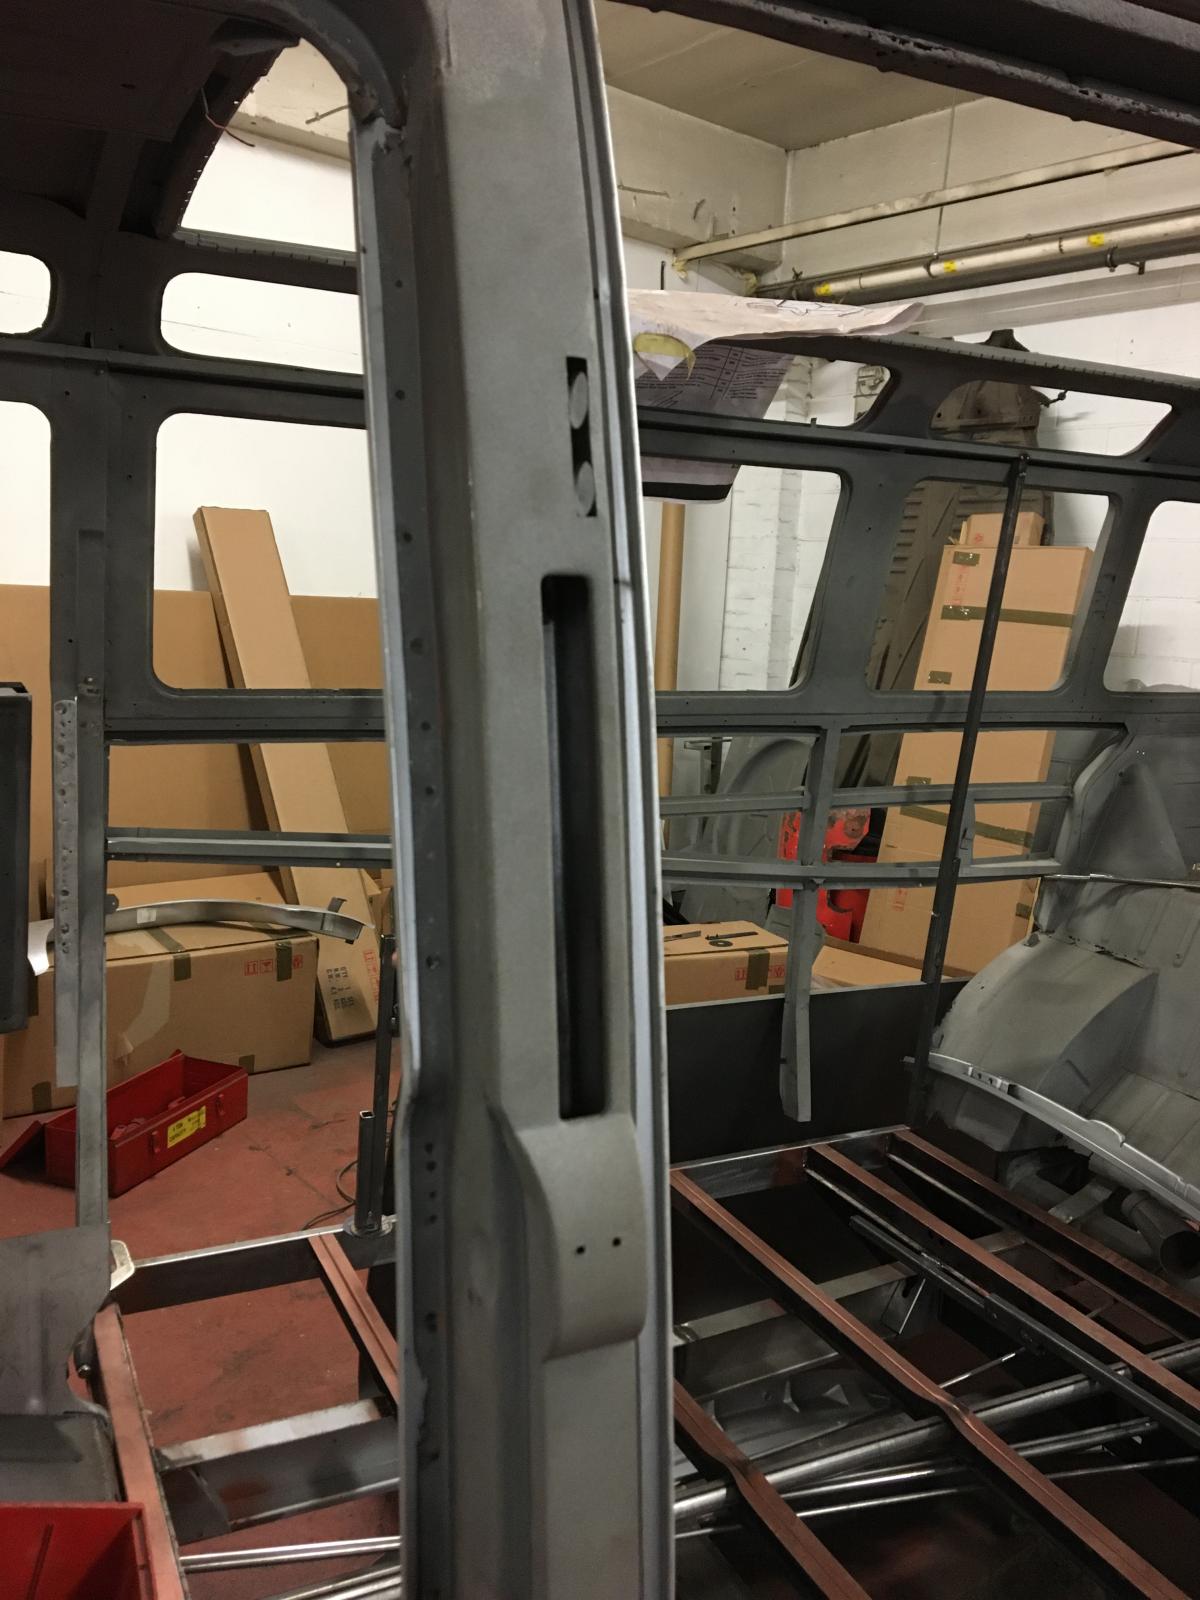
Probably forgot loads, but thats about where we are up to at the moment
Got the bus on the chassis jig:


Braced the body up and cut the crap out ready for the new chassis rails etc:


Repairing the front floor section under the treasure chest:


Repaired the chassis rails and mocked everything else up in place. Welded the sills / I beams / top hats etc together but so it could be removed to complete the welding on the chassis rails:

The new front chassis rails needed reshaping a little as they sat a little too low at the middle of the bus when they were bolted on to the jig at the beam mount and front bumper mounts:


Welded the front repair section to the rear repair section, and the rear repair section to the original chassis rails at the torsion housing area. Cant get to the underside of this section while its on the chassis jig so will finish later:


Welded the front inner chassis rails around the beam mounting area:


When we were happy with the fit of the floor and tool chest panel, they were spot welded as factory:


And fitted in position in the chassis:

We slid the new heater cable tubes into place and welded to the original tube that holds the heater knob/mech:

Positioned into the new tool chest panel and welded in place:

The door gaps were pretty bad:


So we decided to repair the posts next so we could work on the door gaps.
Repaired the A posts next. The originals were rotten around the lower hinge mount but were good above that. The door seal channel we bought wasnt the right shape so we put it in the stretcher:


Then we were ready to repair the A post:


Same on other side:

The RHS B post inner was repaired:


The LHS B post inner didnt look too bad but was full of pin holes but a lot of the outer was good, so we kept as much of the outer as possible, and removed the full inner:


The new panel has no mounts for the semaphores, so they were taken from the OG panel and fitted to the new panel:


Pinned in place:


Probably forgot loads, but thats about where we are up to at the moment
mabbo
SSVC Member
Posts: 83
Joined: Wed Jun 01, 2011 7:09 pm
Re: 1956 RHD Swedish 23 window samba full restoration
by type21f » Thu Jan 23, 2020 11:04 pm
Looking really good.. meticulous attention to detail!
G
G
type21f
SSVC Member
Posts: 15700
Joined: Tue May 29, 2007 12:55 pm
Re: 1956 RHD Swedish 23 window samba full restoration
by mabbo » Tue Feb 04, 2020 9:55 pm
Cheers dude
Bit of an update.. We have spent what seems like forever messing around with the silver weld through BBT / Taiwan panels. Not been impressed with any of them so far... Doubt Ill be using them again.
The LHS B post bottom just ended at the sill, so I had to buy a lower KF repair piece and weld it on. Then we spent a bit more time lining the body up and pinning everything in place before we weld anything. Door gaps are getting there now, but not quite right yet:
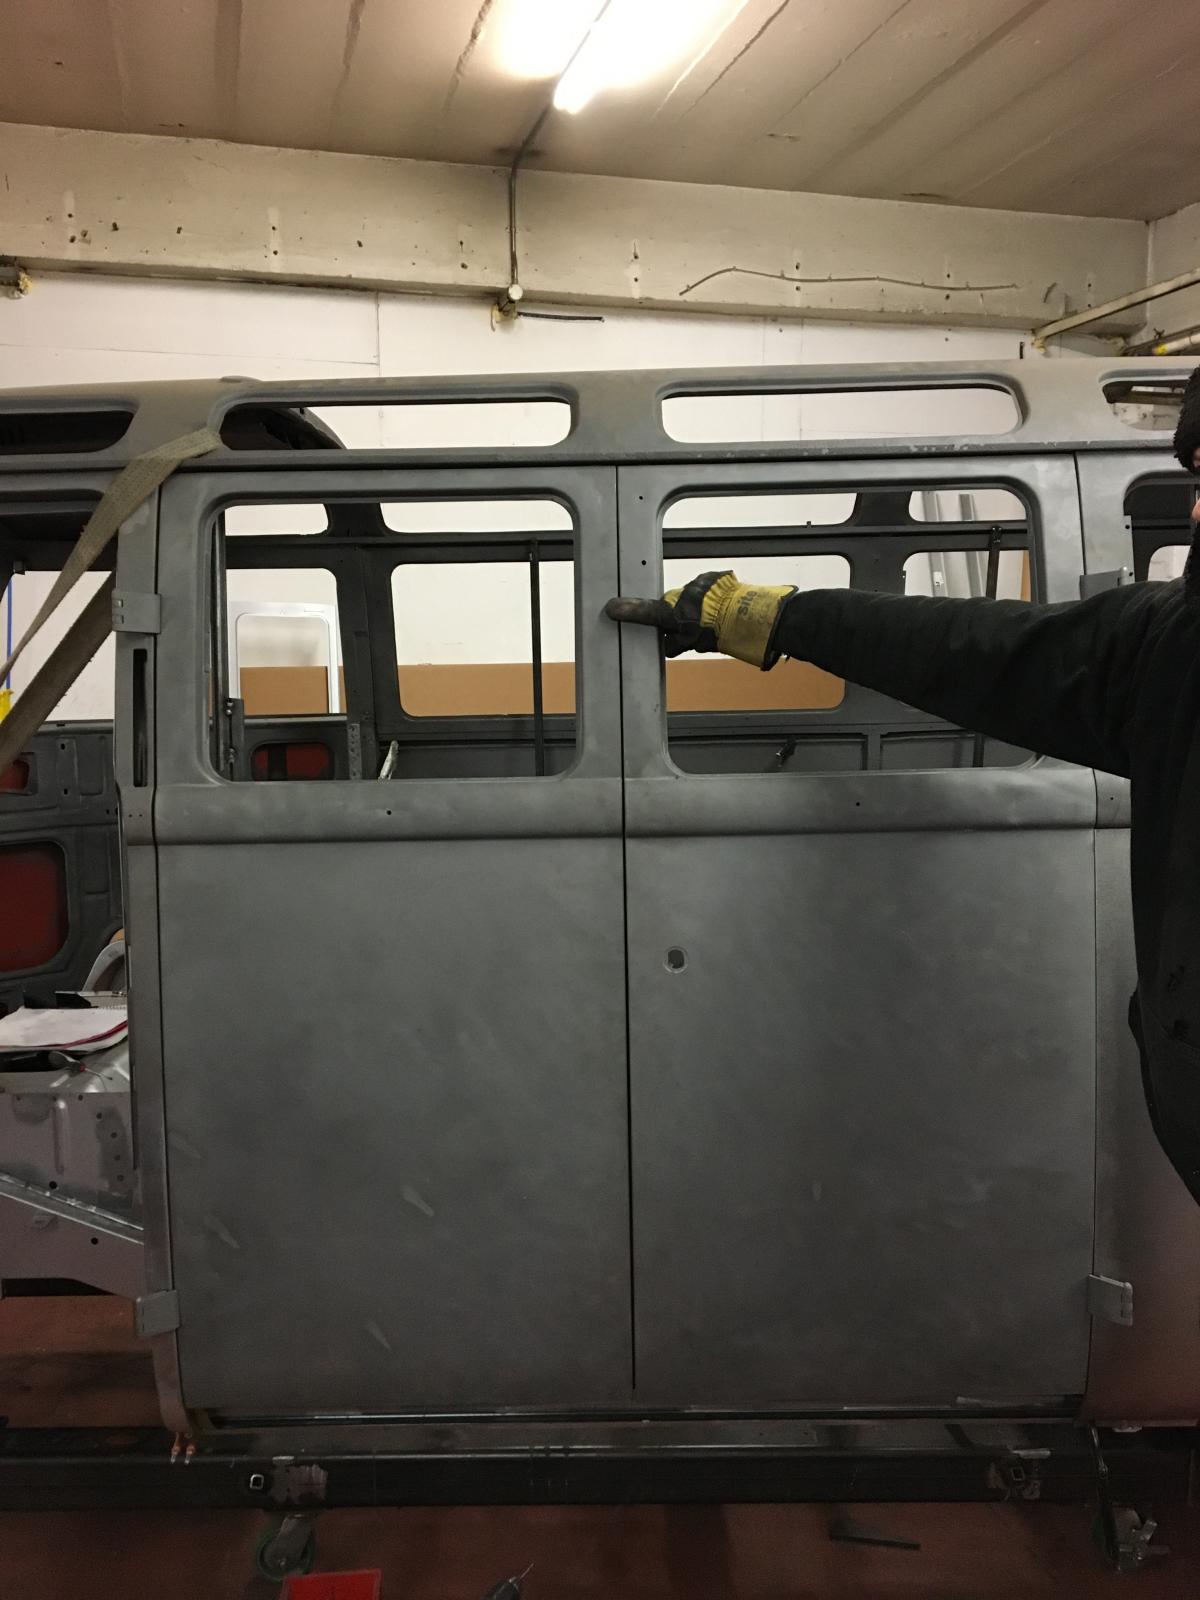
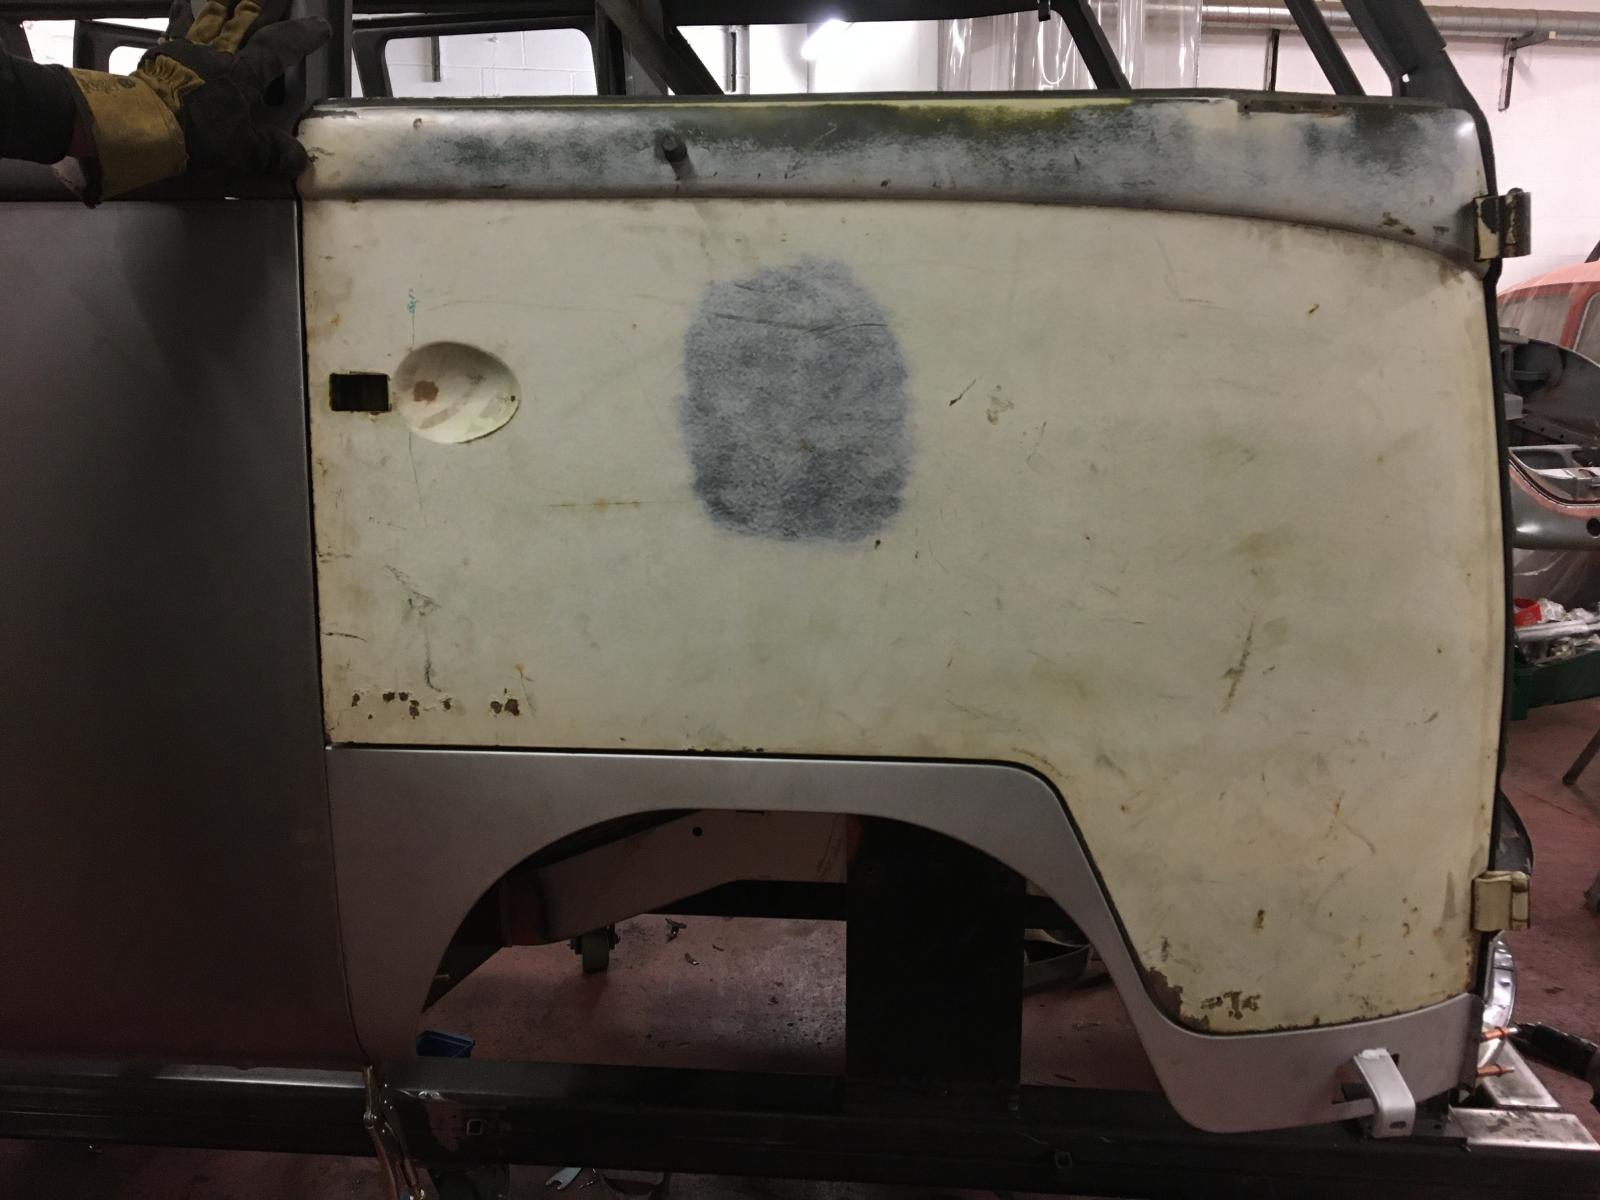
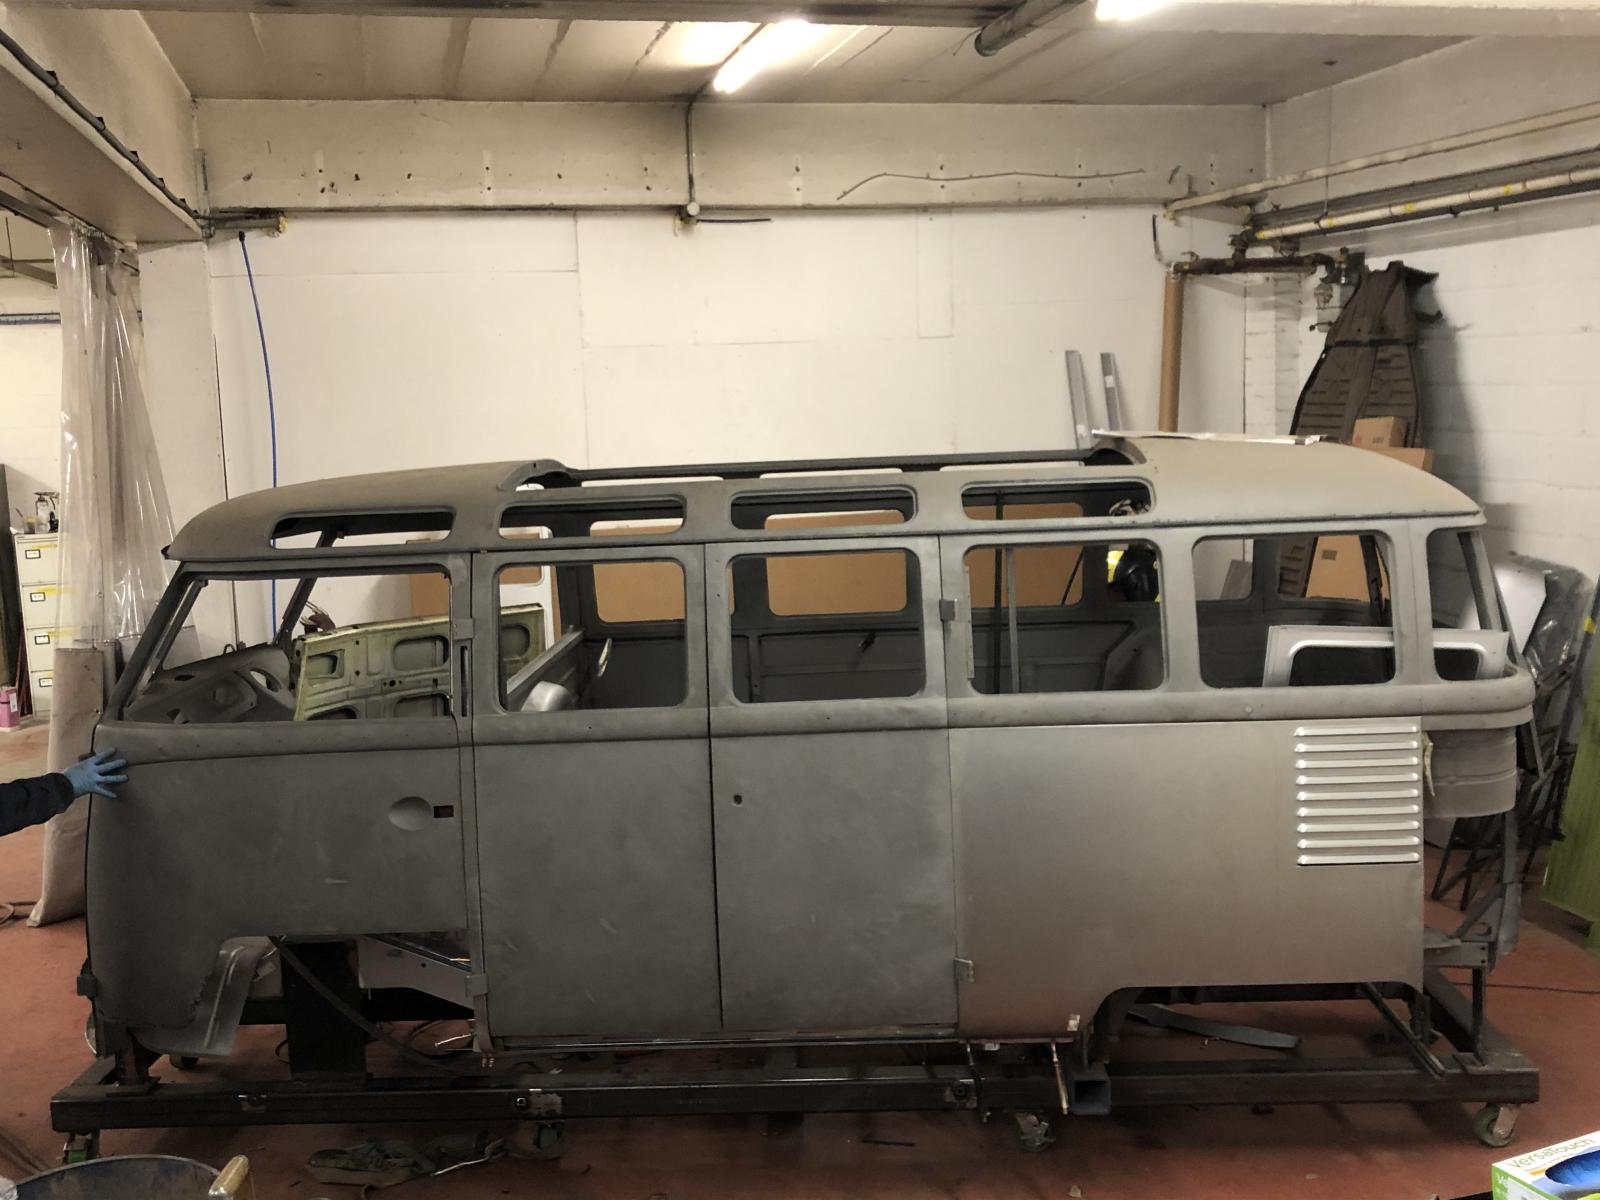
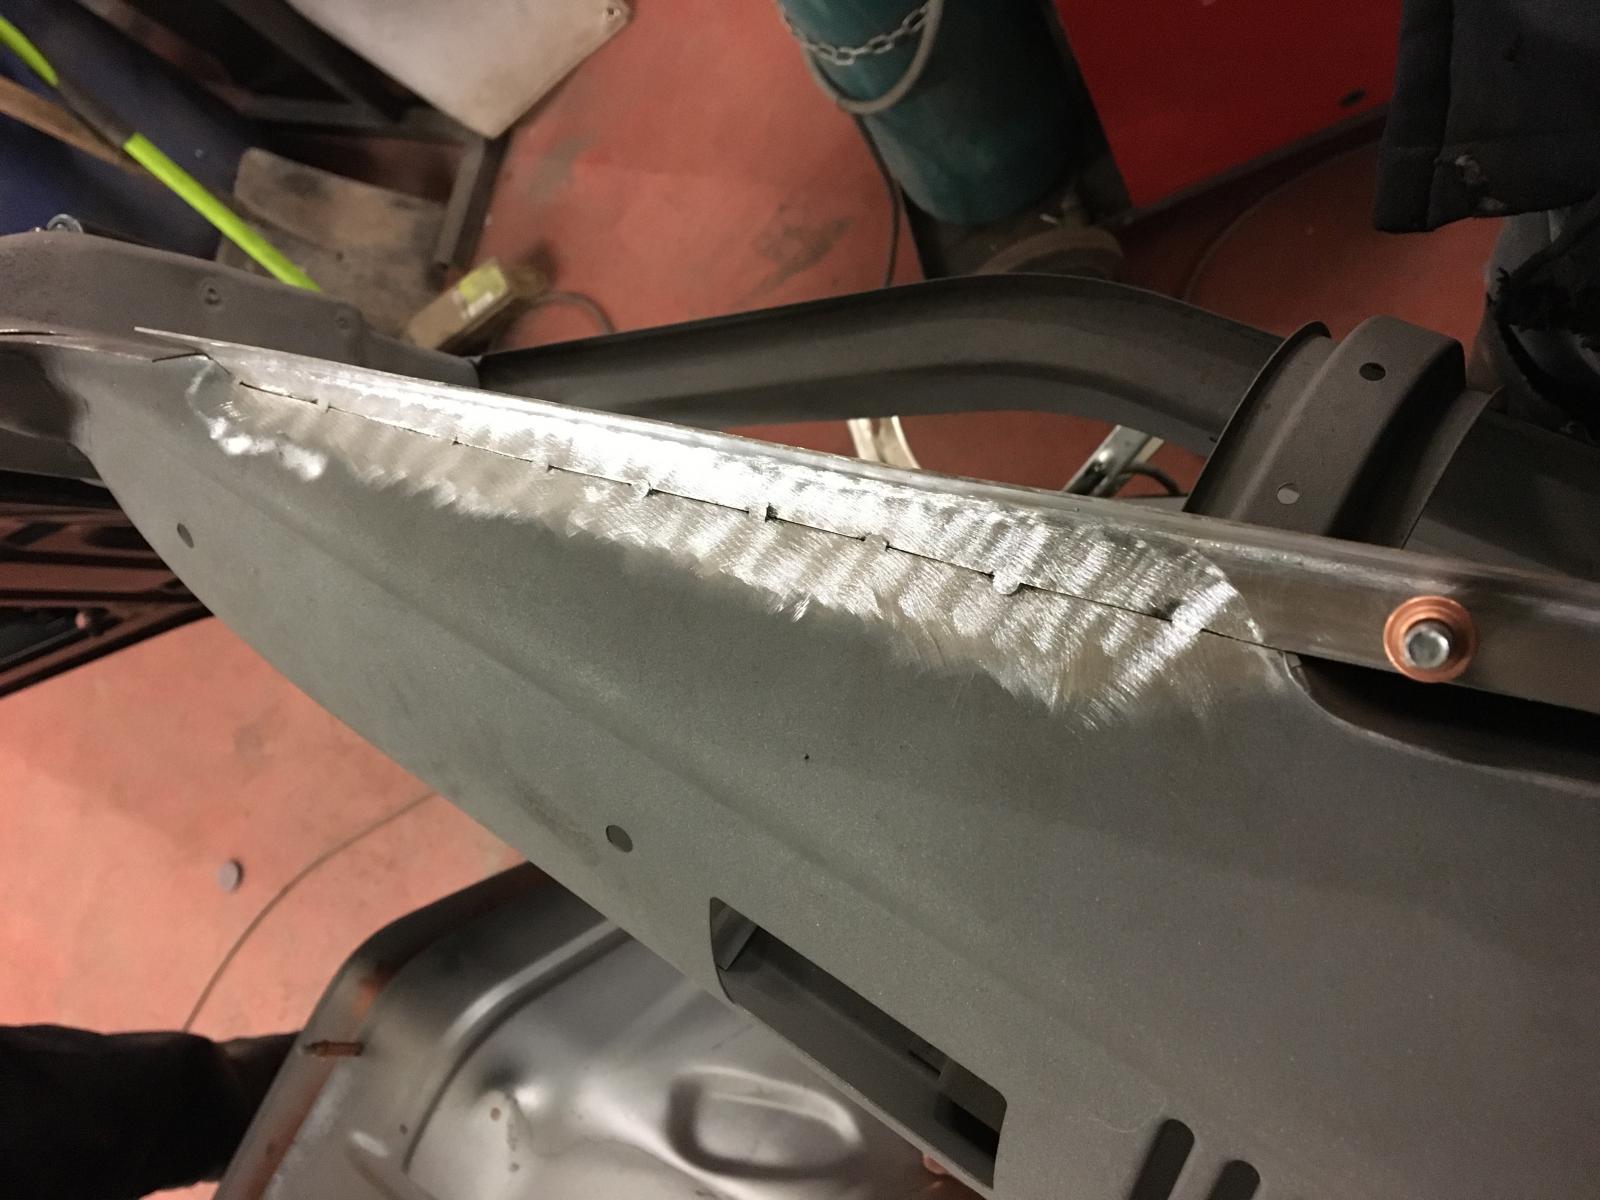
The top of the dash and window lip were rotten so I made a small panel, cut the rot out, welded the new section in and ground down:
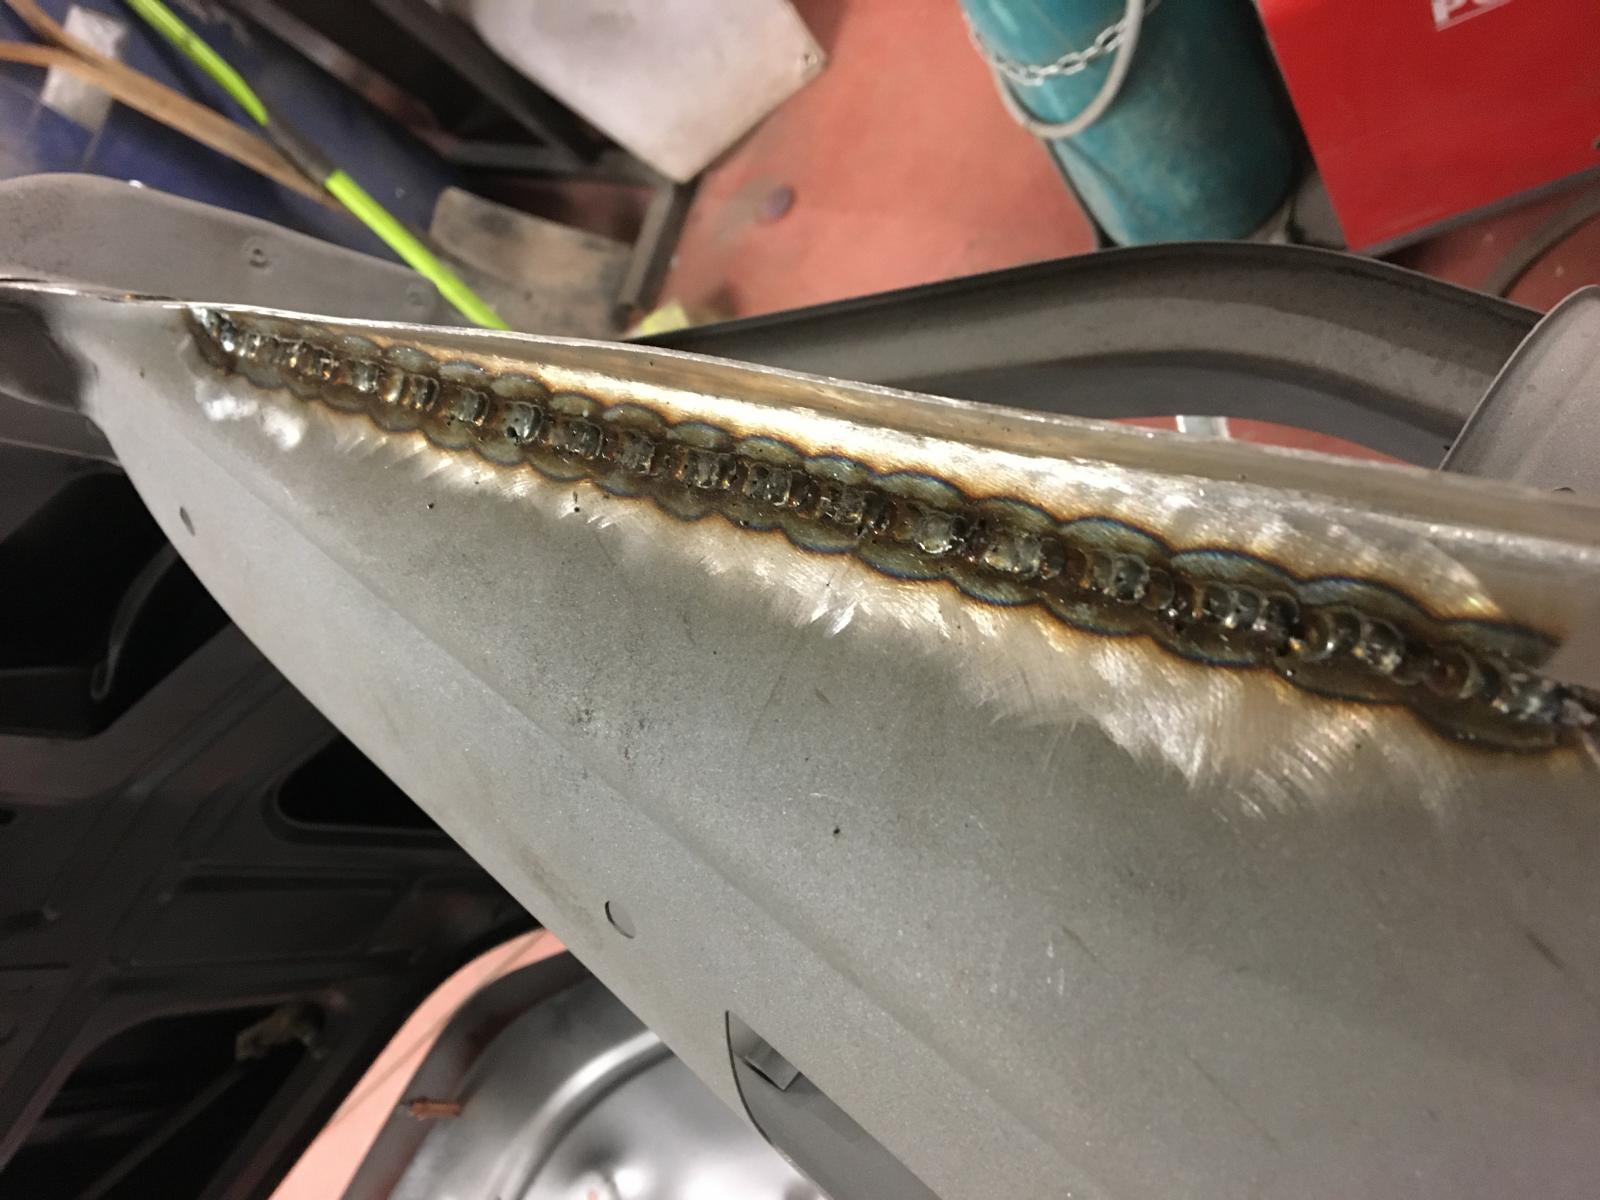
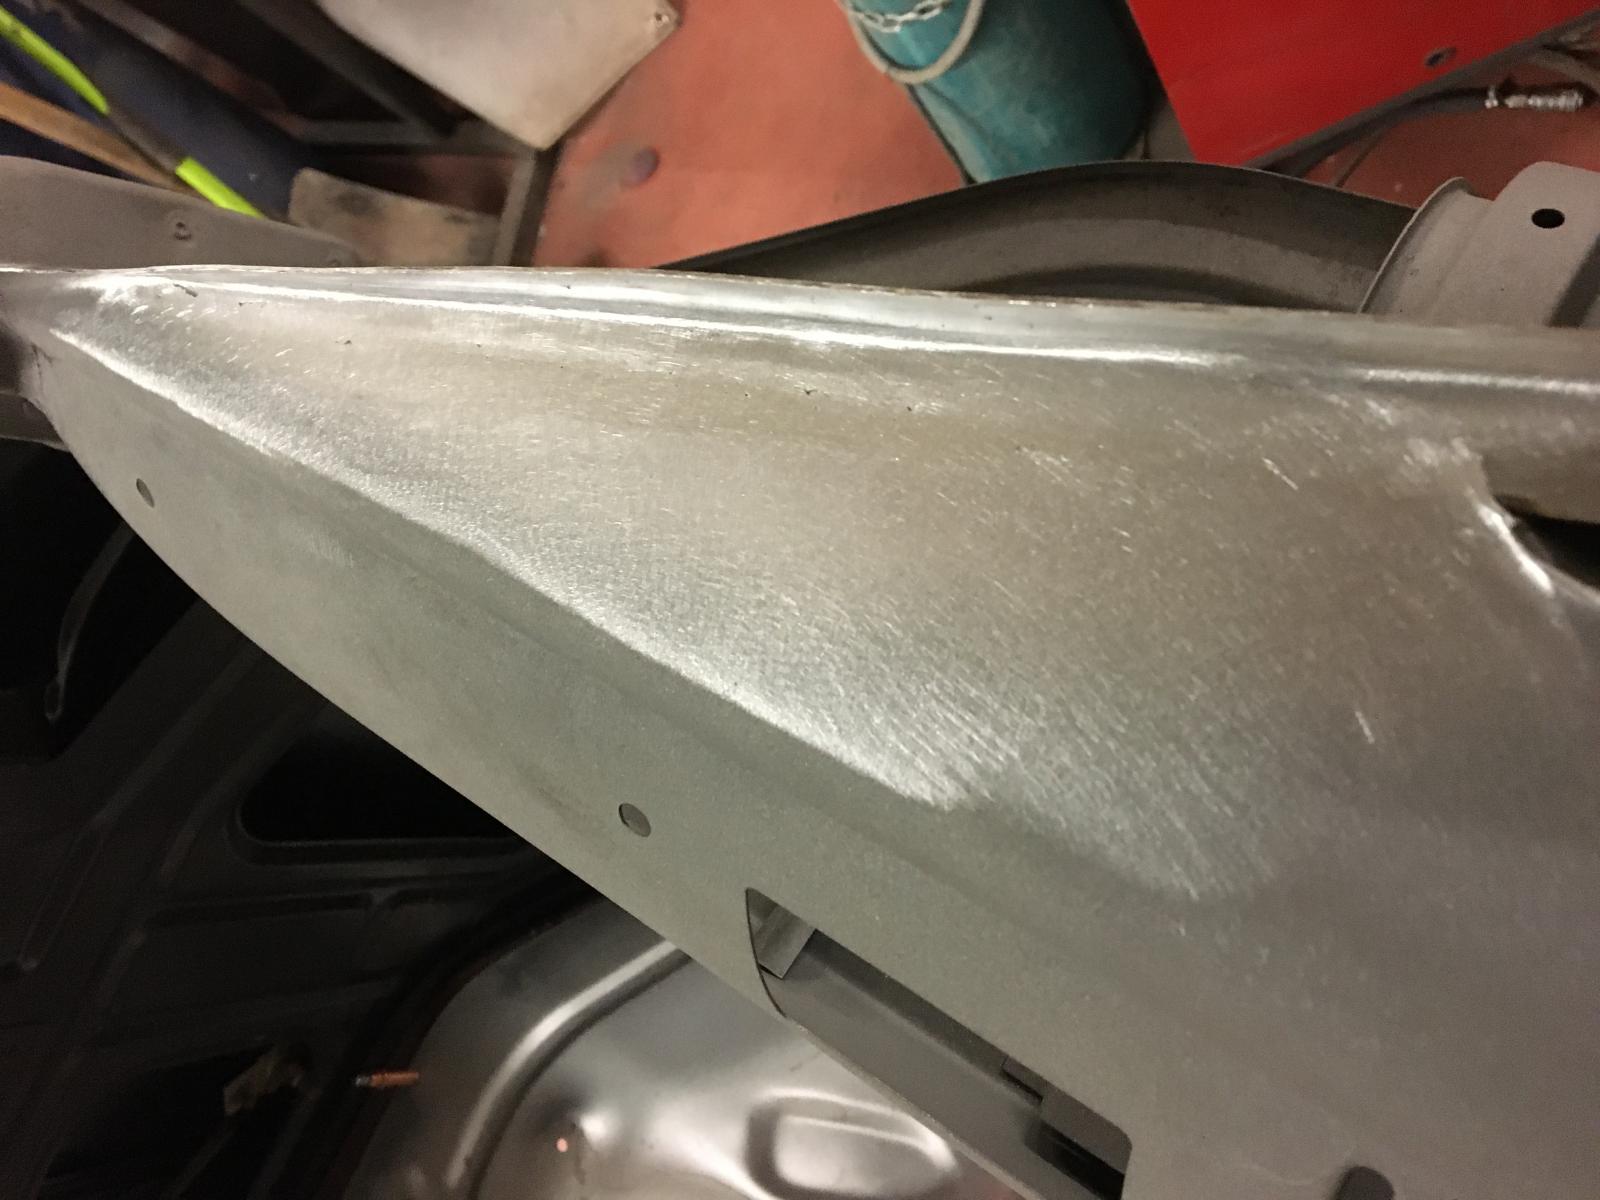
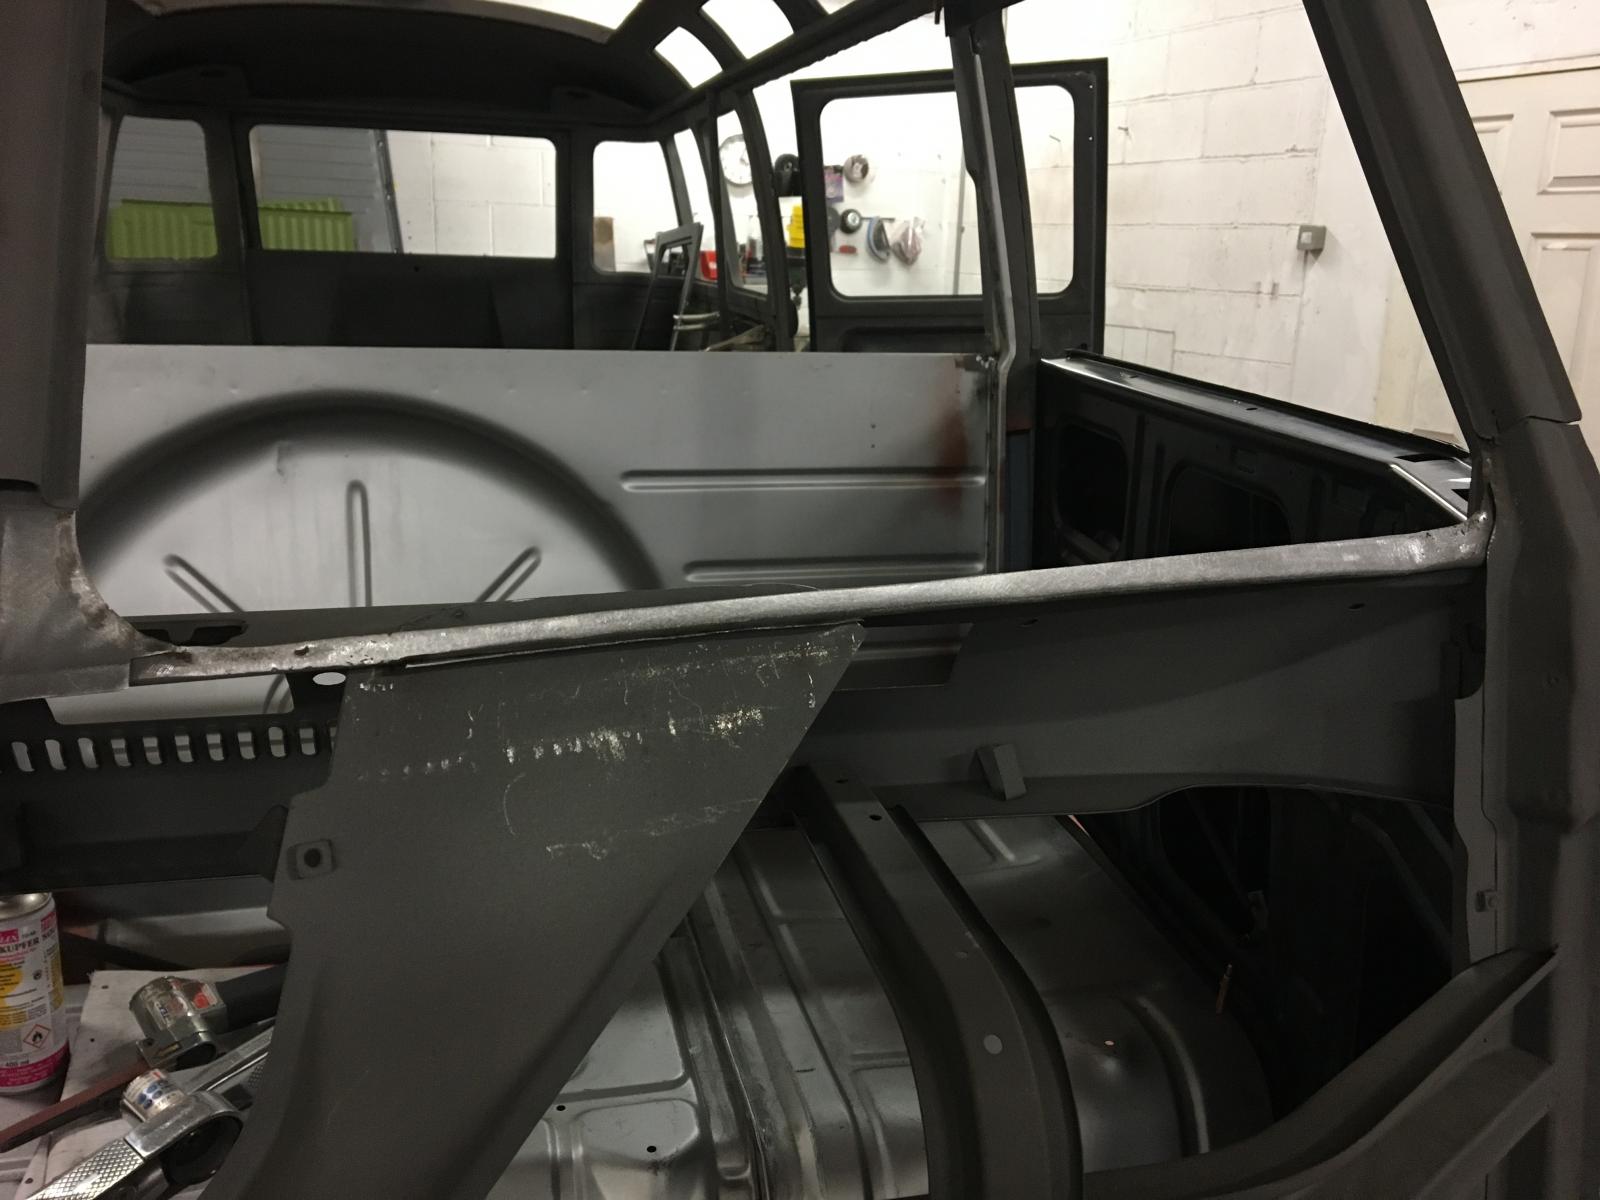
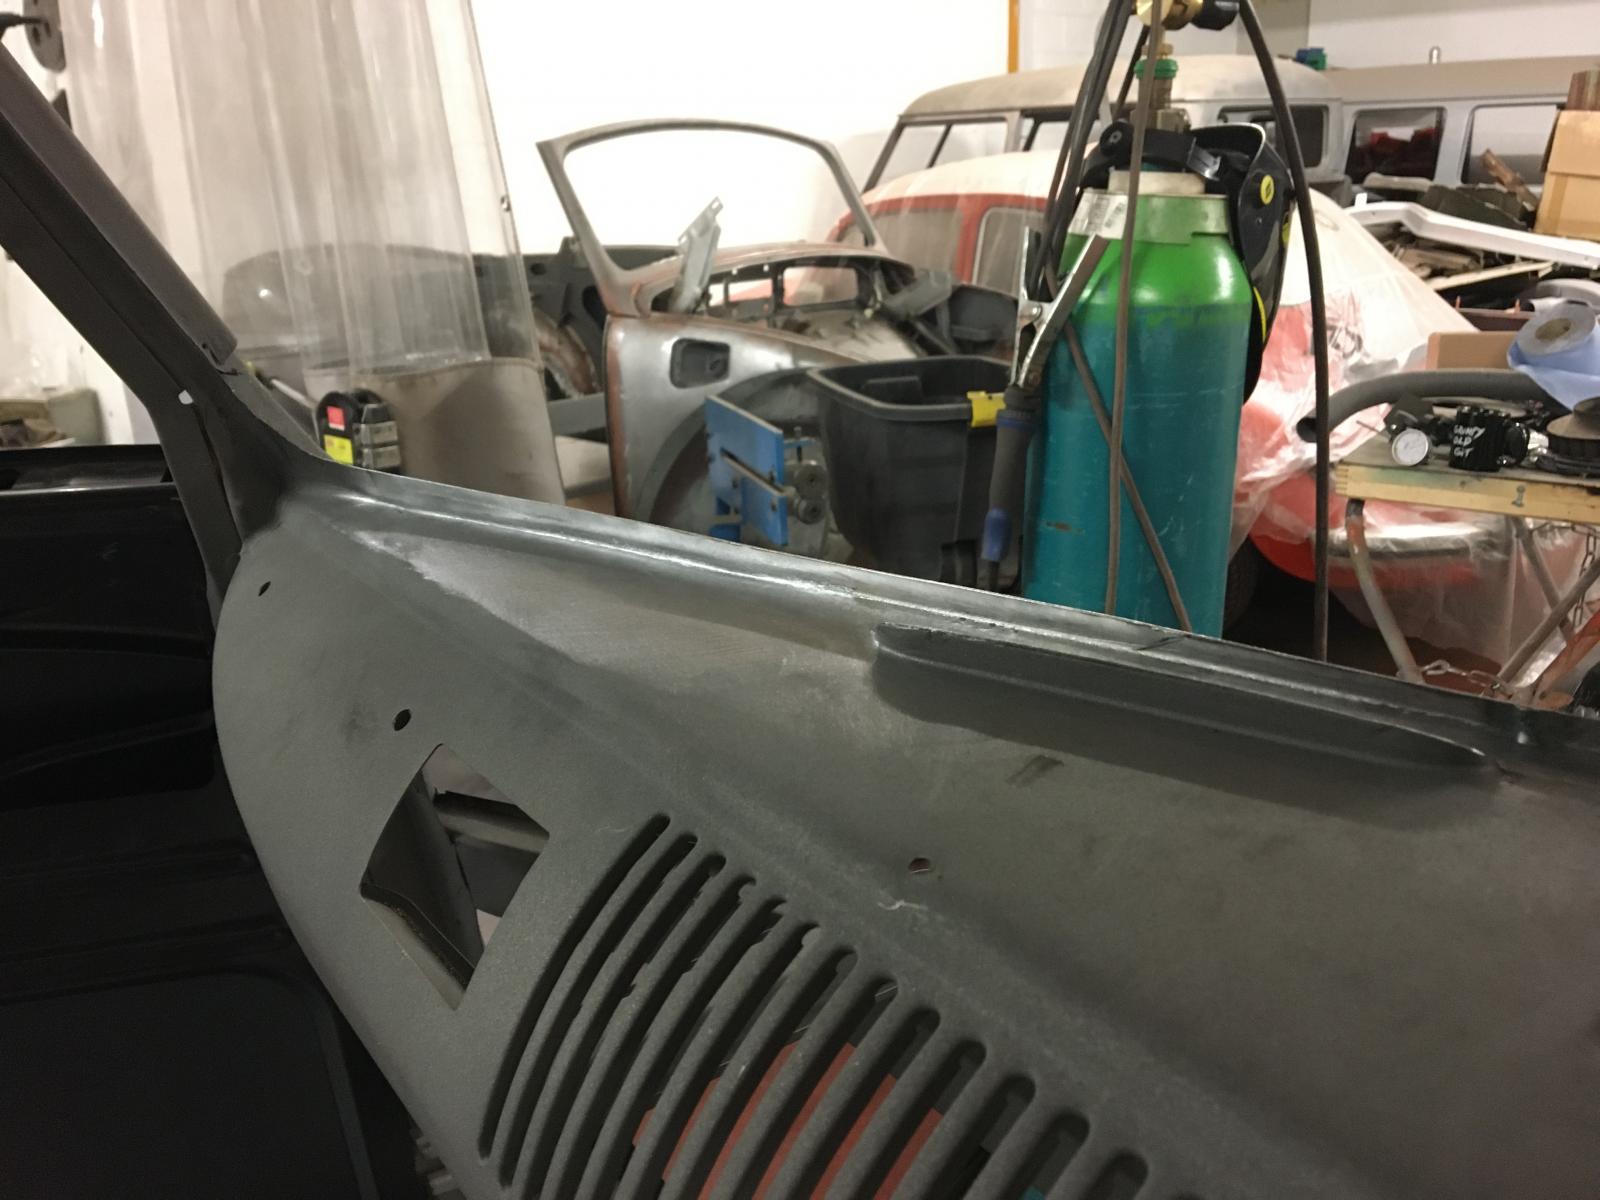
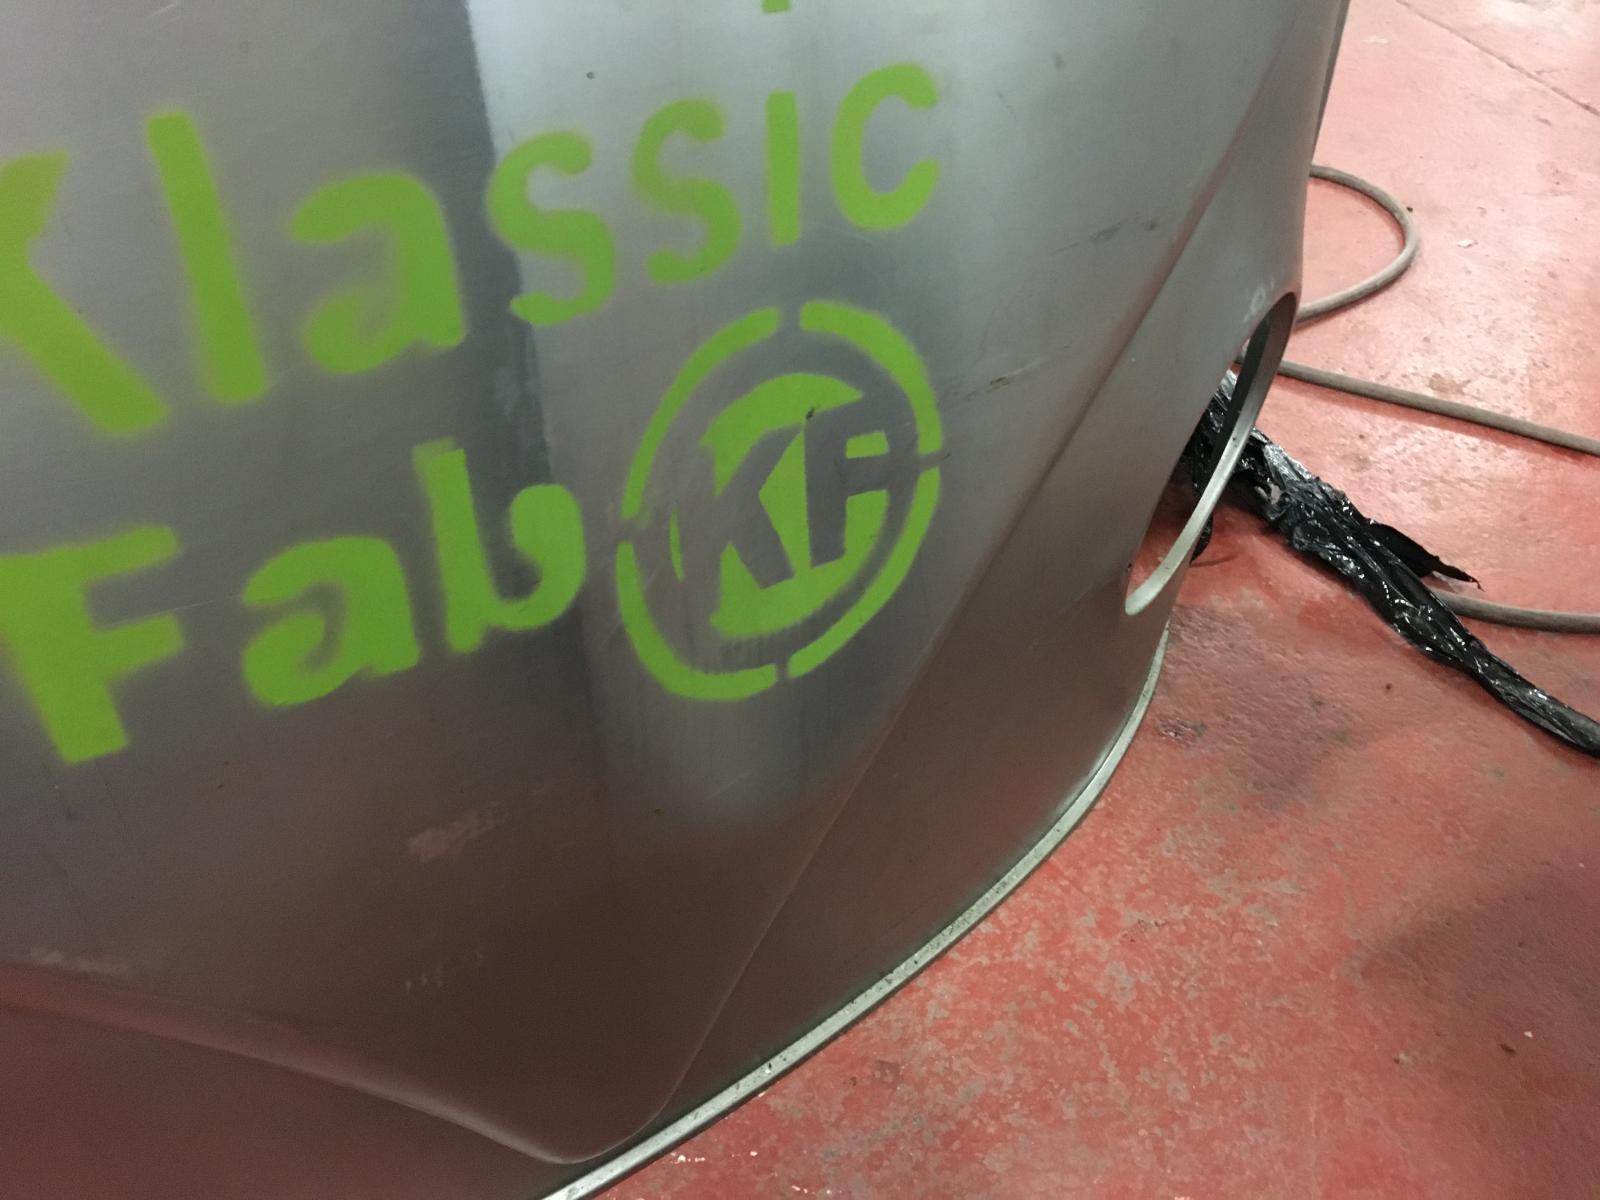
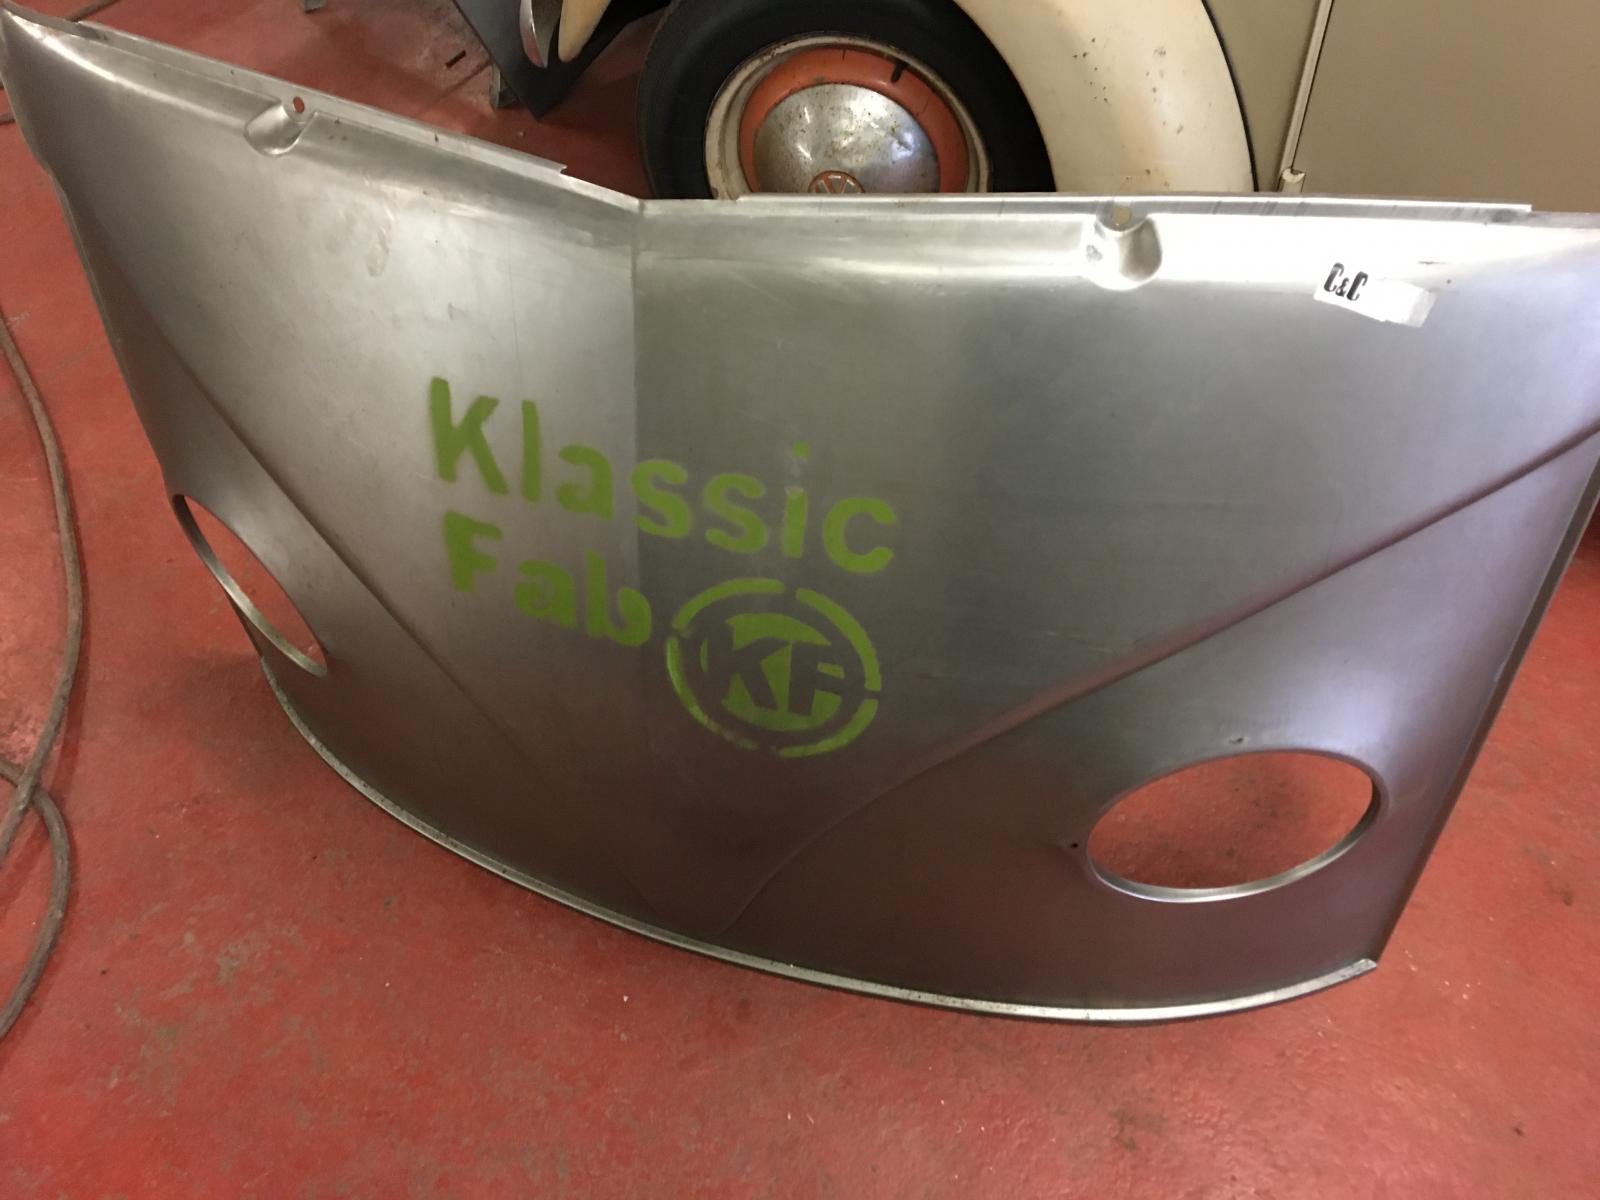
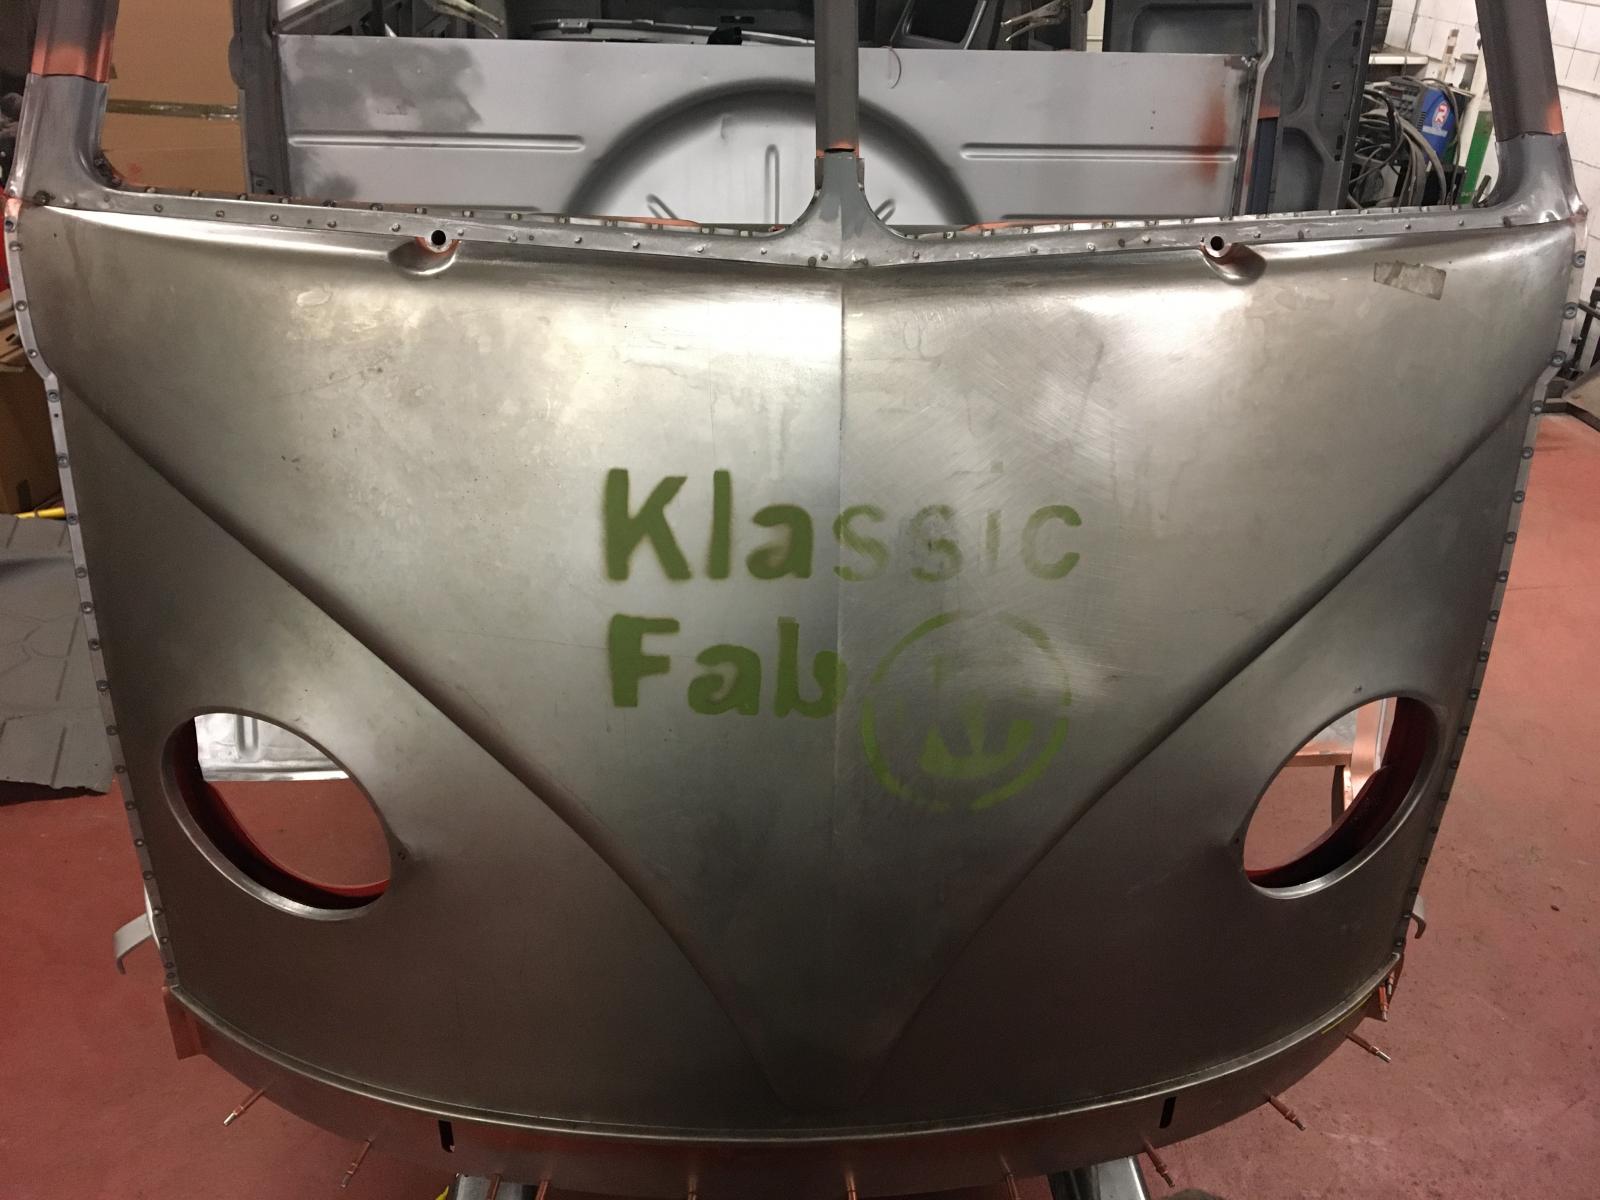
We ordered a Klassic Fab front panel. It was damaged in transit. Got its pretty good with a bit of hammer and dolly work. Still not 100% though. Few before and after pics:
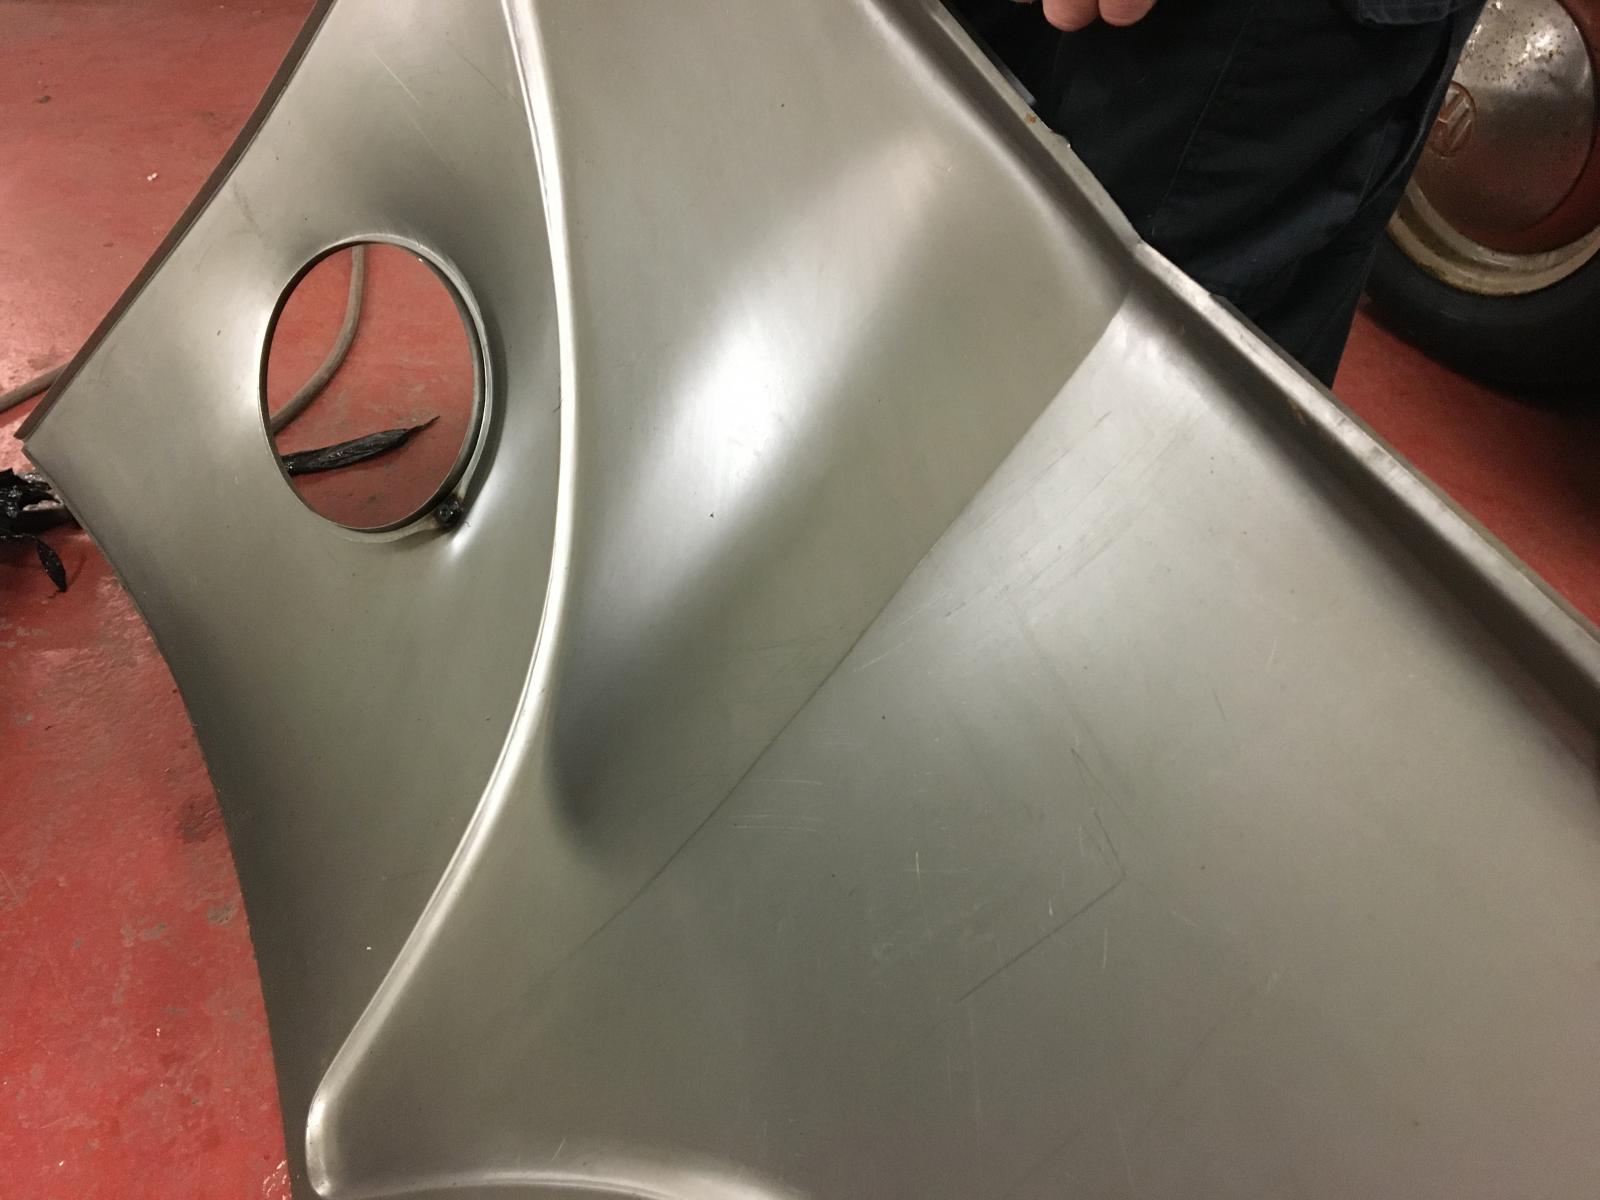
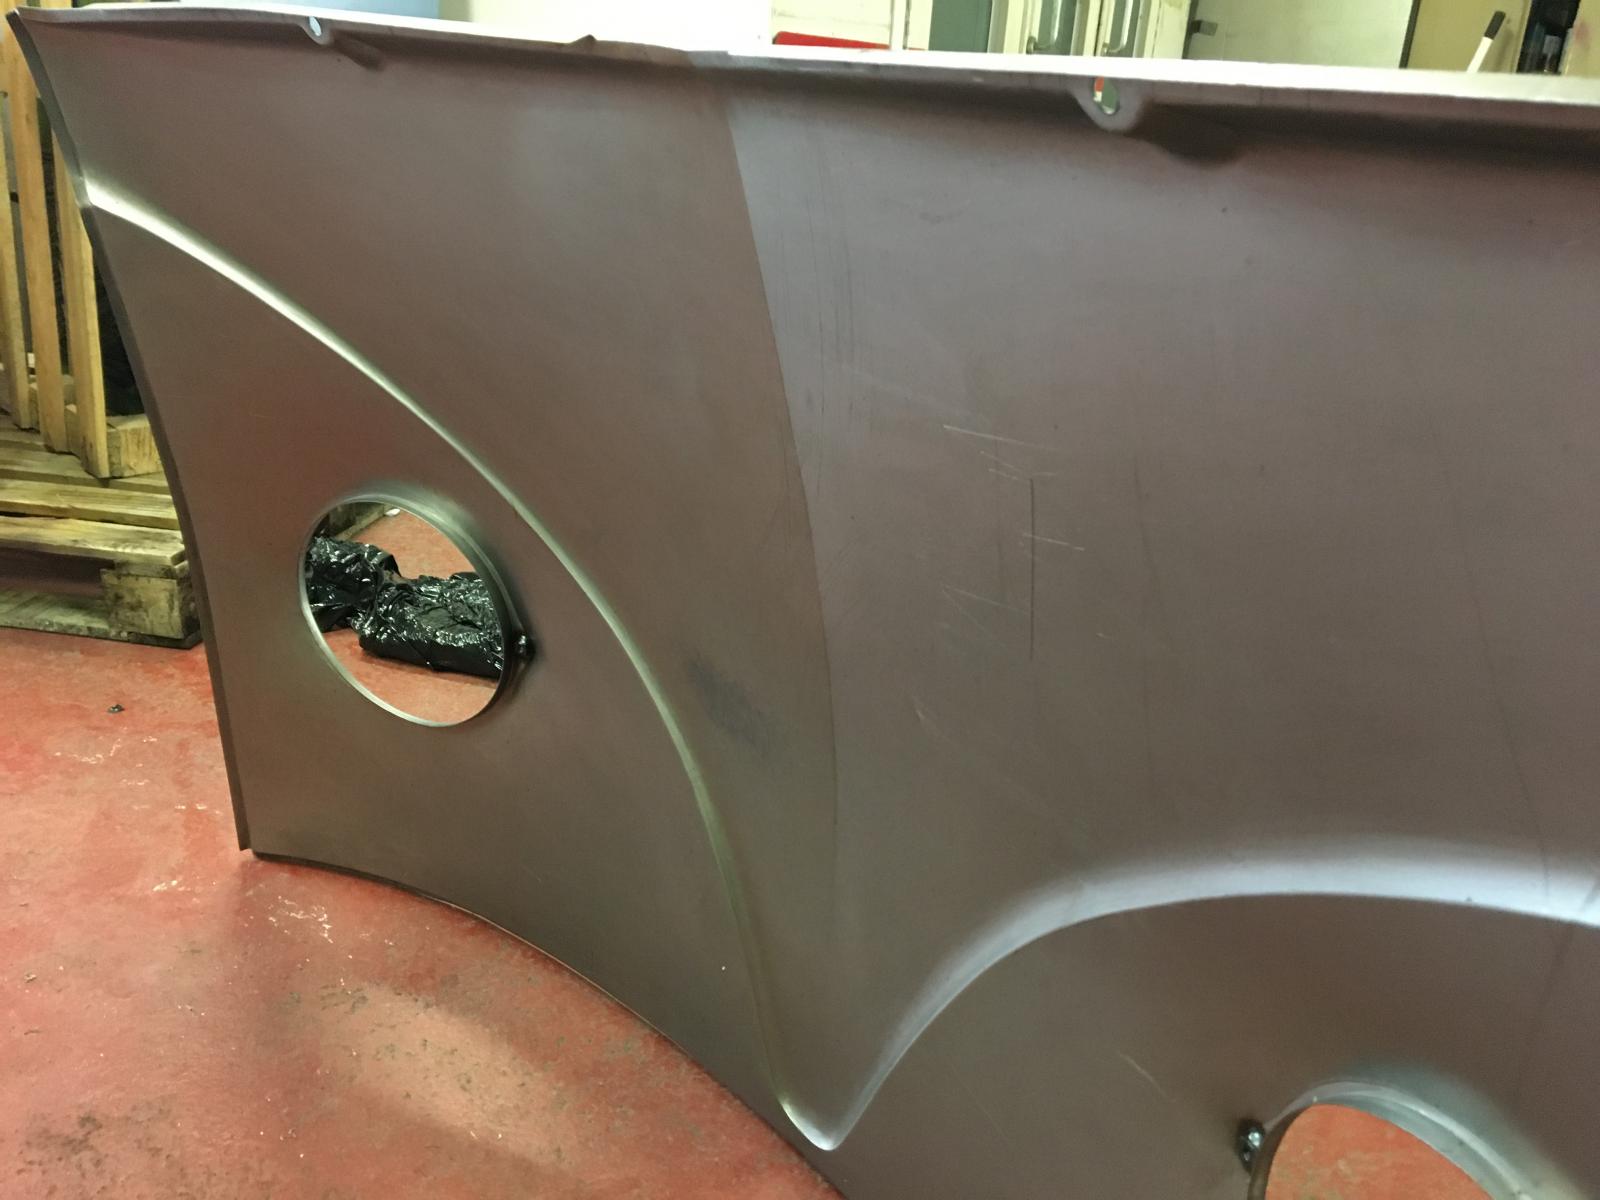
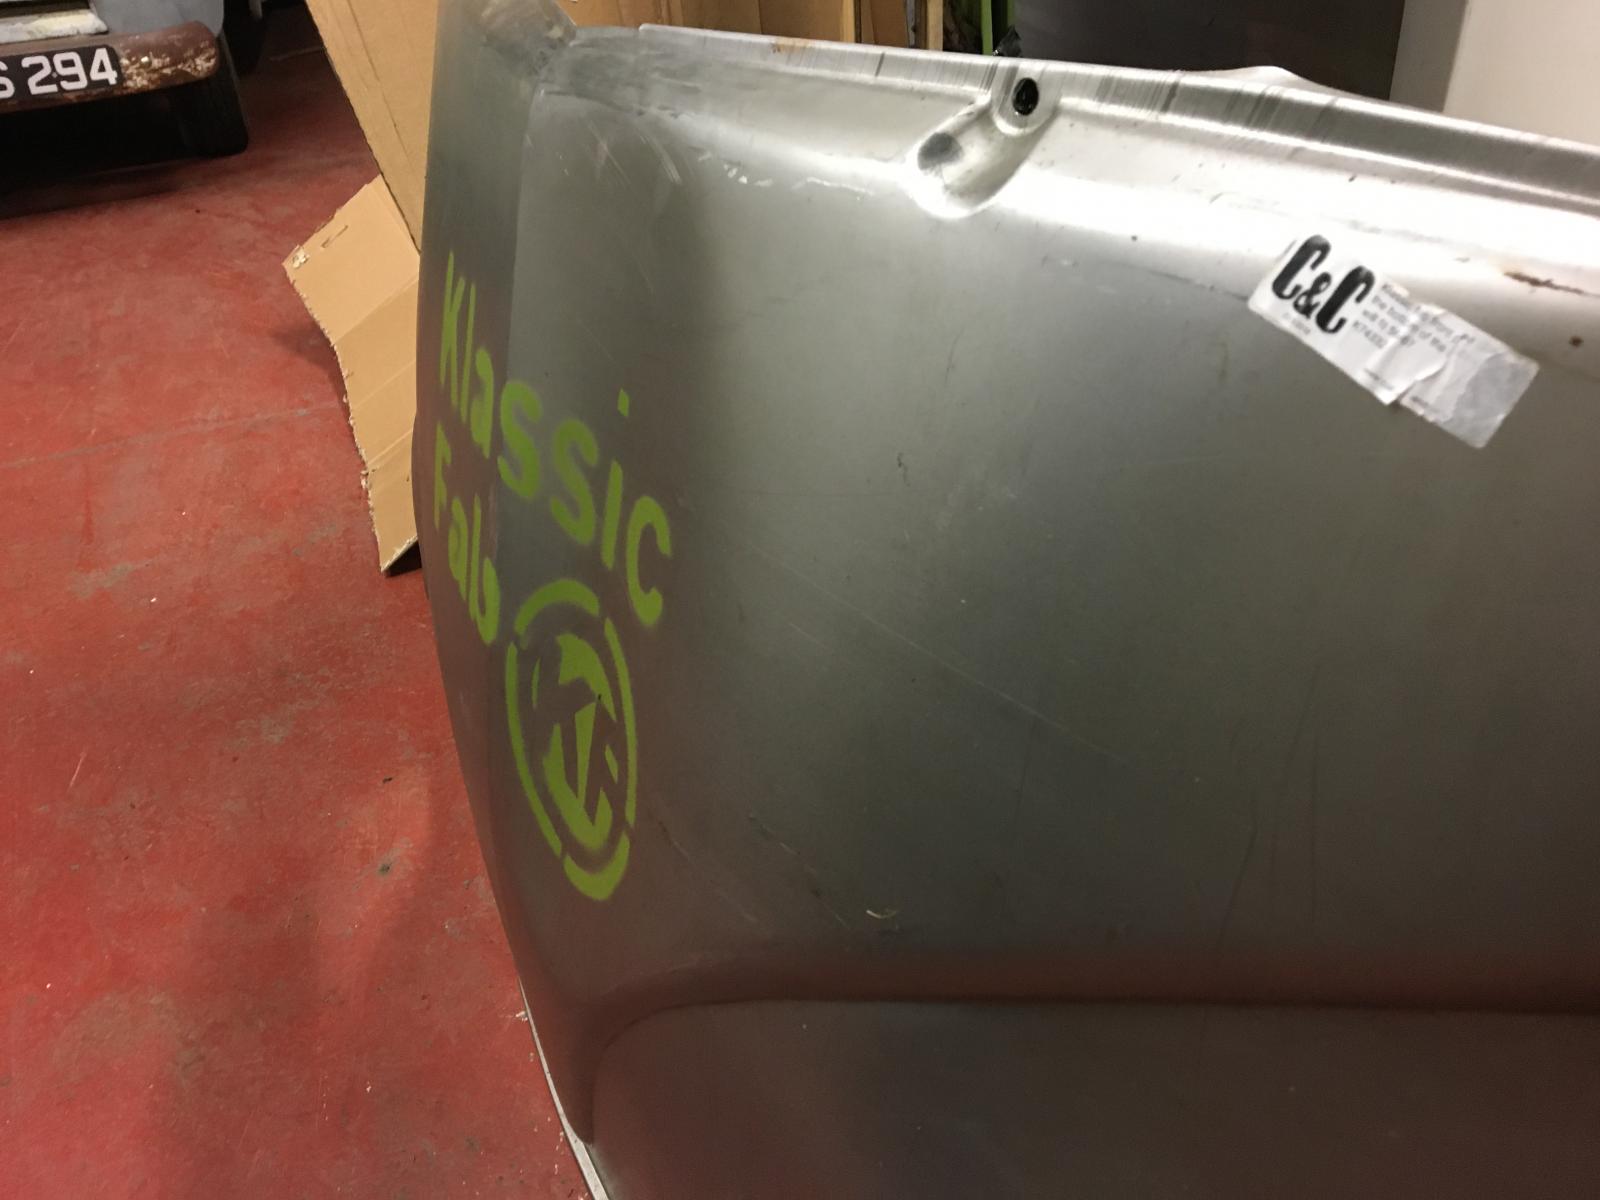
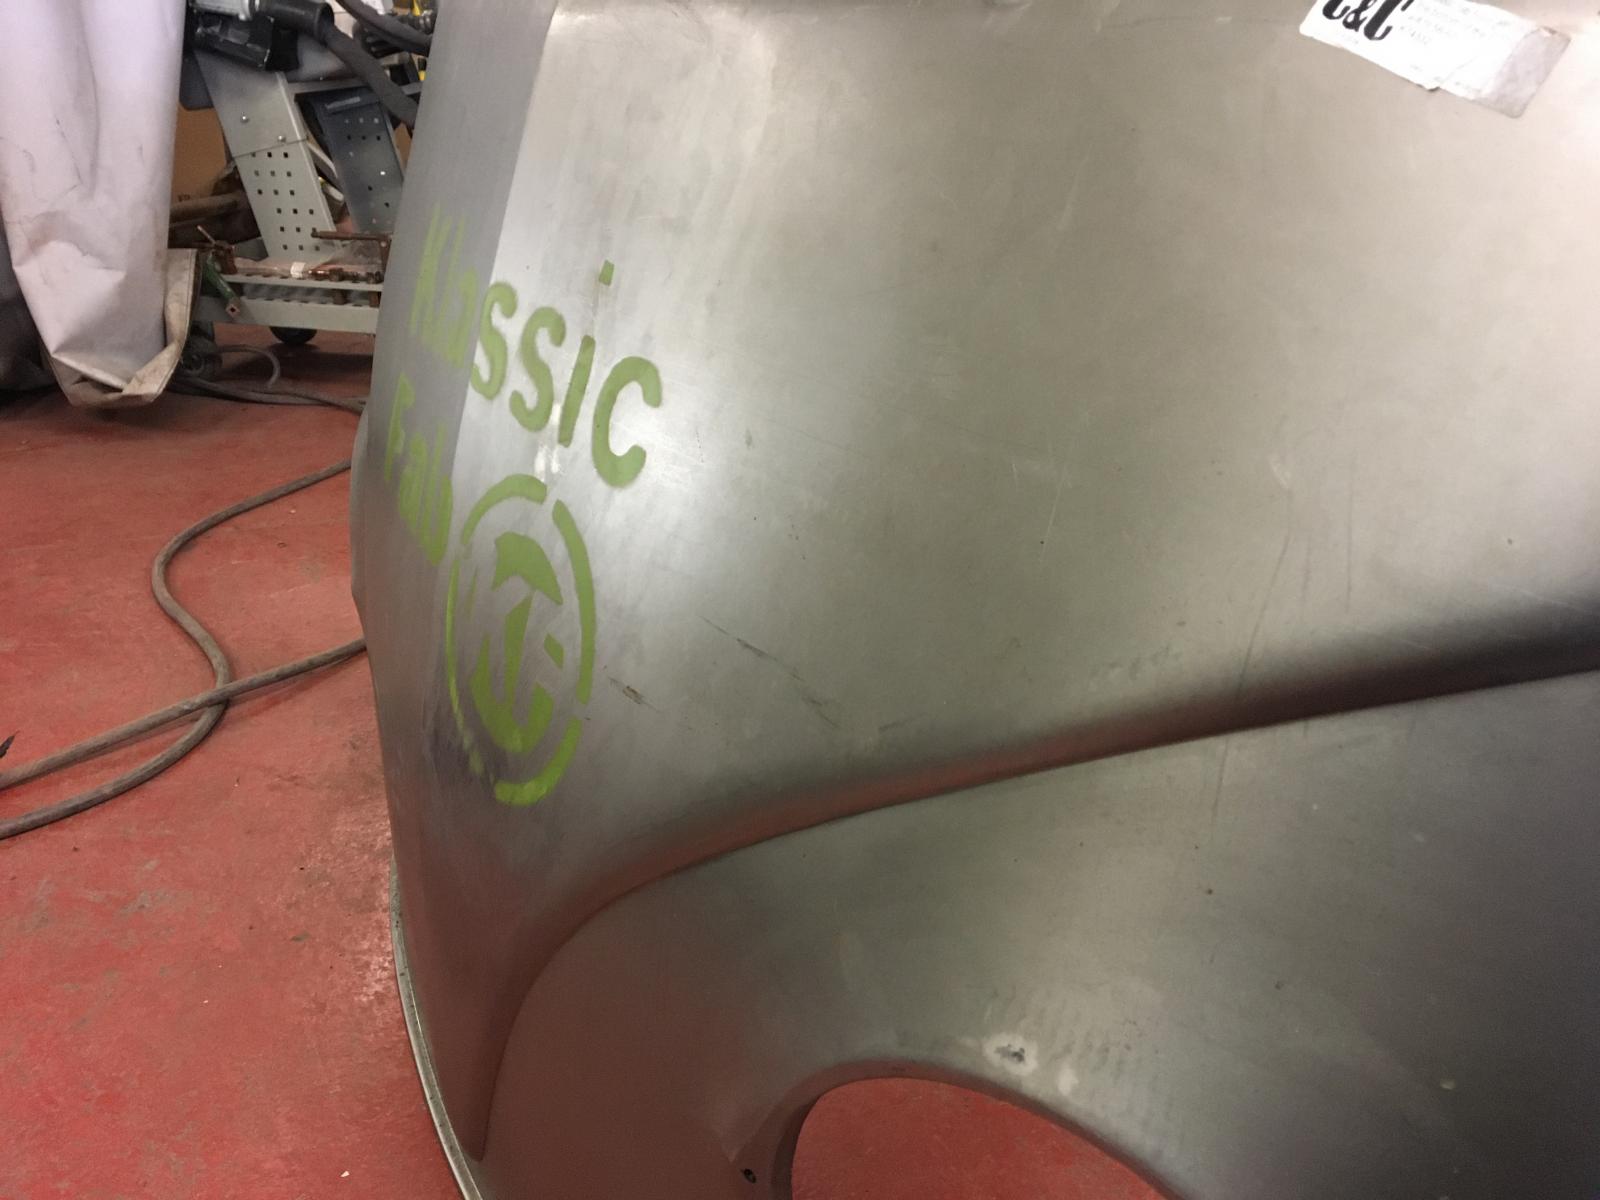
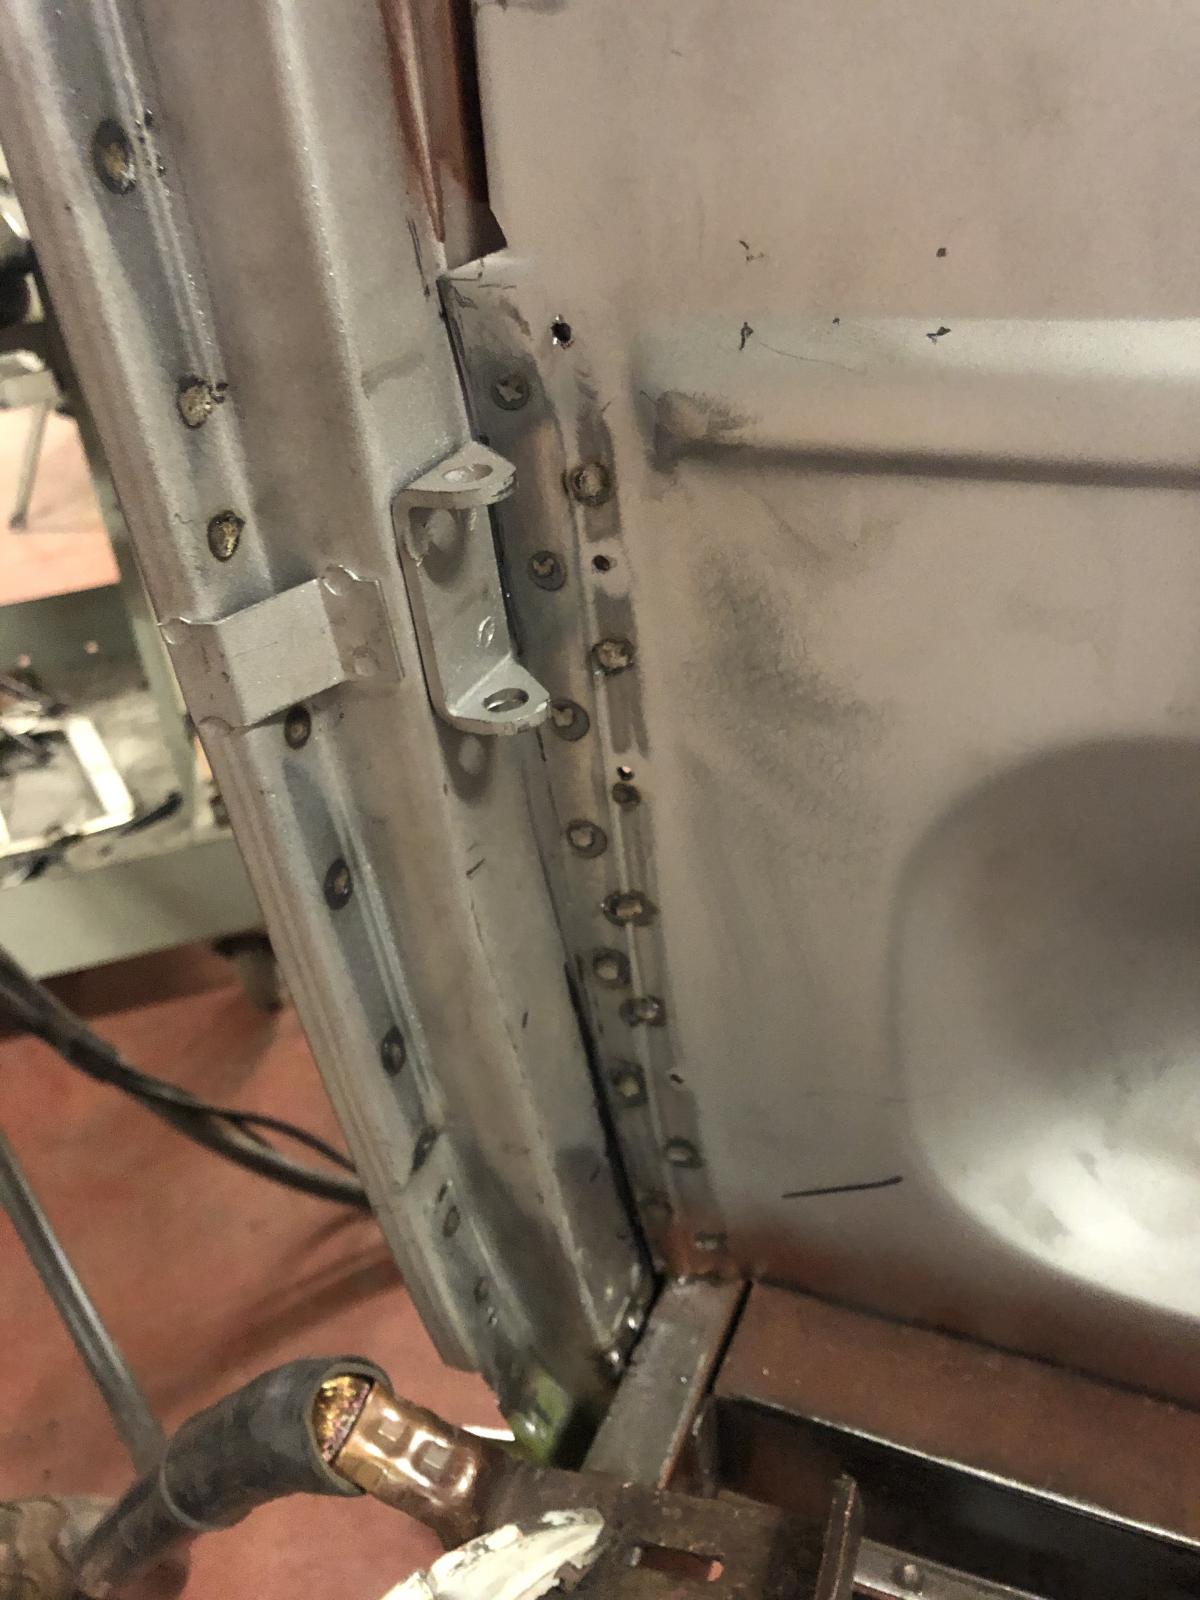
We got the LHS B post spot welded together, and welded to the bulkhead:
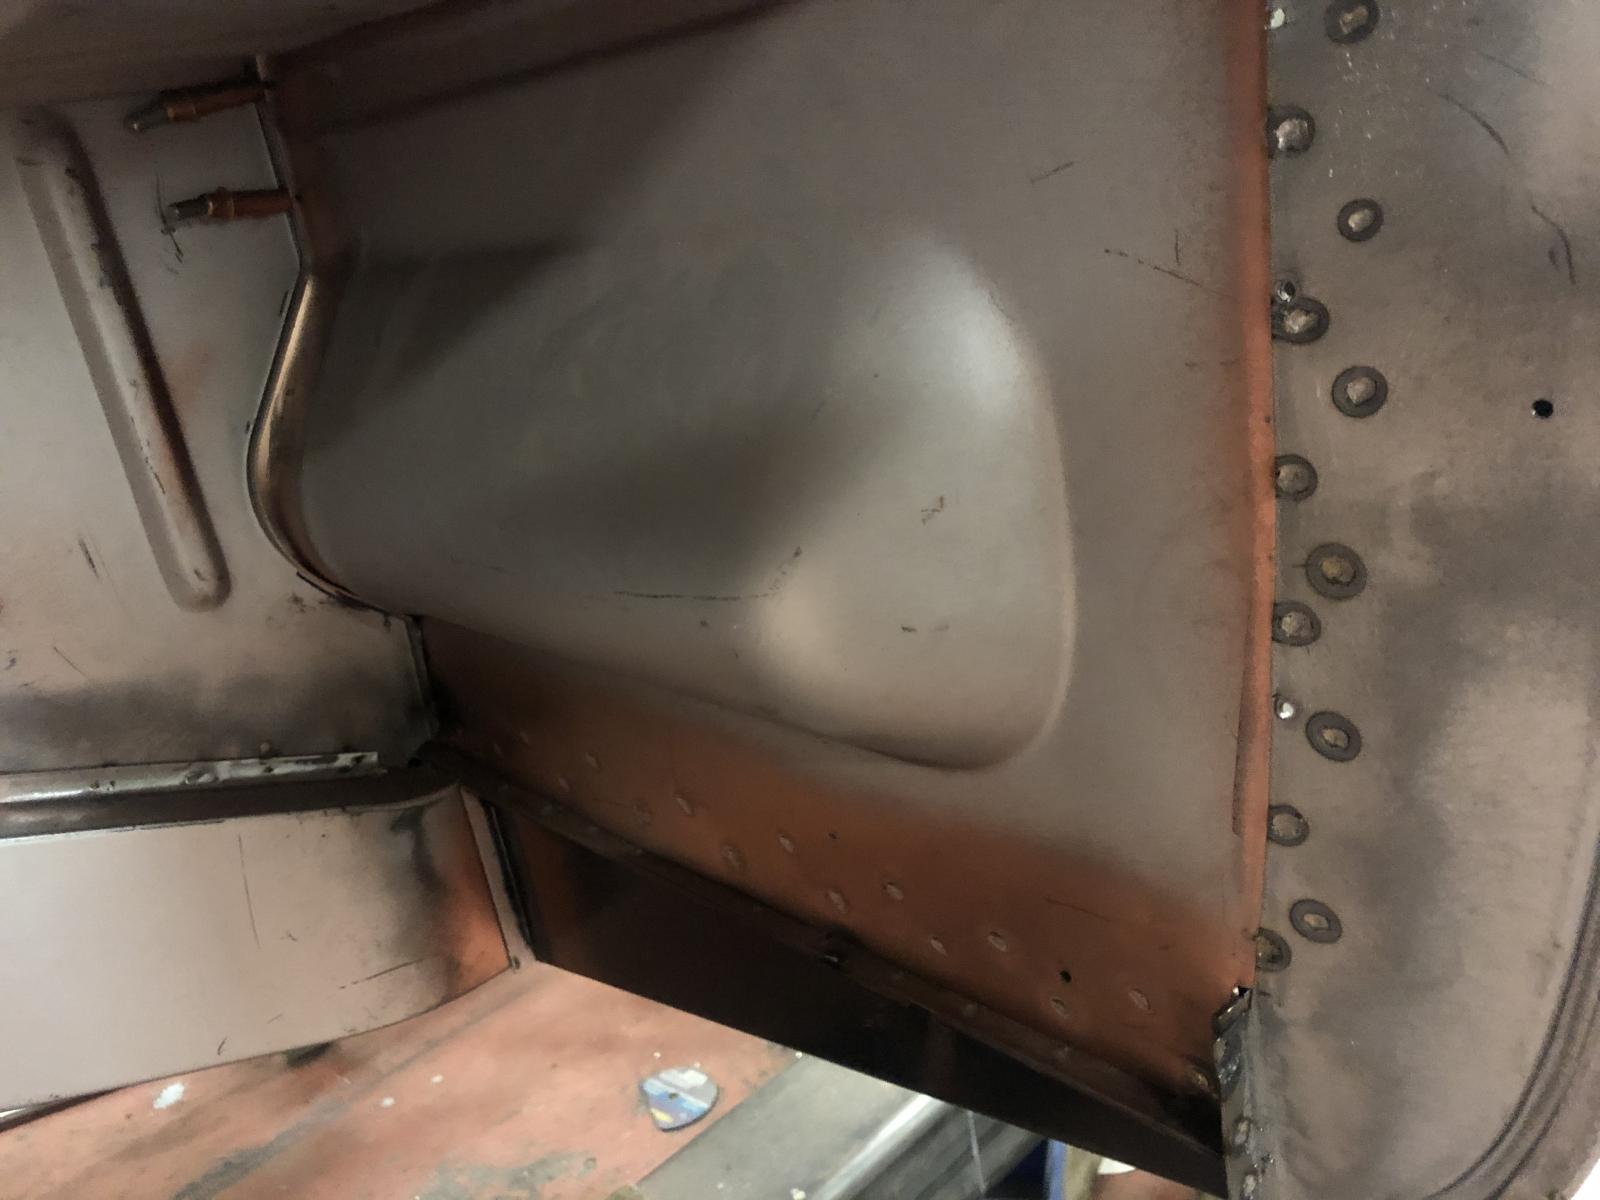
The bulkhead was also spot welded to the front top hat:
The top of the new bulkhead was nothing like factory where it welds to the B post so we made a section for each end and finished it as factory:
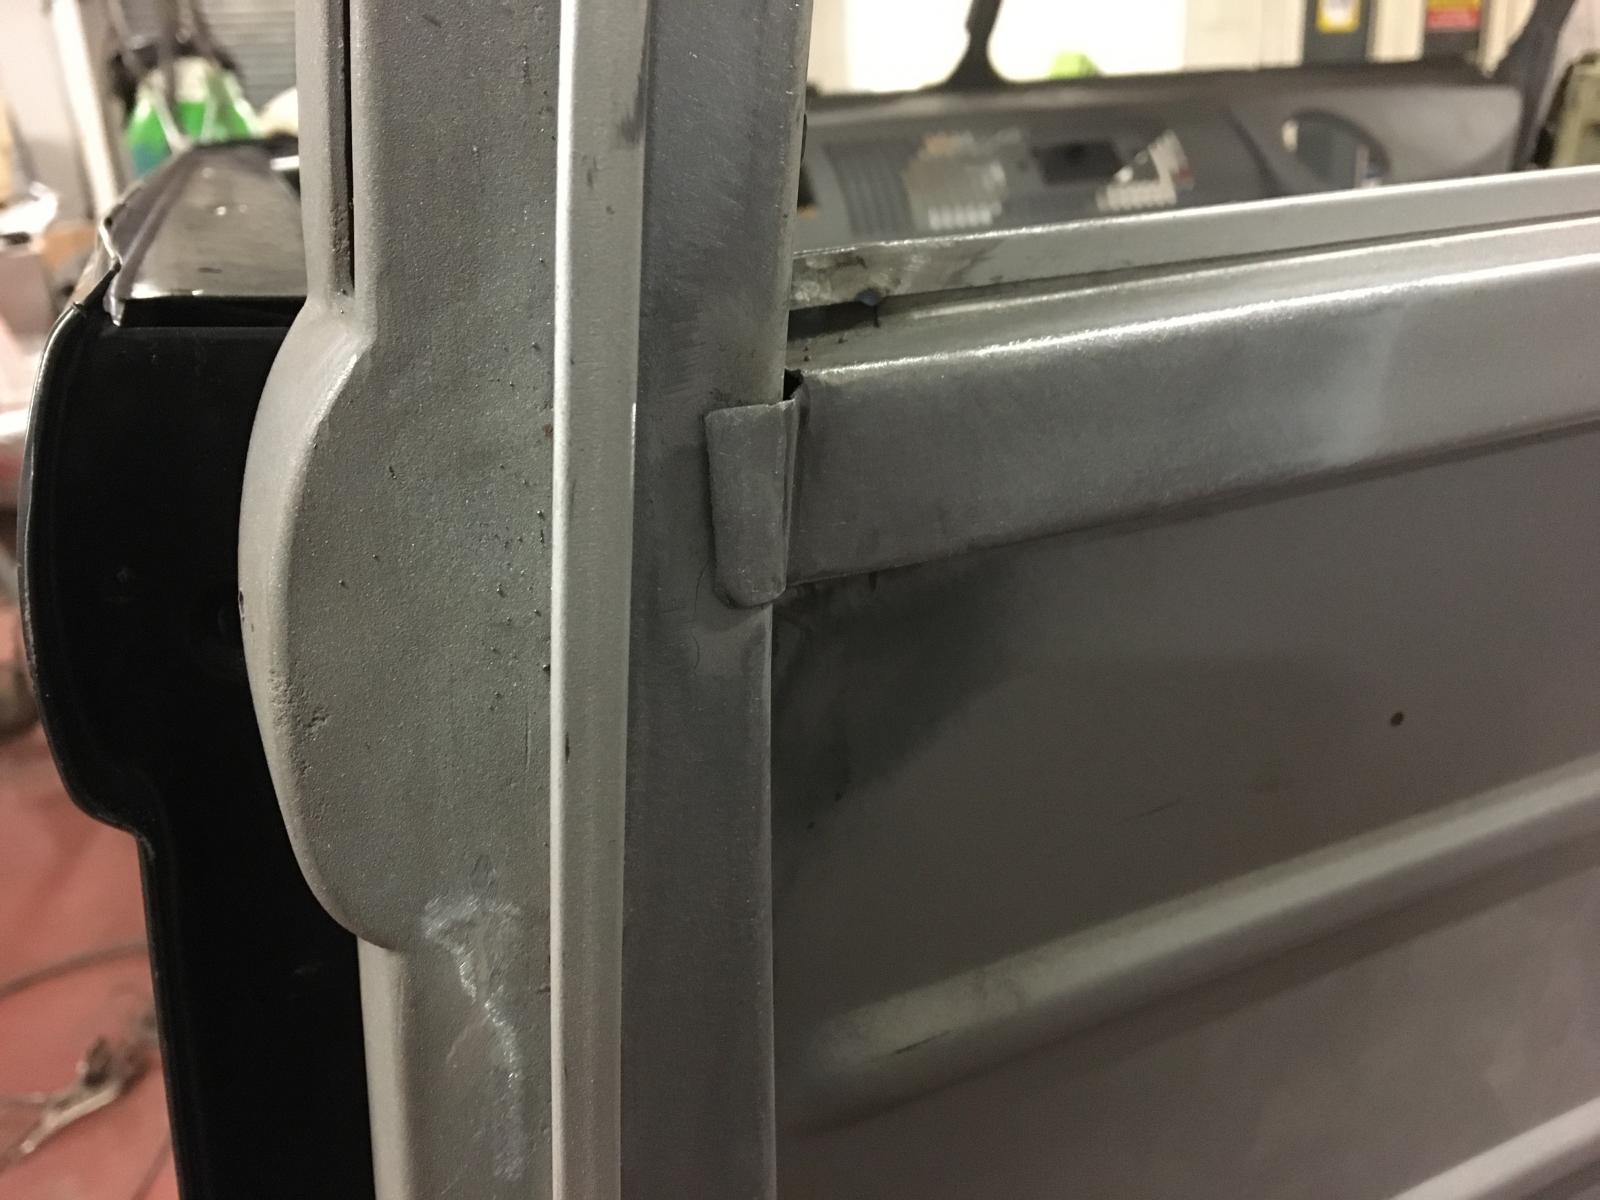
Removed the rotten front kick panel and fitted a new one:
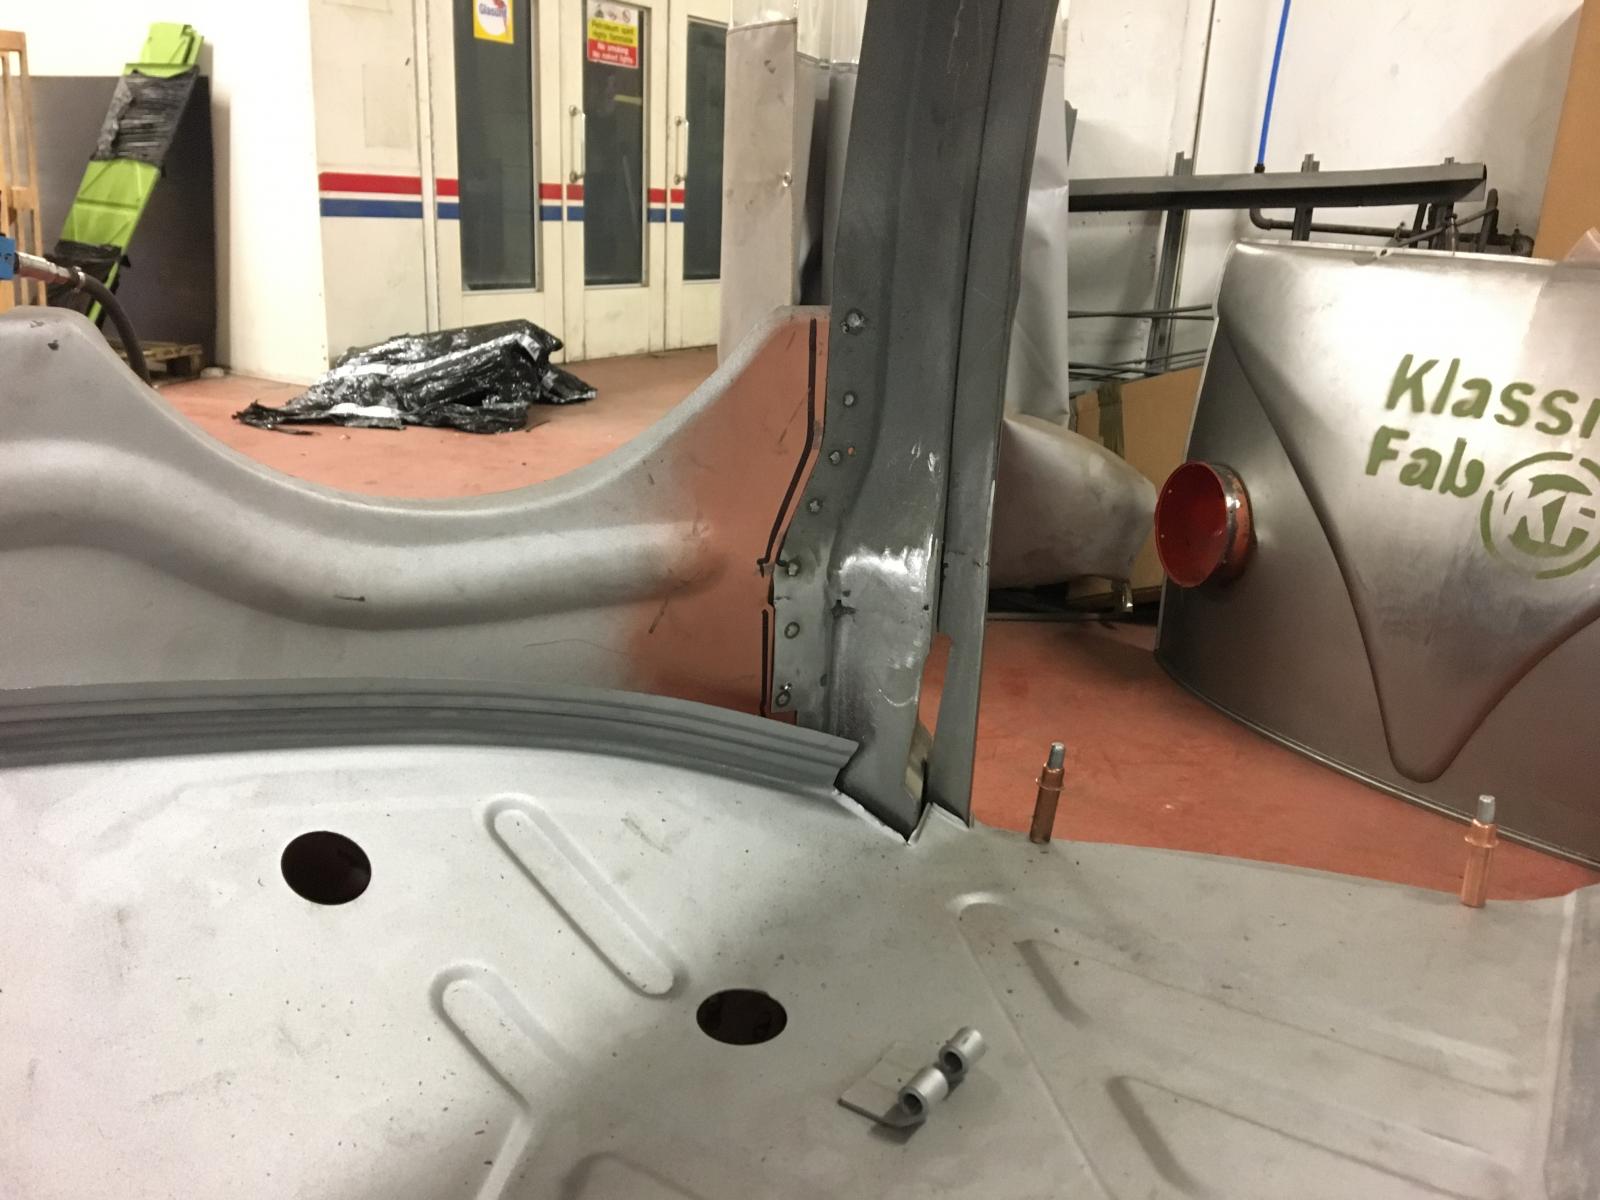
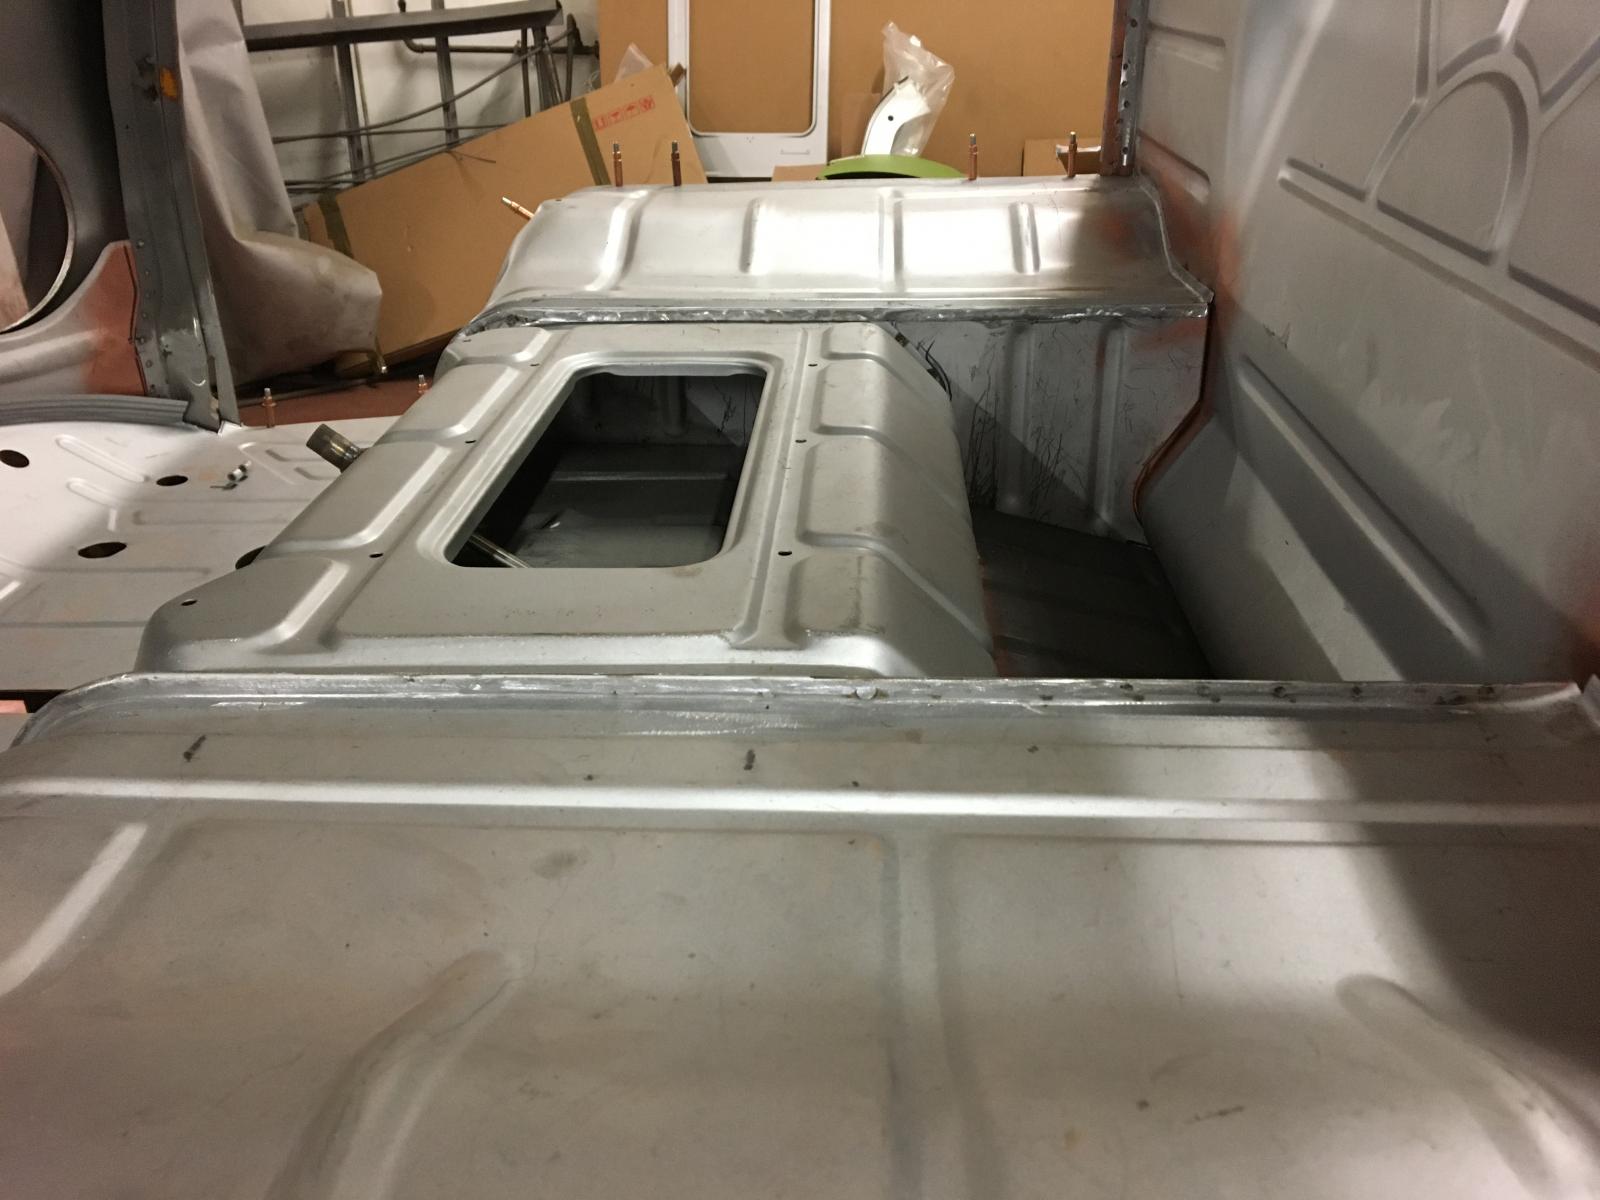
Also welded the tubs to the tool chest area:
We trimmed down a Wolfsburg West windscreen panel down and fit it in place at the correct height using our window frames, then pinned it to the front panel, starting in the centre to get the swage as close as possible:
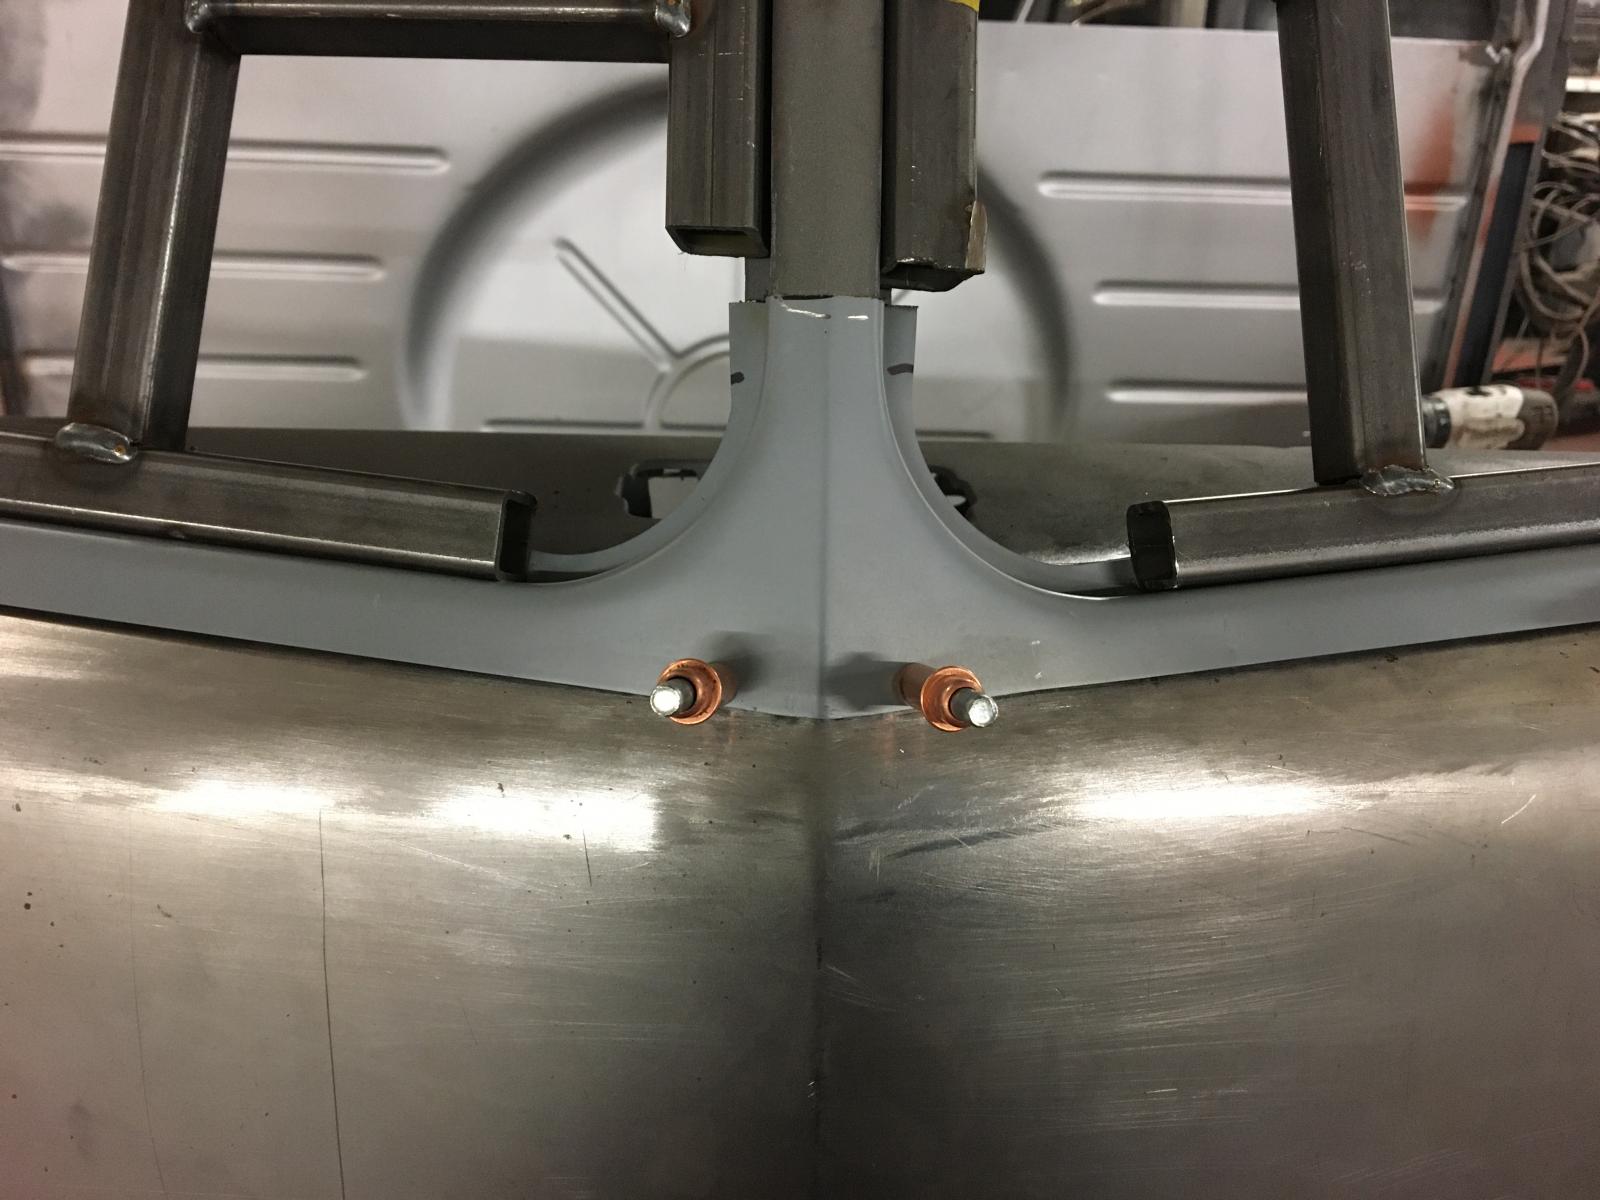
Pinned in place where we want it:
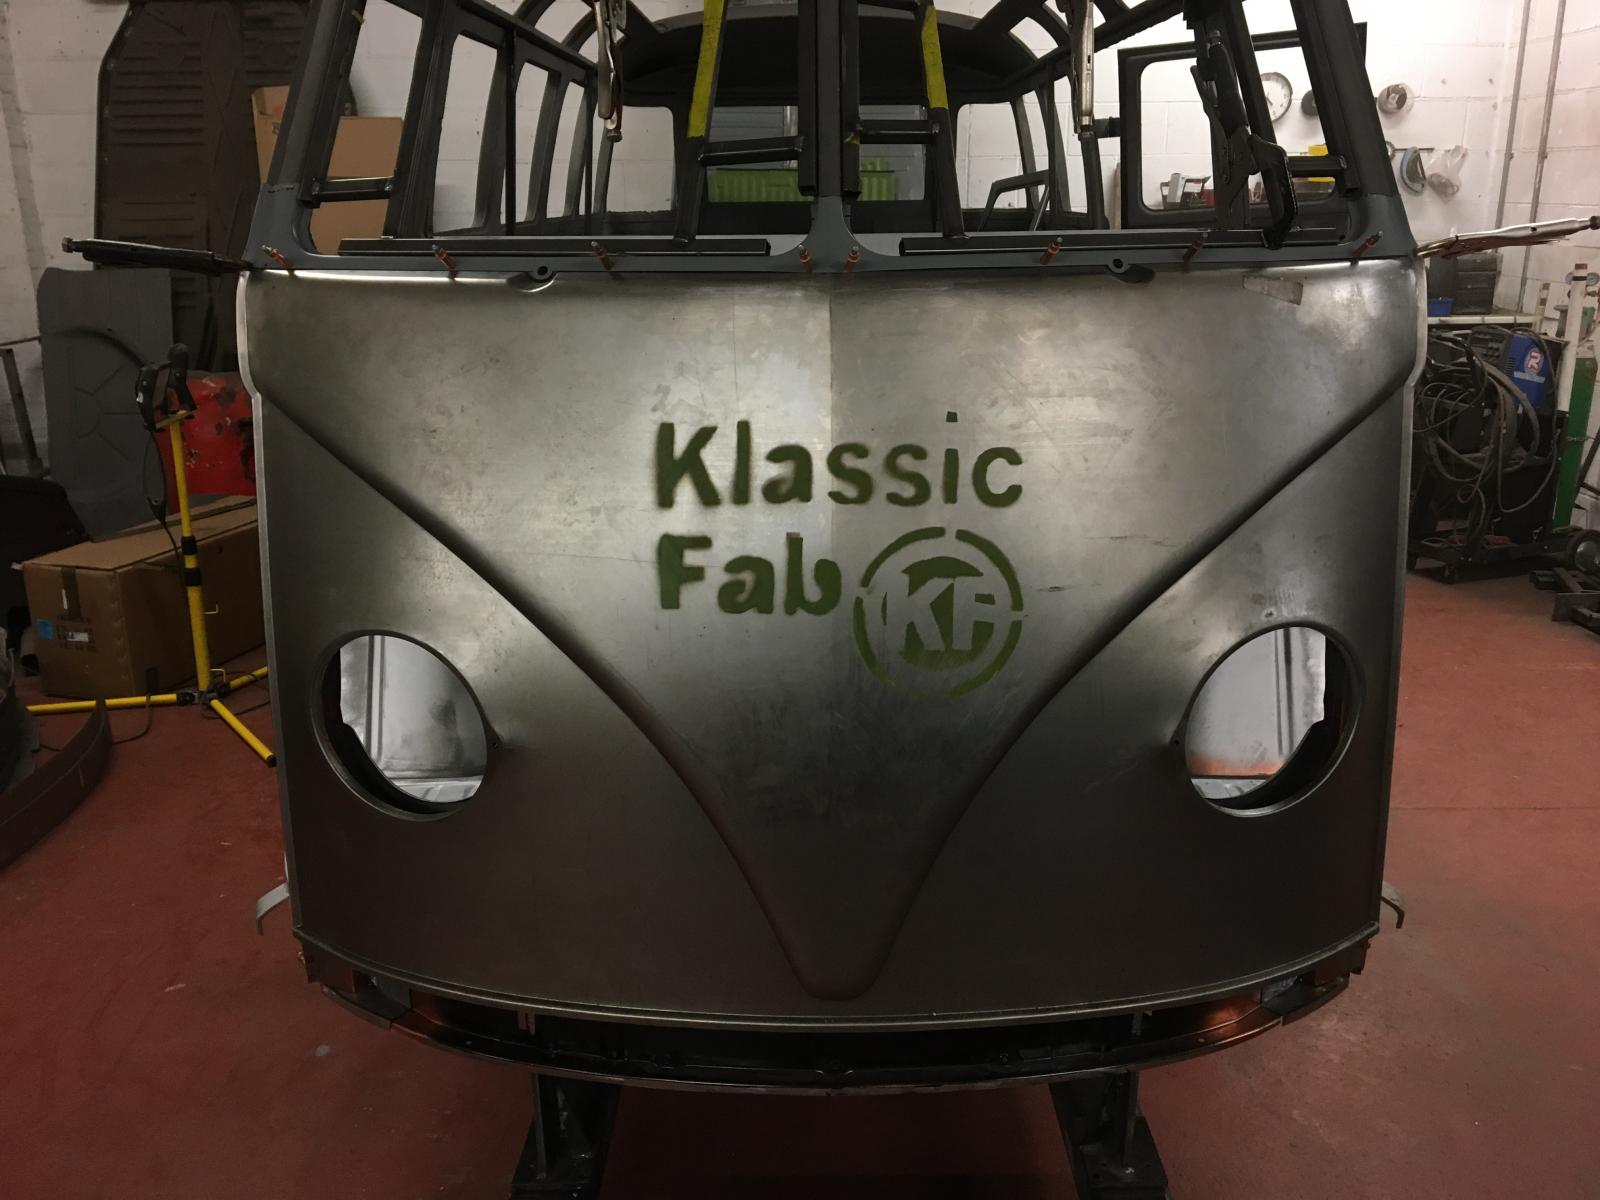
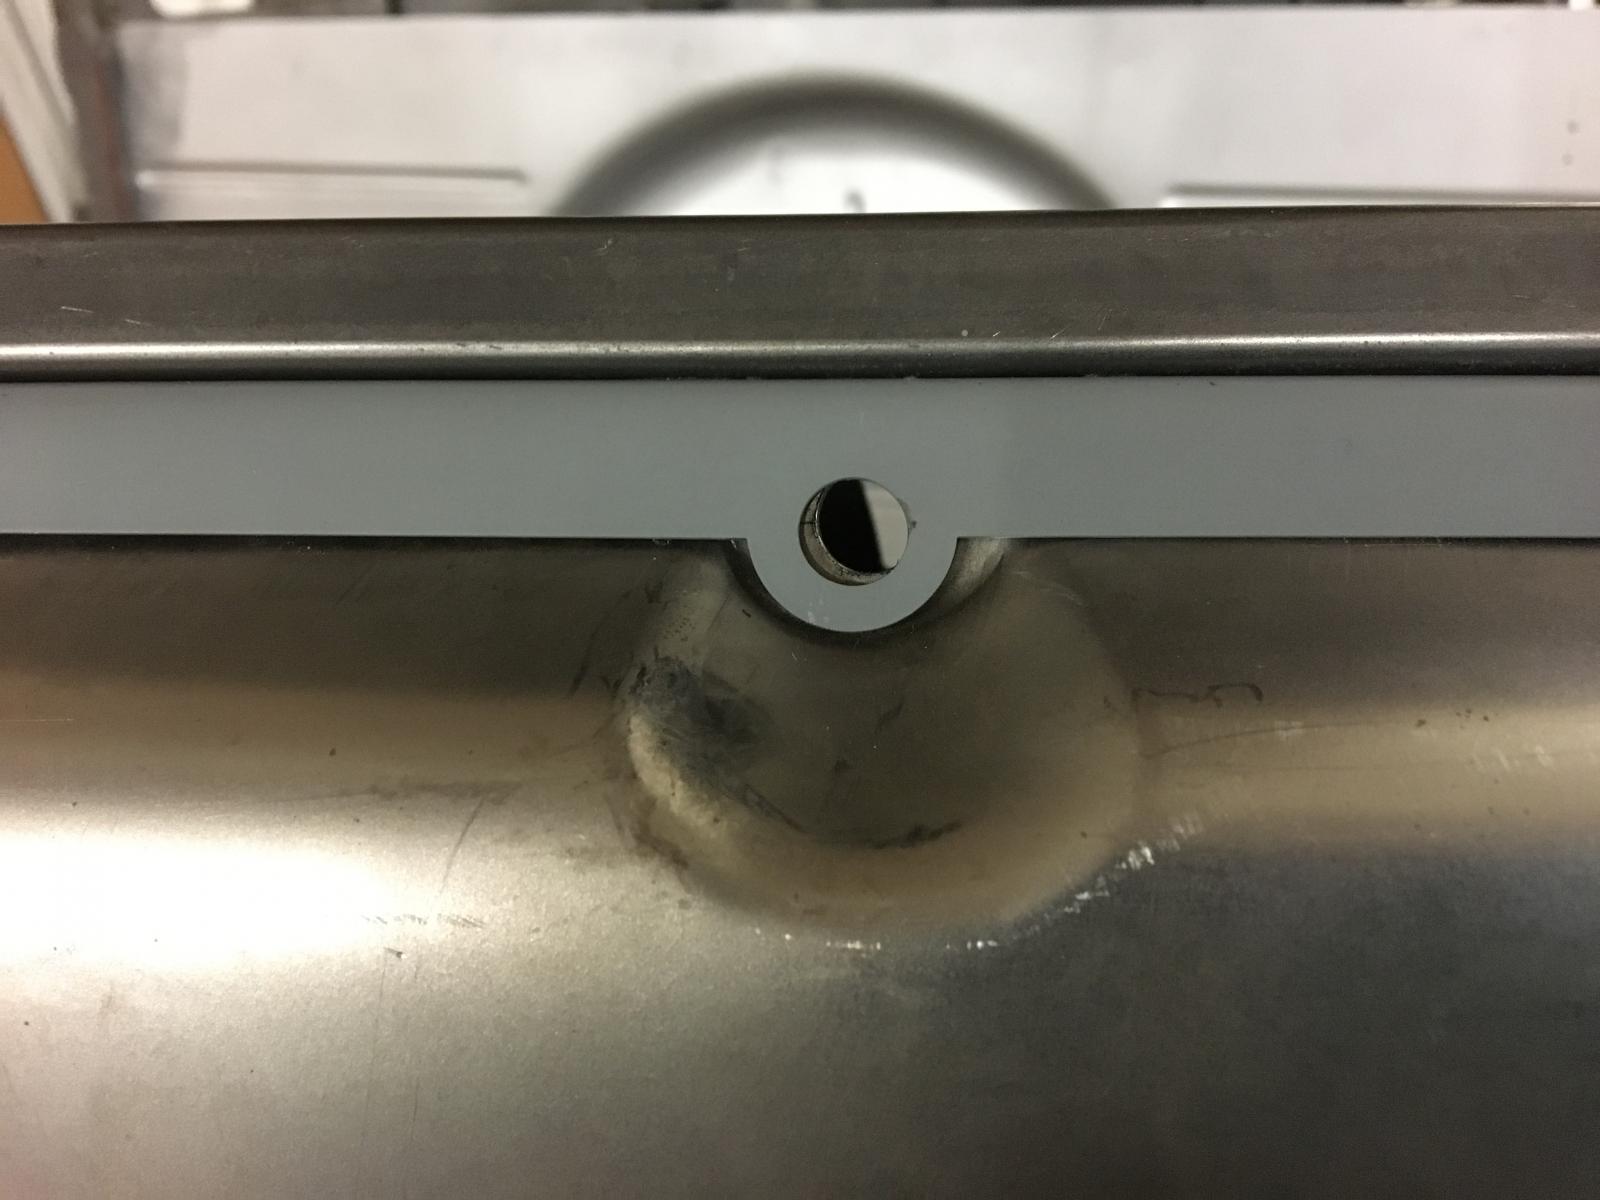
One of the wiper holes and pressings dont line up, so that will need sorting:
And the doglegs pinned in place ready to weld once we are finished with the front panel:
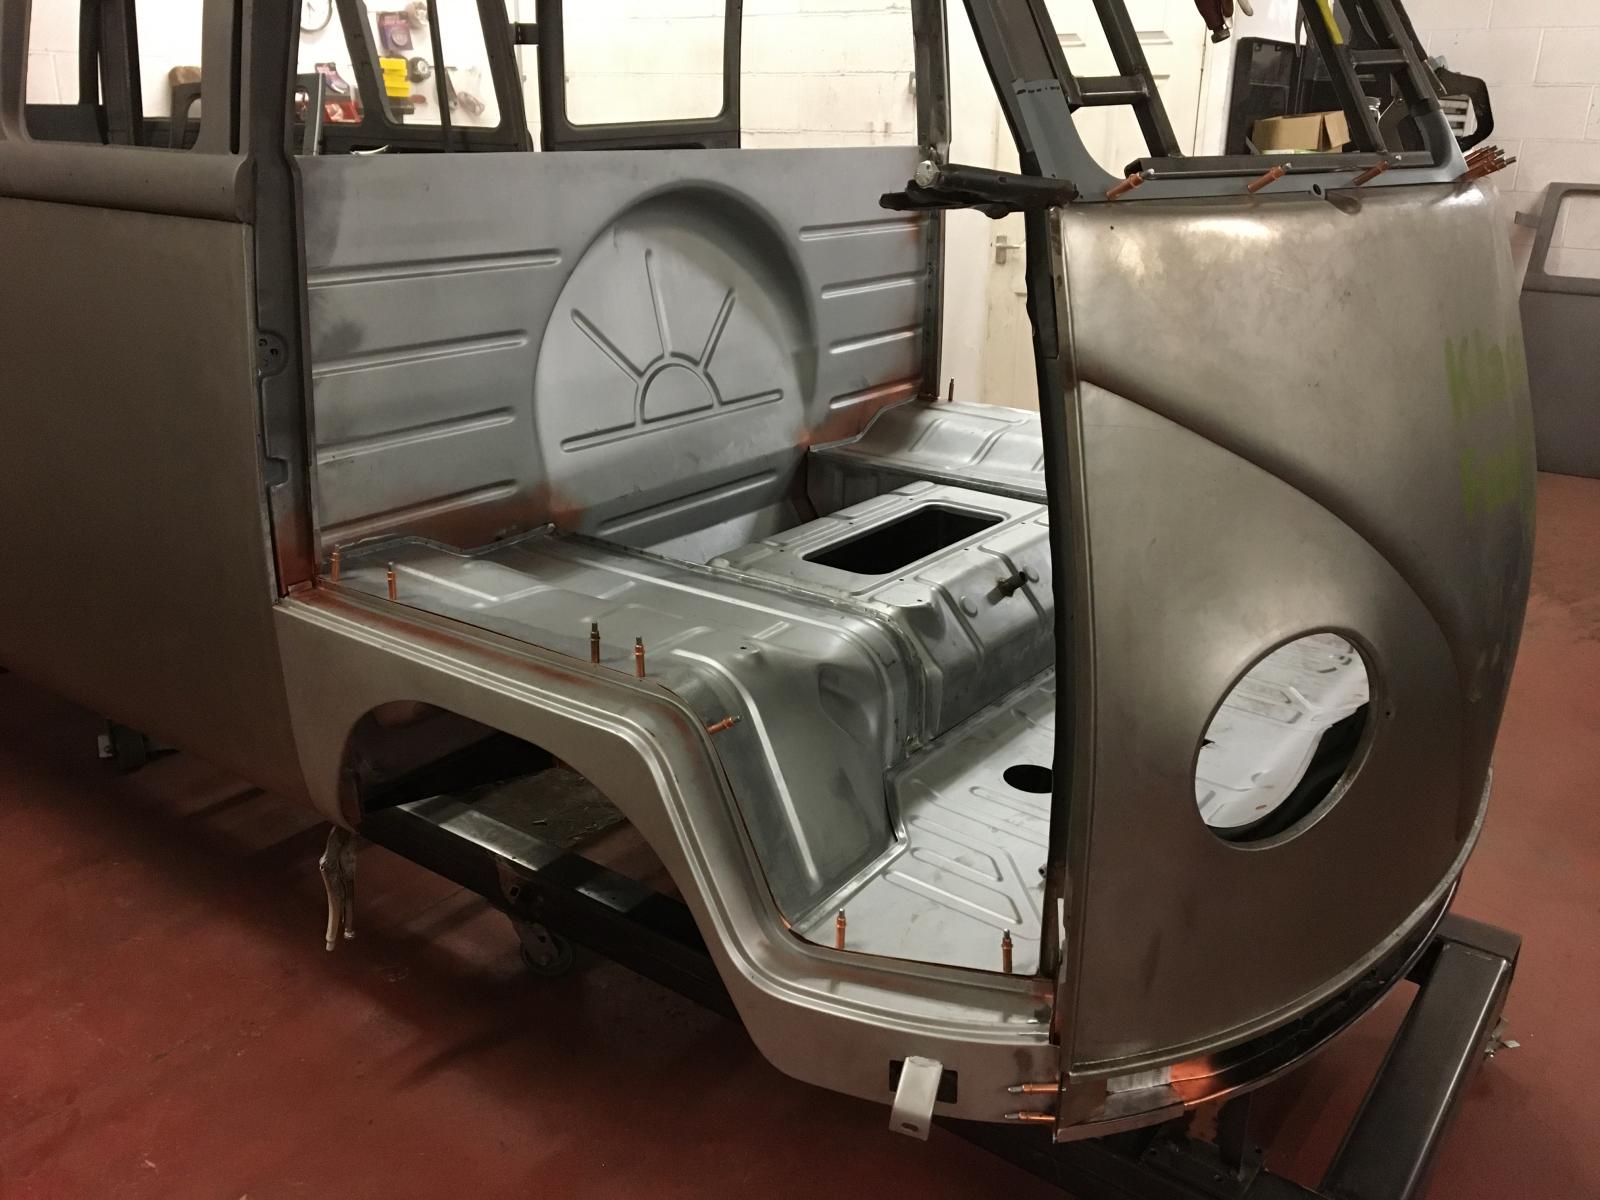
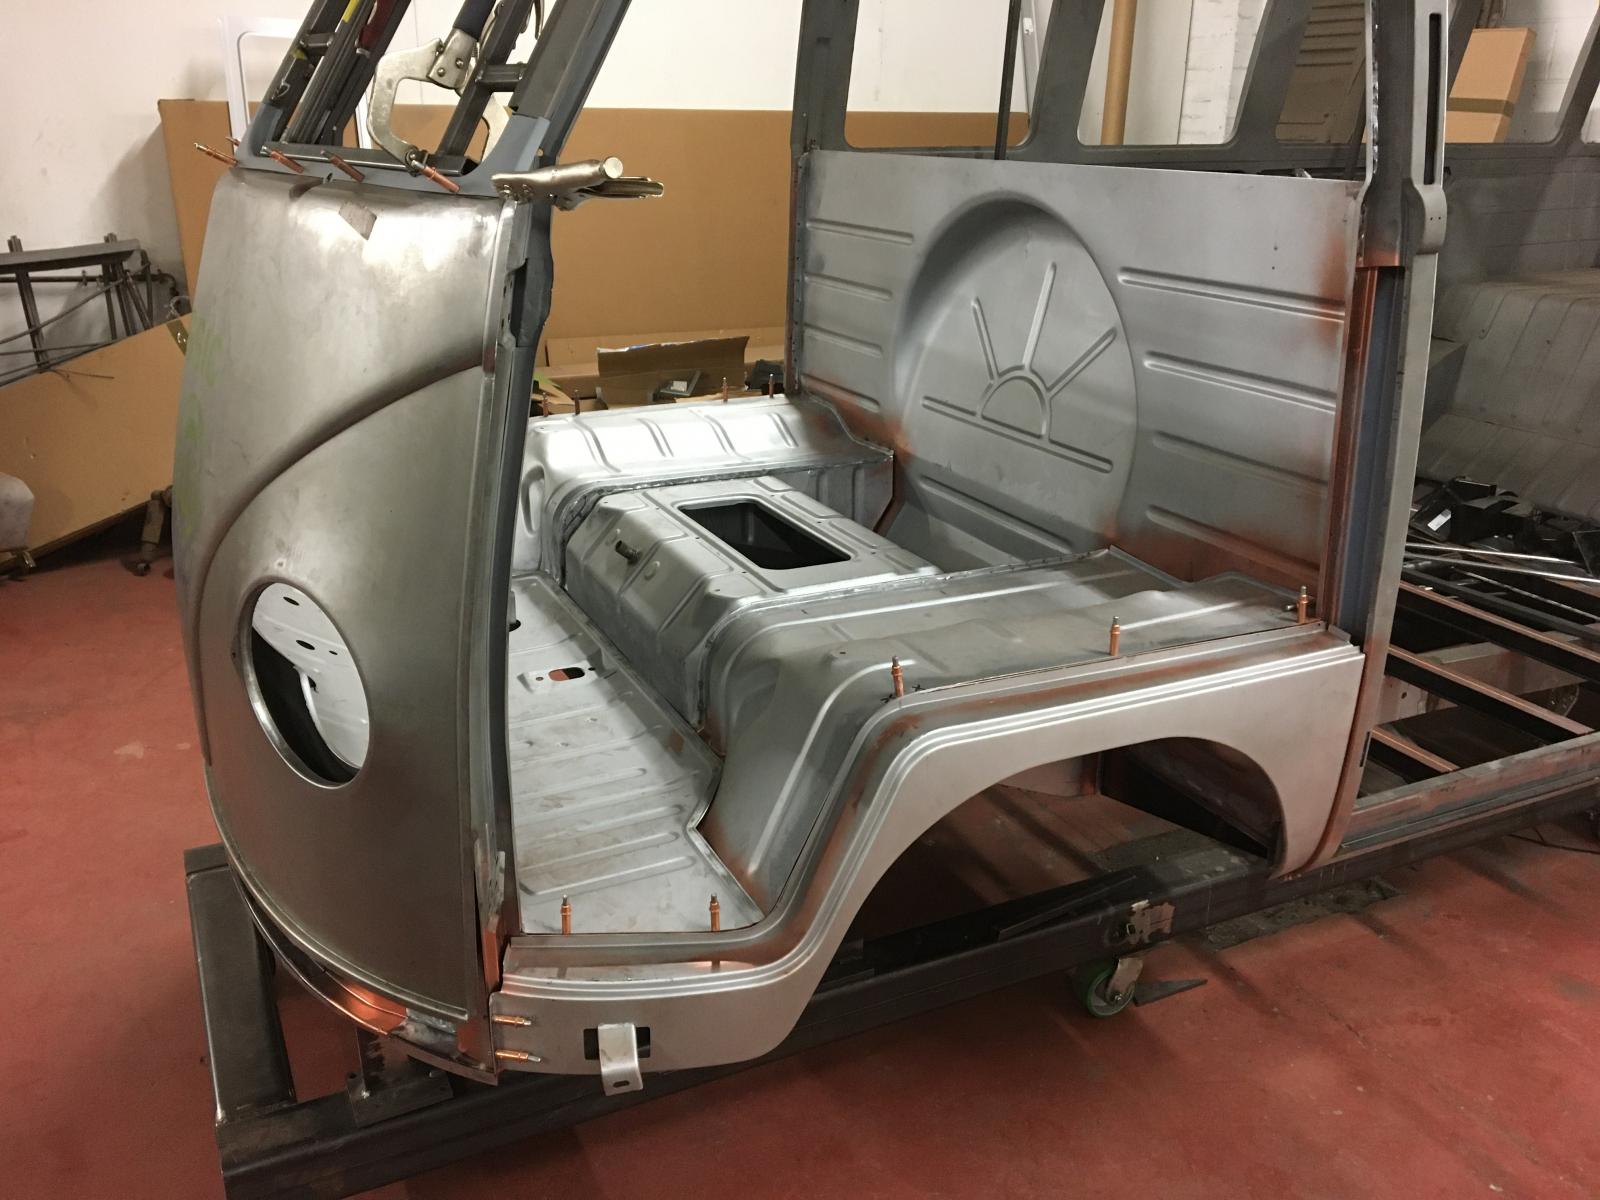
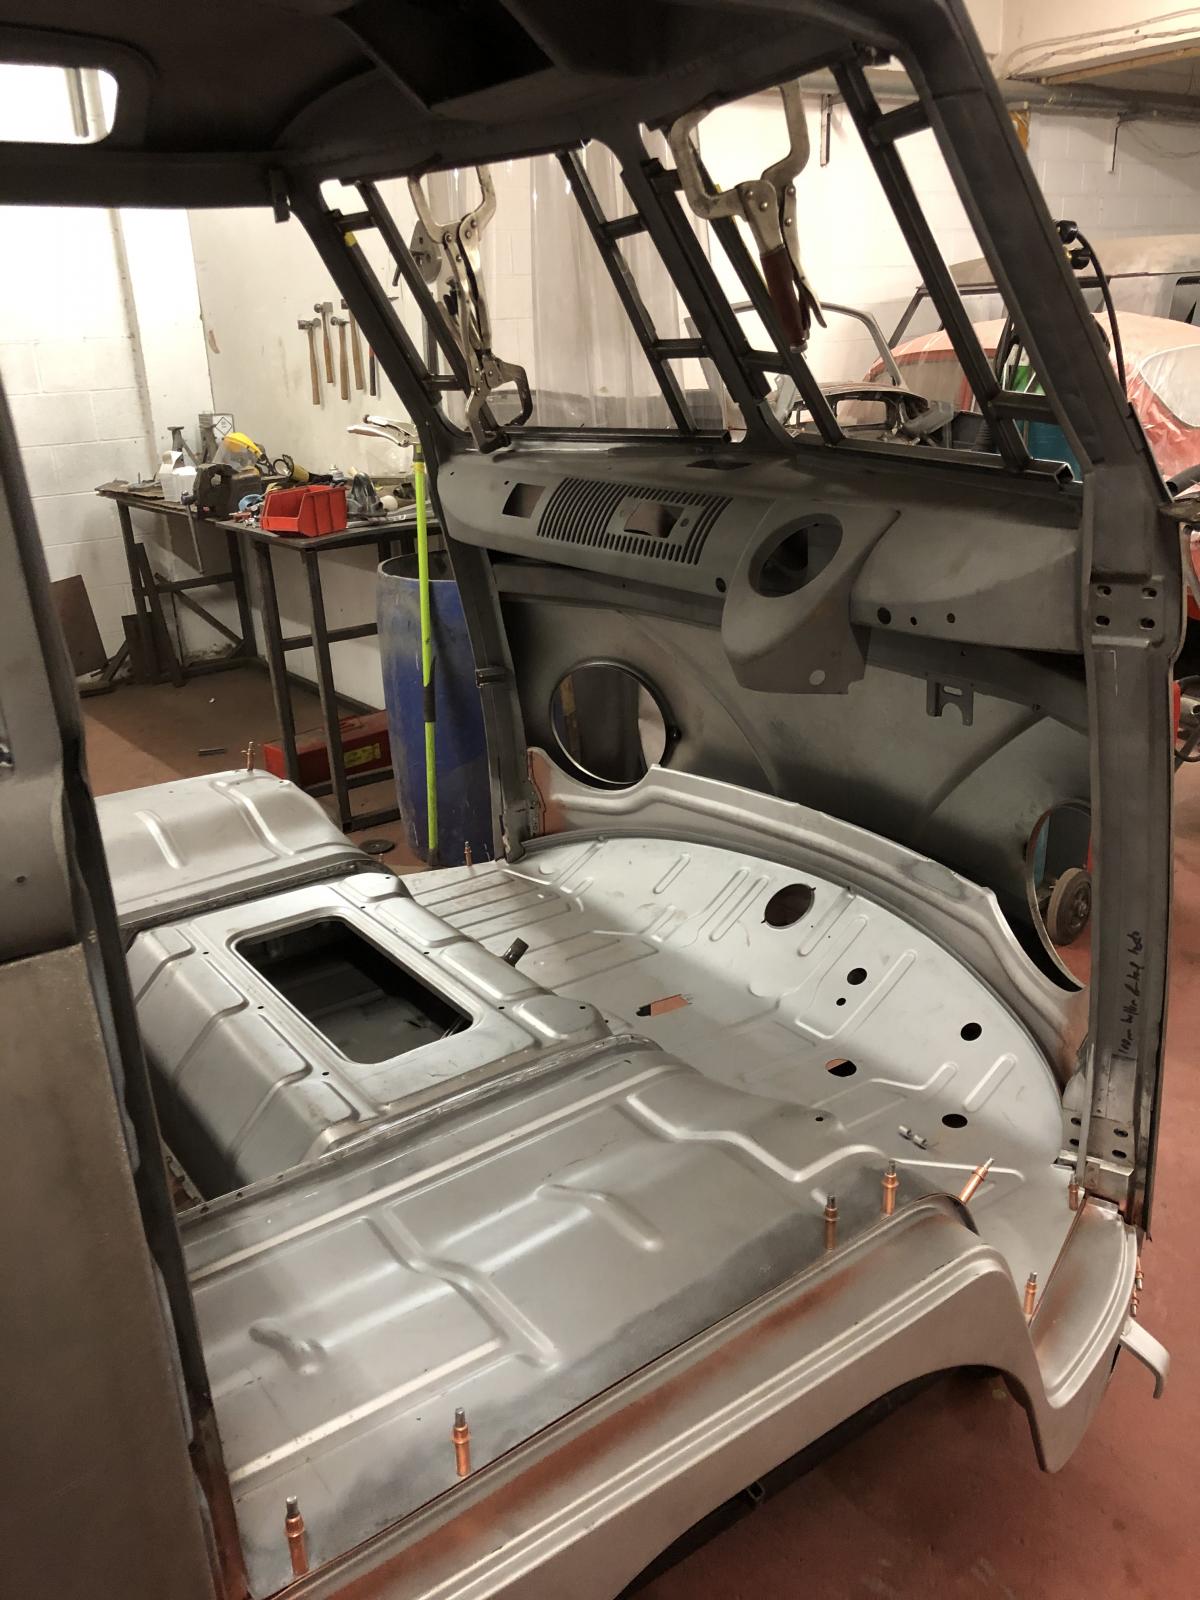
Pleased with how its going
mabbo
SSVC Member
Posts: 83
Joined: Wed Jun 01, 2011 7:09 pm
Re: 1956 RHD Swedish 23 window samba full restoration
by mabbo » Sat Feb 08, 2020 3:53 pm
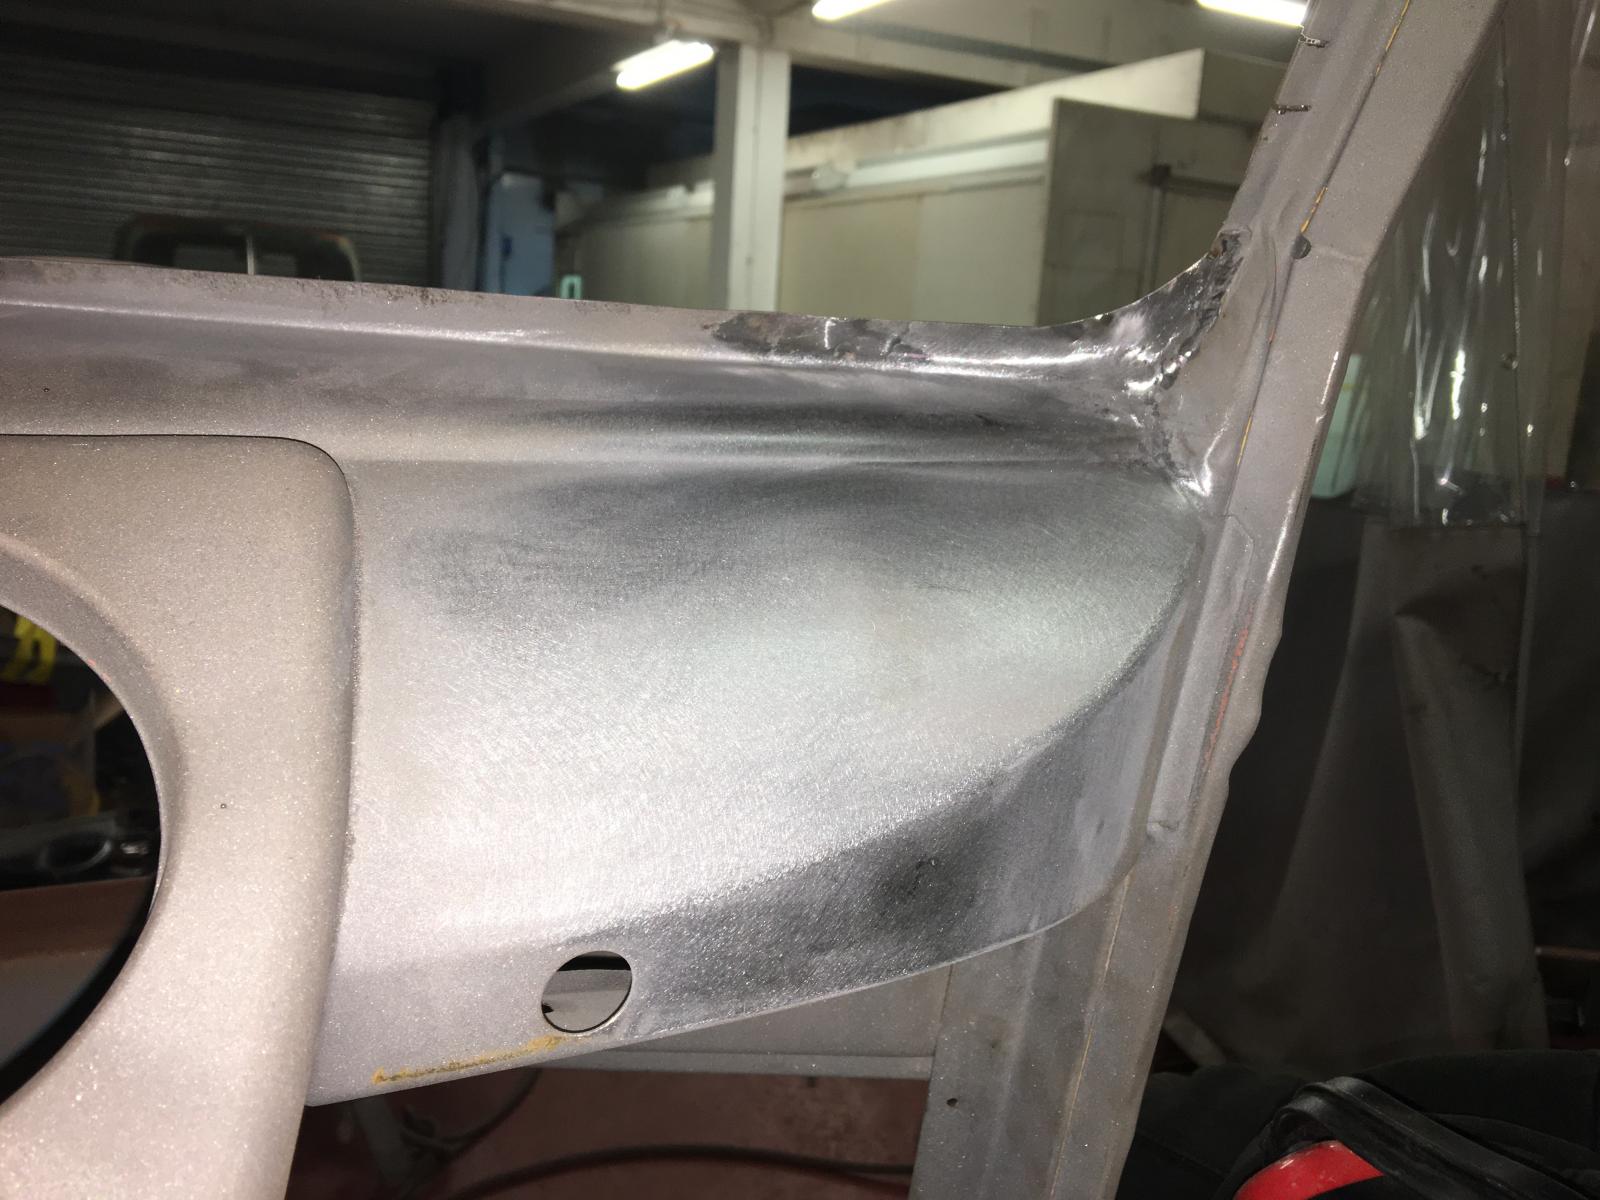
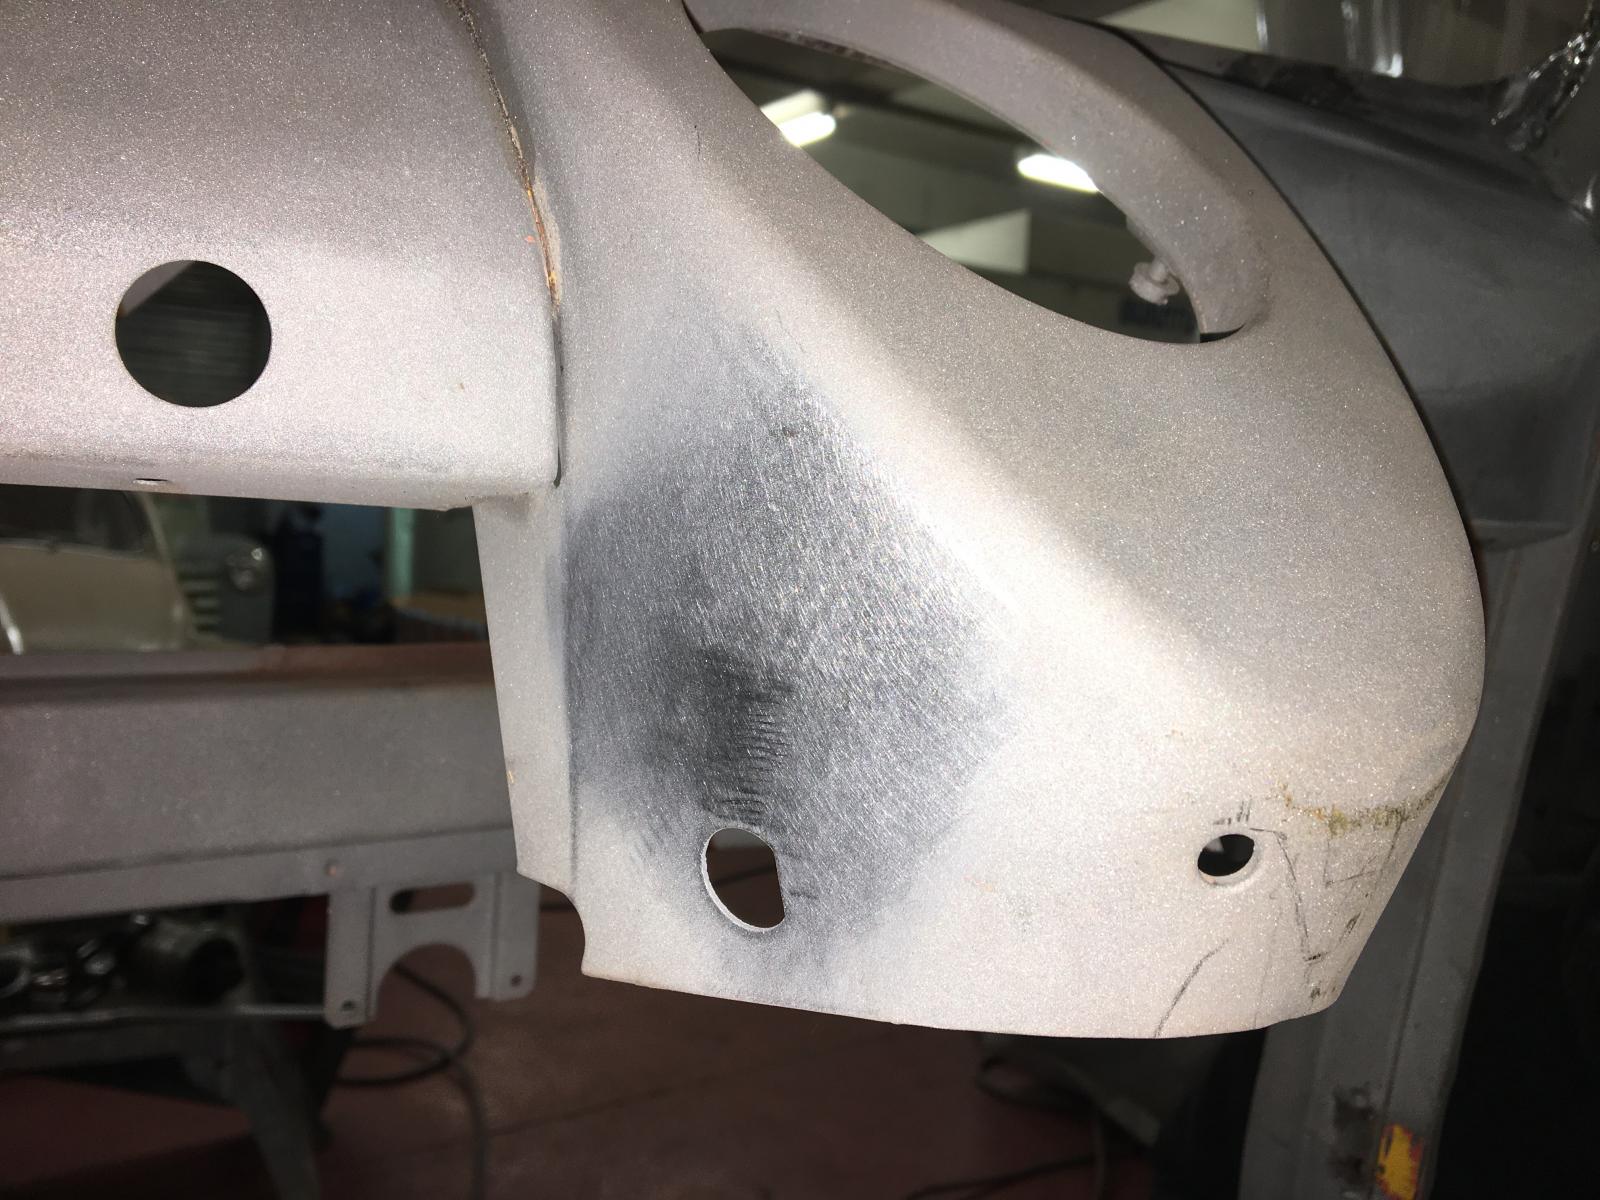
The corner of the dash and window frame was rotten so I made a small repair panel and welded that in:
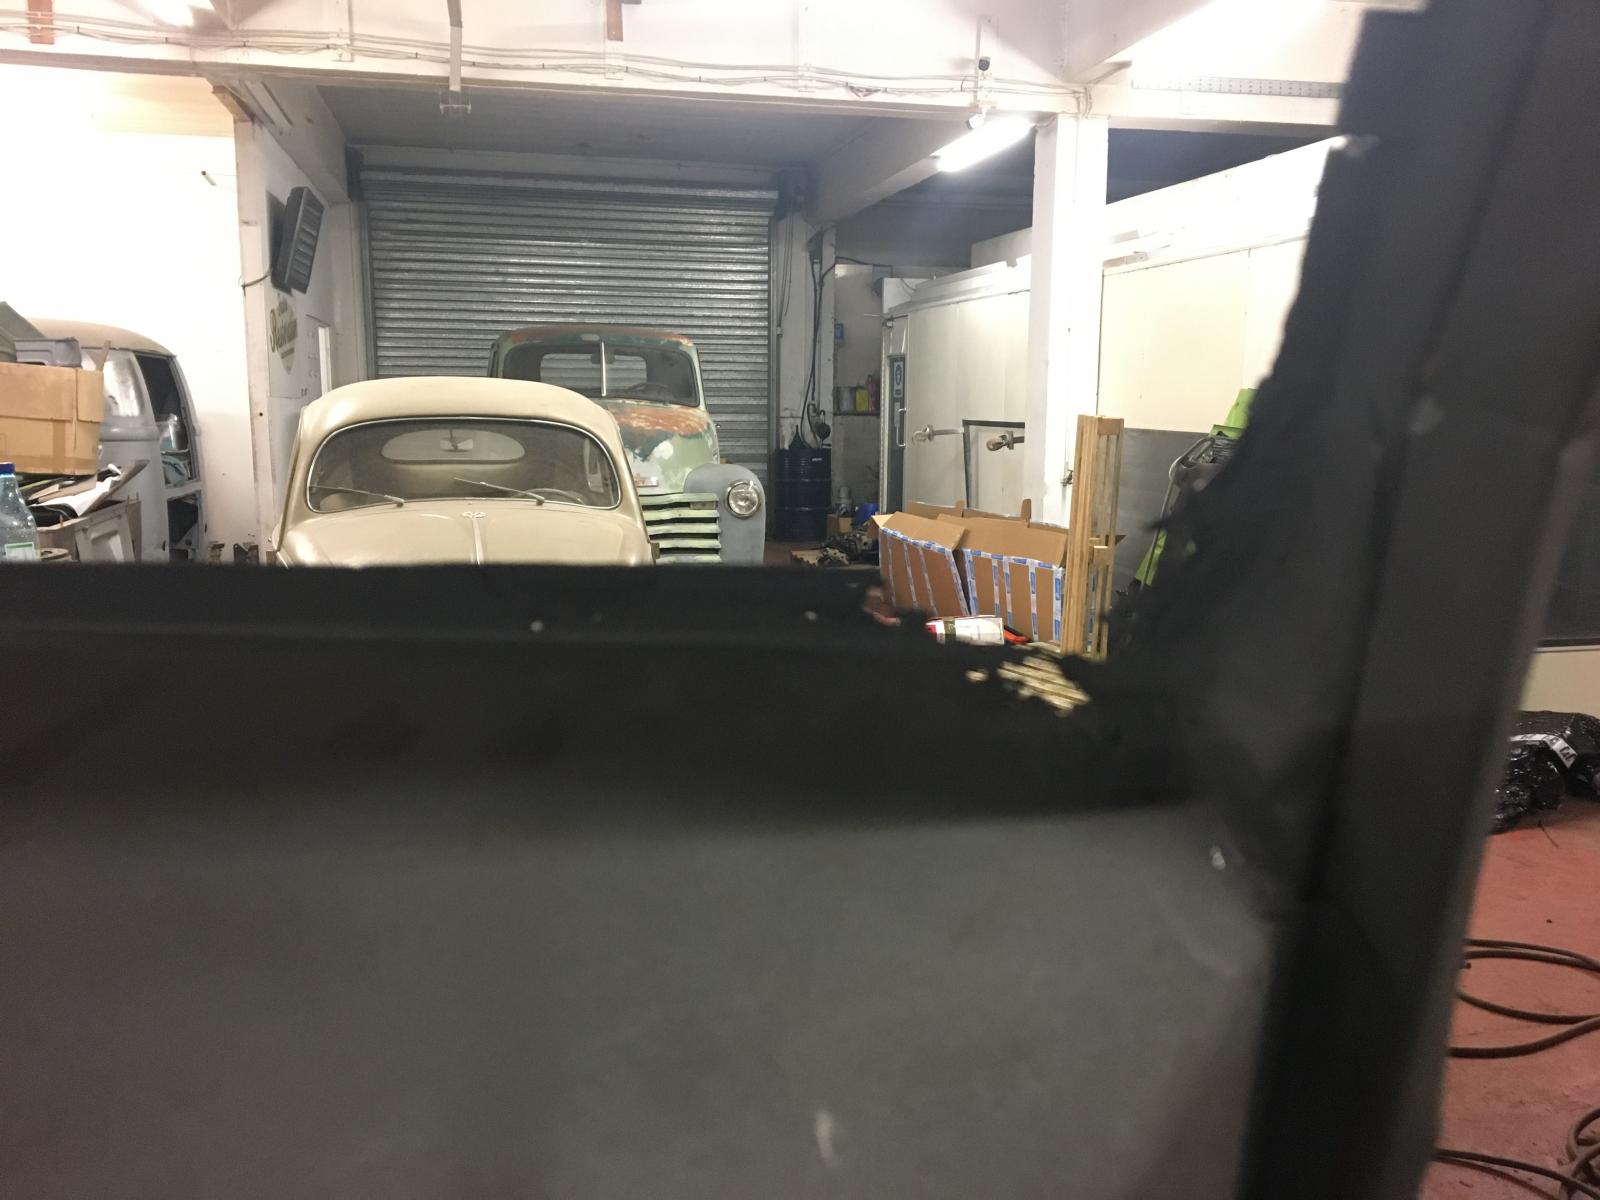
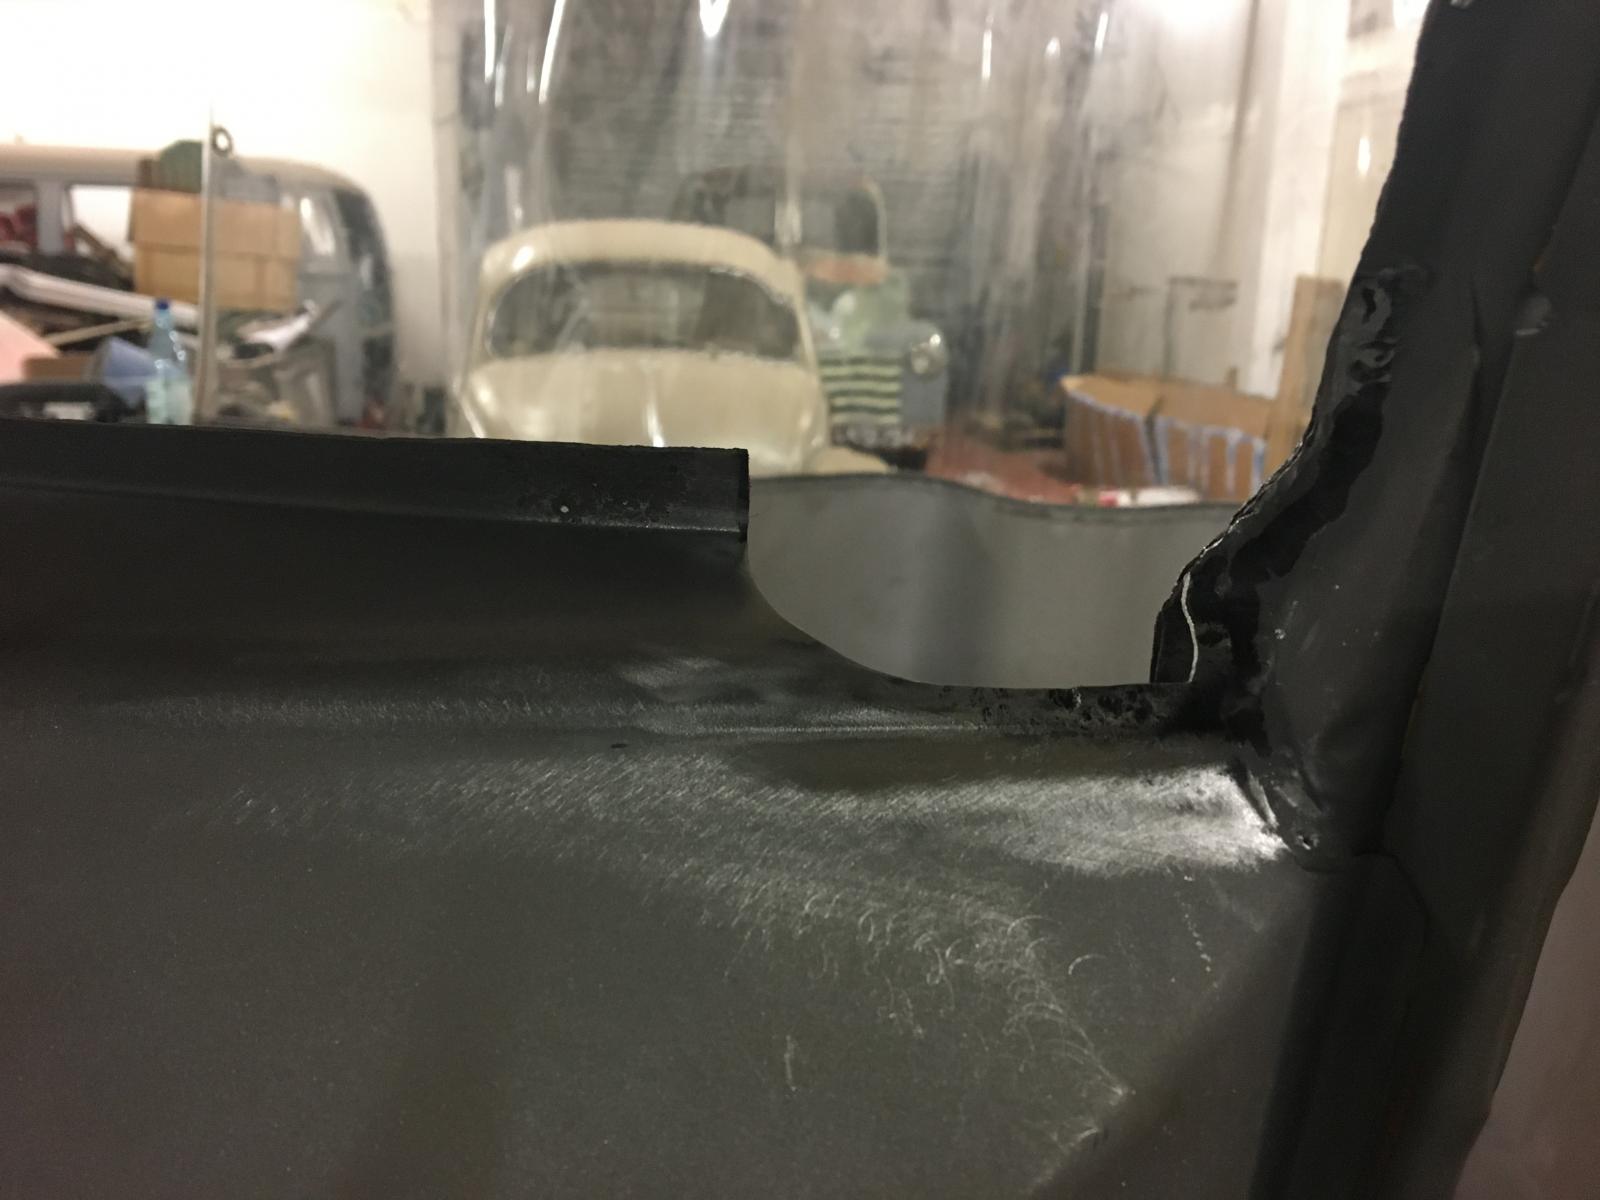
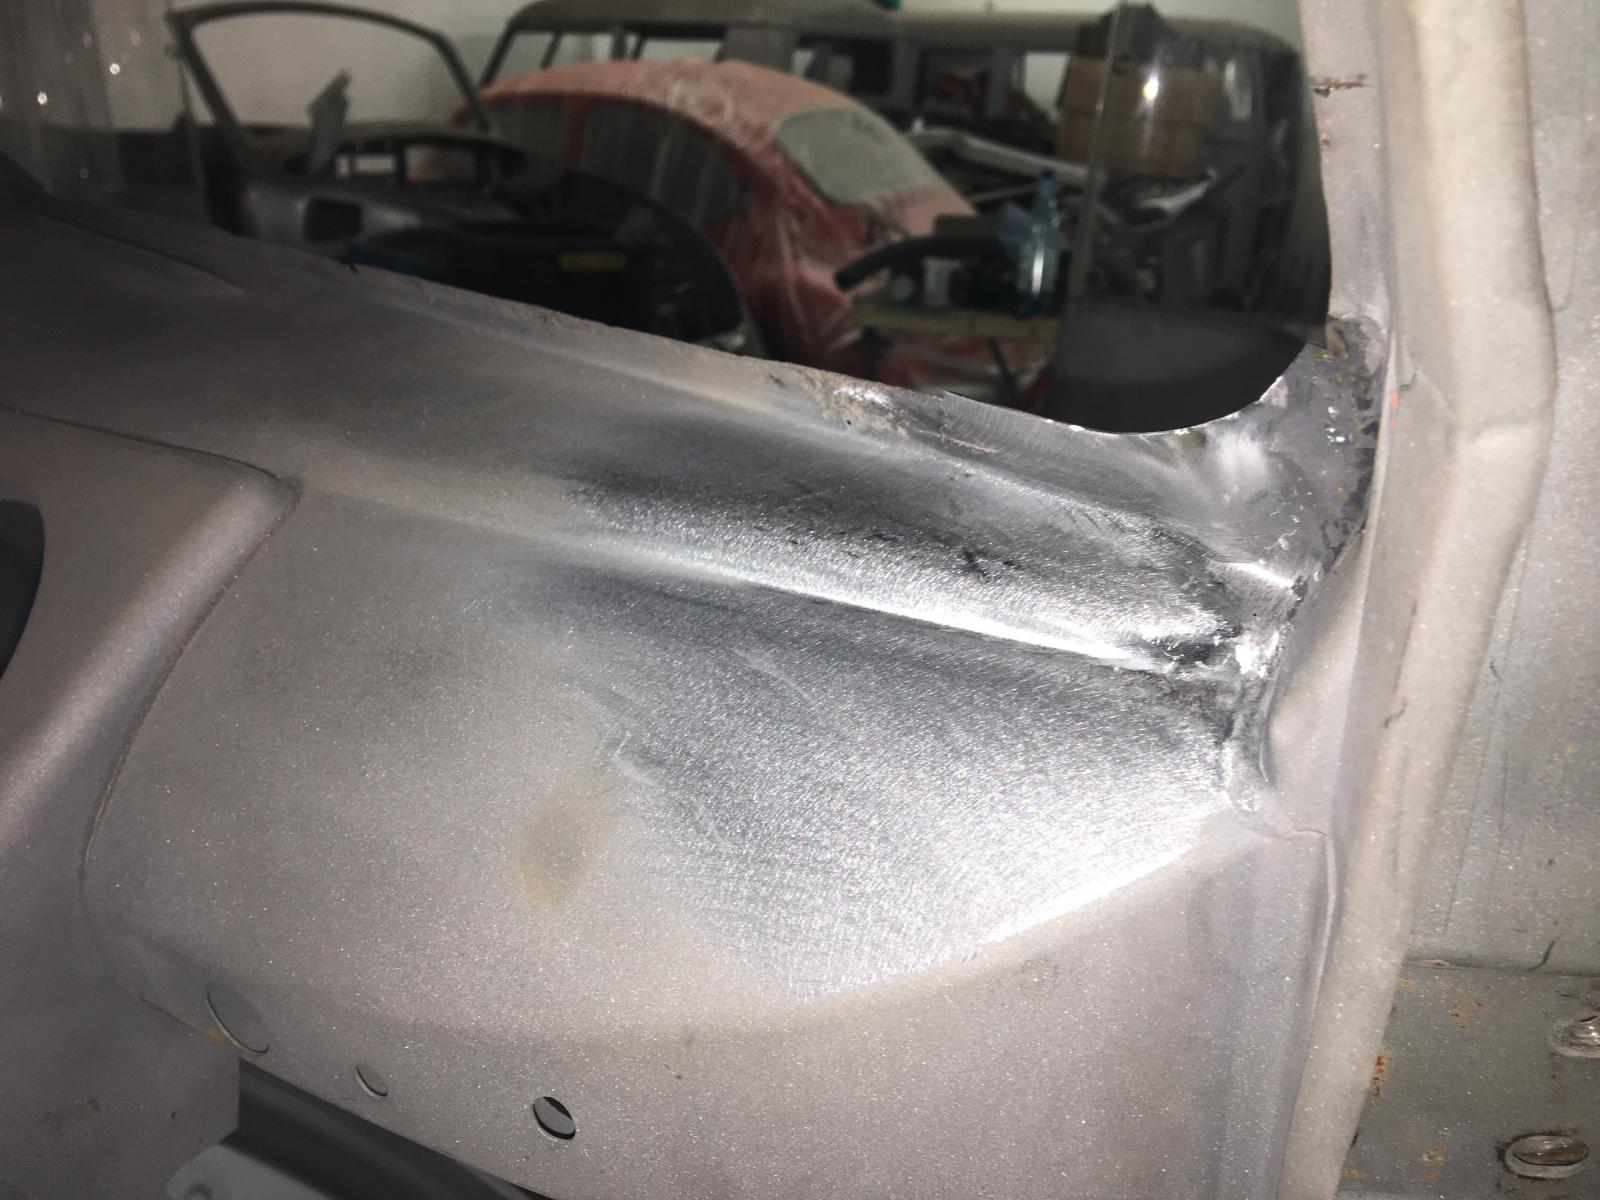
The none factory holes were then welded up:
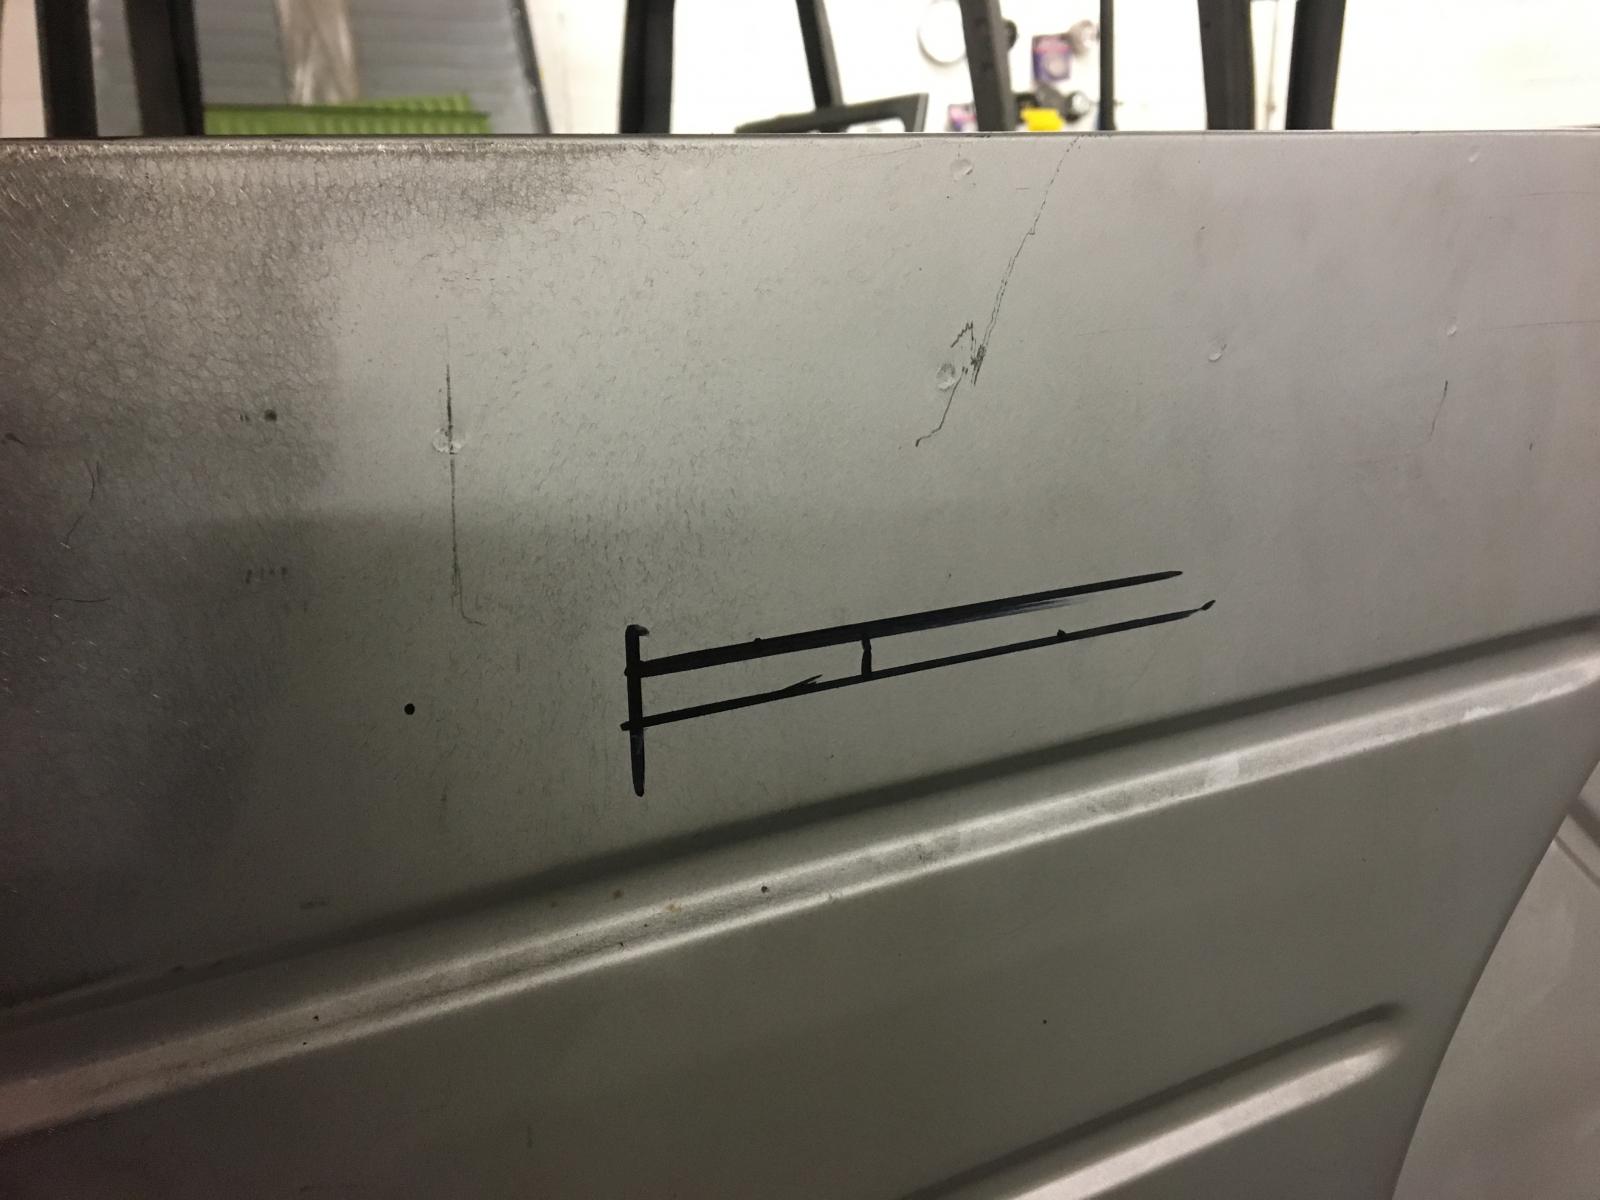
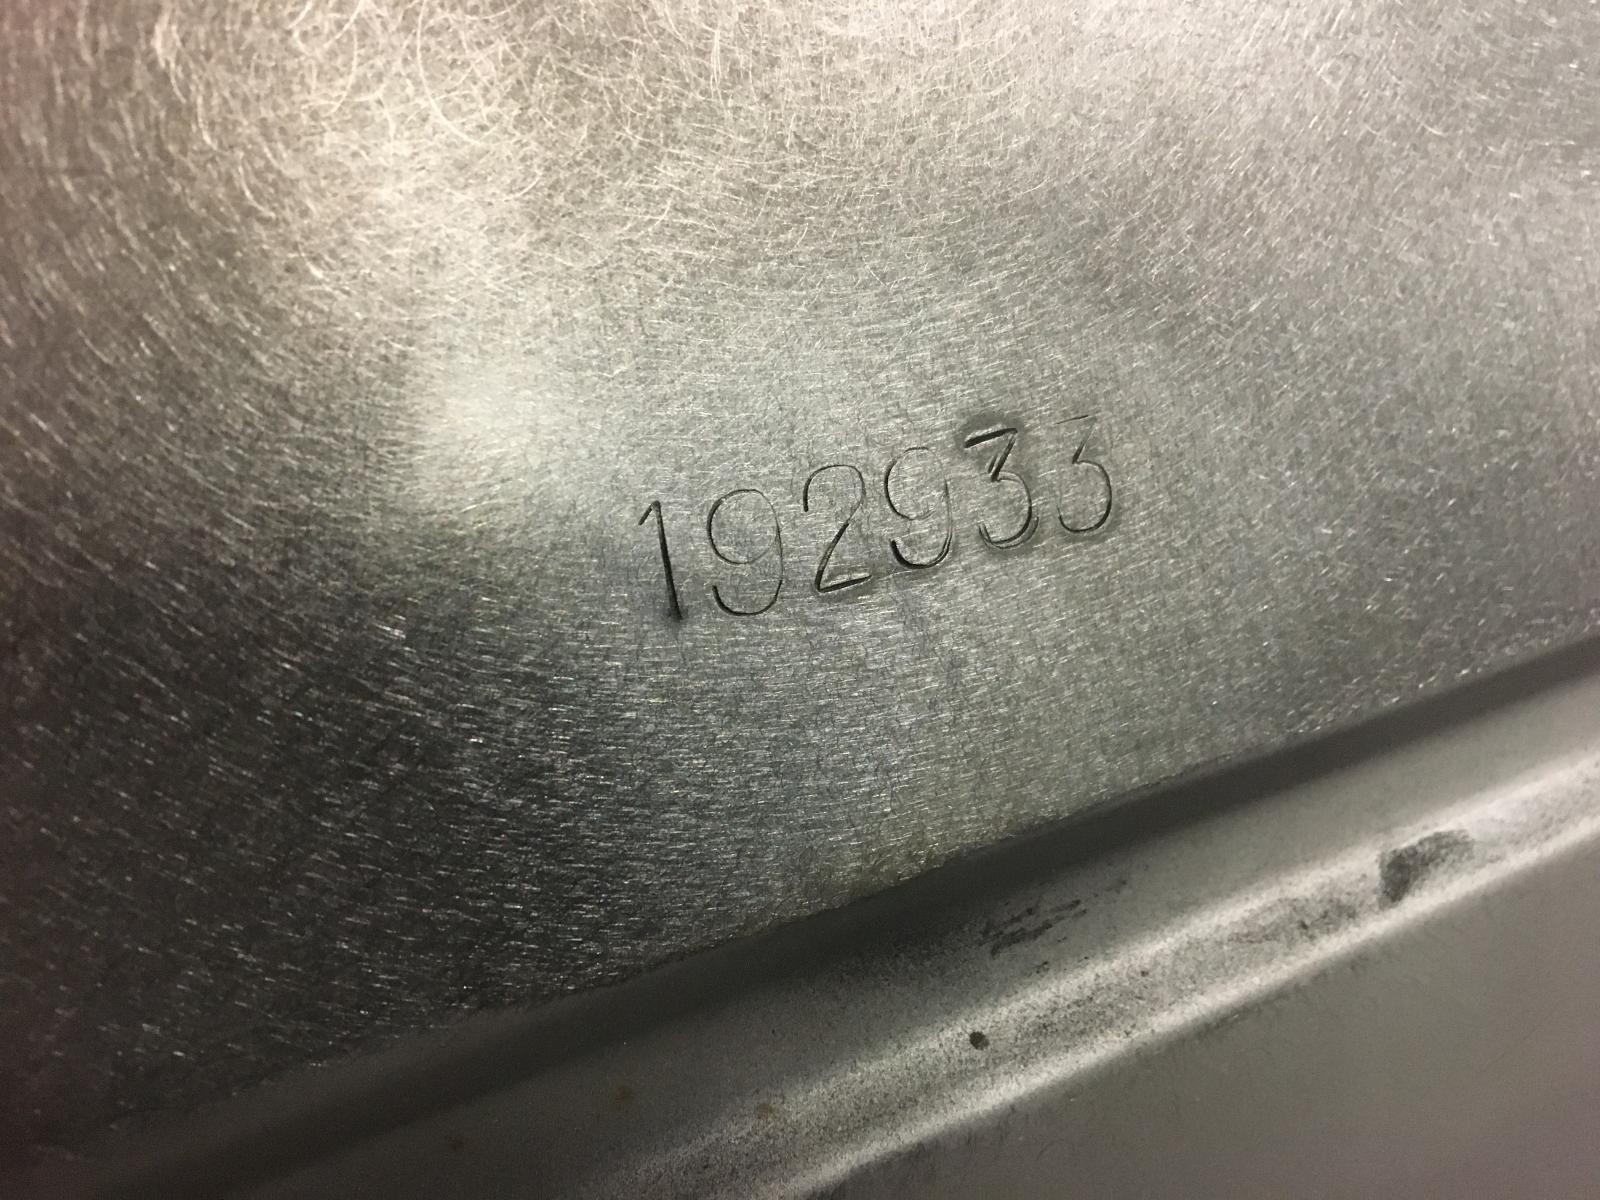
I wanted to replicate the original body number in the new bulkhead panel, so I marked up where it should sit and stamped them back in place:
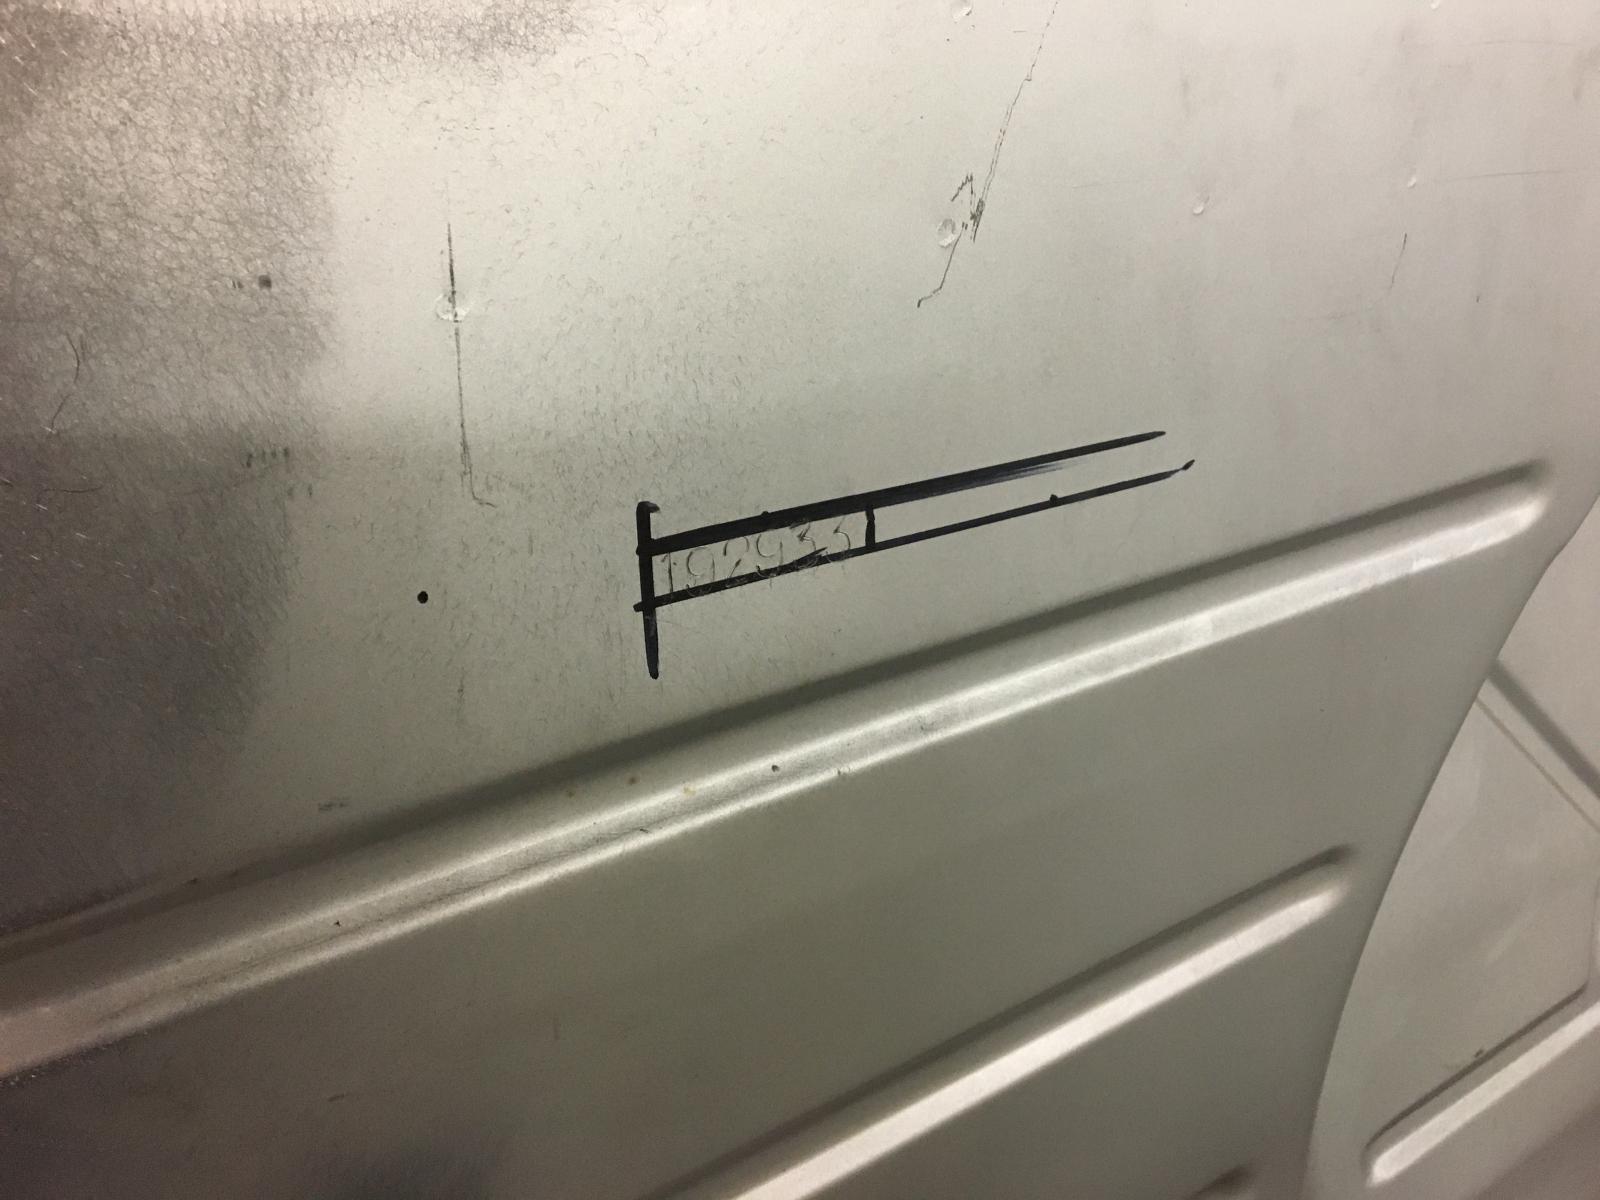
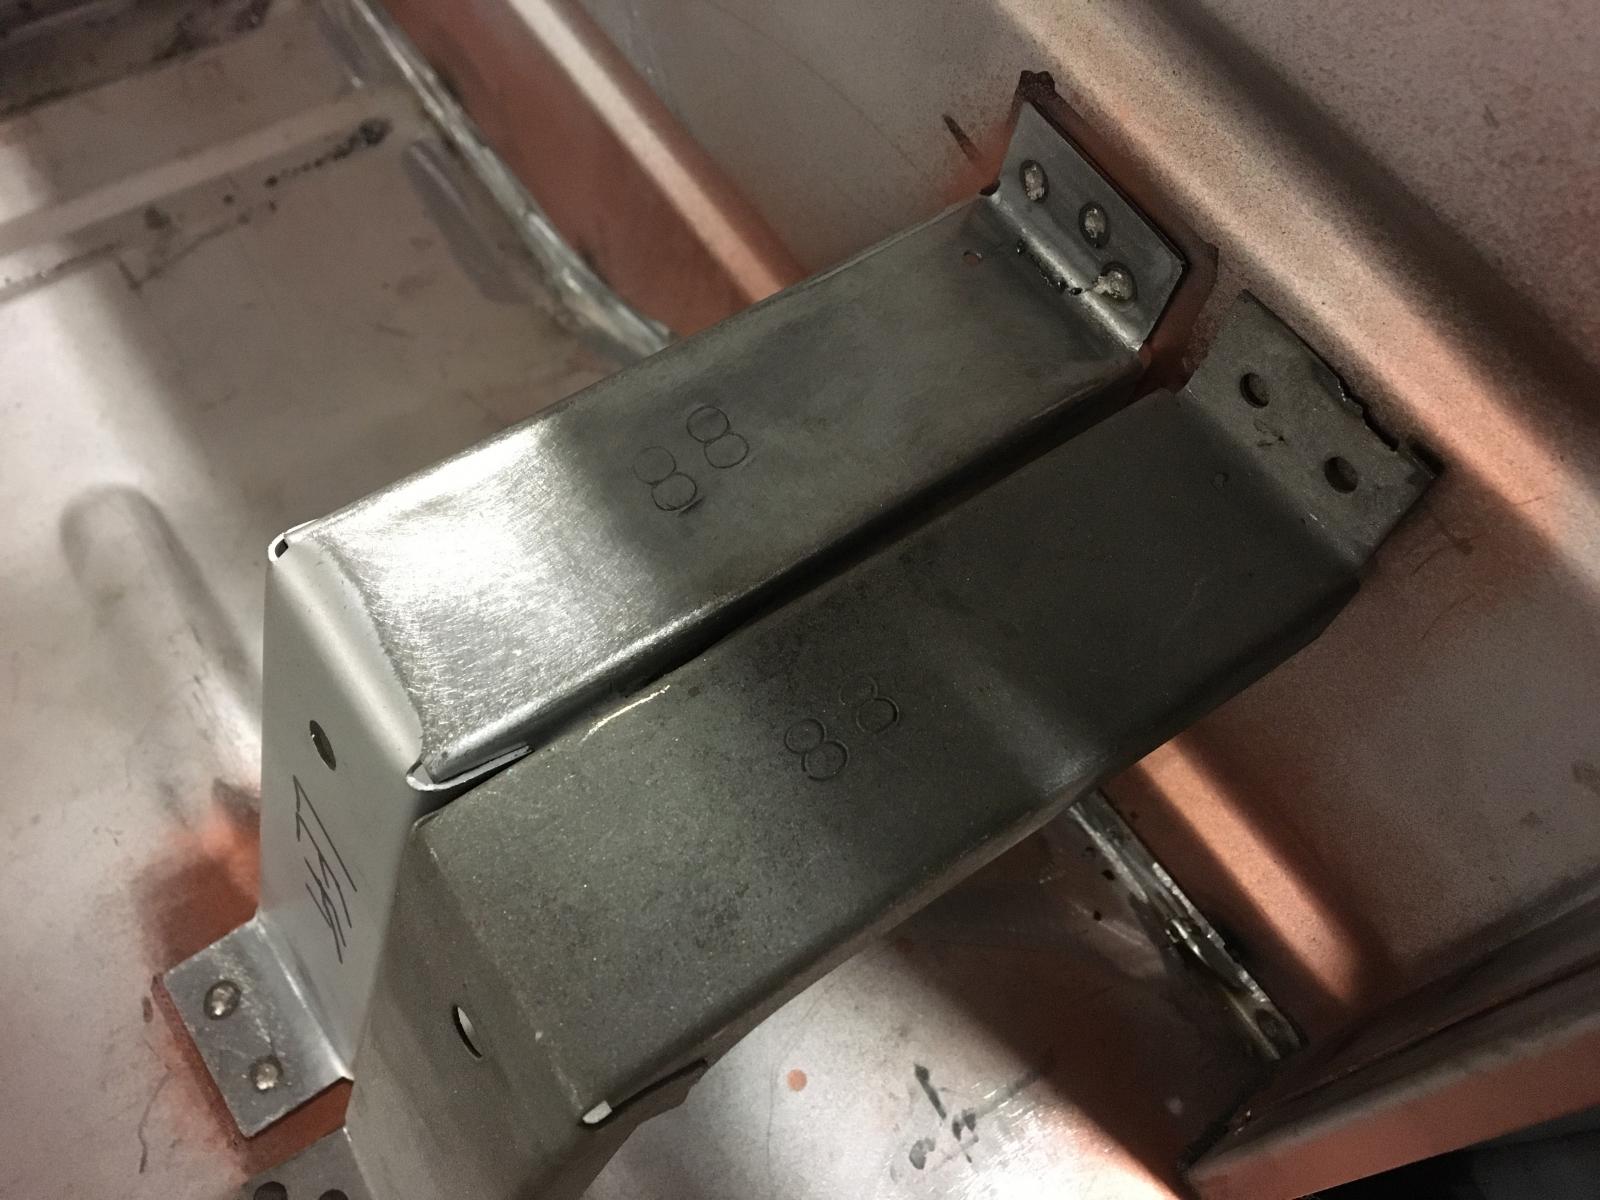
Not too sure what this number is for, but thought Id replicate it at the same time as fitting the new seat back stop:
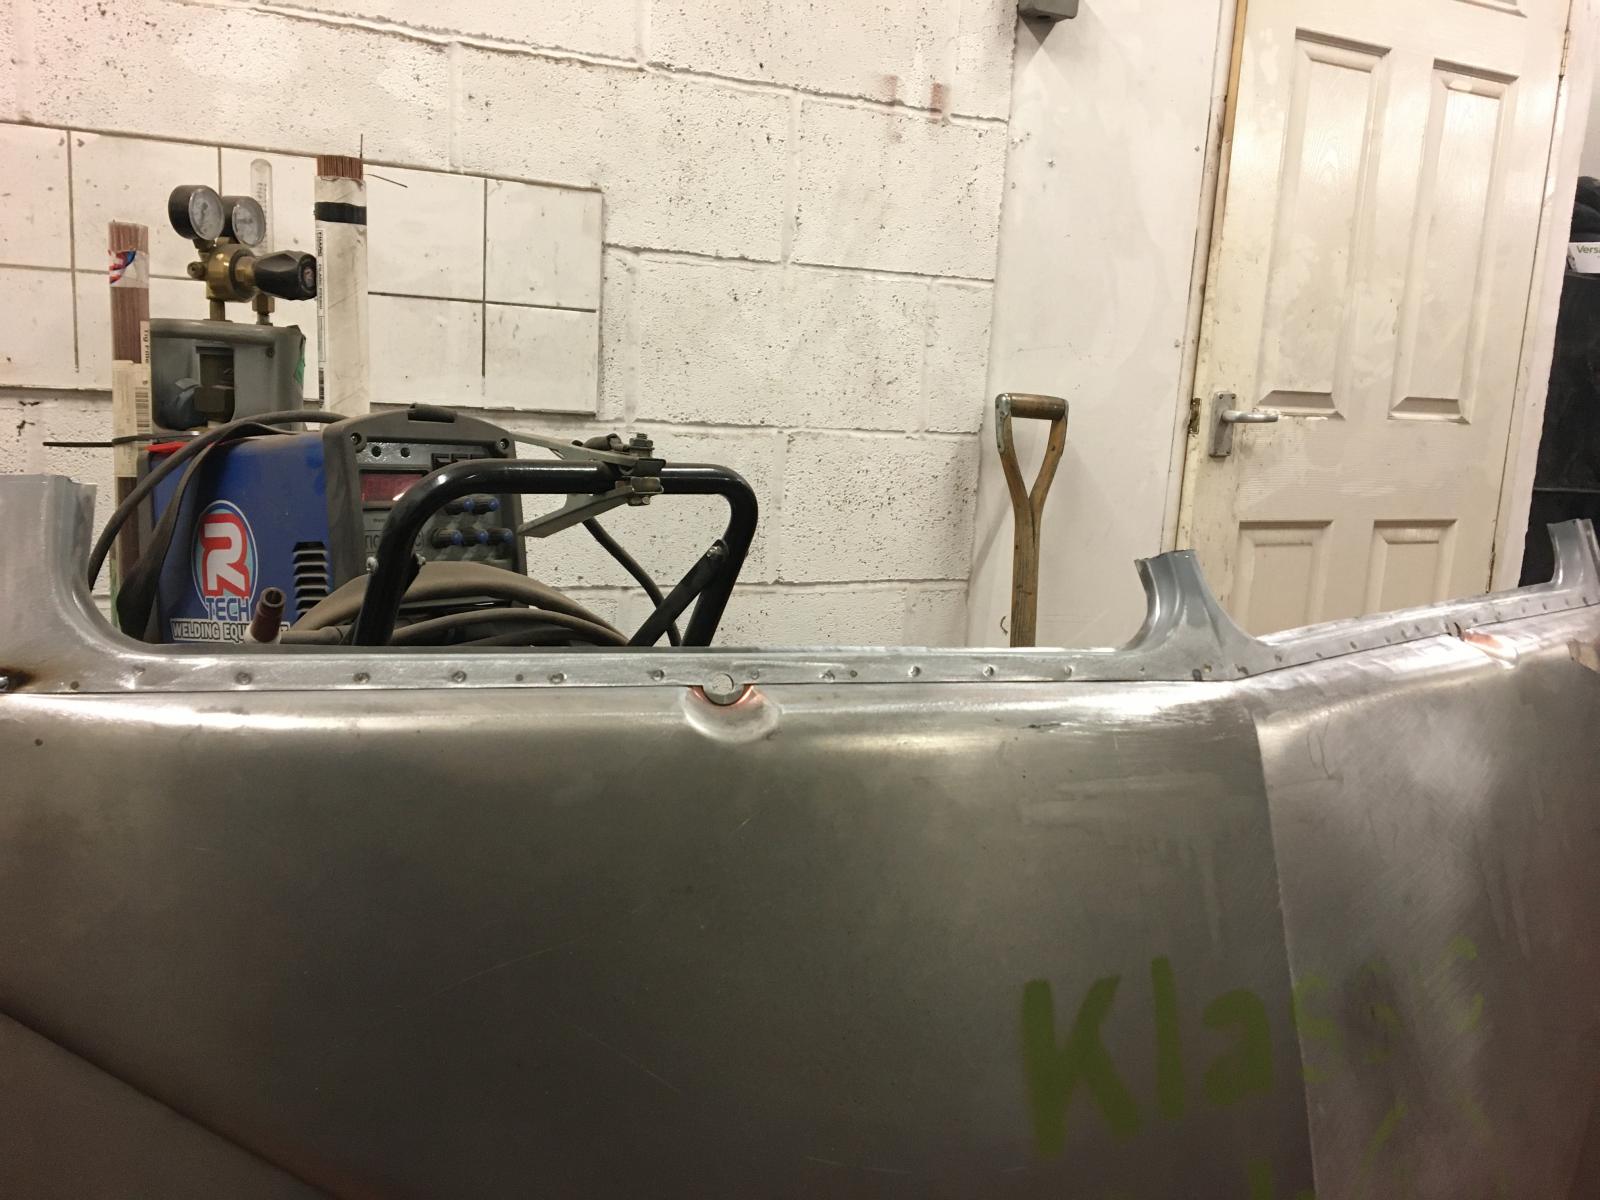
Once we had the windscreen repair panel pinned in the right place on the nose, we spot welded it in place:
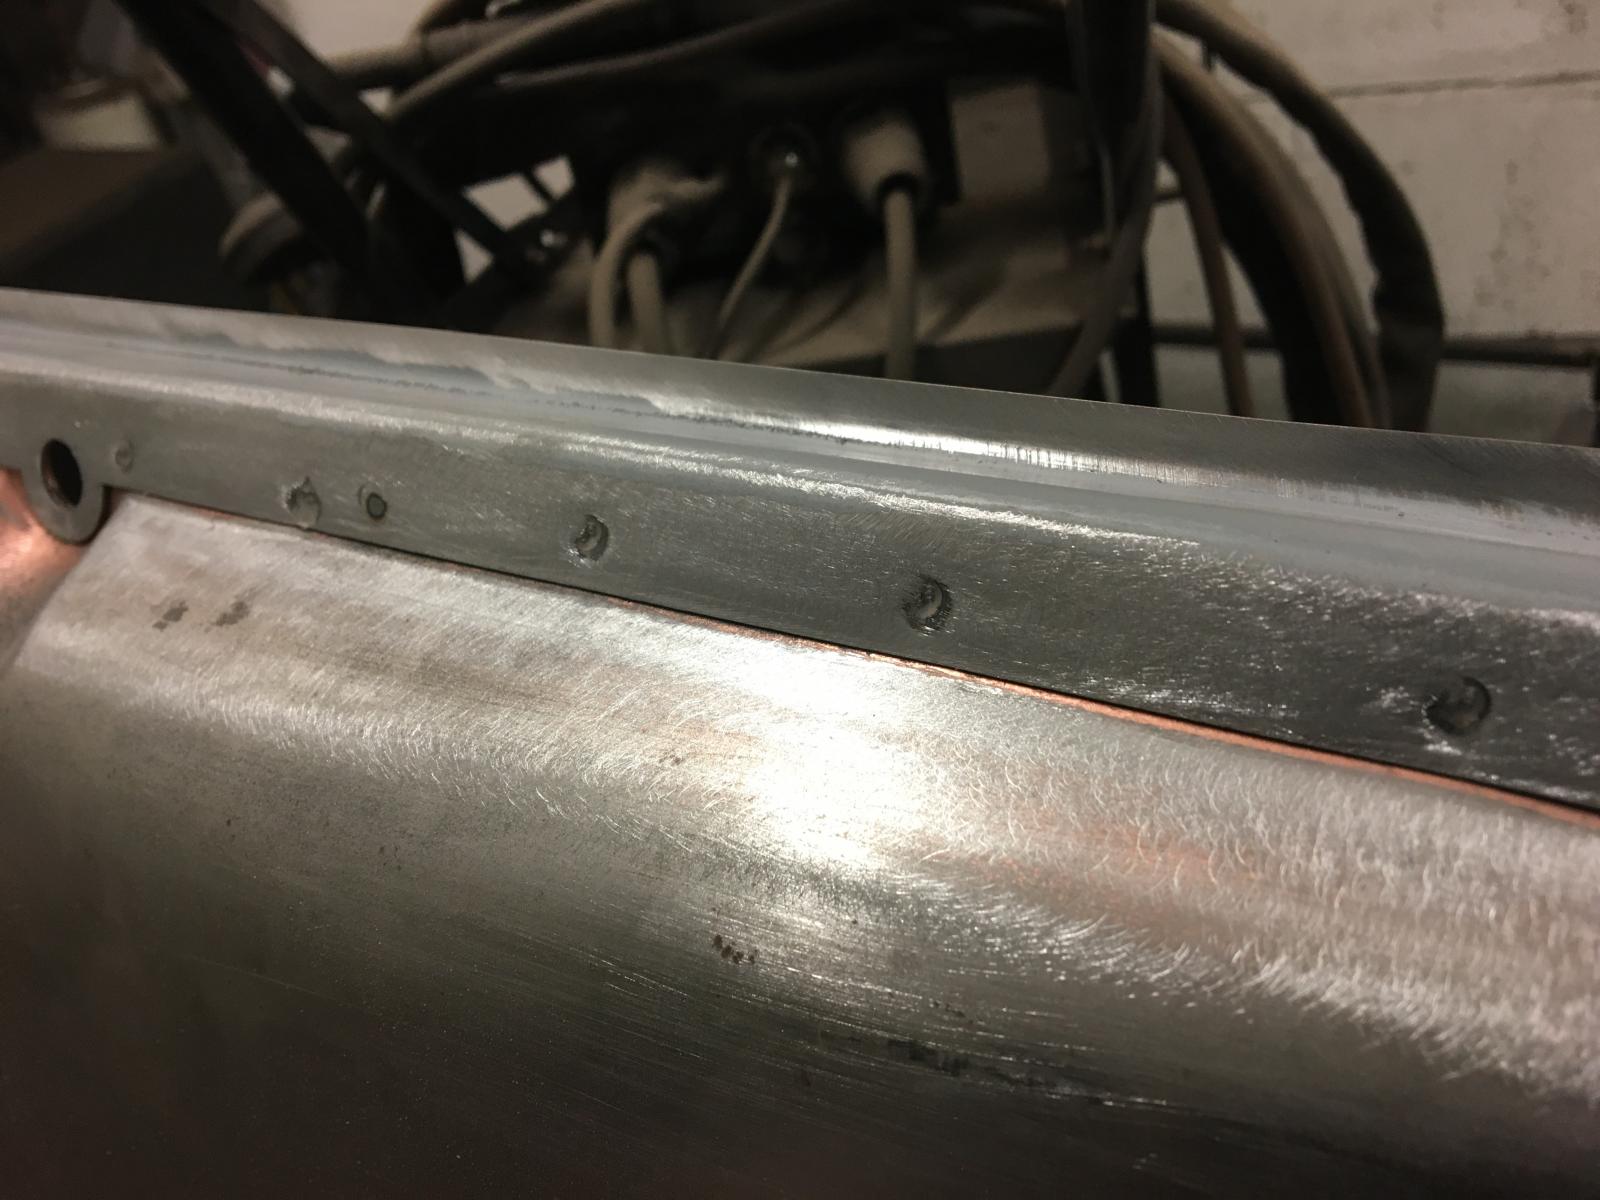
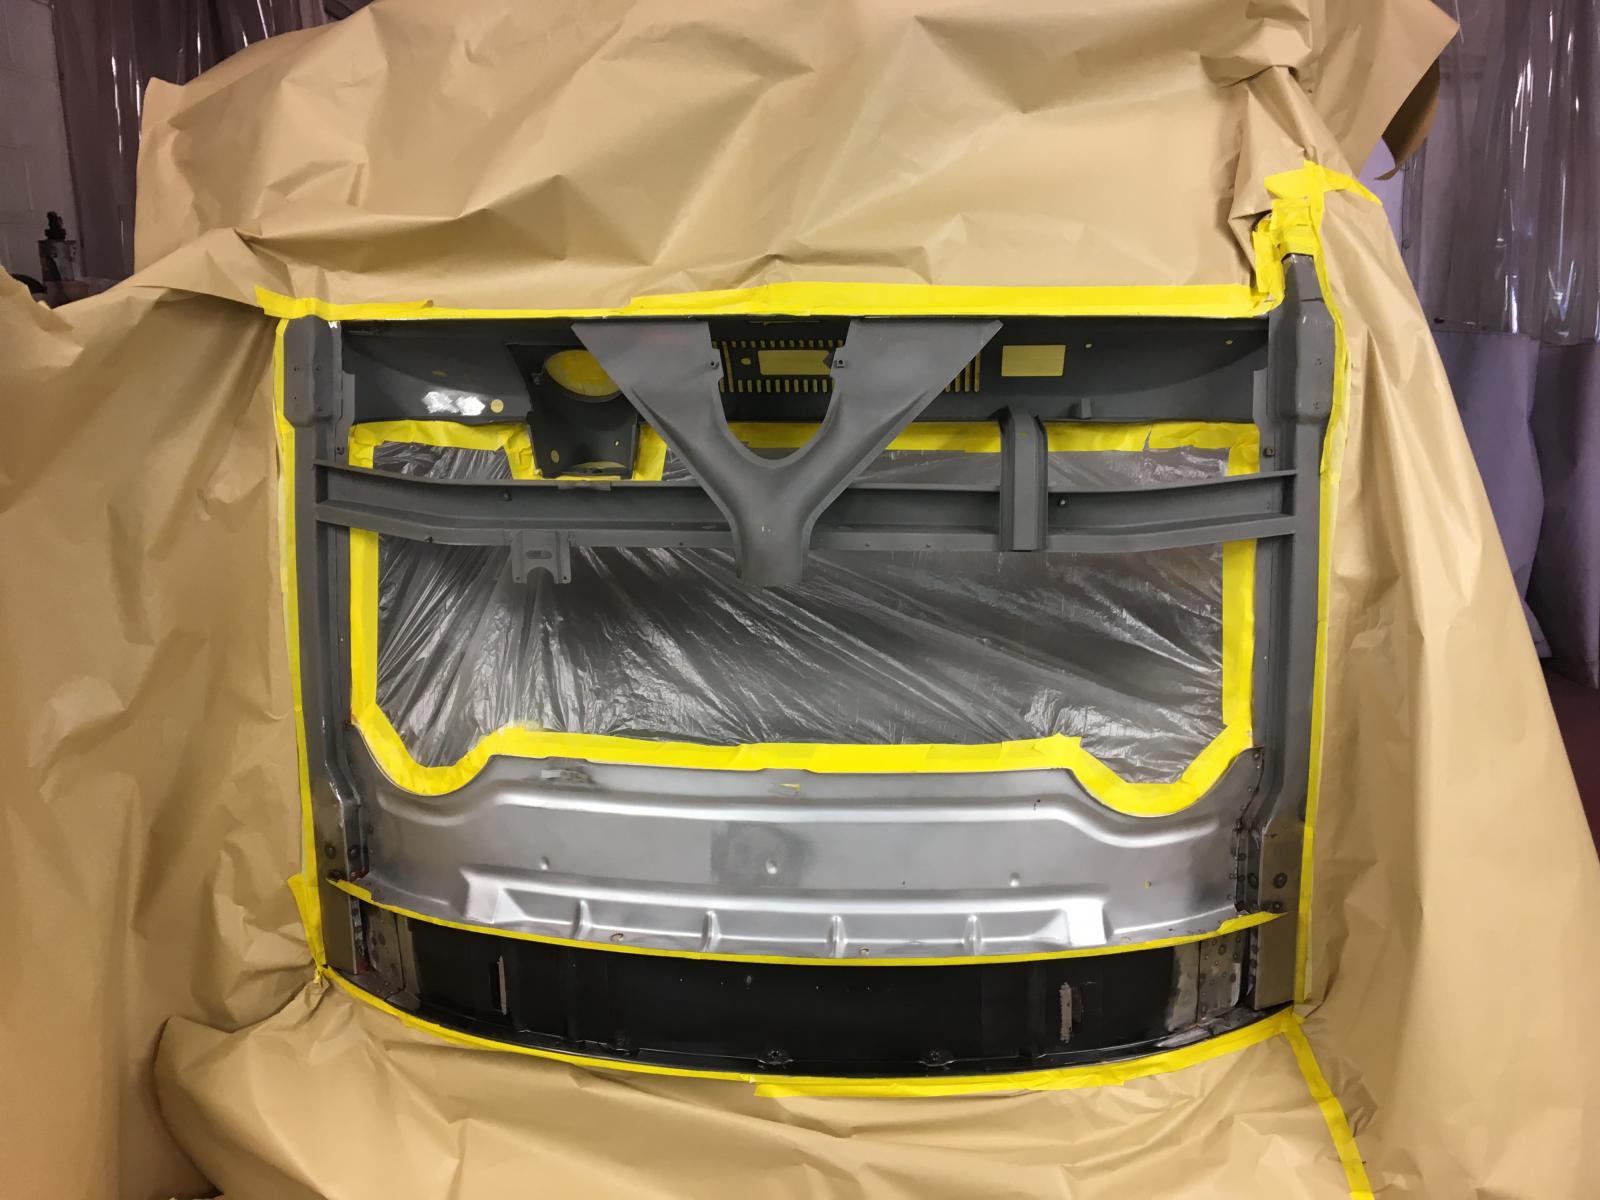
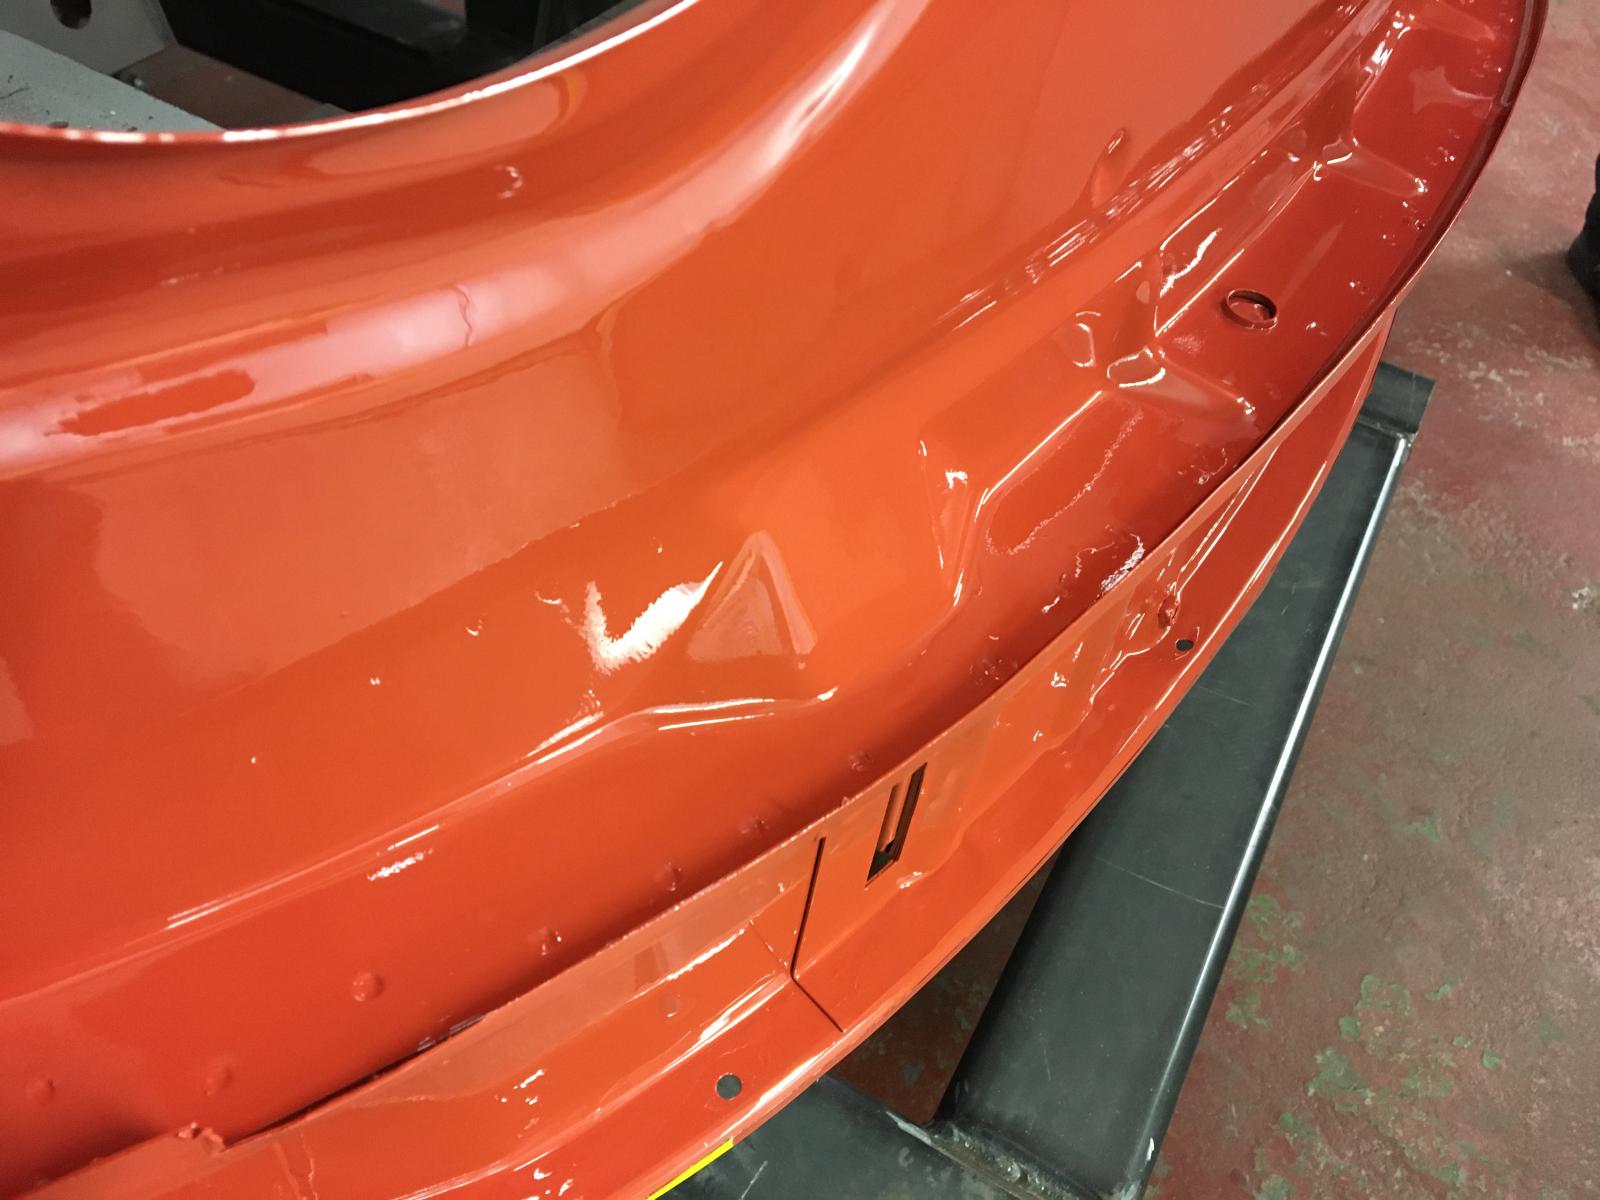
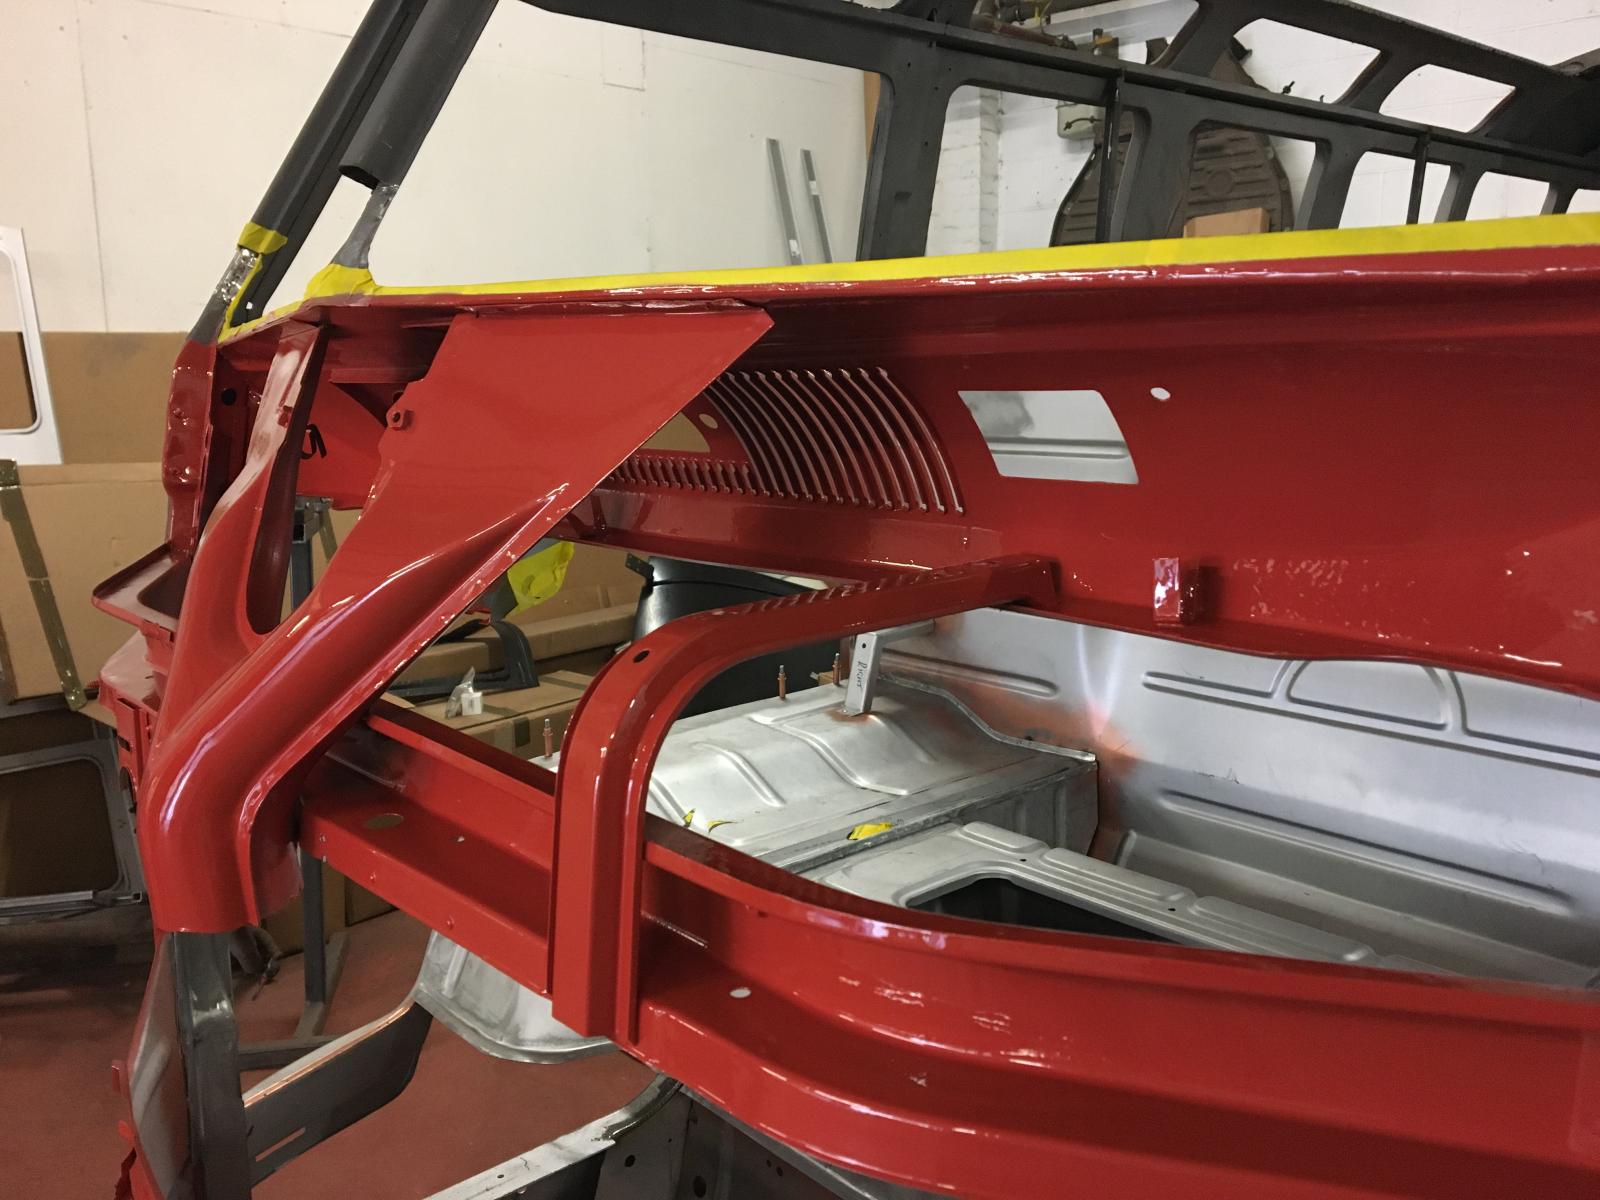
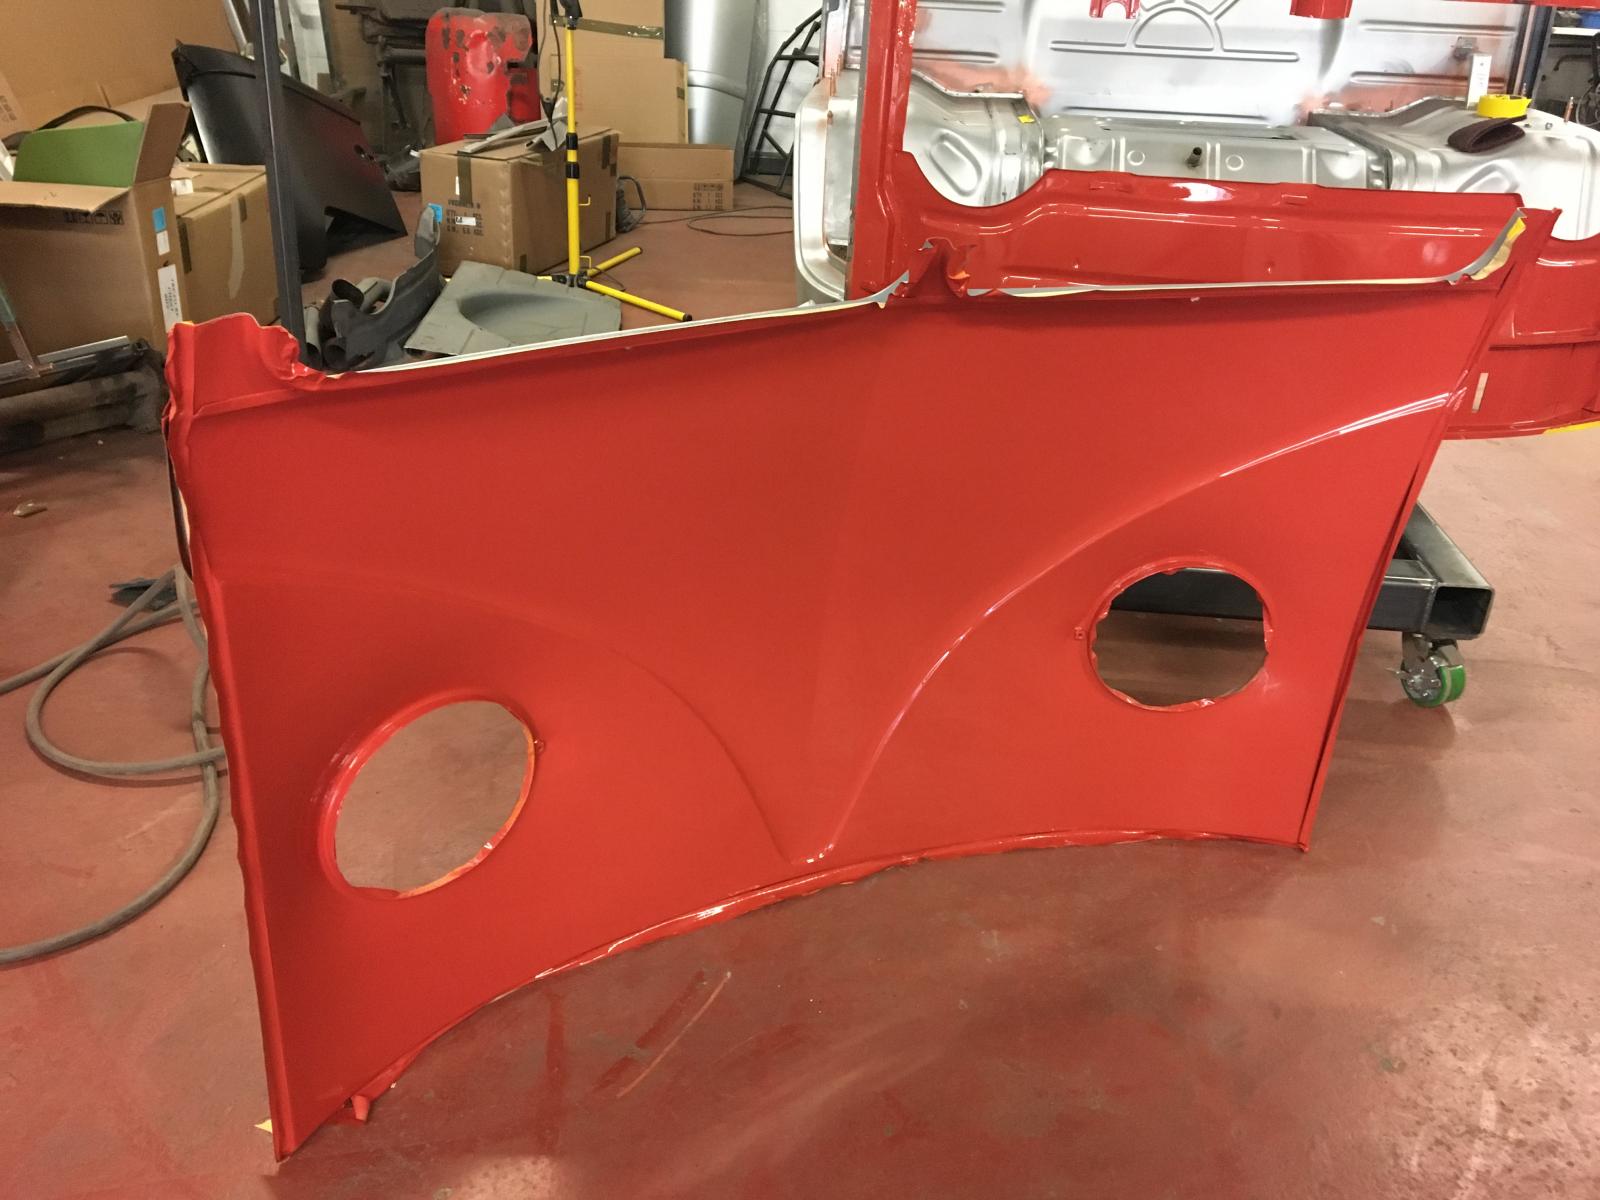
The back of the dash / inner framework, and inside of the front panel and front valance were epoxy primed and painted body colour before being welded together:
Then we spot welded around the window frames and down the A posts:
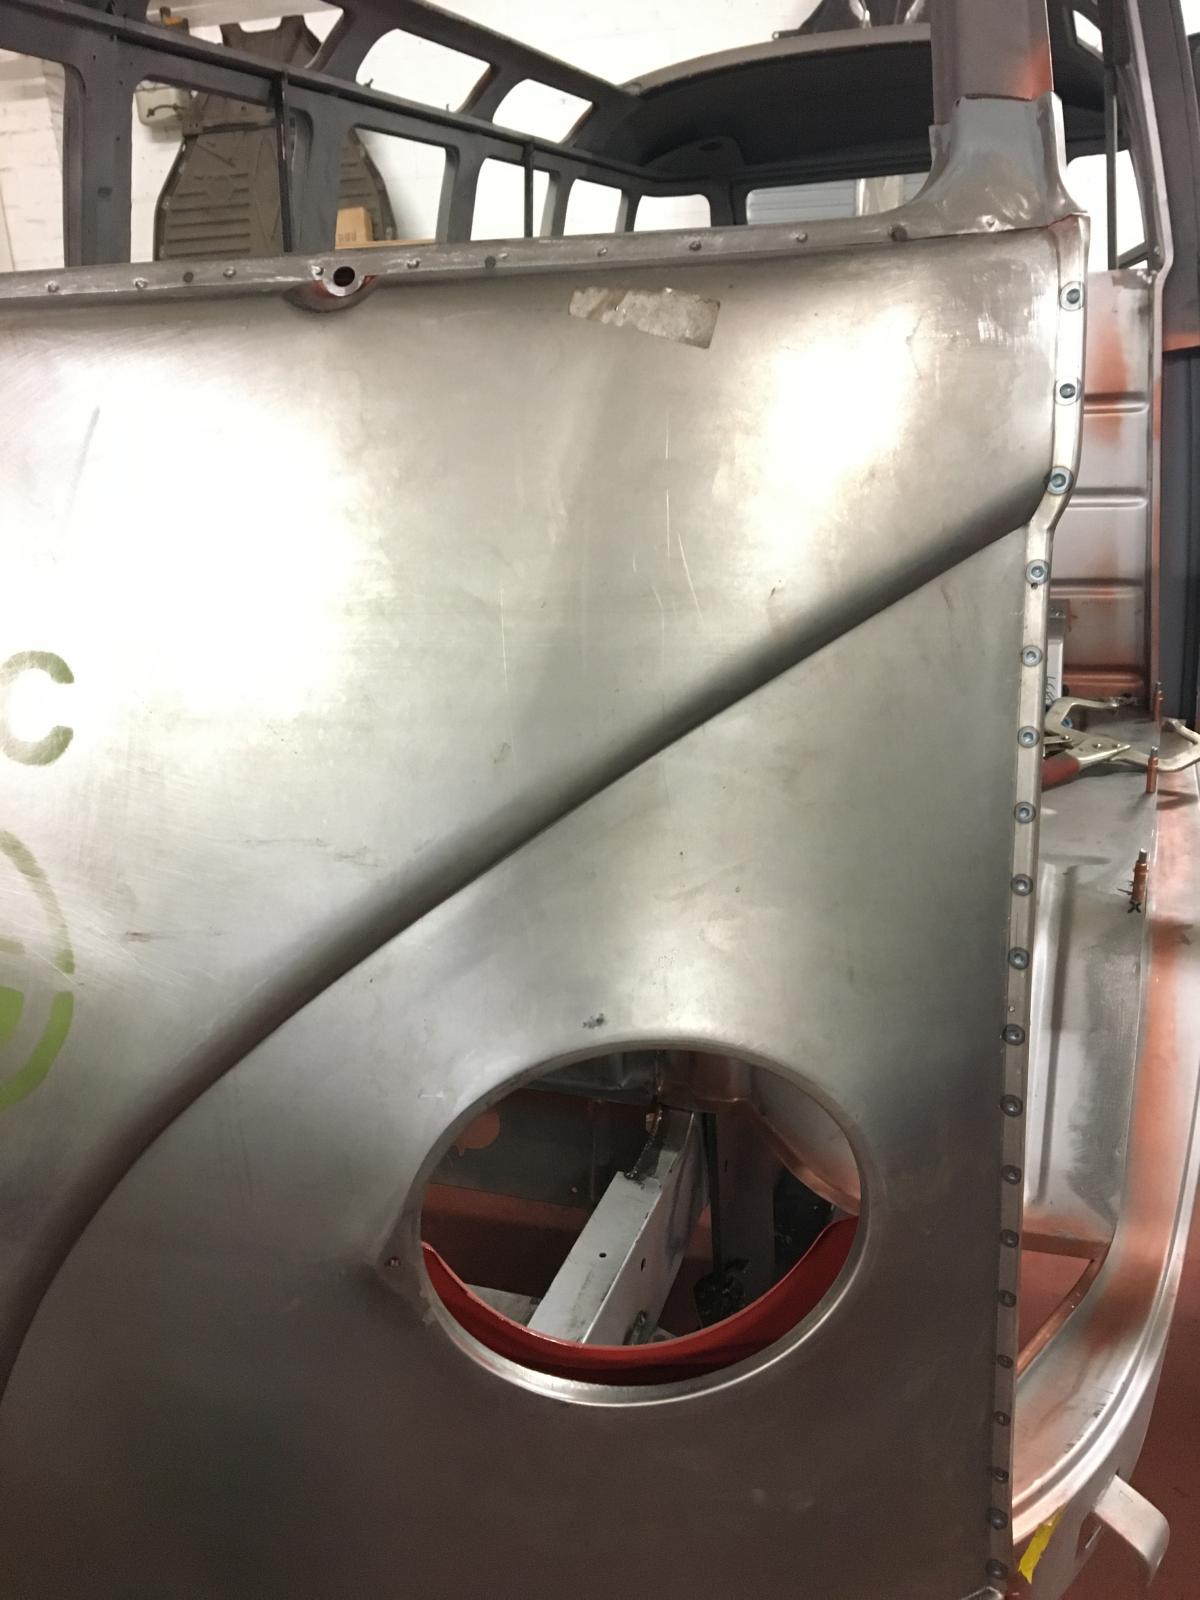
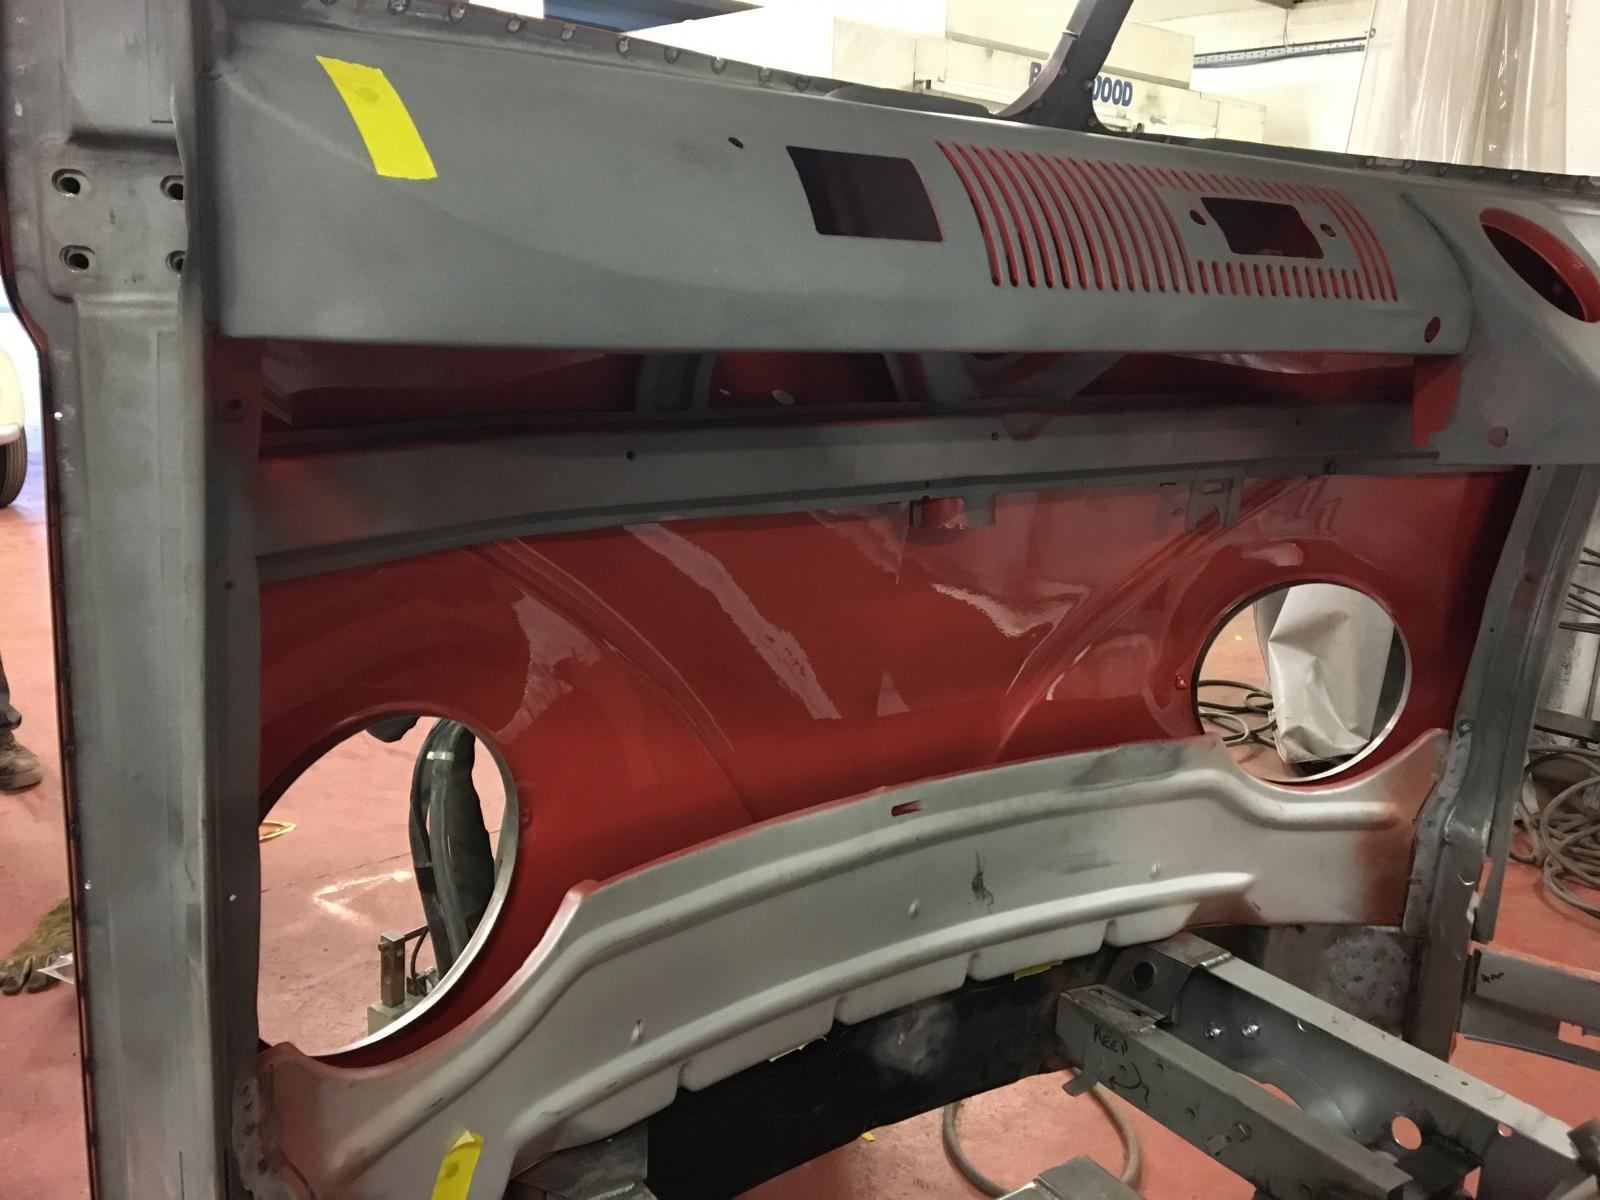
Will get the welding on the front panel finished on Monday then that will be it for a while.


The none factory holes were then welded up:


I wanted to replicate the original body number in the new bulkhead panel, so I marked up where it should sit and stamped them back in place:


Not too sure what this number is for, but thought Id replicate it at the same time as fitting the new seat back stop:

Once we had the windscreen repair panel pinned in the right place on the nose, we spot welded it in place:


The back of the dash / inner framework, and inside of the front panel and front valance were epoxy primed and painted body colour before being welded together:


Then we spot welded around the window frames and down the A posts:


Will get the welding on the front panel finished on Monday then that will be it for a while.
mabbo
SSVC Member
Posts: 83
Joined: Wed Jun 01, 2011 7:09 pm
Re: 1956 RHD Swedish 23 window samba full restoration
by friedgreedo » Tue Feb 18, 2020 3:33 pm
Fantastic workmanship
friedgreedo
Registered user
Posts: 1269
Joined: Thu Jan 27, 2005 1:52 pm
Re: 1956 RHD Swedish 23 window samba full restoration
by mabbo » Wed Jan 06, 2021 1:09 pm
We did some work on this a few months ago and I forgot to update this thread. Hoping to get back on it soon, just waiting on our customer.
Few pics of what we did last time...
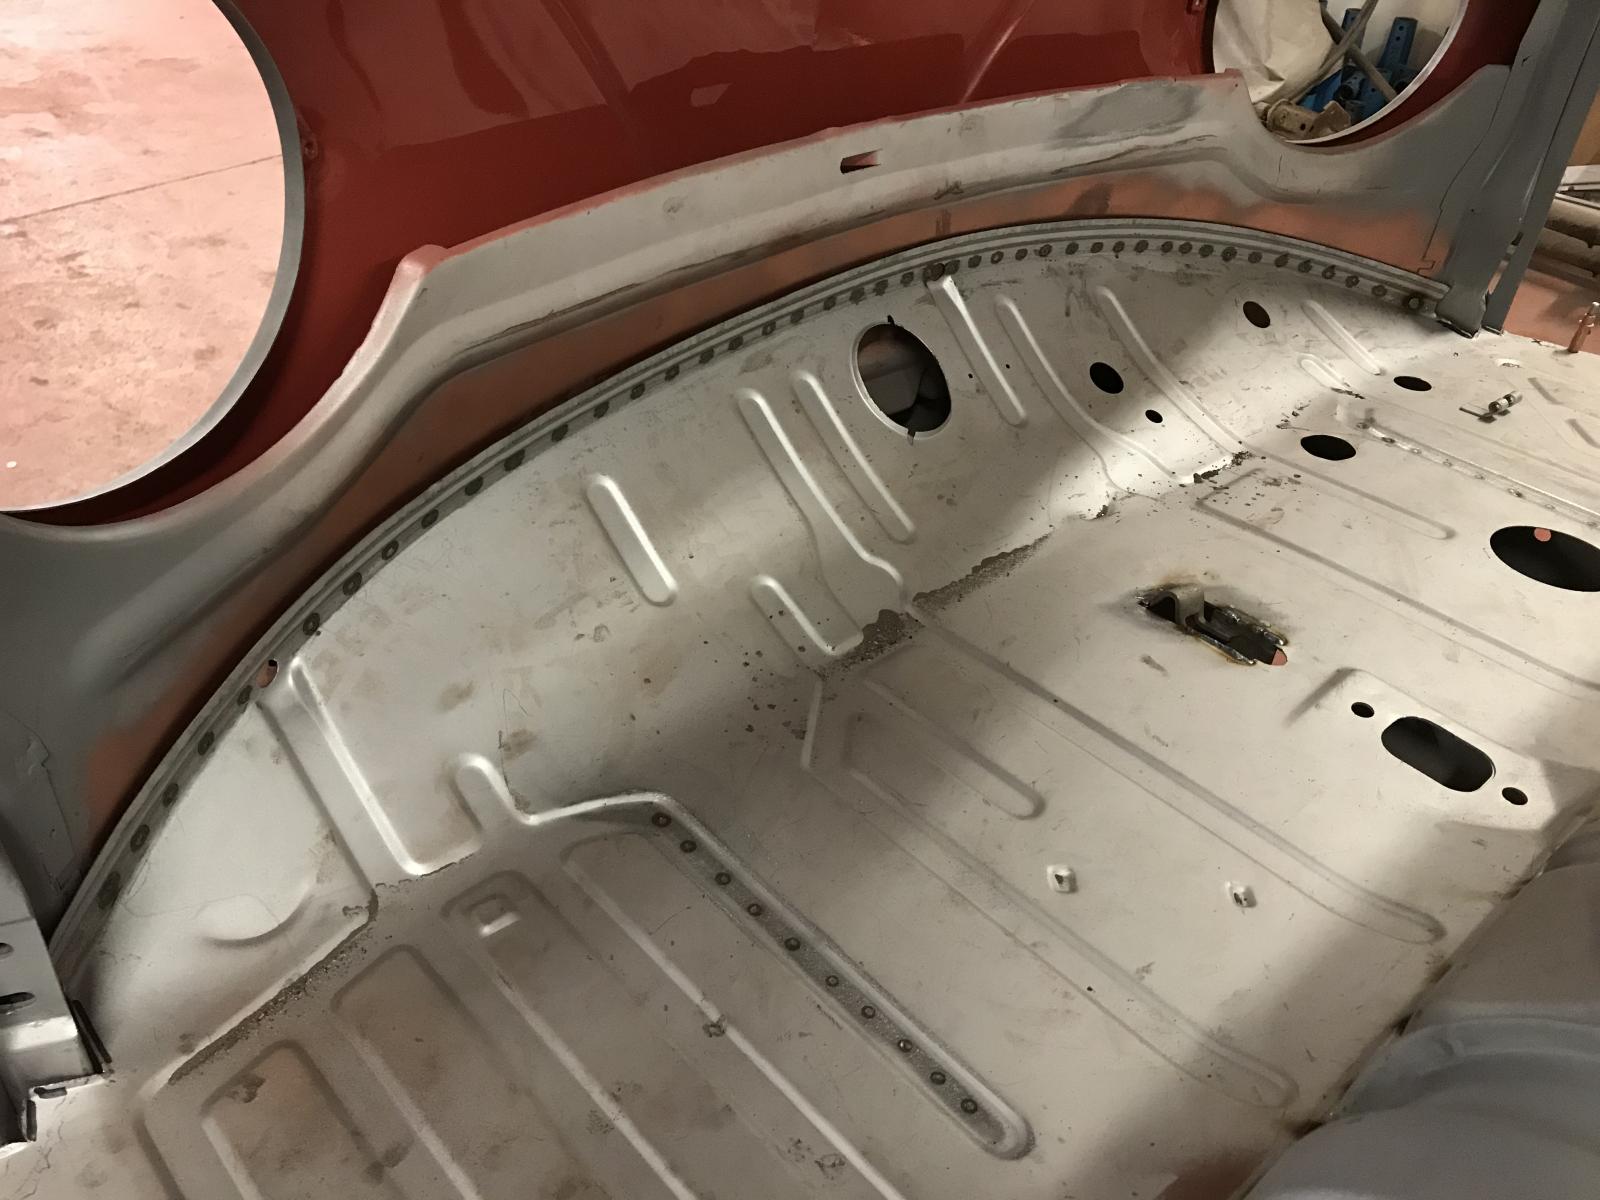
Got all the hand and foot control parts fitted. Made a tube and fitted a new silicone bronze bush for the pedals as the original had been hacked about, got that fitted and mocked it all up before welding the cab floor in place:
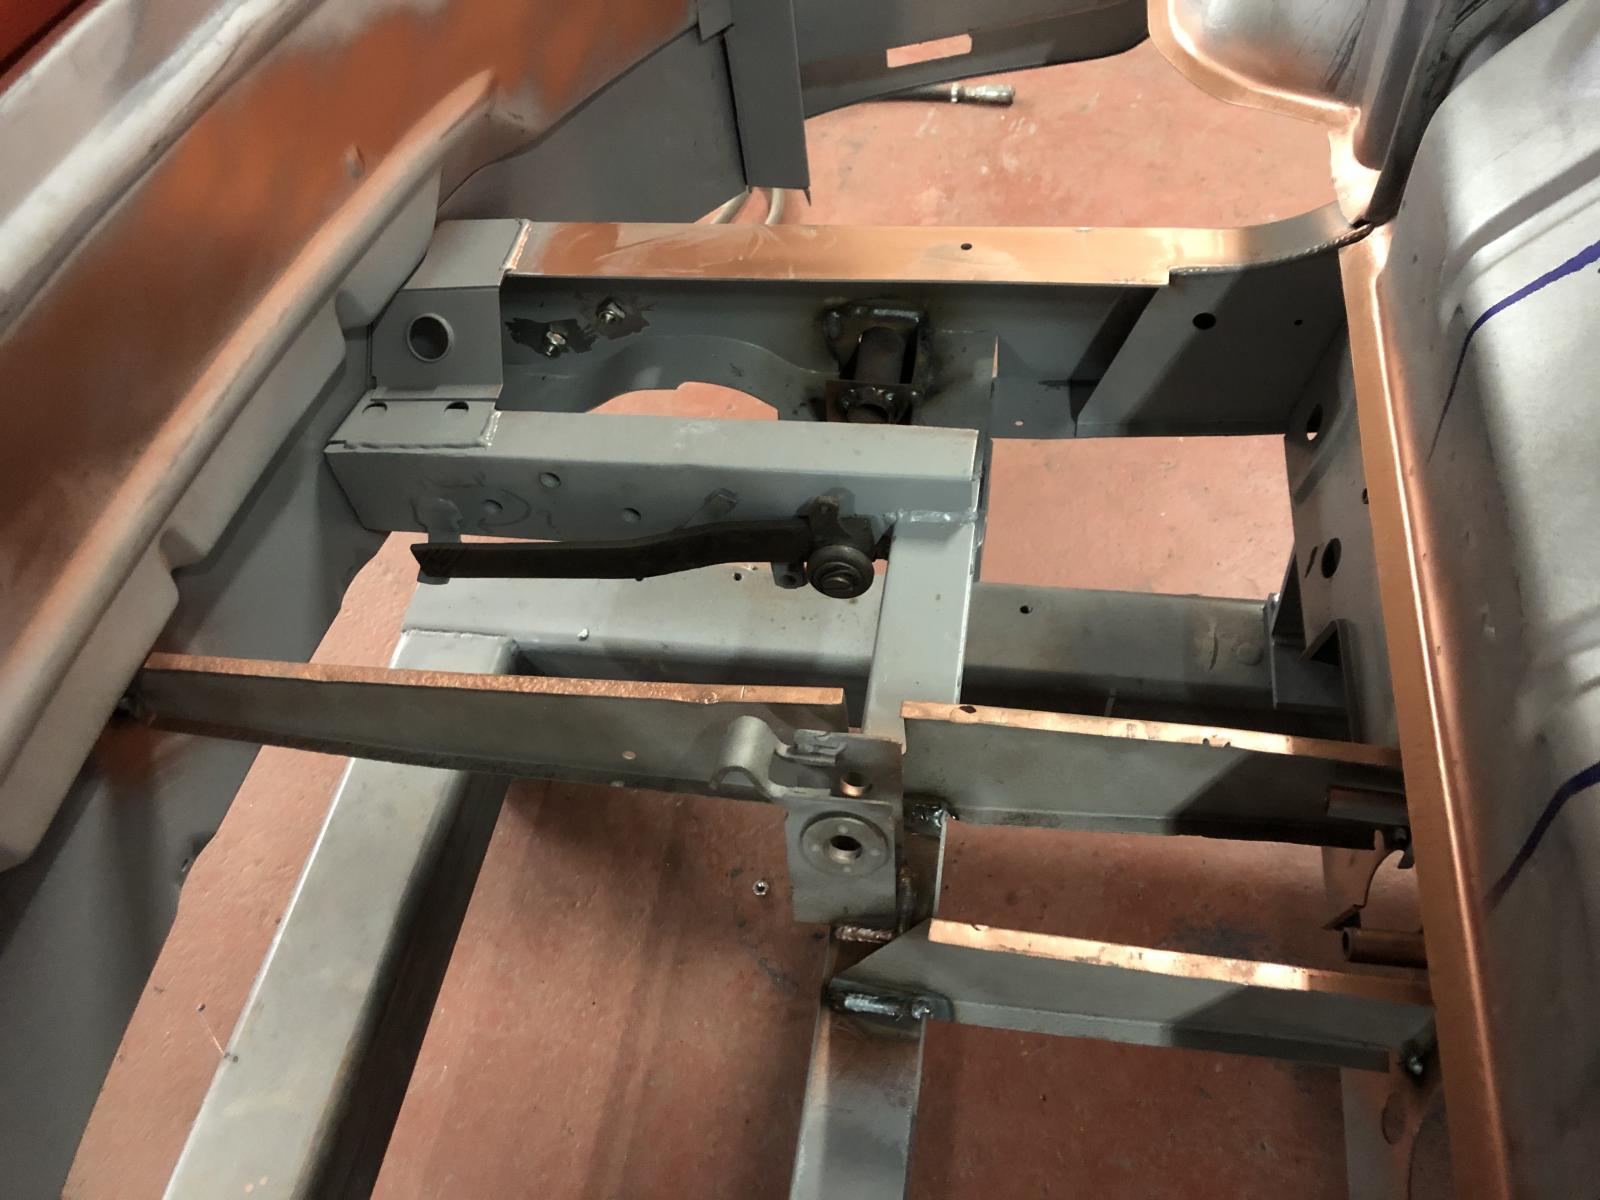
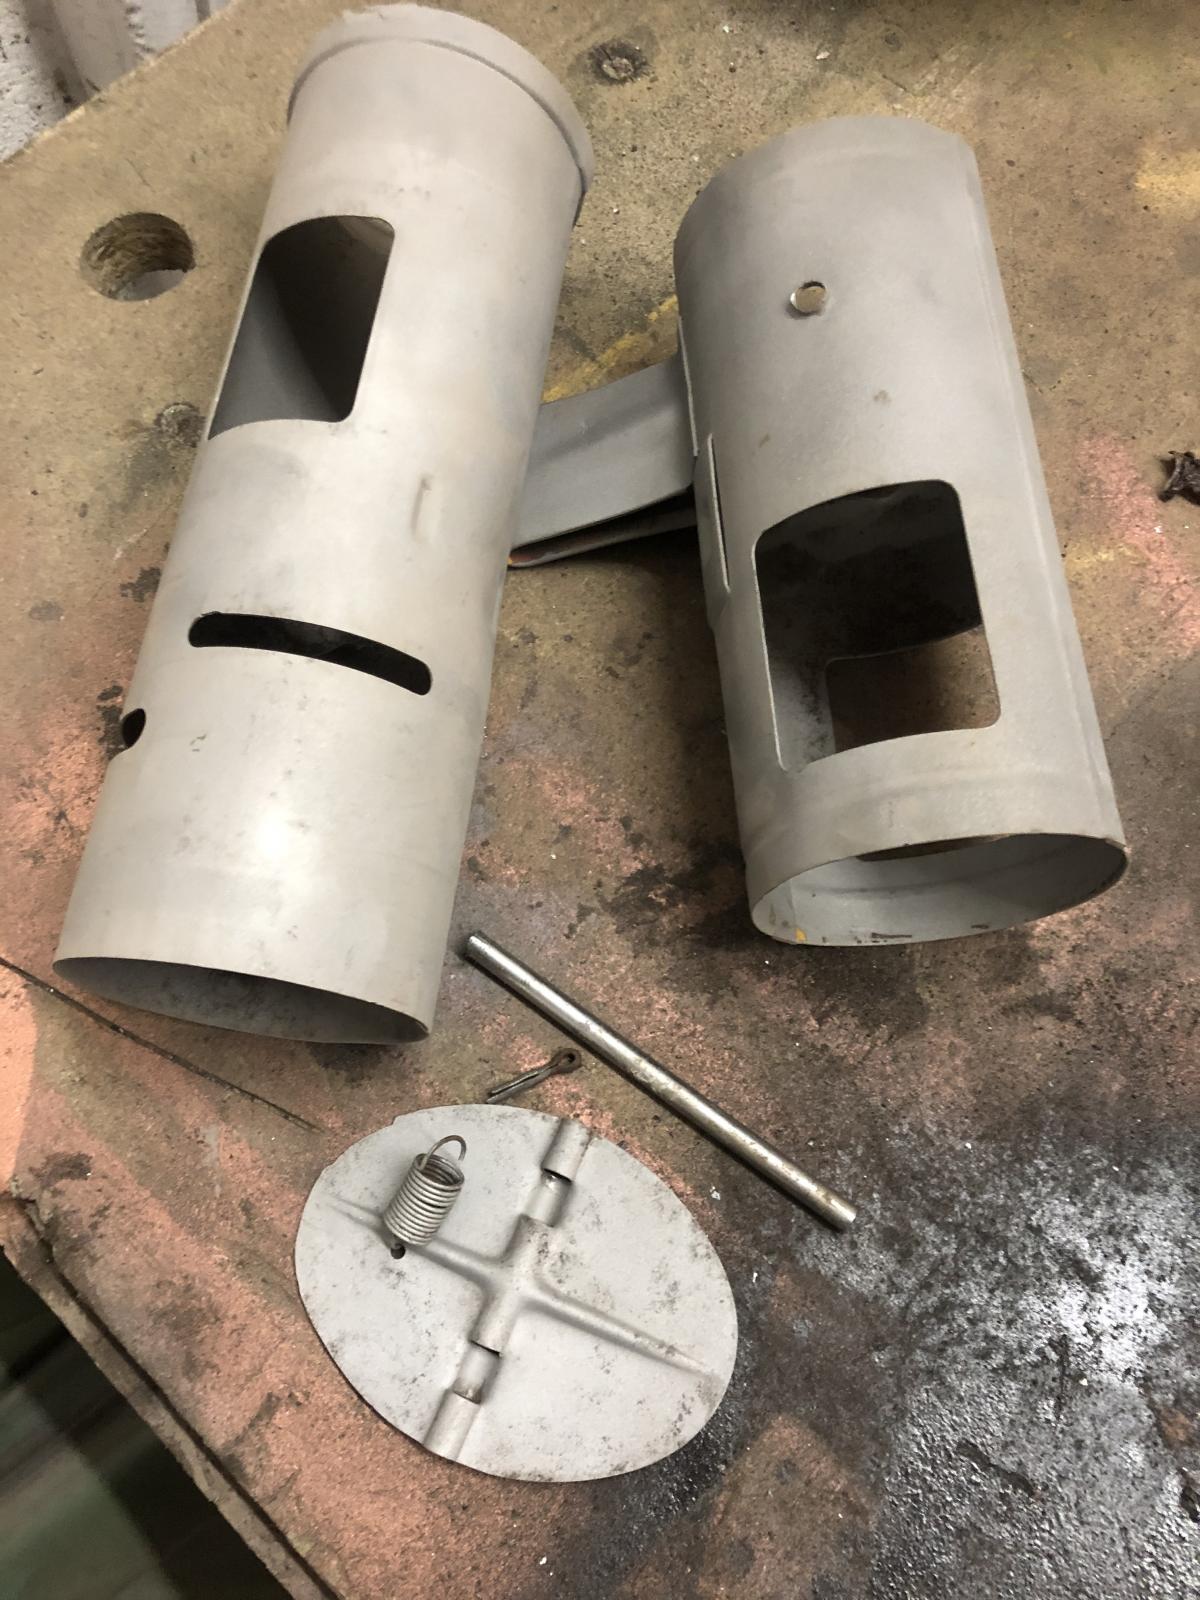
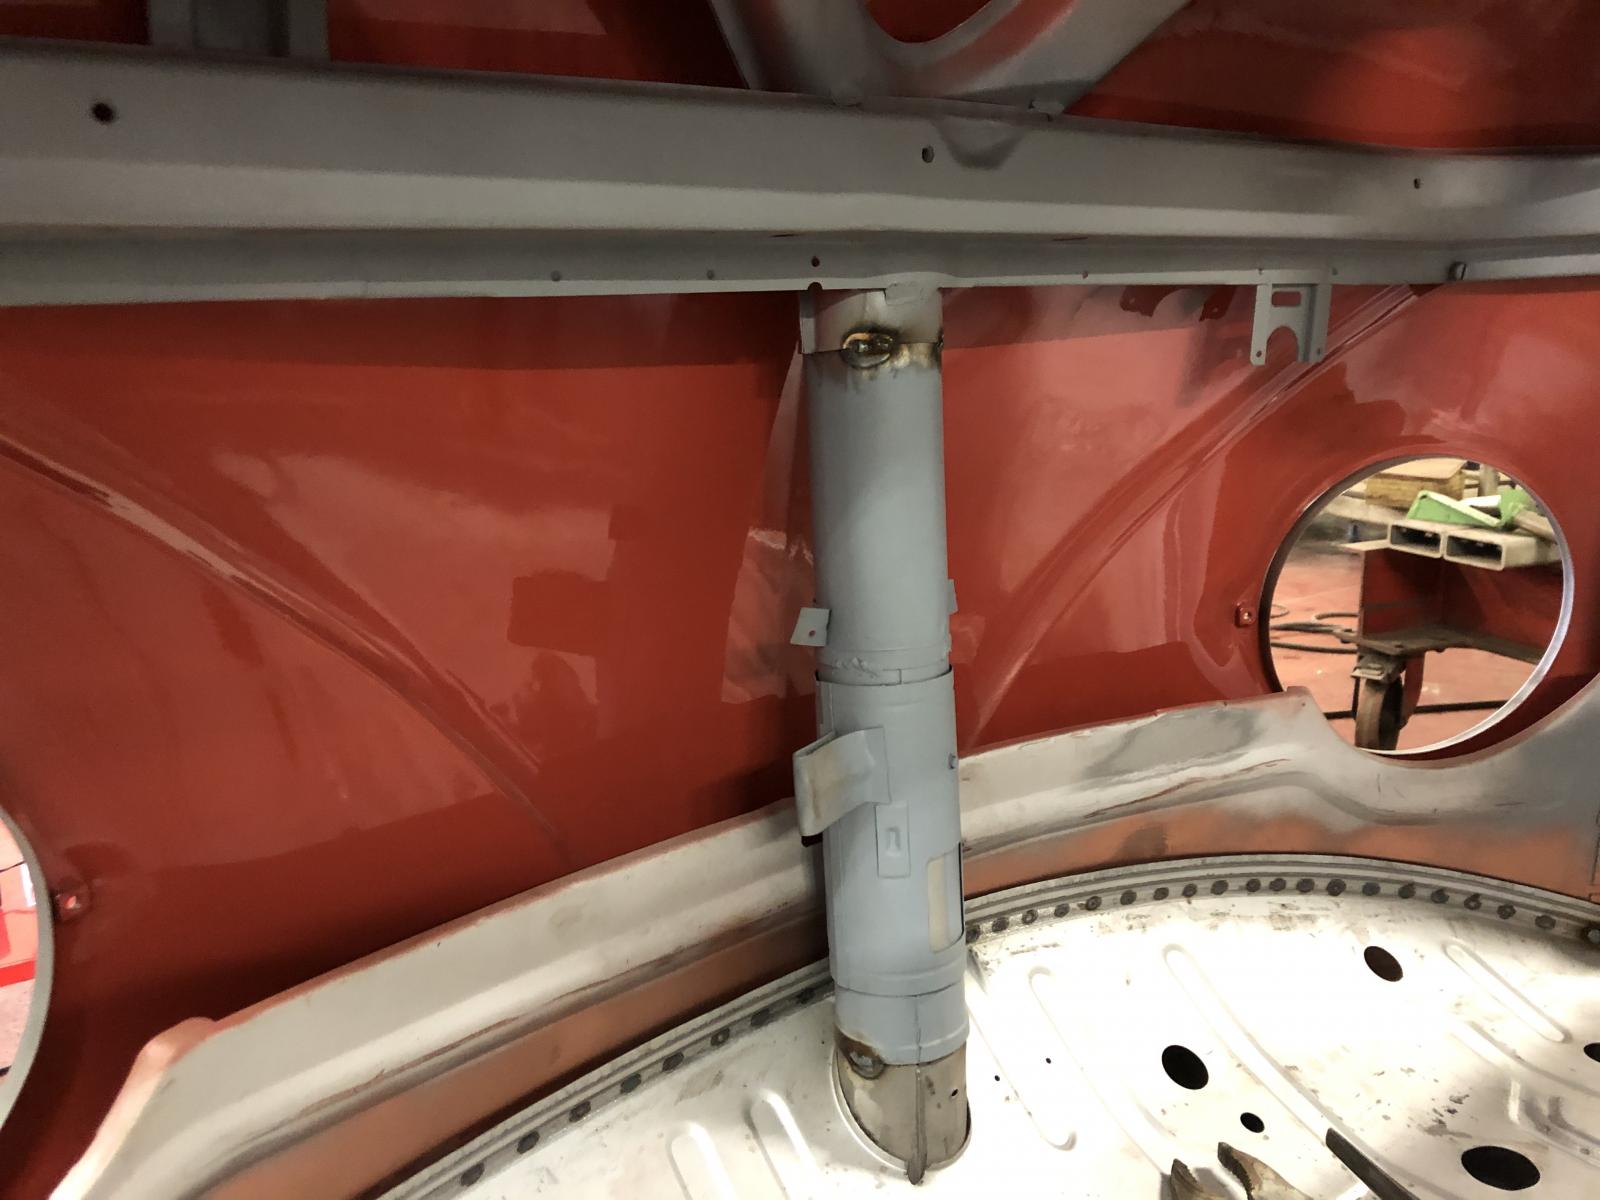
We dismantled the front heater tube as it had seized up solid, blasted all the parts individually and rebuilt it before fitting:
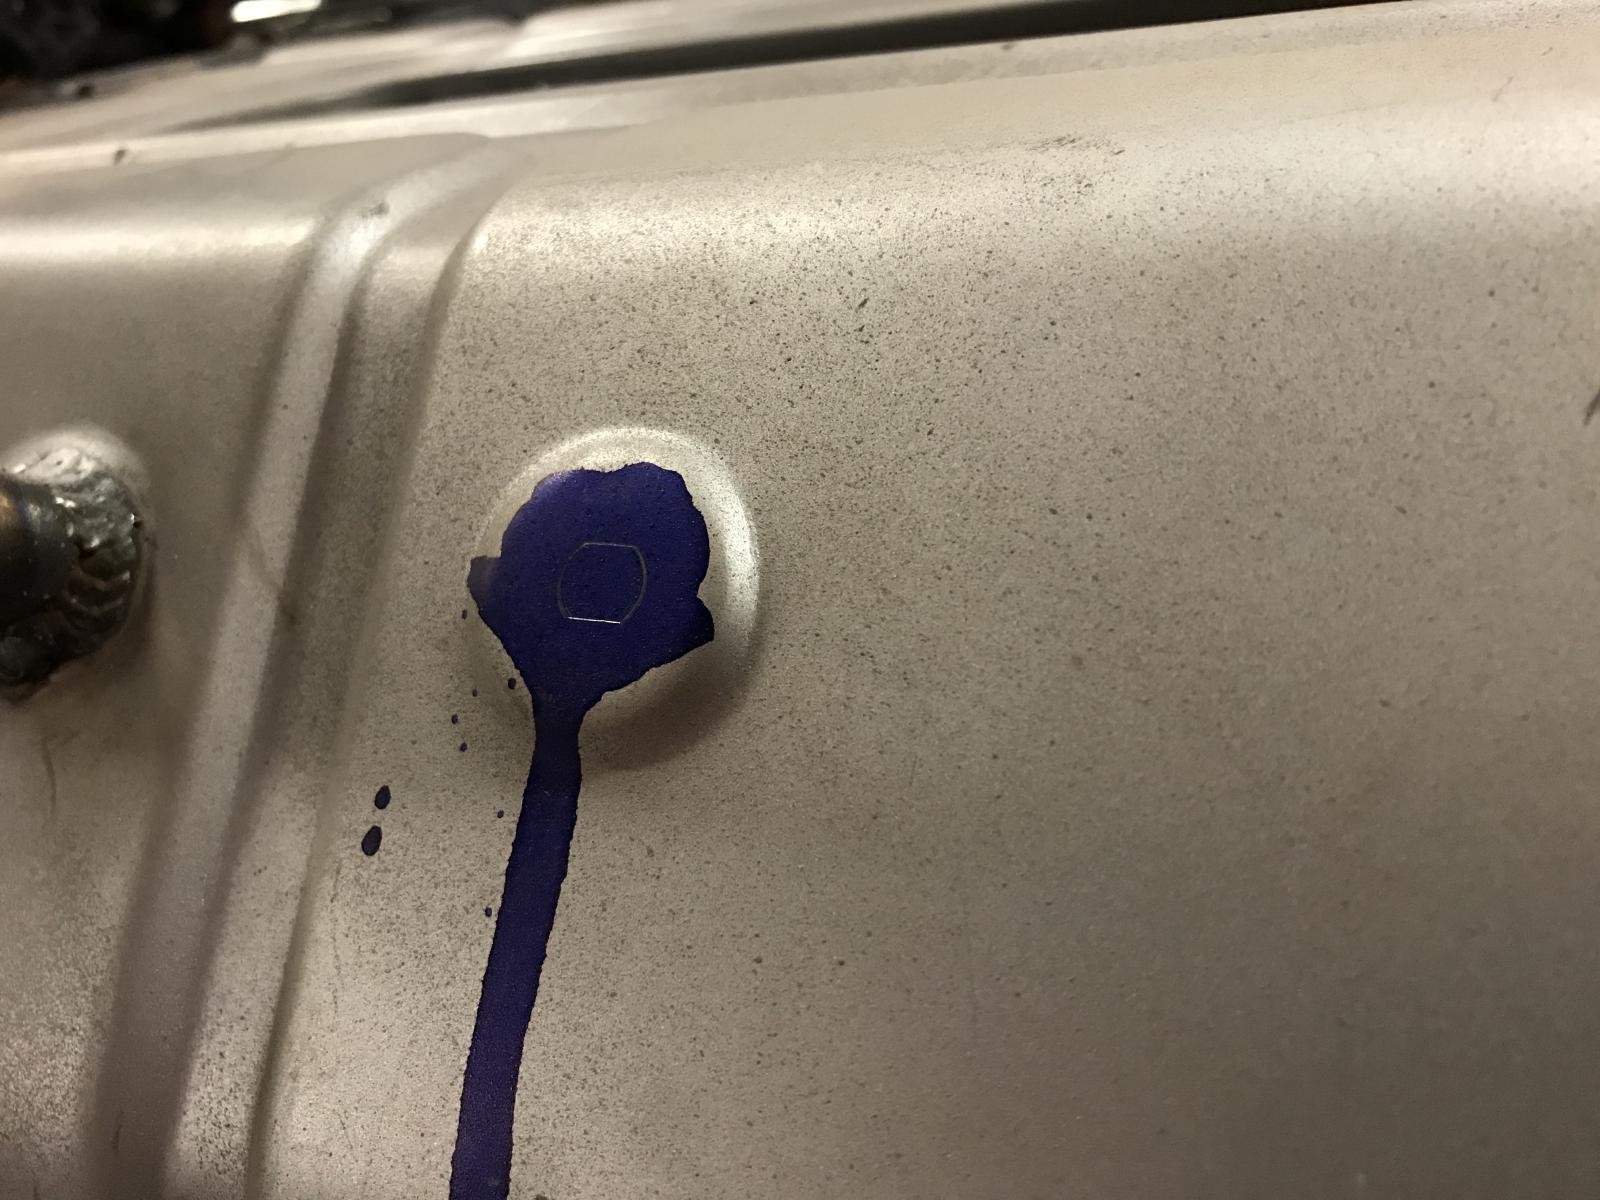
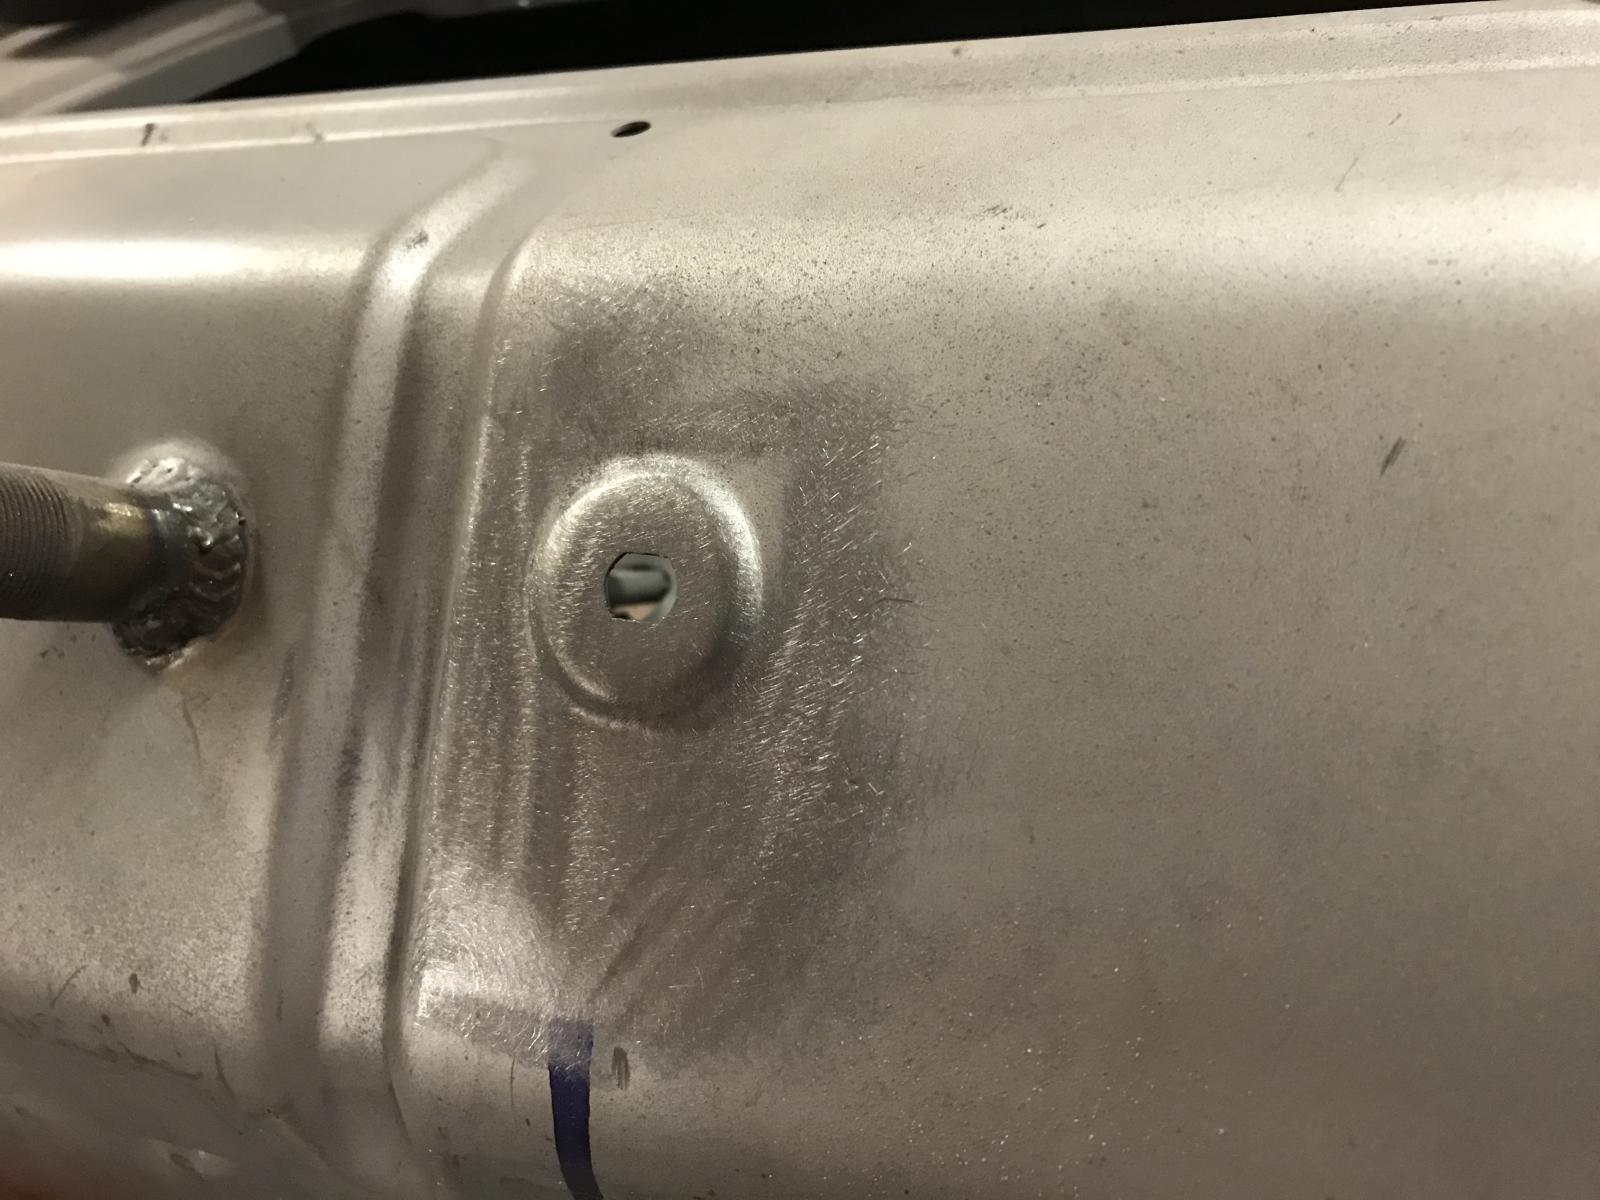
Replicated the holes in the cab tool box panel:
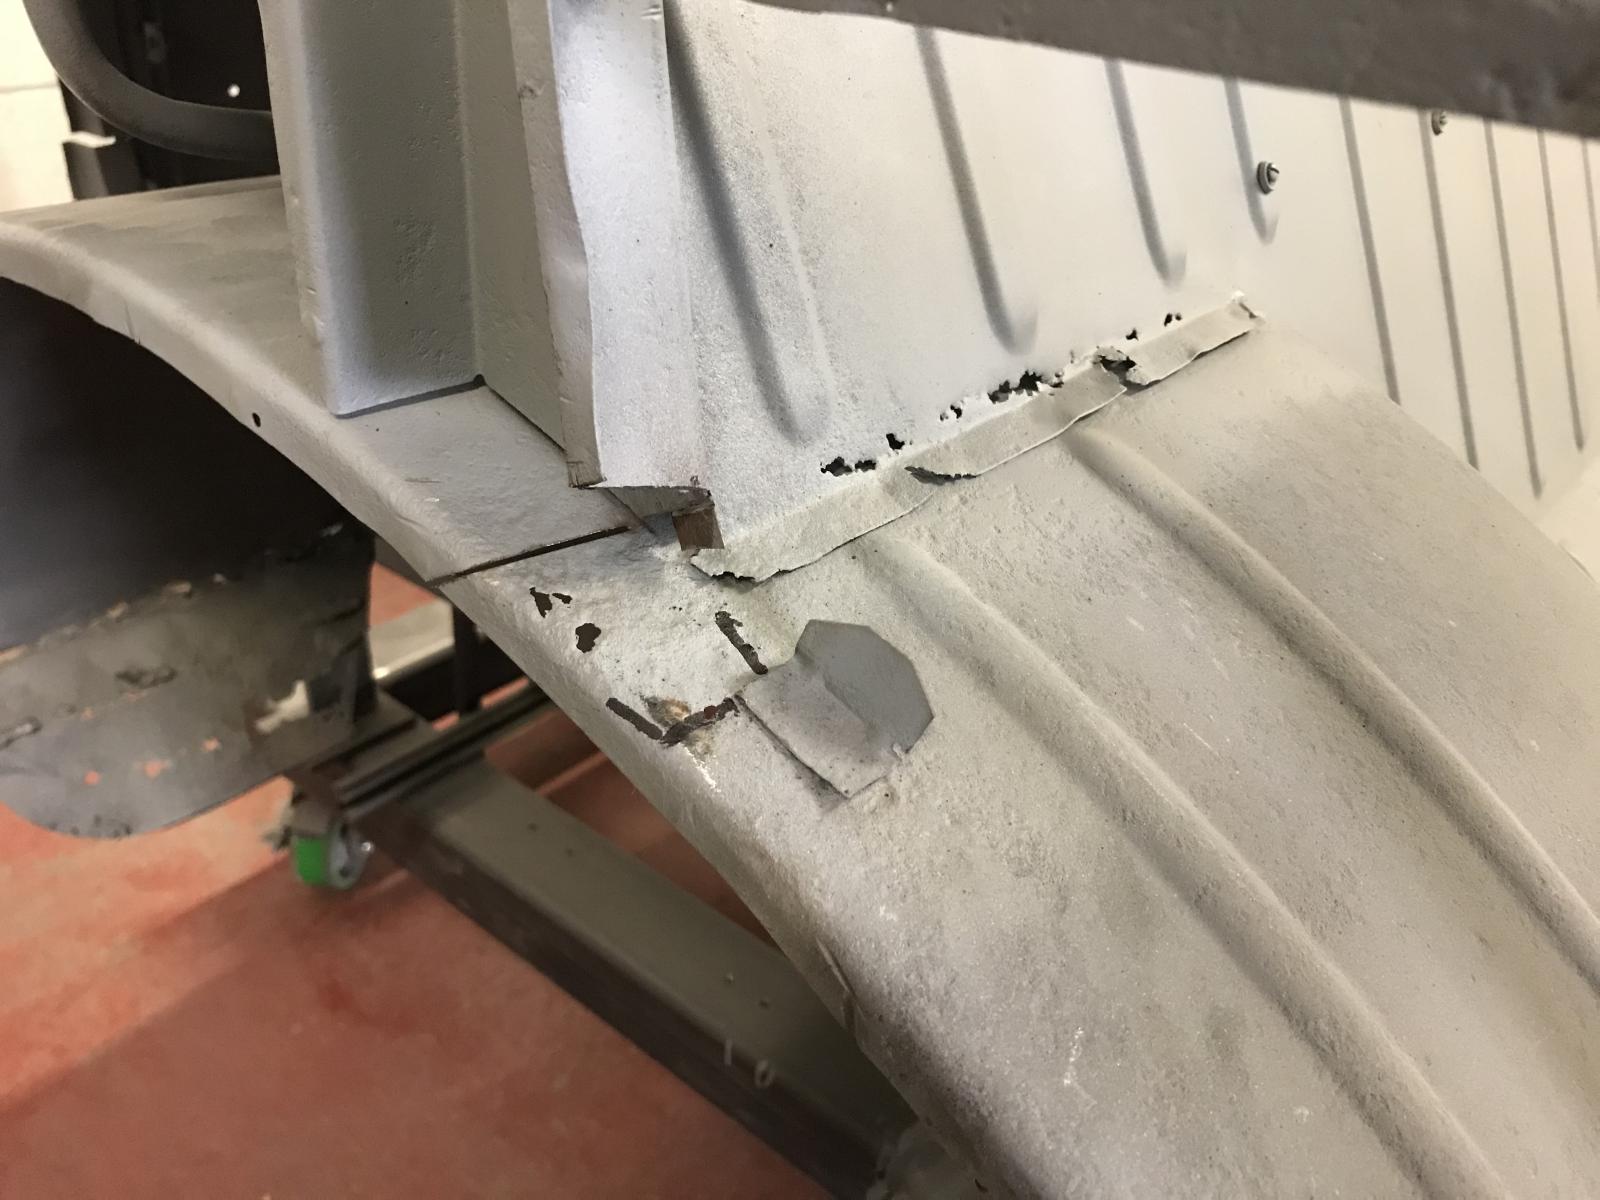
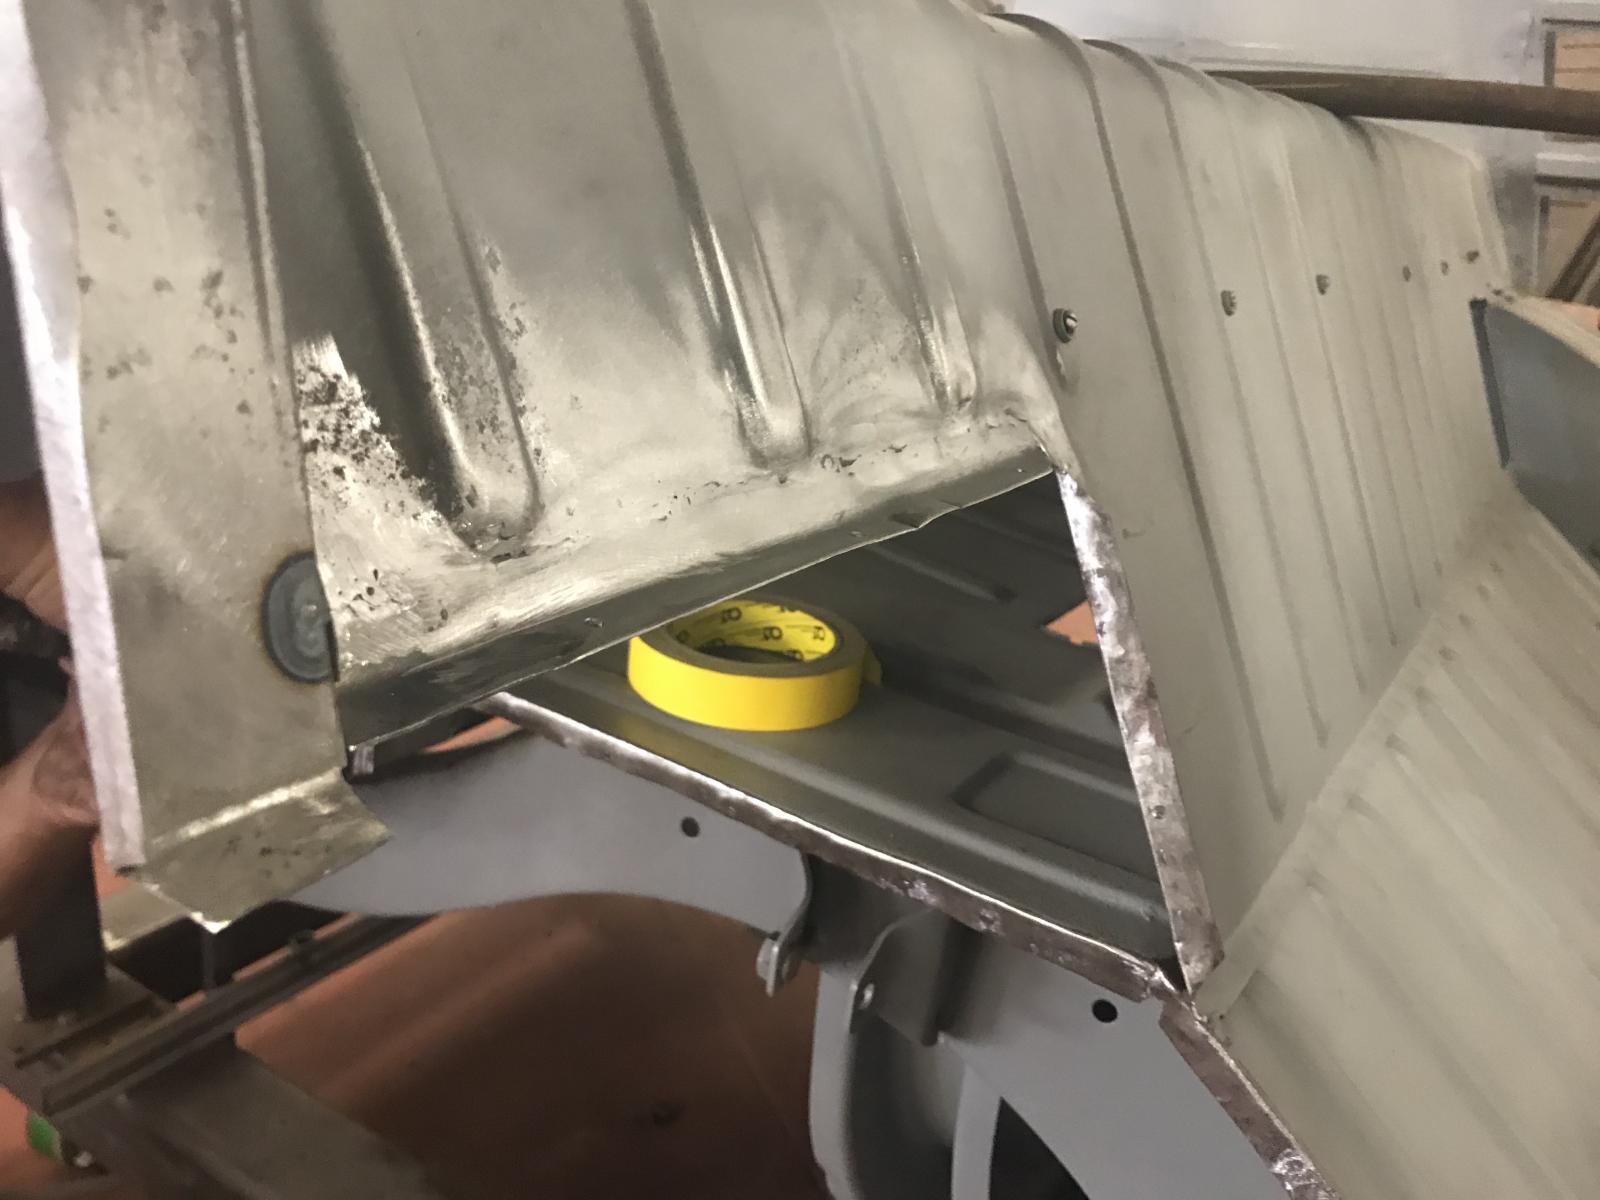
Repaired the rear bulkhead area where it welds to the tub:
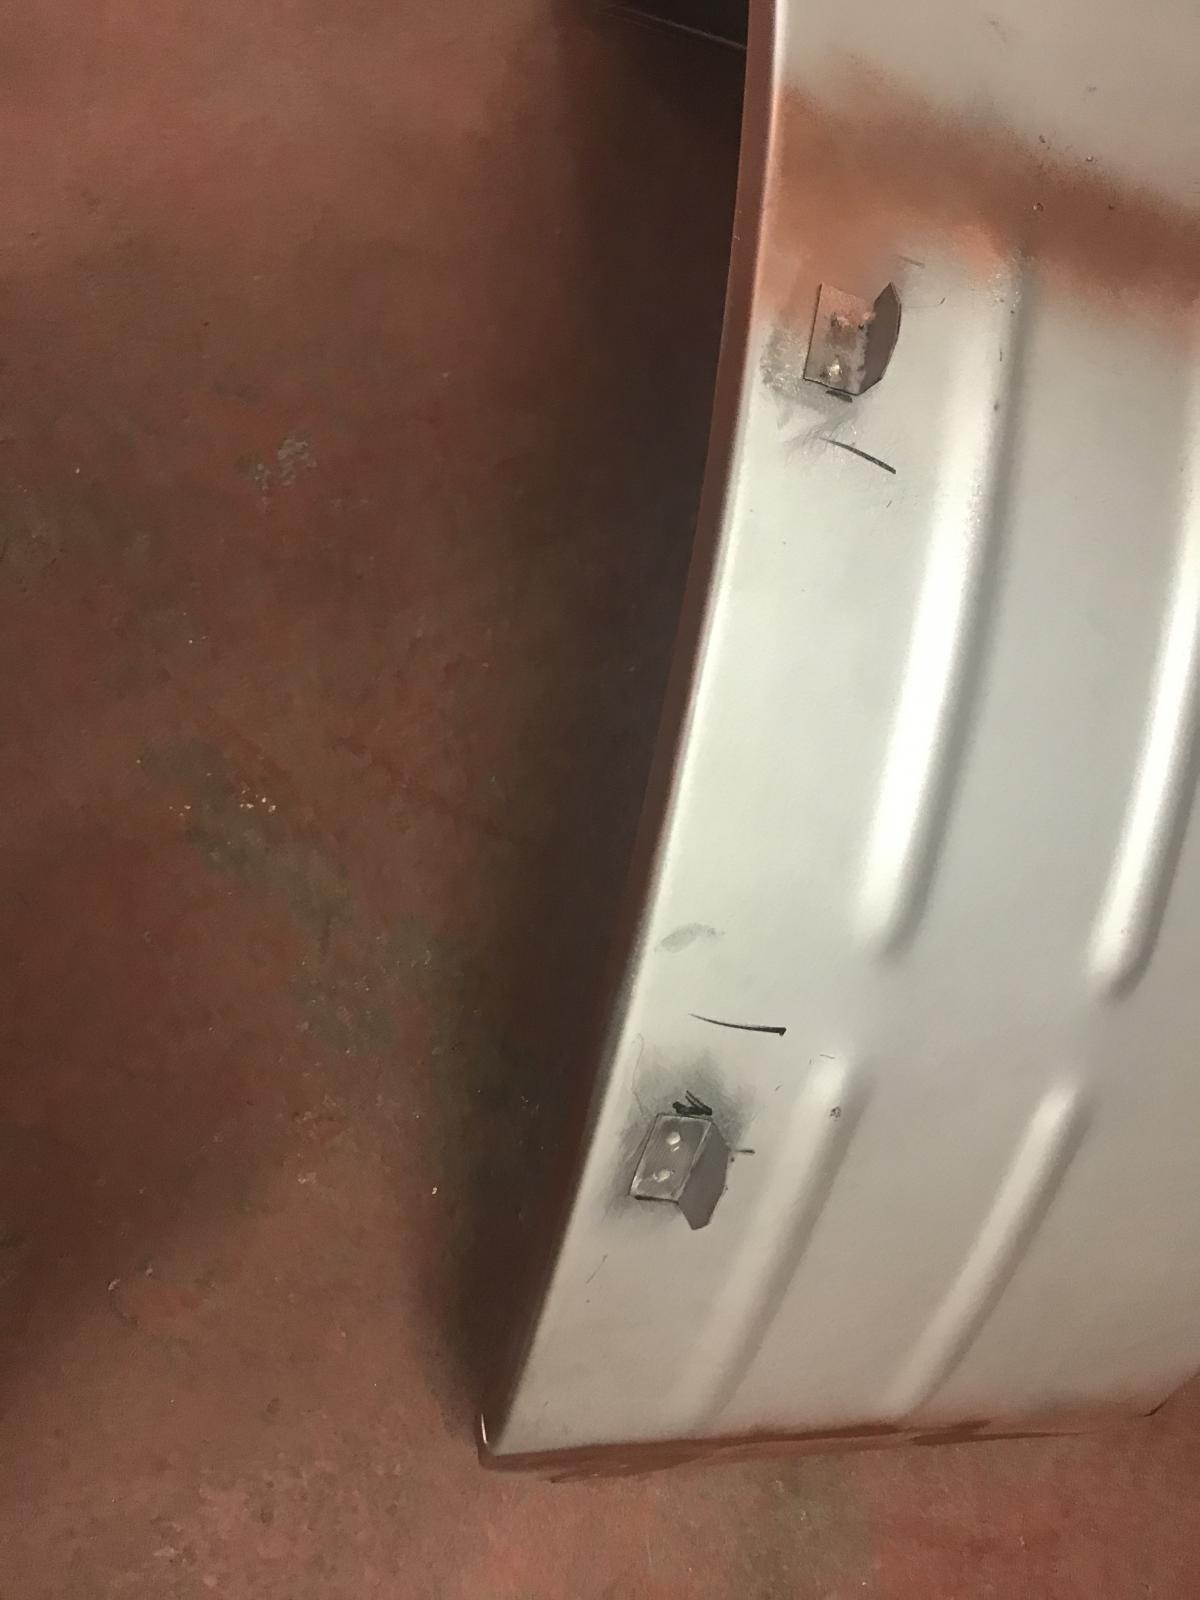
Welded the tabs on the tub for the cards and welded it in:
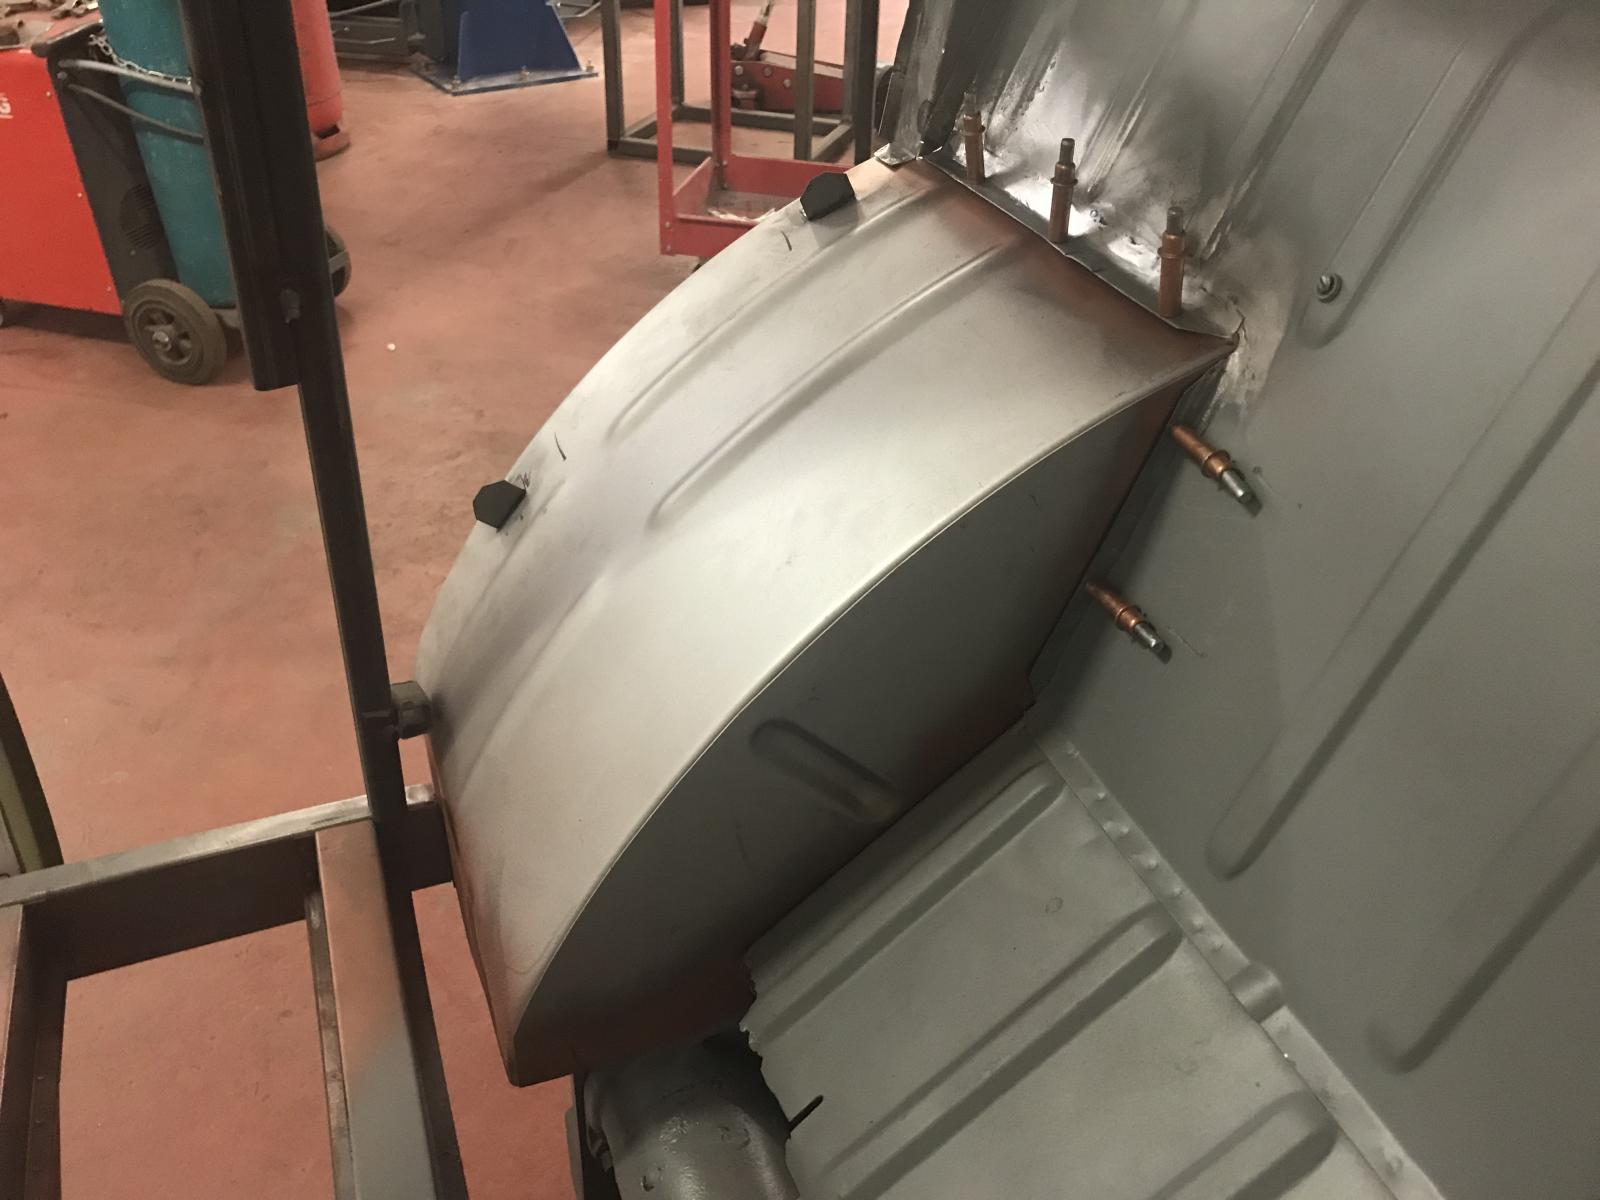
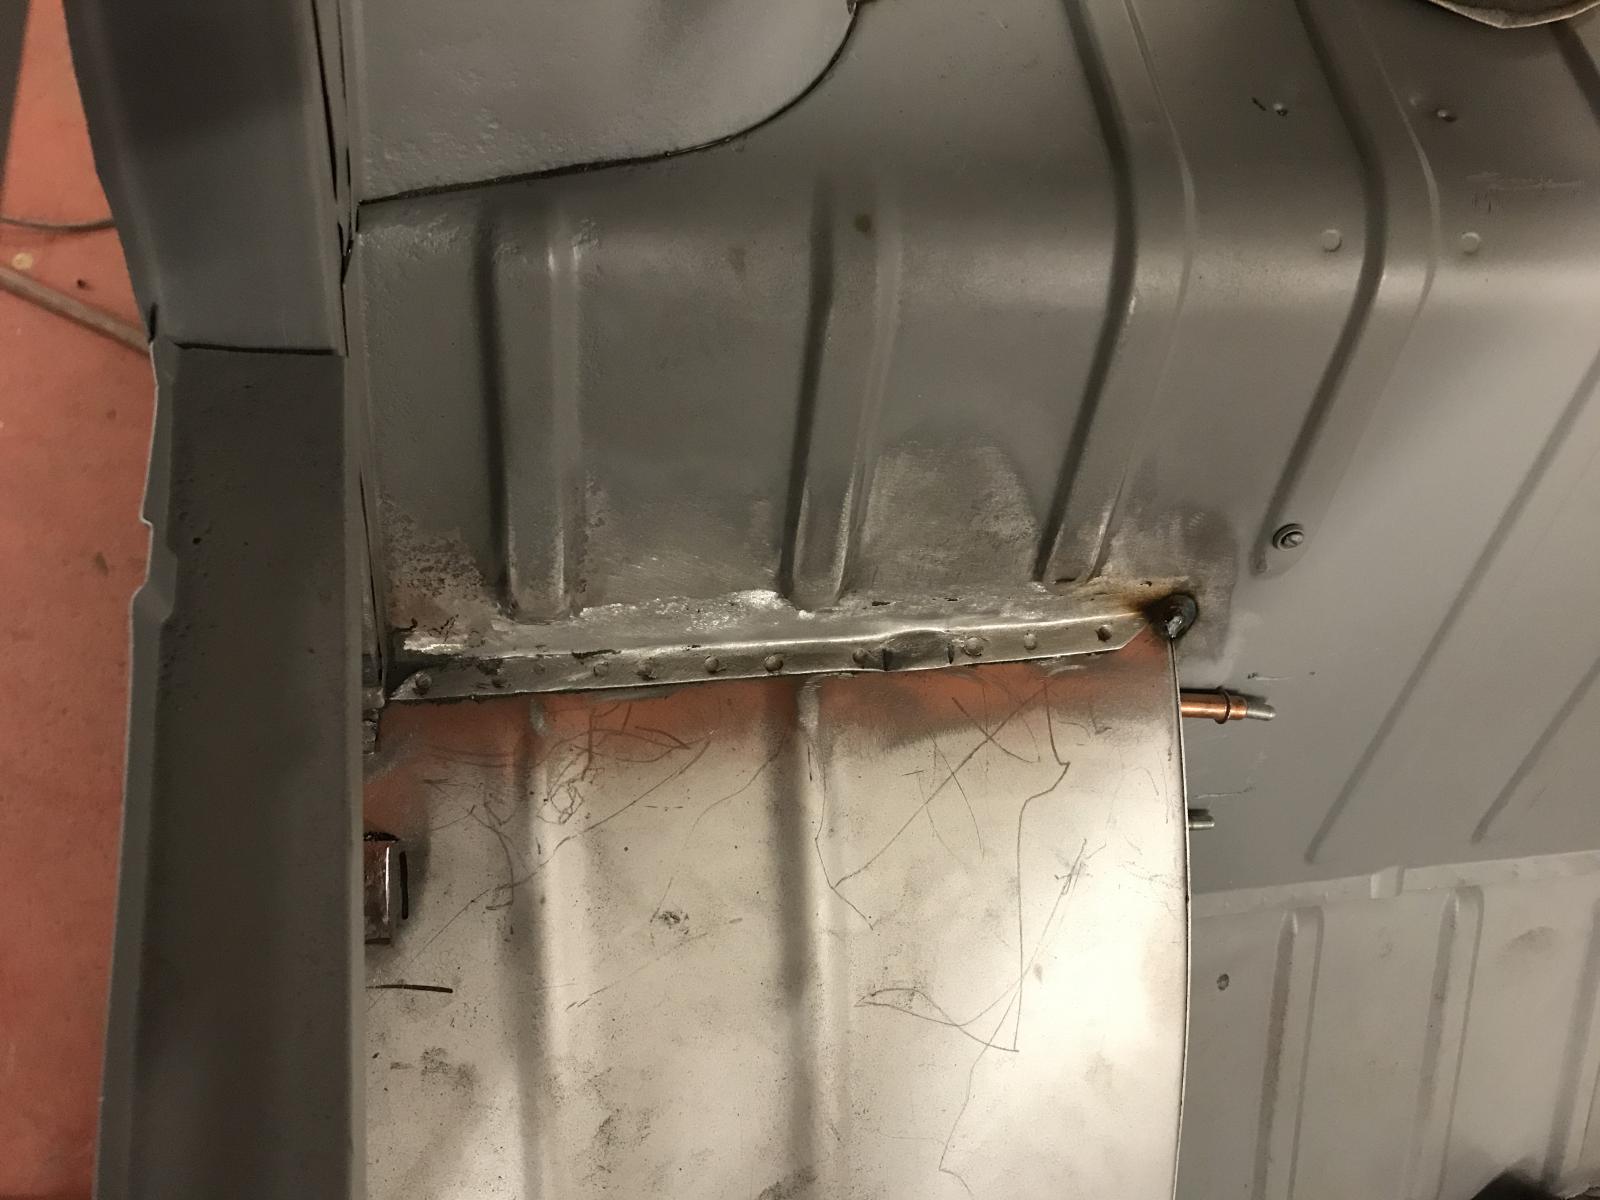
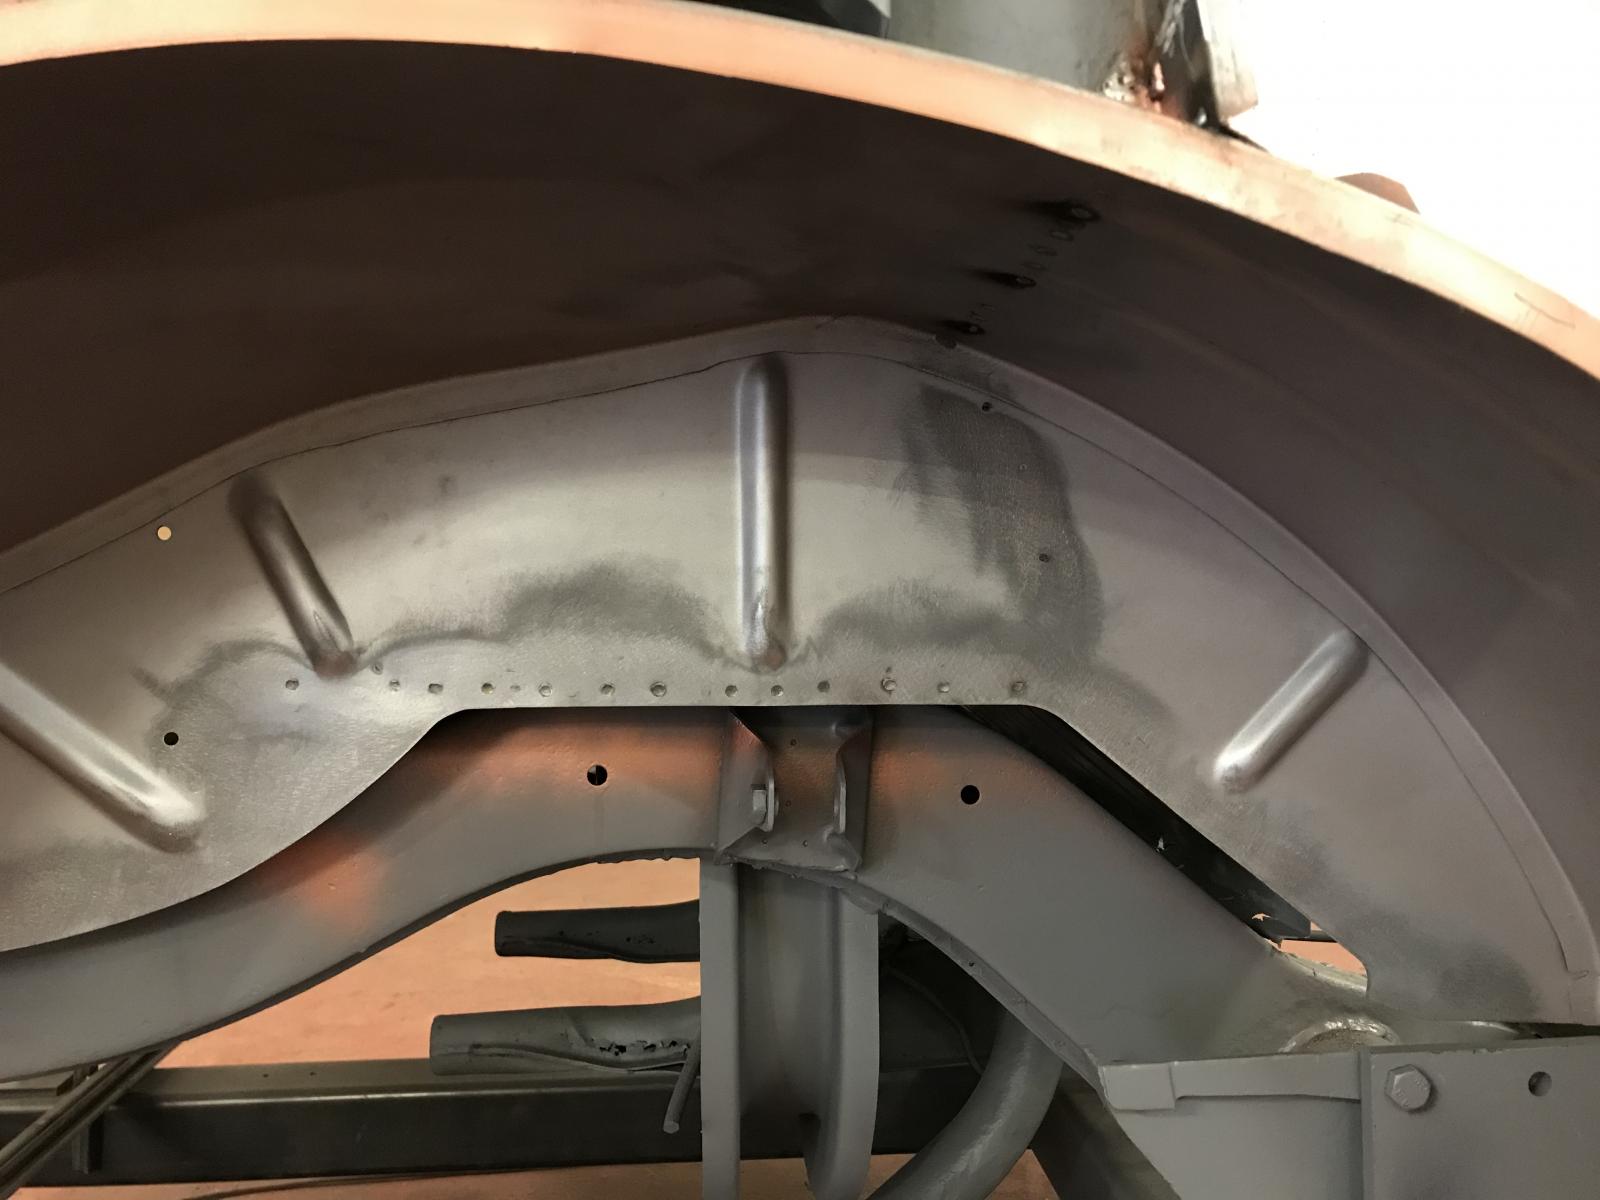
Side panel supports repaired:
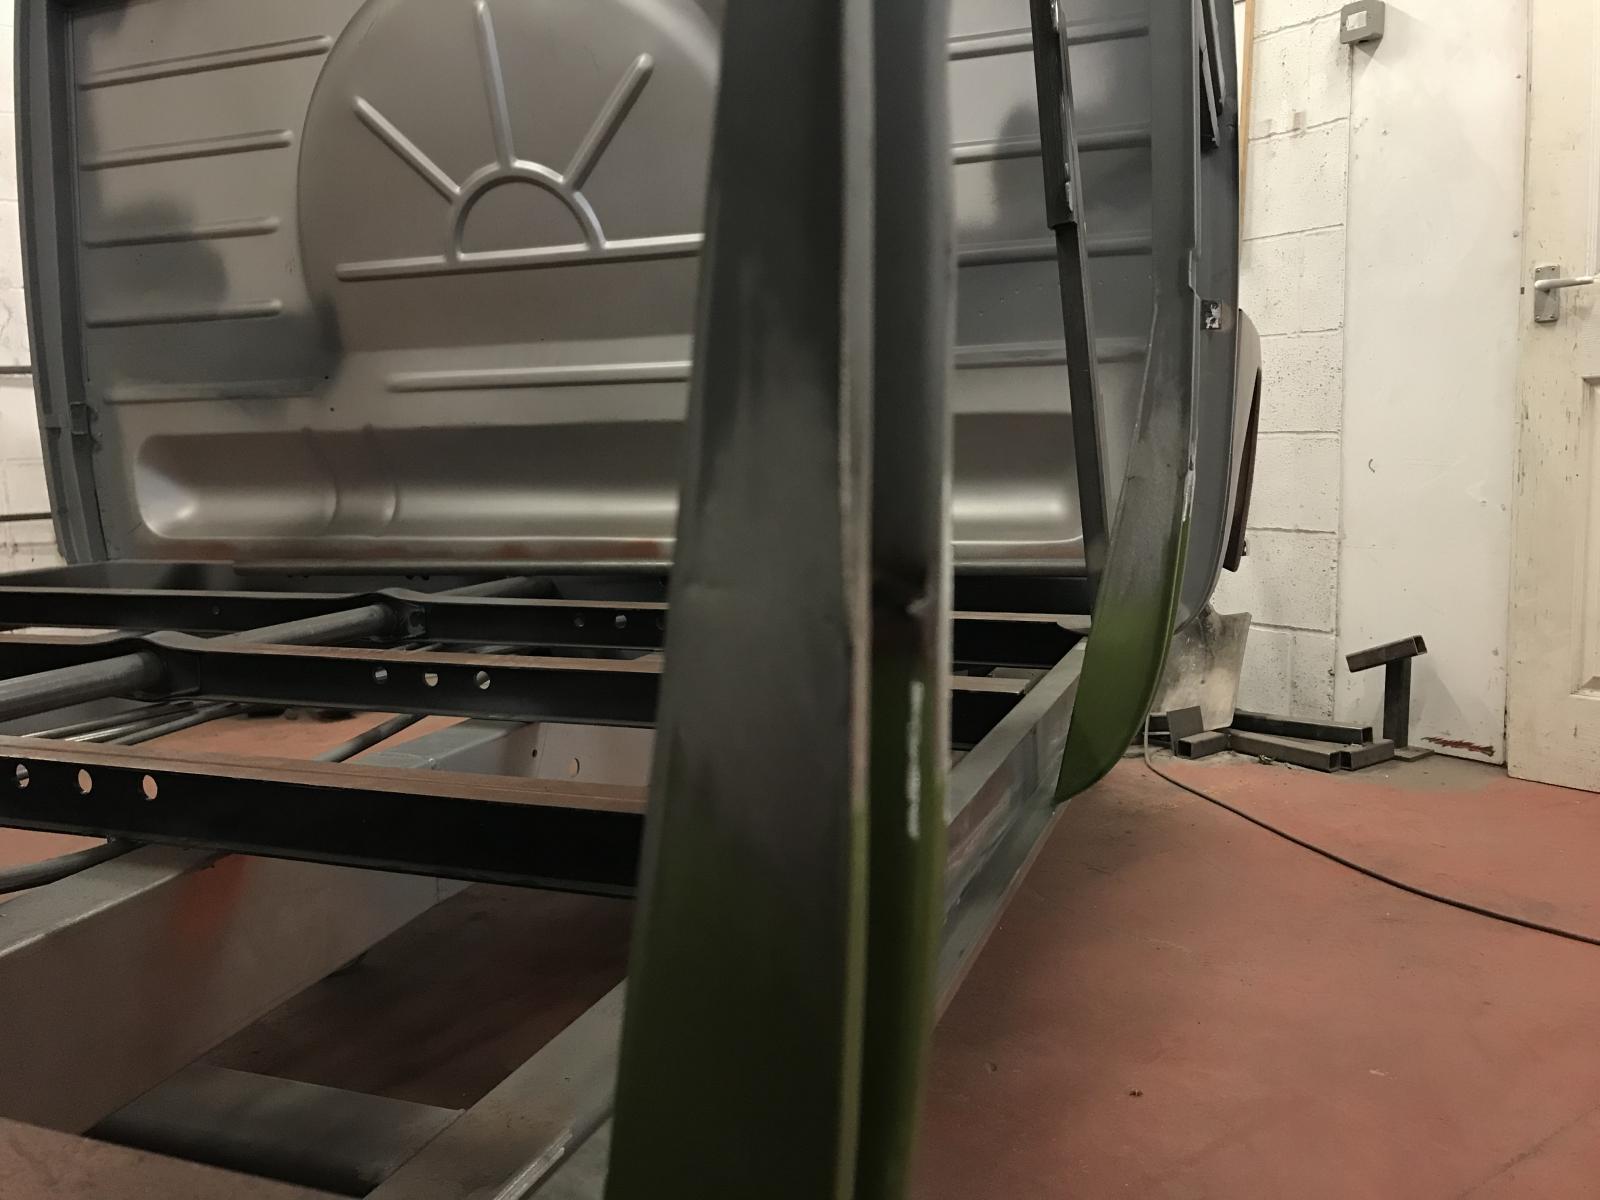
Inner window frame repairs:
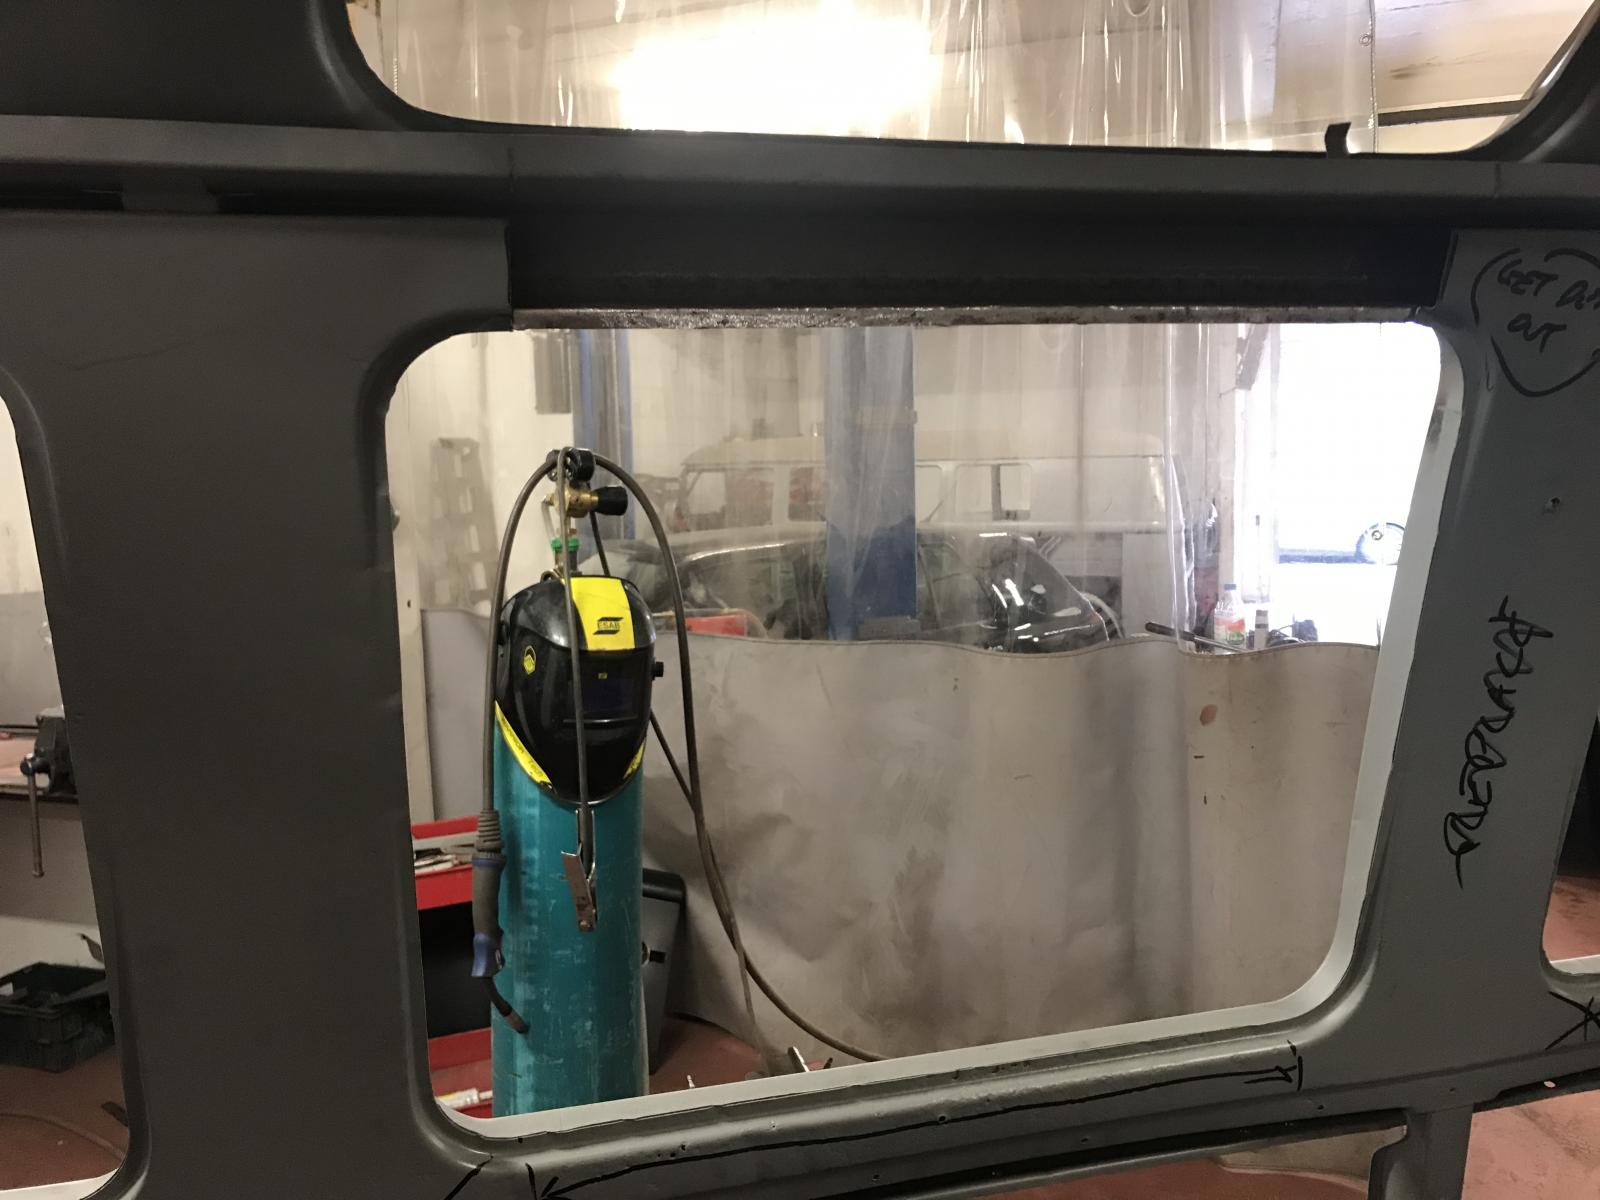
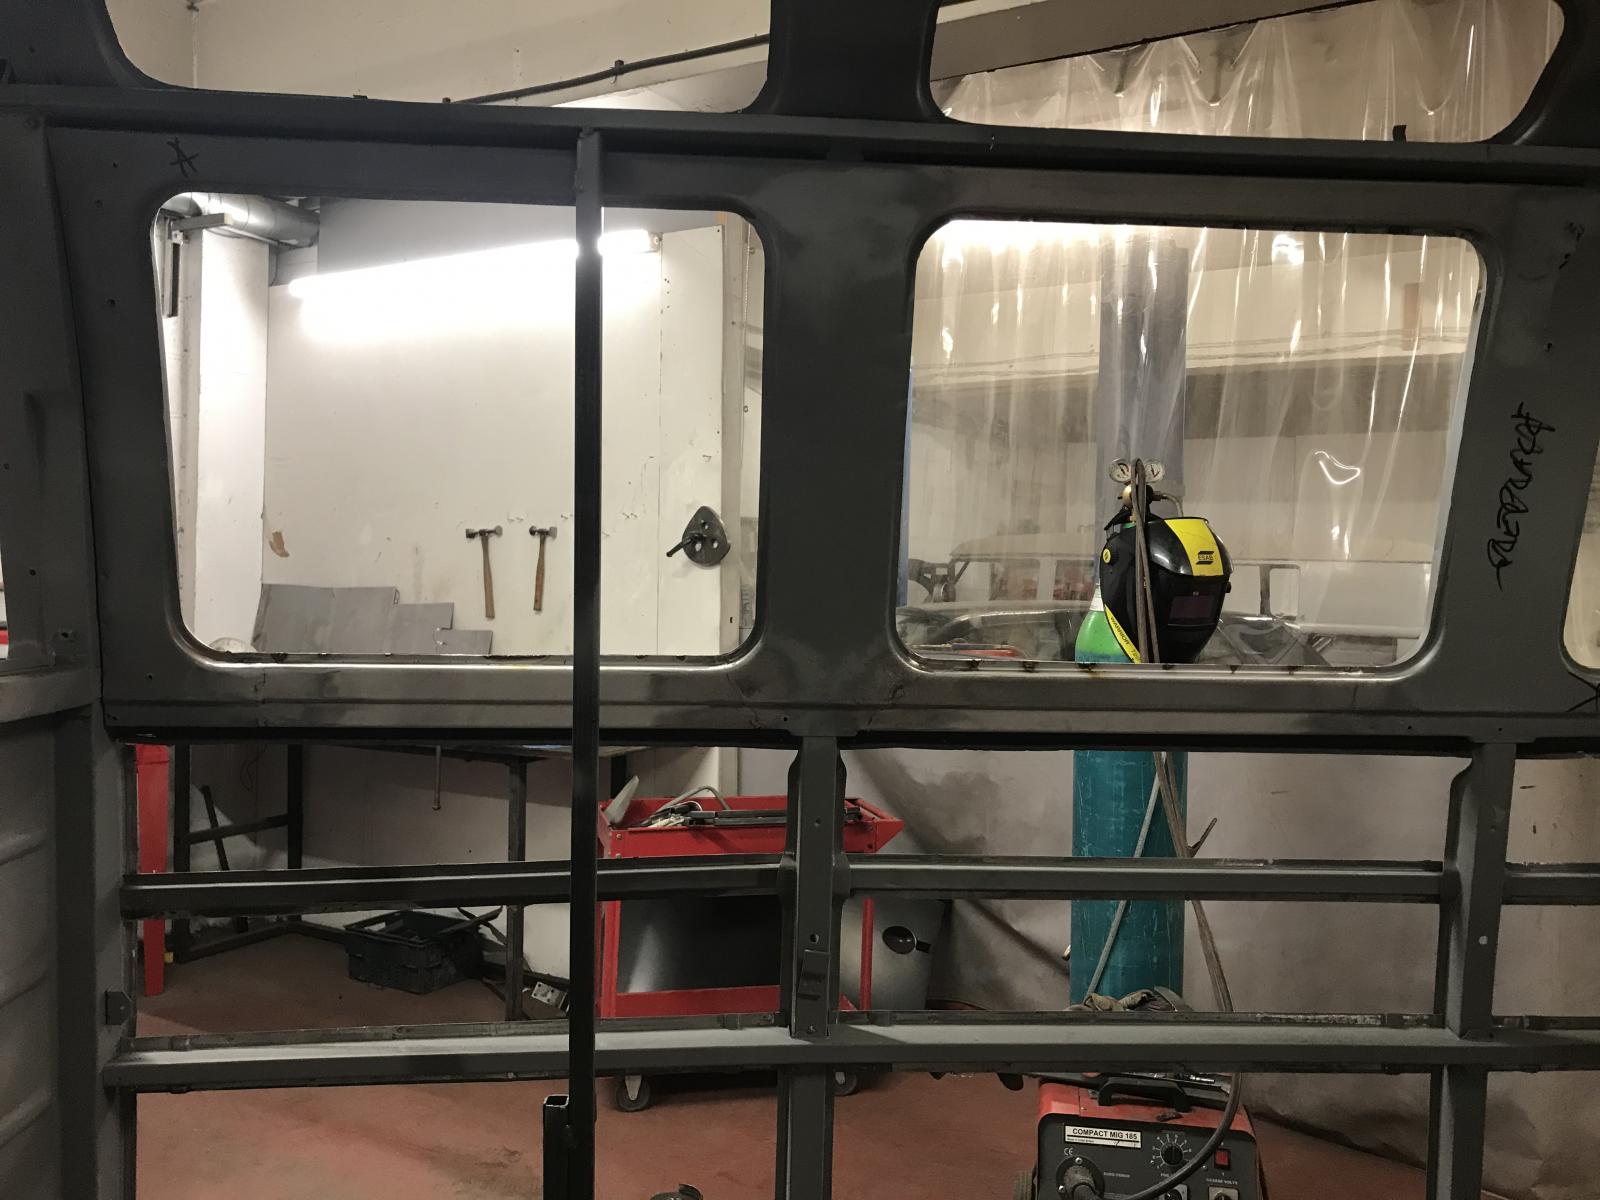
Used one of the silver BBT panels to repair the rear window frames and some rot underneath where the side panel is welded. Wasnt impressed with this panel at all. Needed lots of work before we could fit it:
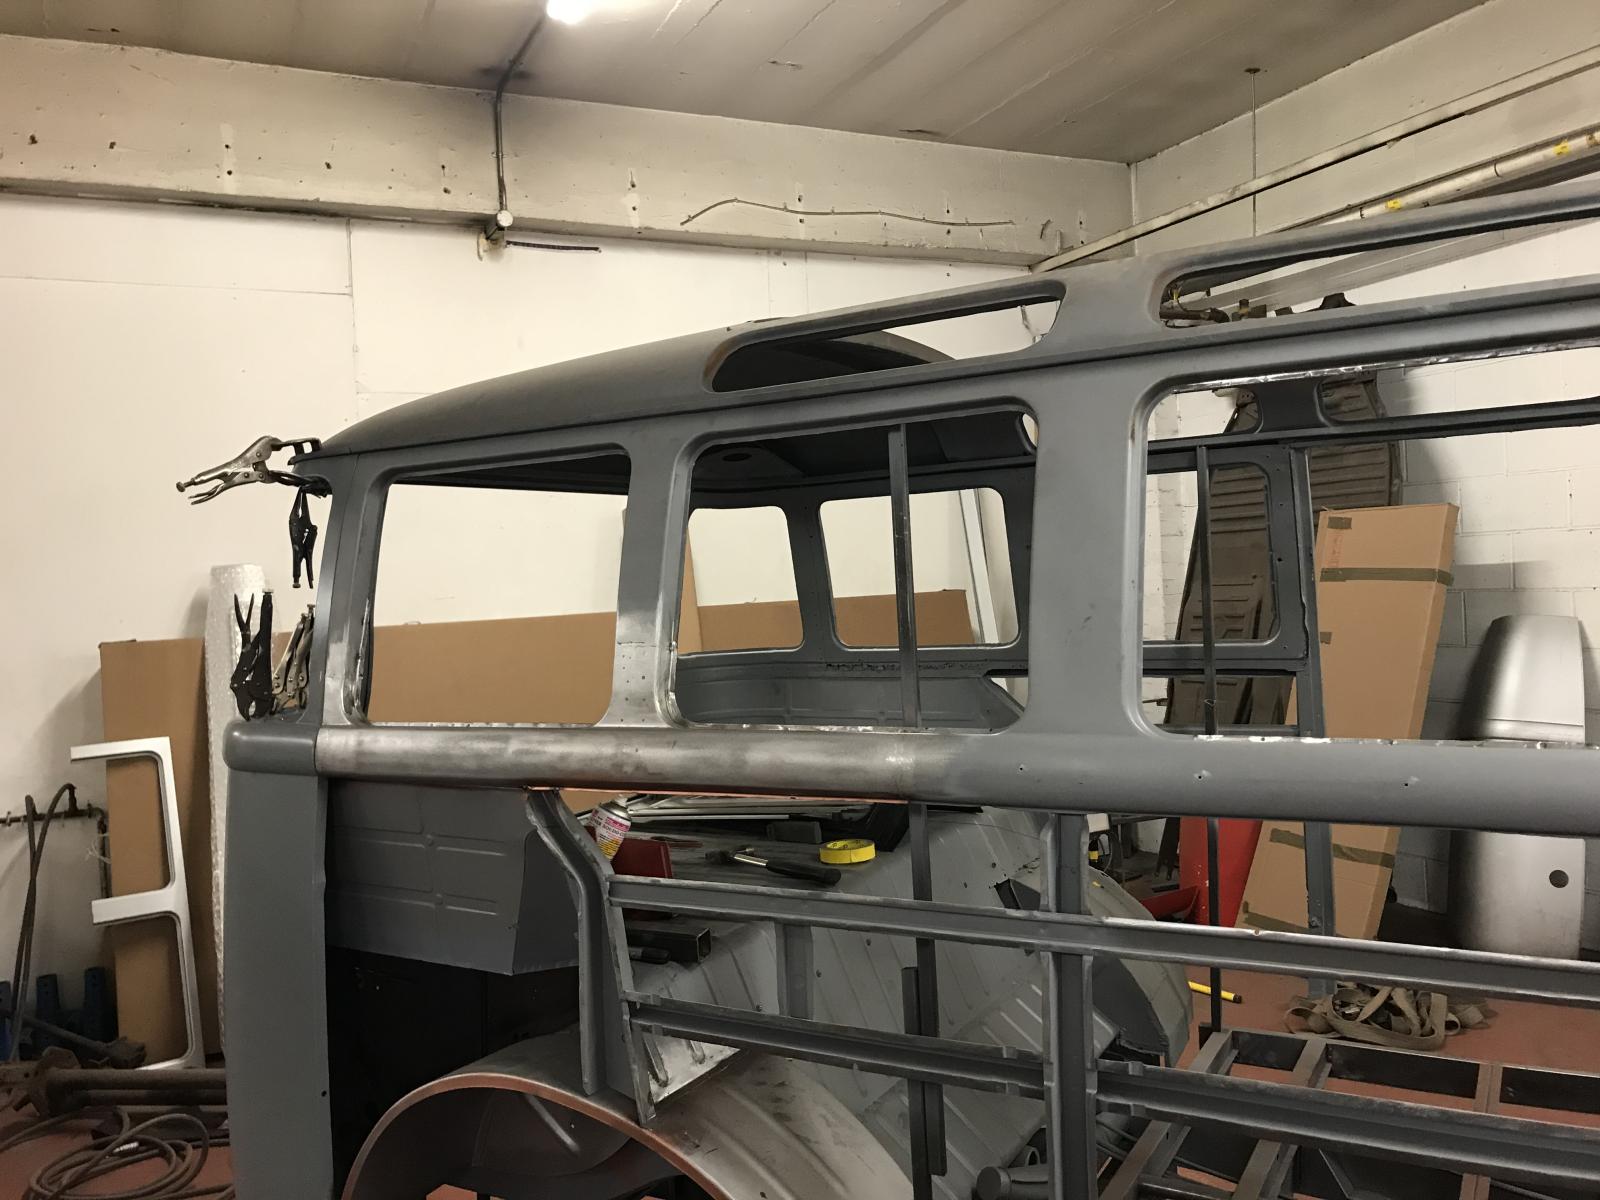
Painted all the inner framework body colour then welded the long side panel on:
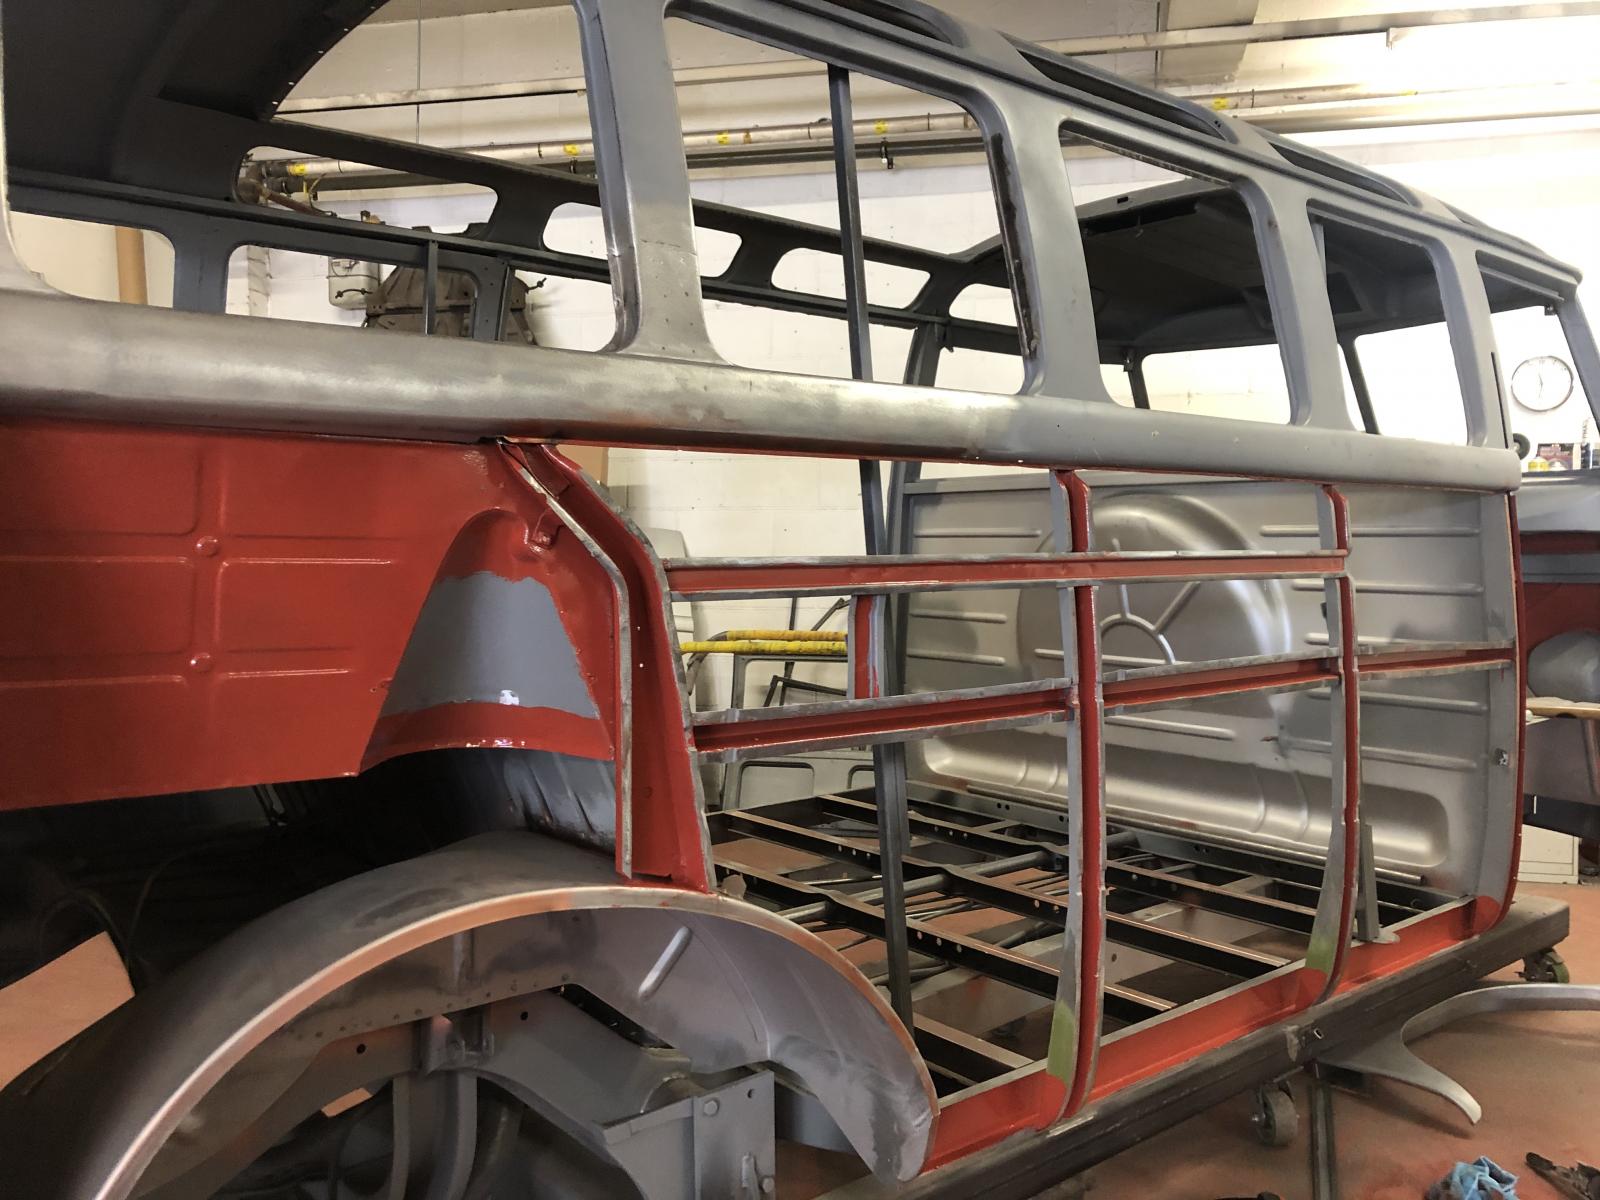
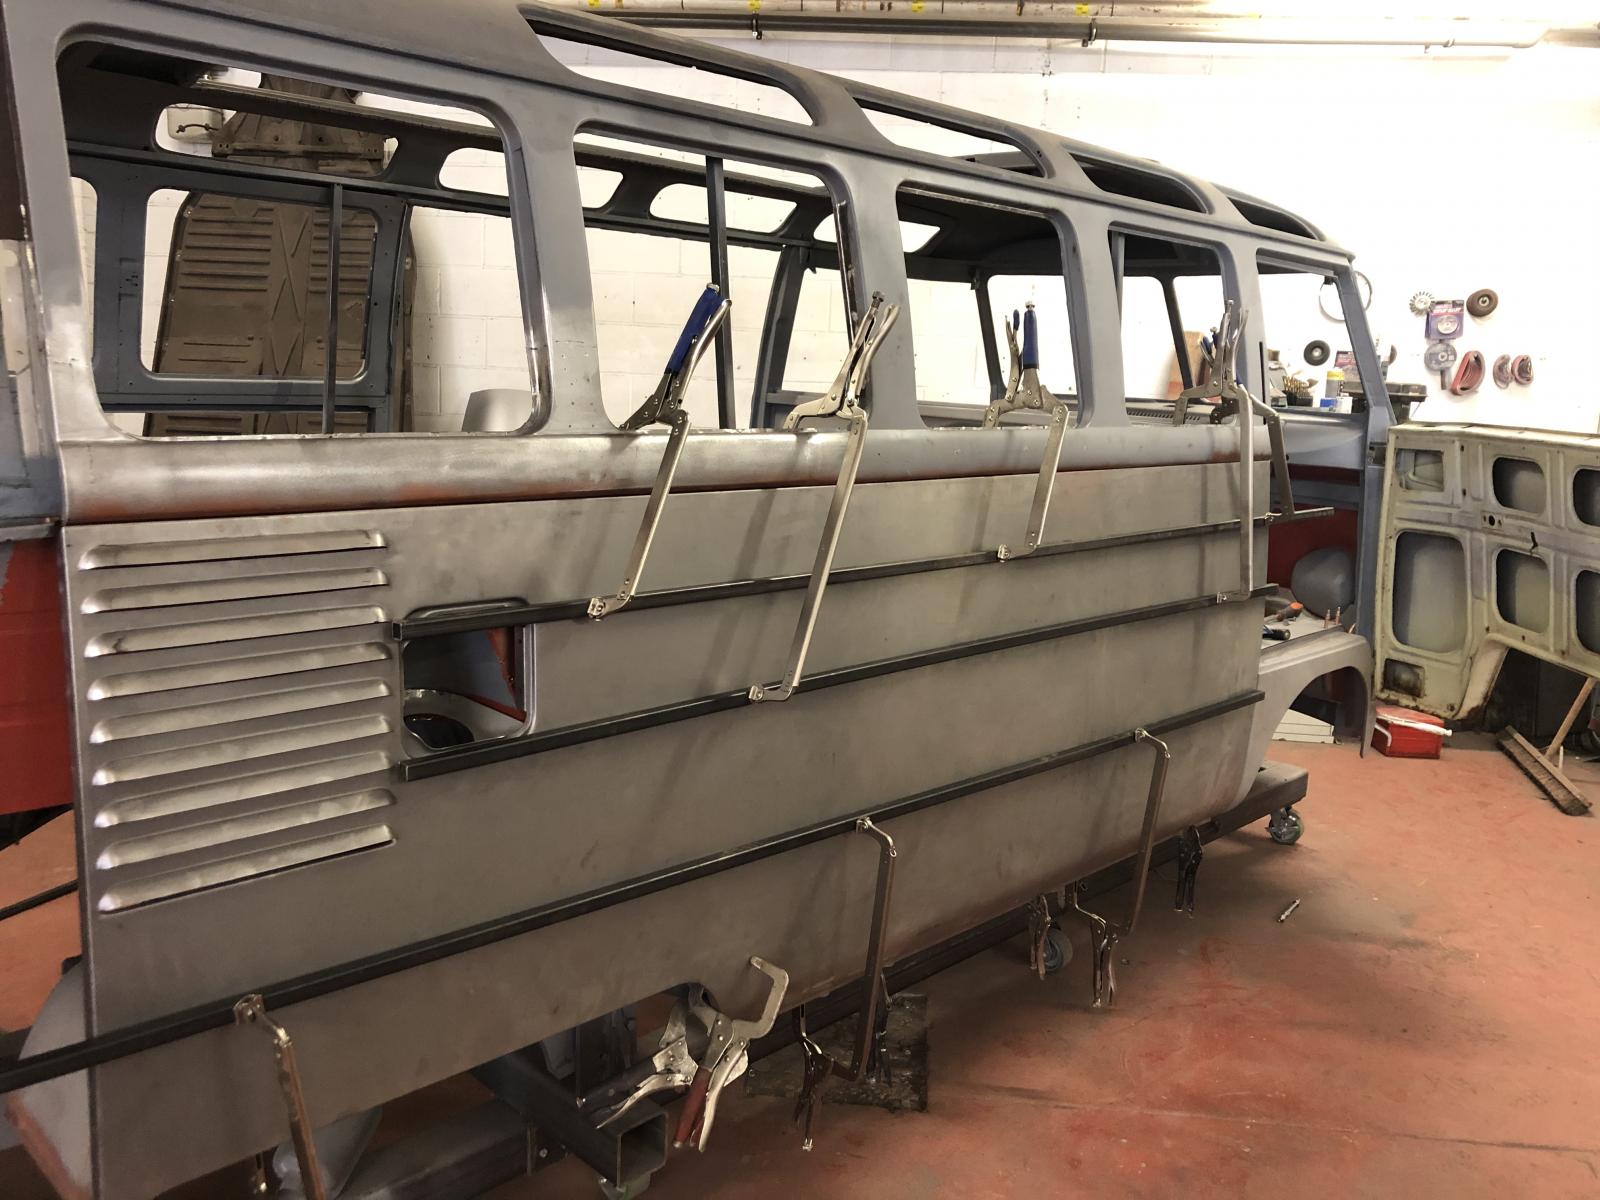
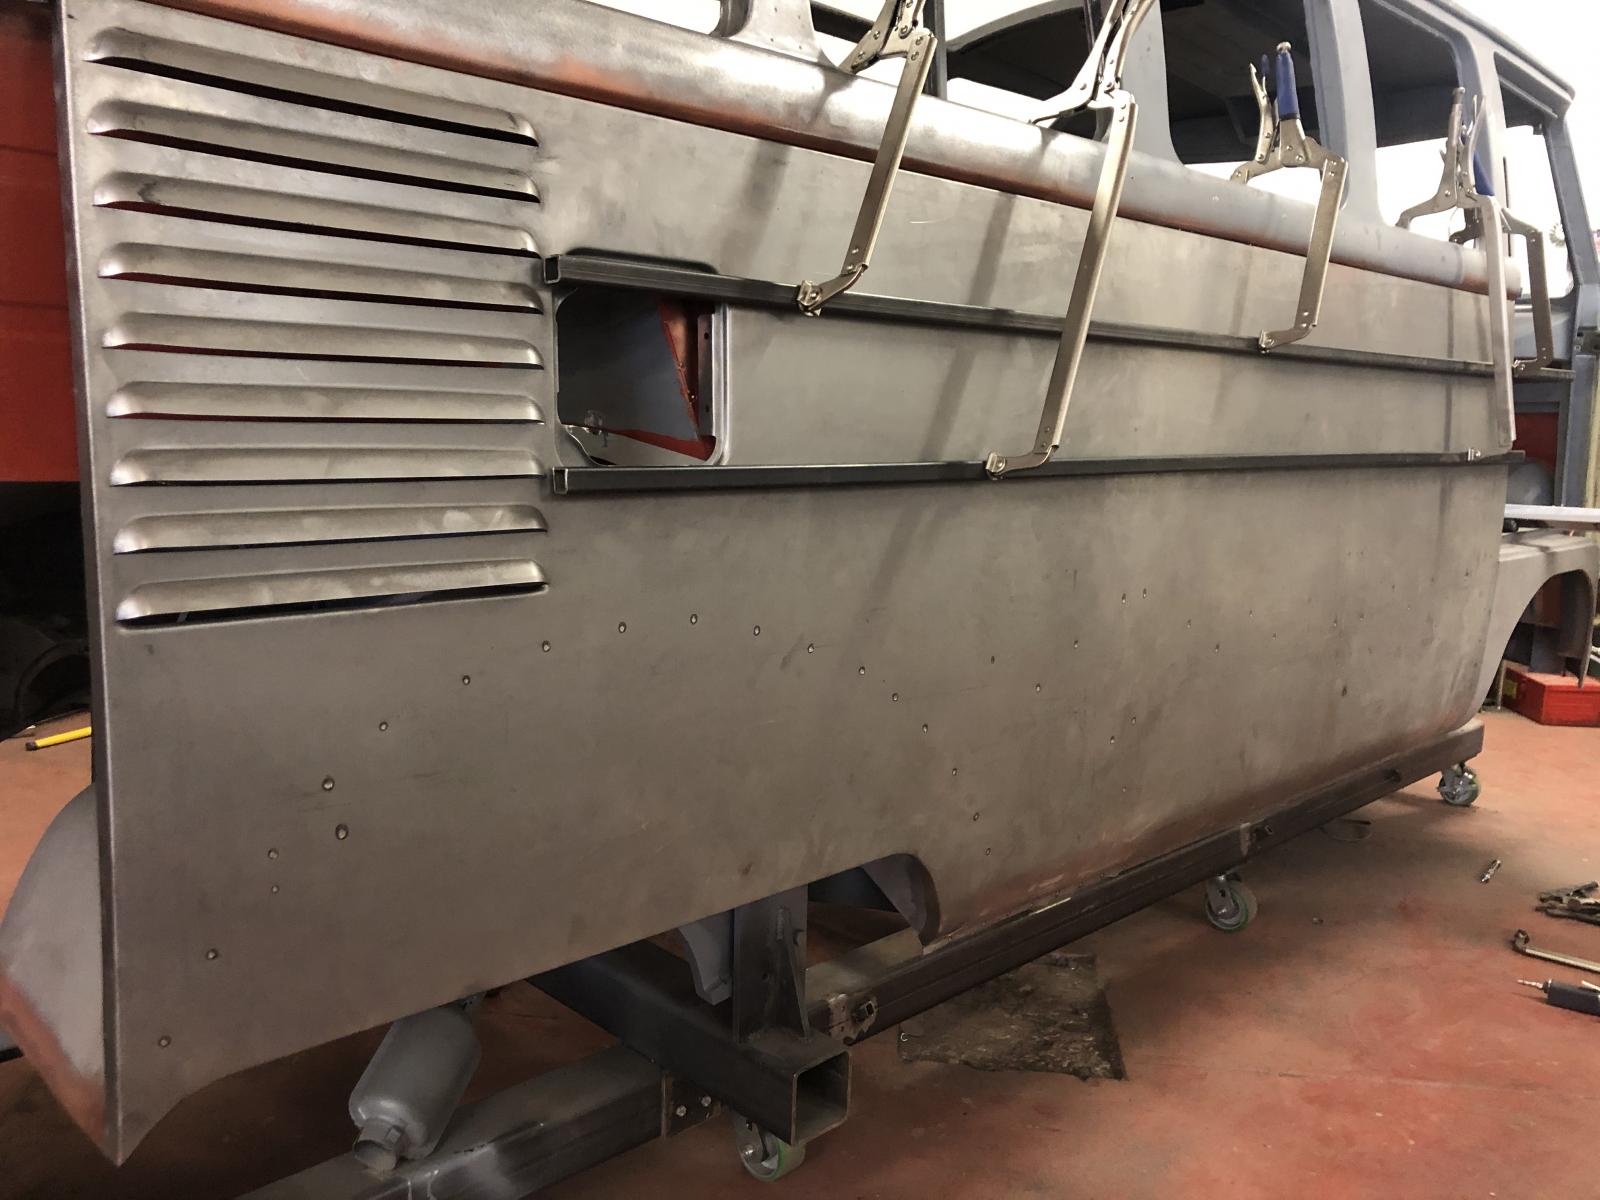
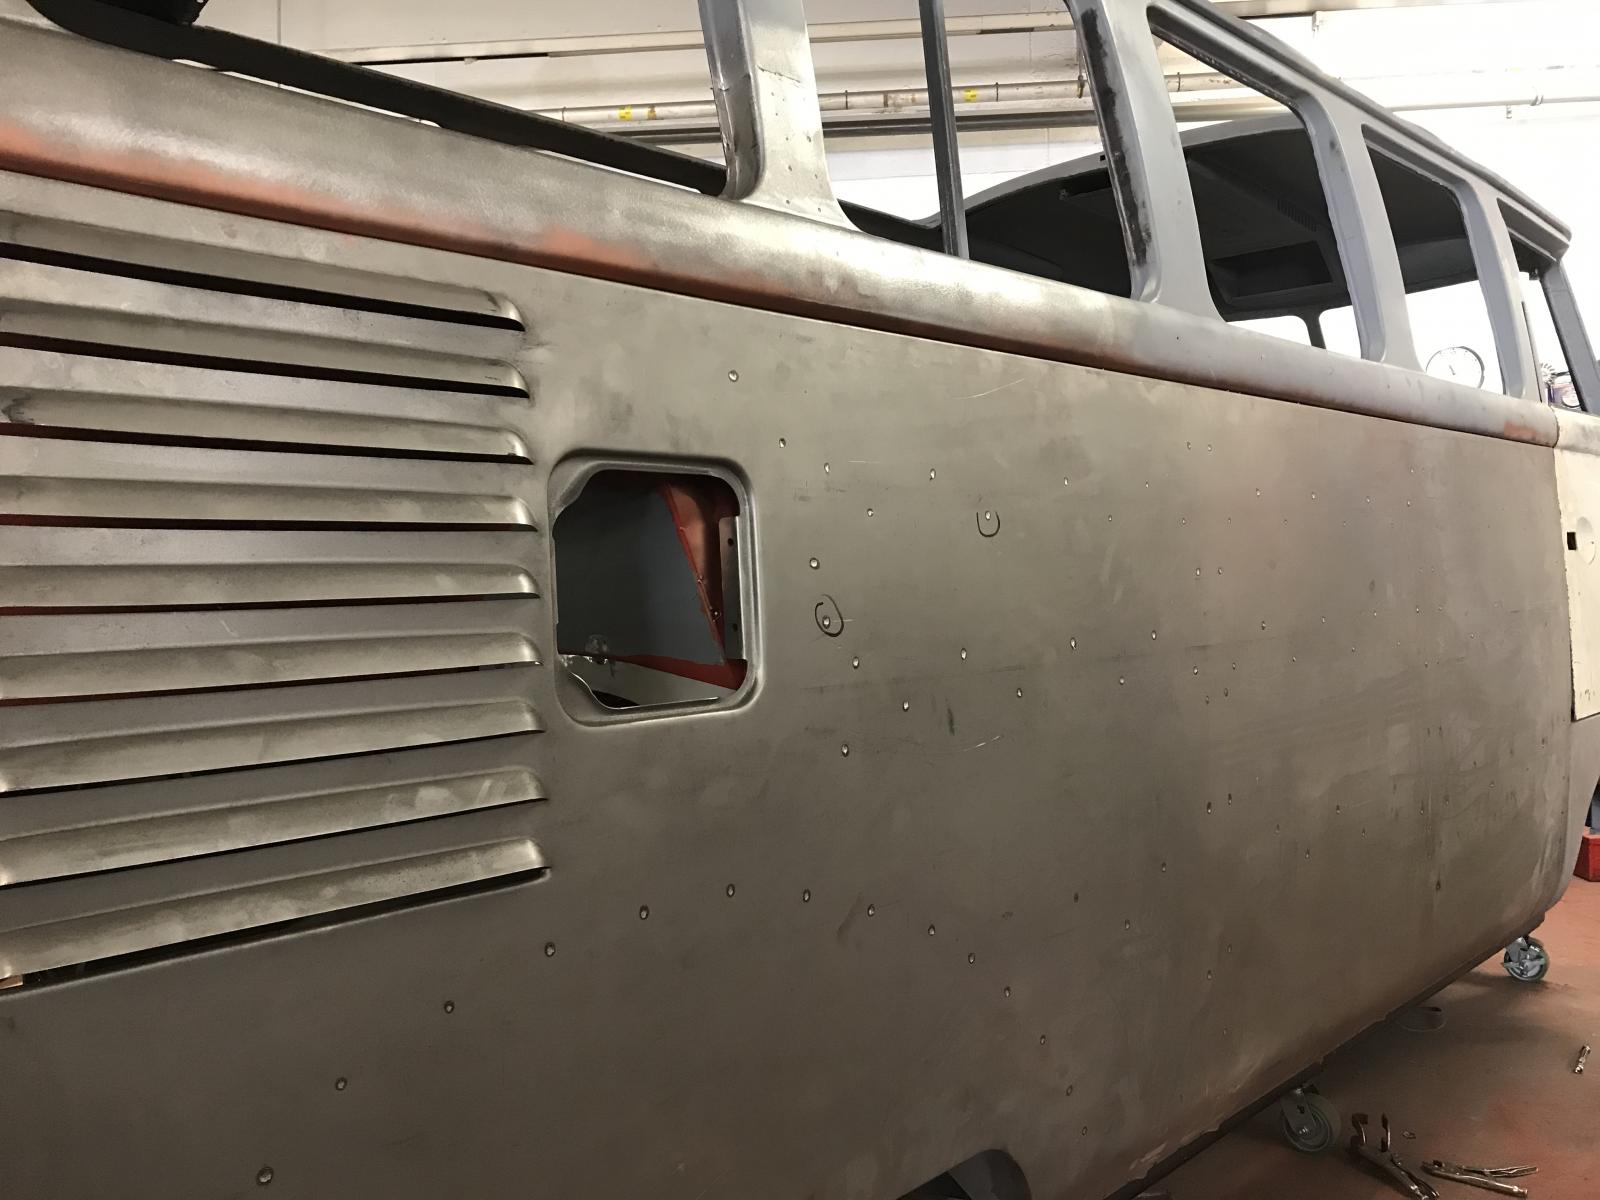
Removed the engine lid hinge panel and mocked the rear corner up:
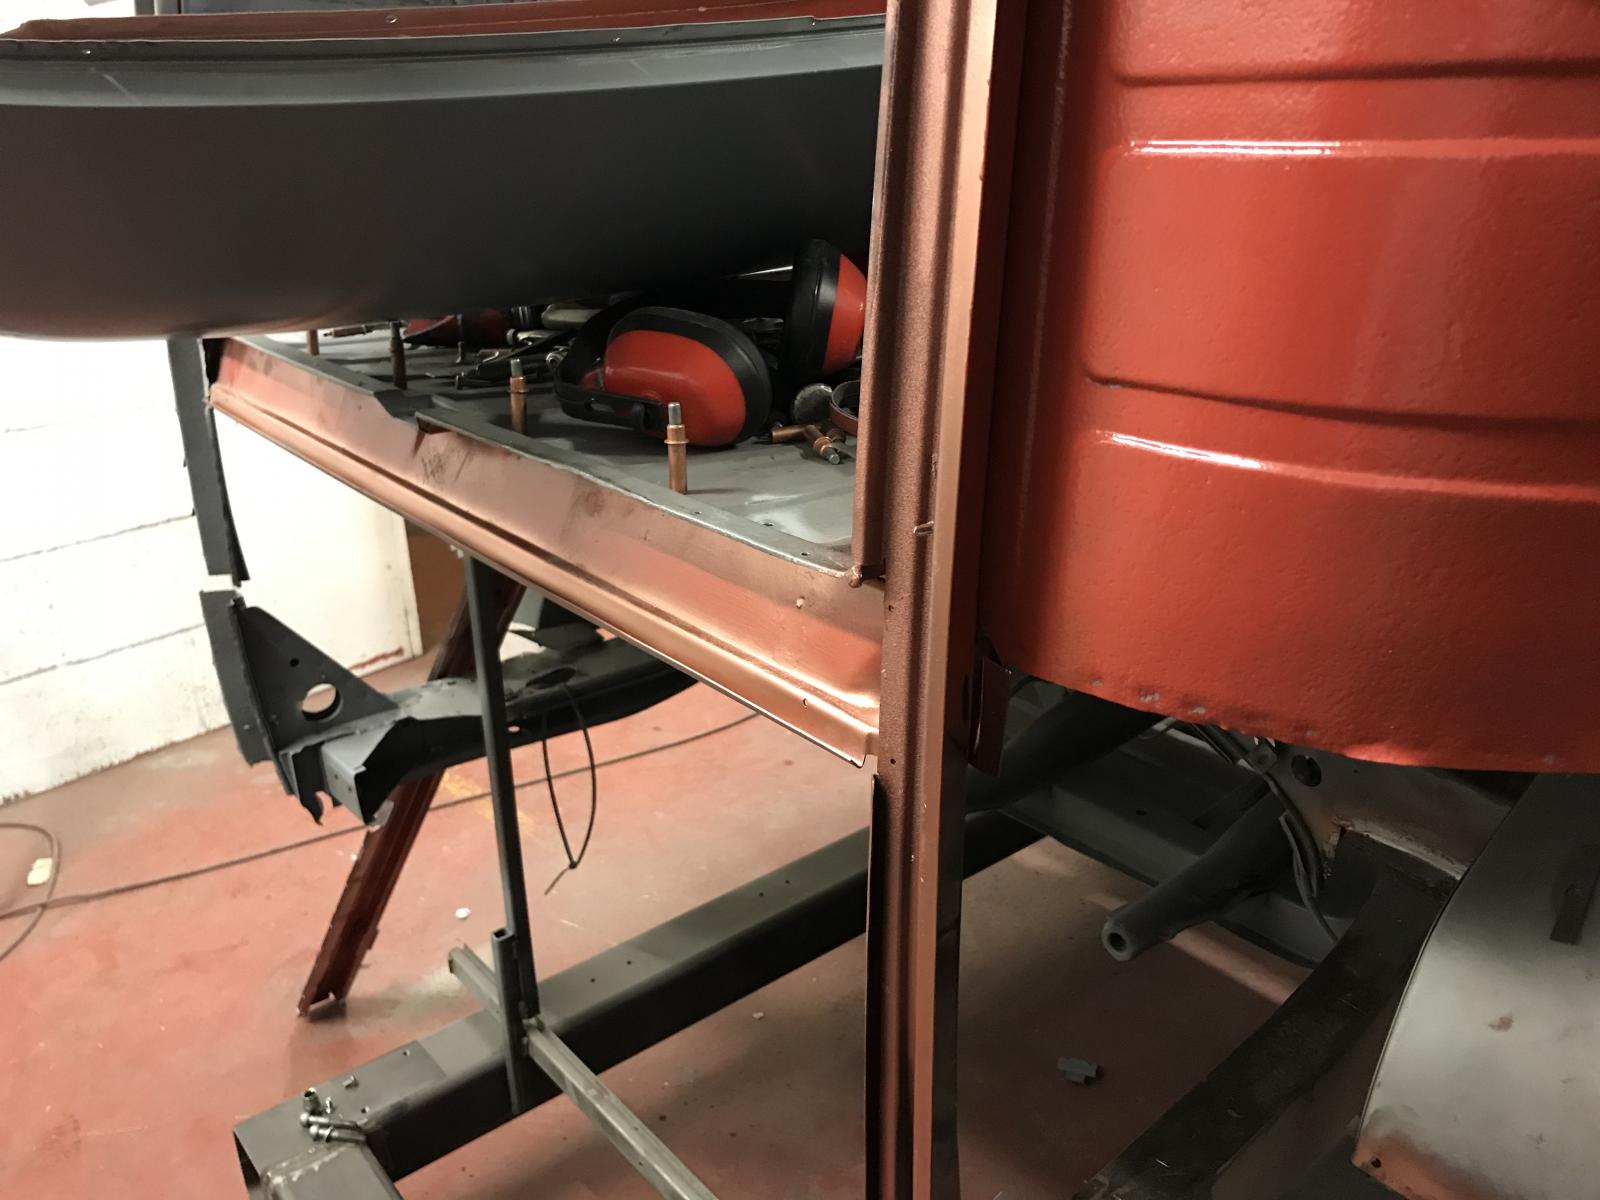
We mocked the rear corners, hatch and engine lid up but got no pictures as it needs quite a bit of work to get the gaps nice. Thats the next thing to sort when we are back on it.
Few pics of what we did last time...
Got all the hand and foot control parts fitted. Made a tube and fitted a new silicone bronze bush for the pedals as the original had been hacked about, got that fitted and mocked it all up before welding the cab floor in place:


We dismantled the front heater tube as it had seized up solid, blasted all the parts individually and rebuilt it before fitting:


Replicated the holes in the cab tool box panel:


Repaired the rear bulkhead area where it welds to the tub:


Welded the tabs on the tub for the cards and welded it in:


Side panel supports repaired:

Inner window frame repairs:


Used one of the silver BBT panels to repair the rear window frames and some rot underneath where the side panel is welded. Wasnt impressed with this panel at all. Needed lots of work before we could fit it:

Painted all the inner framework body colour then welded the long side panel on:


Removed the engine lid hinge panel and mocked the rear corner up:

We mocked the rear corners, hatch and engine lid up but got no pictures as it needs quite a bit of work to get the gaps nice. Thats the next thing to sort when we are back on it.
mabbo
SSVC Member
Posts: 83
Joined: Wed Jun 01, 2011 7:09 pm
Re: 1956 RHD Swedish 23 window samba full restoration
by vwJim » Sun Jan 10, 2021 12:34 pm
Looks scarily familiar to my 58
vwJim
SSVC Committee Member
Posts: 20157
Joined: Thu Apr 24, 2003 6:05 pm
1
