You are viewing the Split Screen Van Club forum archive.
The forum archive is read-only.Unfortunately in 2021 the Split Screen Van Club forum suffered a ransomware attack and lots of the forum data was lost.
What threads that have been recovered are now searchable on this site. Some threads may be incomplete and some images are still being recovered.
Forum archive search
Noah my new 65 Canterbury Pitt project
Re: Noah my new 65 Canterbury Pitt project
by jonthebuilder » Fri Nov 07, 2014 6:55 am
OP wrote:listen to you two, where's the love of originality gone??Who cares if you don't use it

jonthebuilder
Registered user
Posts: 349
Joined: Thu Aug 12, 2010 7:00 pm
Re: Noah my new 65 Canterbury Pitt project
by Sweet Rides » Tue Nov 11, 2014 12:21 am
Great job on the bus so far

Something I noticed - in the photos the holes for the radio controls on the replacement dash piece appear to have been slightly oversized from what they would have originally been. I thought you would want to correct this modification before welding in that replacement section
Something I noticed - in the photos the holes for the radio controls on the replacement dash piece appear to have been slightly oversized from what they would have originally been. I thought you would want to correct this modification before welding in that replacement section
Sweet Rides

Registered user
Posts: 2572
Joined: Wed Oct 18, 2006 7:55 pm
Re: Noah my new 65 Canterbury Pitt project
by jonthebuilder » Tue Nov 11, 2014 4:54 pm
Sweet Rides wrote:Great job on the bus so far
Something I noticed - in the photos the holes for the radio controls on the replacement dash piece appear to have been slightly oversized from what they would have originally been. I thought you would want to correct this modification before welding in that replacement section
Blimey are they.....I never noticed that!!
I better sort that before paint...thanks for pointing that out to me
..especially after all the Argo I've had trying to get a rhd dash cut!
Jon
jonthebuilder
Registered user
Posts: 349
Joined: Thu Aug 12, 2010 7:00 pm
Re: Noah my new 65 Canterbury Pitt project
by OP » Tue Nov 11, 2014 9:38 pm
Noah was also one of the first buses registered with the SSVC when it started


OP

SSVC Member
Posts: 1958
Joined: Thu Apr 17, 2003 7:33 am
Re: Noah my new 65 Canterbury Pitt project
by rusty1962 » Thu Nov 27, 2014 7:38 am
Knock knock

Where's the photos of the cargo floor?
Where's the photos of the cargo floor?
rusty1962

SSVC Member
Posts: 1549
Joined: Wed Sep 11, 2013 10:35 pm
Re: Noah my new 65 Canterbury Pitt project
by jonthebuilder » Thu Nov 27, 2014 5:26 pm
rusty1962 wrote:Knock knock
Where's the photos of the cargo floor?
I'm still drilling man!
Drilling tonight, probably drilling tomorrow.......
No gloating just because yours is in!
jonthebuilder
Registered user
Posts: 349
Joined: Thu Aug 12, 2010 7:00 pm
Re: Noah my new 65 Canterbury Pitt project
by elevenreds » Sat Nov 29, 2014 11:41 pm
Hey Jon, it's Ian who you bought the bus from.
I check in every now and then to see how things are going and I'm completely blown away by the job you're doing. Having brought an aircooled T25 back to life recently I really appreciate the dedication you're giving the bus, something that, at the time, I just didn't have the time and money for.
Really looking forward to seeing the end result.
Sent from my iPhone using Tapatalk
elevenreds
Registered user
Posts: 4
Joined: Sun Aug 11, 2013 9:22 pm
Re: Noah my new 65 Canterbury Pitt project
by jonthebuilder » Sun Nov 30, 2014 11:03 am
elevenreds wrote:Hey Jon, it's Ian who you bought the bus from.
I check in every now and then to see how things are going and I'm completely blown away by the job you're doing. Having brought an aircooled T25 back to life recently I really appreciate the dedication you're giving the bus, something that, at the time, I just didn't have the time and money for.
Really looking forward to seeing the end result.
Hi Ian
How's it going? I'm still plodding on, nearly getting to the end of the bodyshell welding, and I've got the engine looking shiny!
Glad your finally mobile in an Aircooled vw!
Keep in touch!
Sent from my iPhone using Tapatalk
jonthebuilder
Registered user
Posts: 349
Joined: Thu Aug 12, 2010 7:00 pm
Re: Noah my new 65 Canterbury Pitt project
by jonthebuilder » Sun Nov 30, 2014 8:56 pm
Evening all
Got a few evenings in the garage last week and tonight to crack n so here's the progress report
First the dash...when we last left hings I had a big hole in the dash and a hard fought new b to weld in...so here it s in....
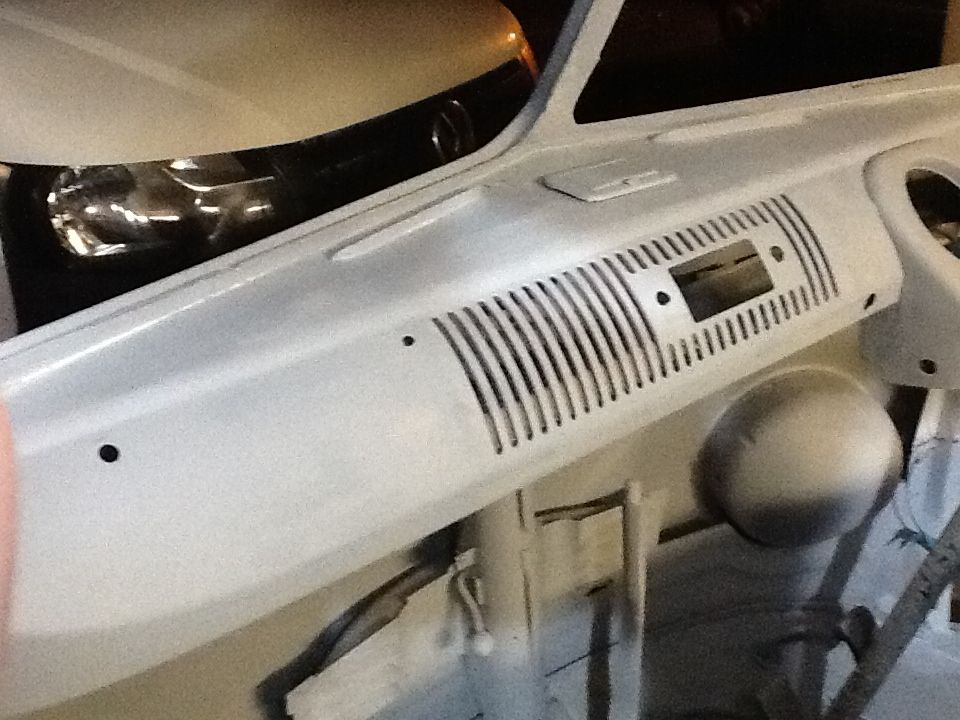

Needs a couple more runs with the the pudding but I'm pleased how it went in, can't beat og metal on any repair tbh.
Rick at schofields after some begging made me up some lengths of a post door seal channel....he has some more there if anyone needs any...
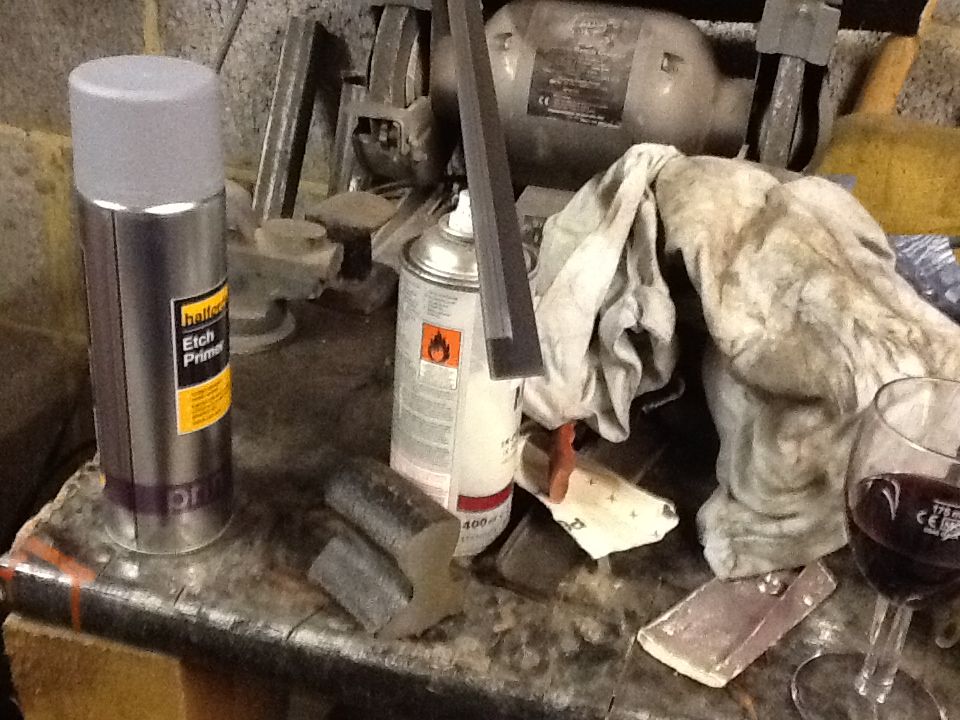
Is profile is spot on, but it only comes in straight lengths, and of course onthe a post it curves both ways.
I opted to cut a series of slots into it and bend it to shape to fit the post. Took a while, but this is the almost finished article on the drivers side...I've let in abou 8 inches of it.....
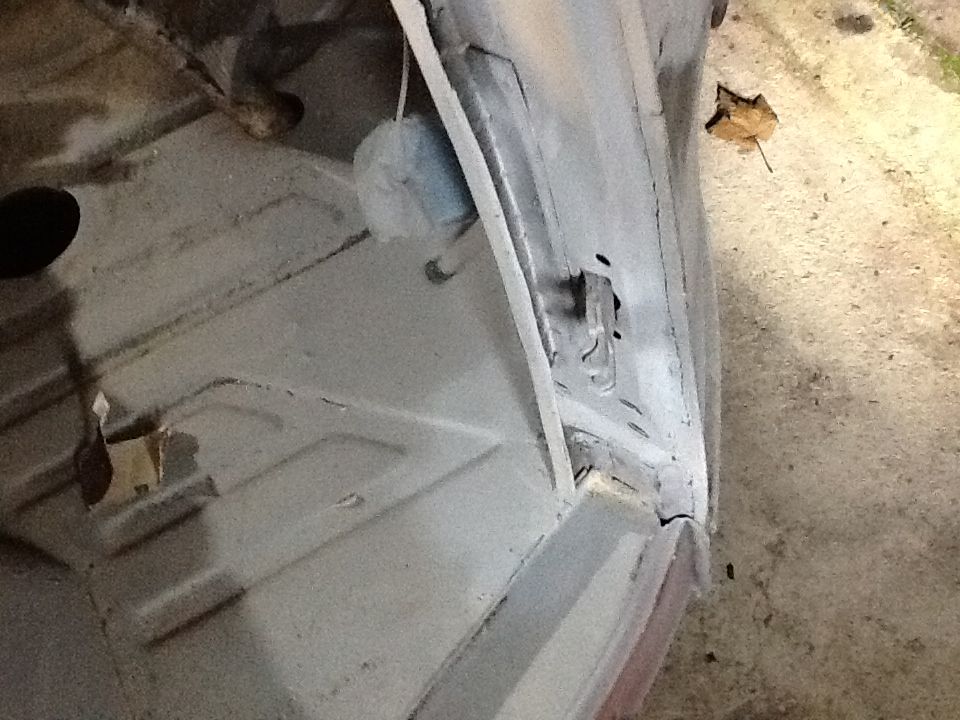
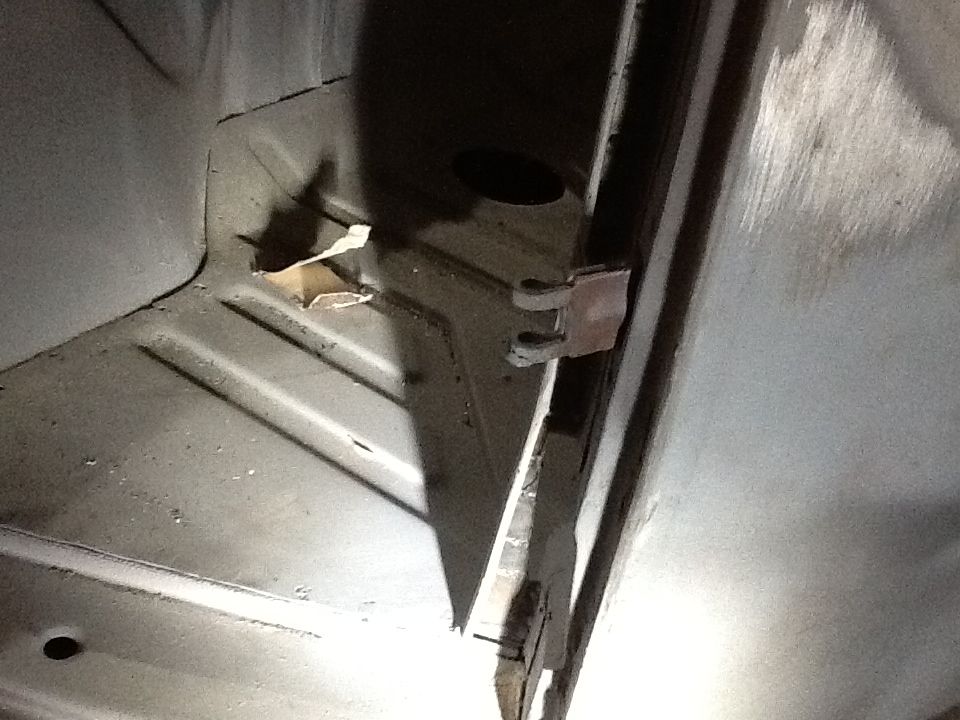
It's not perfect but it's as good ask can get it, and it's a seal channel, not a Swiss watch.......
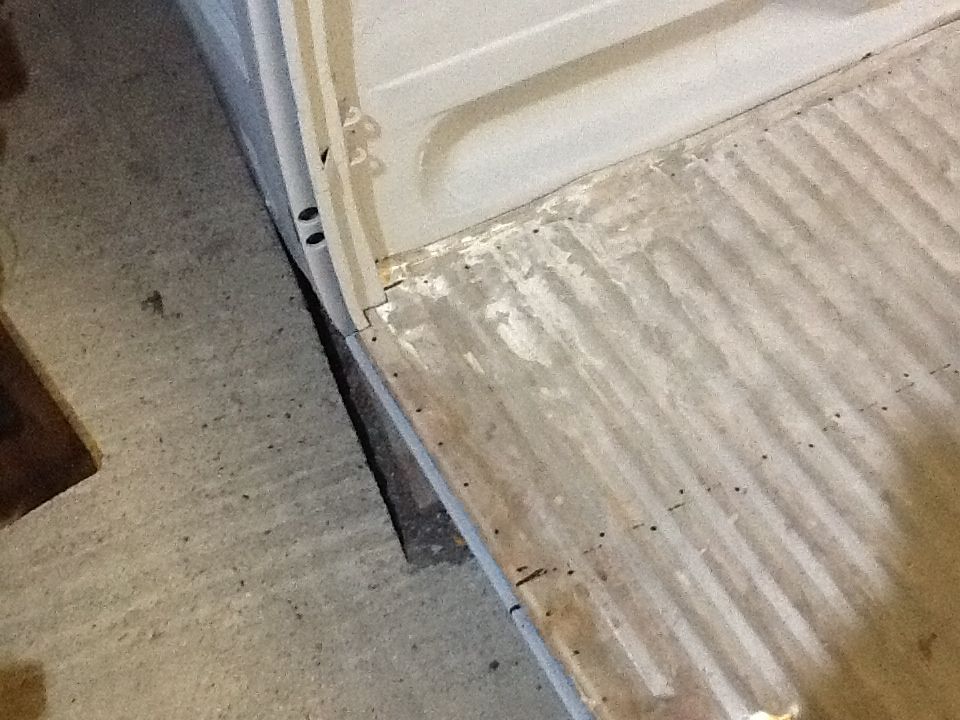
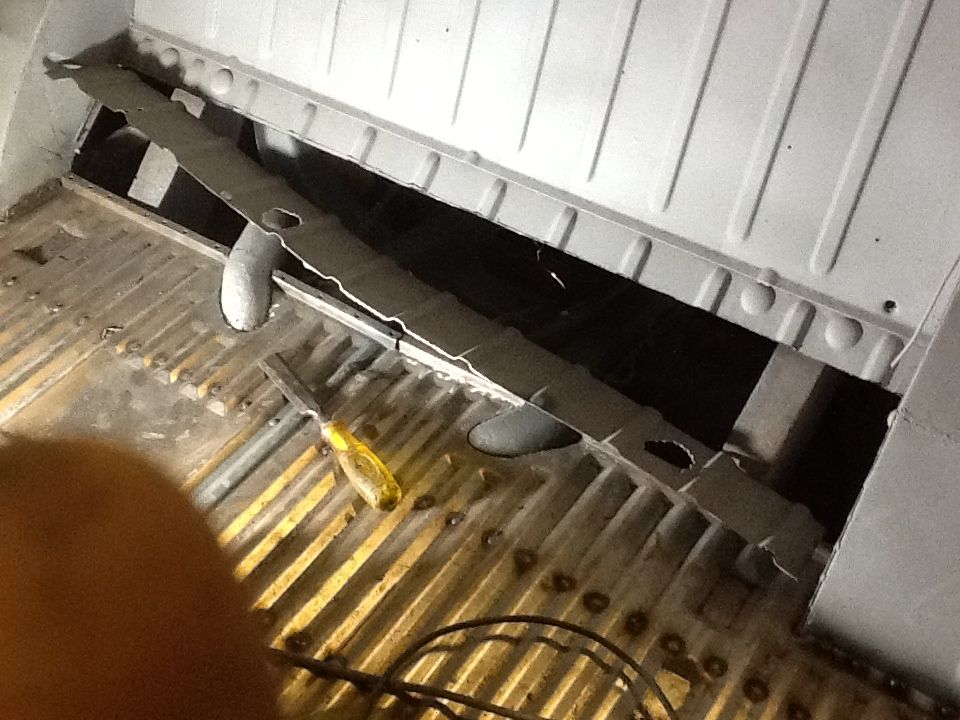
So then the moment I had been both looking forward to and also not in equal measures, the cargo floor.. I had the 700 quid floor kicking round the garage for almost a year now, so it is nice to finally get it installed. The reason for the delay is that I wanted to ditch the heater log and get both heat exchangers giving heat to the front. So I needed another curved tube from the y piece. It's far too difficult to make, but after much searching, vw Jim came up with the goods, so big thanks for that Jim.
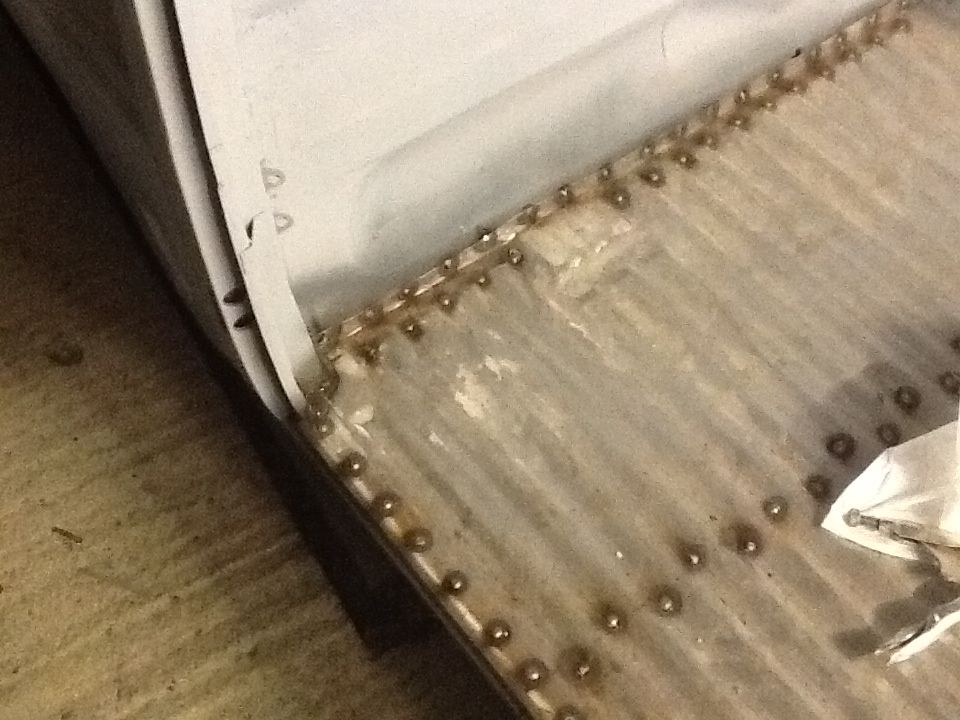
I'm afraid I didn't take any pictures of the first side goin in, but here it is installed minus the welds around the side panel supports, it's etch primes underneath and the I beams and top hats coated with weld thru primer where they join the floor..
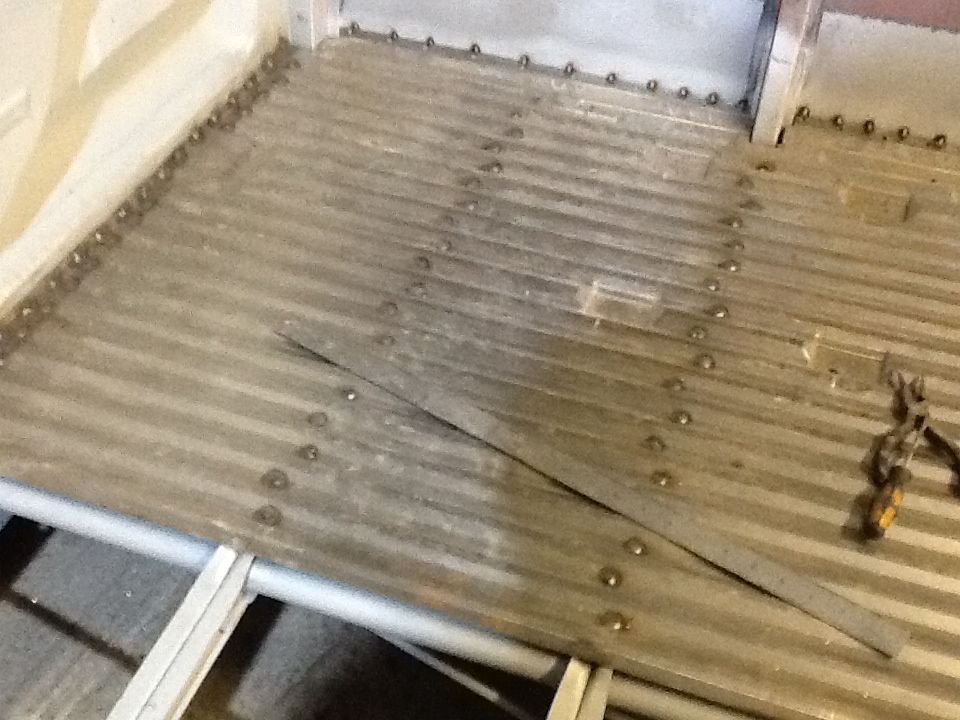
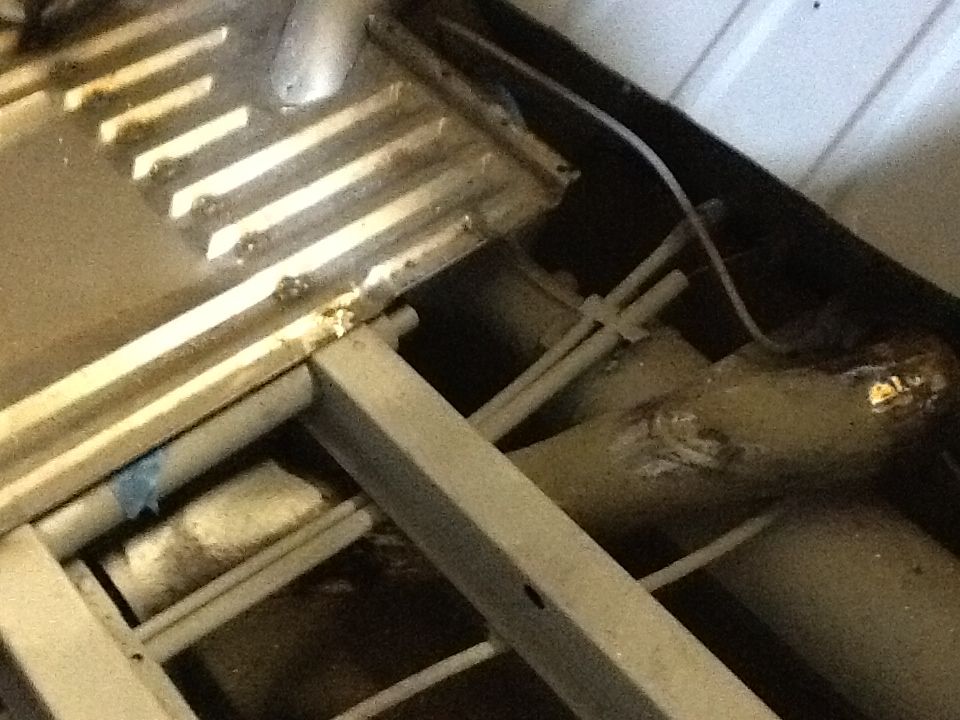
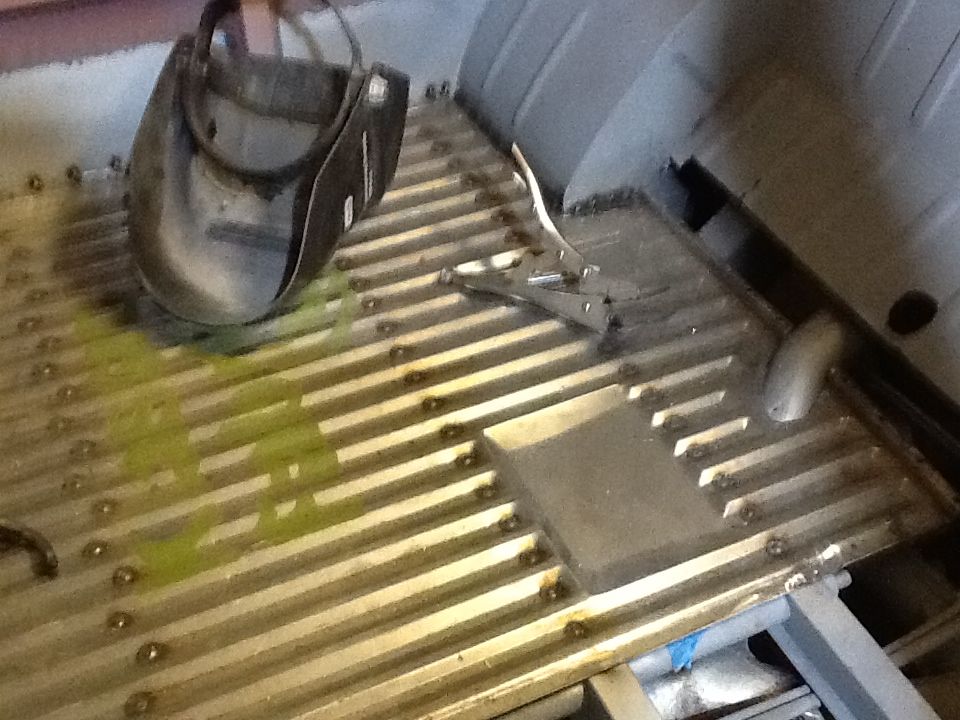
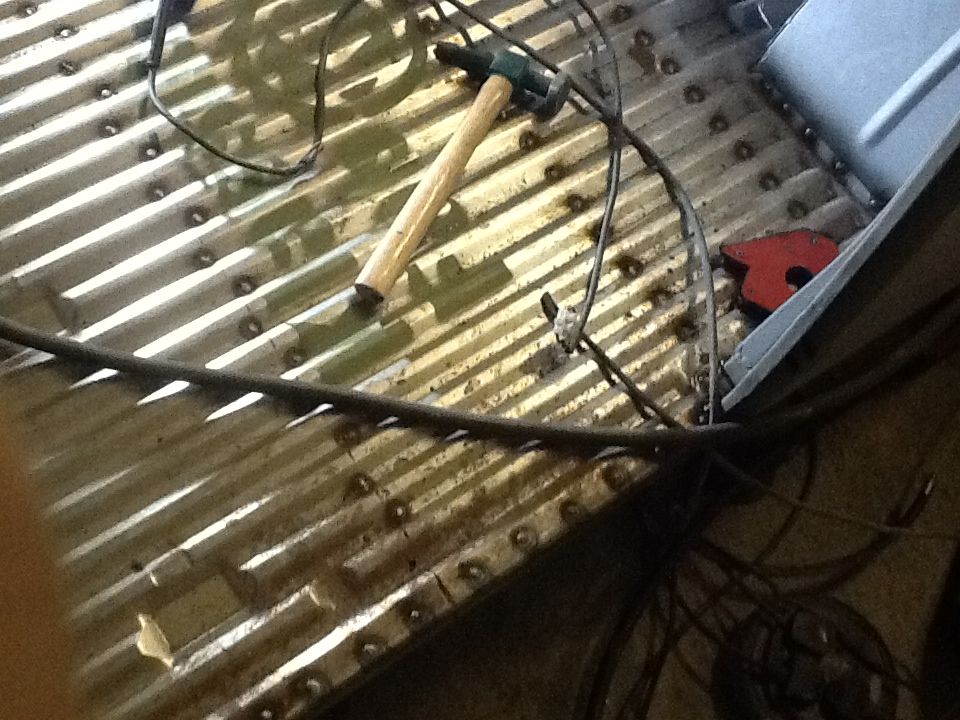
And the other side marked out ready for drilling
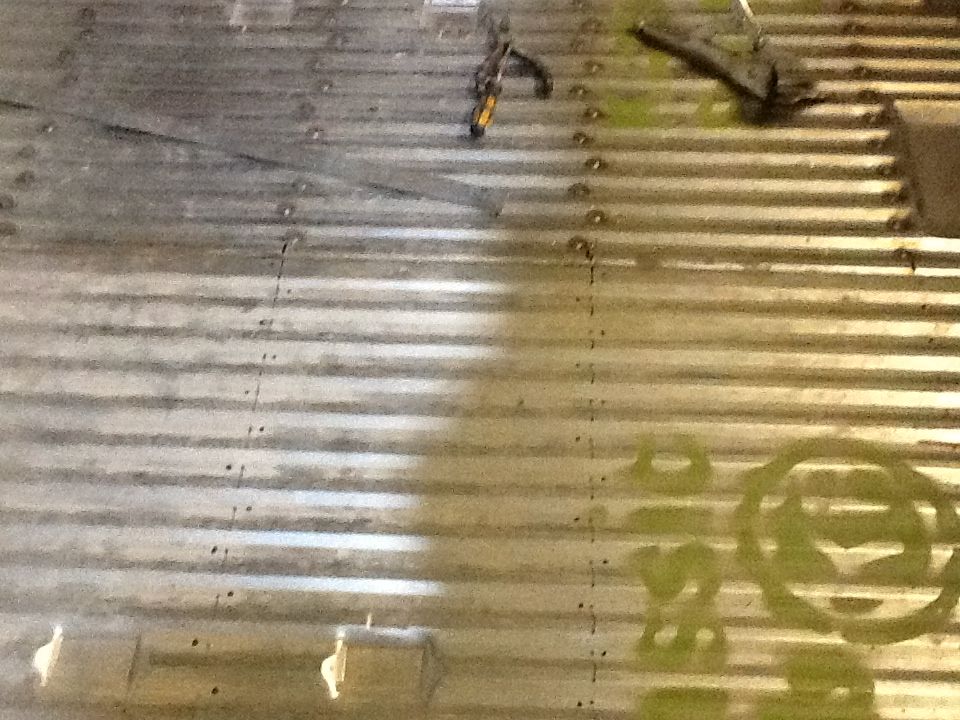
So hopefully next week ill have the other side in then the joining panel with the rear shelf, that schofield also make and I have ready to go in.
Hve a good Monday folks
Jon
Got a few evenings in the garage last week and tonight to crack n so here's the progress report
First the dash...when we last left hings I had a big hole in the dash and a hard fought new b to weld in...so here it s in....


Needs a couple more runs with the the pudding but I'm pleased how it went in, can't beat og metal on any repair tbh.
Rick at schofields after some begging made me up some lengths of a post door seal channel....he has some more there if anyone needs any...

Is profile is spot on, but it only comes in straight lengths, and of course onthe a post it curves both ways.
I opted to cut a series of slots into it and bend it to shape to fit the post. Took a while, but this is the almost finished article on the drivers side...I've let in abou 8 inches of it.....


It's not perfect but it's as good ask can get it, and it's a seal channel, not a Swiss watch.......
So then the moment I had been both looking forward to and also not in equal measures, the cargo floor.. I had the 700 quid floor kicking round the garage for almost a year now, so it is nice to finally get it installed. The reason for the delay is that I wanted to ditch the heater log and get both heat exchangers giving heat to the front. So I needed another curved tube from the y piece. It's far too difficult to make, but after much searching, vw Jim came up with the goods, so big thanks for that Jim.
I'm afraid I didn't take any pictures of the first side goin in, but here it is installed minus the welds around the side panel supports, it's etch primes underneath and the I beams and top hats coated with weld thru primer where they join the floor..


And the other side marked out ready for drilling

So hopefully next week ill have the other side in then the joining panel with the rear shelf, that schofield also make and I have ready to go in.
Hve a good Monday folks
Jon
jonthebuilder
Registered user
Posts: 349
Joined: Thu Aug 12, 2010 7:00 pm
Re: Noah my new 65 Canterbury Pitt project
by rusty1962 » Sun Nov 30, 2014 11:30 pm
Looking good Jon

The really fun bit is grinding down all those welds
Ooh my back's still aching from that..........
Steve
The really fun bit is grinding down all those welds
Ooh my back's still aching from that..........
Steve
rusty1962

SSVC Member
Posts: 1549
Joined: Wed Sep 11, 2013 10:35 pm
Re: Noah my new 65 Canterbury Pitt project
by rusty1962 » Thu Jan 01, 2015 10:38 pm
Knock Knock. Progress report required

rusty1962

SSVC Member
Posts: 1549
Joined: Wed Sep 11, 2013 10:35 pm
Re: Noah my new 65 Canterbury Pitt project
by jonthebuilder » Sat Jan 10, 2015 5:42 pm
Blimey it's like a police state here, don't update for a week or so and next thing you know the weight of the vw community is bearing down on you..
....so here it is, the fruit of the last coup,e of weeks work, photos do the talking initially......
My heater pipe I finally managed to source, thanks vw Jim....
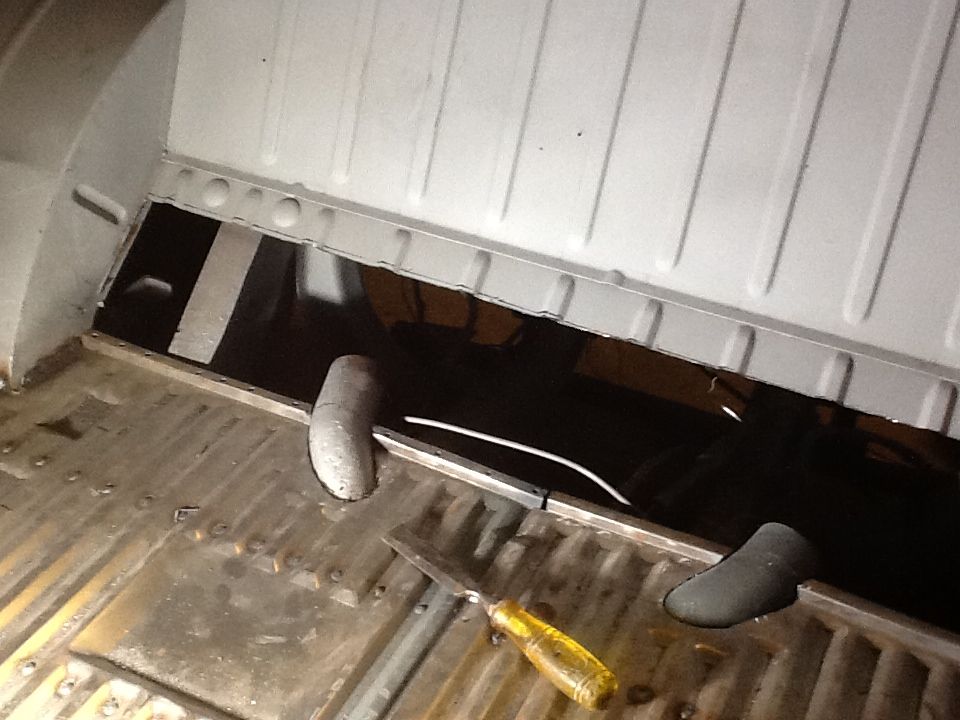
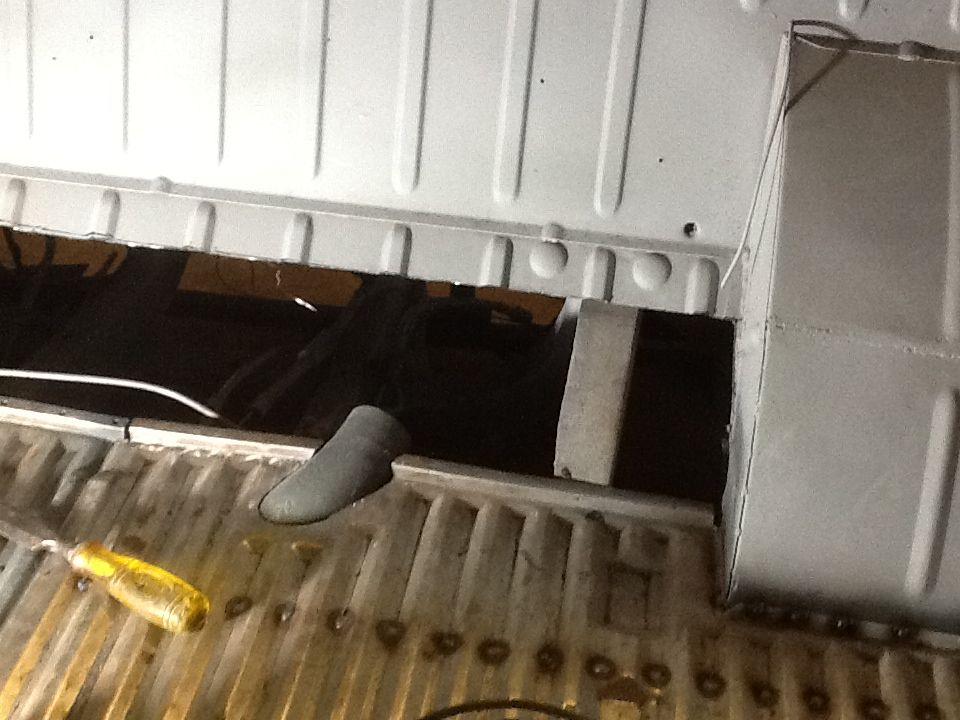
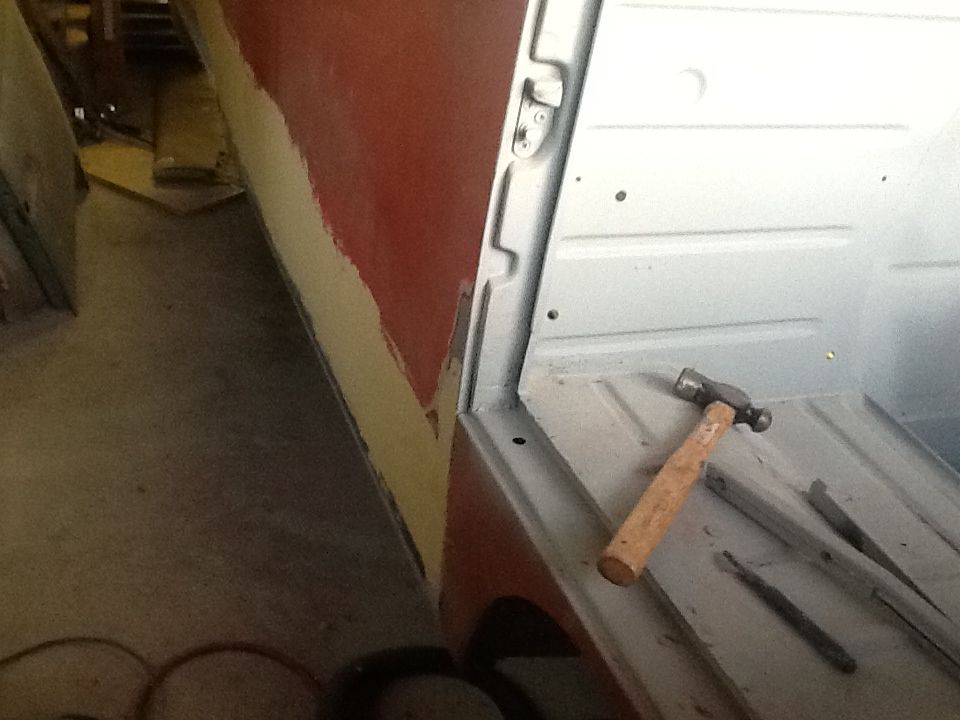
Schofield repair panel in place, pressings arnt as defined as og but they do line up and it's not seen anyway..
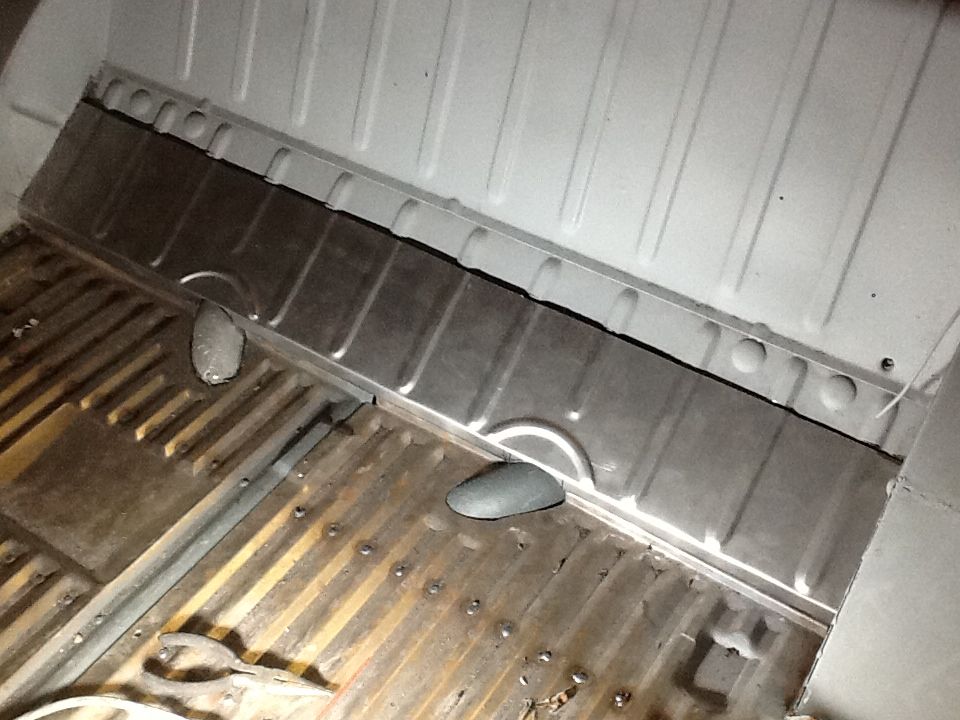
Welded and filled
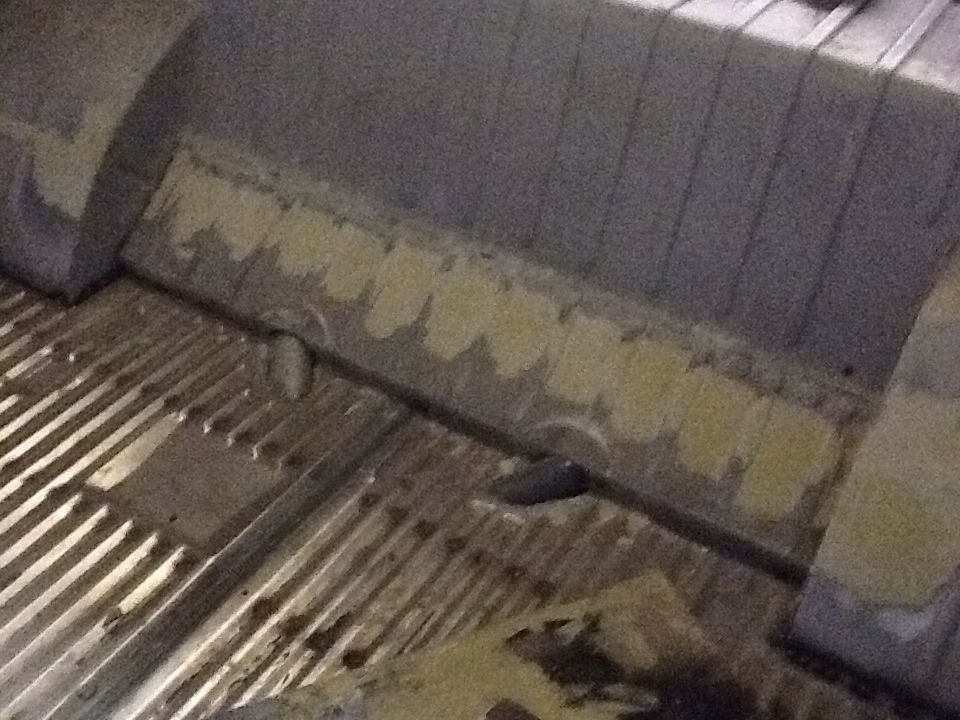
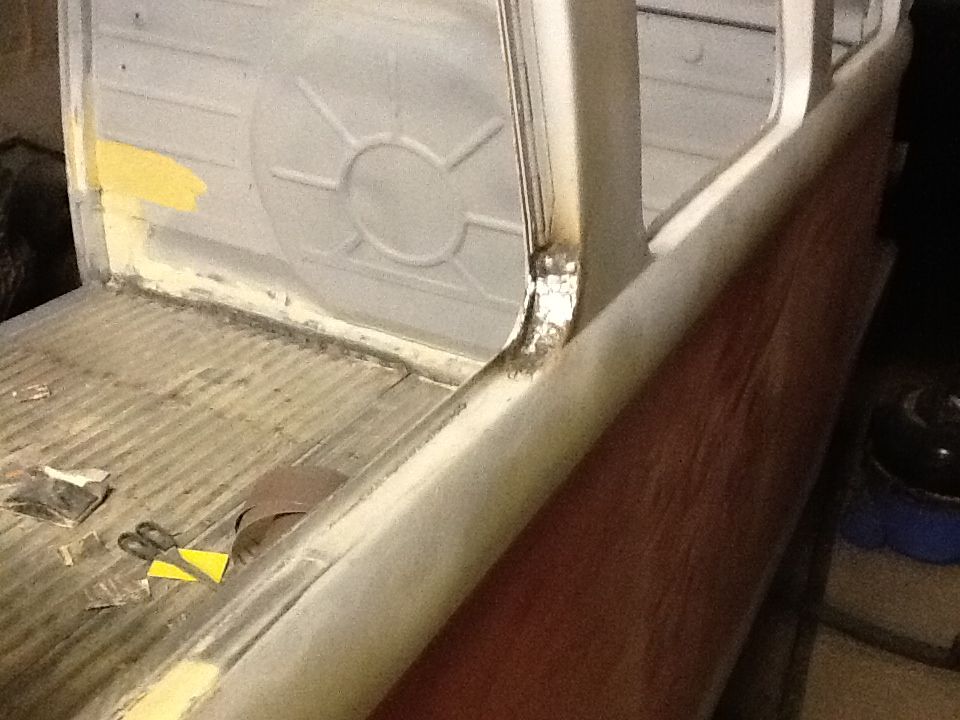
Then the last bit of side window surround repair...
Then on to the roof and gutters.
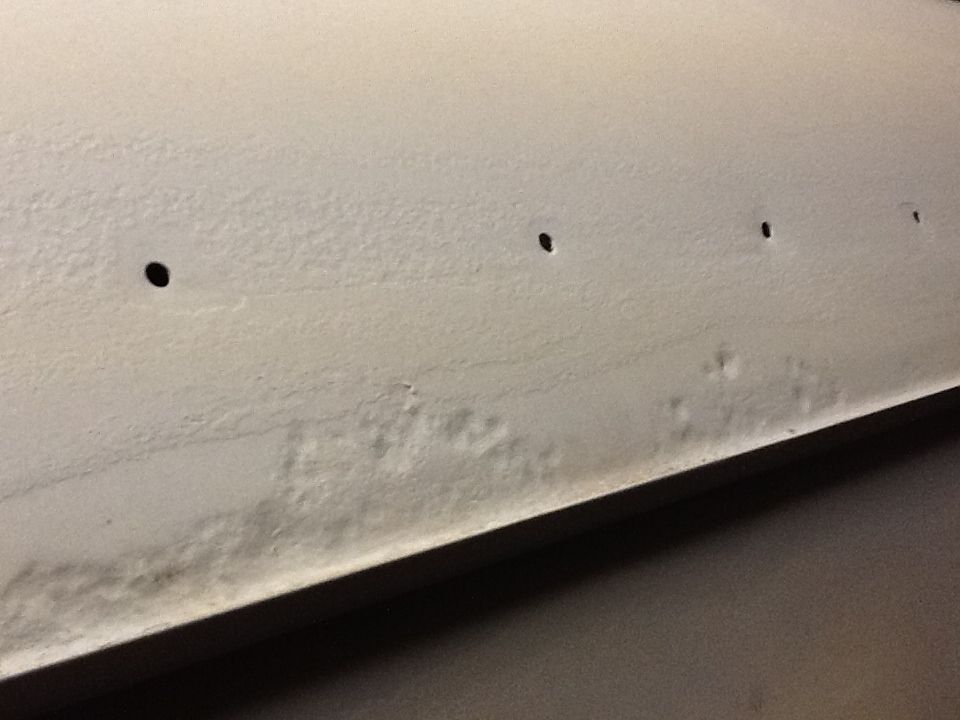
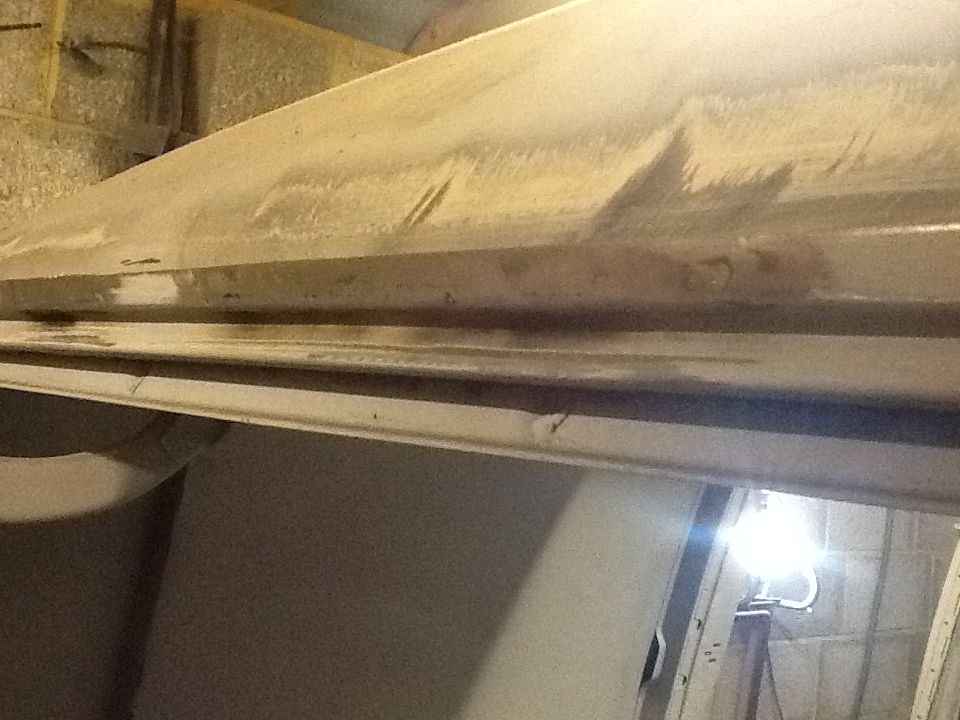
The pop top had trapped wet leaves etc where the van had been stood for years waiting restoration, and that had the unfortunate effect of severely pitting the roof skin in places, however this was not rot from the inside out, which would be far worse. The sandblaster had removed all the rust.....
This was the very worst bit..
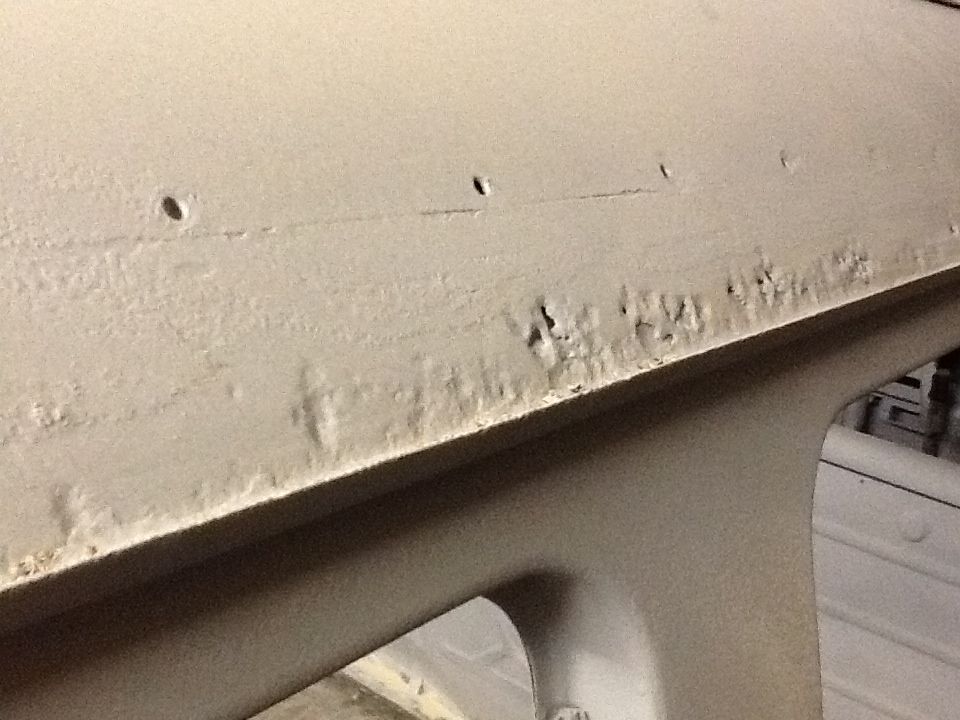
It had gone right through in places. I really didn't want to cut out and replace as its very hard to get the roof straight again, so I opted to fill in the holes with weld, takes time and care but possible.
Didn't take any pictures of that aspect, but then I moved onto the gutters themselves. Again the wet leaves had rotted parts so here's the method of attack I adopted....
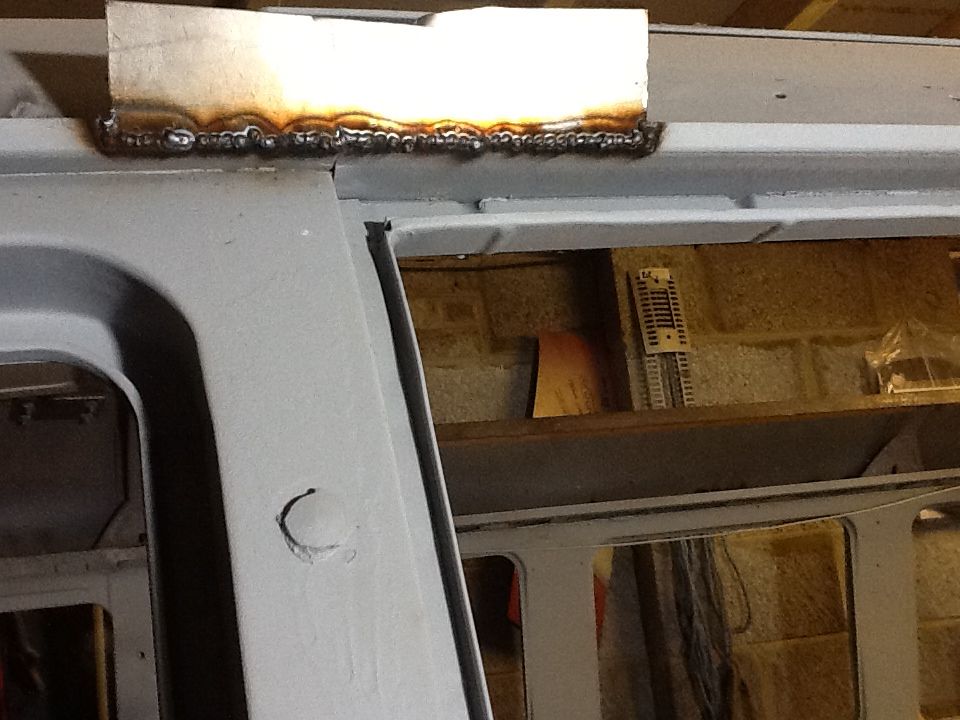
First mark affected area
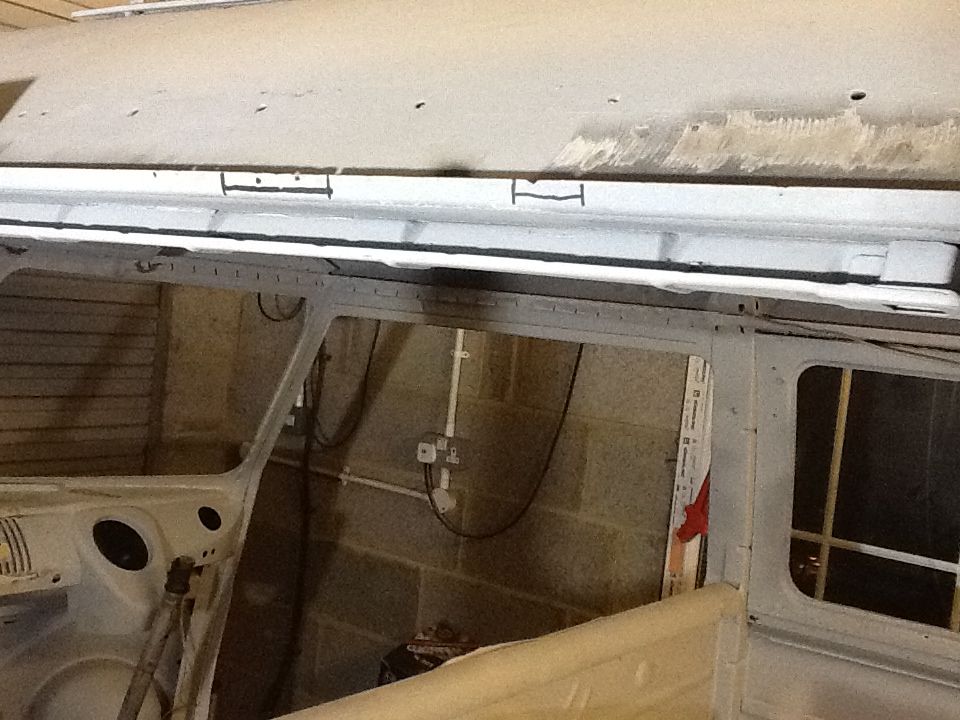
Ten cut out and the place a large sheet in the resulting hole,Mathis is easier to handle and more importantly enables me to accurately angle the repair patch exactly to match the existing.
Then weld continuosely...
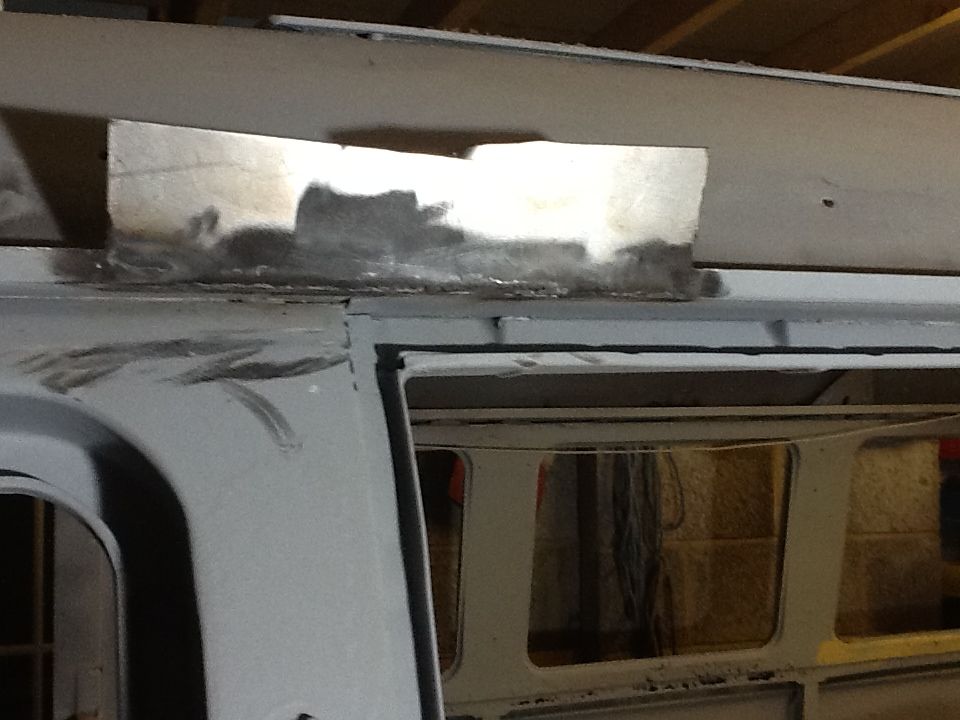
Linished the welds back
Finally cut the surplus off the top then finish with a file to get it absolutely straight and flat..
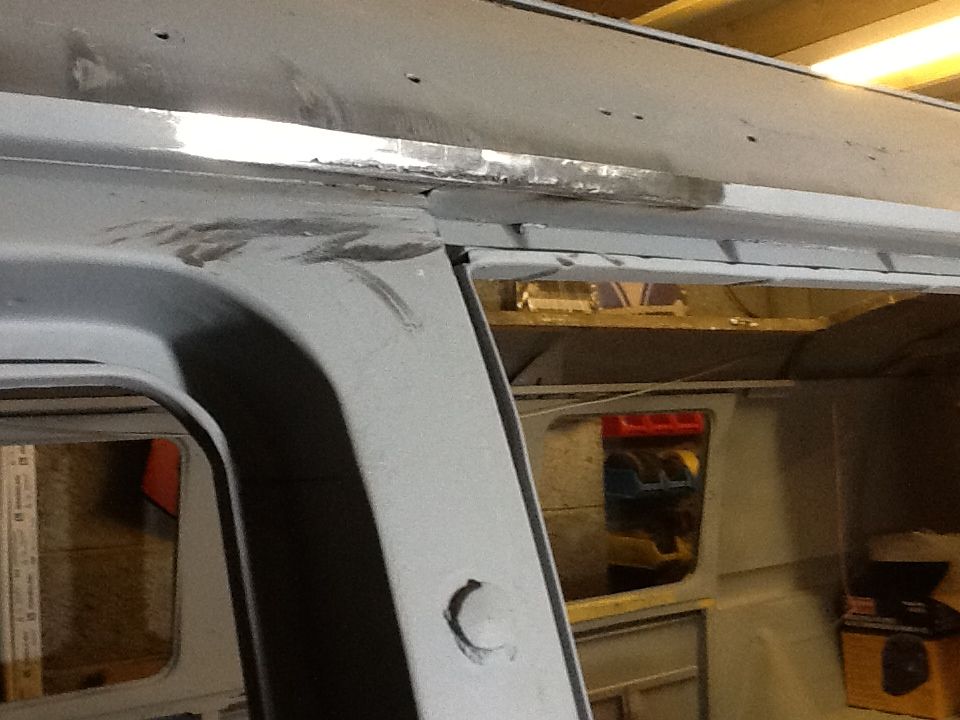
It's turned out quite straight....
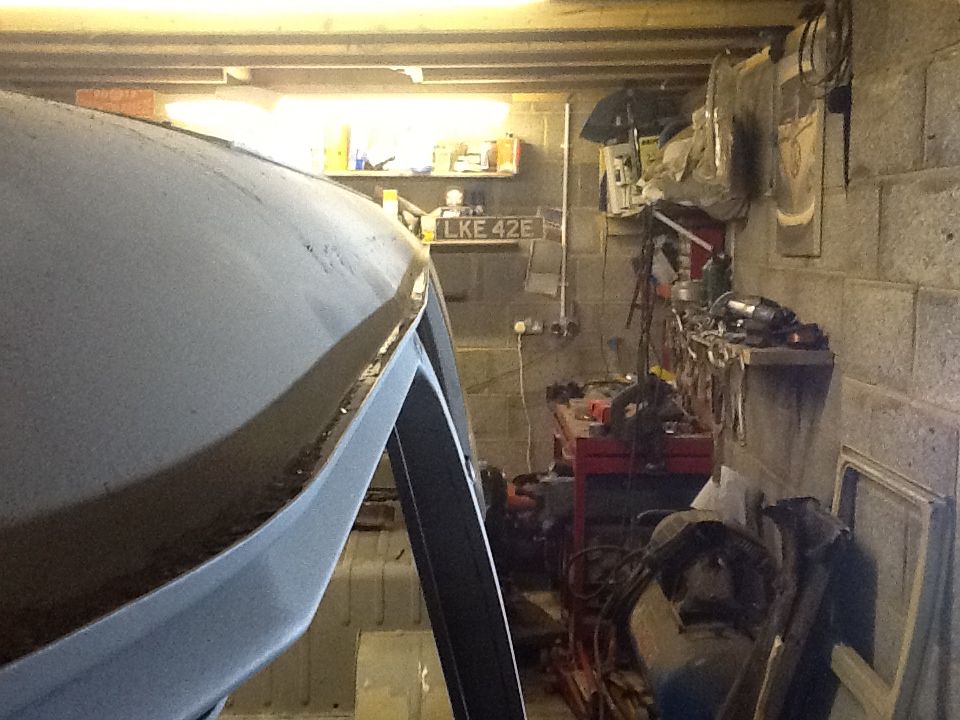
Other similar repairs
So onto the really exciting bit of this update.
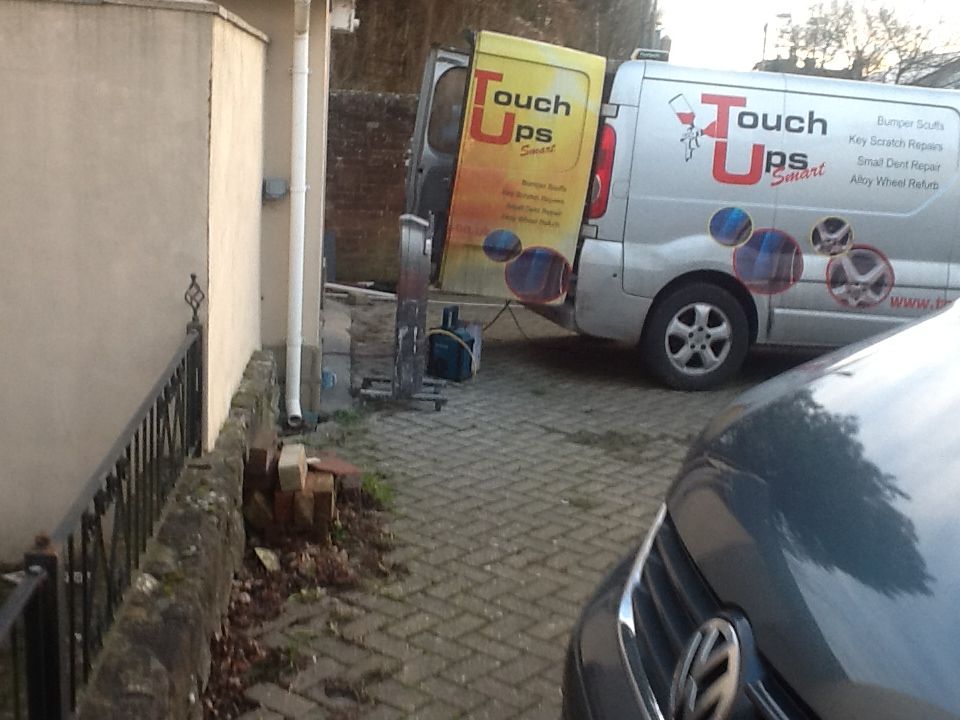
I'm lucky enough to,live three doors down from a car body painter called joe. He painted my last van for absolute peanuts and he's been earmarked to prep and paint this one since the beginning.
I'm a builder and ill build anything, but I never touch painting and decorating at work and body finishing falls into the same category, I just don't have the skills or the patience for it. Joe is going to do all the prep work in my garage, as and when, as of course there is still welding to do, but anyway, today was his first day..
He started with the front, and it's unbelievable to watch someone do this kind of work...
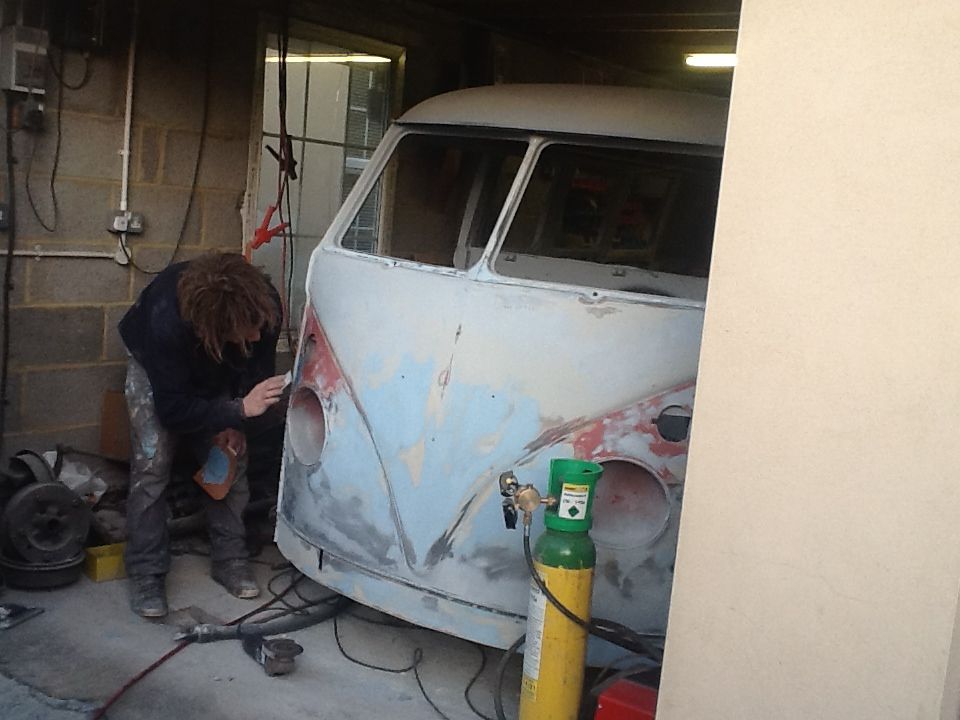
Yes he has dreadlocks, but aplenty doesn't like bob marley.....
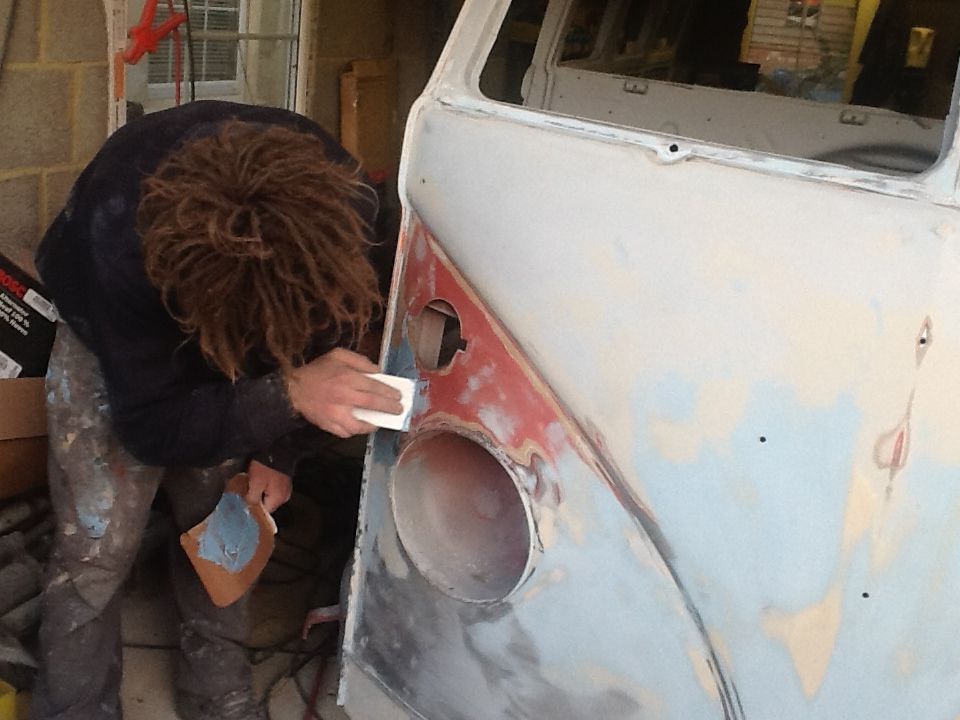
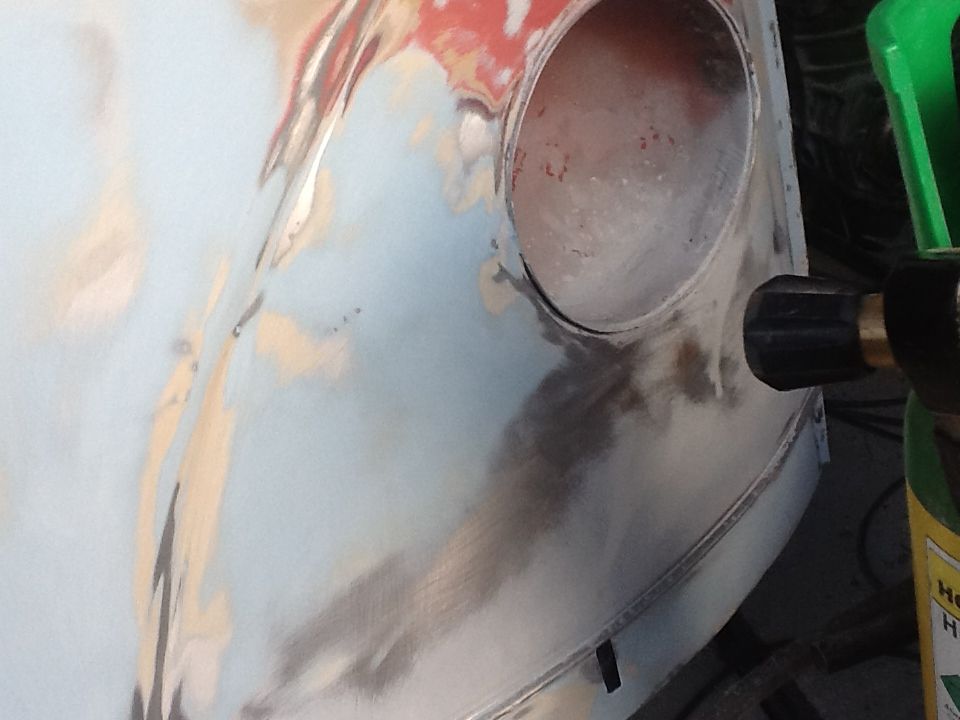
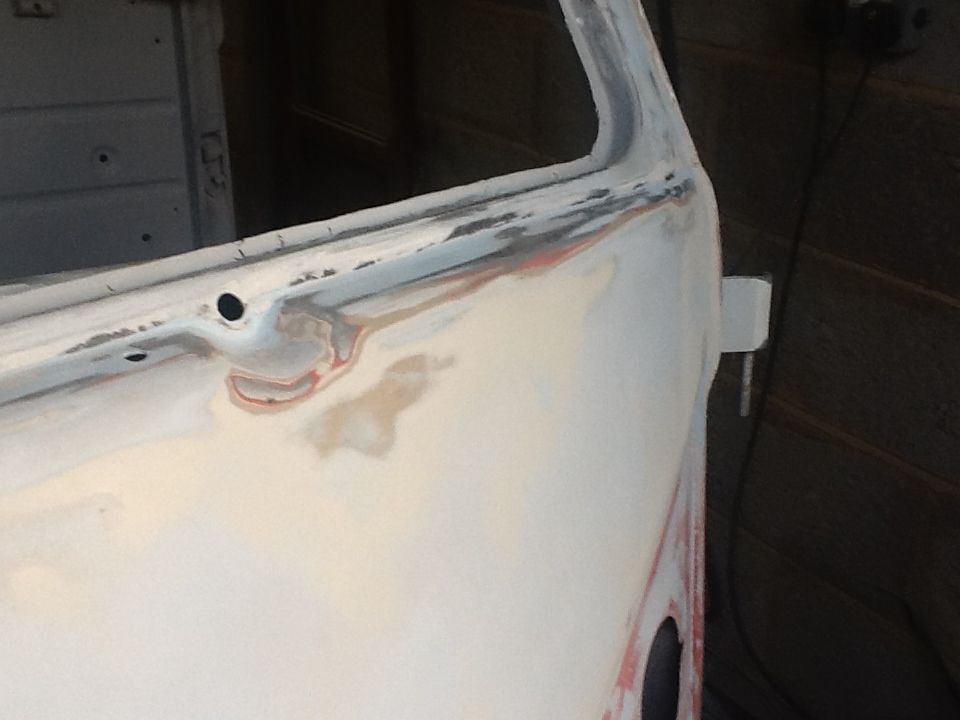
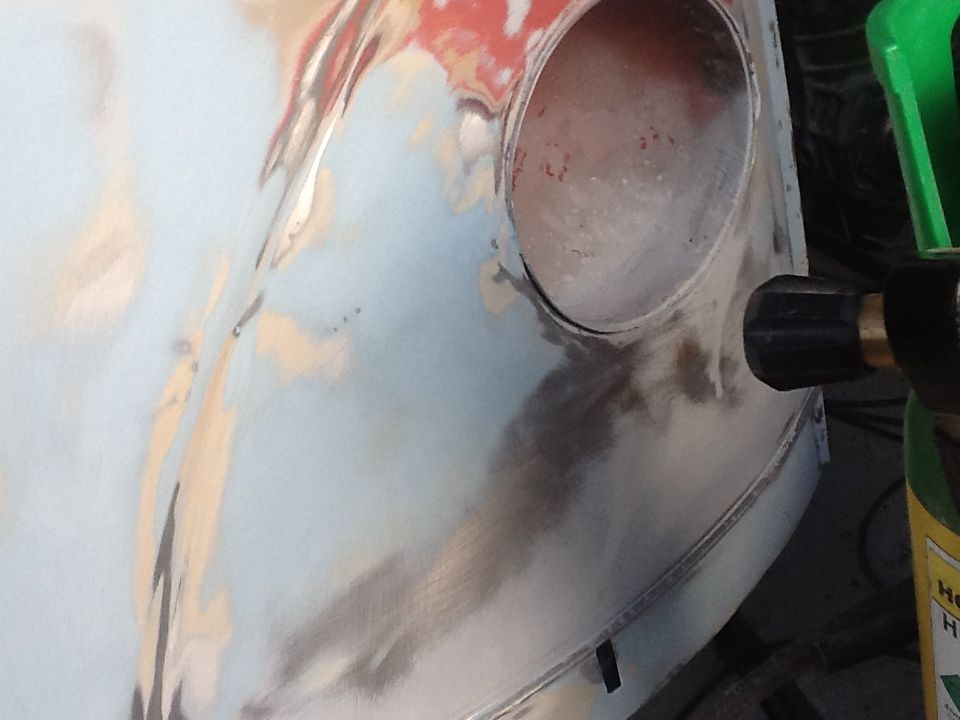
So after 7 hrs work on the front it's ready for 2k primer!!!
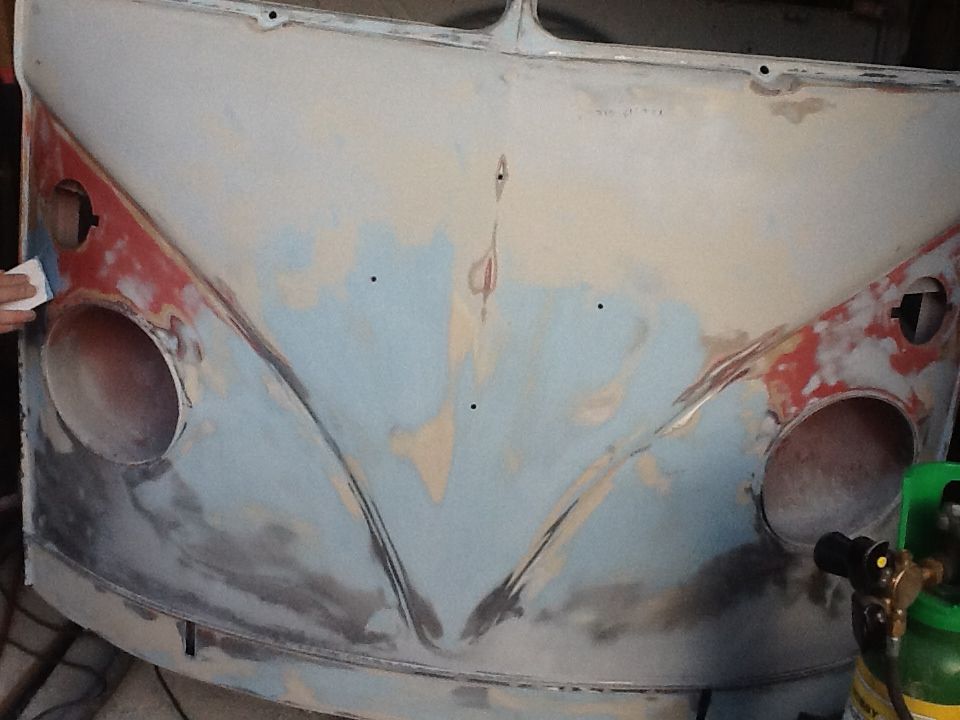
He's back again tomorrow and most weekends until its ready for paint or until he catches up with me, I still have some stuff to do, including a dent, pushed in bit at the back, but more about that later...
Is that a big enough update for you Steve??
More pics tomorrow of bodywork progress!!
Jon
....so here it is, the fruit of the last coup,e of weeks work, photos do the talking initially......


My heater pipe I finally managed to source, thanks vw Jim....


Schofield repair panel in place, pressings arnt as defined as og but they do line up and it's not seen anyway..

Welded and filled

Then the last bit of side window surround repair...

Then on to the roof and gutters.
The pop top had trapped wet leaves etc where the van had been stood for years waiting restoration, and that had the unfortunate effect of severely pitting the roof skin in places, however this was not rot from the inside out, which would be far worse. The sandblaster had removed all the rust.....

This was the very worst bit..

It had gone right through in places. I really didn't want to cut out and replace as its very hard to get the roof straight again, so I opted to fill in the holes with weld, takes time and care but possible.
Didn't take any pictures of that aspect, but then I moved onto the gutters themselves. Again the wet leaves had rotted parts so here's the method of attack I adopted....
First mark affected area

Ten cut out and the place a large sheet in the resulting hole,Mathis is easier to handle and more importantly enables me to accurately angle the repair patch exactly to match the existing.
Then weld continuosely...

Linished the welds back

Finally cut the surplus off the top then finish with a file to get it absolutely straight and flat..

It's turned out quite straight....

Other similar repairs

So onto the really exciting bit of this update.
I'm lucky enough to,live three doors down from a car body painter called joe. He painted my last van for absolute peanuts and he's been earmarked to prep and paint this one since the beginning.
I'm a builder and ill build anything, but I never touch painting and decorating at work and body finishing falls into the same category, I just don't have the skills or the patience for it. Joe is going to do all the prep work in my garage, as and when, as of course there is still welding to do, but anyway, today was his first day..

He started with the front, and it's unbelievable to watch someone do this kind of work...

Yes he has dreadlocks, but aplenty doesn't like bob marley.....


So after 7 hrs work on the front it's ready for 2k primer!!!

He's back again tomorrow and most weekends until its ready for paint or until he catches up with me, I still have some stuff to do, including a dent, pushed in bit at the back, but more about that later...
Is that a big enough update for you Steve??
More pics tomorrow of bodywork progress!!
Jon
jonthebuilder
Registered user
Posts: 349
Joined: Thu Aug 12, 2010 7:00 pm
Re: Noah my new 65 Canterbury Pitt project
by rusty1962 » Sat Jan 10, 2015 9:04 pm
I wish I had someone to do some filling while I weld
Looking good Jon, keep going, we're getting there!
rusty1962

SSVC Member
Posts: 1549
Joined: Wed Sep 11, 2013 10:35 pm
Re: Noah my new 65 Canterbury Pitt project
by jonthebuilder » Sat Jan 10, 2015 11:13 pm
Your A level in welding means you won't need as much filler as me Steve!
jonthebuilder
Registered user
Posts: 349
Joined: Thu Aug 12, 2010 7:00 pm
Re: Noah my new 65 Canterbury Pitt project
by rusty1962 » Sat Jan 10, 2015 11:23 pm
jonthebuilder wrote:Your A level in welding means you won't need as much filler as me Steve!
Unfortunately, it wasn't in welding, just metalwork. I never did any welding for some unknown reason
Making up for it now though
rusty1962

SSVC Member
Posts: 1549
Joined: Wed Sep 11, 2013 10:35 pm
