You are viewing the Split Screen Van Club forum archive.
The forum archive is read-only.Unfortunately in 2021 the Split Screen Van Club forum suffered a ransomware attack and lots of the forum data was lost.
What threads that have been recovered are now searchable on this site. Some threads may be incomplete and some images are still being recovered.
Forum archive search
Noah my new 65 Canterbury Pitt project
Re: Noah my new 65 Canterbury Pitt project
by funky » Sat Jan 24, 2015 2:04 pm
Looking good dude
funky

Registered user
Posts: 128
Joined: Wed Oct 12, 2005 4:59 pm
Re: Noah my new 65 Canterbury Pitt project
by SC_Jim » Sat Jan 24, 2015 2:14 pm
Wow, great progress since I last looked

SC_Jim
SSVC Member
Posts: 395
Joined: Fri Dec 16, 2005 12:10 pm
Re: Noah my new 65 Canterbury Pitt project
by jonthebuilder » Mon Feb 02, 2015 5:41 pm
How's yours goin Jim, long time no update...
...surprised the resto police hAvnt busted you?
...surprised the resto police hAvnt busted you?
jonthebuilder
Registered user
Posts: 349
Joined: Thu Aug 12, 2010 7:00 pm
Re: Noah my new 65 Canterbury Pitt project
by SC_Jim » Mon Feb 02, 2015 8:59 pm
Ha ha, yeah, they've been banging on the door but I was hiding behind the sofa!
I'm still making progress, just want to get the replacement bulkhead in and then I'll do a decent progress update on my thread.
Looking more like 2016 than 2015...
I'm still making progress, just want to get the replacement bulkhead in and then I'll do a decent progress update on my thread.
Looking more like 2016 than 2015...
SC_Jim
SSVC Member
Posts: 395
Joined: Fri Dec 16, 2005 12:10 pm
Re: Noah my new 65 Canterbury Pitt project
by jonthebuilder » Wed Mar 18, 2015 10:37 pm
Thought I better update my thread as I'm on the second page now!
I've been doing loads but hAvnt got many pictures to show for it.
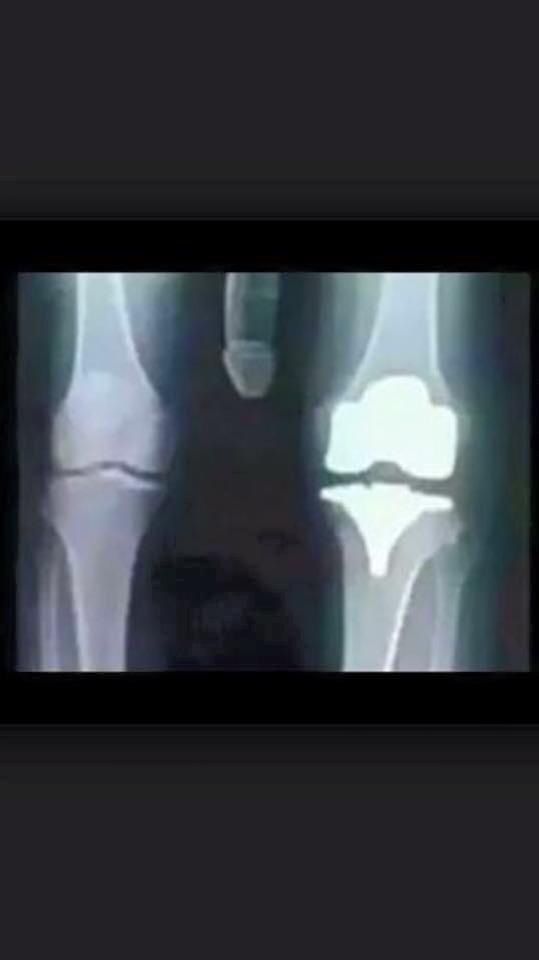
I had to have some surgery on my knee as well...look at the X-ray ....
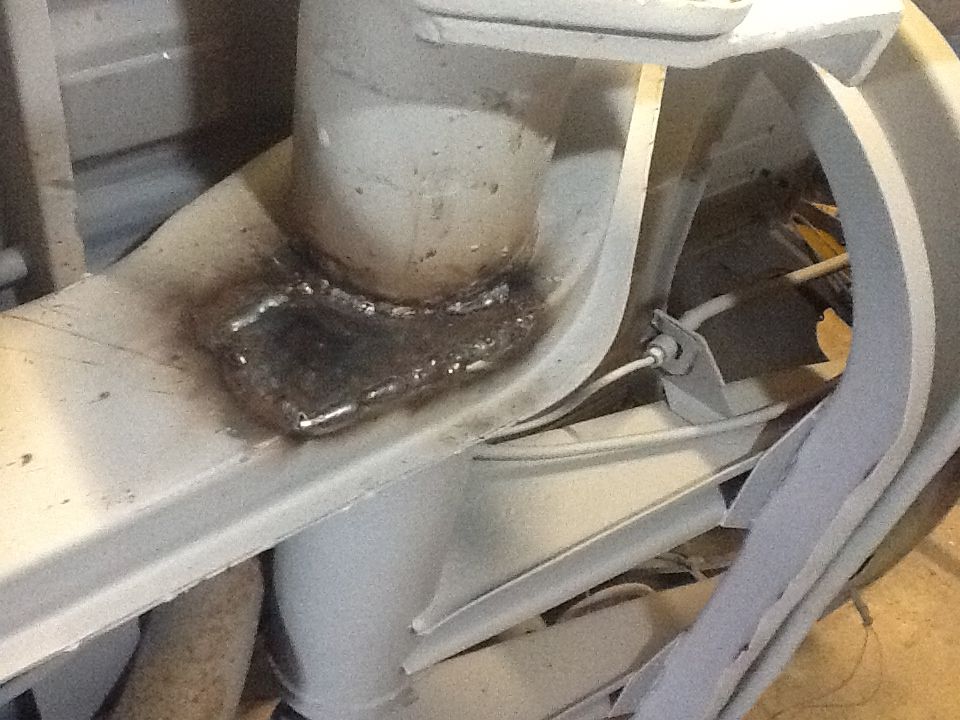
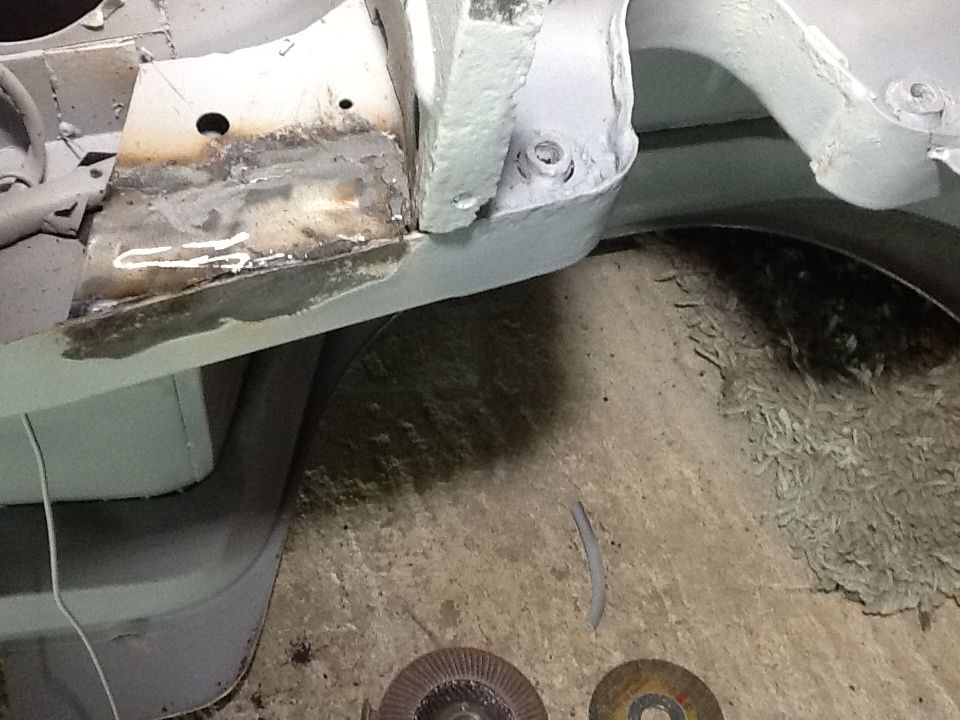
So first up a repair around the chassis where it joins the rear torsion tube...
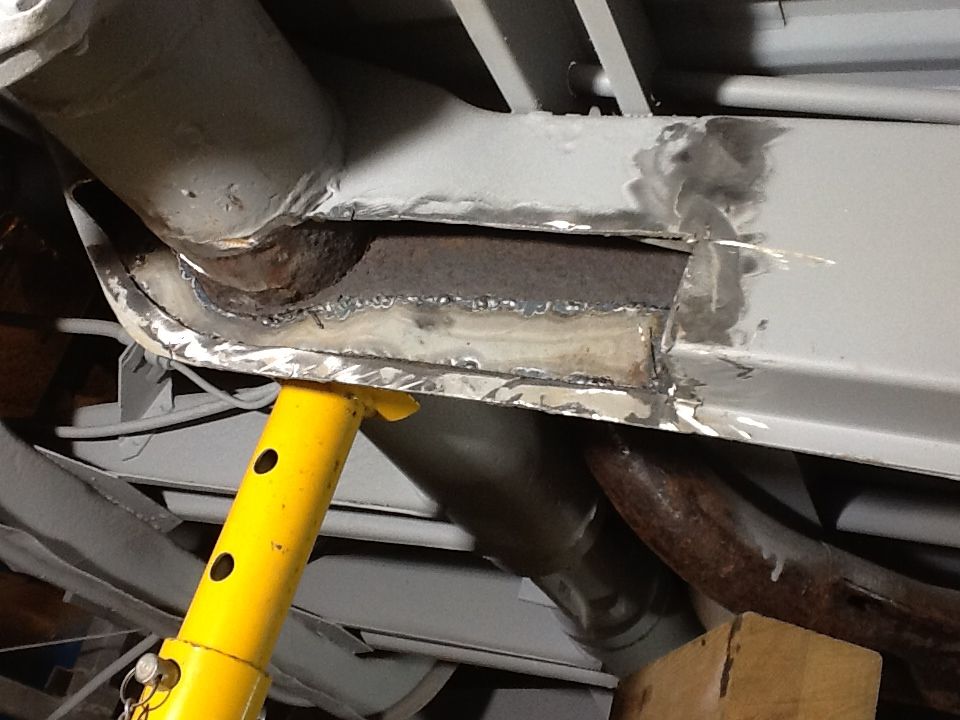
Cut out the rot the. Fabricated a repair section out of 1.5 mm steel I had to buy in..
Welded in
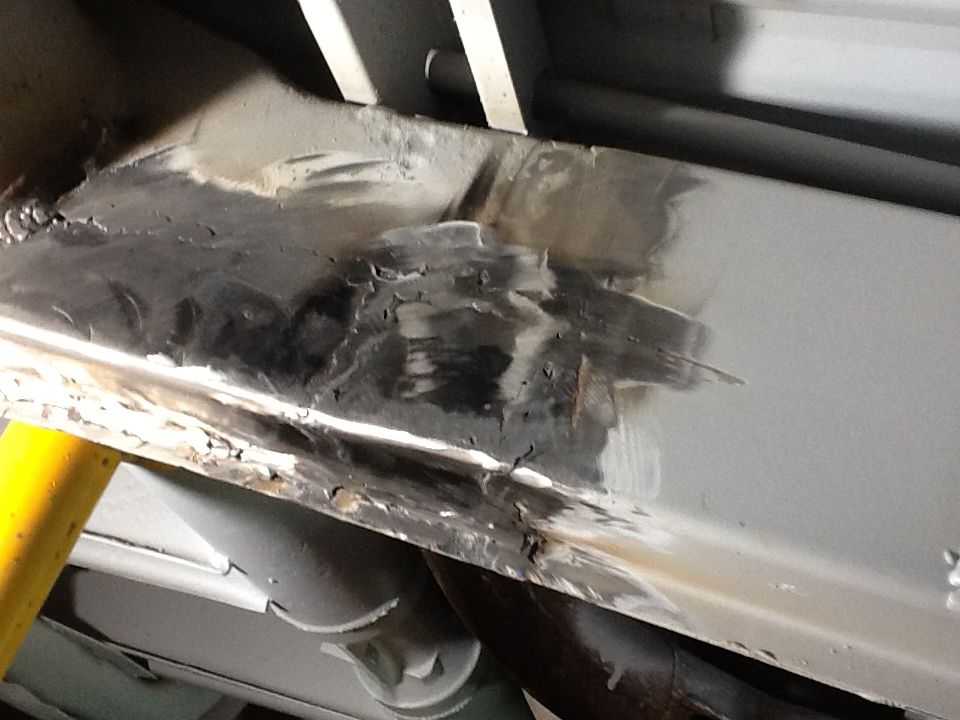
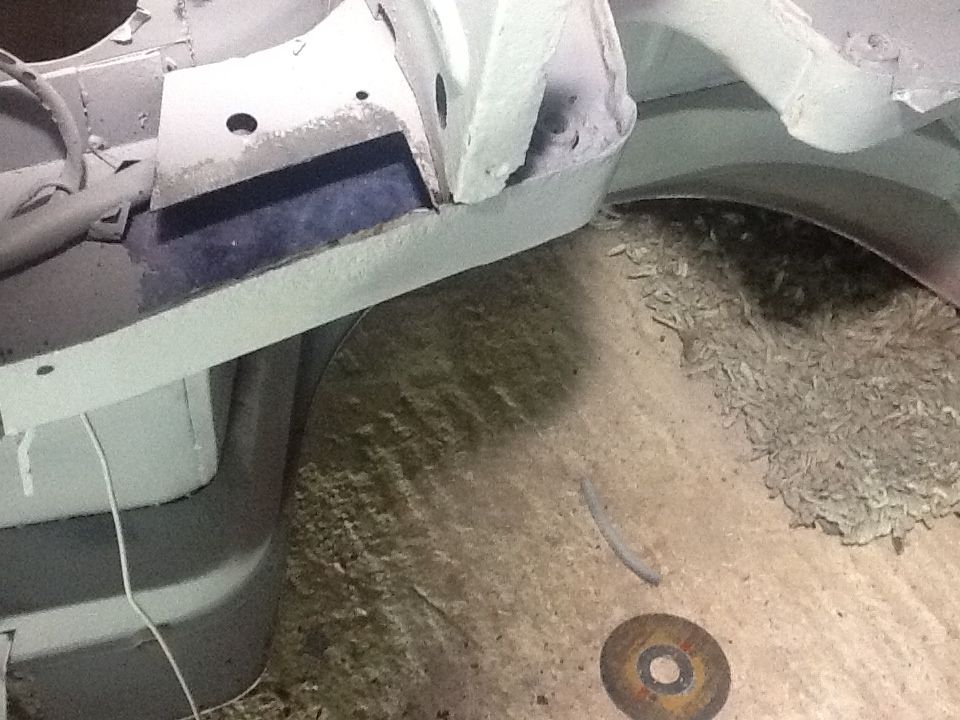
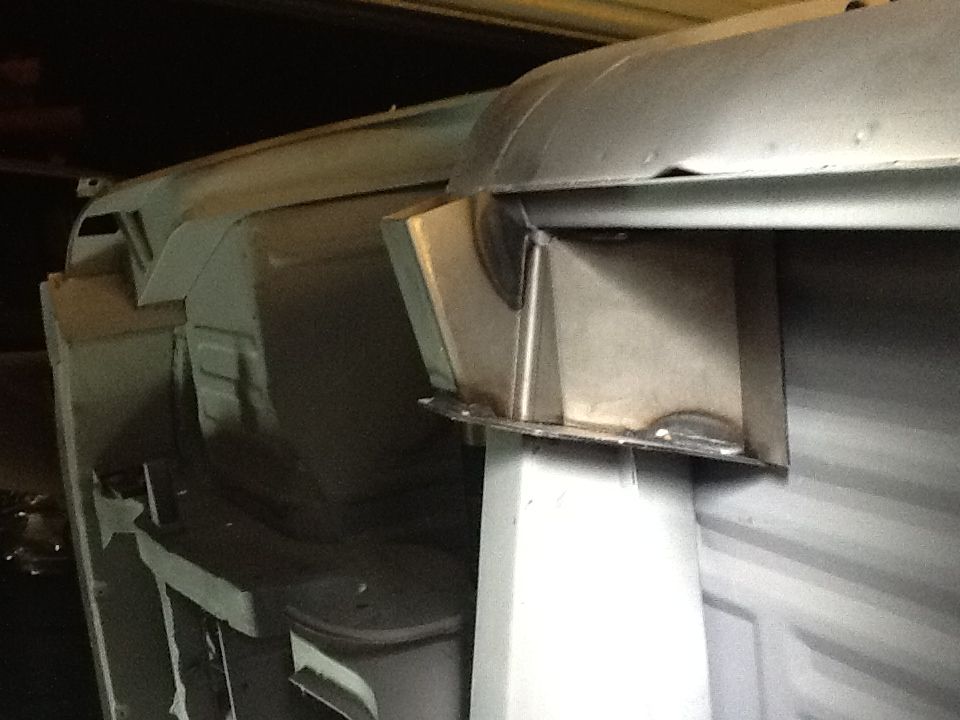
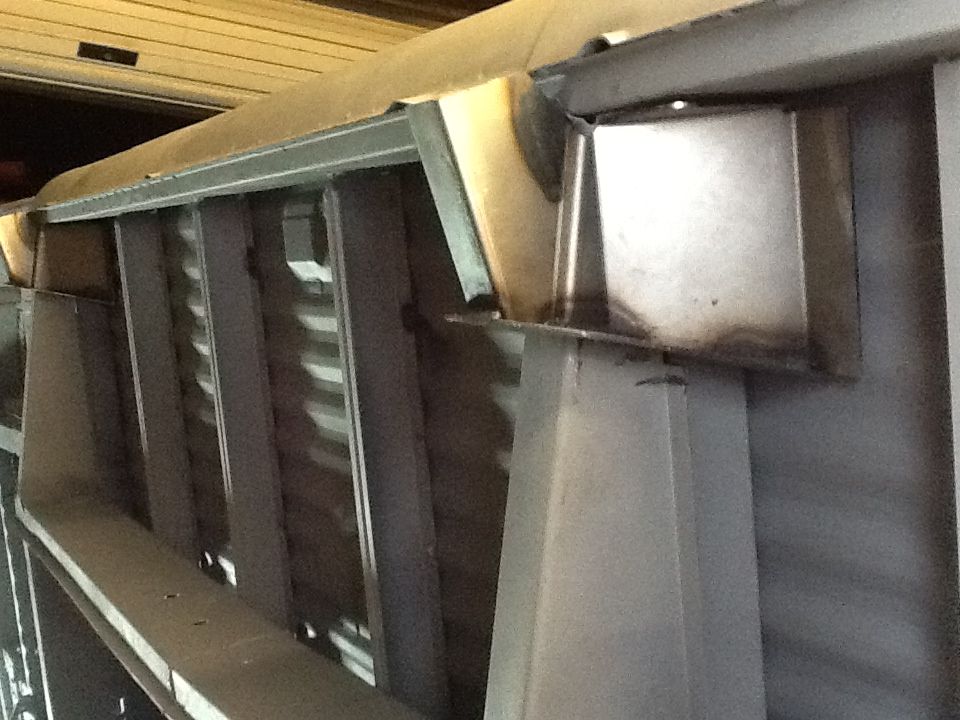
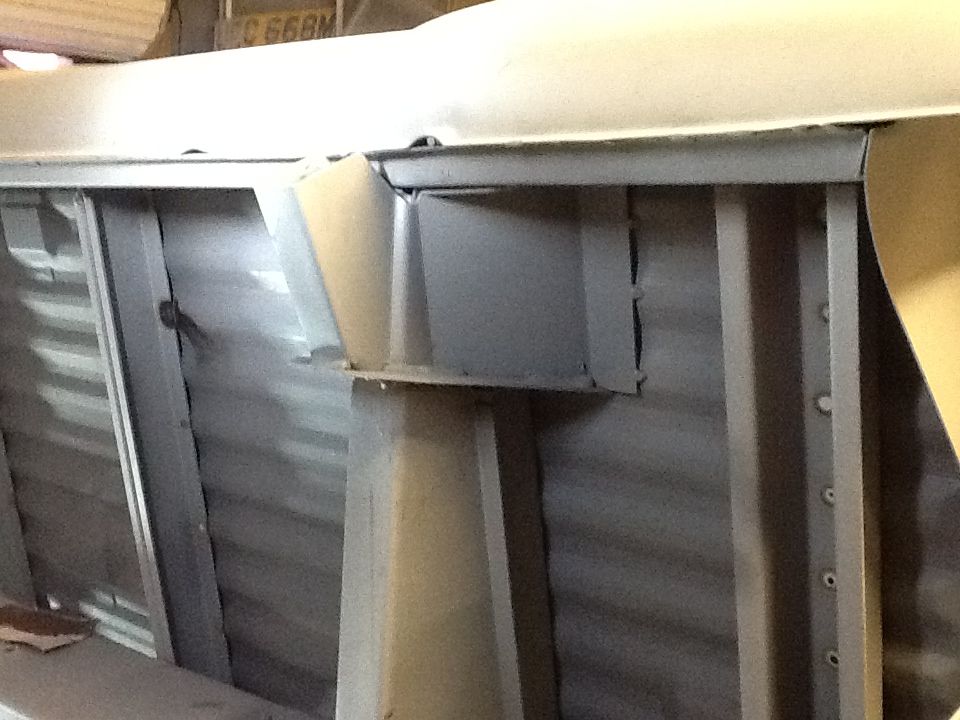
Then I turned my attention to the rear where poor Noah had had a small whack up his backside at some point that was hidden by filler. I never noticed it at first but I could never get the engine lid to line up
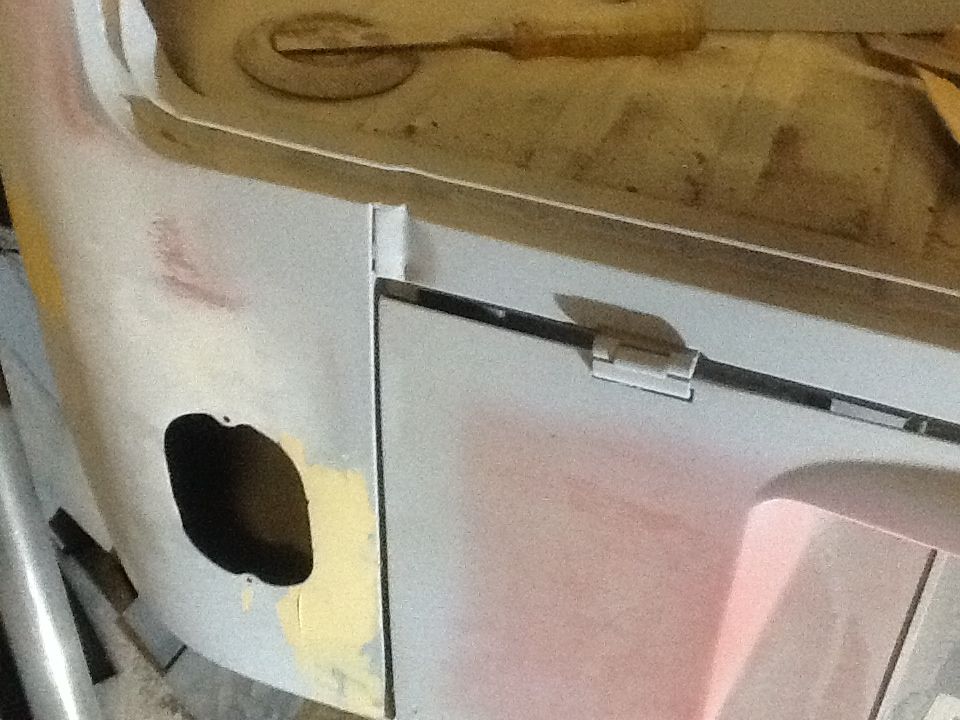
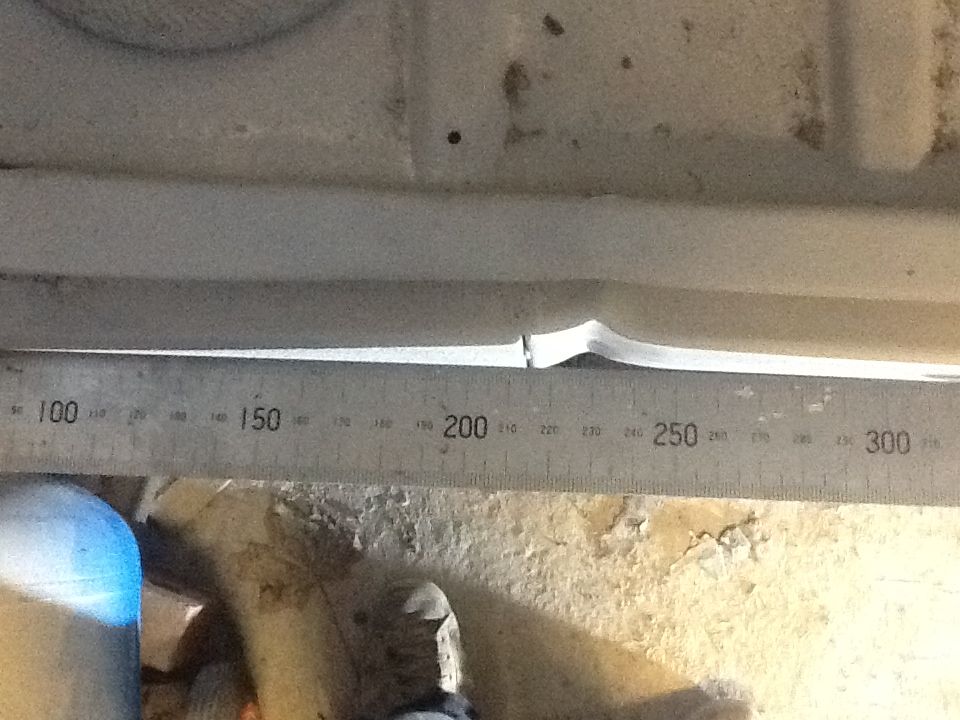
The dent looked innocuous but when a straight edge was offered up it had actually pushed in the dividing panel and pushed the engine lid hinge mount back...
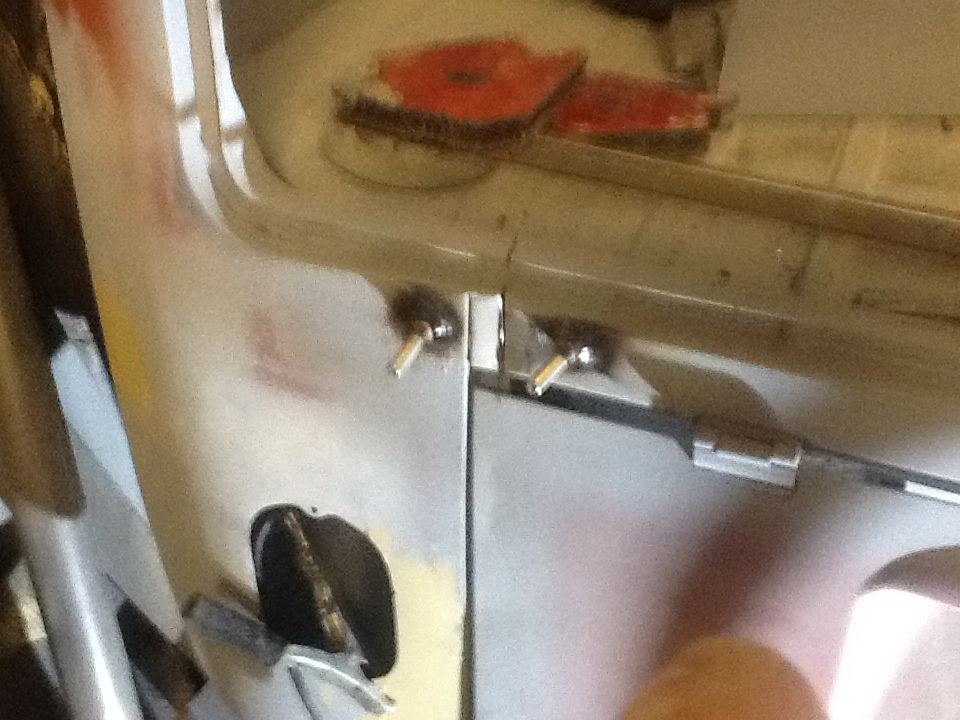
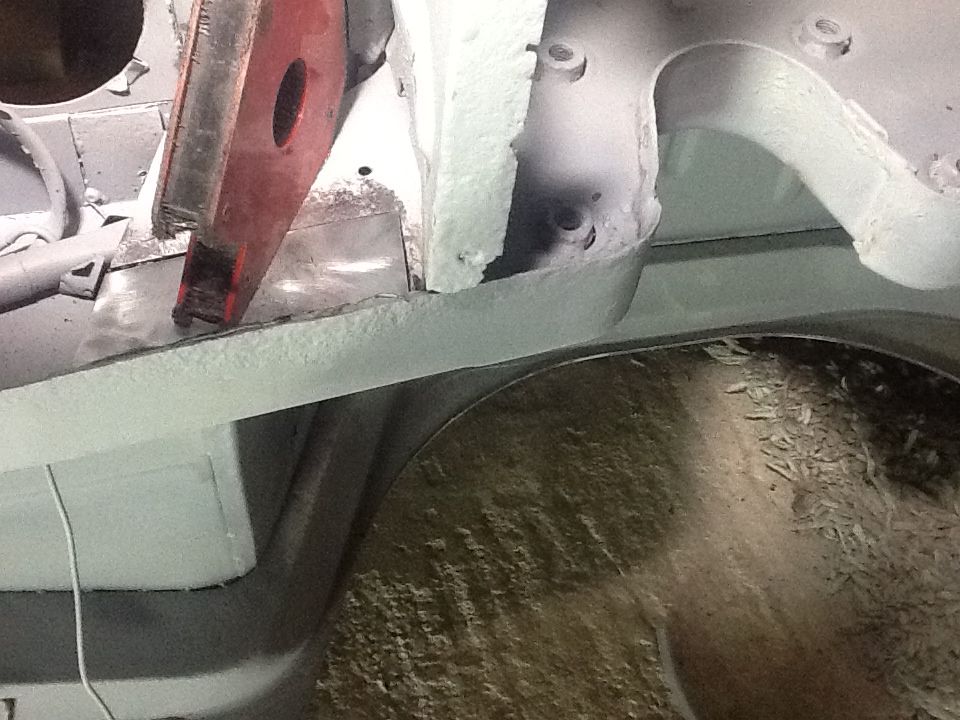
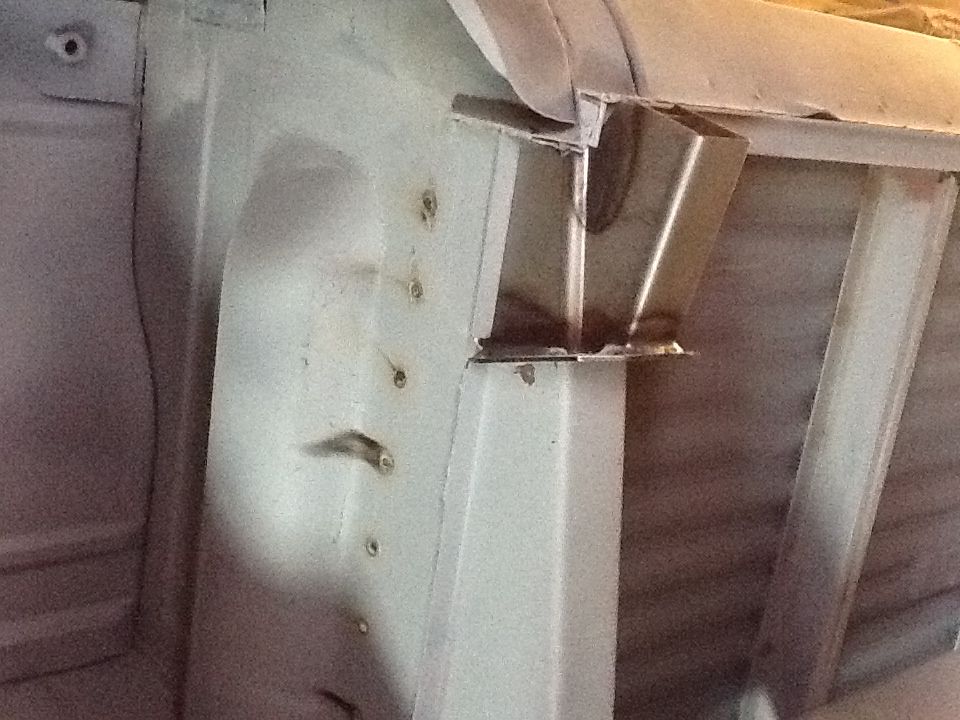
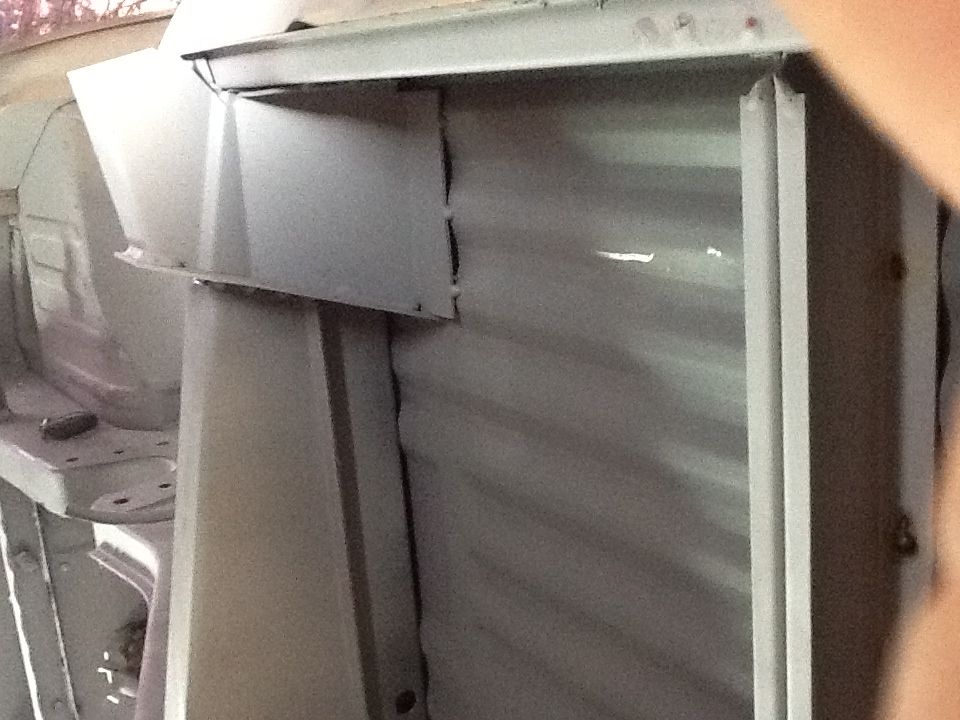
So I cut the dent to relieve the pressure on it the. Welded 2 anchors to the area (I'm making this repair up as I go along mind..)
Then I resin anchored a plate to the garage wall..
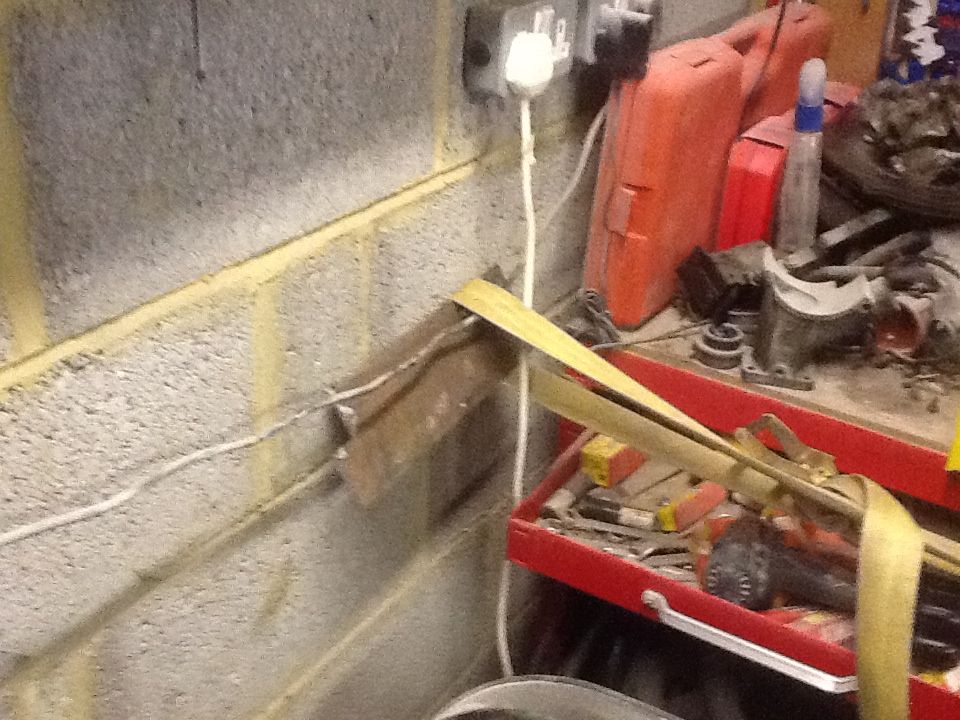
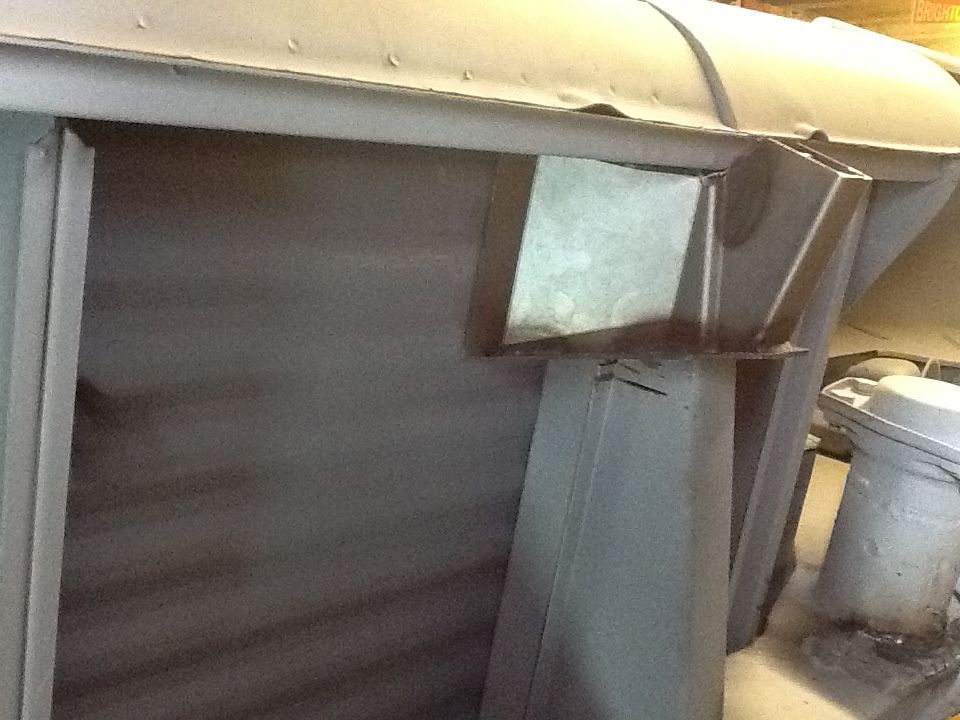
Made up a plate with 2 holes to match the pulling points welded to the van and attached my biggest ratchet strap...
Then I need to borrow a mated oxy acetaline to heat up the whole area. The damaged area is box sectioned so its going to be tricky but ill give it a go this way and let you know how I get on.
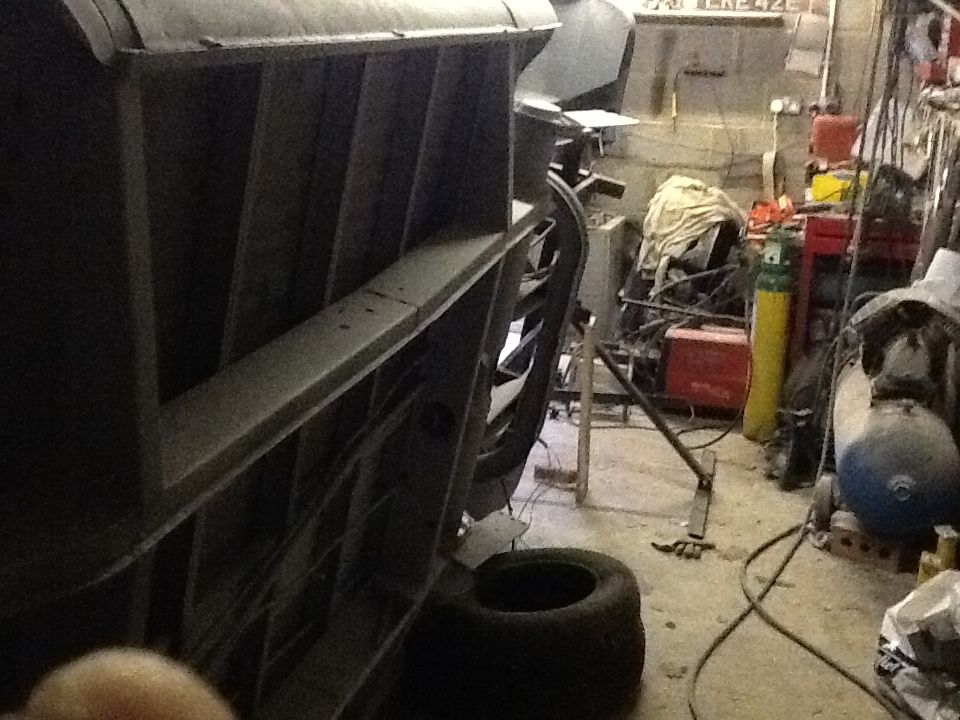
Then I have ordered a roll over jig to seam seal and underseal the underside. Thanks to Steve (rusty1962) for talking me through his jig adventure as I'm buying the same one. That should arrive in the next day or two.
Whilst waiting for that I have been endlessly filling and sanding all the internal stuff, joe will do the outside but the rest falls to me. No pictures as I only want to show you the finished areas!
Ill be putting the jig up for sale here when I've finished with it.
Over and out
Jon
I've been doing loads but hAvnt got many pictures to show for it.
I had to have some surgery on my knee as well...look at the X-ray ....
So first up a repair around the chassis where it joins the rear torsion tube...
Cut out the rot the. Fabricated a repair section out of 1.5 mm steel I had to buy in..
Welded in
Then I turned my attention to the rear where poor Noah had had a small whack up his backside at some point that was hidden by filler. I never noticed it at first but I could never get the engine lid to line up
The dent looked innocuous but when a straight edge was offered up it had actually pushed in the dividing panel and pushed the engine lid hinge mount back...
So I cut the dent to relieve the pressure on it the. Welded 2 anchors to the area (I'm making this repair up as I go along mind..)
Then I resin anchored a plate to the garage wall..
Made up a plate with 2 holes to match the pulling points welded to the van and attached my biggest ratchet strap...
Then I need to borrow a mated oxy acetaline to heat up the whole area. The damaged area is box sectioned so its going to be tricky but ill give it a go this way and let you know how I get on.
Then I have ordered a roll over jig to seam seal and underseal the underside. Thanks to Steve (rusty1962) for talking me through his jig adventure as I'm buying the same one. That should arrive in the next day or two.
Whilst waiting for that I have been endlessly filling and sanding all the internal stuff, joe will do the outside but the rest falls to me. No pictures as I only want to show you the finished areas!
Ill be putting the jig up for sale here when I've finished with it.
Over and out
Jon
jonthebuilder
Registered user
Posts: 349
Joined: Thu Aug 12, 2010 7:00 pm
Re: Noah my new 65 Canterbury Pitt project
by rusty1962 » Thu Mar 19, 2015 10:18 pm
Has it arrived yet?
rusty1962

SSVC Member
Posts: 1549
Joined: Wed Sep 11, 2013 10:35 pm
Re: Noah my new 65 Canterbury Pitt project
by jonthebuilder » Thu Mar 19, 2015 10:59 pm
Not yet, due any day,
Hoping by early next week so I can get it mounted the following weekend!
Hoping by early next week so I can get it mounted the following weekend!
jonthebuilder
Registered user
Posts: 349
Joined: Thu Aug 12, 2010 7:00 pm
Re: Noah my new 65 Canterbury Pitt project
by jonthebuilder » Wed Apr 01, 2015 6:44 pm
Evening all
A small but to me important update.
After an age, my roll over jig arrived from handling solutions. These are the budget ones on ebay.mi must confess I wouldn't have gone for this one if it wasn't for others on here who have, in particular Steve, rusty 1962. Who has been using one for a while.msteve gave melons of helpful advice and reassurance about it, for which I'm eternally grateful.
The jig was as describe. I had to re drill some of the holes where it bolts to the front bumper mounts and rear valence, but other than that, straightforward to mount onto the van.
I then enlisted the help of my two plasterers and my brother in law to actually spin it.. Nervous does not describe how I felt at this stage, but he went over like a treat, even when at one stage, two of us were pushing against the other two so it felt like the bus was totally out of balence!
So here he sits now,....
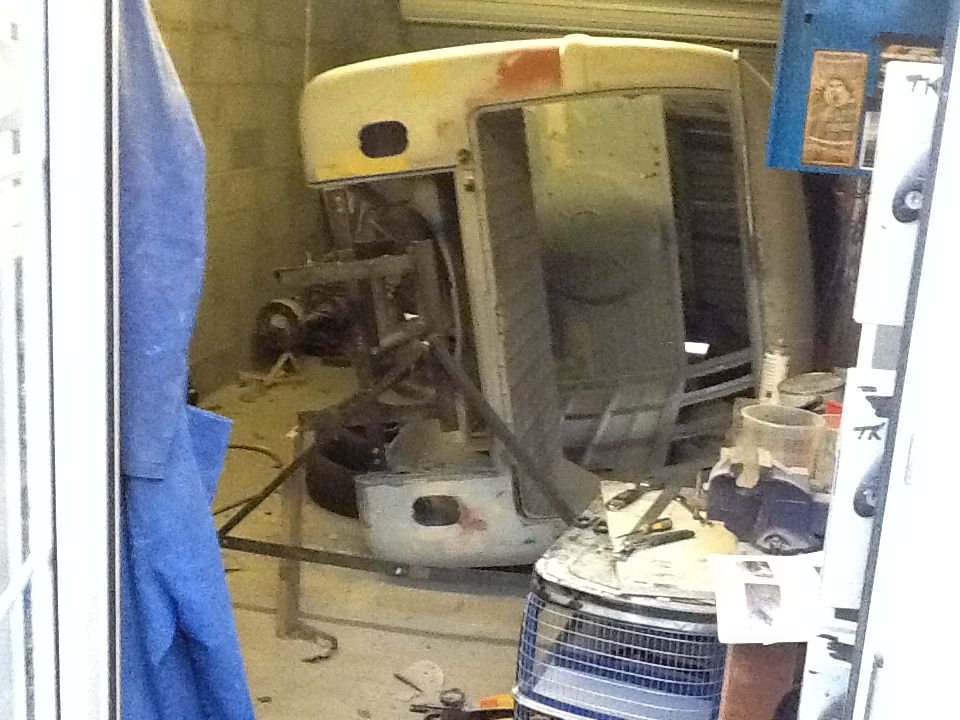
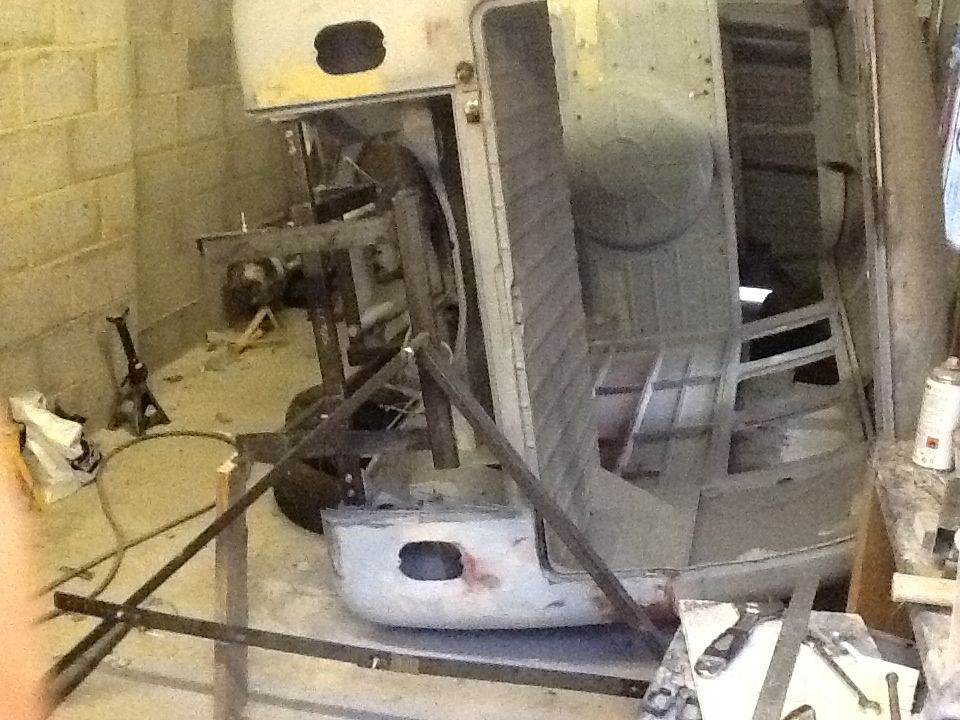
I can now complete the final bits of welding underneath including putting the jacking points on, the seam sealer and underseal, then brake lines and servo and then back on his feet with the suspension and drivetrain on so he can be moved in and out of the garage....none of which will involve me lying on my back!!
Over and out!
A small but to me important update.
After an age, my roll over jig arrived from handling solutions. These are the budget ones on ebay.mi must confess I wouldn't have gone for this one if it wasn't for others on here who have, in particular Steve, rusty 1962. Who has been using one for a while.msteve gave melons of helpful advice and reassurance about it, for which I'm eternally grateful.
The jig was as describe. I had to re drill some of the holes where it bolts to the front bumper mounts and rear valence, but other than that, straightforward to mount onto the van.
I then enlisted the help of my two plasterers and my brother in law to actually spin it.. Nervous does not describe how I felt at this stage, but he went over like a treat, even when at one stage, two of us were pushing against the other two so it felt like the bus was totally out of balence!
So here he sits now,....
I can now complete the final bits of welding underneath including putting the jacking points on, the seam sealer and underseal, then brake lines and servo and then back on his feet with the suspension and drivetrain on so he can be moved in and out of the garage....none of which will involve me lying on my back!!
Over and out!
jonthebuilder
Registered user
Posts: 349
Joined: Thu Aug 12, 2010 7:00 pm
Re: Noah my new 65 Canterbury Pitt project
by SC_Jim » Wed Apr 01, 2015 8:47 pm
Looks good, how much height do you need to spin the bus?
Rolled my single cab on a home made semi octagon bolted to the beam and spring plate mounts which worked ok but heavy to roll as the centre of gravity was a bit low...
Rolled my single cab on a home made semi octagon bolted to the beam and spring plate mounts which worked ok but heavy to roll as the centre of gravity was a bit low...
SC_Jim
SSVC Member
Posts: 395
Joined: Fri Dec 16, 2005 12:10 pm
Re: Noah my new 65 Canterbury Pitt project
by rusty1962 » Wed Apr 01, 2015 8:48 pm
Glad it all went well
 You'll be getting on in leaps and bounds now.
I've been working under my dash and the jig has proved invaluable for making everything more accessible.
Looking forward to some regular updates now
I've been working under my dash and the jig has proved invaluable for making everything more accessible.
Looking forward to some regular updates now
rusty1962
SSVC Member
Posts: 1549
Joined: Wed Sep 11, 2013 10:35 pm
Re: Noah my new 65 Canterbury Pitt project
by jonthebuilder » Wed Apr 08, 2015 9:06 pm
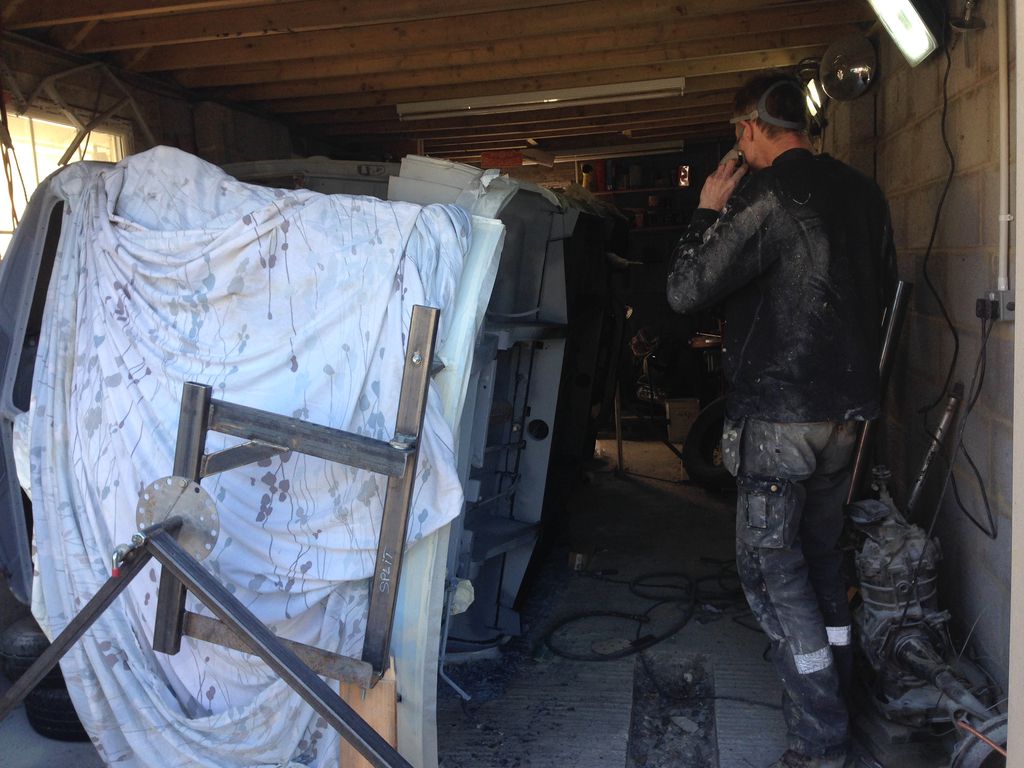
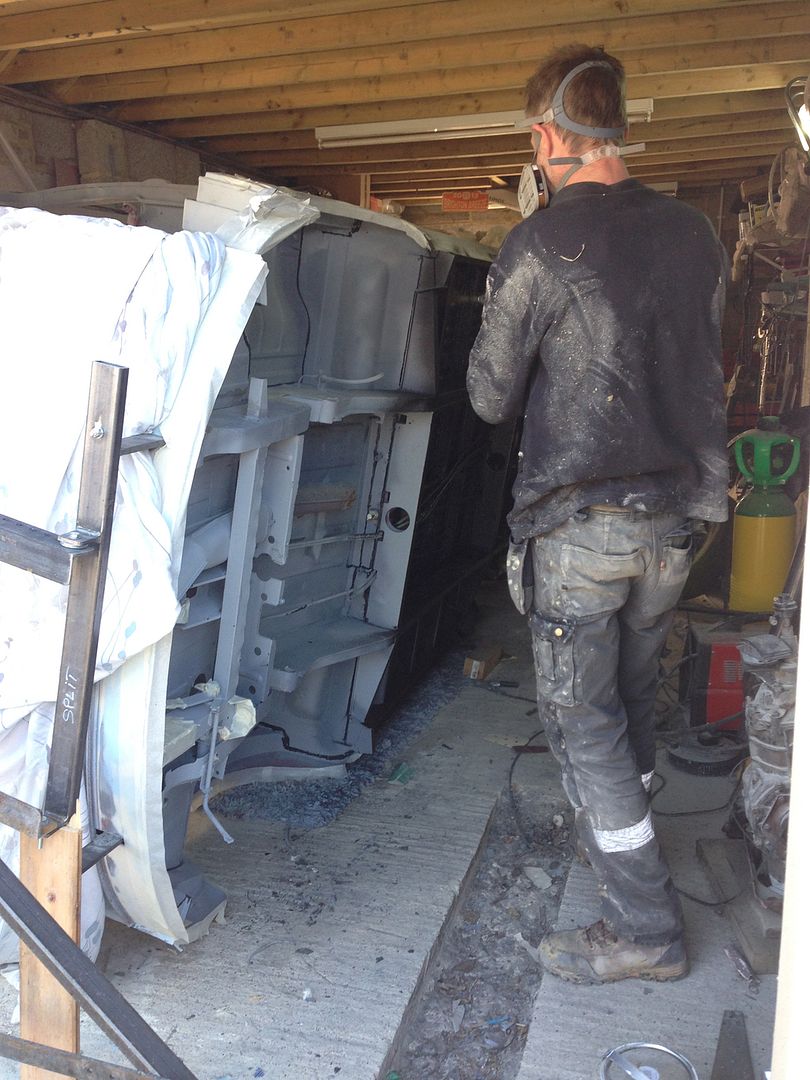
The misses has bought van x curtains for her t5 caravelle which I'm being asked to fit atbthe weekend so I used this as leverage to get three nights in the garage this week, so 2 nights in and good progress.
It is sheer bliss to have the van on its side, everything takes half the time, half the energy and is far more appealing to work on..
So I'm aiming tomstartmseam sealer ing this week so it was the last few bits of welding underneath.
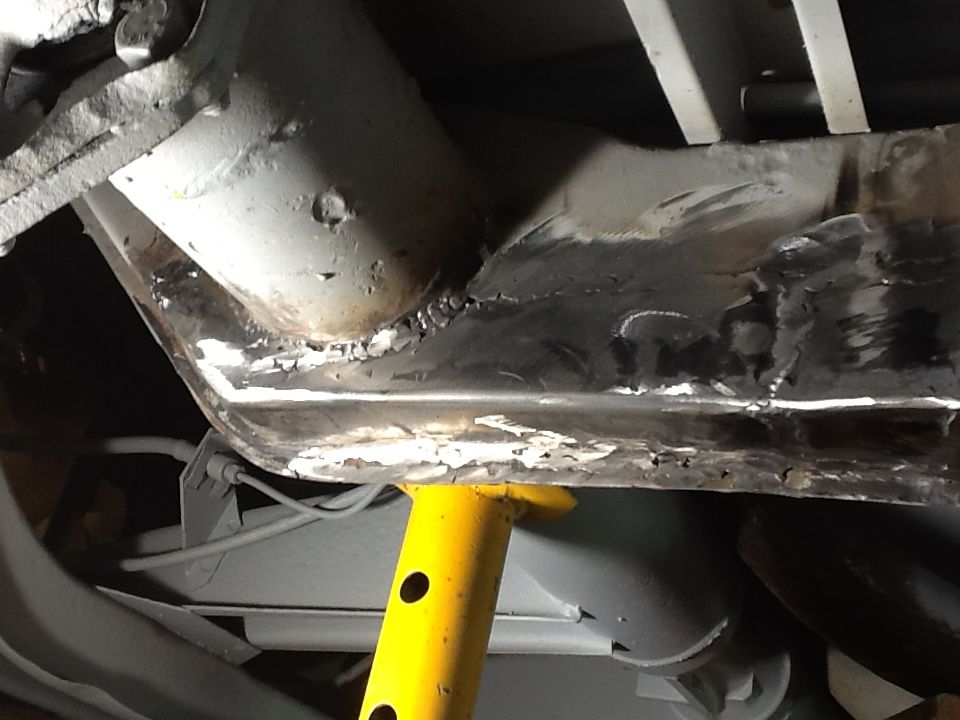
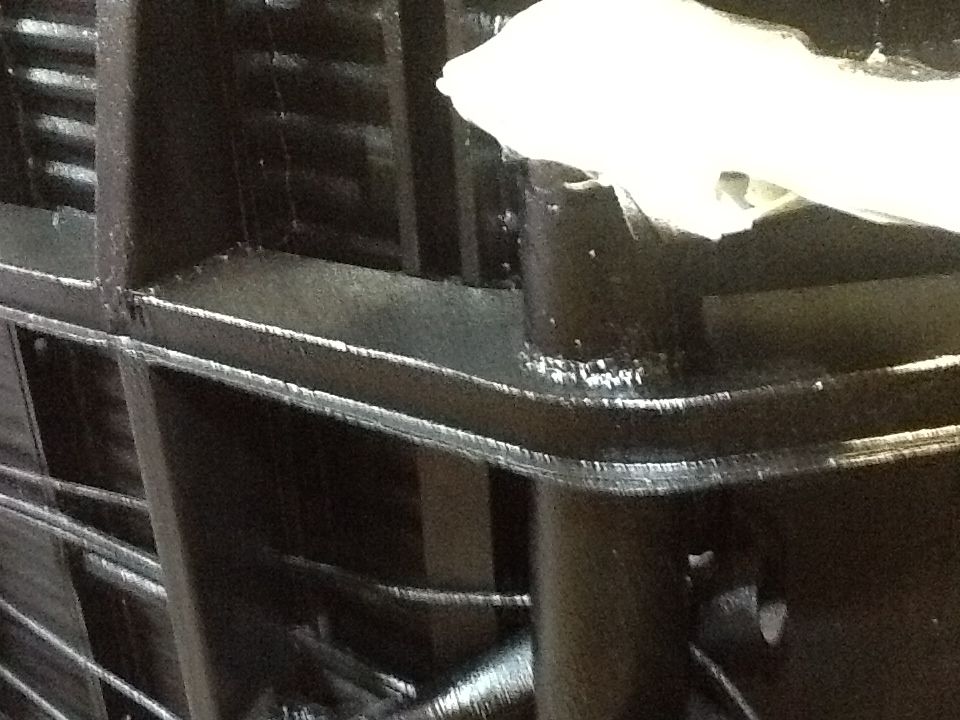
First repair round the other rear torsion tube....nice thick metal, crank the welder up..
If I'm honest, it would have been cheaper and quicker to have bought two complete chassis legs from a h scofield with the amount of repairs I have done ion the main legs they were the most rusty part of the whole van.
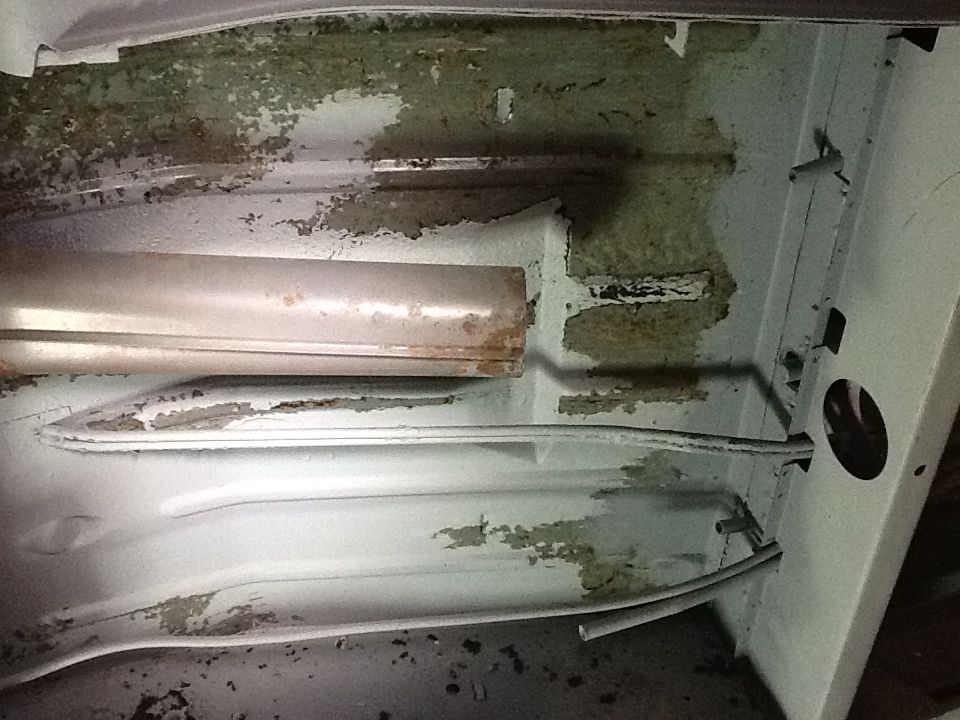
Found another area on the webbing at the front of the van also a bit paper thin after blasting, so out it came, and I'm bloody glad I wasn't trying to do that on my back....
Repair piece fabbed...
Then welded in
So then I did a trial fit of the new jacking points that I will never use, but at leastnimcan put an alloy step on if I want. I bought these from a h scofield at the volks worked show, and they seem well made and a good fit...
Also scraped off the last of the original underseal that the blaster couldn't shift
It actually worked well in preserving the metal up until the point where water gets underneath it, then it becomes the vans worst enemy as it traps the moisture then seriously rots it out.
So then I welded of the jacking points, I figured they only need tacking on as the weight of the van on them pushes them against the body and I wanted to burn the minimum of my rustproofing off of the inside of the inner sills tec with the heat from the welds..

The remainder of the evening was spent filling and rubbing down the welds on the chassis legs to tidy them up for no reason whatsoever as they won't be seen.
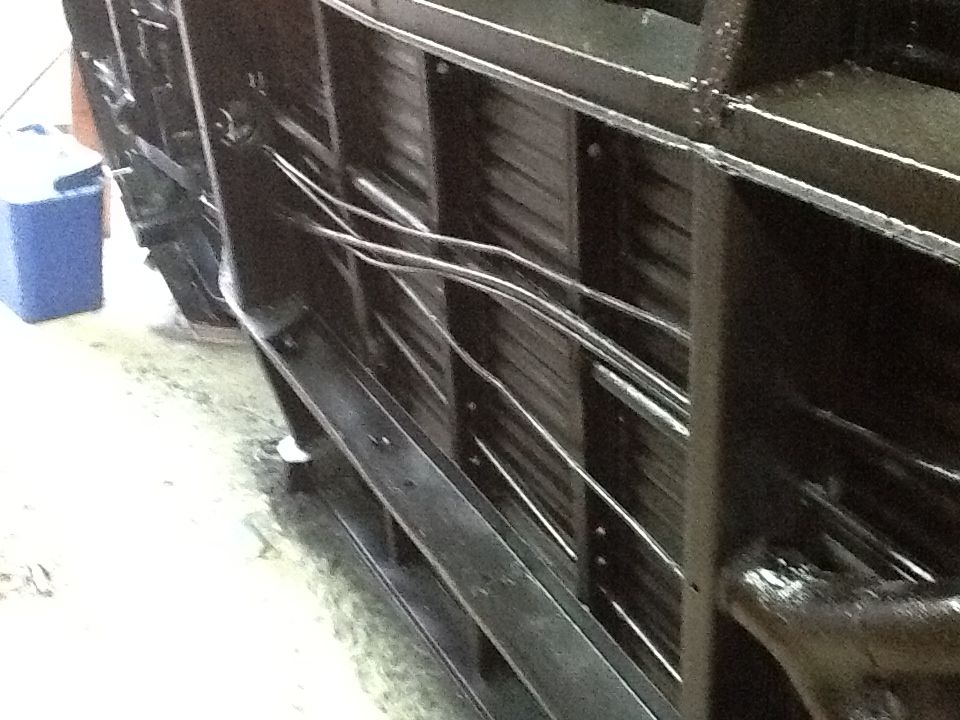
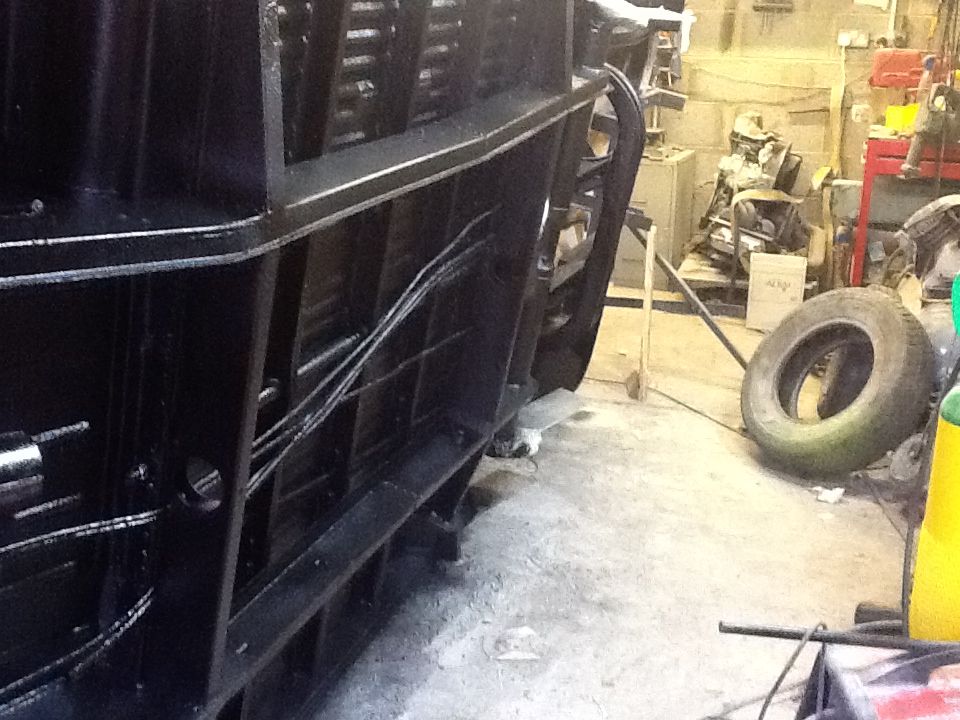
I finally tried to fit the centre heater tube, but for some reason the cable conduits seem to be in the way and stop the tube getting close enough upwards towards the floor to go through the holes in both crossmembers. I'm going to have a look on some other resto threads to see the route the cables should take, ....anyone else had this problem?
Anyway that's all for tonight folks.....
Jon
It is sheer bliss to have the van on its side, everything takes half the time, half the energy and is far more appealing to work on..
So I'm aiming tomstartmseam sealer ing this week so it was the last few bits of welding underneath.
First repair round the other rear torsion tube....nice thick metal, crank the welder up..
If I'm honest, it would have been cheaper and quicker to have bought two complete chassis legs from a h scofield with the amount of repairs I have done ion the main legs they were the most rusty part of the whole van.
Found another area on the webbing at the front of the van also a bit paper thin after blasting, so out it came, and I'm bloody glad I wasn't trying to do that on my back....
Repair piece fabbed...
Then welded in
So then I did a trial fit of the new jacking points that I will never use, but at leastnimcan put an alloy step on if I want. I bought these from a h scofield at the volks worked show, and they seem well made and a good fit...
Also scraped off the last of the original underseal that the blaster couldn't shift
It actually worked well in preserving the metal up until the point where water gets underneath it, then it becomes the vans worst enemy as it traps the moisture then seriously rots it out.
So then I welded of the jacking points, I figured they only need tacking on as the weight of the van on them pushes them against the body and I wanted to burn the minimum of my rustproofing off of the inside of the inner sills tec with the heat from the welds..
The remainder of the evening was spent filling and rubbing down the welds on the chassis legs to tidy them up for no reason whatsoever as they won't be seen.
I finally tried to fit the centre heater tube, but for some reason the cable conduits seem to be in the way and stop the tube getting close enough upwards towards the floor to go through the holes in both crossmembers. I'm going to have a look on some other resto threads to see the route the cables should take, ....anyone else had this problem?
Anyway that's all for tonight folks.....
Jon
jonthebuilder
Registered user
Posts: 349
Joined: Thu Aug 12, 2010 7:00 pm
Re: Noah my new 65 Canterbury Pitt project
by rusty1962 » Thu Apr 09, 2015 6:24 am
jonthebuilder wrote:
steve gave melons of helpful advice and reassurance about it, for which I'm eternally grateful.
Melons are always good
Good to see you cracking on in comfort
rusty1962
SSVC Member
Posts: 1549
Joined: Wed Sep 11, 2013 10:35 pm
Re: Noah my new 65 Canterbury Pitt project
by jonthebuilder » Thu Apr 09, 2015 4:21 pm
A melon of good advice is worth two tomatoes of good advice.....
jonthebuilder
Registered user
Posts: 349
Joined: Thu Aug 12, 2010 7:00 pm
Re: Noah my new 65 Canterbury Pitt project
by jonthebuilder » Tue Apr 14, 2015 8:57 pm
Well I've been hard at it this week seam sealing and as a result I took today off work asit was a warm day to lay on the underseal, which represents a huge milestone in my endeavours.
I went for a product called 3m underseal which is supposed to be comparable to gravitex. It's sprayed via a "Shultz" gun which I borrowed from my dads neighbour.
So after masking up all the wheel arch lips and a few other bits that I didn't want covered, got the mask out and....well ill let the pictures do the talking, takenk by my fiancé, who hastily moved her car out of overspray range...
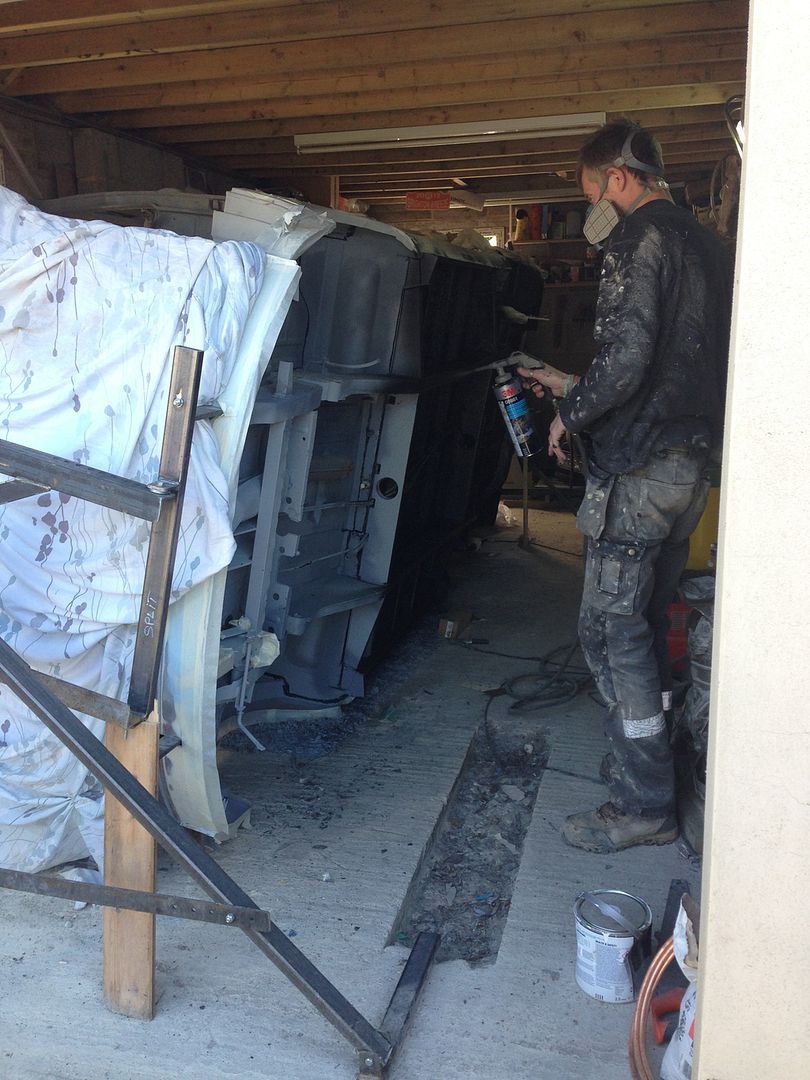
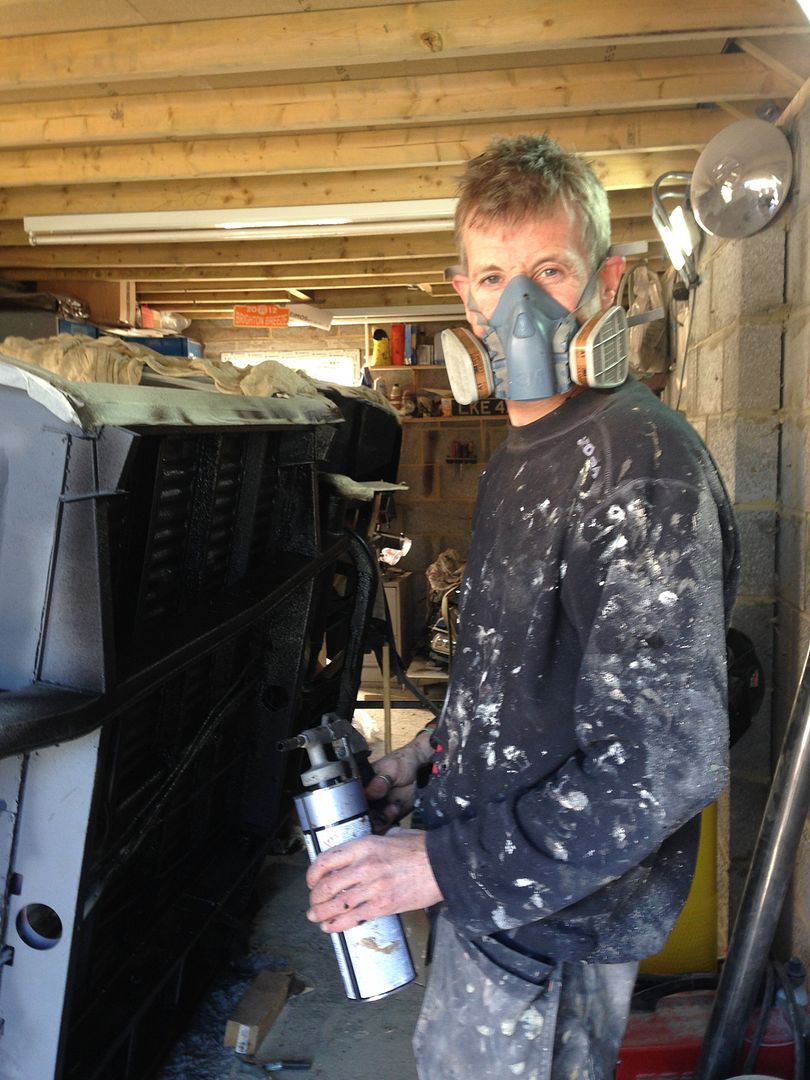
By the end I was covered and had the slightly unusual experience of having to wash my hair with thinners!
Anyway I'm pleased with the end result,it gives a nice texture which covers weld marks and minor imperfections very well.....
I masked up the area where the beam mounts to as its quite a tight fit and the thickness of the stonechip might make fitting the beam a bit tight....
So I'm now at a stage where I can bolt a few shiny new bits on whist he's on his side. I'm sending the front beam to be blasted and in the mean time I'm going to start with the brakes......
Jon
I went for a product called 3m underseal which is supposed to be comparable to gravitex. It's sprayed via a "Shultz" gun which I borrowed from my dads neighbour.
So after masking up all the wheel arch lips and a few other bits that I didn't want covered, got the mask out and....well ill let the pictures do the talking, takenk by my fiancé, who hastily moved her car out of overspray range...
By the end I was covered and had the slightly unusual experience of having to wash my hair with thinners!
Anyway I'm pleased with the end result,it gives a nice texture which covers weld marks and minor imperfections very well.....
I masked up the area where the beam mounts to as its quite a tight fit and the thickness of the stonechip might make fitting the beam a bit tight....
So I'm now at a stage where I can bolt a few shiny new bits on whist he's on his side. I'm sending the front beam to be blasted and in the mean time I'm going to start with the brakes......
Jon
jonthebuilder
Registered user
Posts: 349
Joined: Thu Aug 12, 2010 7:00 pm
Re: Noah my new 65 Canterbury Pitt project
by rusty1962 » Tue Apr 14, 2015 9:20 pm
Good progress Jon
I'm keen to know about the 3M product. Did it smell too much? How many tins? Is it overpaintable? Is a hat recommended?
Easier on the jig eh?
Looking good
Steve
I'm keen to know about the 3M product. Did it smell too much? How many tins? Is it overpaintable? Is a hat recommended?
Easier on the jig eh?
Looking good
Steve
rusty1962
SSVC Member
Posts: 1549
Joined: Wed Sep 11, 2013 10:35 pm