You are viewing the Split Screen Van Club forum archive.
The forum archive is read-only.Unfortunately in 2021 the Split Screen Van Club forum suffered a ransomware attack and lots of the forum data was lost.
What threads that have been recovered are now searchable on this site. Some threads may be incomplete and some images are still being recovered.
Forum archive search
Noah my new 65 Canterbury Pitt project
Re: Noah my new 65 Canterbury Pitt project
by jonthebuilder » Sun Jun 14, 2015 5:41 pm
Picture heavy update,
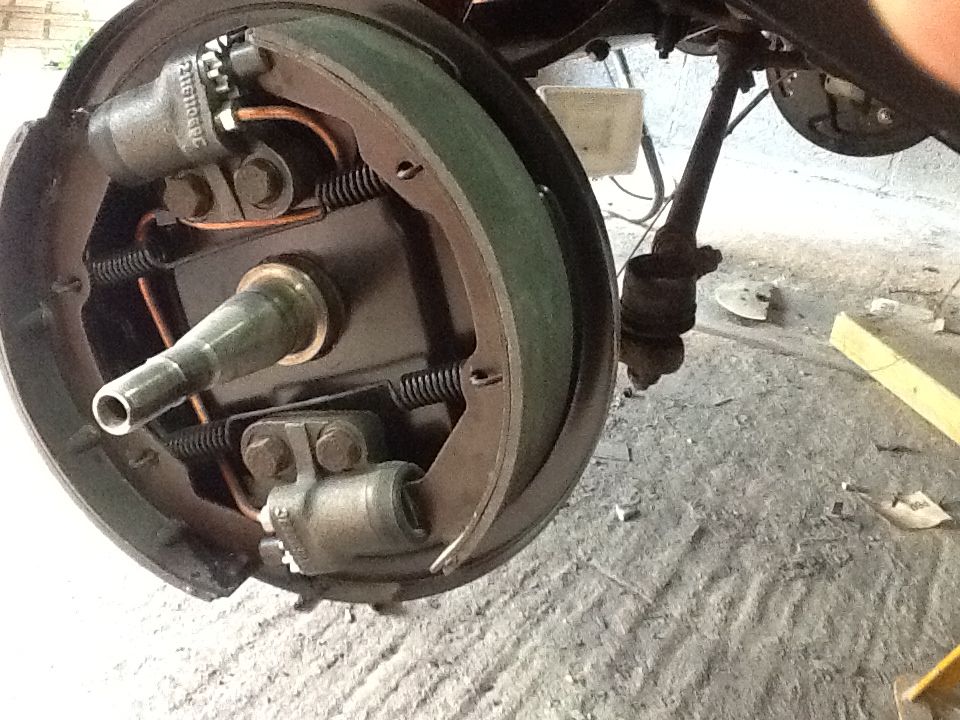
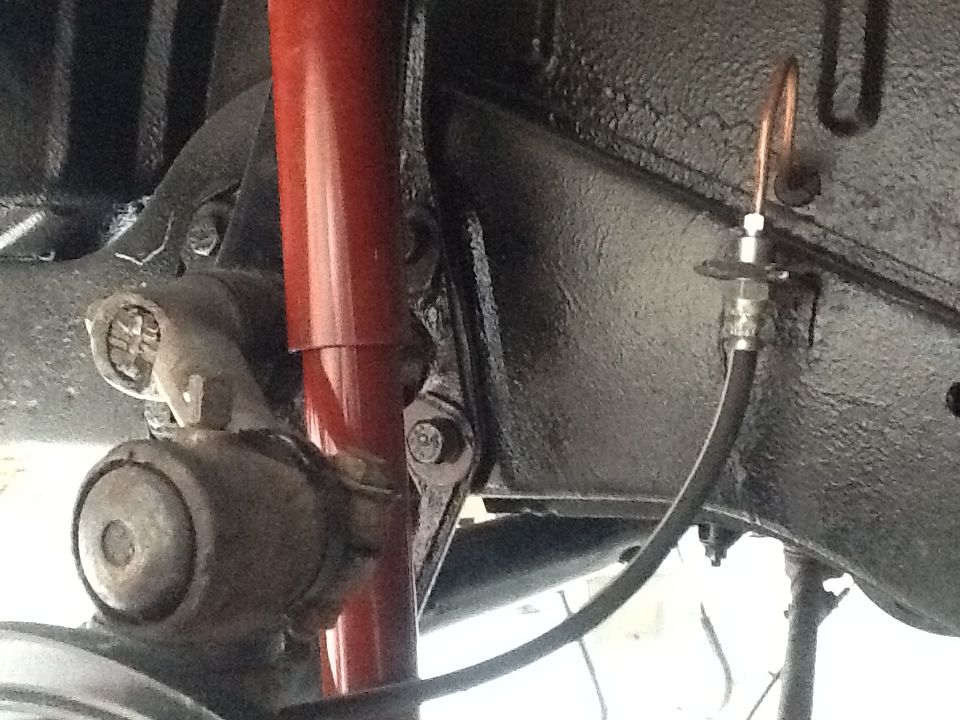
First mechanical, got all the brakes rebuilt with new everything including backing plates, new shocks, etc etc, made a 600 quid dent in my bank balence!
Next, purists look away now...cargo door.
I have known for sometime now, but kept it from this learned forum out of embarrassment that when I put the b and c post lowers in, for some reason, inexperience, I ended up with the width of the bottom of the cargo door apature 3mm shorter than the top of the opening, I suspect the b post closed I. When I welded it, as the c post position is governed by the width of the new side panel I fitted.
Anyway as a result the cargo doors touched at the bottom and I have been avoiding addressing this problem for about a year, but as paint approached, I had to sort it. After much thinking, I had a brainwave. I used a 3 mm grinding disc to cut just behind the folded lip for about 8 inches, then switched to a 1 mm disc for about 12 inches. Then with that metal removed, I closed the cut on itself, in effect giving a small but not noticeable taper on the width of the bottom of the door...and hey presto....
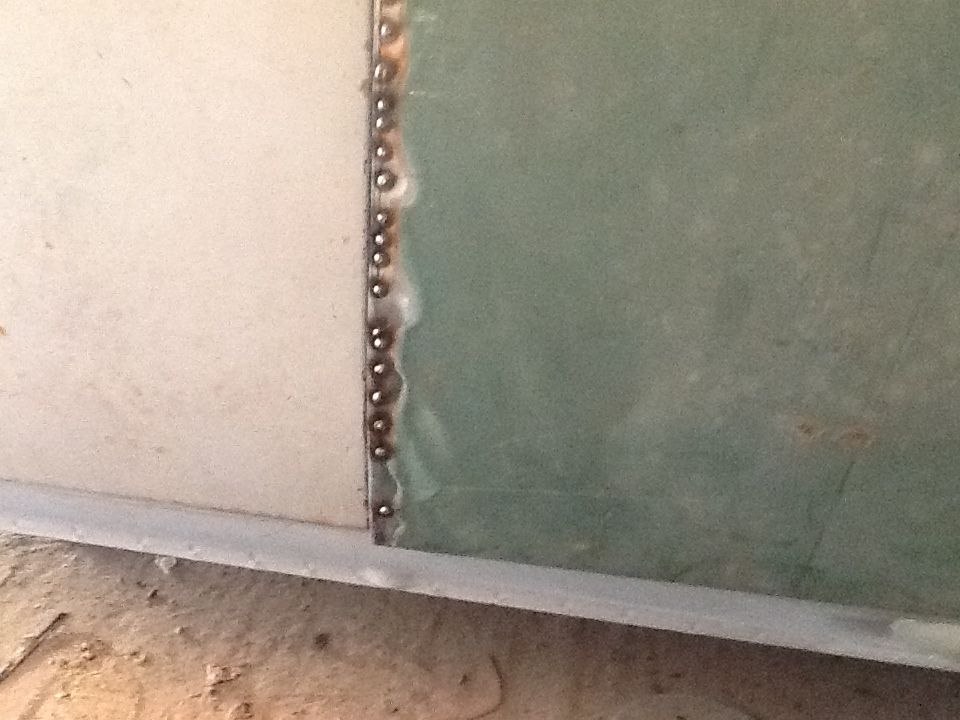
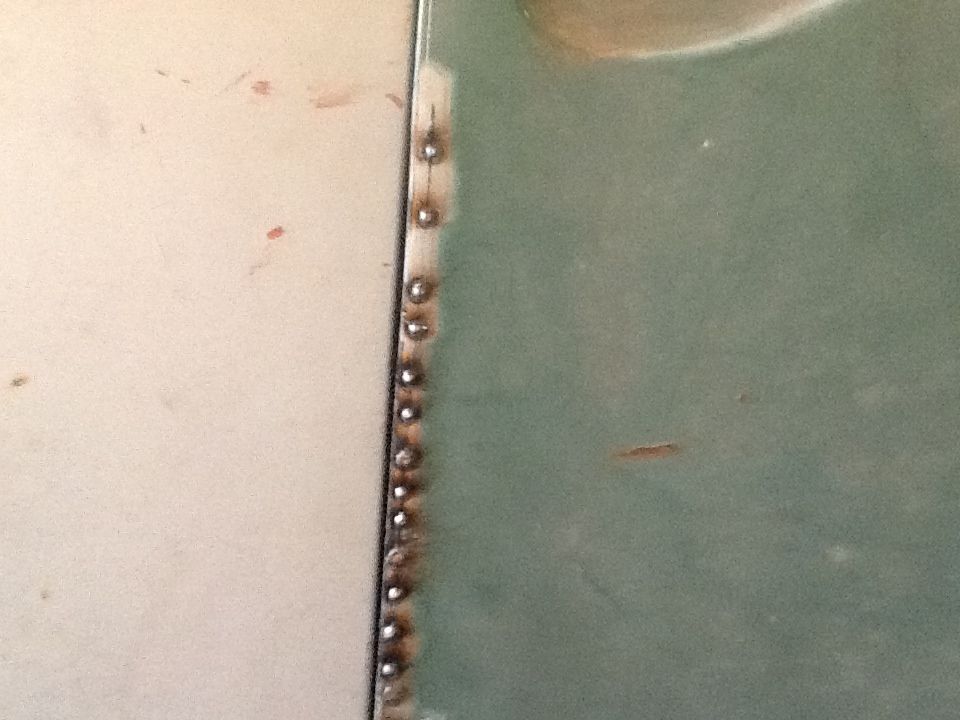
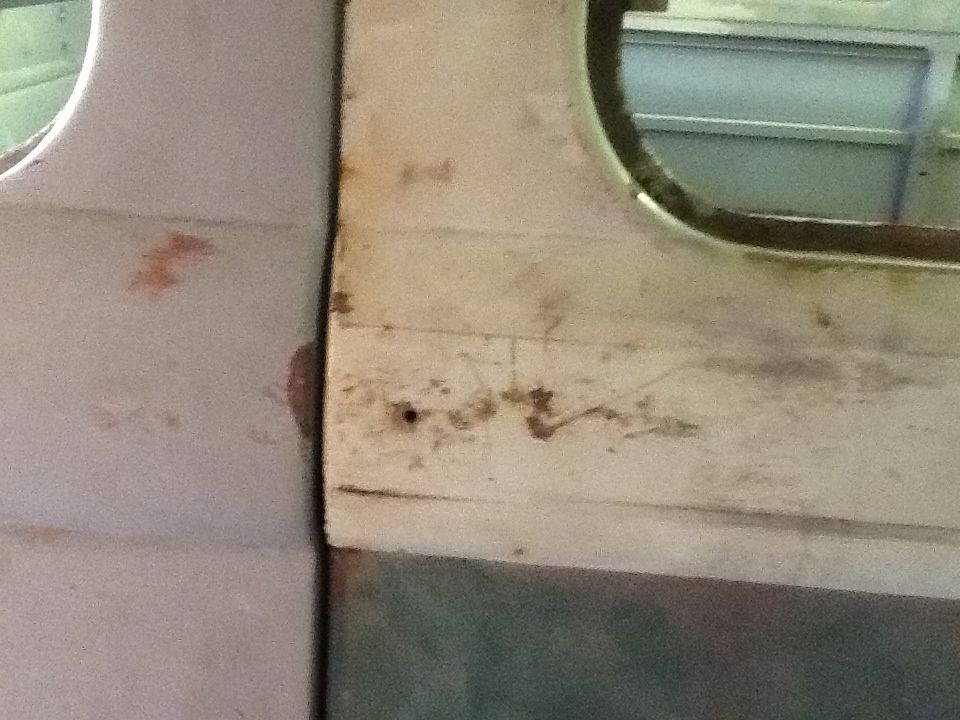
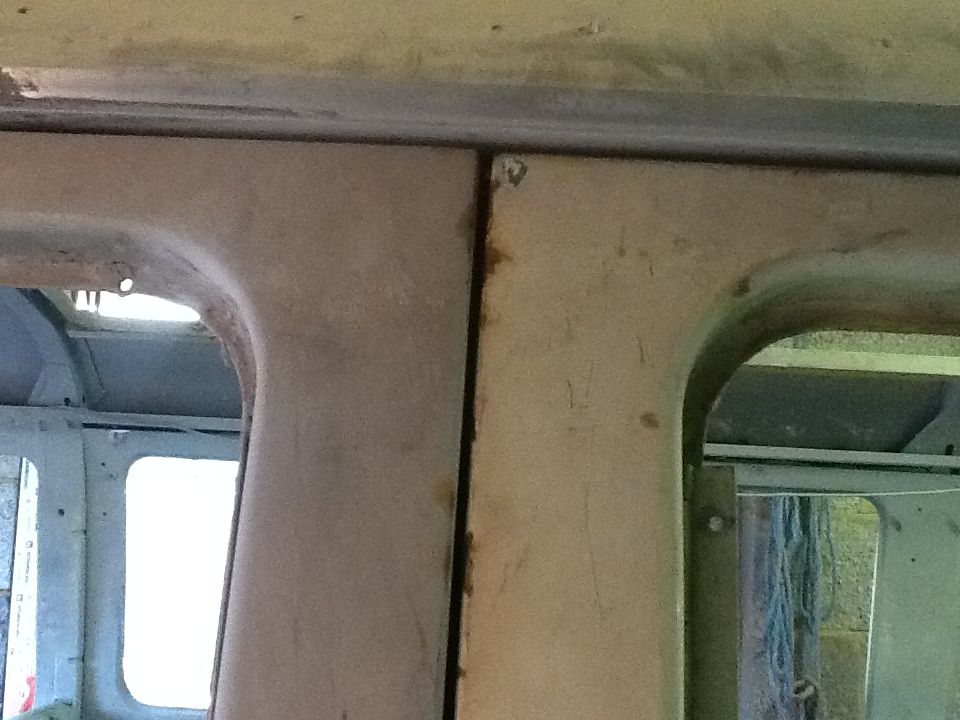
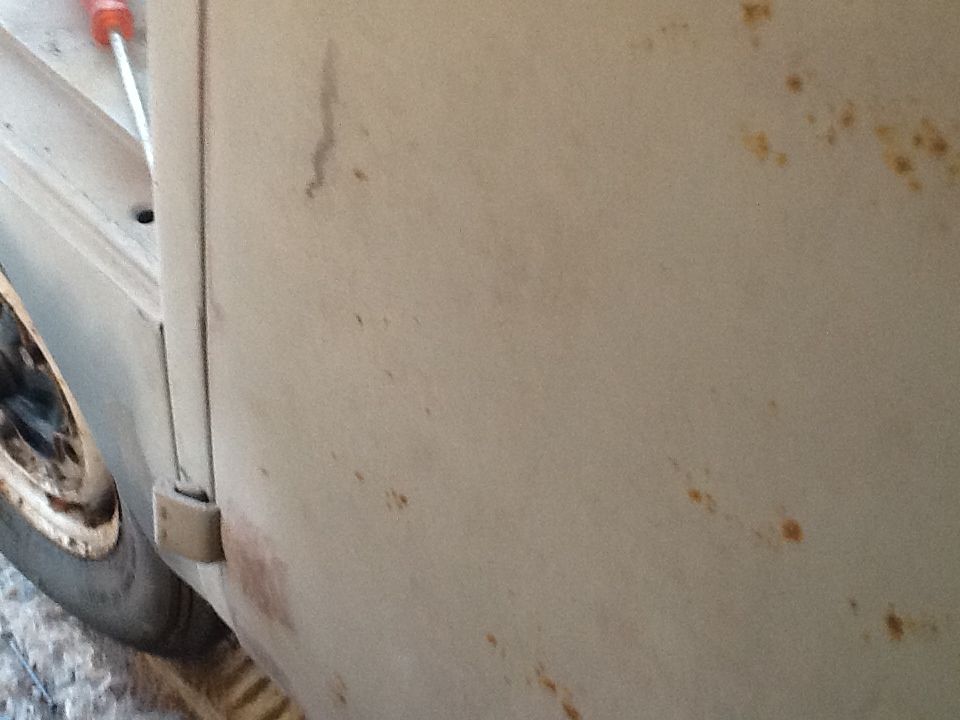
Not perfect but as good as an amateur such as myself can do. I still have to repair the bottom of this door, panels on order. The other cargo door is mint.
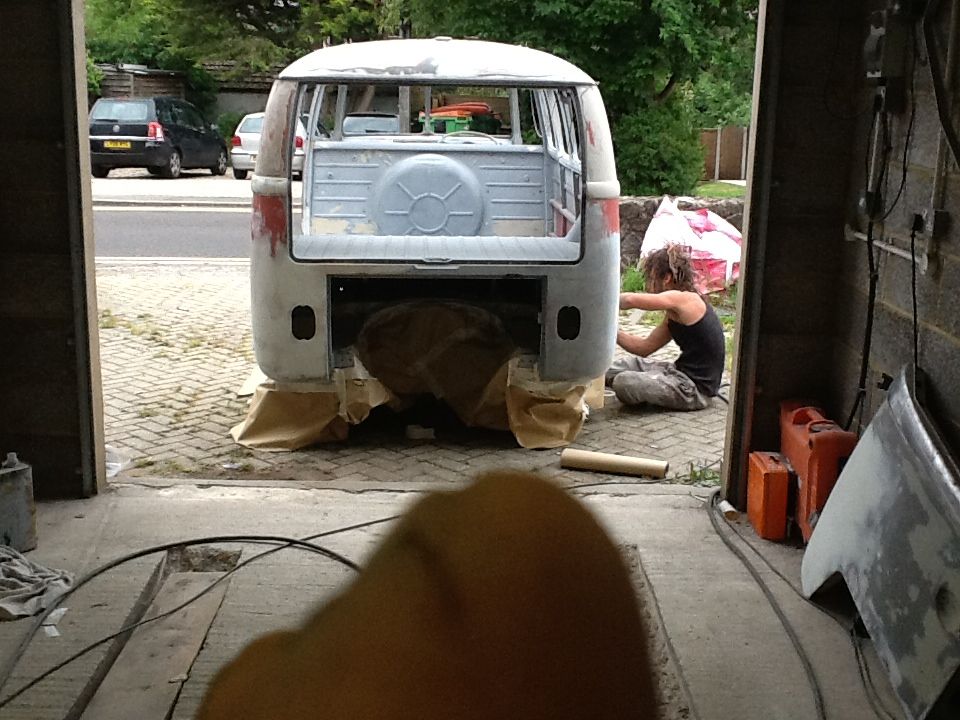
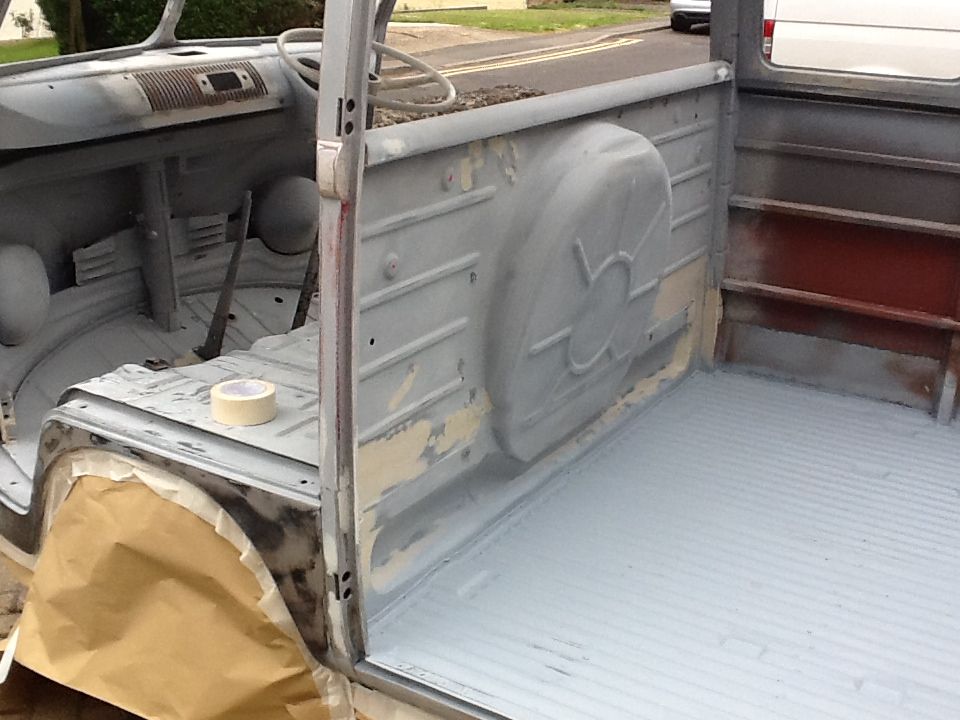
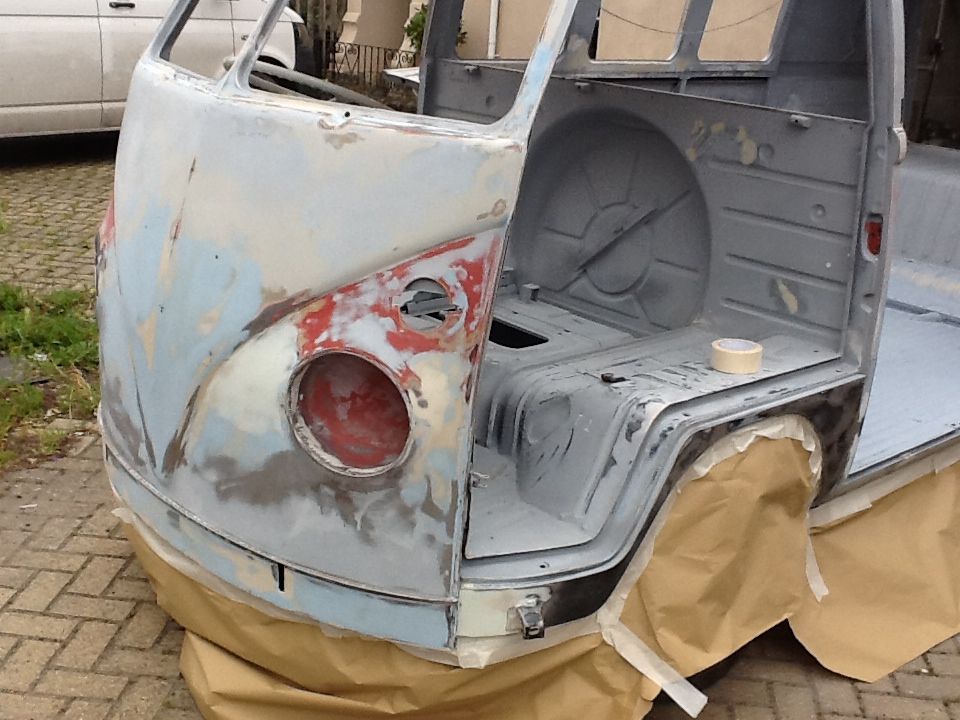
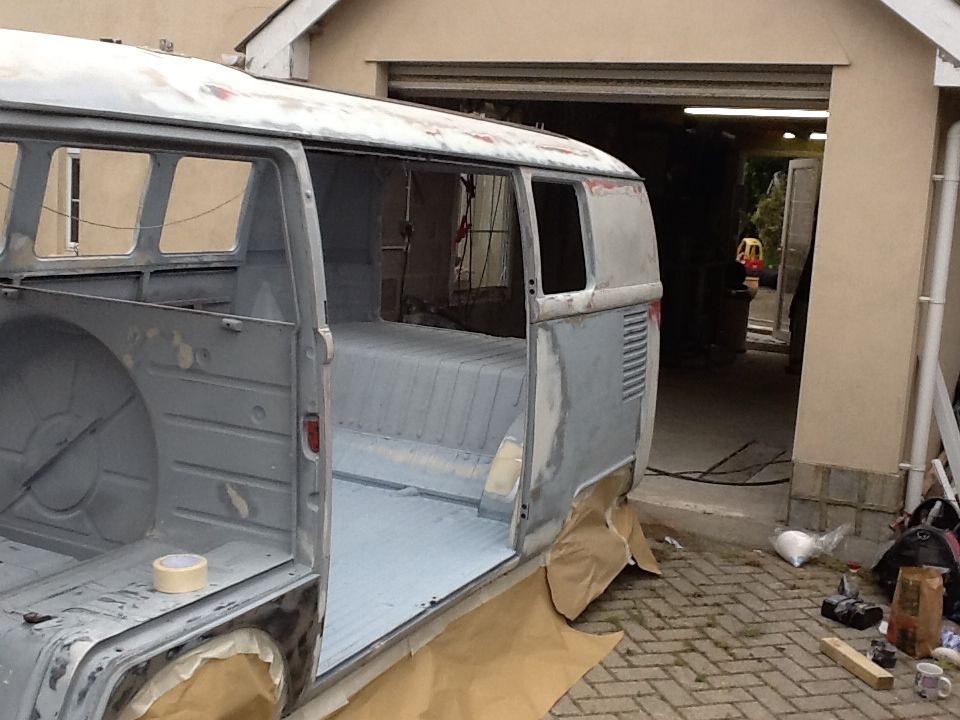
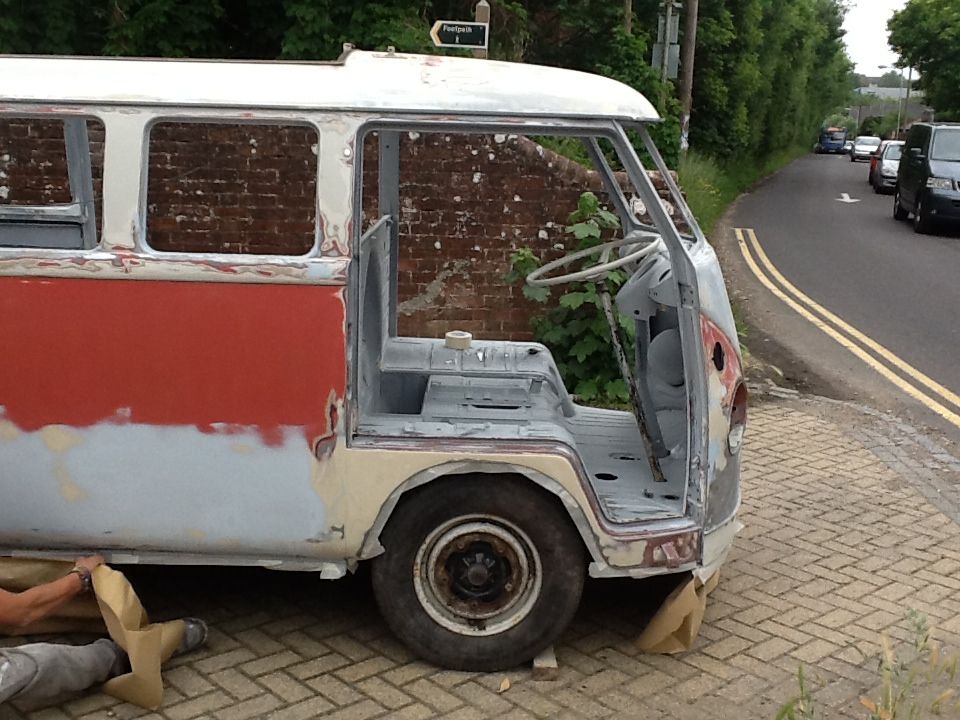
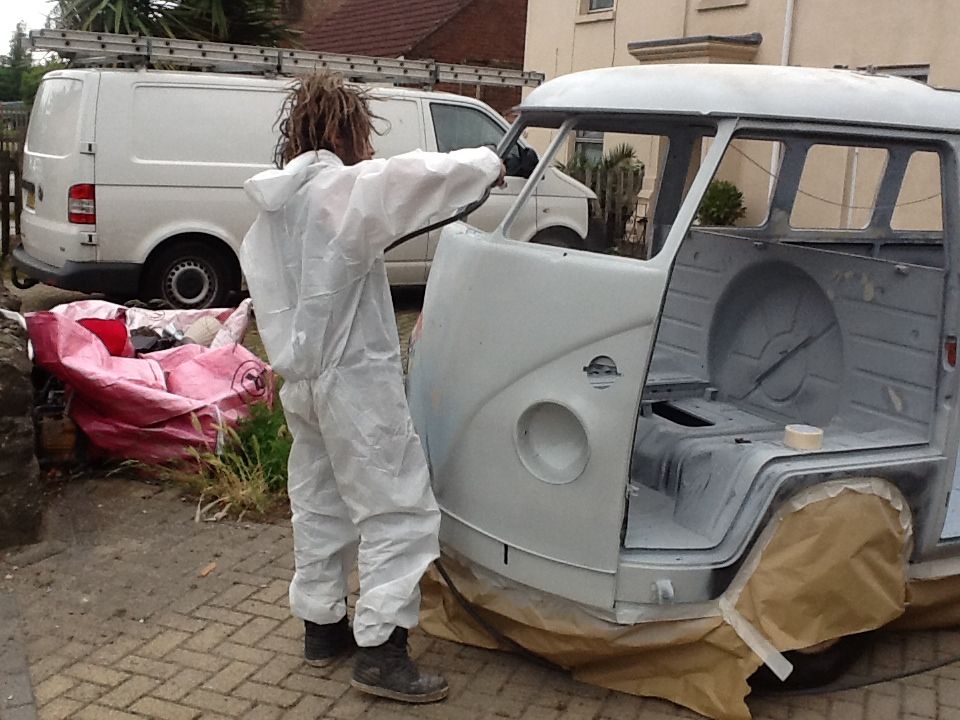
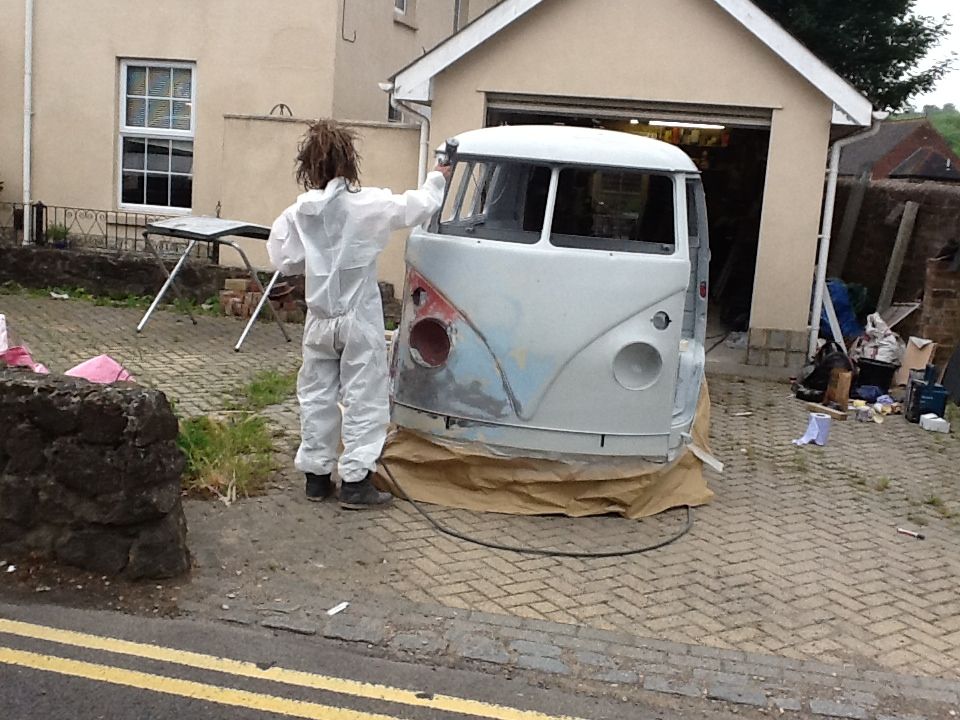
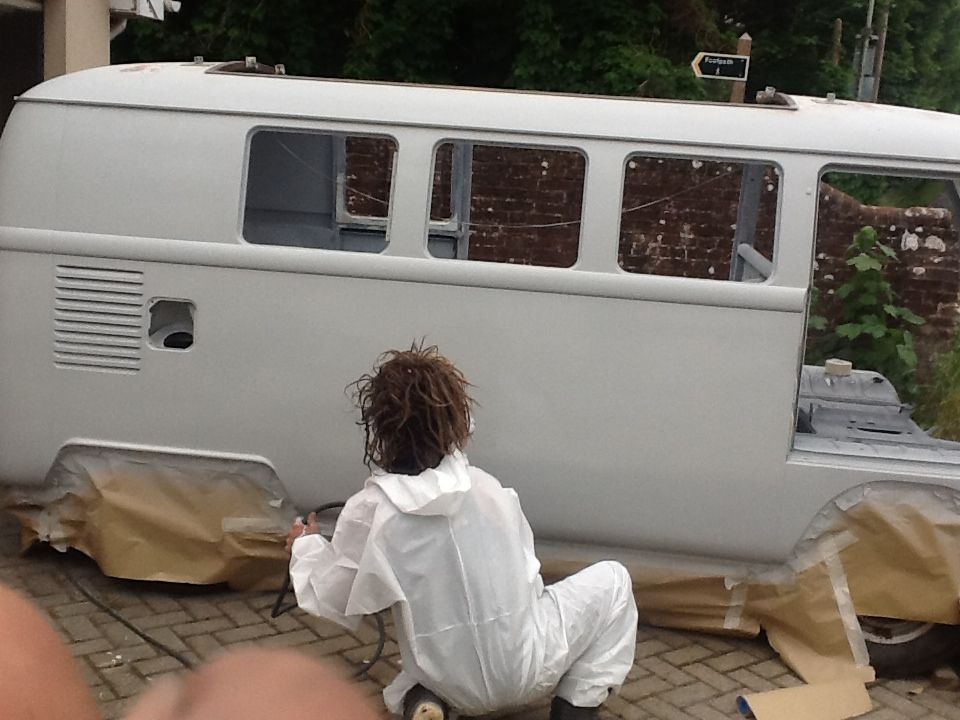
So while all this has been going on, joe the body guy has been prepping and today was the big day....primer......
Ill let the pictures do the talking...
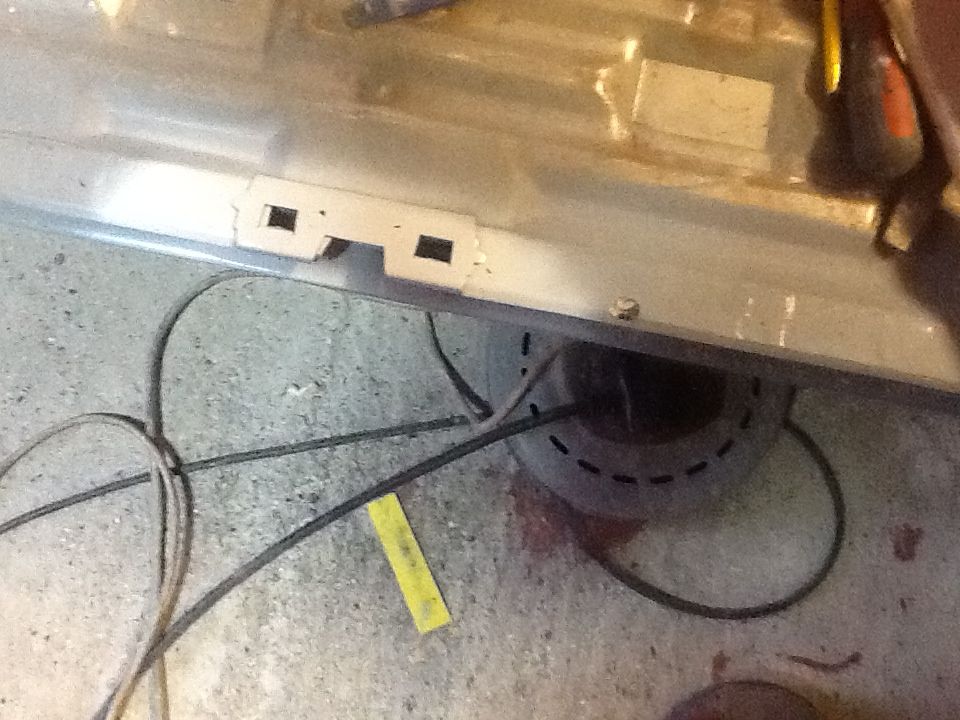
My little bean sprout has been helping ..
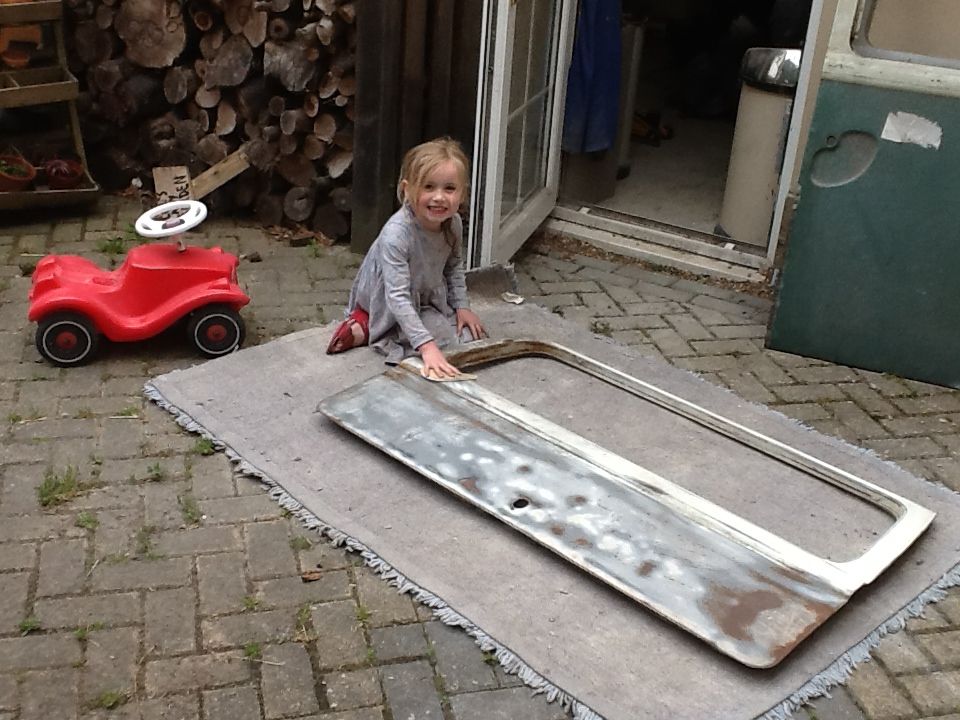
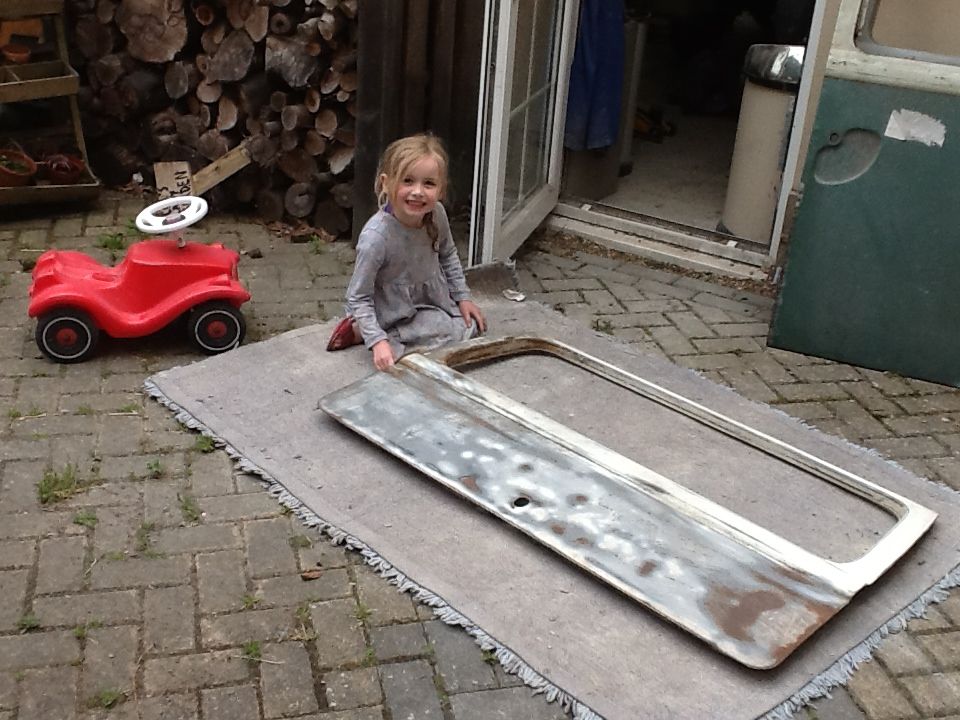

And finally..
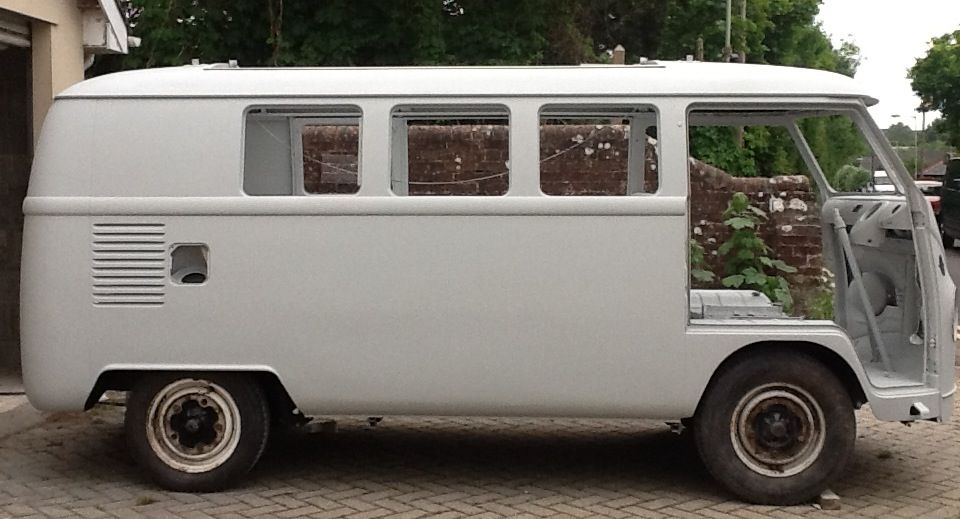
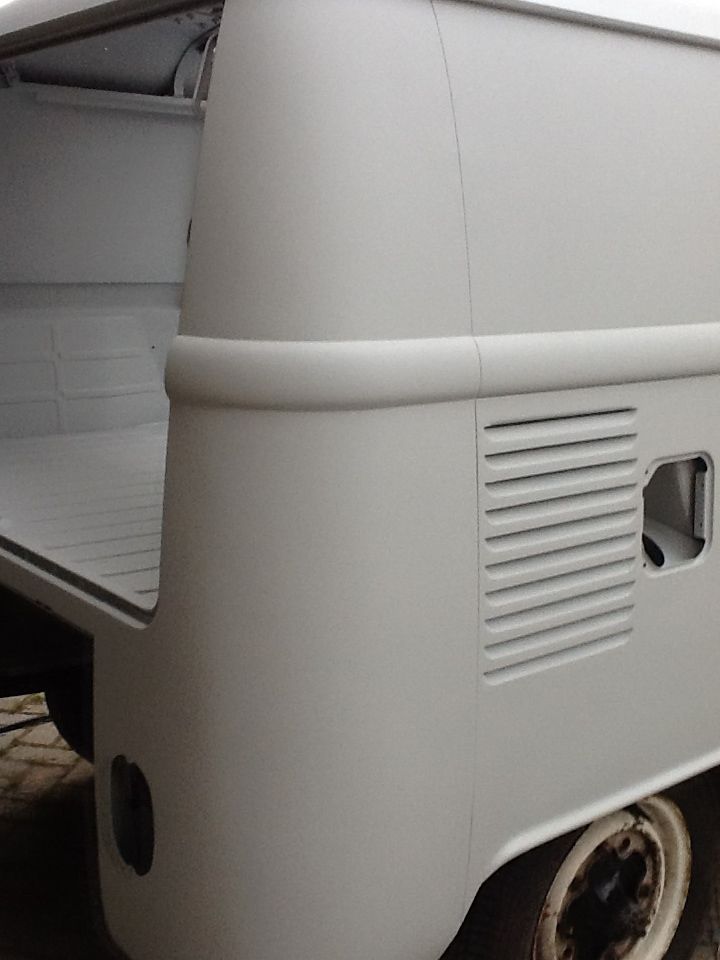
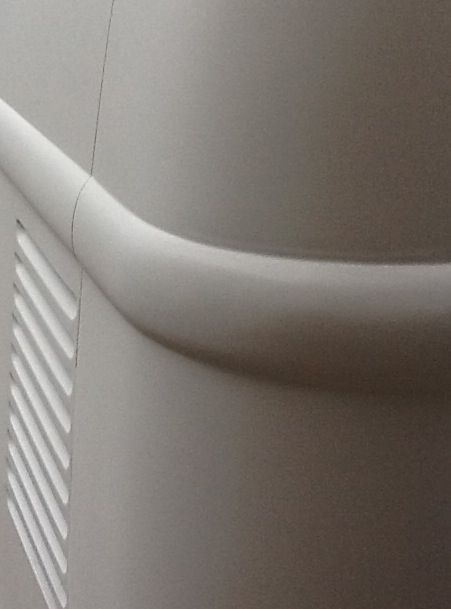
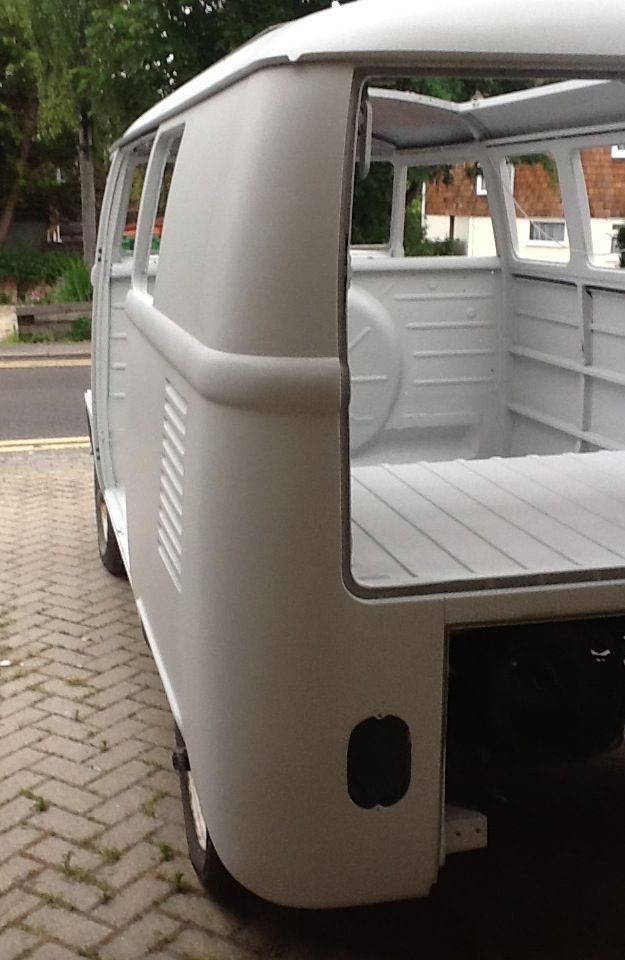
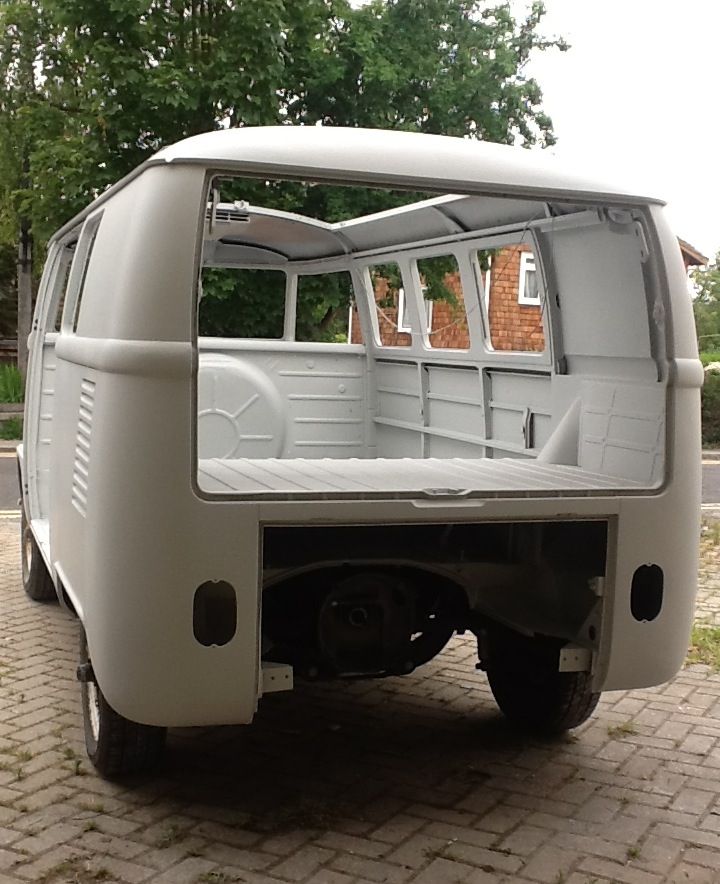
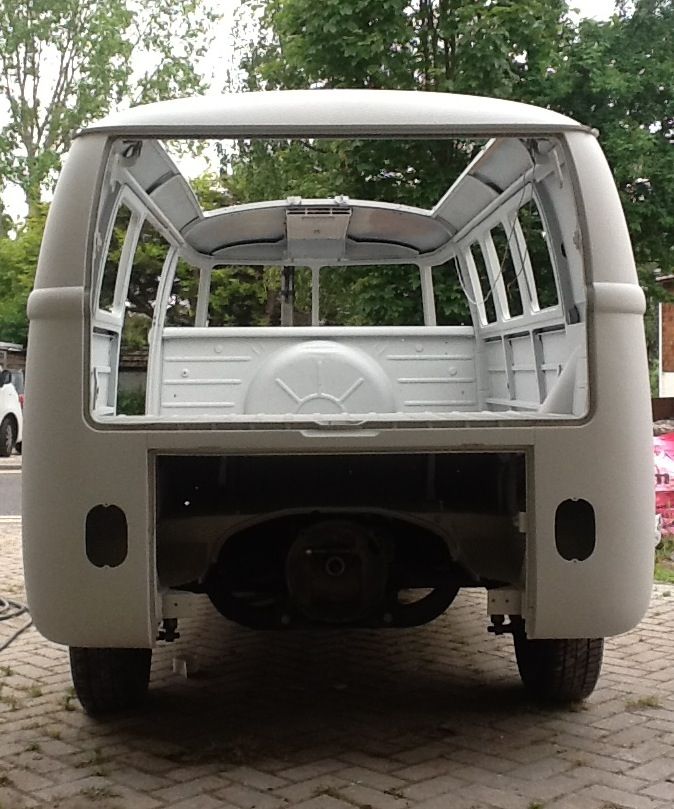
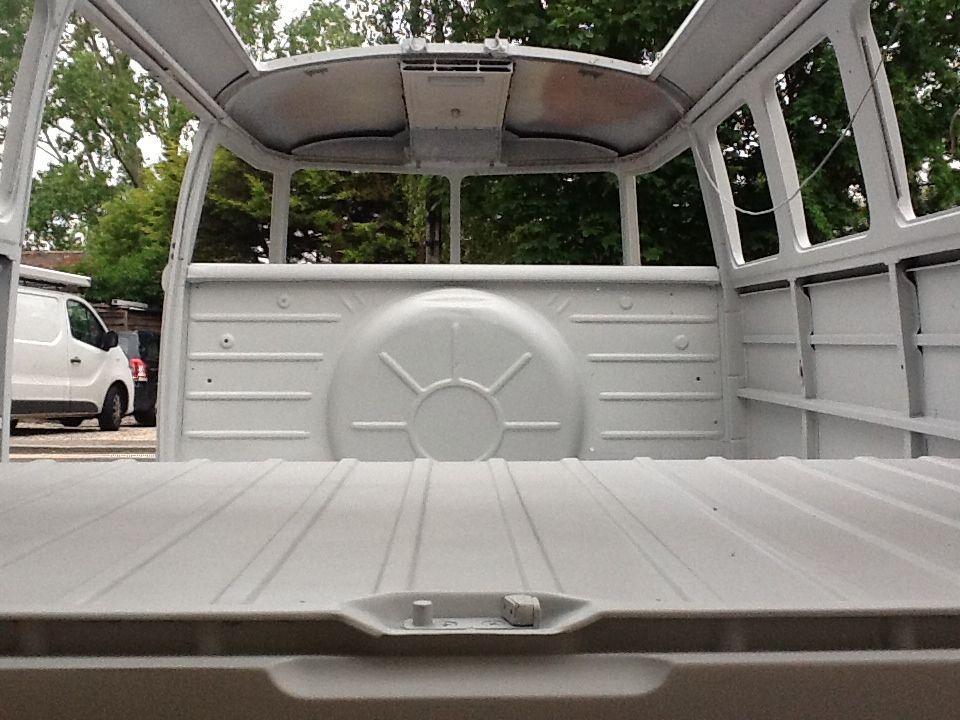
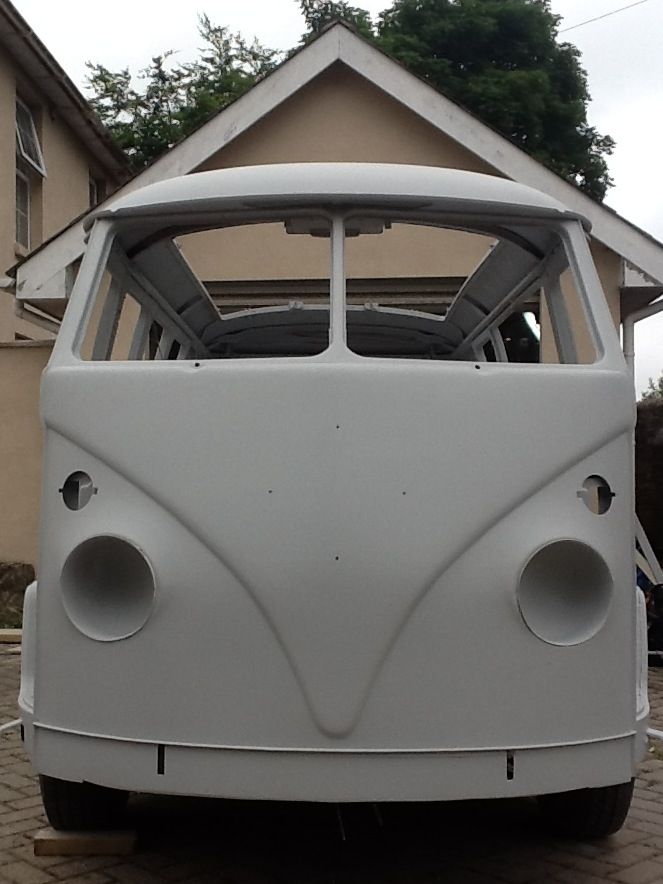
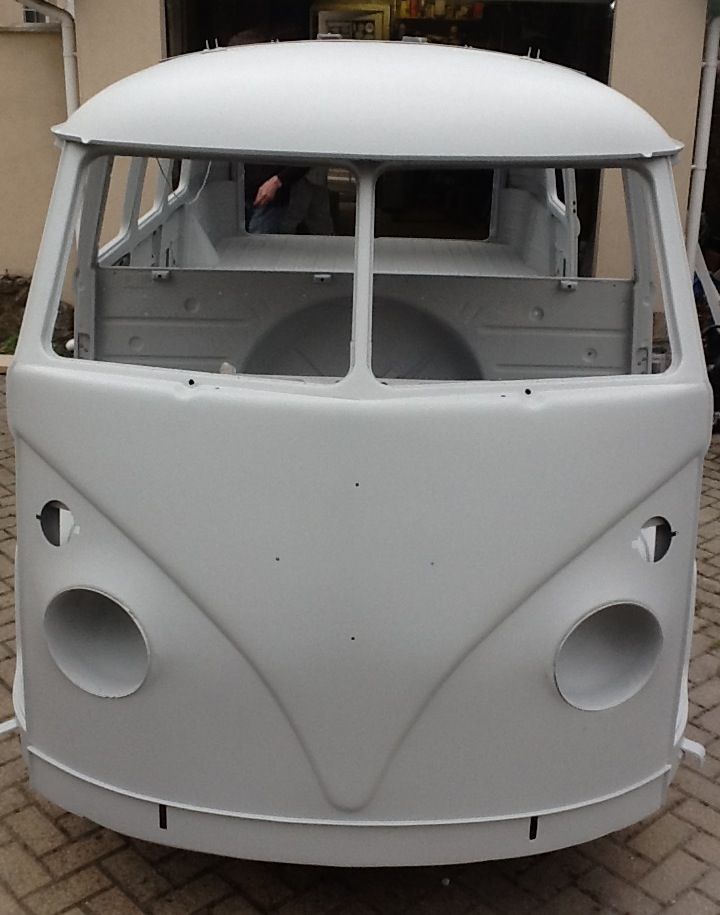
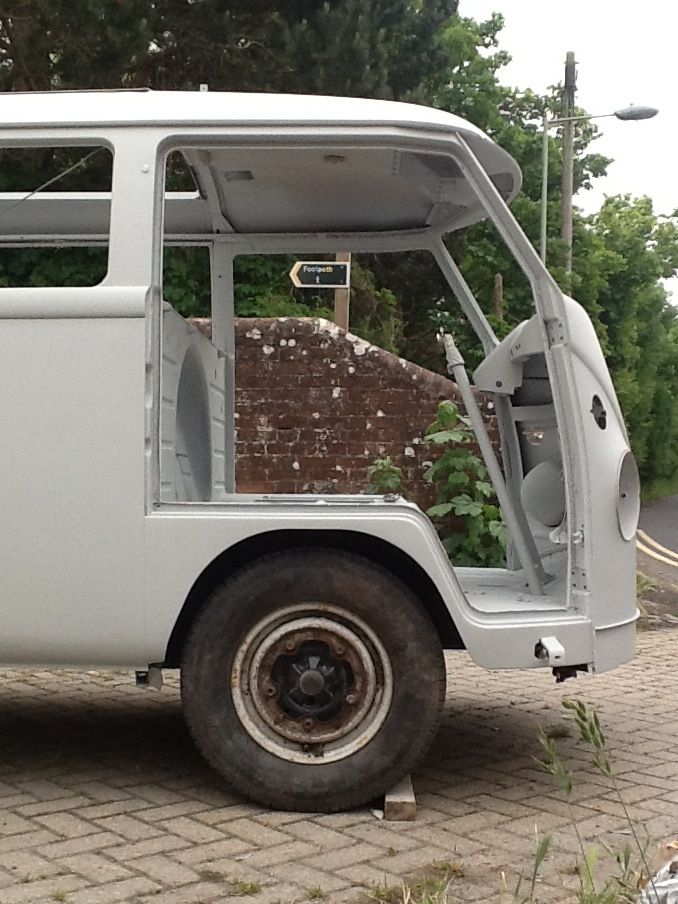
And finally..
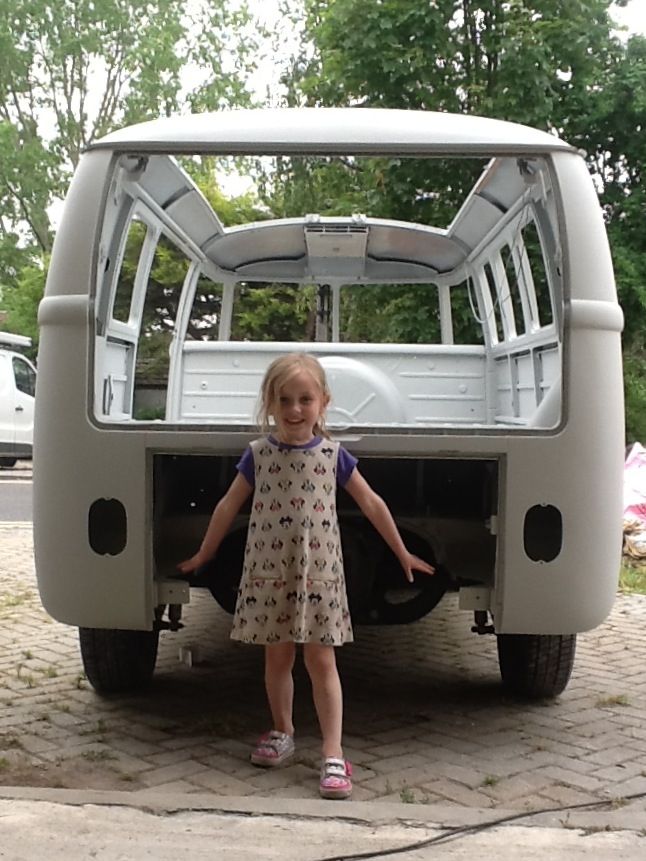
Still got all the doors and numerous little bits to prime, but blocking and final fettling of the main shell can commence not
It's going to beige grey/ sealing wax red which I believe was his original colour based on what I have found under door locks etc.
If nobody ever talks to me again after what I did to the cargo door, ill understand....
Jon
First mechanical, got all the brakes rebuilt with new everything including backing plates, new shocks, etc etc, made a 600 quid dent in my bank balence!


Next, purists look away now...cargo door.
I have known for sometime now, but kept it from this learned forum out of embarrassment that when I put the b and c post lowers in, for some reason, inexperience, I ended up with the width of the bottom of the cargo door apature 3mm shorter than the top of the opening, I suspect the b post closed I. When I welded it, as the c post position is governed by the width of the new side panel I fitted.
Anyway as a result the cargo doors touched at the bottom and I have been avoiding addressing this problem for about a year, but as paint approached, I had to sort it. After much thinking, I had a brainwave. I used a 3 mm grinding disc to cut just behind the folded lip for about 8 inches, then switched to a 1 mm disc for about 12 inches. Then with that metal removed, I closed the cut on itself, in effect giving a small but not noticeable taper on the width of the bottom of the door...and hey presto....


Not perfect but as good as an amateur such as myself can do. I still have to repair the bottom of this door, panels on order. The other cargo door is mint.
So while all this has been going on, joe the body guy has been prepping and today was the big day....primer......
Ill let the pictures do the talking...

My little bean sprout has been helping ..


And finally..


And finally..

Still got all the doors and numerous little bits to prime, but blocking and final fettling of the main shell can commence not
It's going to beige grey/ sealing wax red which I believe was his original colour based on what I have found under door locks etc.
If nobody ever talks to me again after what I did to the cargo door, ill understand....
Jon
jonthebuilder
Registered user
Posts: 349
Joined: Thu Aug 12, 2010 7:00 pm
Re: Noah my new 65 Canterbury Pitt project
by rusty1962 » Sun Jun 14, 2015 7:34 pm
Wow Jon. That's looking great

I nearly had the same problem with the cargo door aperture and I think it must be an inexperience thing
 I couldn't get my cargo door sill to fit the gap. I think that perhaps when these buses sit neglected for so long they "move" a bit as bits give way. I was able to jack mine out and get the sill in but still have a little problem with the gaps.
Your repair looks fine. No one will notice
Steve
ps. Gave you a mention on my thread
I nearly had the same problem with the cargo door aperture and I think it must be an inexperience thing
Your repair looks fine. No one will notice
Steve
ps. Gave you a mention on my thread
rusty1962

SSVC Member
Posts: 1549
Joined: Wed Sep 11, 2013 10:35 pm
Re: Noah my new 65 Canterbury Pitt project
by wejjy » Sun Jun 14, 2015 9:36 pm
Awesome work mate, us lot can stick together with our wonky door gaps ay!!! Think its just one of those things, and at the end of the day, we are saving buses!
The bus looks amazing in primer, bet you are really happy! Onto blocking away now and it will soon be build up time, I really need to get on with mine!!
The bus looks amazing in primer, bet you are really happy! Onto blocking away now and it will soon be build up time, I really need to get on with mine!!
wejjy
Registered user
Posts: 1190
Joined: Sun Jun 05, 2005 8:40 am
Re: Noah my new 65 Canterbury Pitt project
by funky » Mon Jun 15, 2015 6:05 am
funky

Registered user
Posts: 128
Joined: Wed Oct 12, 2005 4:59 pm
Re: Noah my new 65 Canterbury Pitt project
by jonthebuilder » Sun Jun 21, 2015 8:45 pm
blocking.....Blocking...Blocking.....
..tonight I have mostly been.....Blocking
If I ever go for a career change, two jobs I don't want...
...a blocker,
...and a fudge packer.....
Bodywork guy doing all the outside, I'm doing all the internals. 3 hours to do the rear parcel shelf and tailgate surround.
I won't insult your intelligence by posting any pictures, it's that dull....
Tomorrow I might do some blocking.......
jonthebuilder
Registered user
Posts: 349
Joined: Thu Aug 12, 2010 7:00 pm
Re: Noah my new 65 Canterbury Pitt project
by rusty1962 » Sun Jun 21, 2015 9:36 pm
Block on Jonny

rusty1962

SSVC Member
Posts: 1549
Joined: Wed Sep 11, 2013 10:35 pm
Re: Noah my new 65 Canterbury Pitt project
by e m p i » Mon Jun 29, 2015 8:16 pm
rusty1962 wrote:Block on Jonny
Good work there jonny. Don't look at my cargo doors whatever you do
Cheers, Lee.
e m p i
Registered user
Posts: 4548
Joined: Fri Jan 28, 2005 3:51 pm
Re: Noah my new 65 Canterbury Pitt project
by OP » Wed Jul 01, 2015 2:45 pm
Some great work mate, can't wait to see him again in the metal when finished. Are you putting the pop top back on?
OP

SSVC Member
Posts: 1958
Joined: Thu Apr 17, 2003 7:33 am
Re: Noah my new 65 Canterbury Pitt project
by jonthebuilder » Thu Jul 02, 2015 8:56 pm
OP wrote:Some great work mate, can't wait to see him again in the metal when finished. Are you putting the pop top back on?
Sure am, once I've removed all the flaky paint from it and reprinted it.
The inside is now in beige grey, just waiting for the sealing wax red to be mixed then it's outside paint time!....he's not far for being released from hospital.....
jonthebuilder
Registered user
Posts: 349
Joined: Thu Aug 12, 2010 7:00 pm
Re: Noah my new 65 Canterbury Pitt project
by rusty1962 » Thu Jul 02, 2015 10:00 pm
jonthebuilder wrote:OP wrote:Some great work mate, can't wait to see him again in the metal when finished. Are you putting the pop top back on?
Sure am, once I've removed all the flaky paint from it and reprinted it.
The inside is now in beige grey, just waiting for the sealing wax red to be mixed then it's outside paint time!....he's not far for being released from hospital.....
Any photos.......?
rusty1962

SSVC Member
Posts: 1549
Joined: Wed Sep 11, 2013 10:35 pm
Re: Noah my new 65 Canterbury Pitt project
by OP » Fri Jul 03, 2015 9:25 am
jonthebuilder wrote:OP wrote:Some great work mate, can't wait to see him again in the metal when finished. Are you putting the pop top back on?
Sure am, once I've removed all the flaky paint from it and reprinted it.
The inside is now in beige grey, just waiting for the sealing wax red to be mixed then it's outside paint time!....he's not far for being released from hospital.....
Glad you went for the original *I think it was the OG paint) colour mate
The pop top was well roomy, miss that with my tintop.
OP

SSVC Member
Posts: 1958
Joined: Thu Apr 17, 2003 7:33 am
Re: Noah my new 65 Canterbury Pitt project
by jonthebuilder » Fri Jul 03, 2015 8:25 pm
Sealing wax red was def the original colour, I've looked in various nooks and crannies and found evidence of it.
Anyway, as I mentioned earlier, the inside is now painted beige grey, a few hoots, sorry that they are not great, but light was fading.....
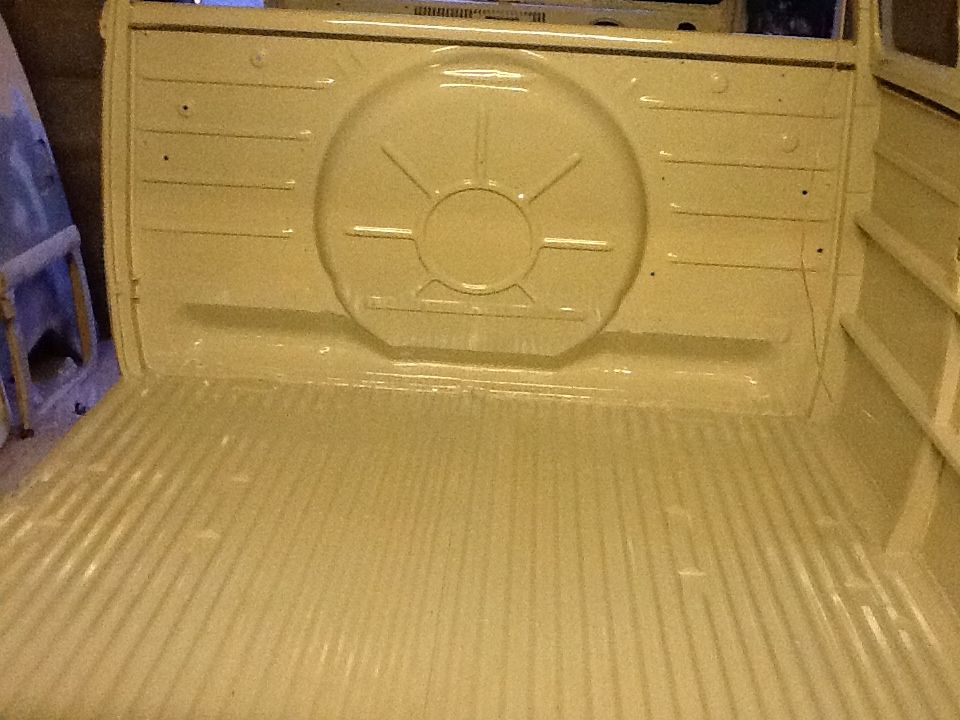
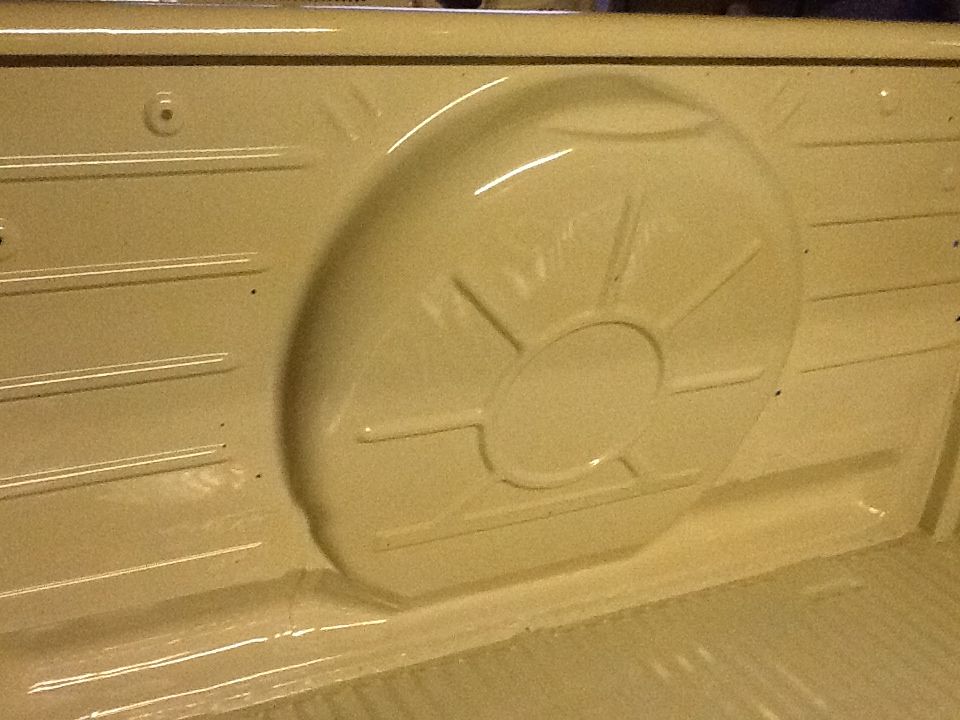
Well happy with how the dashboard turned out as bearing in mind I grafted in the entire radio section from another bus...
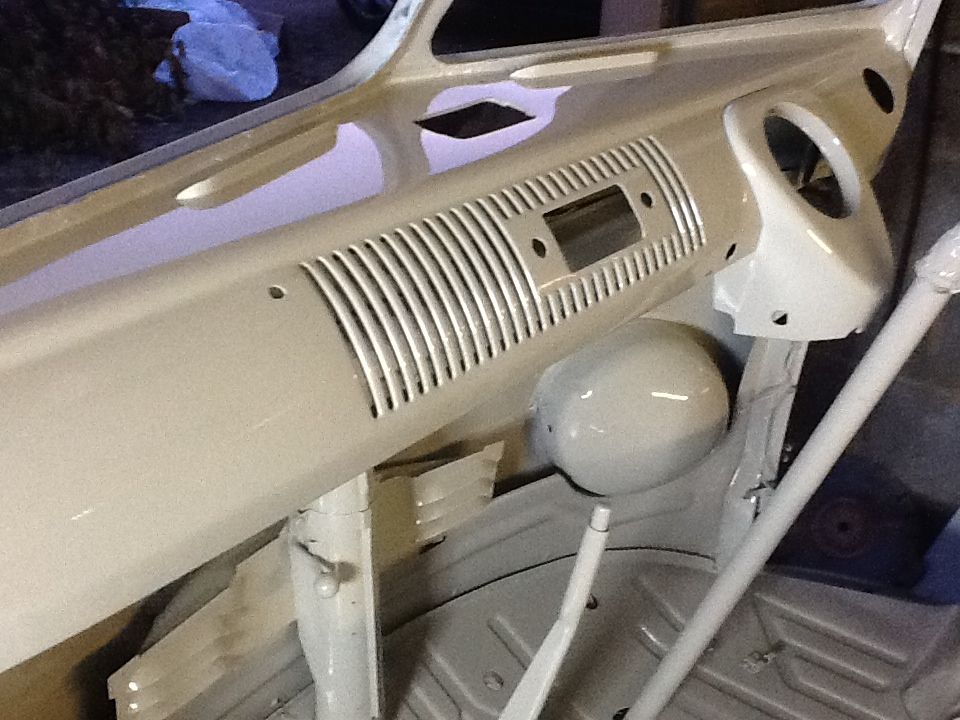
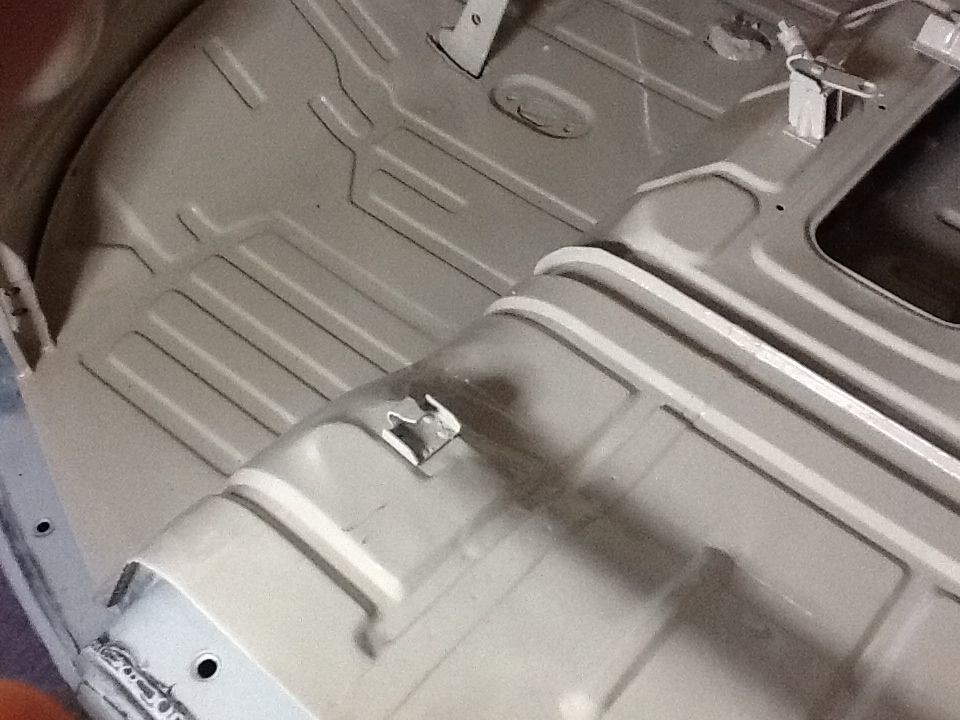
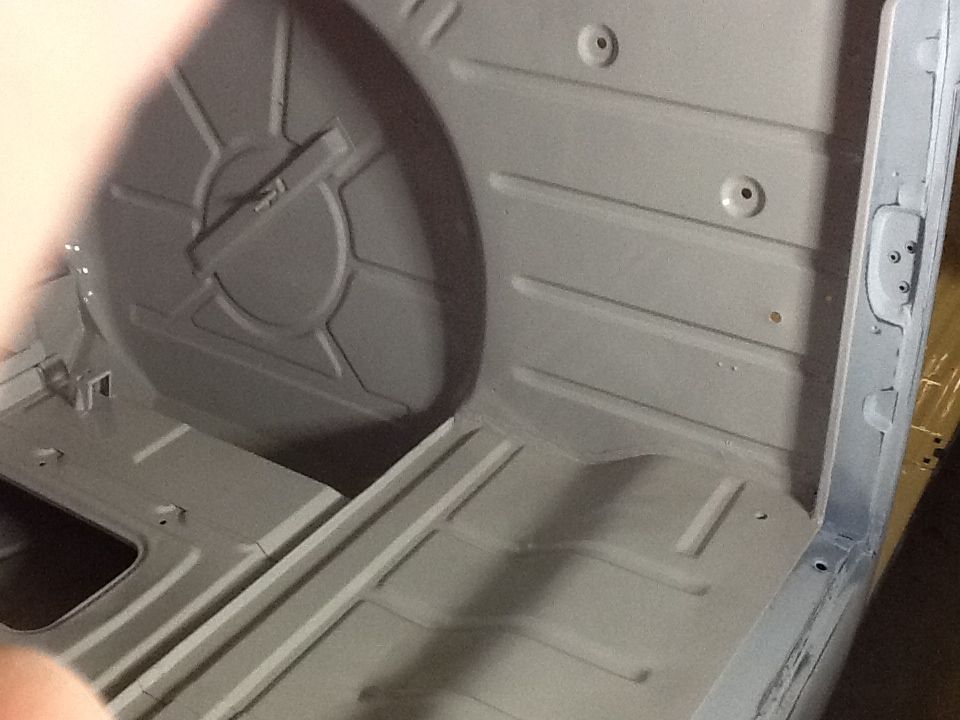
The first two pictures make the paint look more beige than it is and the dash photos look more like the actual colour.
I would have had the engine bay done in sealing wax red, but the supplier of the beige grey said they cannot get hold of the pigments for sealing wax red, so they tried to copy the colour from the petrol flap, but it was far too red.
So I went to another place recommended and hey presto they mixed some up, and I rekon it's a good match....bearing in mind the original colour on the petrol flap was very lifeless and faded...
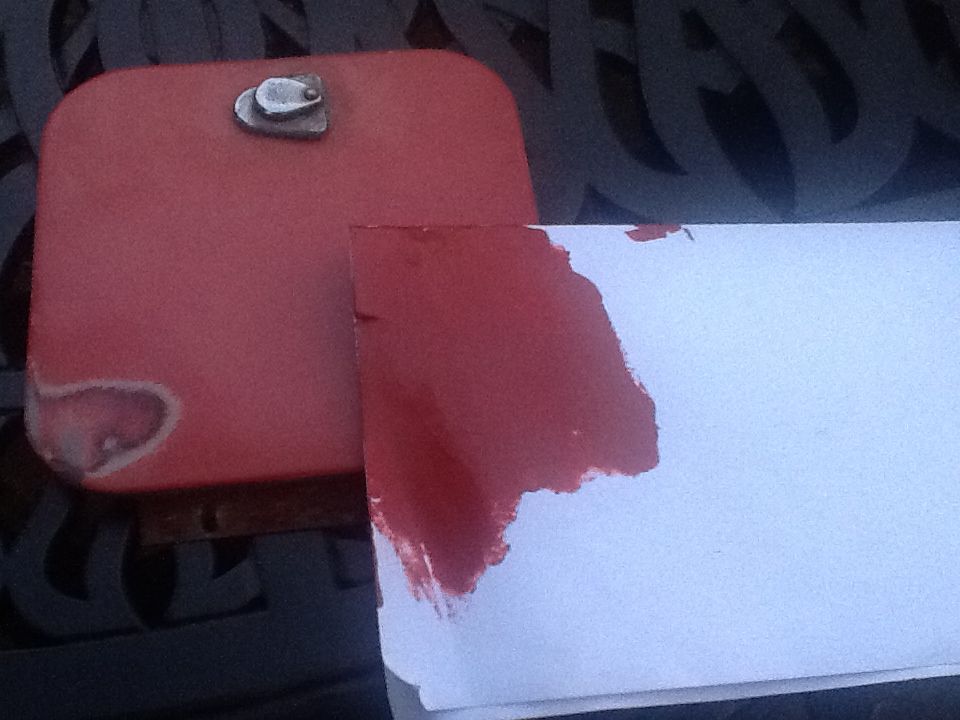
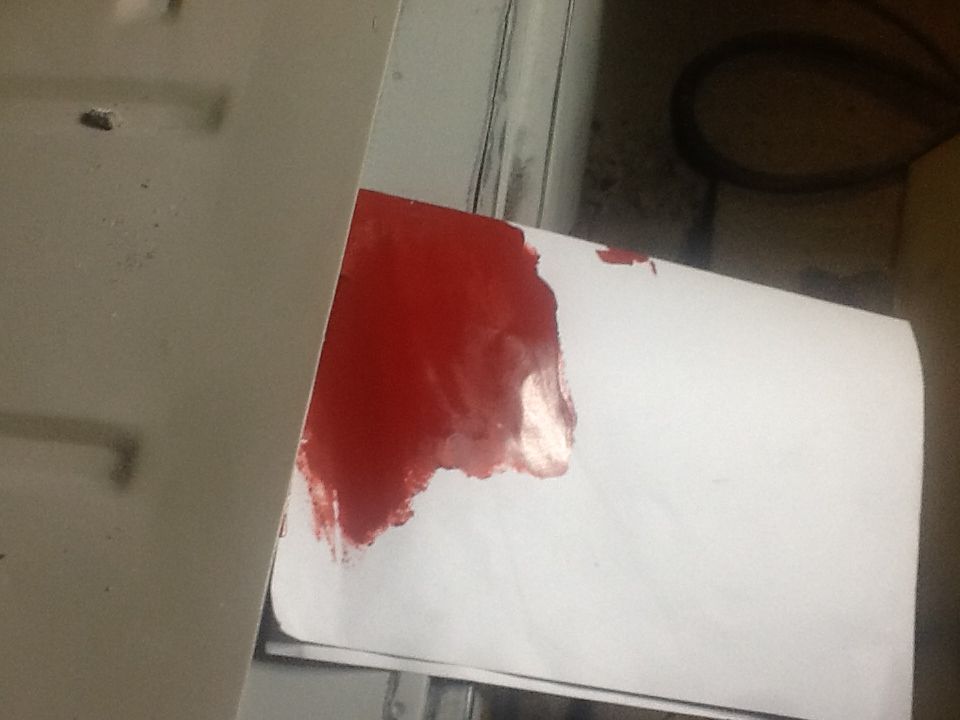
And finally the red contrasted against the beige grey...
So hopefully next week we will have the body painted. It's going over to my fencing suppliers warehouse, where his son, a vw nut has built a homemade spray booth within the fencing warehouse, with heater and dust extraction...for me to use free of charge! He will let my body guy work there.. Good to have friends in high places, although I've got to fix his boiler free as payback!
Anyway, I'm off to try and pull apart my rusty window top frames!
Jon
Anyway, as I mentioned earlier, the inside is now painted beige grey, a few hoots, sorry that they are not great, but light was fading.....


Well happy with how the dashboard turned out as bearing in mind I grafted in the entire radio section from another bus...


The first two pictures make the paint look more beige than it is and the dash photos look more like the actual colour.
I would have had the engine bay done in sealing wax red, but the supplier of the beige grey said they cannot get hold of the pigments for sealing wax red, so they tried to copy the colour from the petrol flap, but it was far too red.
So I went to another place recommended and hey presto they mixed some up, and I rekon it's a good match....bearing in mind the original colour on the petrol flap was very lifeless and faded...

And finally the red contrasted against the beige grey...

So hopefully next week we will have the body painted. It's going over to my fencing suppliers warehouse, where his son, a vw nut has built a homemade spray booth within the fencing warehouse, with heater and dust extraction...for me to use free of charge! He will let my body guy work there.. Good to have friends in high places, although I've got to fix his boiler free as payback!
Anyway, I'm off to try and pull apart my rusty window top frames!
Jon
jonthebuilder
Registered user
Posts: 349
Joined: Thu Aug 12, 2010 7:00 pm
Re: Noah my new 65 Canterbury Pitt project
by Rick T » Fri Jul 03, 2015 8:39 pm
Hi Jon
I noticed on your cargo floor that the plate for the cargo door locks is the same as mine, should it have something inside to stop the doors rattling when locked? Just wondered if you had something to put in and let me know what it is
Cheers
Rick
I noticed on your cargo floor that the plate for the cargo door locks is the same as mine, should it have something inside to stop the doors rattling when locked? Just wondered if you had something to put in and let me know what it is
Cheers
Rick
Rick T
Registered user
Posts: 368
Joined: Wed Mar 19, 2014 9:09 pm
Re: Noah my new 65 Canterbury Pitt project
by jonthebuilder » Fri Jul 03, 2015 8:59 pm
Rick T wrote:Hi Jon
I noticed on your cargo floor that the plate for the cargo door locks is the same as mine, should it have something inside to stop the doors rattling when locked? Just wondered if you had something to put in and let me know what it is
Cheers
Rick
Hi rick
As far as I know there is nothing else inside the plate. The locking rods are a snug fit and in any event you will find that after putting the cargo door,seals in you have to give the doors a push to shut them enough to engage the locking pins, and they are tapered so they pull the doors against the seals as you turn the handles, and thusnthismpressure when closed should stop any movement.....
Jon
jonthebuilder
Registered user
Posts: 349
Joined: Thu Aug 12, 2010 7:00 pm
Re: Noah my new 65 Canterbury Pitt project
by rusty1962 » Fri Jul 03, 2015 9:32 pm
jontthebuilder wrote: a few hoots, sorry that they are not great, but light was fading.....
We get a few hoots in the fading light, and sometimes some t'wits and t'woos
Seriously though, it's looking great. You must be very pleased
Steve
rusty1962

SSVC Member
Posts: 1549
Joined: Wed Sep 11, 2013 10:35 pm
