You are viewing the Split Screen Van Club forum archive.
The forum archive is read-only.Unfortunately in 2021 the Split Screen Van Club forum suffered a ransomware attack and lots of the forum data was lost.
What threads that have been recovered are now searchable on this site. Some threads may be incomplete and some images are still being recovered.
Forum archive search
Rusty, our 1962 11 window bus, resto now in year two……er, three...
Re: Rusty, our 1962 11 window bus, resto now in year two……er, three...
by rusty1962 » Fri Mar 18, 2016 7:18 pm
Yes, but at the moment my hazards only flash with keys in.
I think I have the wrong sort of flasher relay…….
I'll get there
I think I have the wrong sort of flasher relay…….
I'll get there
rusty1962

SSVC Member
Posts: 2590
Joined: Wed Sep 11, 2013 10:35 pm
Re: Rusty, our 1962 11 window bus, resto now in year two……er, three...
by type21f » Fri Mar 18, 2016 7:20 pm
Yep..
Simples as says markp
G
Simples as says markp
G
type21f
SSVC Member
Posts: 10322
Joined: Tue May 29, 2007 12:55 pm
Re: Rusty, our 1962 11 window bus, resto now in year two……er, three...
by type21f » Fri Mar 18, 2016 7:23 pm
Fed with permanent live?
Switch cutting return or earth?
Mmmmmmnnnn
Switch cutting return or earth?
Mmmmmmnnnn
type21f

SSVC Member
Posts: 10322
Joined: Tue May 29, 2007 12:55 pm
Re: Rusty, our 1962 11 window bus, resto now in year two……er, three...
by markp » Fri Mar 18, 2016 8:23 pm
well done with your perseverance mate
Rusty is getting there .... his fighting back at times but he will give in to the shinny ways and things will just start going right
you see !!!!
remember to dab some seam seamer on the back of all the front badge fixings ... thus stopping any water getting in .... better safe than sorry
well done and keep going
Mark
markp
SSVC Member
Posts: 4688
Joined: Wed Jul 20, 2011 9:56 pm
Re: Rusty, our 1962 11 window bus, resto now in year two……er, three...
by readyboy61 » Fri Mar 18, 2016 9:20 pm
i just keep a pair of these in the bus
http://www.autosessive.com/products/994 ... o_s=gplauk

readyboy61
SSVC Member
Posts: 2640
Joined: Sat Jan 26, 2008 8:36 pm
Re: Rusty, our 1962 11 window bus, resto now in year two……er, three...
by rusty1962 » Fri Mar 18, 2016 9:53 pm
markp wrote:well done with your perseverance mate
Rusty is getting there .... his fighting back at times but he will give in to the shinny ways and things will just start going right
you see !!!!
remember to dab some seam seamer on the back of all the front badge fixings ... thus stopping any water getting in .... better safe than sorry
well done and keep going
Mark
Yup, seam sealer already done
rusty1962

SSVC Member
Posts: 2590
Joined: Wed Sep 11, 2013 10:35 pm
Re: Rusty, our 1962 11 window bus, resto now in year two……er, three...
by rusty1962 » Sat Mar 19, 2016 10:25 pm
My delivery arrived from the States yesterday. It's no wonder the postage was so expensive


and the box was filled with "quavers" so they didn't get damaged
Today started with me, full of good intention, determined to achieve something. That was before I discovered that the terminals I'd ordered were a bit small
This LED light arrived as a test - I may use them in the back of the bus but i thought I'd try one first for the engine bay
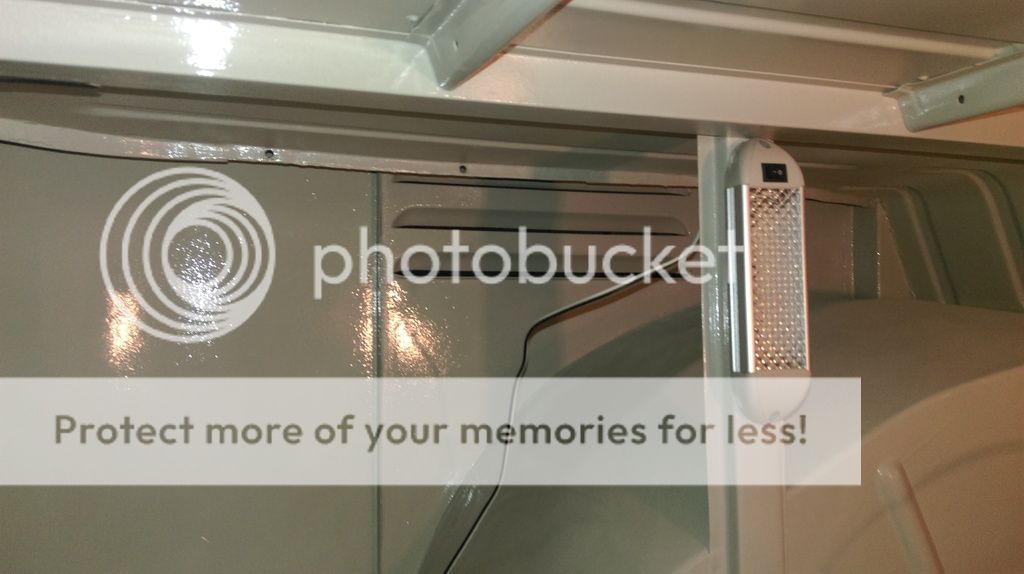
It seems good, very bright. Whilst I was in the cave someone tapped on the garage door. My leisure battery had arrived. Well worth £1 extra for Saturday delivery
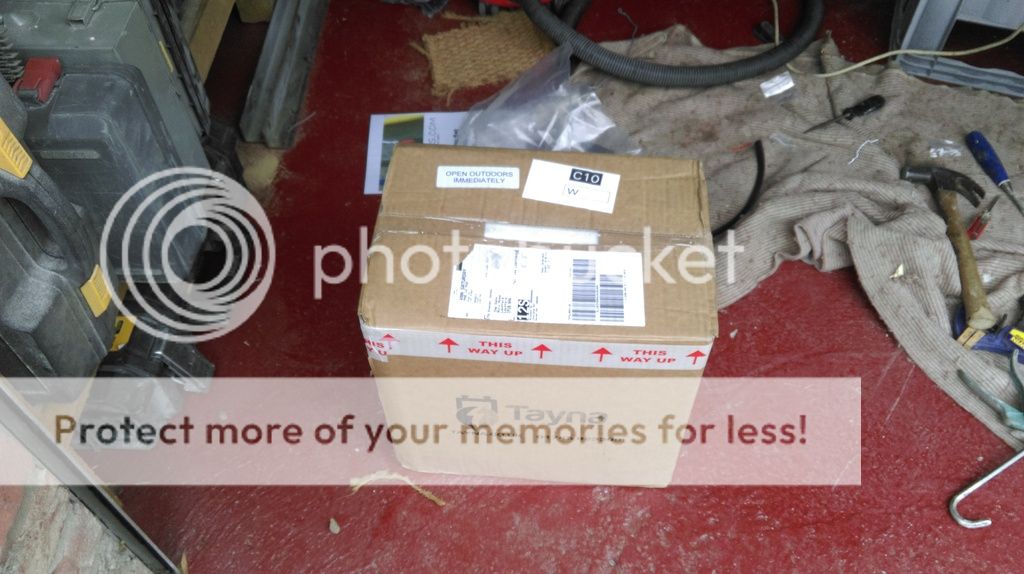
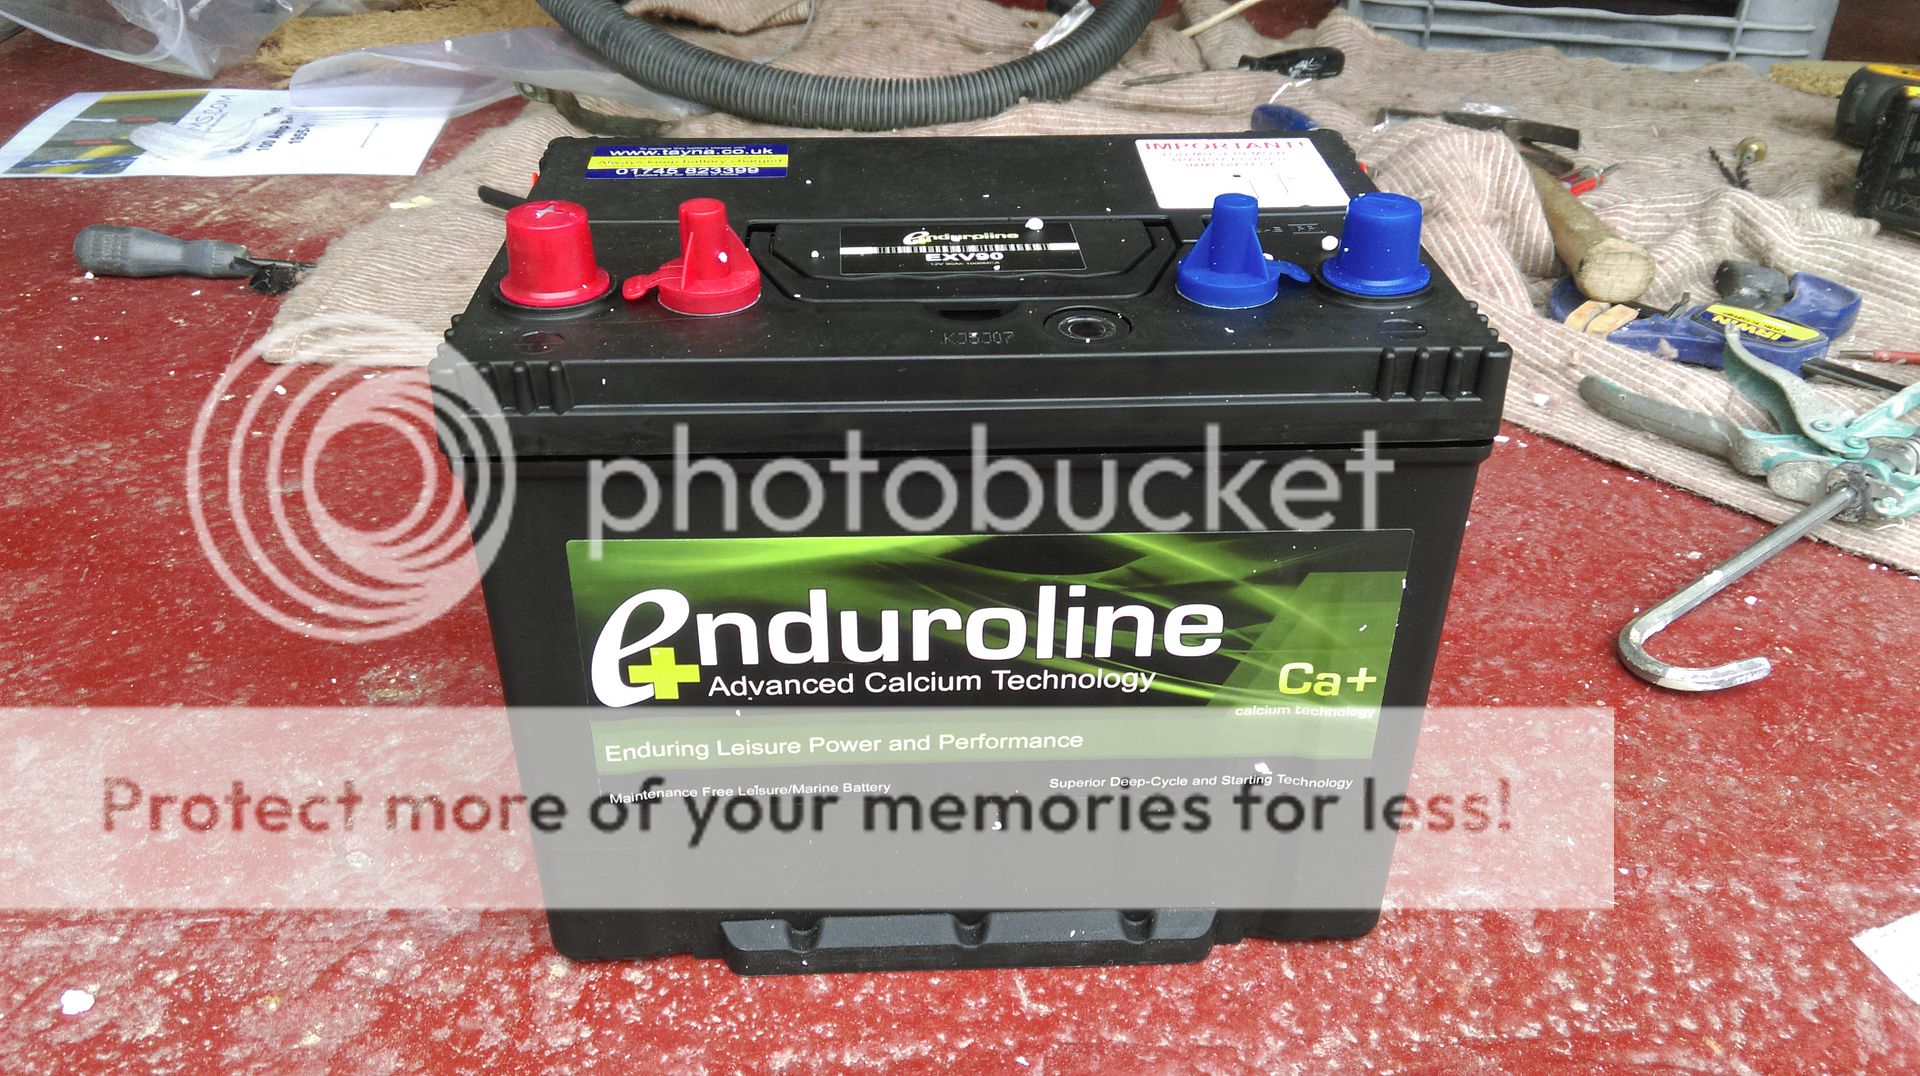
Basically, after doing a very little bit of research, there seems to be two sizes of leisure battery. Big or small……. with the big being 100Ah or more and the small being 70Ah to 80Ah. However, on measuring up, the big is a bit too big for the space I have in the corner, so small it had to be. This was a "star buy" with Tanya….(she hasn't arrived yet
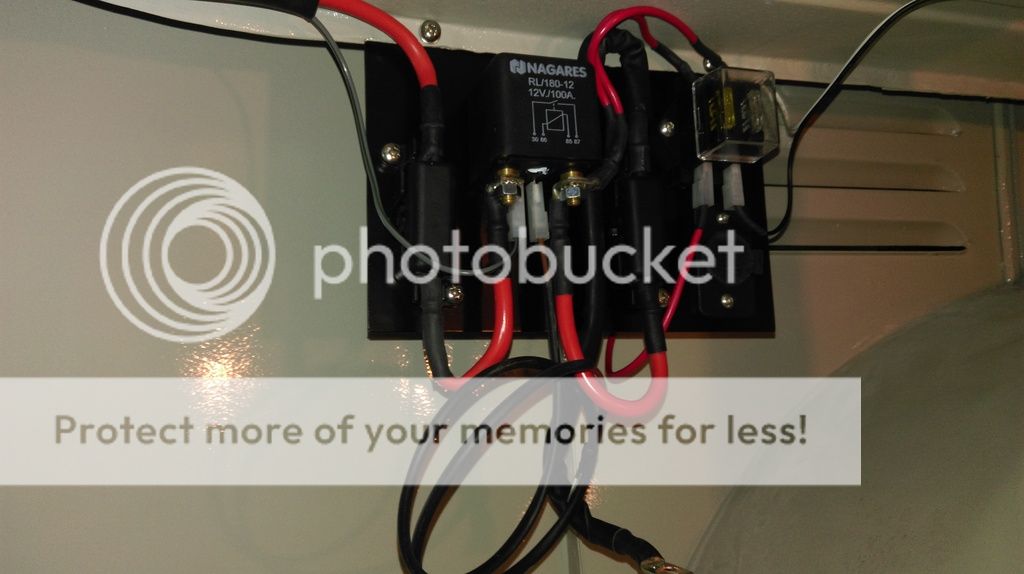
Before I went out to Screwfix to get the terminals I needed to compete the split charge relay, I sprayed the mounting plate, satin black. Quicker than powder coat as I wanted to get on. It''s come up ok and was useable by the time I got back

I have spent most of today doing this job but it had to be done and I've completed it now
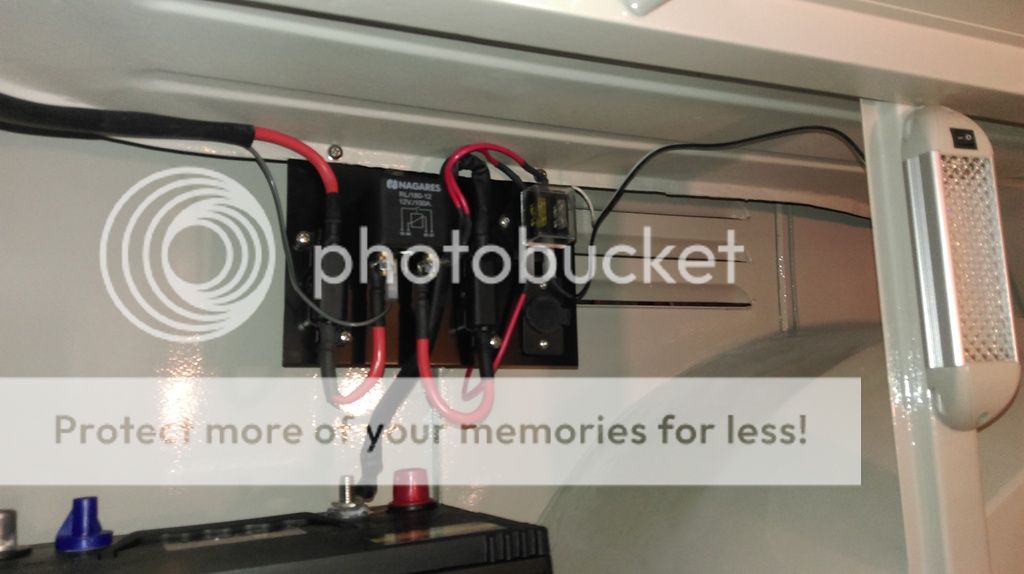
It's got both the fuses for the split charge system, a 12v outlet and a small fusebox for the outlet and the engine bay light and anything else that I think of in the future
I finished off by thinking about the battery clamp. The straps are expensive and don't necessarily fit all battery sizes so I've bought two of these clamps from Autocraft for the more modern style of fitting, which sorts out one side but I needed to come up with something neat for the other side….
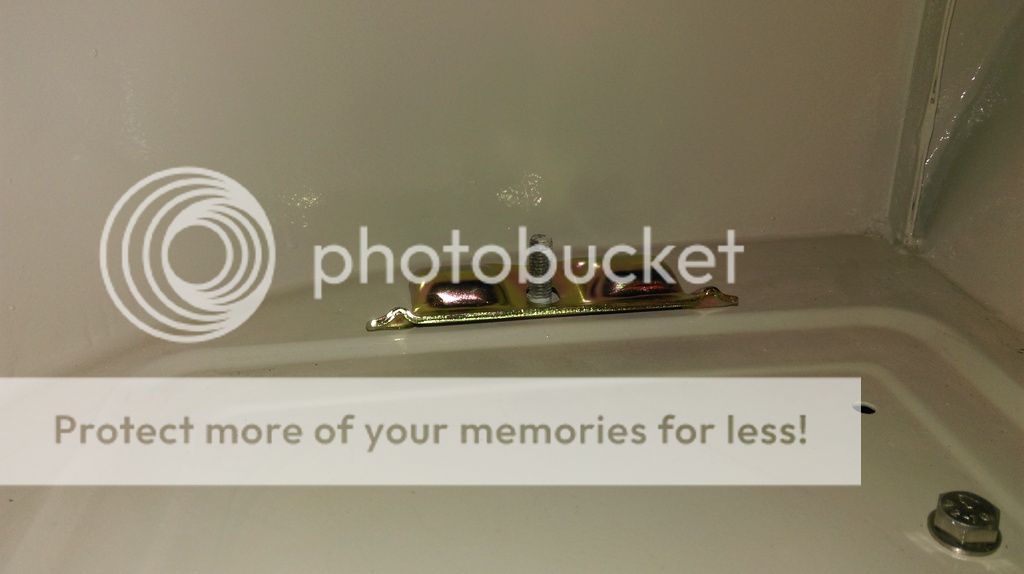
I've realised that the oil cooler mount will snag on the battery base ( was hoping that the battery would be big enough to cover the indent but it fits very well, so I'll put a packing plate underneath)

I drilled a 8mm hole here on both sides

cut a little bit of 6mm steel
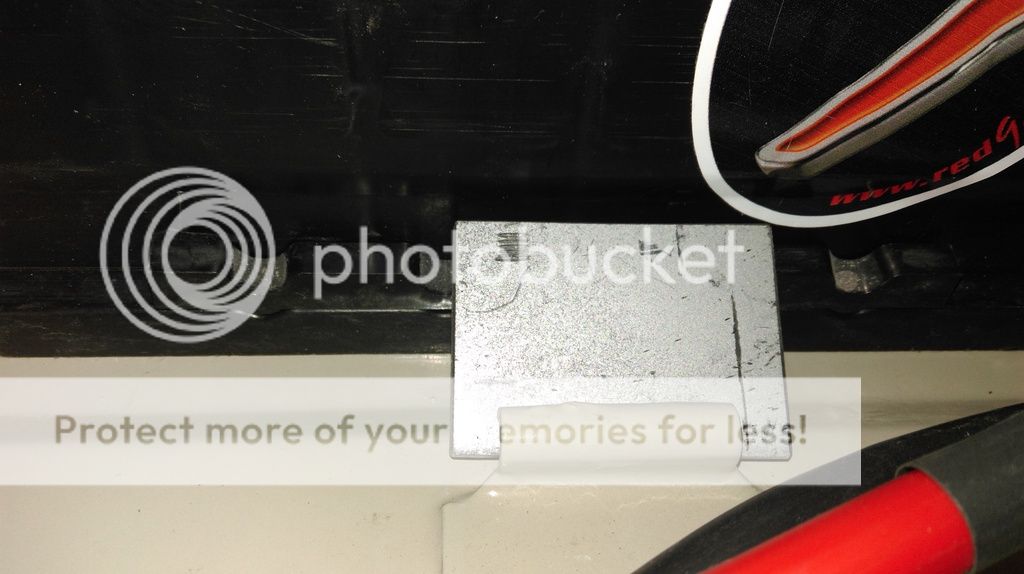
and drilled a hole at a bit of an angle

and that seems to do the trick

I'll make the second one and paint up tomorrow.
That's me for today
Cheers
Steve
rusty1962

SSVC Member
Posts: 2590
Joined: Wed Sep 11, 2013 10:35 pm
Re: Rusty, our 1962 11 window bus, resto now in year two……er, three...
by markp » Sun Mar 20, 2016 6:21 pm
rusty1962 wrote:markp wrote:well done with your perseverance mate
Rusty is getting there .... his fighting back at times but he will give in to the shinny ways and things will just start going right
you see !!!!
remember to dab some seam seamer on the back of all the front badge fixings ... thus stopping any water getting in .... better safe than sorry
well done and keep going
Mark
Yup, seam sealer already done
Good man ... expected nothing less
Mark
markp
SSVC Member
Posts: 4688
Joined: Wed Jul 20, 2011 9:56 pm
Re: Rusty, our 1962 11 window bus, resto now in year two……er, three...
by ted698 » Sun Mar 20, 2016 6:50 pm
Very neat Steve as always! Top Job.
ted698
SSVC Member
Posts: 1011
Joined: Mon May 13, 2013 6:12 pm
Re: Rusty, our 1962 11 window bus, resto now in year two……er, three...
by jonthebuilder » Sun Mar 20, 2016 8:26 pm
smarkp wrote:rusty1962 wrote:markp wrote:well done with your perseverance mate
Rusty is getting there .... his fighting back at times but he will give in to the shinny ways and things will just start going right
you see !!!!
remember to dab some seam seamer on the back of all the front badge fixings ... thus stopping any water getting in .... better safe than sorry
well done and keep going
Mark
Yup, seam sealer already done
Good man ... expected nothing less
Mark
Yep, the last thing you want is a dribble of water from the front badge interfering with the torrent of water entering via the front safaris....

jonthebuilder
Registered user
Posts: 442
Joined: Thu Aug 12, 2010 7:00 pm
Re: Rusty, our 1962 11 window bus, resto now in year two……er, three...
by rusty1962 » Sun Mar 20, 2016 9:00 pm
The safaris have been in for two weeks now and no sign of a leak yet

rusty1962

SSVC Member
Posts: 2590
Joined: Wed Sep 11, 2013 10:35 pm
Re: Rusty, our 1962 11 window bus, resto now in year two……er, three...
by readyboy61 » Sun Mar 20, 2016 9:13 pm
Just buy an orange towl for the dash, knowone will see it then

readyboy61
SSVC Member
Posts: 2640
Joined: Sat Jan 26, 2008 8:36 pm
Re: Rusty, our 1962 11 window bus, resto now in year two……er, three...
by rusty1962 » Sun Mar 20, 2016 10:57 pm
Everything seems to take ages…… or is it just me?
First job today was to fab up another battery clamp for the leisure battery, which didn't take long…… but I made the mistake of thinking the battery was the same width…….
All prepped and painted

Whilst they were drying, I had another look at the gearstick. The spacer I've bought is, I think, for converting the stock shifter to give a shorter throw. I thought it may do the job, but no…..it's not thick enough and too unstable. I packed it with some washers to get to a height where the stick seemed to move nicely. Too thin a spacer and all you do is clamp the ball to the bottom of the cup. The trouble is, I don't really know how it should be as I've never had a gearstick

I think I'll make something up, but that will have to wait as I have no suitable metal. The paint was dry now so I fitted the clamp to the starter battery. I used a bit of fishpond rubber to protect the paint and give it a good grip
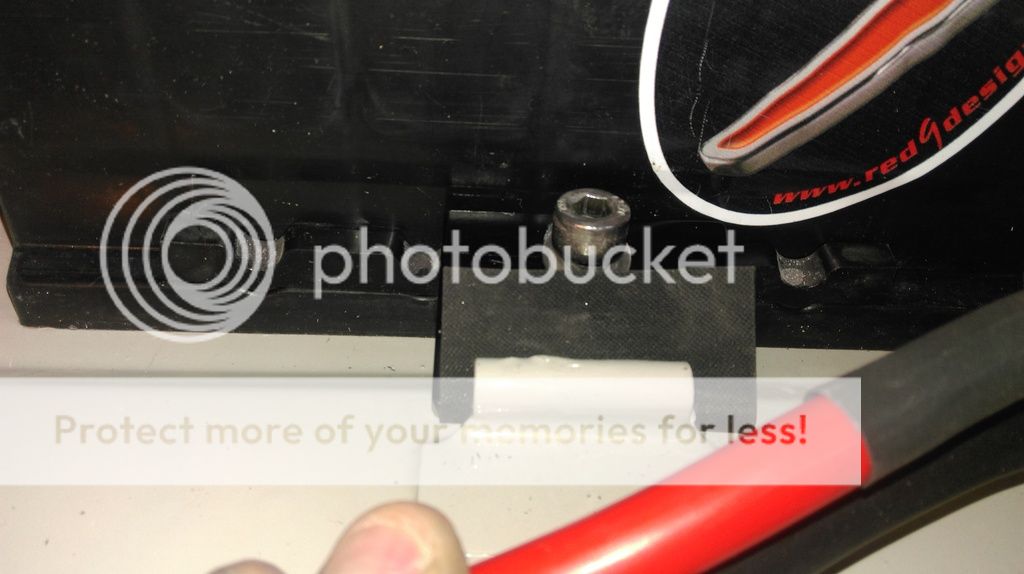
I need to make a spacer for the leisure battery to clear the oil cooler mounting bolts so I'm going to "procure" a bit of polypropylene board, or something similar, hopefully in black. Another job for this week. So what next? Door locks……
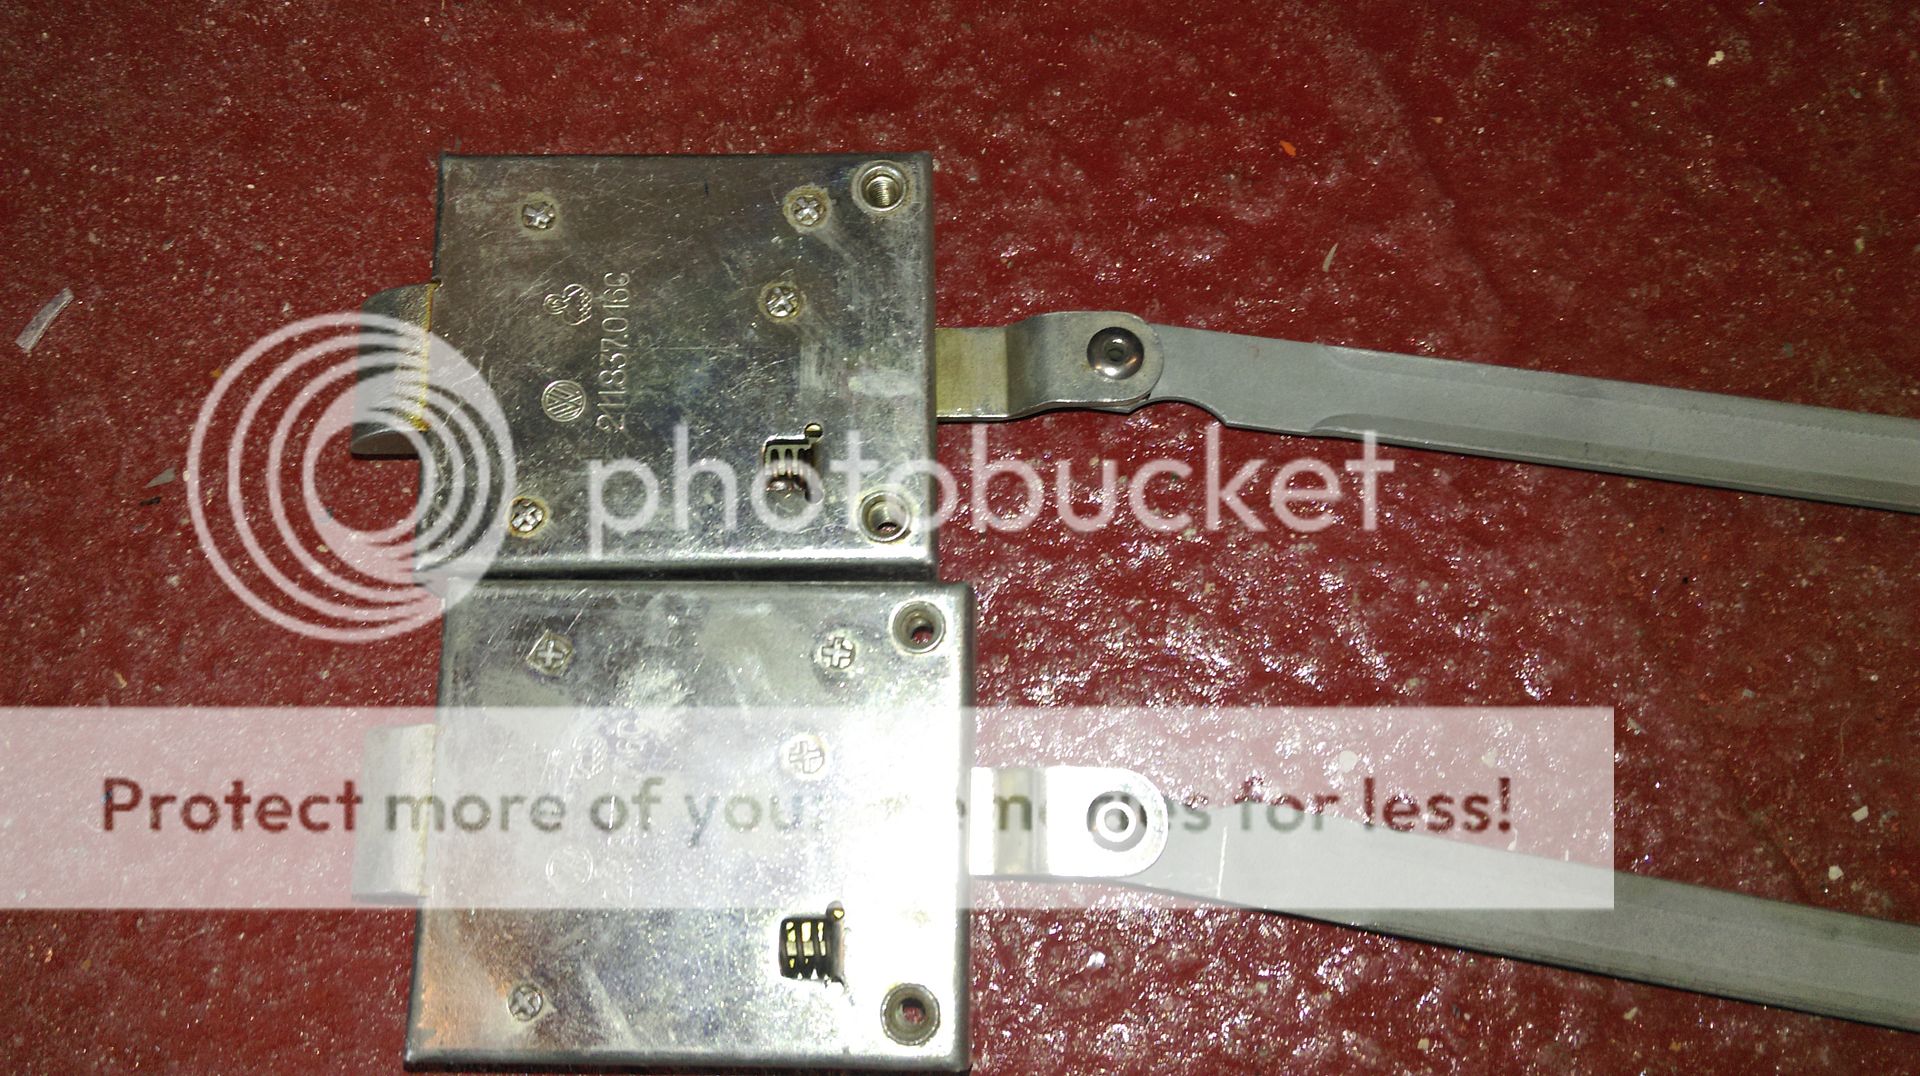
I'd bought some NOS locks some time ago. We want to be able to lock the cab doors from the inside without going outside so I've got two "passenger side" types. The actuating arms need swapping over…...

The face plates have come off the original ones but I shall repair them at some point and sell on. They're a "set." So after drilling out the rivets I'm using a couple of fairly hefty stainless steel pop rivets to rejoin them. The small riveter wasn't man enough so the "big boy" had an outing.
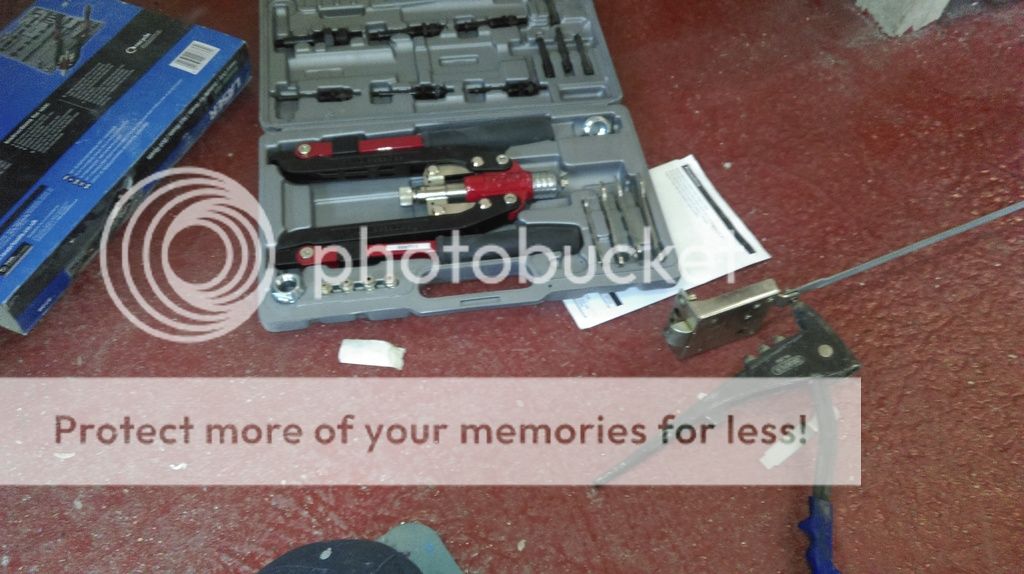
I remembered to put the wavy washers in between the mating surfaces

and the rivets did a nice neat job……which no one will ever see
Next up, door handles. I've collected lots of them over the couple of years of doing this project and will have a load of handles to sell on, once I've got myself sorted. The stash was retrieved….another box down
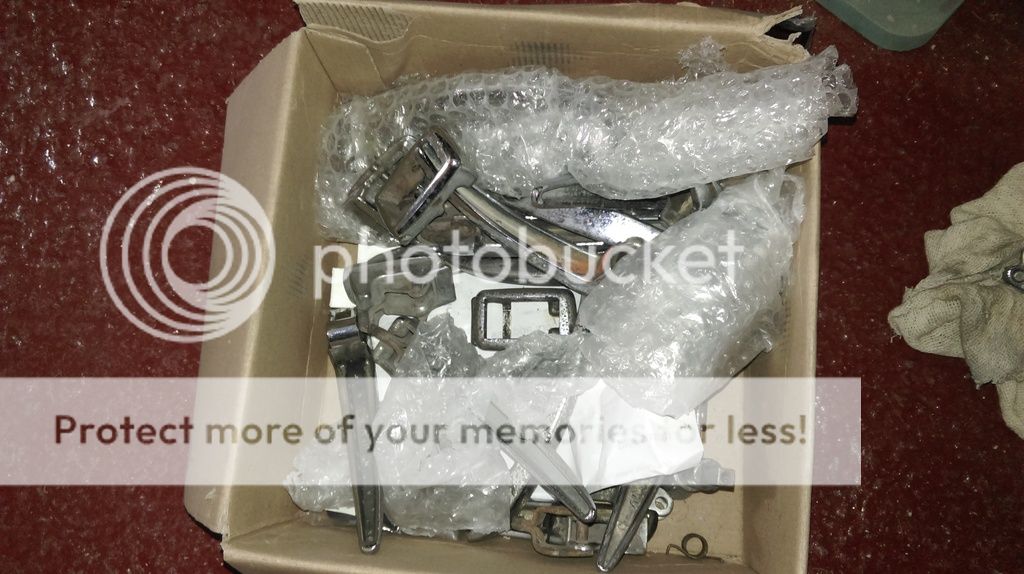
I did some work on all this when my eye op stopped play but that was a few months ago and it took a while and some head scratching to remember where I'd got to. Some of it went to plan……some didn't .
The driver's door went fairly well, once I'd worked out which types of handles and pullers and bezels fitted my door and I made up a shiny one which is of acceptable quality. Not perfect but passable

The other side is putting up a fight though so I left it for another day……………

That's all for this week then
Cheers
Steve
rusty1962

SSVC Member
Posts: 2590
Joined: Wed Sep 11, 2013 10:35 pm
Re: Rusty, our 1962 11 window bus, resto now in year two……er, three...
by readyboy61 » Mon Mar 21, 2016 10:57 pm
Steve ditch the empi shifter, get hold of a stock one and use that short throw shifter plate job done, thats what i have and with all new bushes in the rods itl be perfect. Ive had a go on an empi shifter and feels no differnt to mine.
readyboy61
SSVC Member
Posts: 2640
Joined: Sat Jan 26, 2008 8:36 pm
Re: Rusty, our 1962 11 window bus, resto now in year two……er, three...
by rusty1962 » Mon Mar 21, 2016 11:00 pm
In between the normal manic Monday business grind, I managed to get some bits today and order some more. I also got a couple of hours in on Rusty
I decided to have a nice gentle evening and to try and do things that would be straightforward and not fight back too much
I'd managed to get a bit of black 10mm polyetyhlene from a mate for the price of a pint, all cut to size for my leisure battery plinth.

Once I had marked out where the bolts were I used a Forstner bit to cut out the back of the board but not going all the way through by using a stop on my mortice and tenoner machine


A little rounding of corners and edges and I was able to fit the battery,

clamp it down and finish the wiring. A bit of grease on all the terminals to prevent corrosion

Job done

That all went swimmingly well
That all went well too

I'd also picked up yet more stainless steel bolts, countersunk and button head socket type. I've got quite a collection now! I changed those over that needed doing. Another nice little job

I had another loook at the door handle on the passenger side and worked out what was causing my problems. In doing so I noted that the driver's side actuating arm had a rubber sleeve on it but the passenger side didn't. This has to be to stop them rattling in the door retaining bit I guess, so I drilled out the rivet and redid the o/s one after putting a couple of layers of heat shrink on
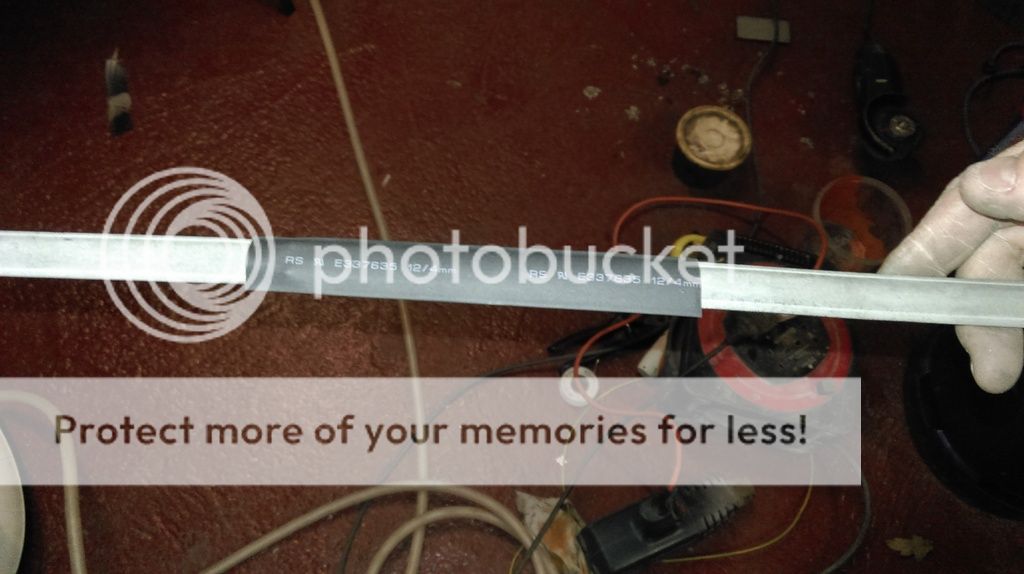
I had to fettle the lever on the lock a little but it's given up and I've beaten it. Well just about......…
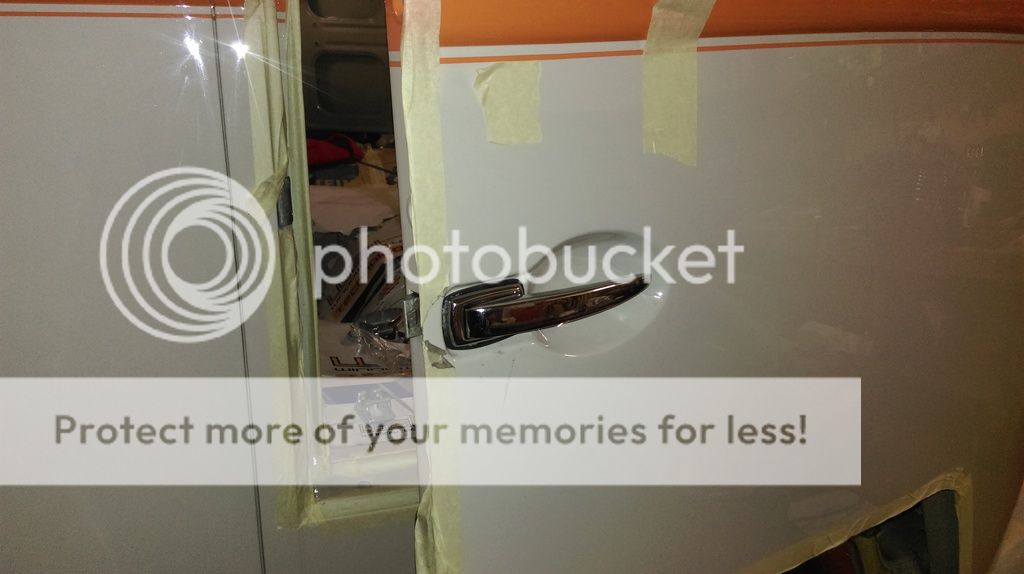
Things have gone well today so I quit whilst ahead

Cheers,
Steve
rusty1962

SSVC Member
Posts: 2590
Joined: Wed Sep 11, 2013 10:35 pm
