You are viewing the Split Screen Van Club forum archive.
The forum archive is read-only.Unfortunately in 2021 the Split Screen Van Club forum suffered a ransomware attack and lots of the forum data was lost.
What threads that have been recovered are now searchable on this site. Some threads may be incomplete and some images are still being recovered.
Forum archive search
My '67 Split Bus Resto Thread in the Philippines
Re: My '67 Split Bus Resto Thread in the Philippines
by dongkg » Tue Jul 16, 2013 4:22 pm
Thanks for welcoming me
Buddy here at ssvc. Thanks a lot!
Buddy here at ssvc. Thanks a lot!
dongkg
Registered user
Posts: 90
Joined: Tue Jul 16, 2013 7:58 am
Re: My '67 Split Bus Resto Thread in the Philippines
by dongkg » Wed Jul 17, 2013 7:46 am
(Note: Taken sometime in the middle of April 2013)
Update:
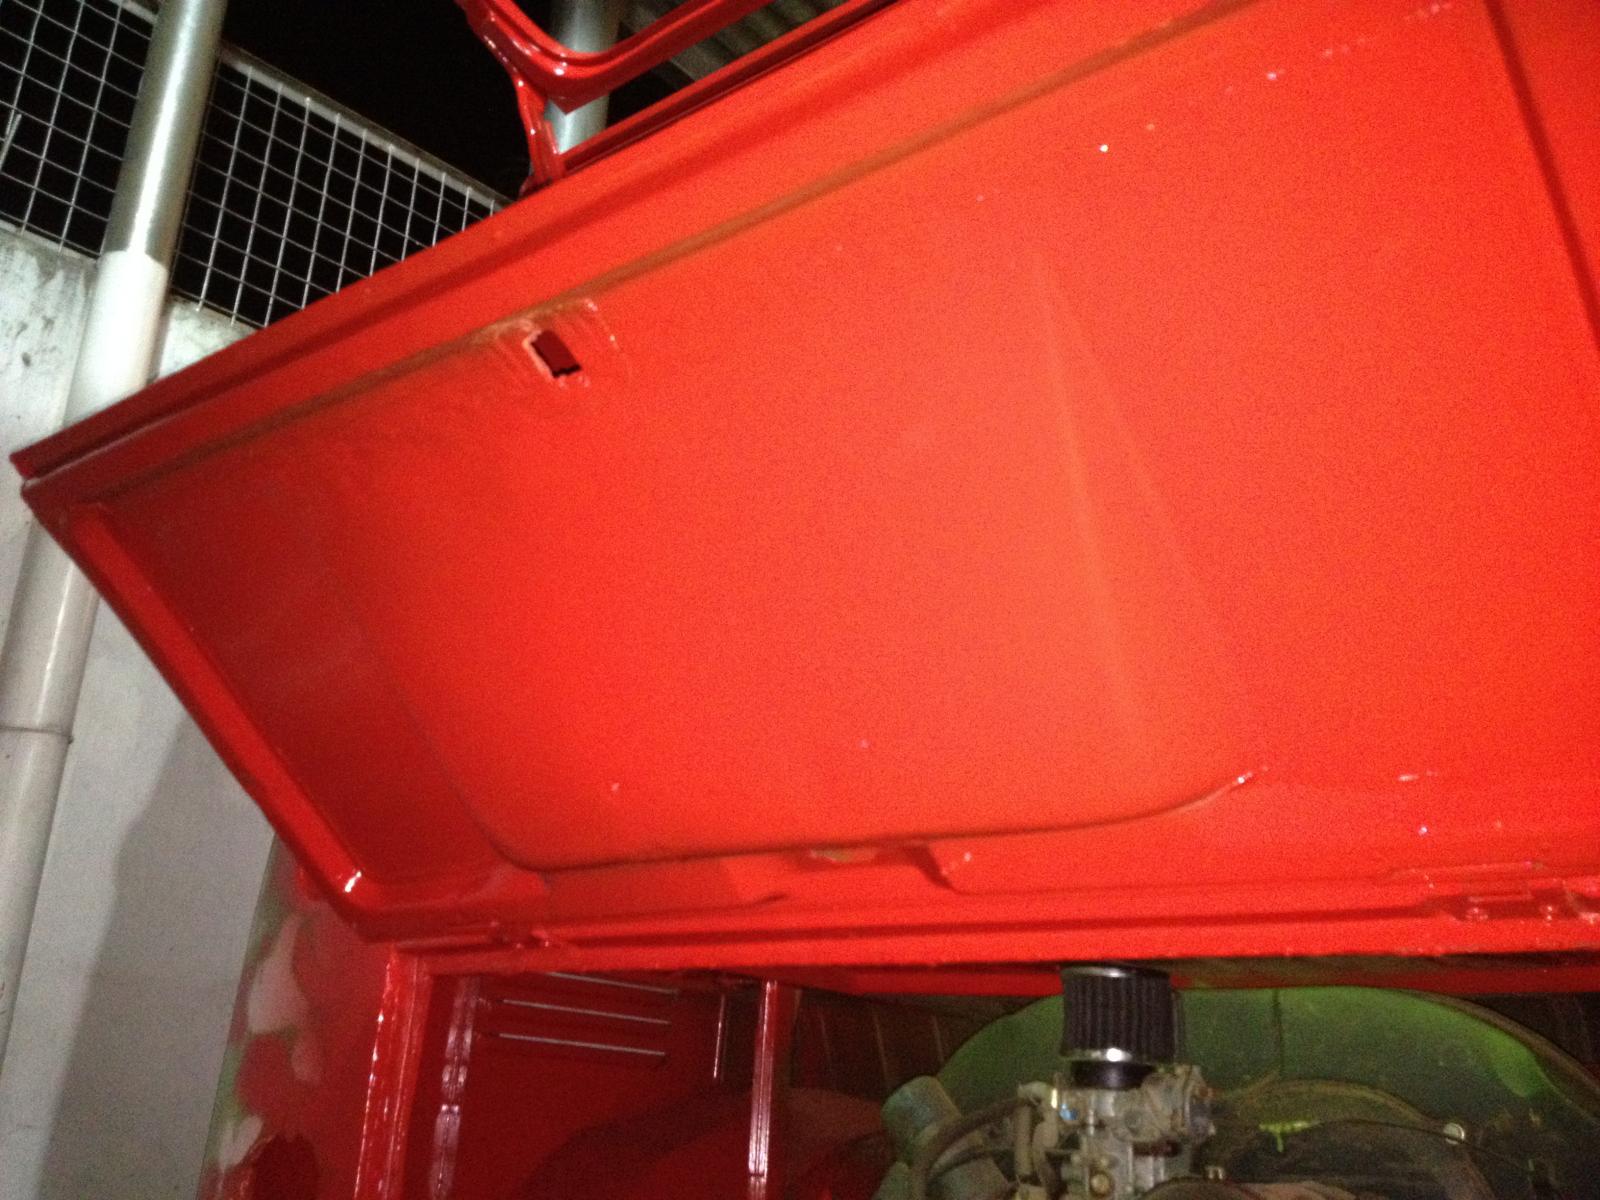
The engine bay. I applied the sealing wax red. Although, there is a need to remove the engine to paint the entire engine bay. I guess, there is always time for everything.
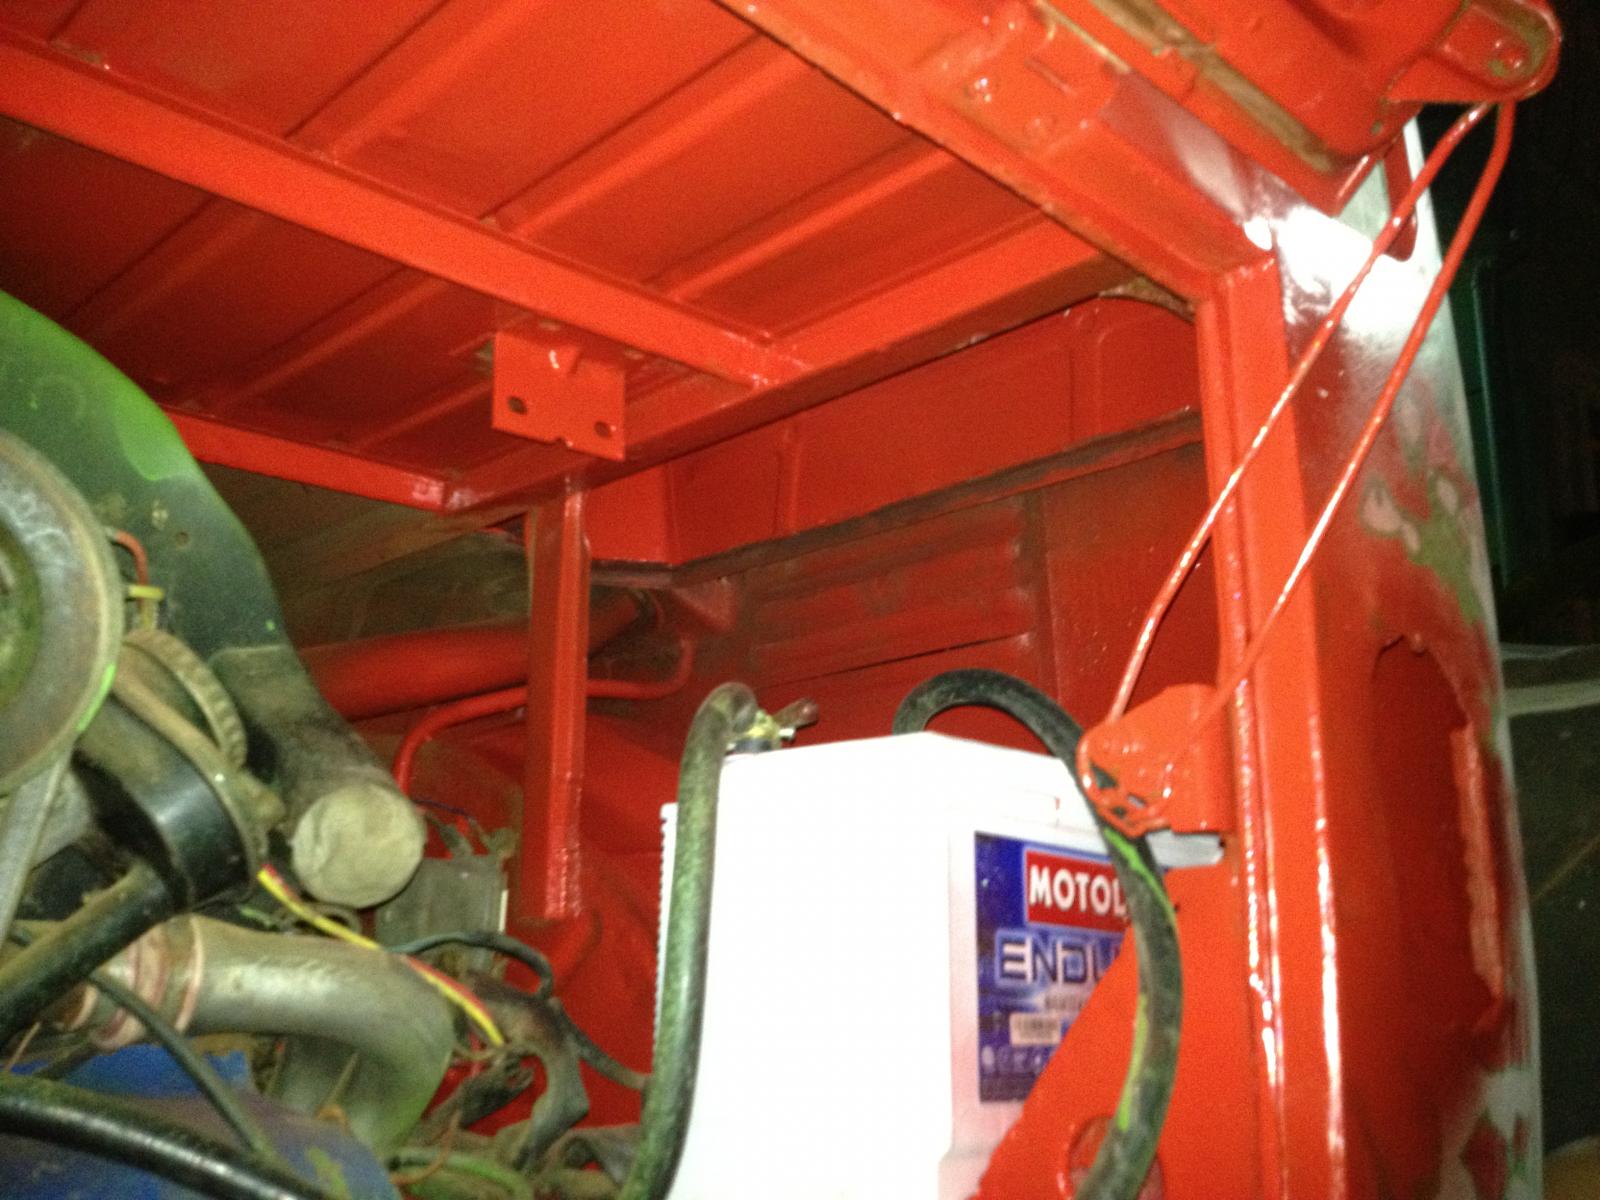
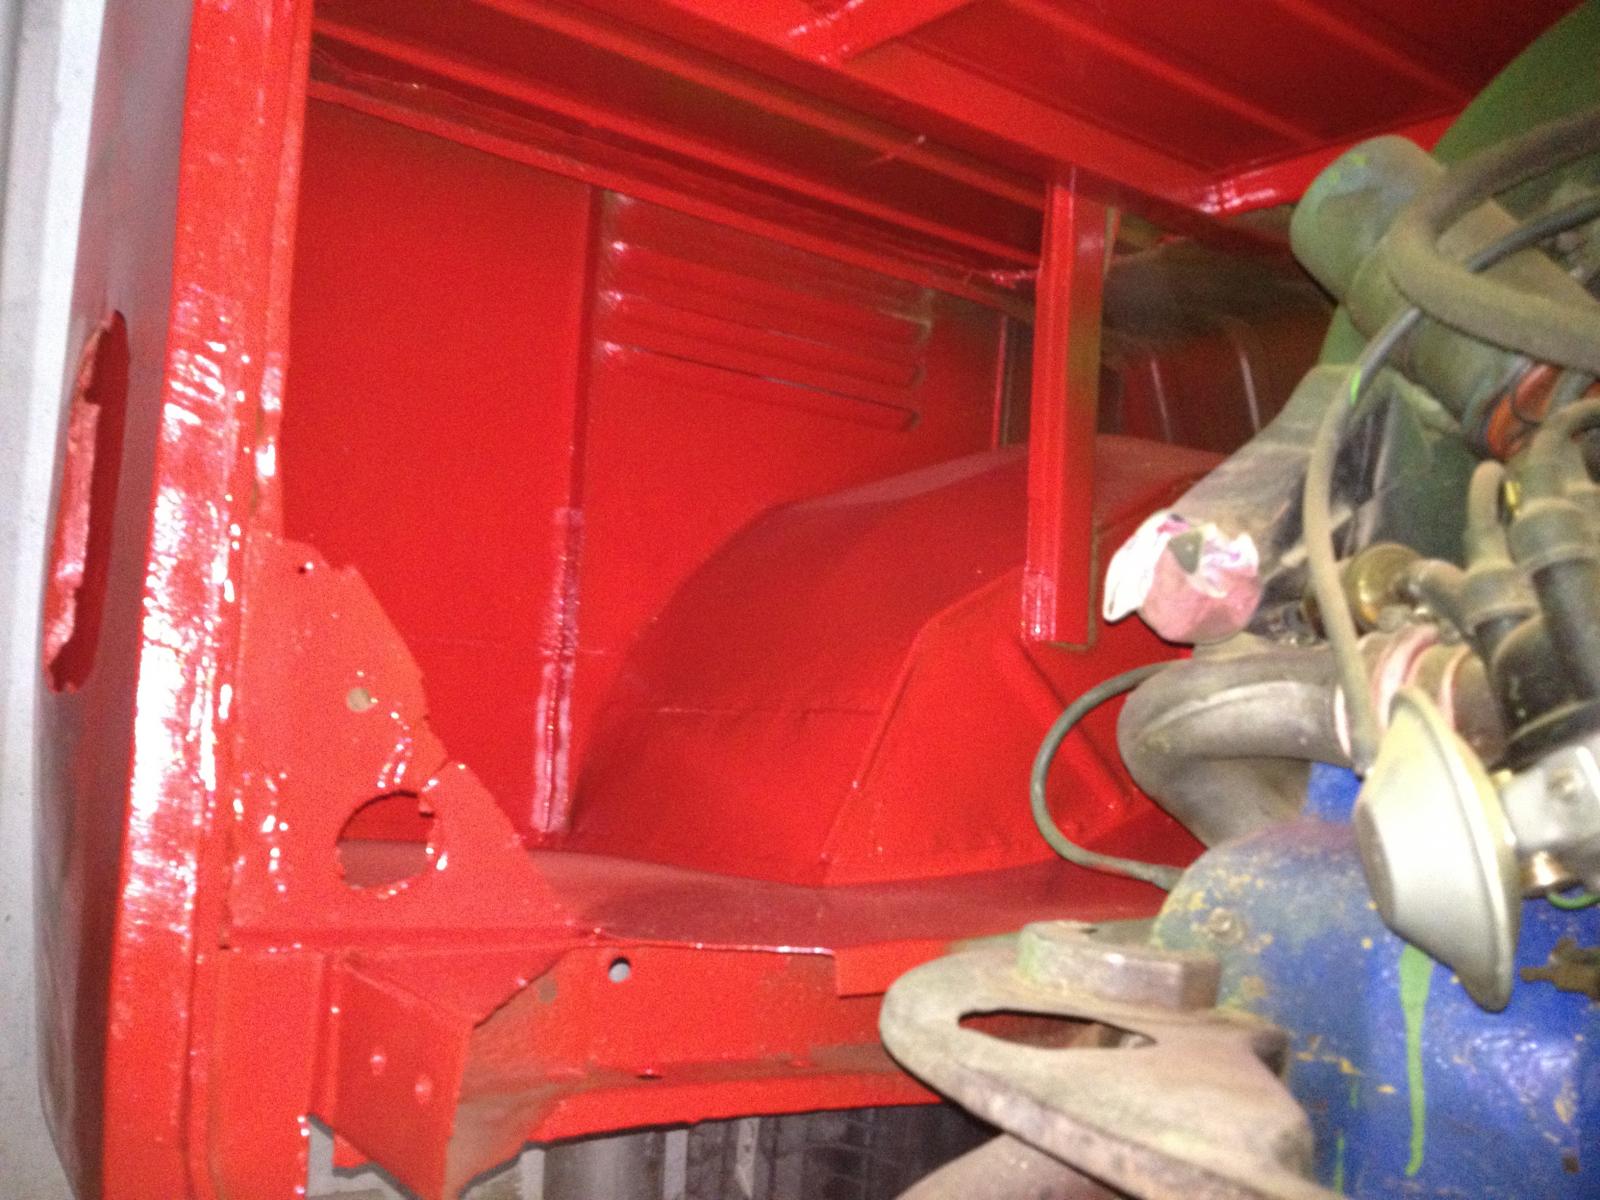
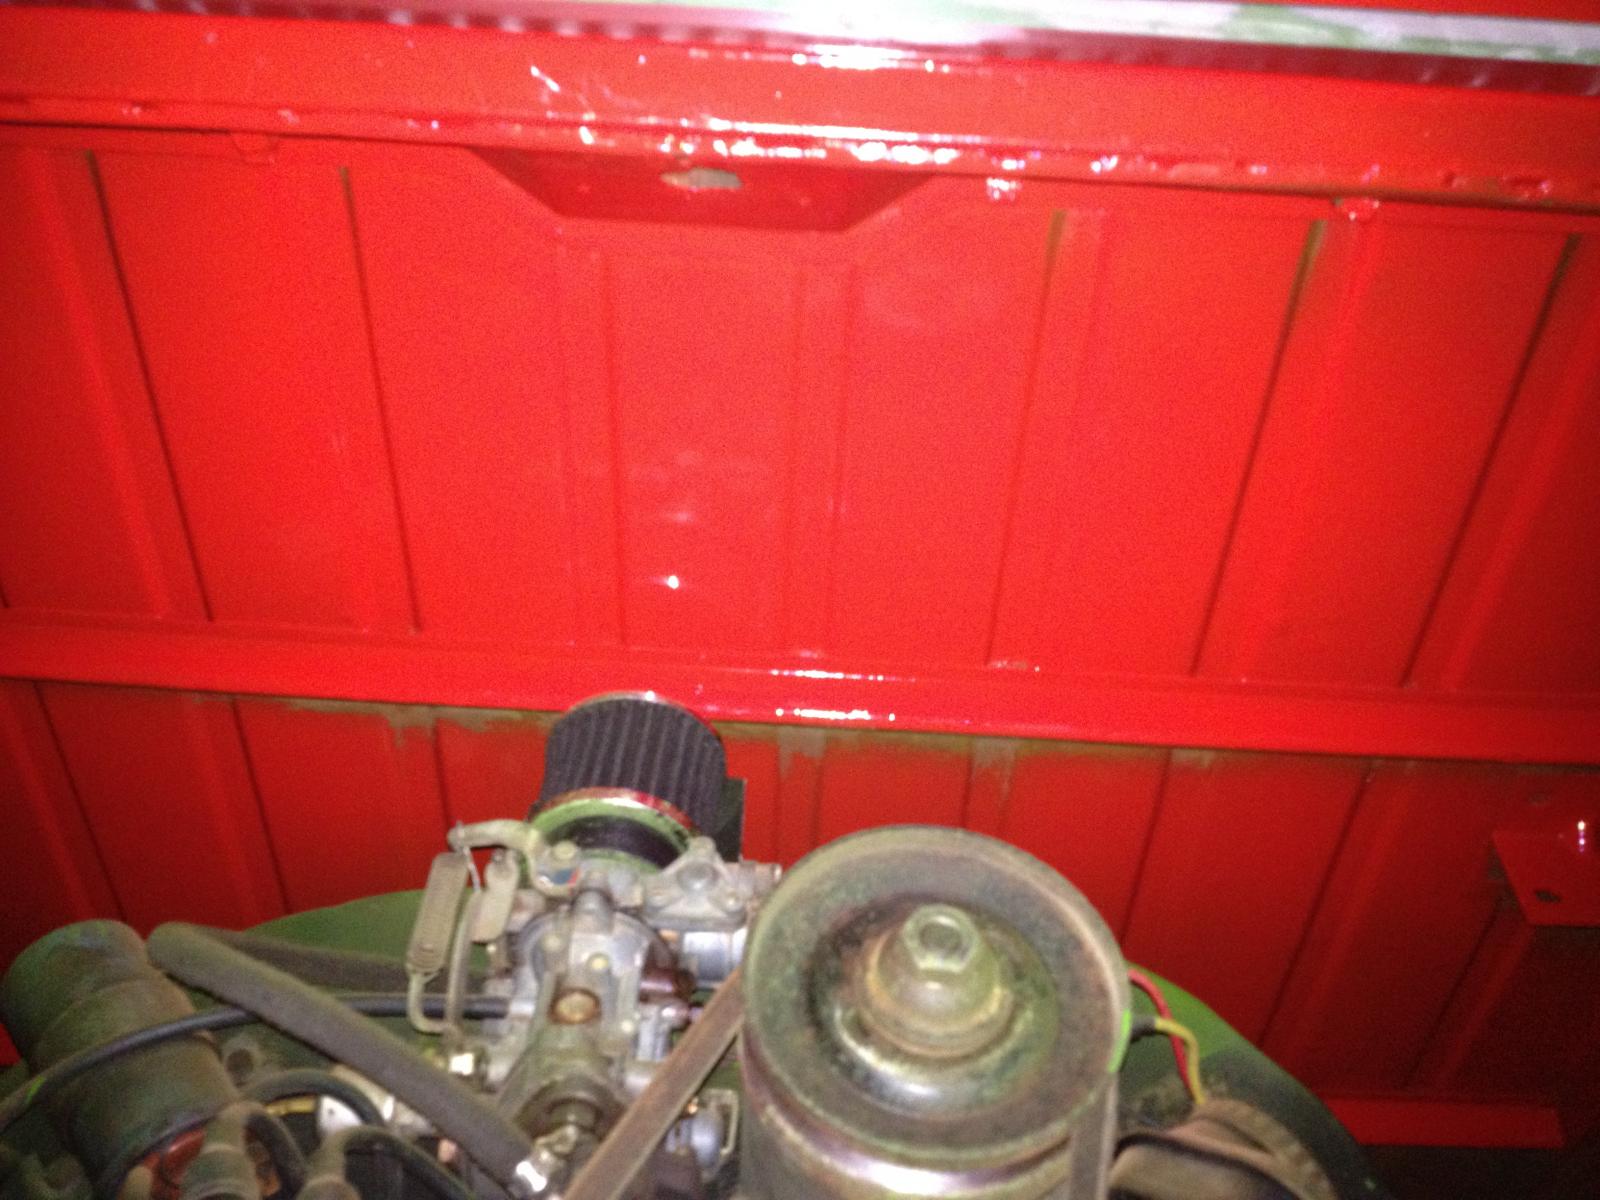
on the cargo area:
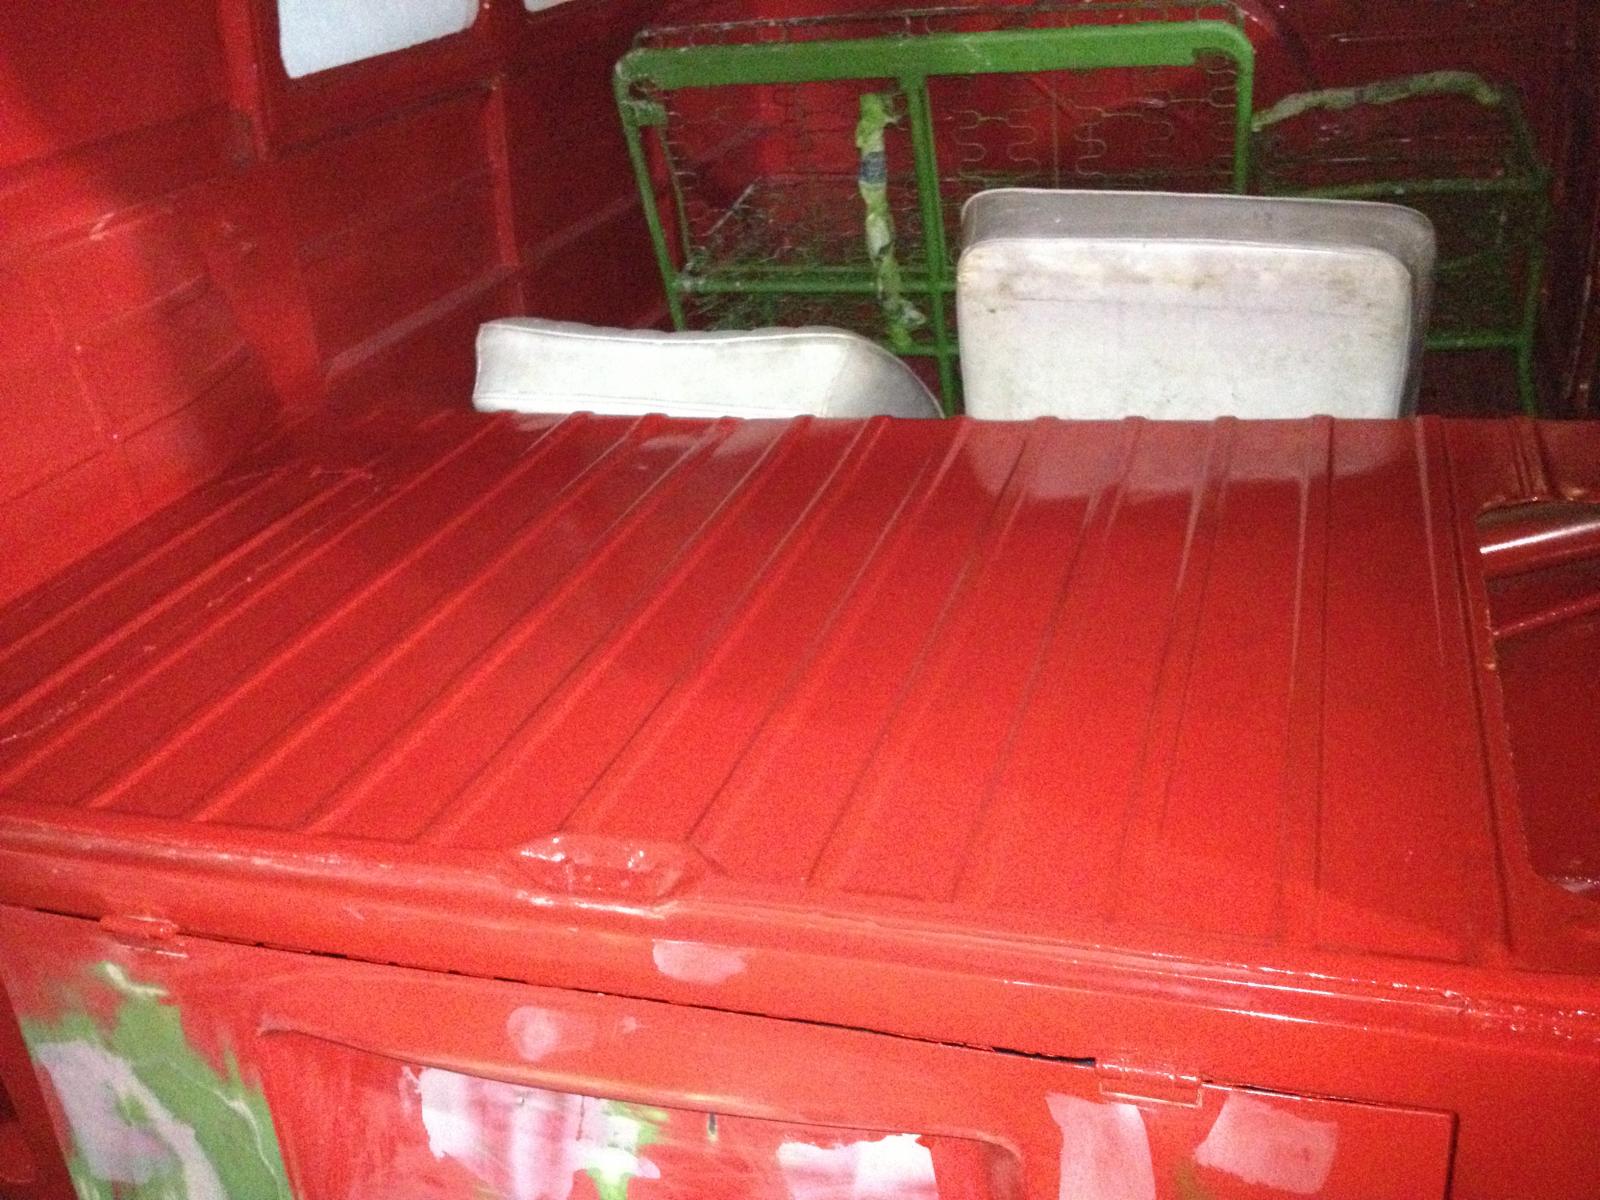
The primer I applied after addressing those wavy panels... SO tough...
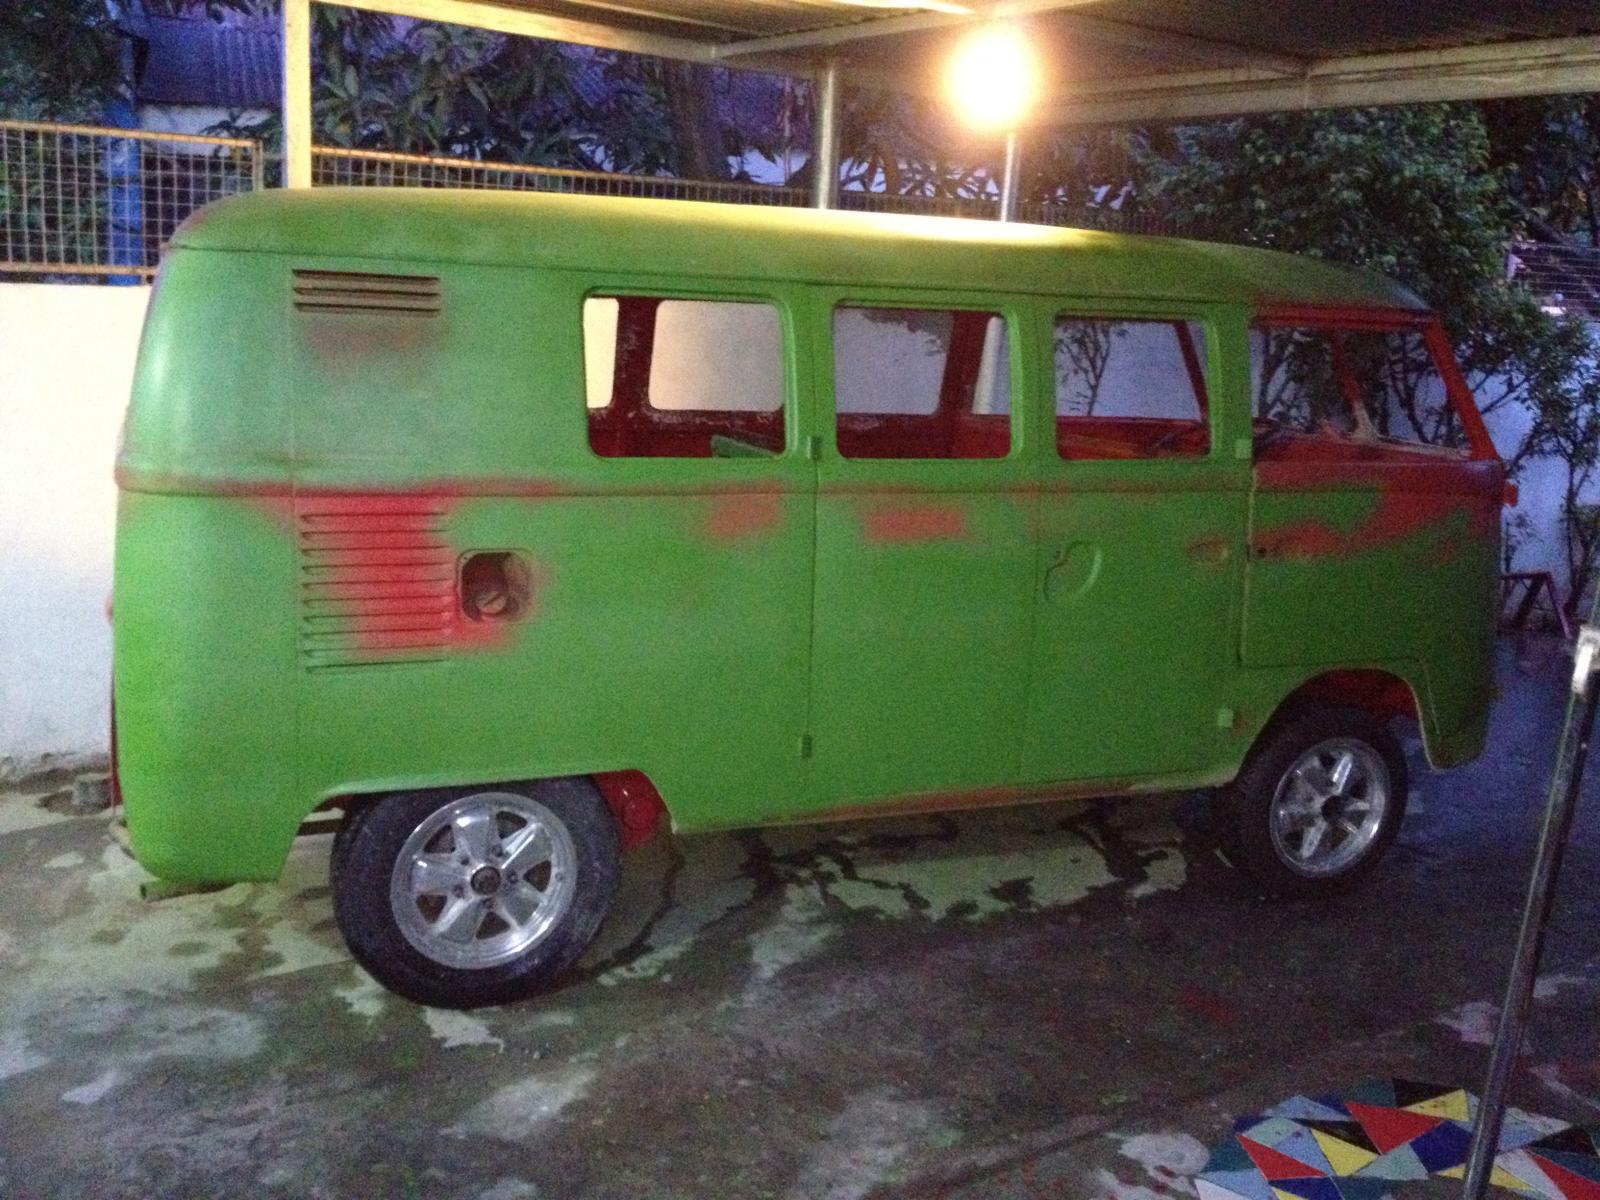
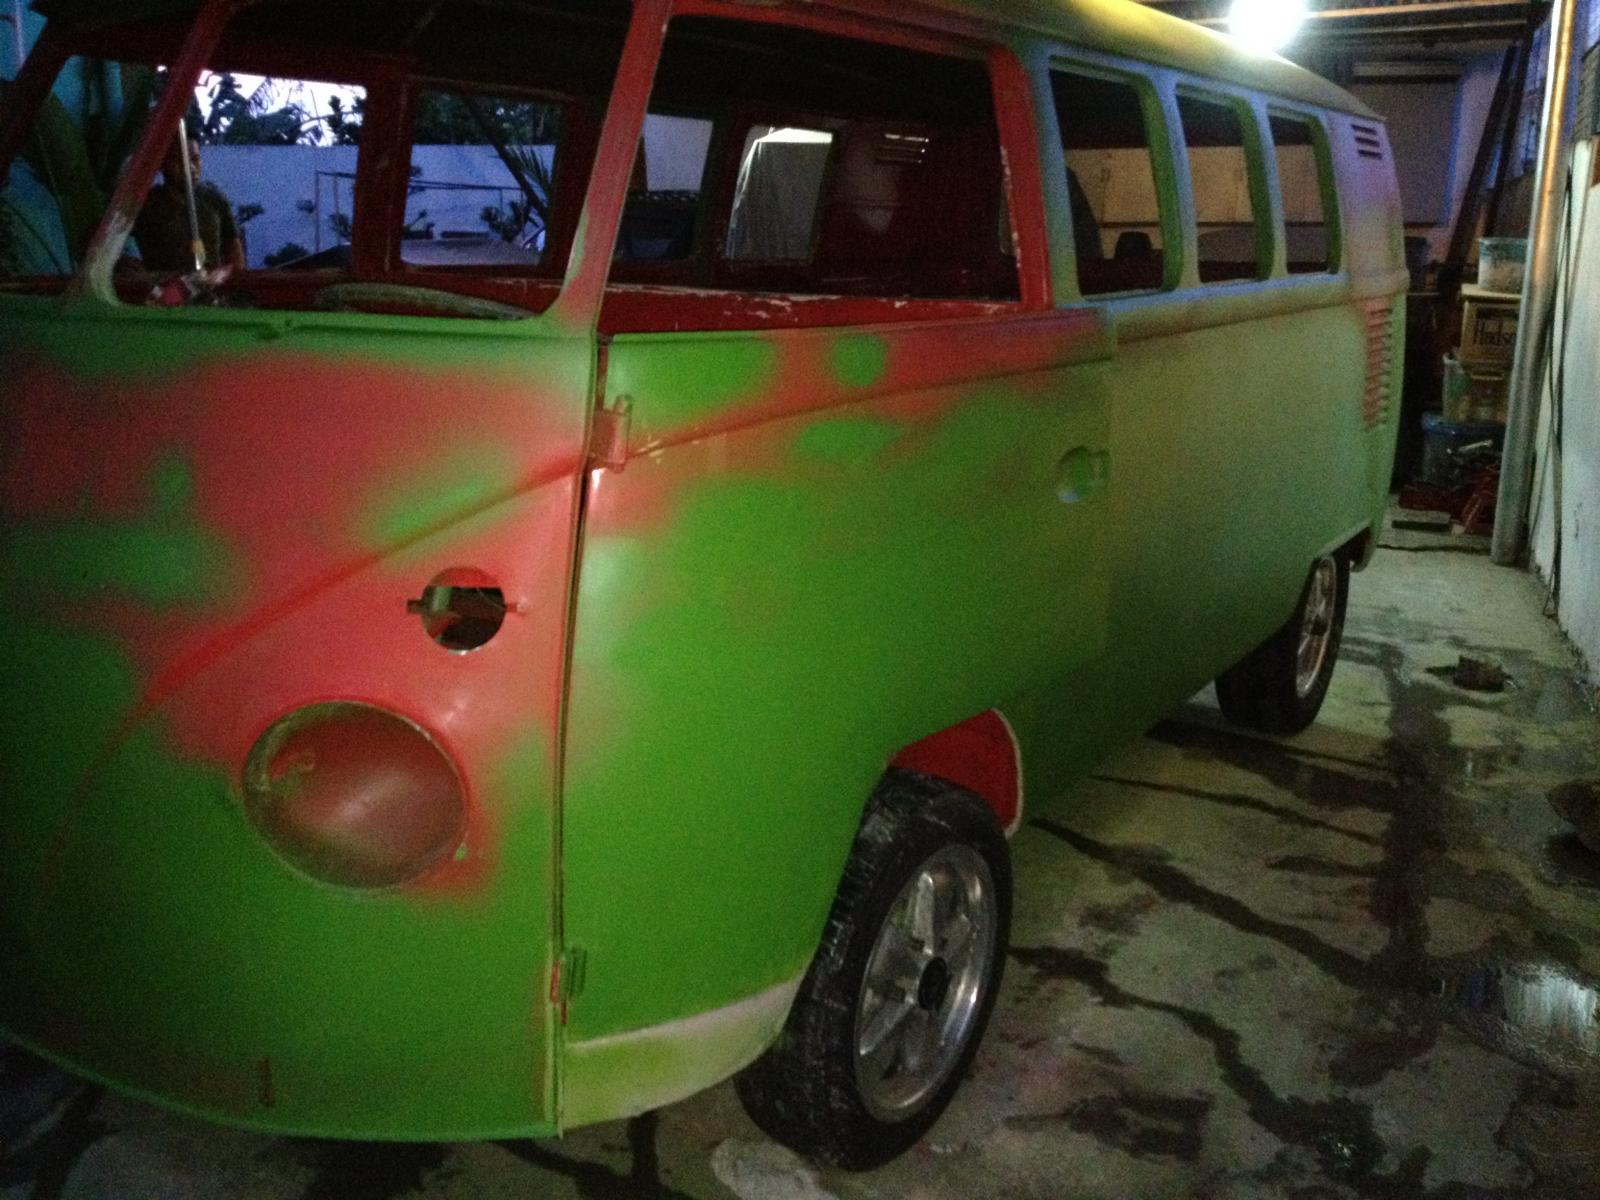
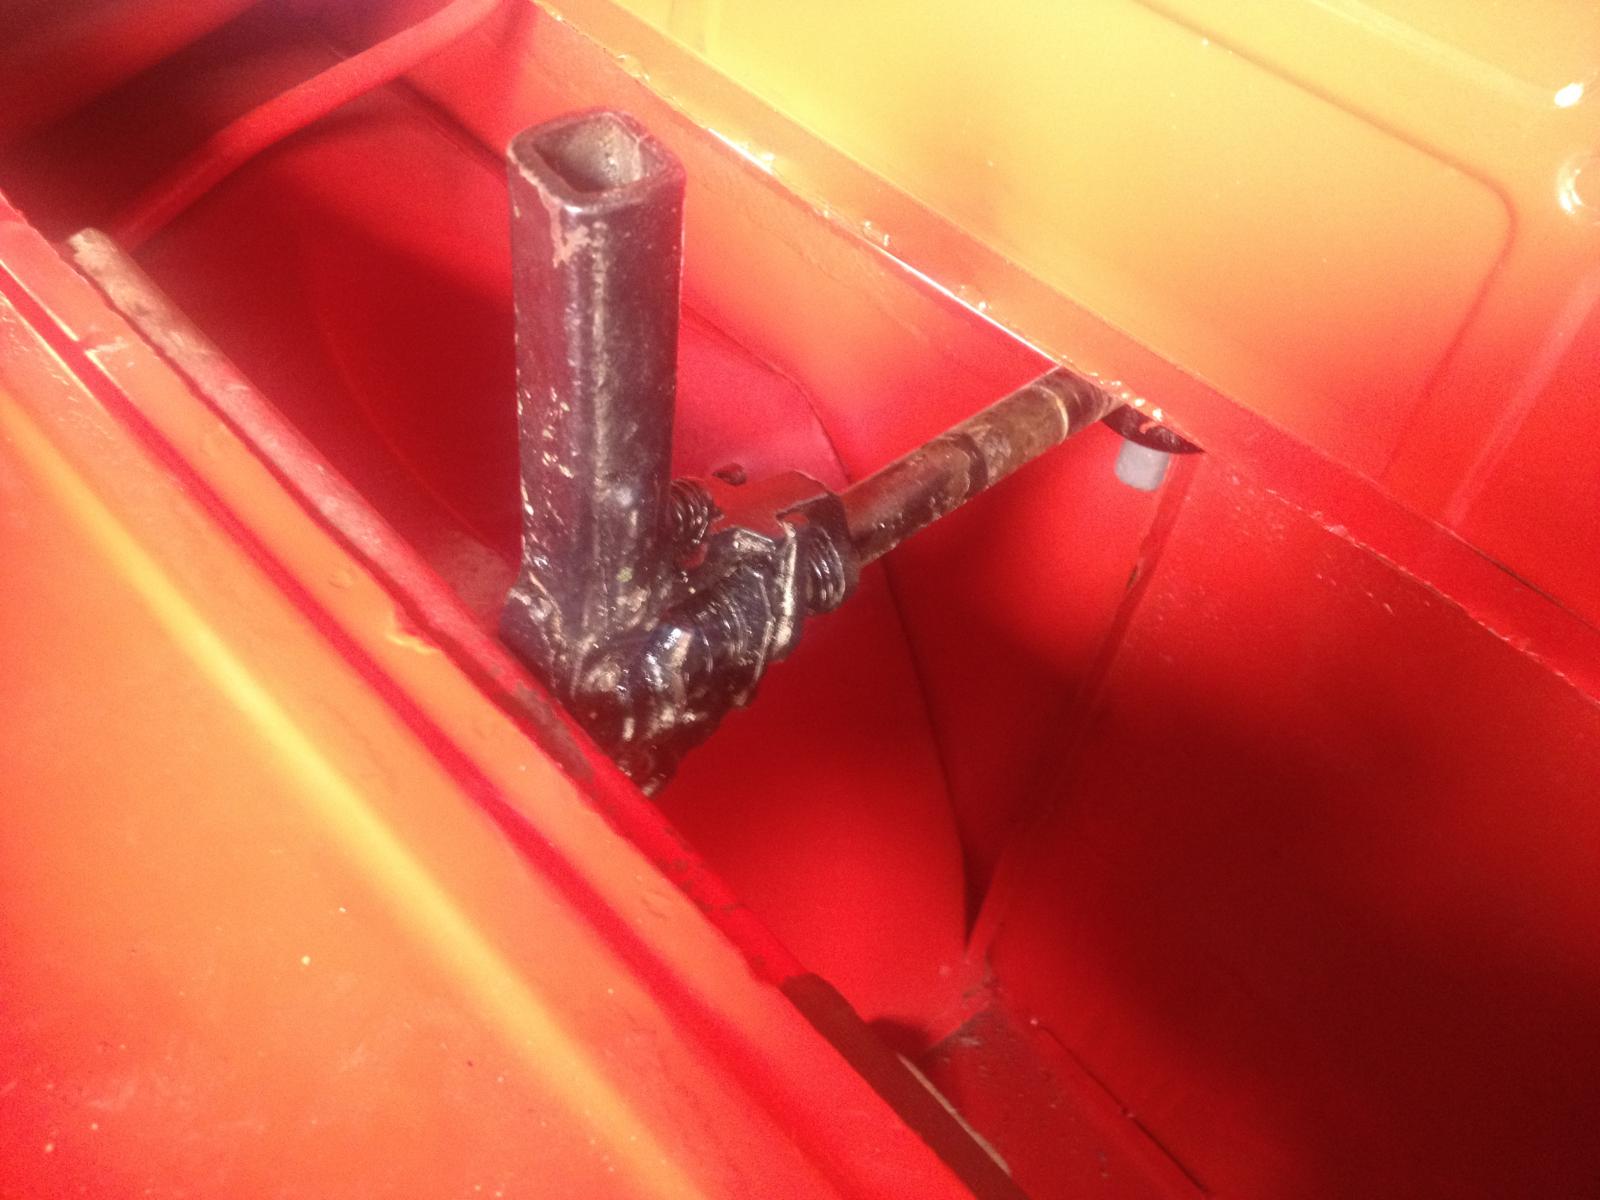
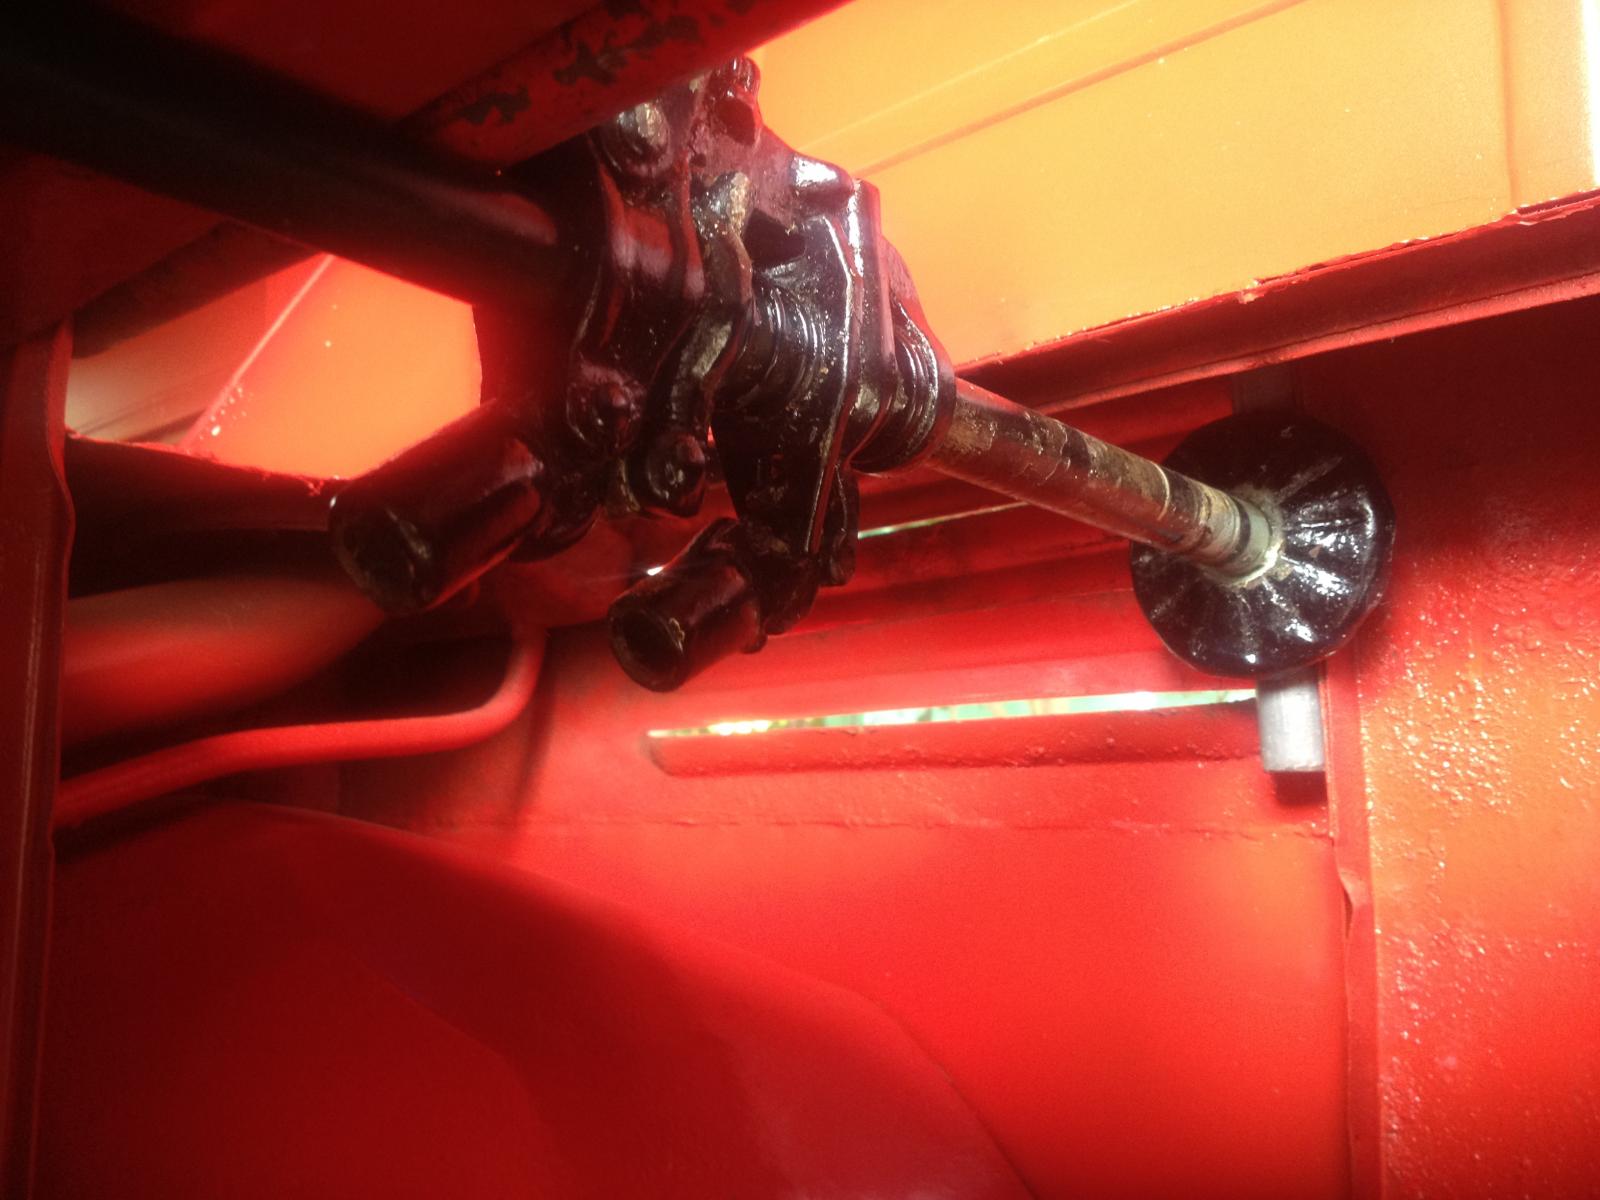
I had to us a Type 1 jack in order to push outward the panel to be straightened up. It was difficult to get the right outward angle. IT was a good thing that I haven't welded the cover of the cargo panel that i removed which was a hacked job made by the PO.
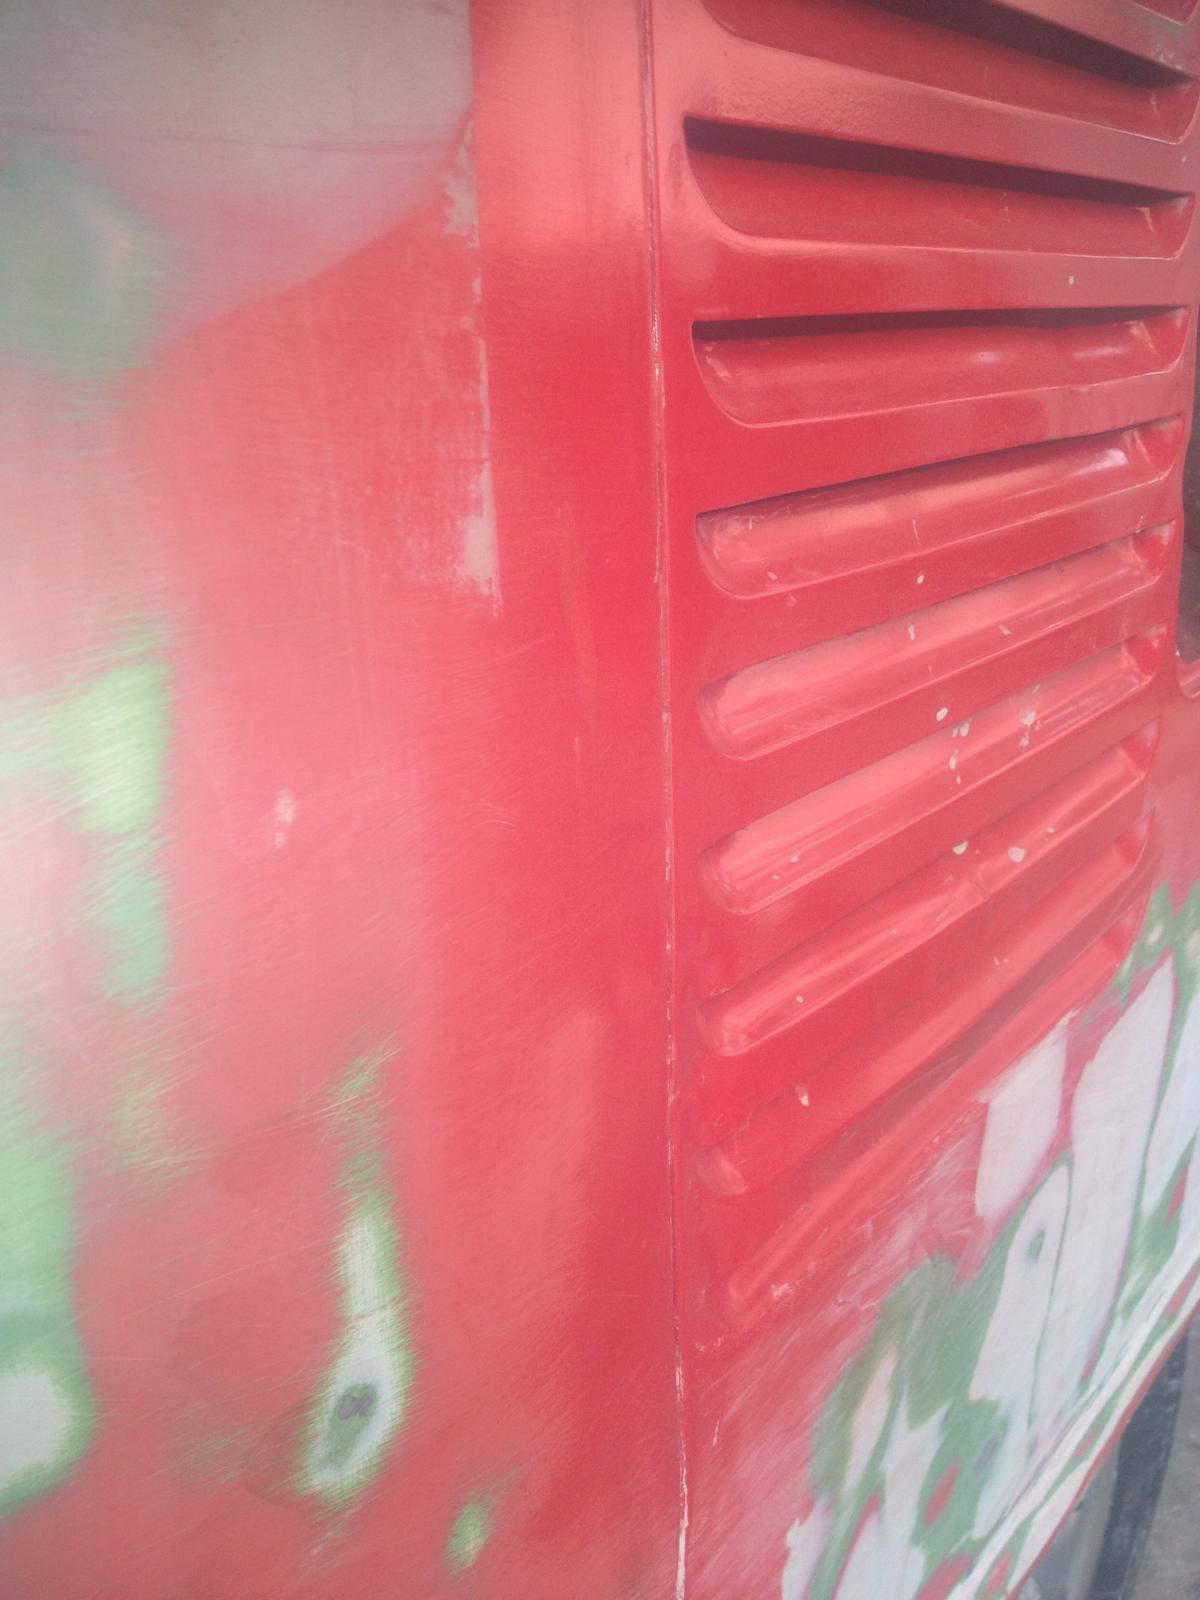
On this picture it may not be apparent that the grills had been straightened out, but in person, it was pretty obvious.
One thing I can say.... lot's of portions that needs to be straightened up!
Thanks,
Dongkg
Update:
The engine bay. I applied the sealing wax red. Although, there is a need to remove the engine to paint the entire engine bay. I guess, there is always time for everything.


on the cargo area:

The primer I applied after addressing those wavy panels... SO tough...


I had to us a Type 1 jack in order to push outward the panel to be straightened up. It was difficult to get the right outward angle. IT was a good thing that I haven't welded the cover of the cargo panel that i removed which was a hacked job made by the PO.


On this picture it may not be apparent that the grills had been straightened out, but in person, it was pretty obvious.

One thing I can say.... lot's of portions that needs to be straightened up!
Thanks,
Dongkg
dongkg
Registered user
Posts: 90
Joined: Tue Jul 16, 2013 7:58 am
Re: My '67 Split Bus Resto Thread in the Philippines
by dongkg » Wed Jul 17, 2013 7:47 am
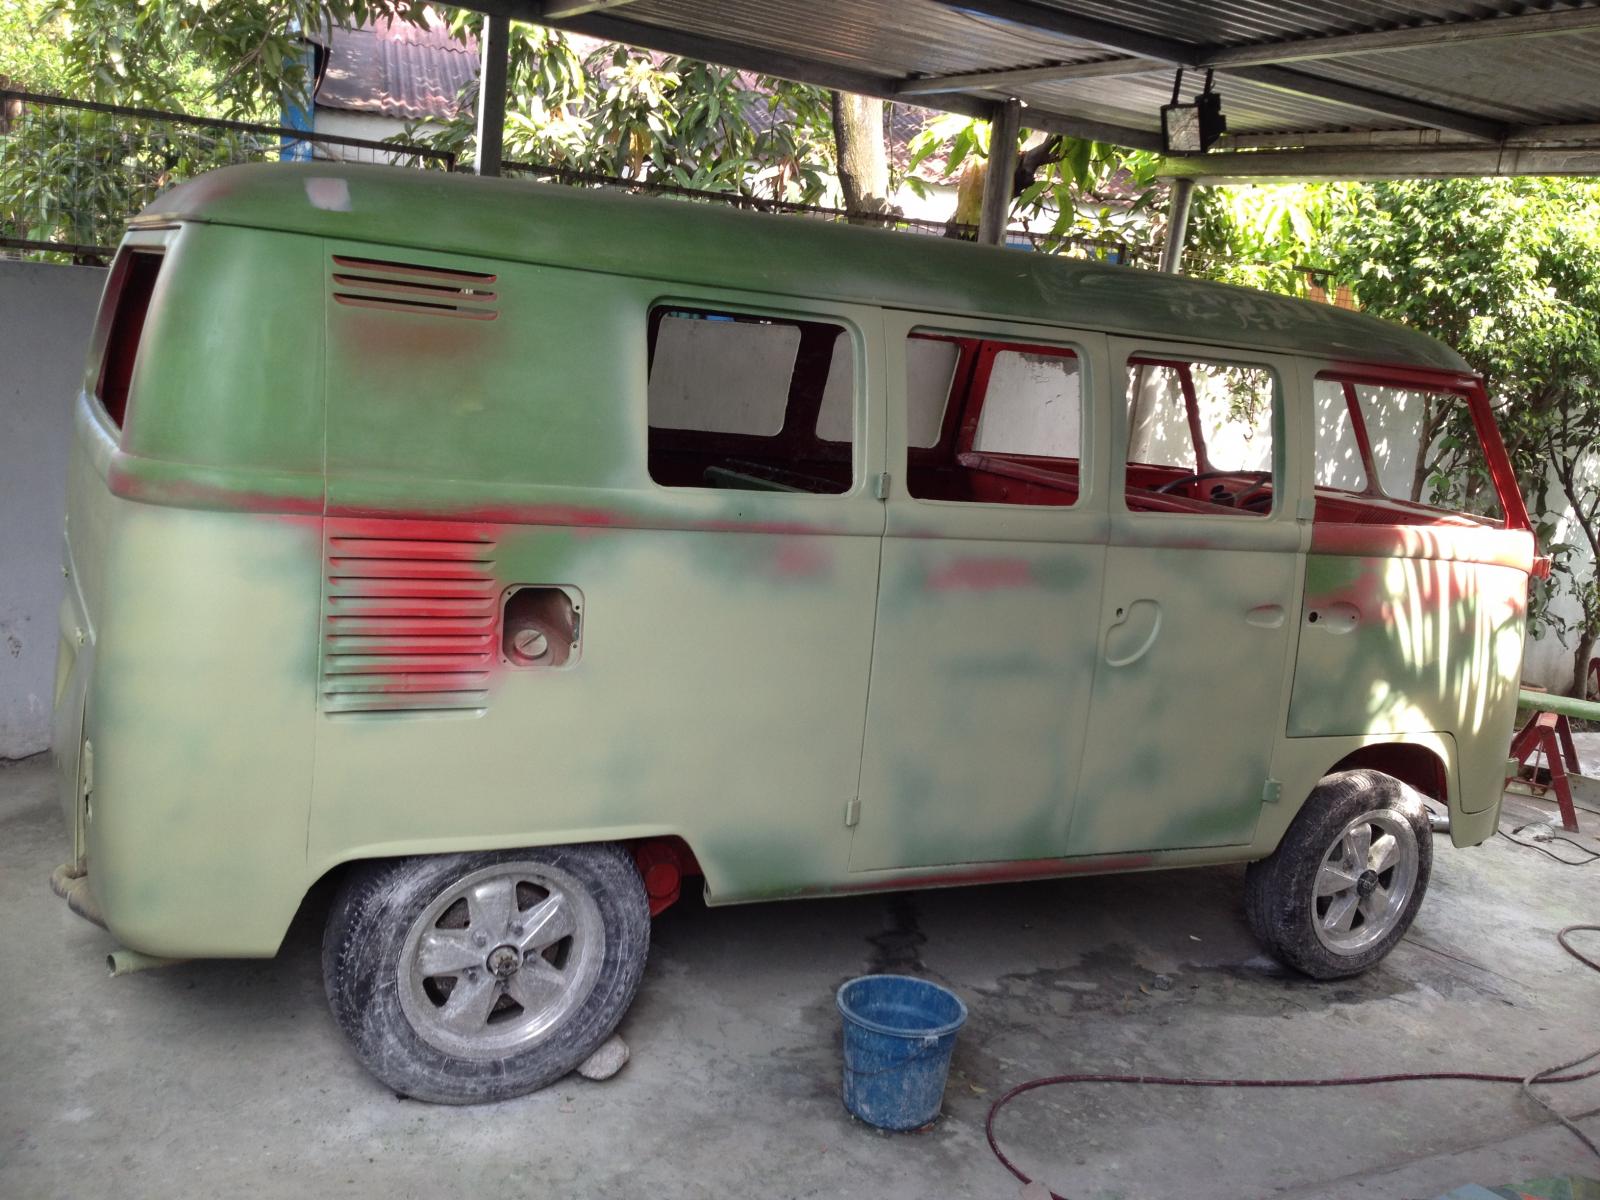
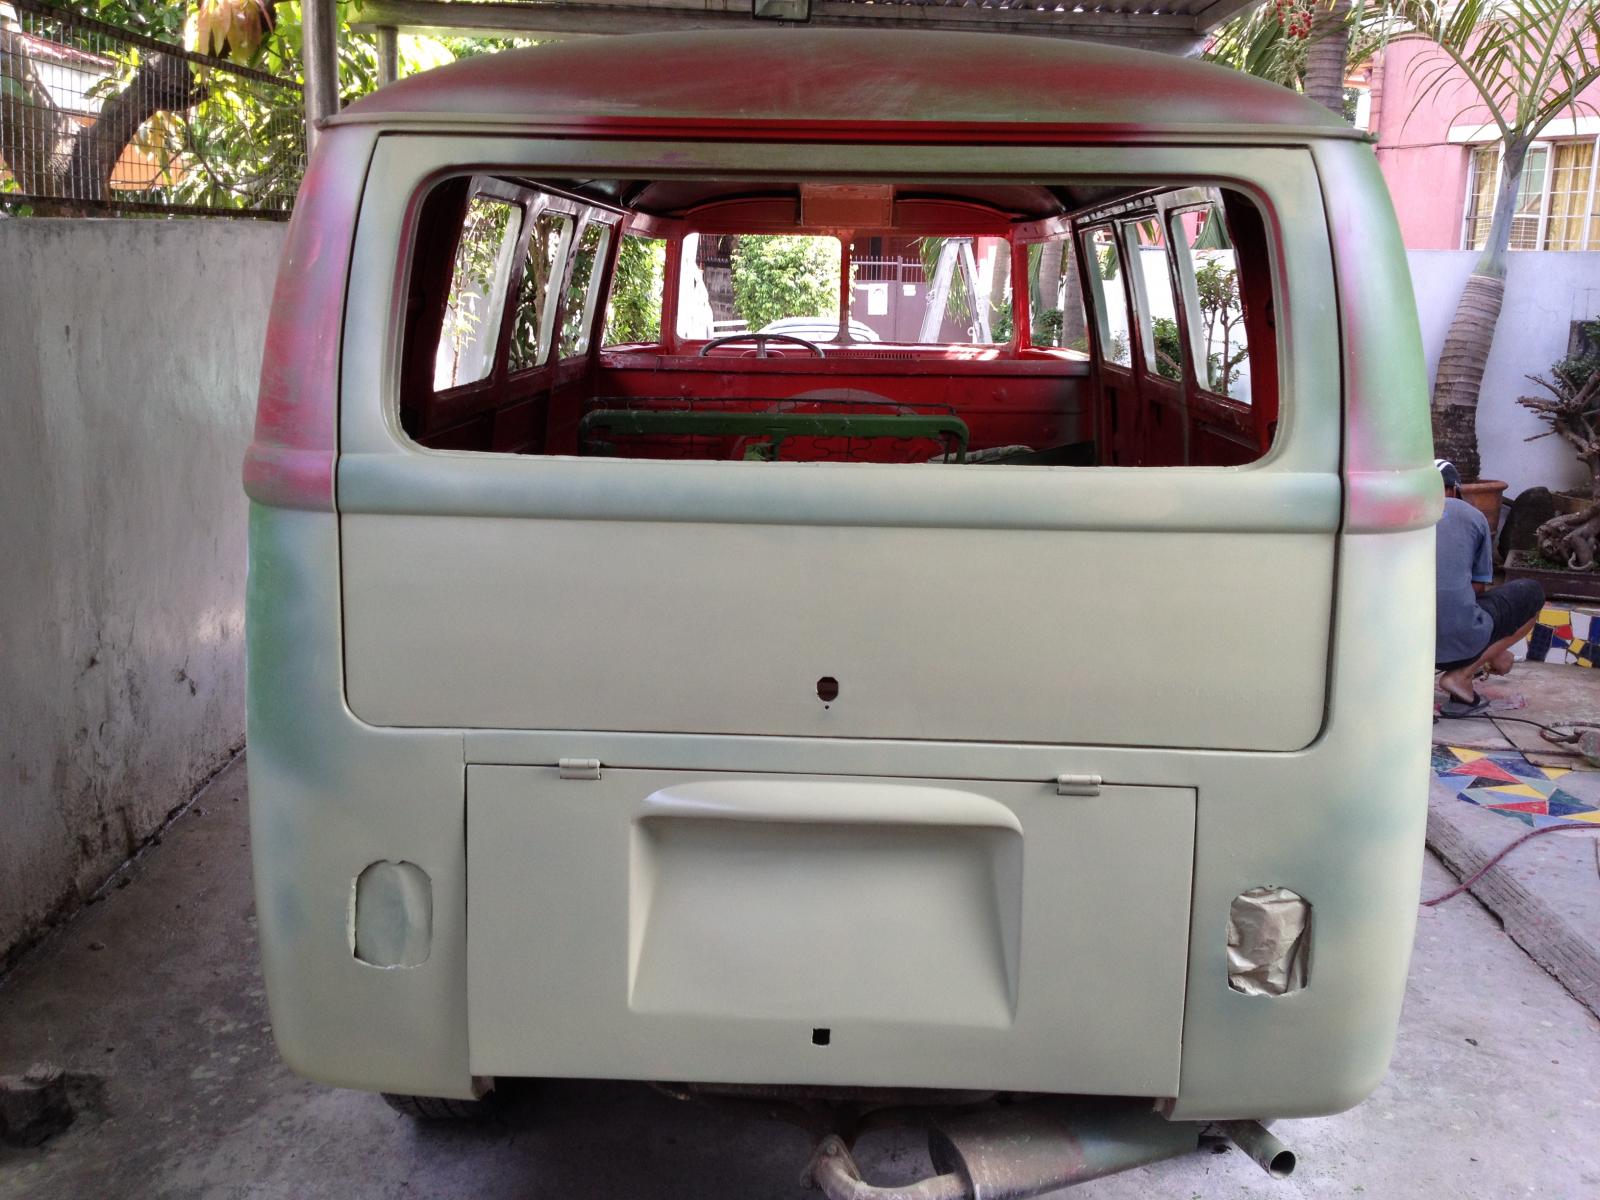
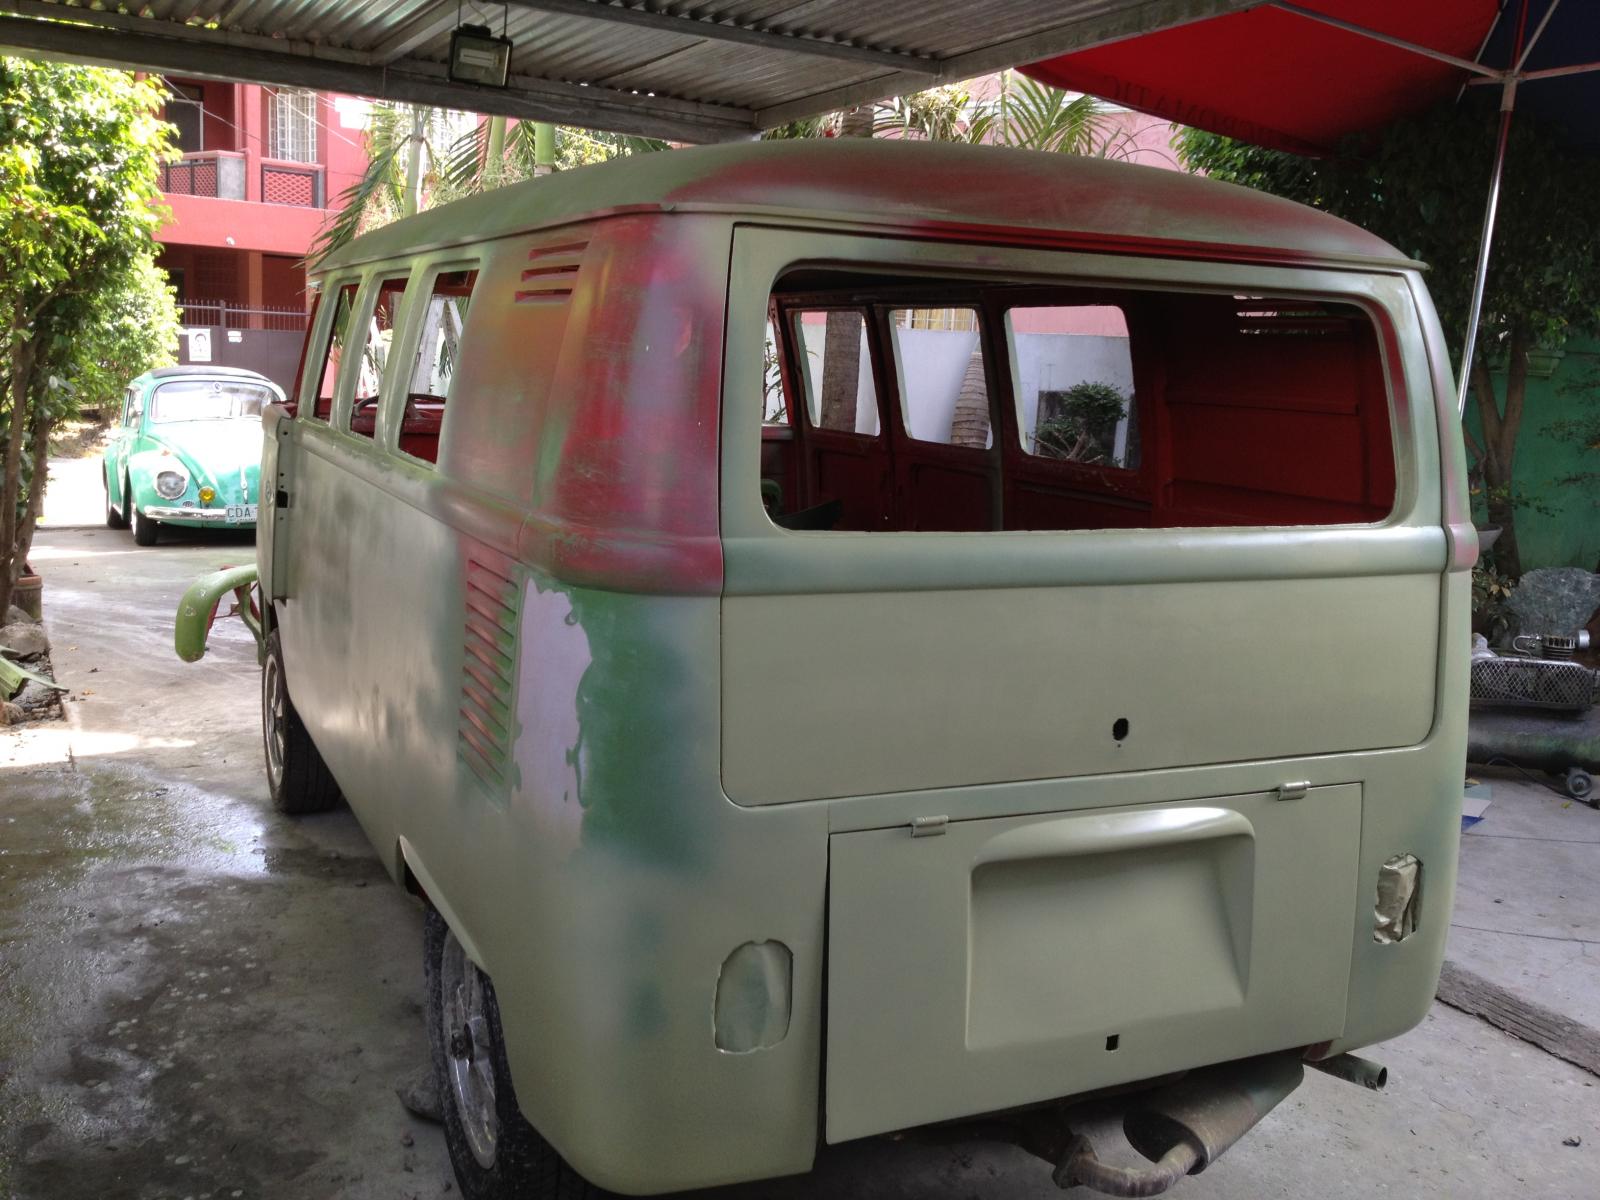
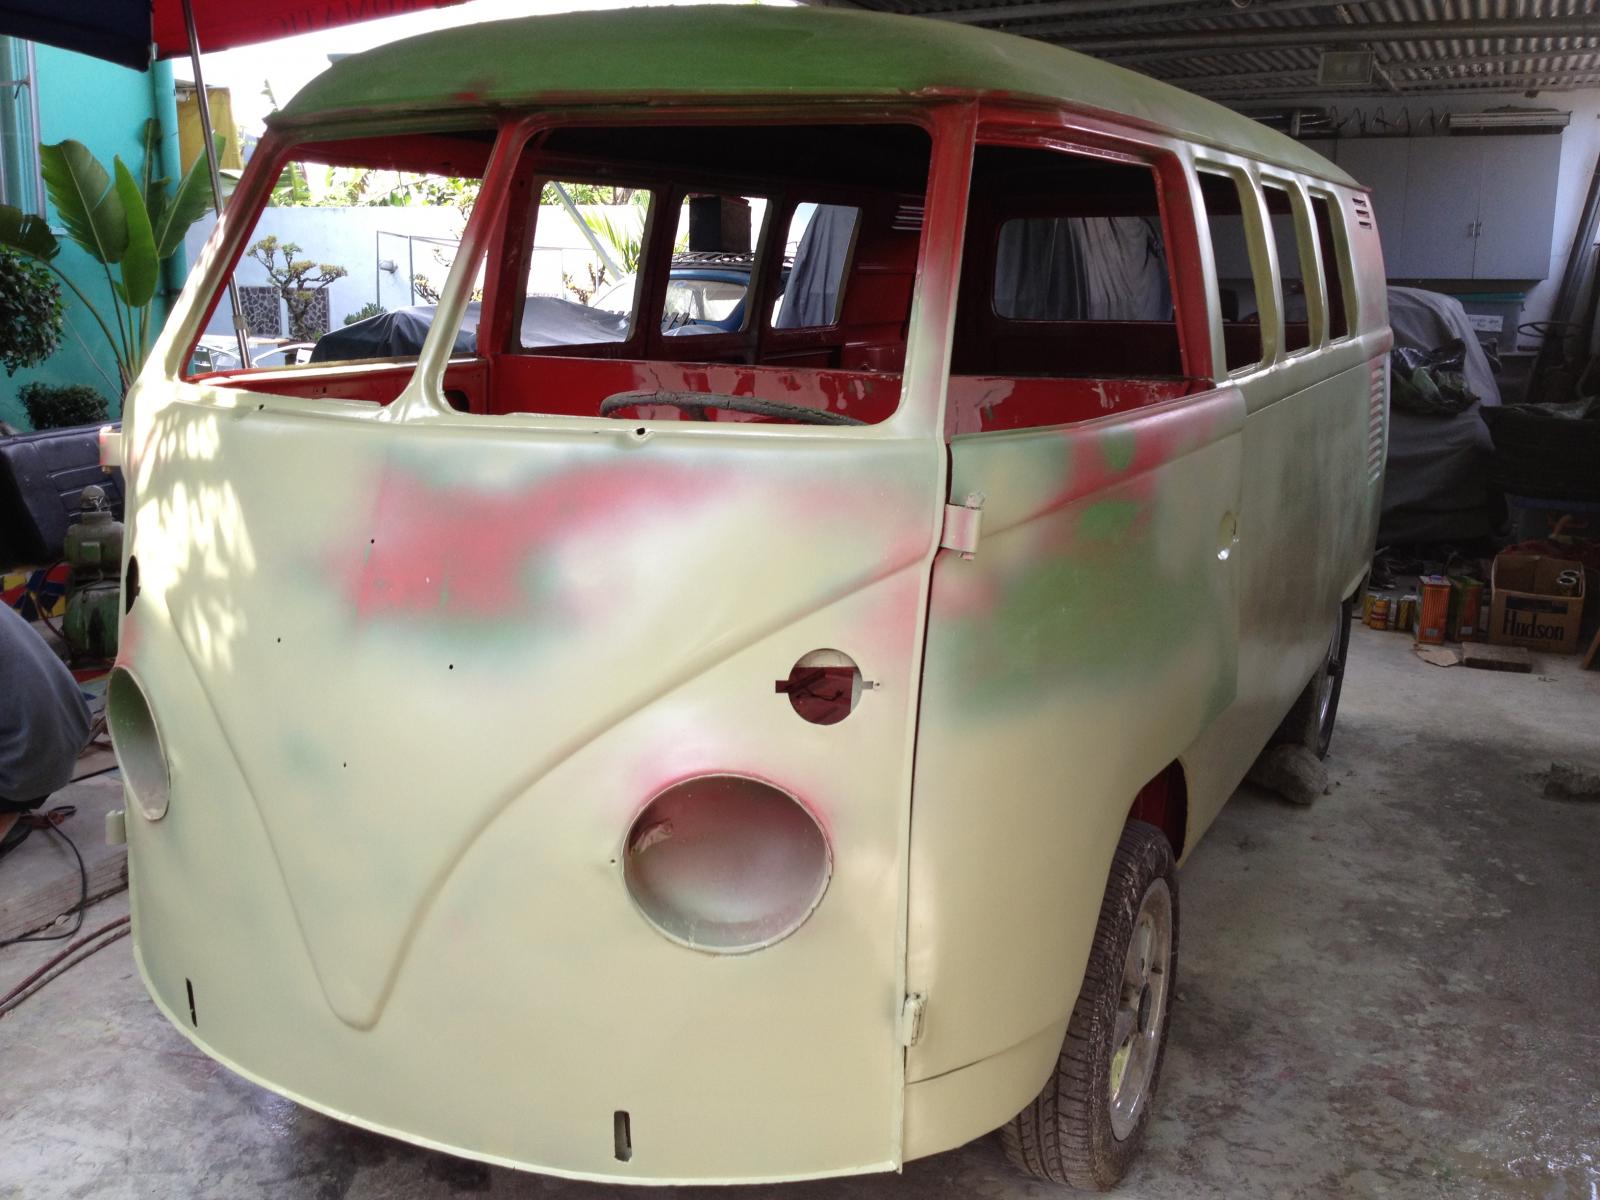
(Note: Taken in the last week of April 2013)
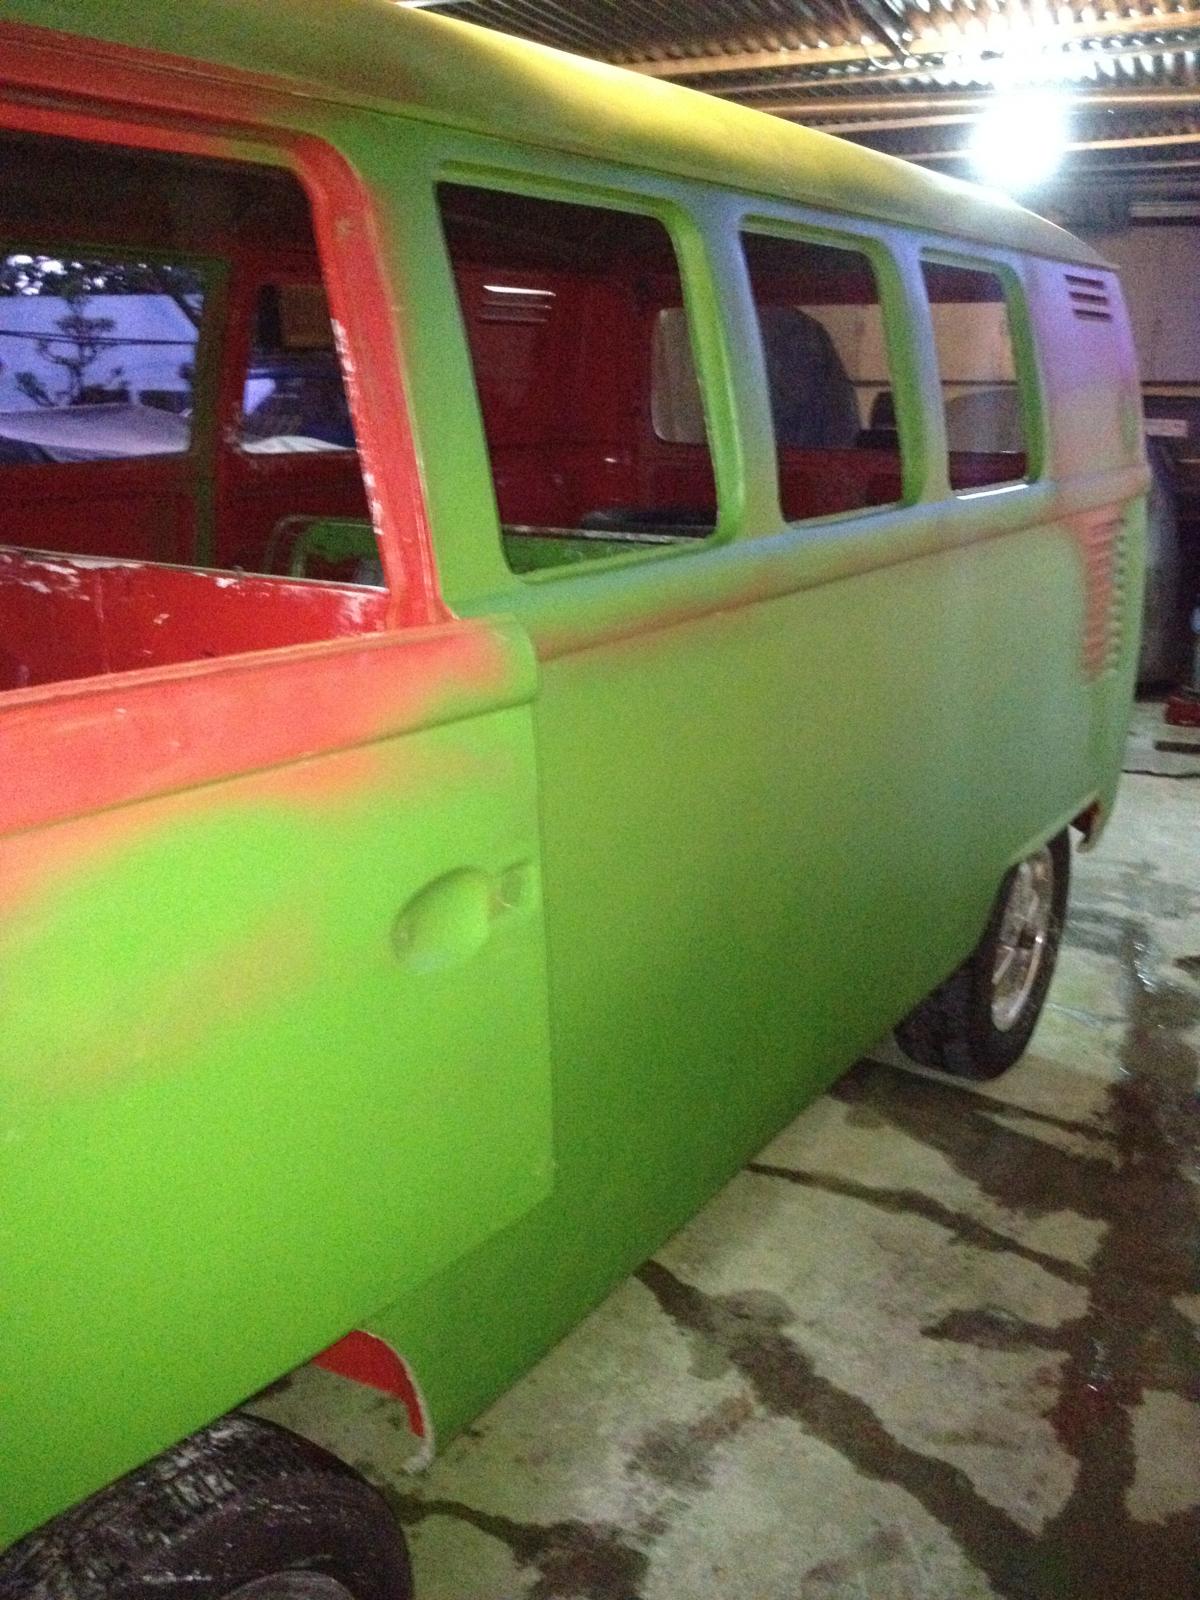
I painted the bus, although i had a very very short time fixing the split. I
Nevertheless, I was able to apply the paint fillers to cover the fillers. But to be honest about it, there are so many portions to be fixed and to be polished. The roof section is another portion that needs a lot of attention and TLC. So, long way to go, still...


dongkg
Registered user
Posts: 90
Joined: Tue Jul 16, 2013 7:58 am
Re: My '67 Split Bus Resto Thread in the Philippines
by dongkg » Wed Jul 17, 2013 7:48 am
(Note: Taken in the last week of April 2013)
In my obsession of straightening the two side panels of the Split, I bought this 1x2x24 aluminum hallow tube and a two feet in length of 100 and 80 sand paper. I tried it last night and it is sanding the surface of the panel accordingly.
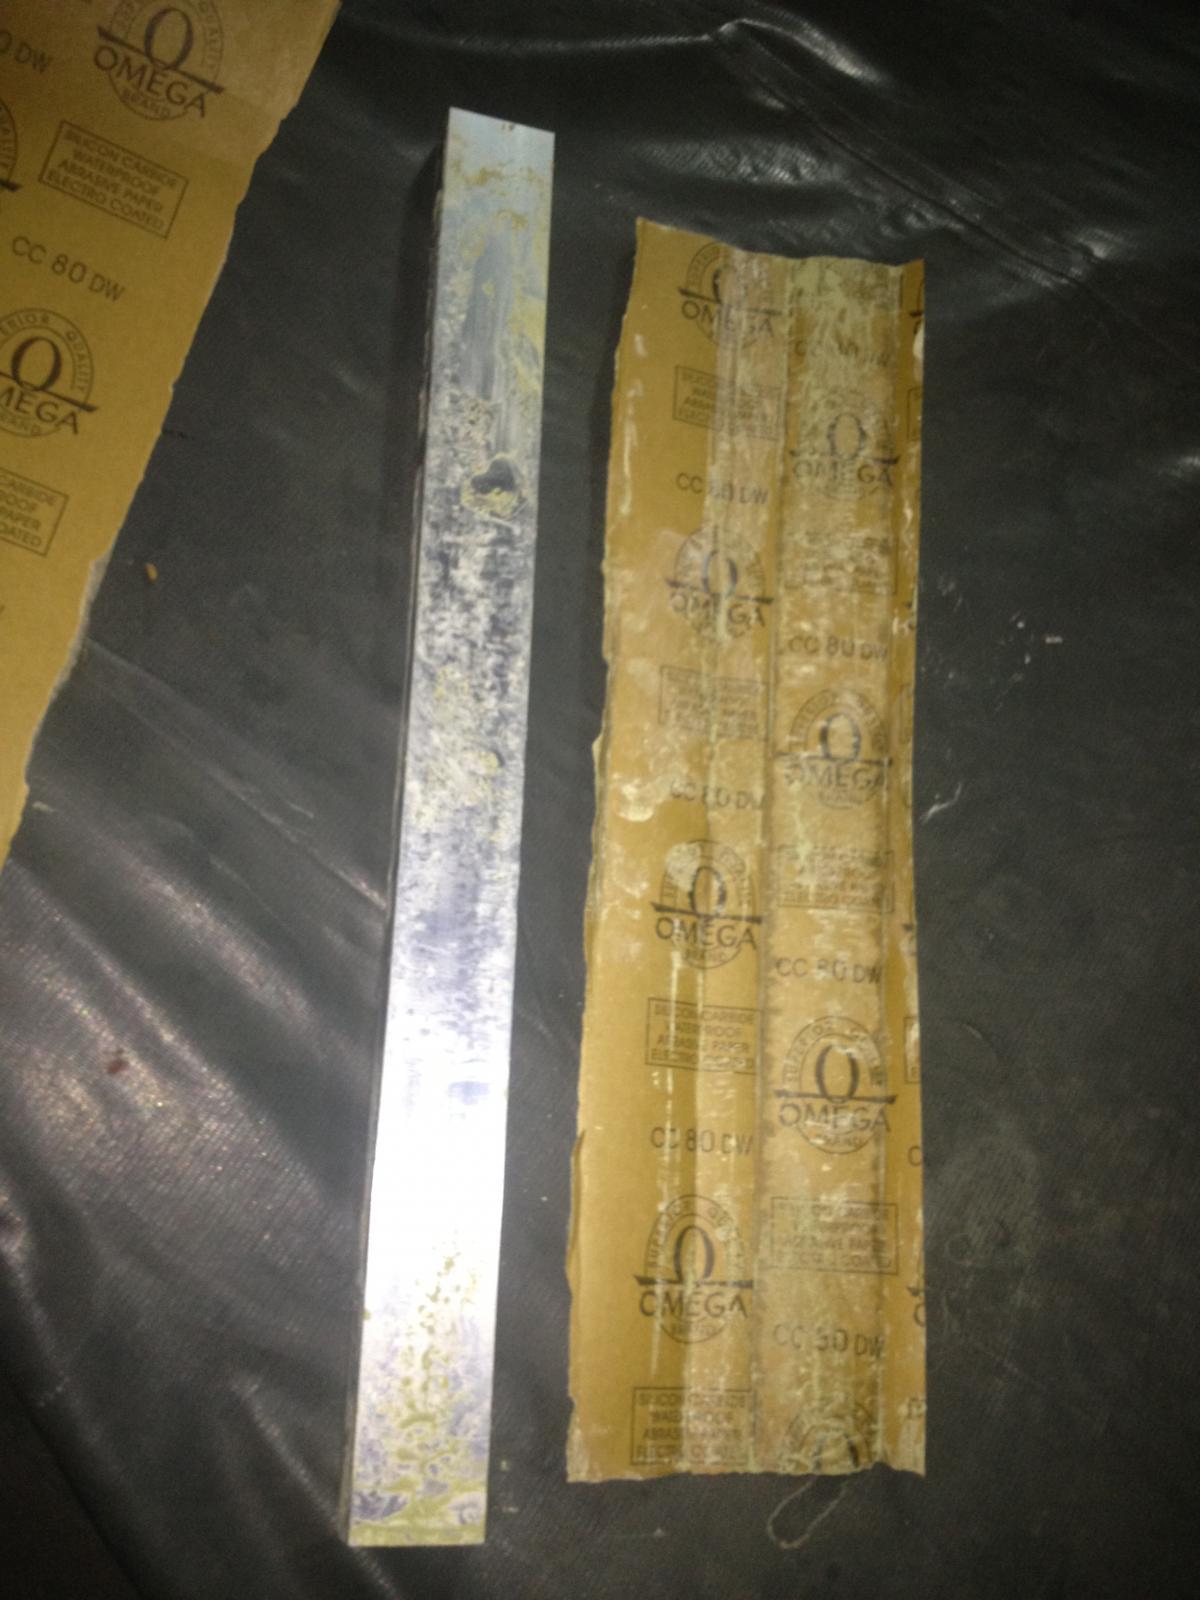
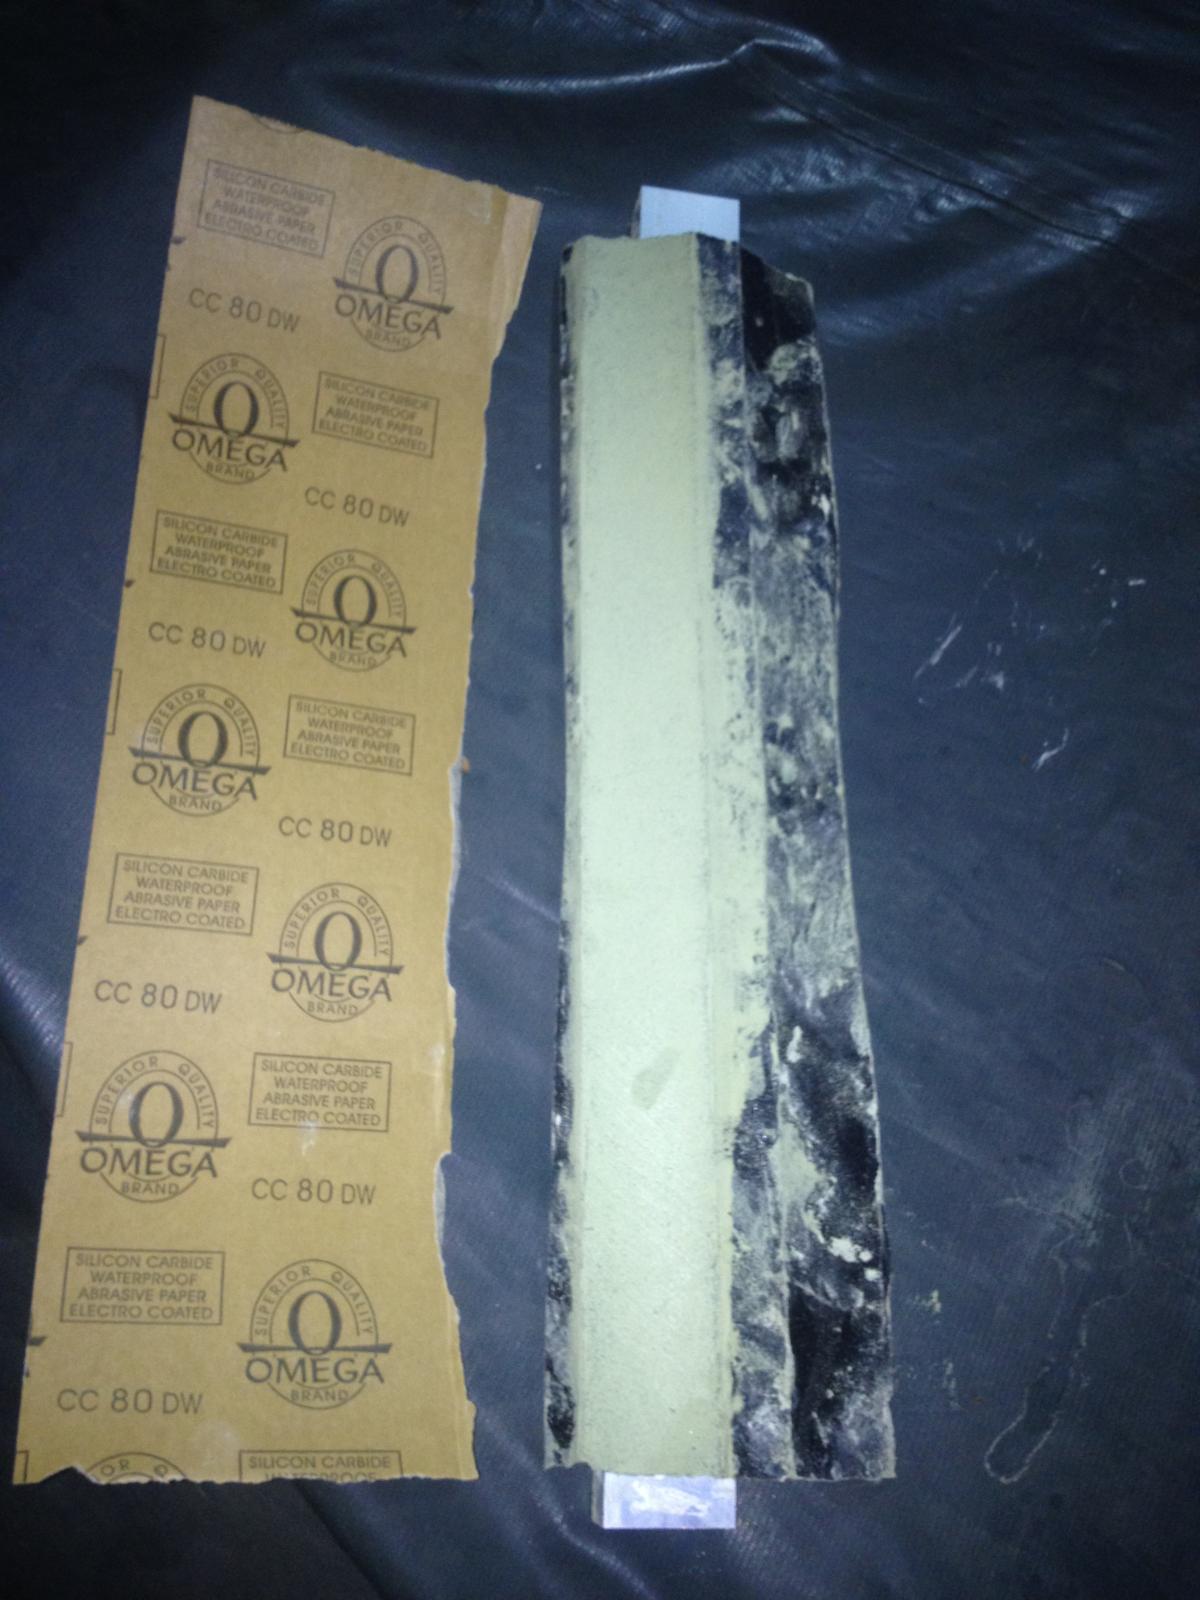
In my obsession of straightening the two side panels of the Split, I bought this 1x2x24 aluminum hallow tube and a two feet in length of 100 and 80 sand paper. I tried it last night and it is sanding the surface of the panel accordingly.


dongkg
Registered user
Posts: 90
Joined: Tue Jul 16, 2013 7:58 am
Re: My '67 Split Bus Resto Thread in the Philippines
by dongkg » Wed Jul 17, 2013 7:49 am
(Note: taken during the last part of April 2013)
I can truly say that the 1x2x24 hallow aluminum I bought paid off as my aid in straightening both side panels of the Split. These are the pictures after I used it in applying a few needed fillers and sanding it lightly (sanding is not yet completed):
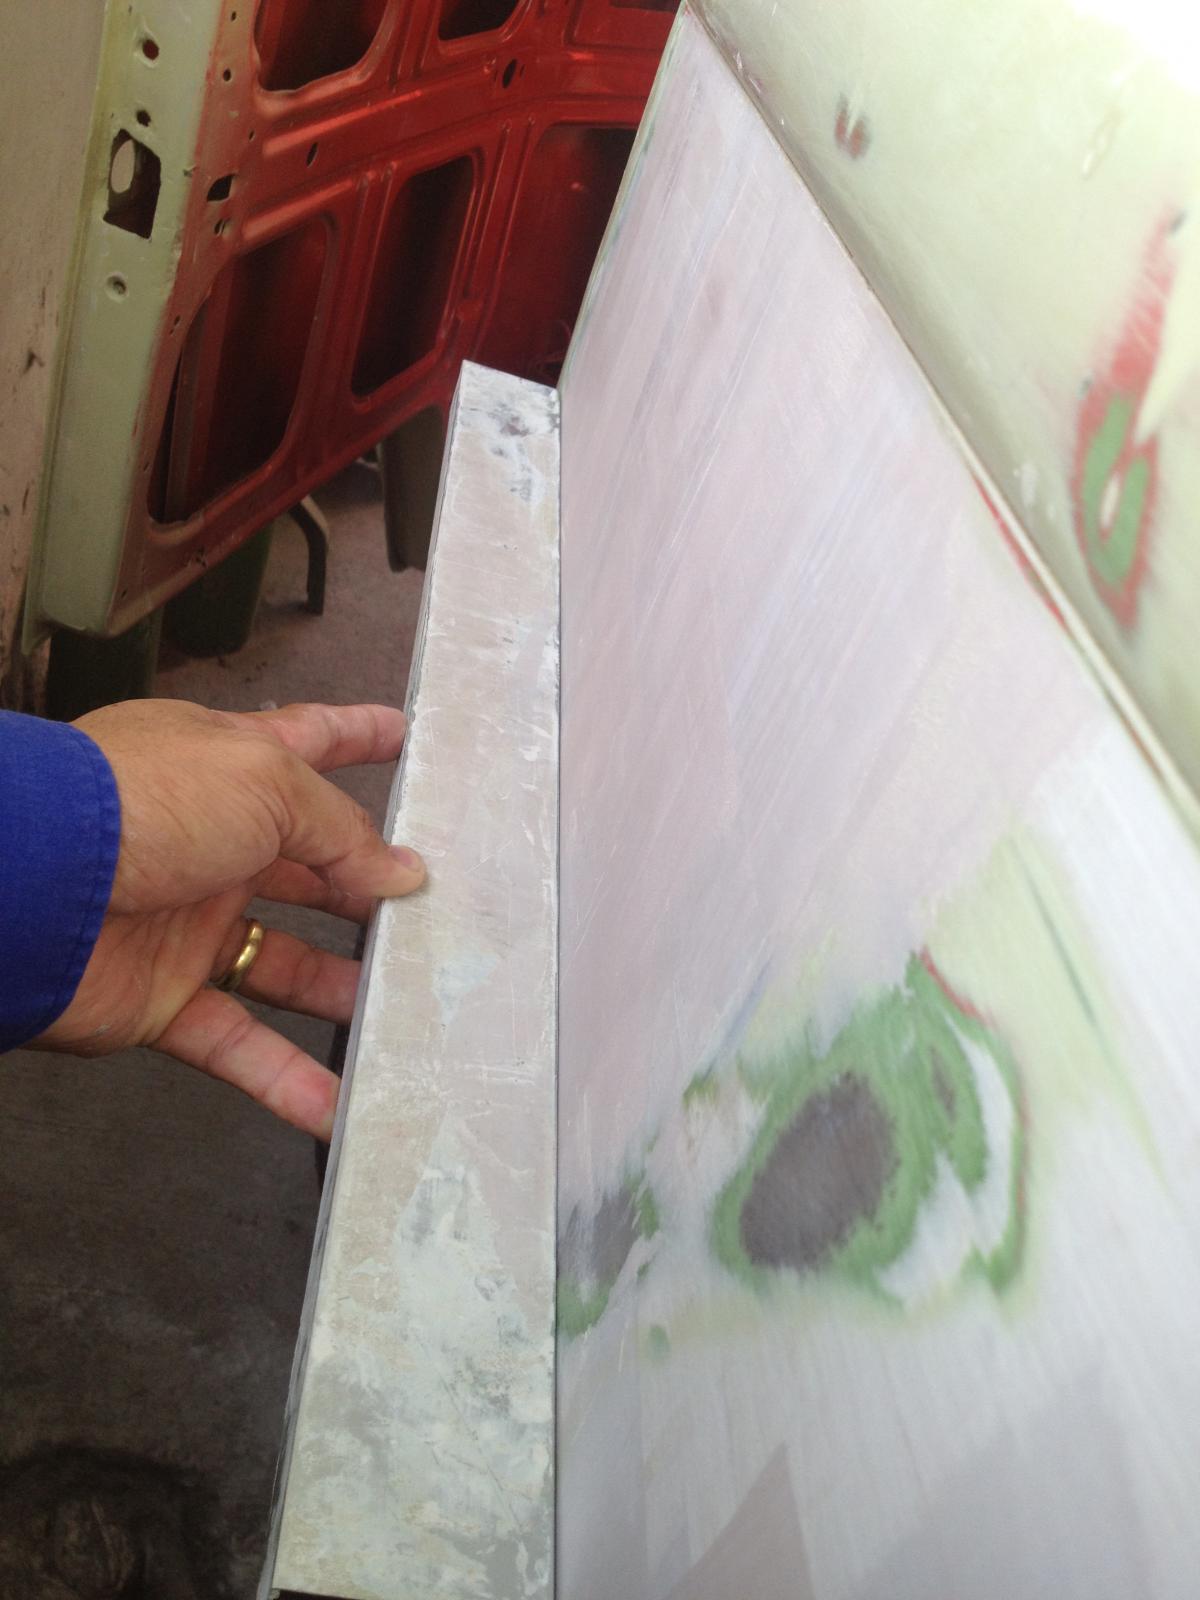
the side panel near the front door

Middle portion of the side panel
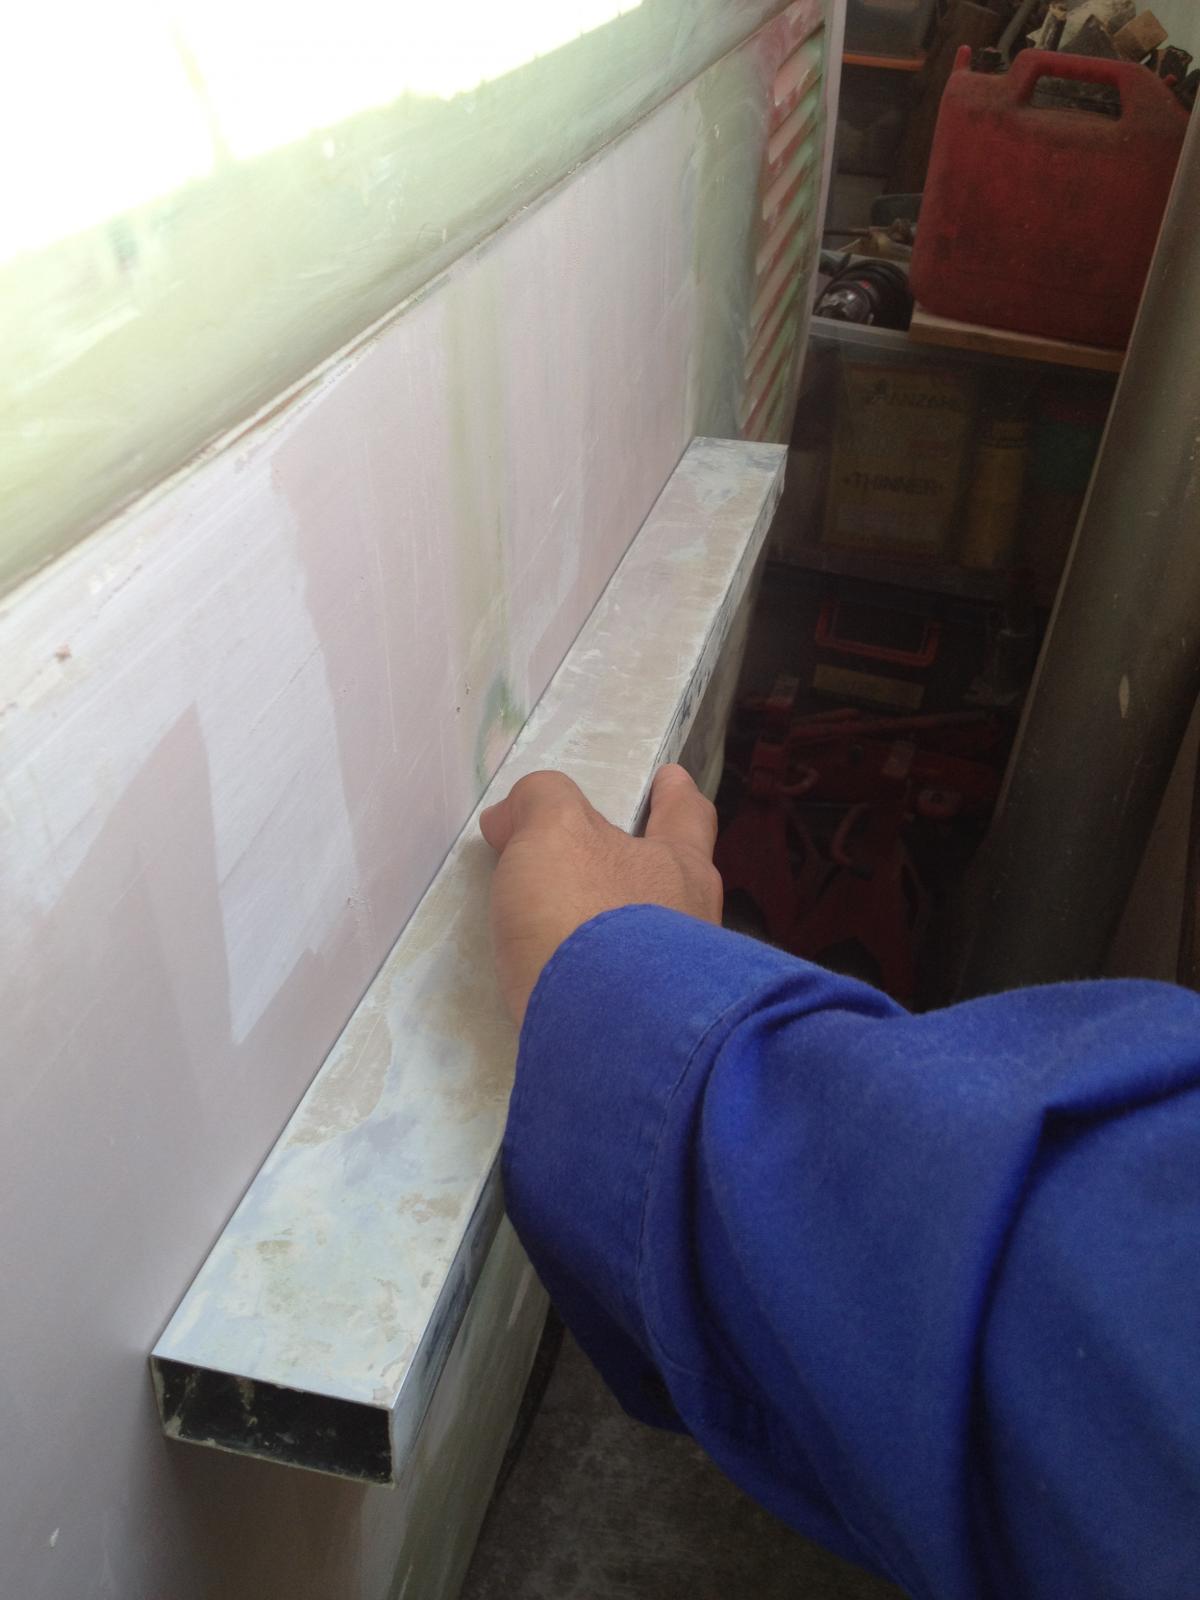
Side panel near the engine grills

This portion is one thing that i need to address. The panel is depressed and once it is pulled out through the grills it will be straightened; however, once it is released, it will go back to its former depressed position. So I guess i need to remedy this problem. Any suggestion is highly appreciated. Thanks in advance, buddies!
I can truly say that the 1x2x24 hallow aluminum I bought paid off as my aid in straightening both side panels of the Split. These are the pictures after I used it in applying a few needed fillers and sanding it lightly (sanding is not yet completed):

the side panel near the front door

Middle portion of the side panel

Side panel near the engine grills

This portion is one thing that i need to address. The panel is depressed and once it is pulled out through the grills it will be straightened; however, once it is released, it will go back to its former depressed position. So I guess i need to remedy this problem. Any suggestion is highly appreciated. Thanks in advance, buddies!
dongkg
Registered user
Posts: 90
Joined: Tue Jul 16, 2013 7:58 am
Re: My '67 Split Bus Resto Thread in the Philippines
by dongkg » Wed Jul 17, 2013 7:51 am
(Note: Taken on 1 May 2013)
The morning of May 1, Labor day, I went to a muffler shop has brought with me the single quiet pack muffler of the split. we made, what I call, a "de-facto A! muffler." These are the picture of the built:
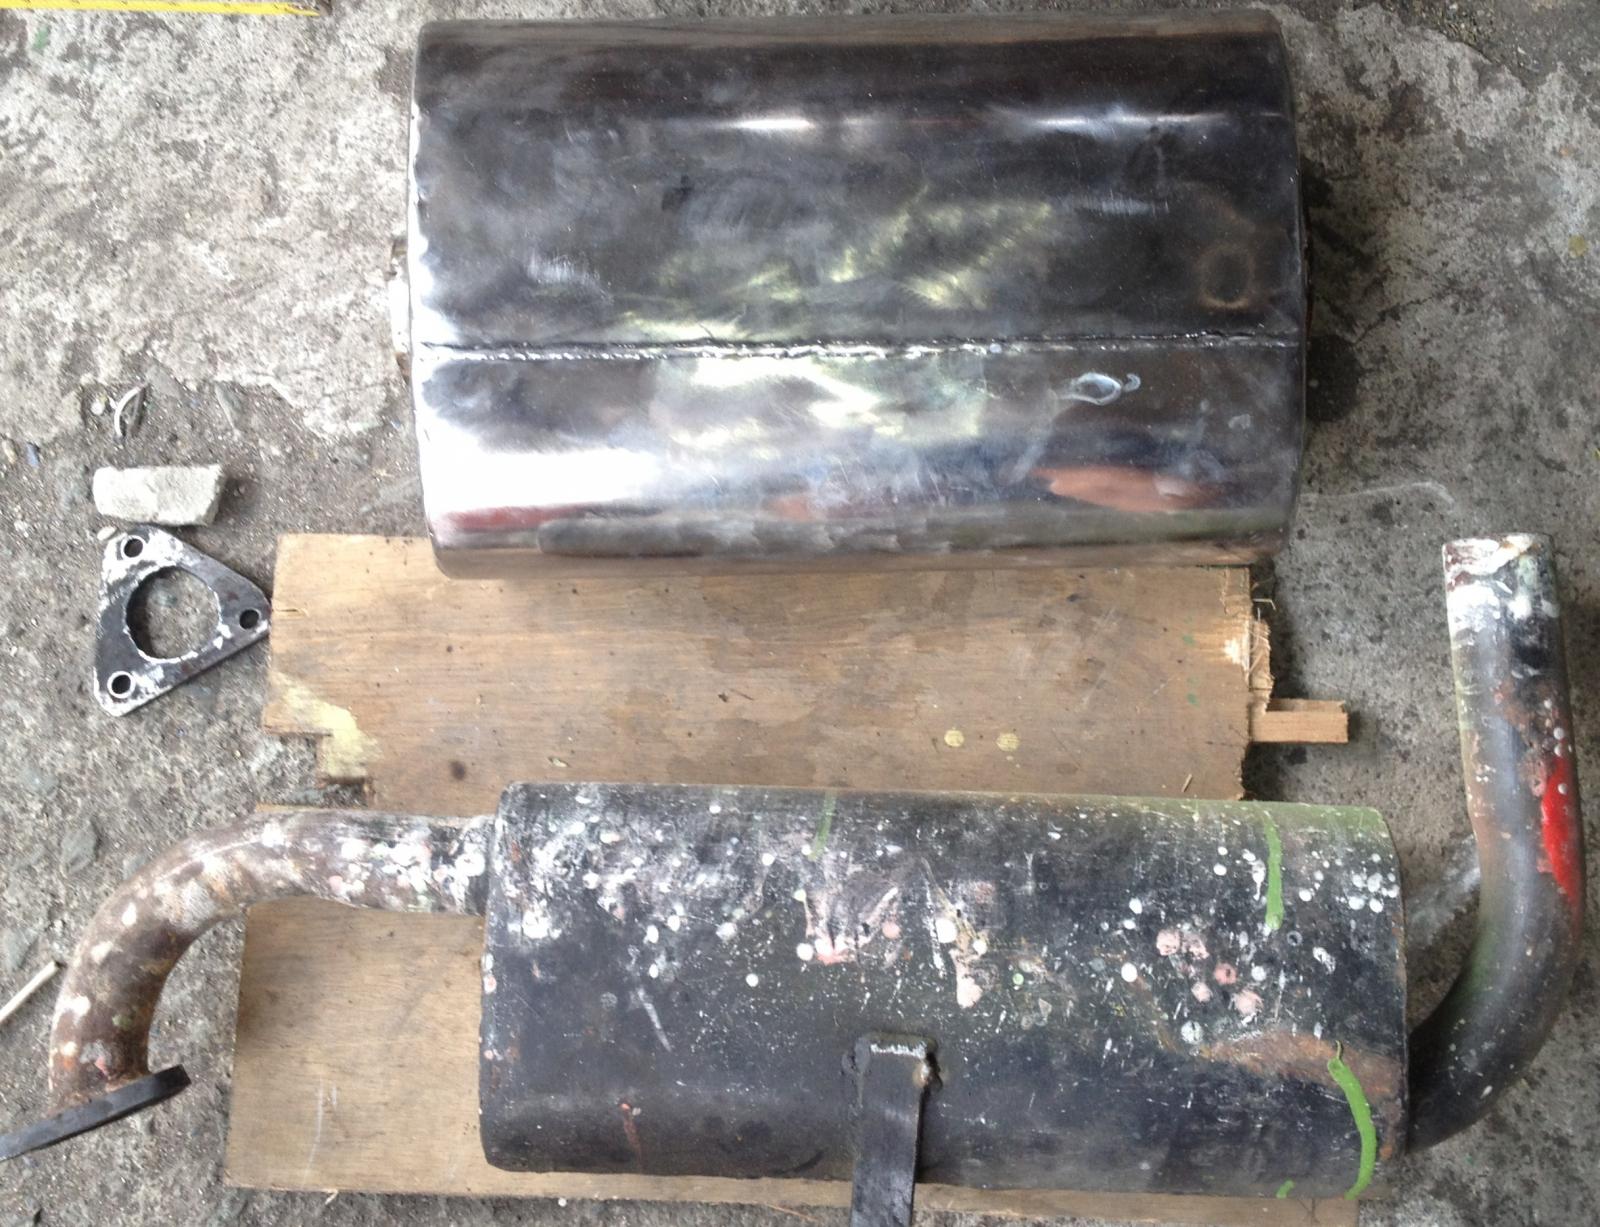
The stainless muffler we used side by side with the single quiet pack previously installed on the split.
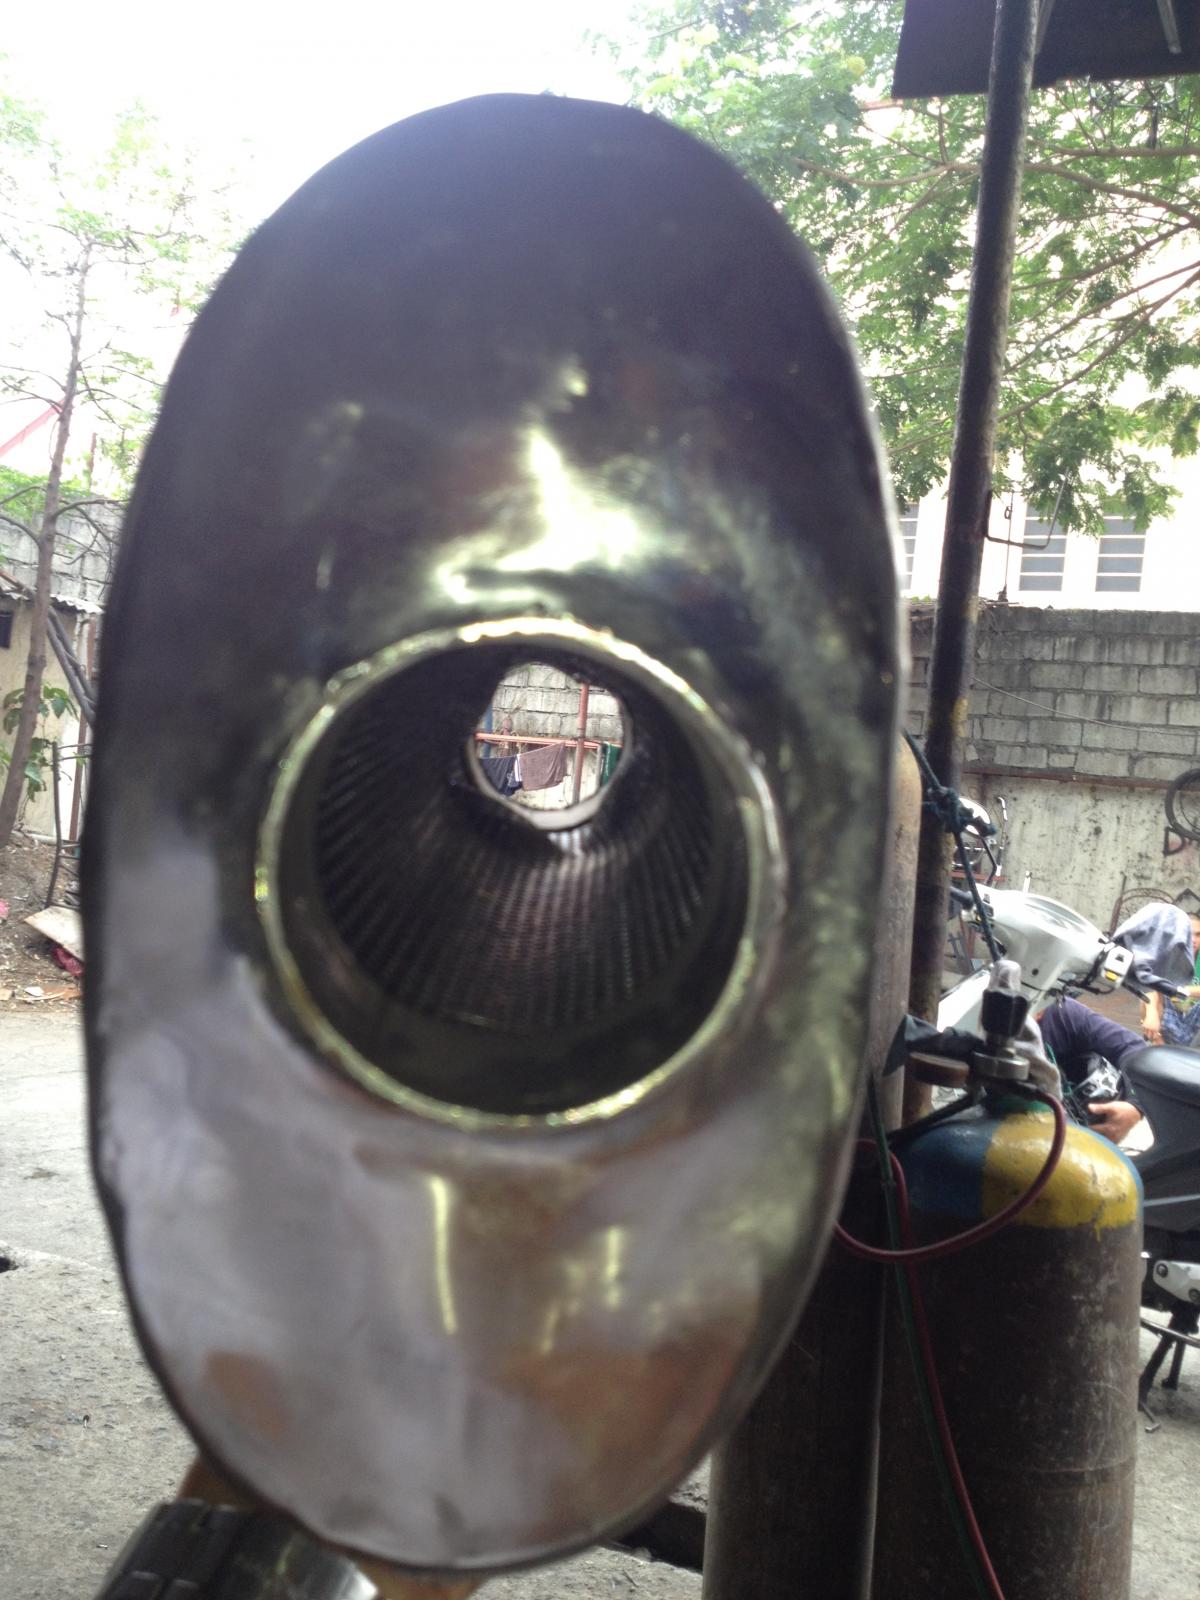
The diameter of the muffler from the flange is 2.5 inches.
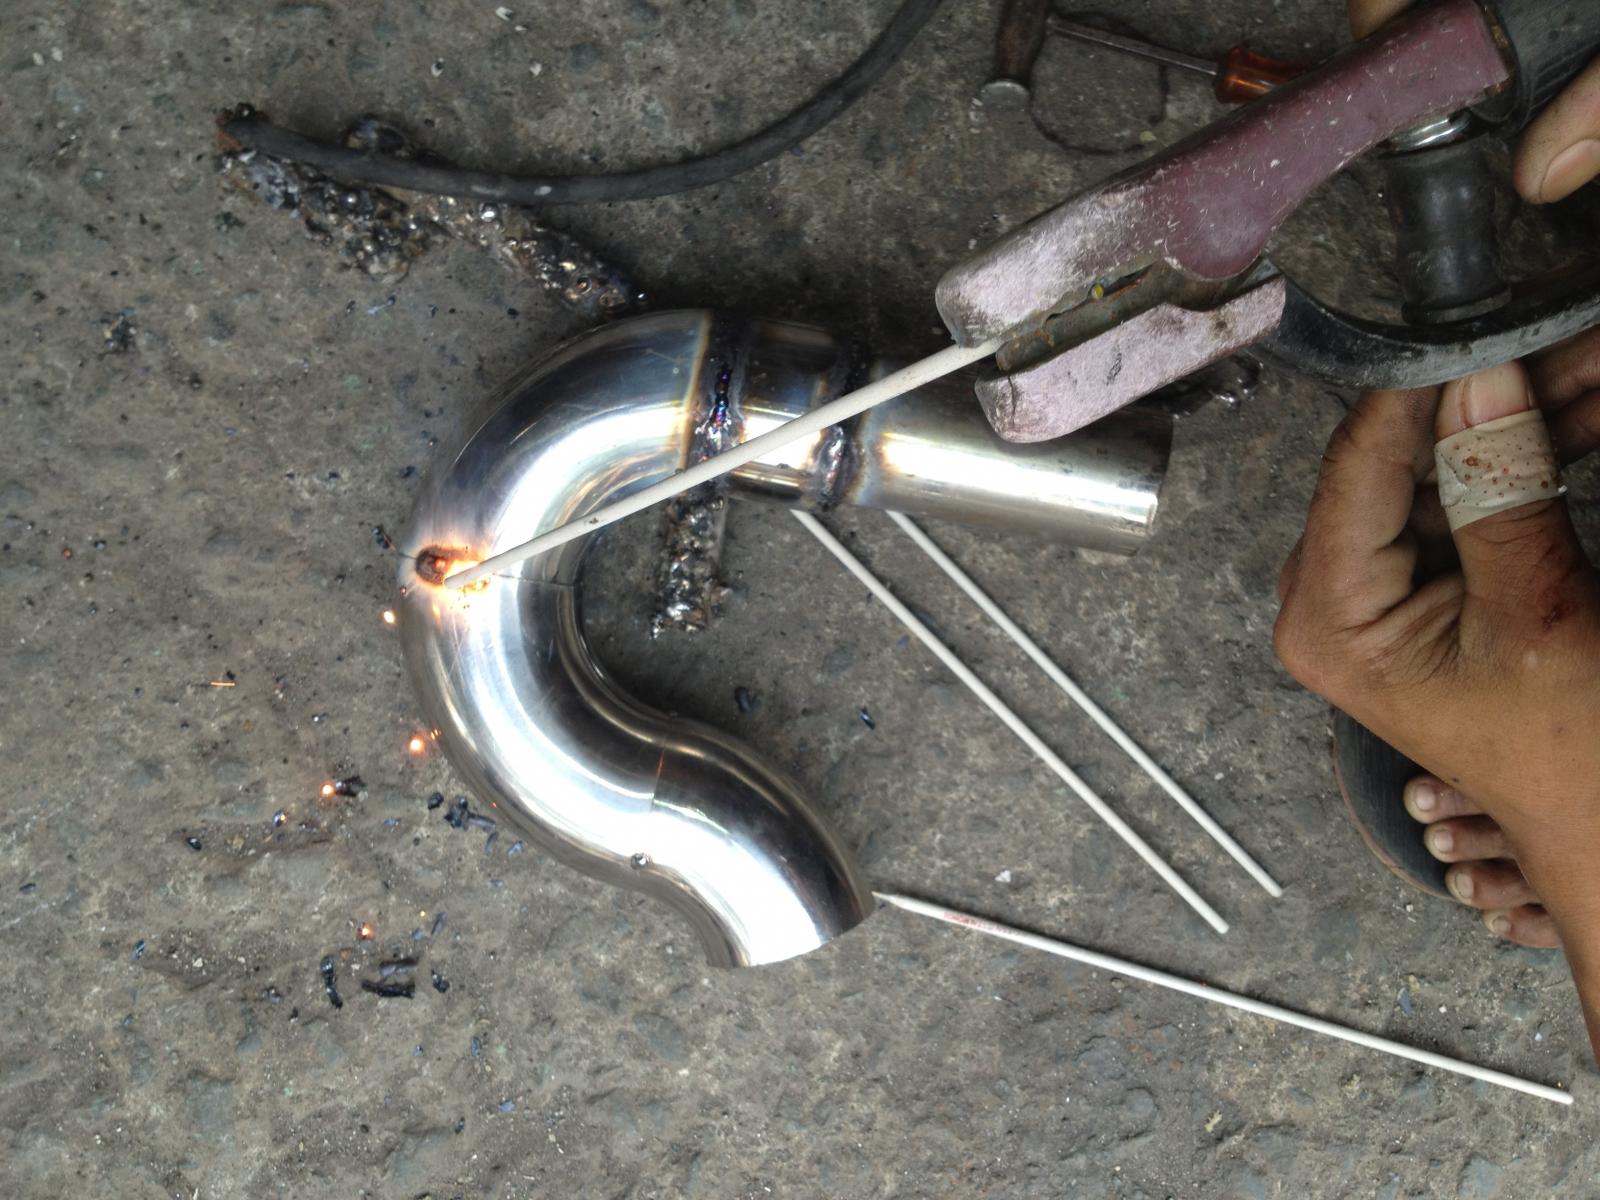
After much measurements, we welded three stainless elbows for the fange.
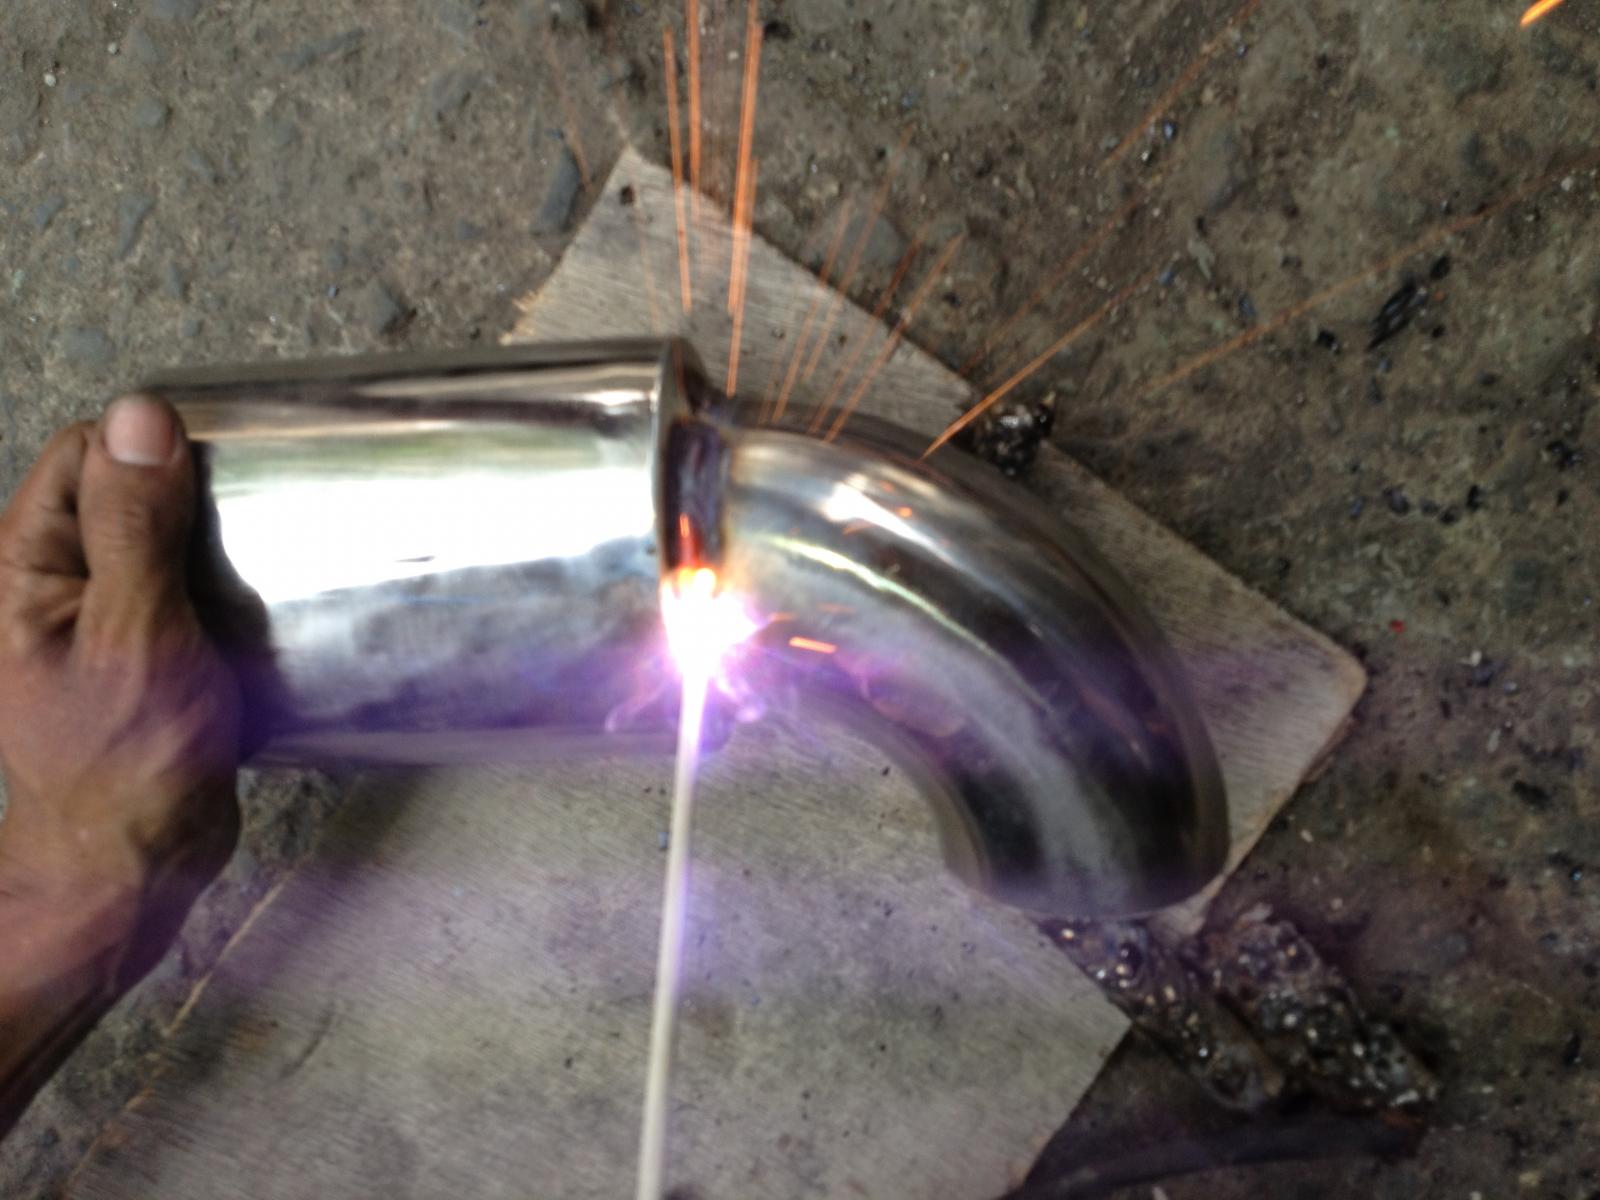
We welded one elbow for the tip of the muffler. The diameter of the tip is 3 inches.
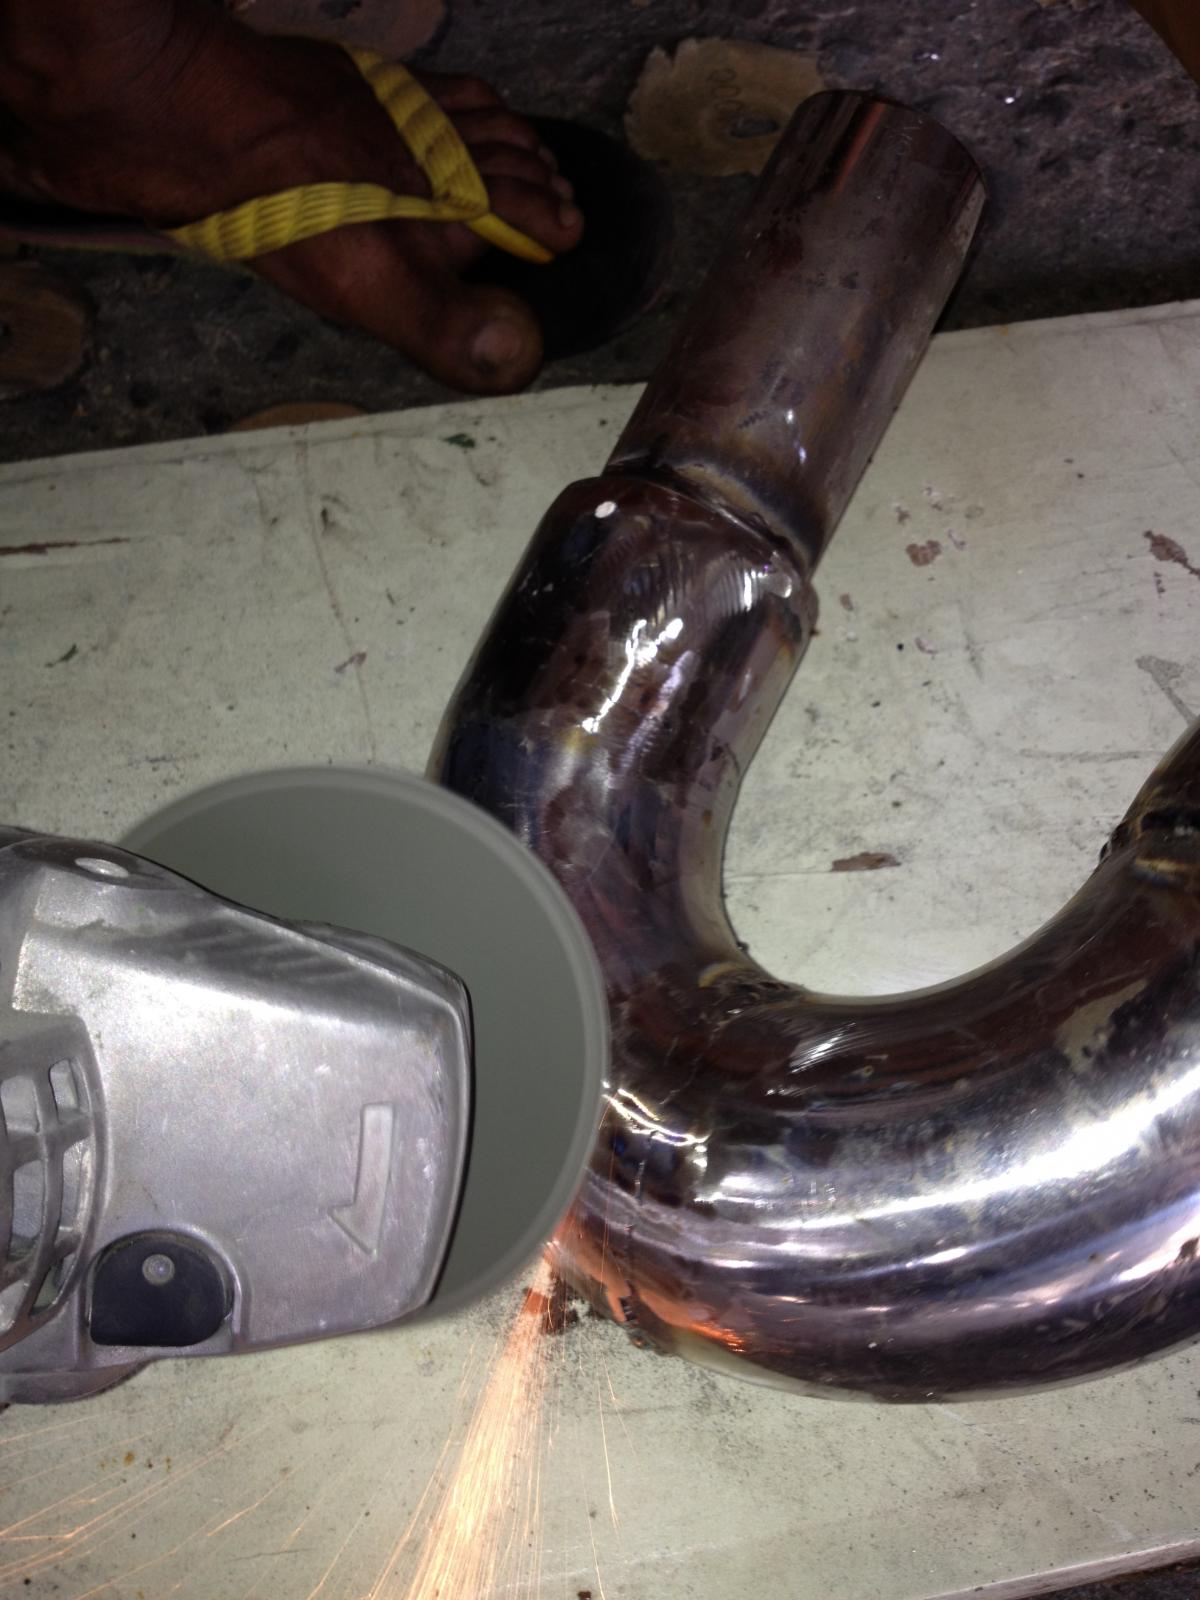
Buffing and cleaning the finished tube for the flange.
(Note: taken in the first week of May 2013)
This morning of May 1, Labor day, I went to a muffler shop has brought with me the single quiet pack muffler of the split. we made, what I call, a "de-facto A! muffler." These are the picture of the built:

The stainless muffler we used side by side with the single quiet pack previously installed on the split.

The diameter of the muffler from the flange is 2.5 inches.

After much measurements, we welded three stainless elbows for the fange.

We welded one elbow for the tip of the muffler. The diameter of the tip is 3 inches.

Buffing and cleaning the finished tube for the flange.
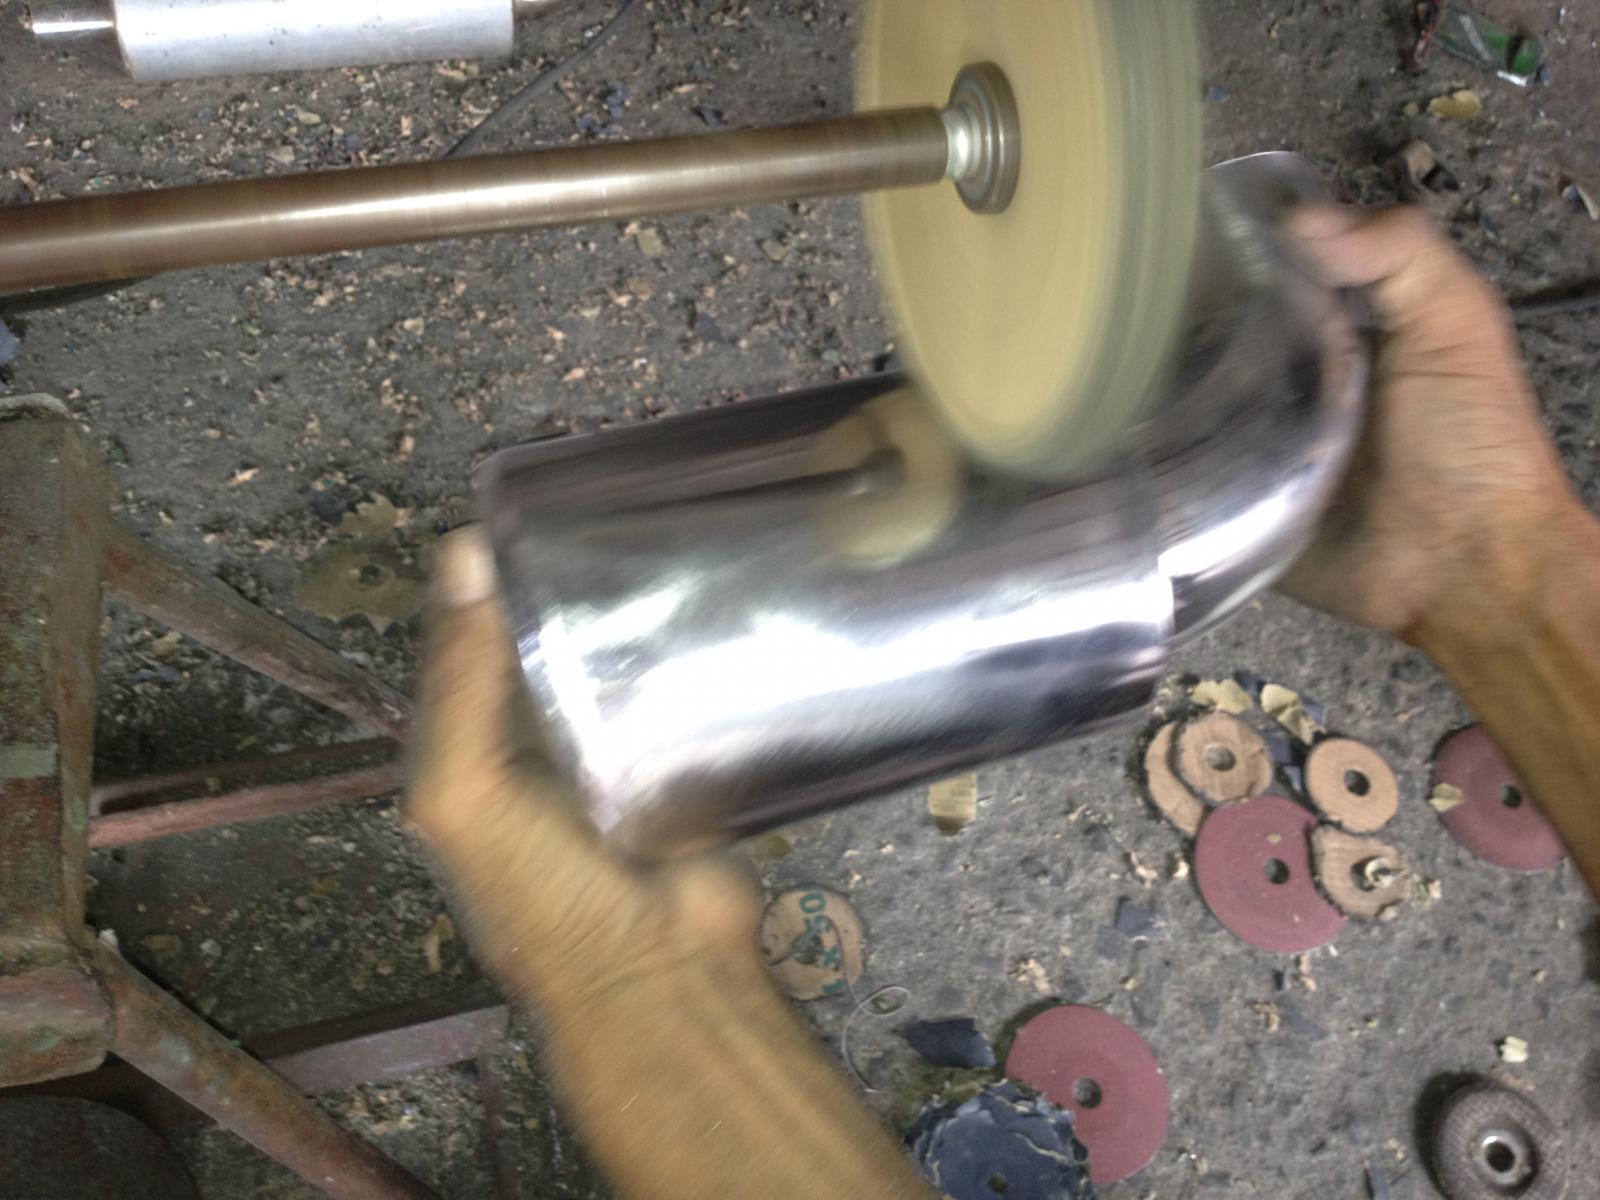
Buffing and clearing the tip of the muffler.
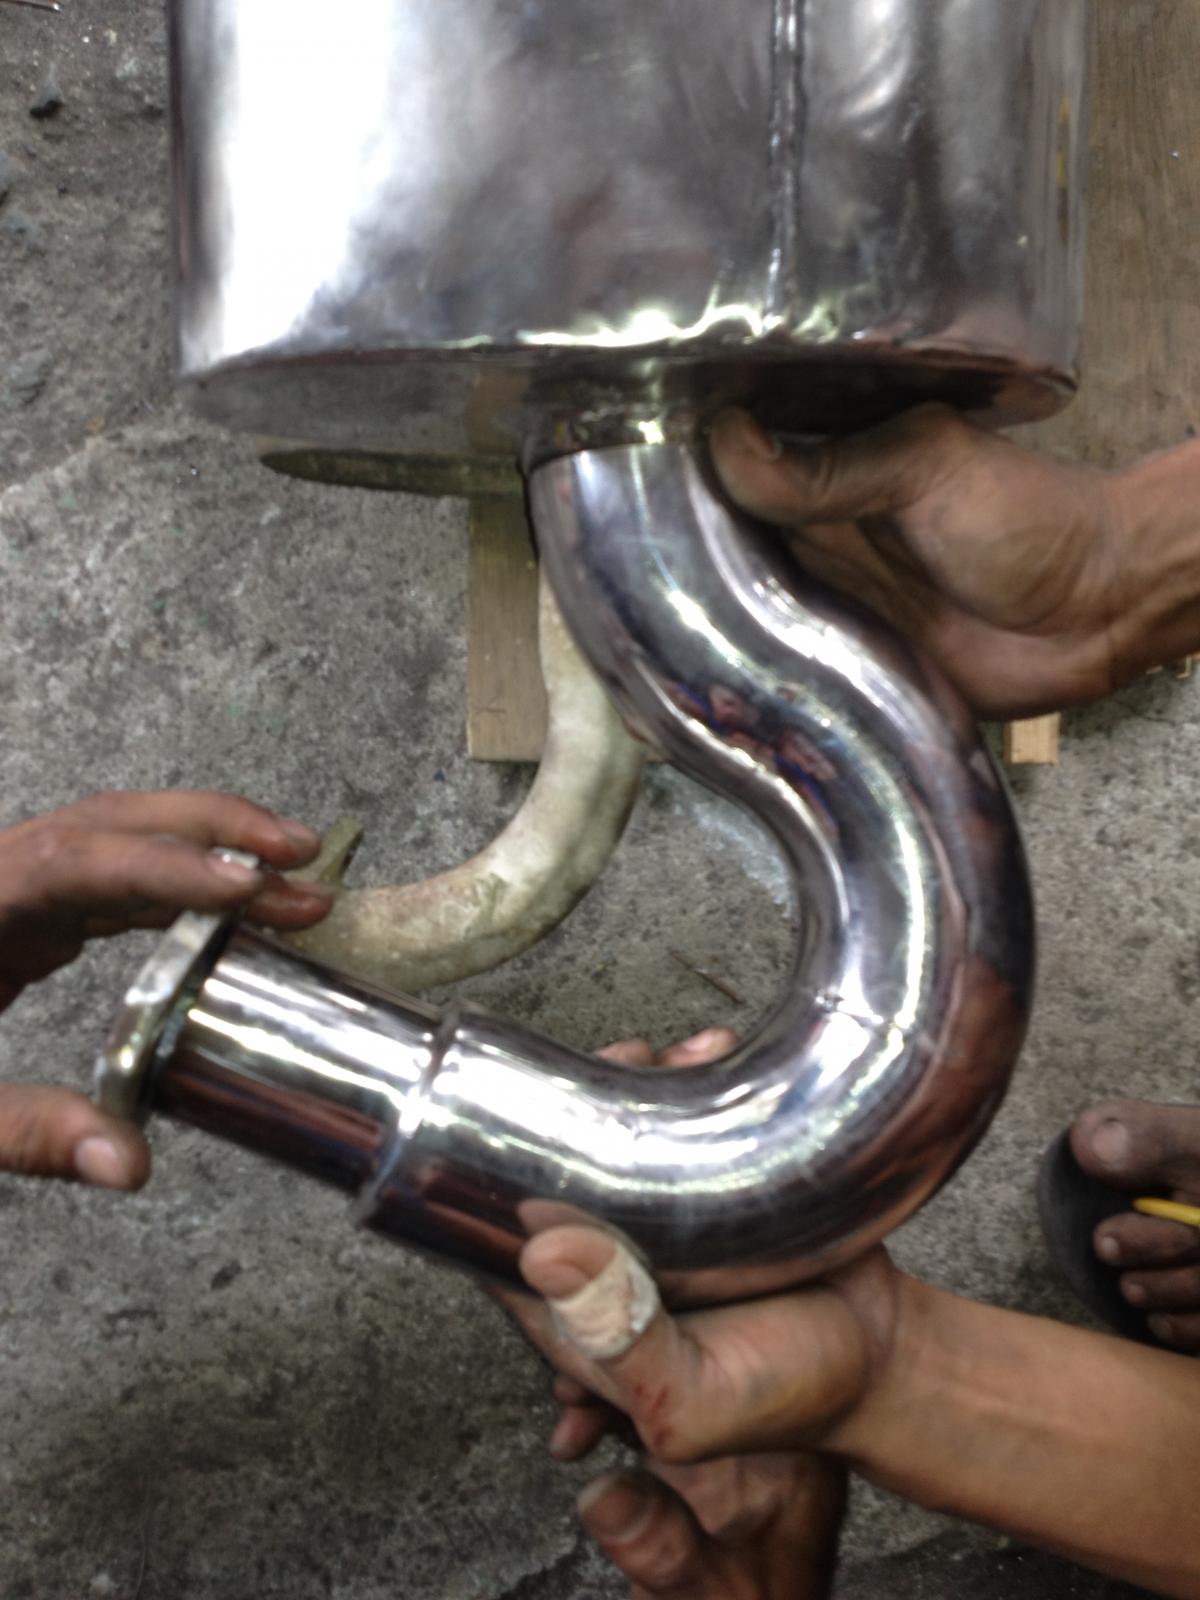
Measuring the tube using the single quiet pack previously installed on the split.
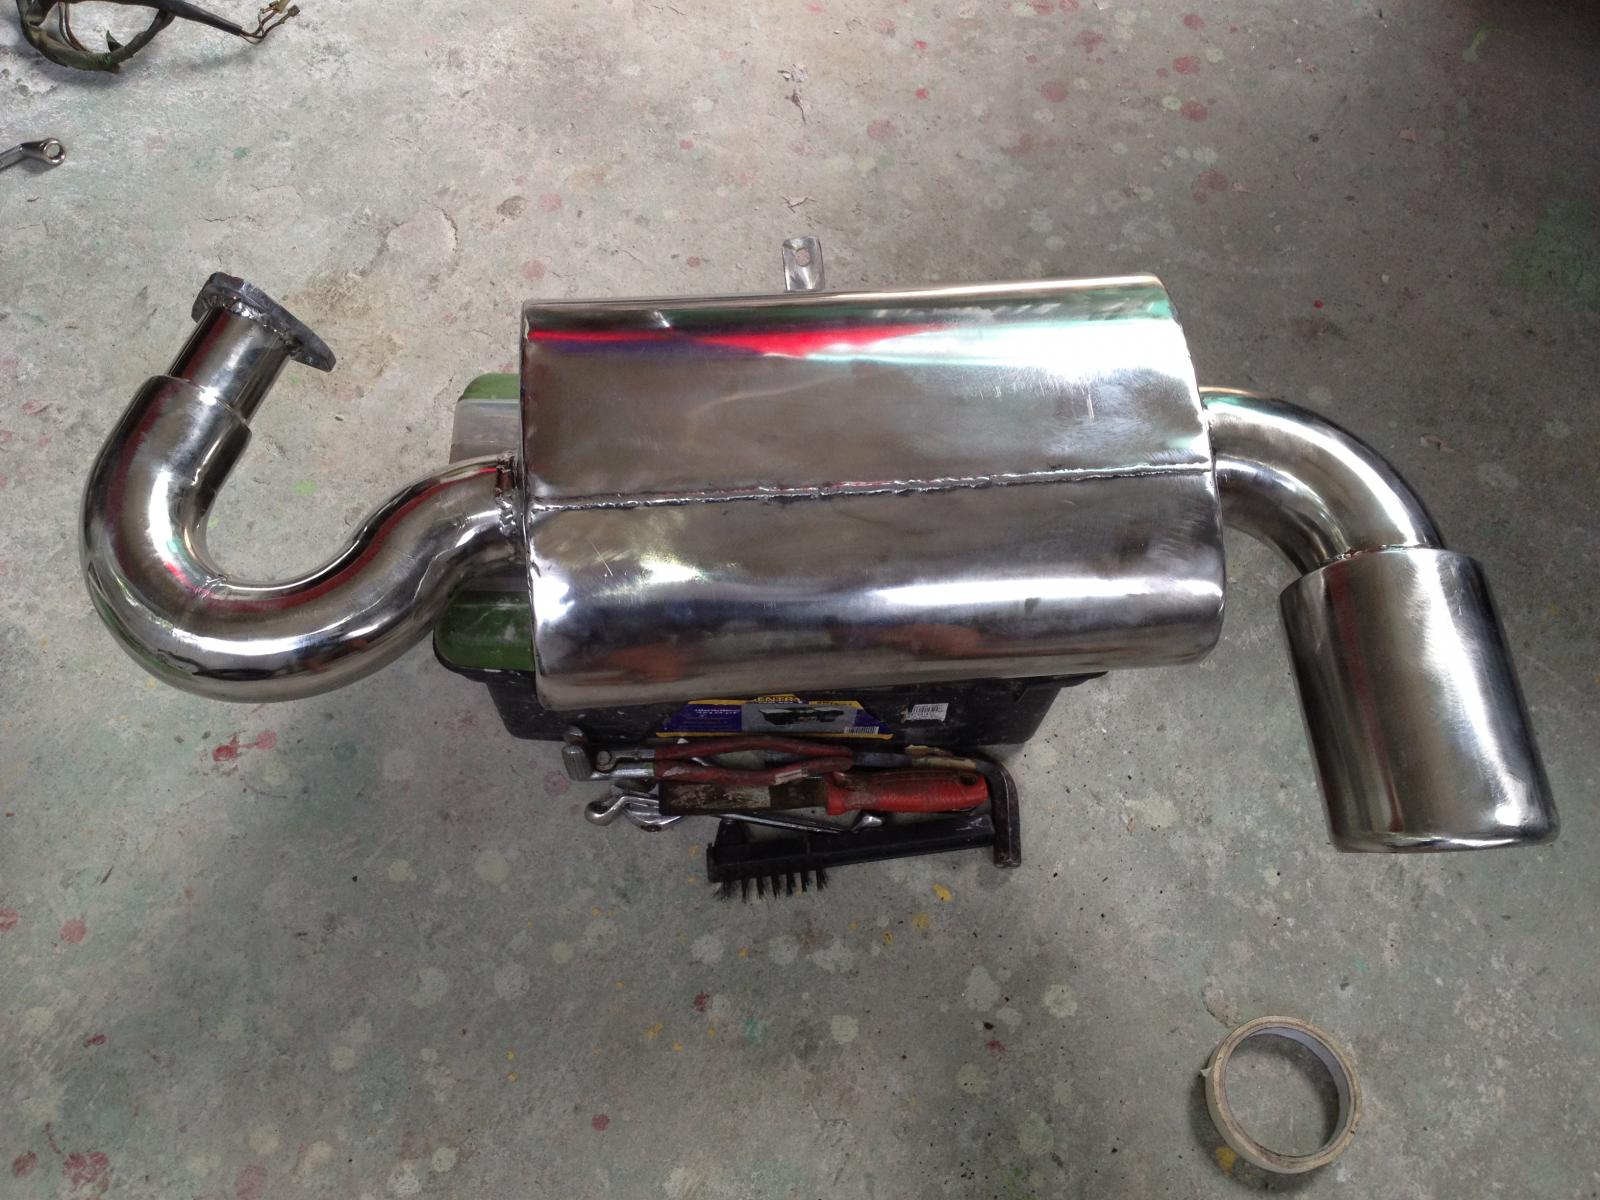
The finished de-facto A1 muffler!
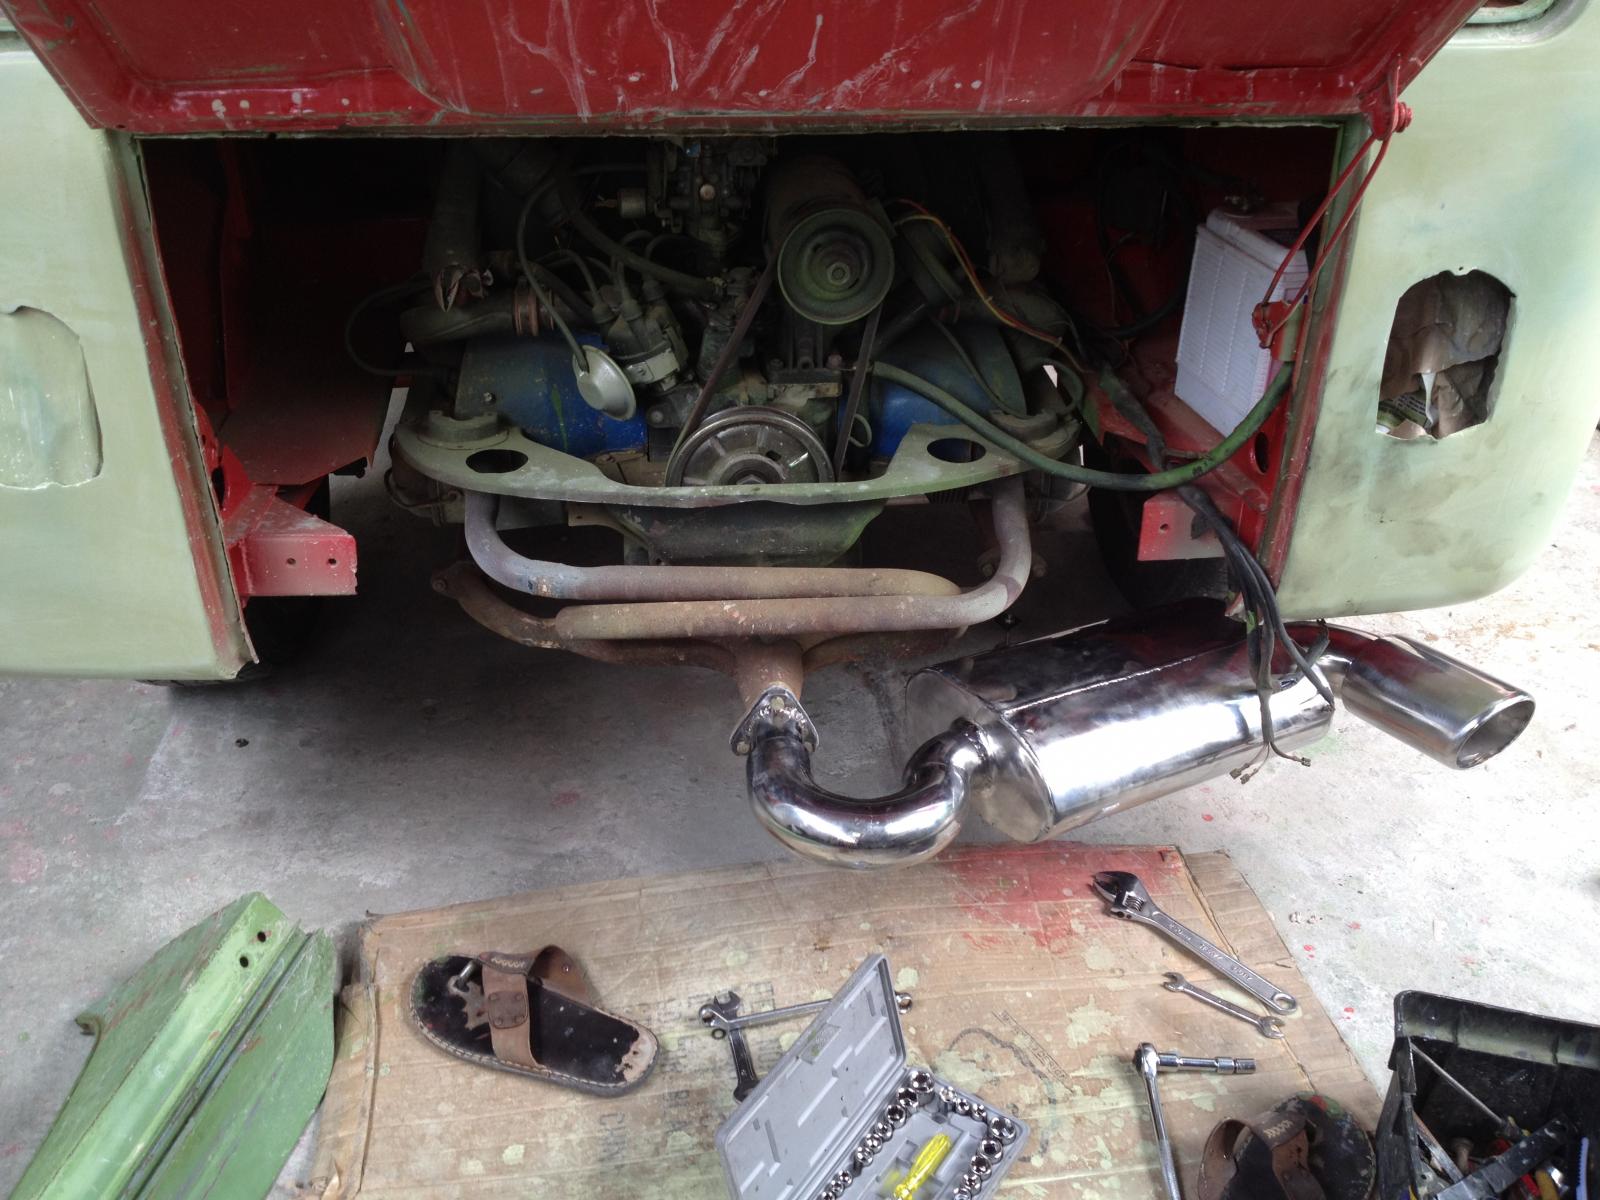
After I installed the de-facto A1 muffler!
It really like sounds! Awesome! But the funny thing about is is that the bumper could not be installed. My bad! Nevertheless, I am happy for the result and I will have it fixed as soon as I have the time to drive the split to the muffler shop. It wont be difficult!
The morning of May 1, Labor day, I went to a muffler shop has brought with me the single quiet pack muffler of the split. we made, what I call, a "de-facto A! muffler." These are the picture of the built:

The stainless muffler we used side by side with the single quiet pack previously installed on the split.

The diameter of the muffler from the flange is 2.5 inches.

After much measurements, we welded three stainless elbows for the fange.

We welded one elbow for the tip of the muffler. The diameter of the tip is 3 inches.

Buffing and cleaning the finished tube for the flange.
(Note: taken in the first week of May 2013)
This morning of May 1, Labor day, I went to a muffler shop has brought with me the single quiet pack muffler of the split. we made, what I call, a "de-facto A! muffler." These are the picture of the built:

The stainless muffler we used side by side with the single quiet pack previously installed on the split.

The diameter of the muffler from the flange is 2.5 inches.

After much measurements, we welded three stainless elbows for the fange.

We welded one elbow for the tip of the muffler. The diameter of the tip is 3 inches.

Buffing and cleaning the finished tube for the flange.

Buffing and clearing the tip of the muffler.

Measuring the tube using the single quiet pack previously installed on the split.

The finished de-facto A1 muffler!

After I installed the de-facto A1 muffler!
It really like sounds! Awesome! But the funny thing about is is that the bumper could not be installed. My bad! Nevertheless, I am happy for the result and I will have it fixed as soon as I have the time to drive the split to the muffler shop. It wont be difficult!
dongkg
Registered user
Posts: 90
Joined: Tue Jul 16, 2013 7:58 am
Re: My '67 Split Bus Resto Thread in the Philippines
by dongkg » Wed Jul 17, 2013 7:52 am
(Note: Taken on 1 May 2013)
This is the video I took to show the sound of the de-facto A1 Muffler. I like the end result!
[youtube]http://www.youtube.com/watch?v=NUvVO2m-P5M&feature=youtu.be[/youtube]
This is the video I took to show the sound of the de-facto A1 Muffler. I like the end result!
[youtube]http://www.youtube.com/watch?v=NUvVO2m-P5M&feature=youtu.be[/youtube]
dongkg
Registered user
Posts: 90
Joined: Tue Jul 16, 2013 7:58 am
Re: My '67 Split Bus Resto Thread in the Philippines
by 211vanman » Wed Jul 17, 2013 8:39 am
hi , you are not hanging about -will be done in no time!!
where in the world are you ?
thx
where in the world are you ?
thx
211vanman

SSVC Member
Posts: 1433
Joined: Wed Mar 03, 2004 10:52 pm
Re: My '67 Split Bus Resto Thread in the Philippines
by dongkg » Wed Jul 17, 2013 8:54 am
211vanman wrote:hi , you are not hanging about -will be done in no time!!
where in the world are you ?
thx
Thanks, buddy!
I am from the Philippines and the vw scene is also great! Although, there are a few split buses here and owning one is a pride already! Thanks
dongkg
Registered user
Posts: 90
Joined: Tue Jul 16, 2013 7:58 am
Re: My '67 Split Bus Resto Thread in the Philippines
by dongkg » Wed Jul 17, 2013 8:55 am
IN RETROSPECT:

This is the video taken in the past sometime in December of 2012 when pushed the split from the garage of the PO. That was a monumental day for me considering that a dream of owning a split bus has finally been realized. And that day on, I knew that the coming weekends would be so busy having my hands dirty and greased. This is the start of the restoration!

This is the video taken in the past sometime in December of 2012 when pushed the split from the garage of the PO. That was a monumental day for me considering that a dream of owning a split bus has finally been realized. And that day on, I knew that the coming weekends would be so busy having my hands dirty and greased. This is the start of the restoration!
dongkg
Registered user
Posts: 90
Joined: Tue Jul 16, 2013 7:58 am
Re: My '67 Split Bus Resto Thread in the Philippines
by dongkg » Wed Jul 17, 2013 8:55 am
dongkg
Registered user
Posts: 90
Joined: Tue Jul 16, 2013 7:58 am
Re: My '67 Split Bus Resto Thread in the Philippines
by RockStock » Wed Jul 17, 2013 9:31 am
Looks a great project! Keep the pictures flowing!
Looking forward to seeing the interior come together
Looking forward to seeing the interior come together
RockStock

Registered user
Posts: 980
Joined: Tue May 10, 2005 10:43 pm
Re: My '67 Split Bus Resto Thread in the Philippines
by dongkg » Wed Jul 17, 2013 10:29 am
RockStock wrote:Looks a great project! Keep the pictures flowing!
Looking forward to seeing the interior come together
Thanks so much, buddy! Hope to finish the project this year! I hope so..
To everyone:
Thanks so much for the warm welcome on the forums. I am glad everyone is friendly!
Thanks so much,
Dong
dongkg
Registered user
Posts: 90
Joined: Tue Jul 16, 2013 7:58 am
Re: My '67 Split Bus Resto Thread in the Philippines
by dongkg » Wed Jul 17, 2013 10:30 am
(Note: Take during the first week of May 2013)
I applied the Sealing Wax Red paint. So wonderful seeing the Split getting into share each day! I am excited to she her finished!

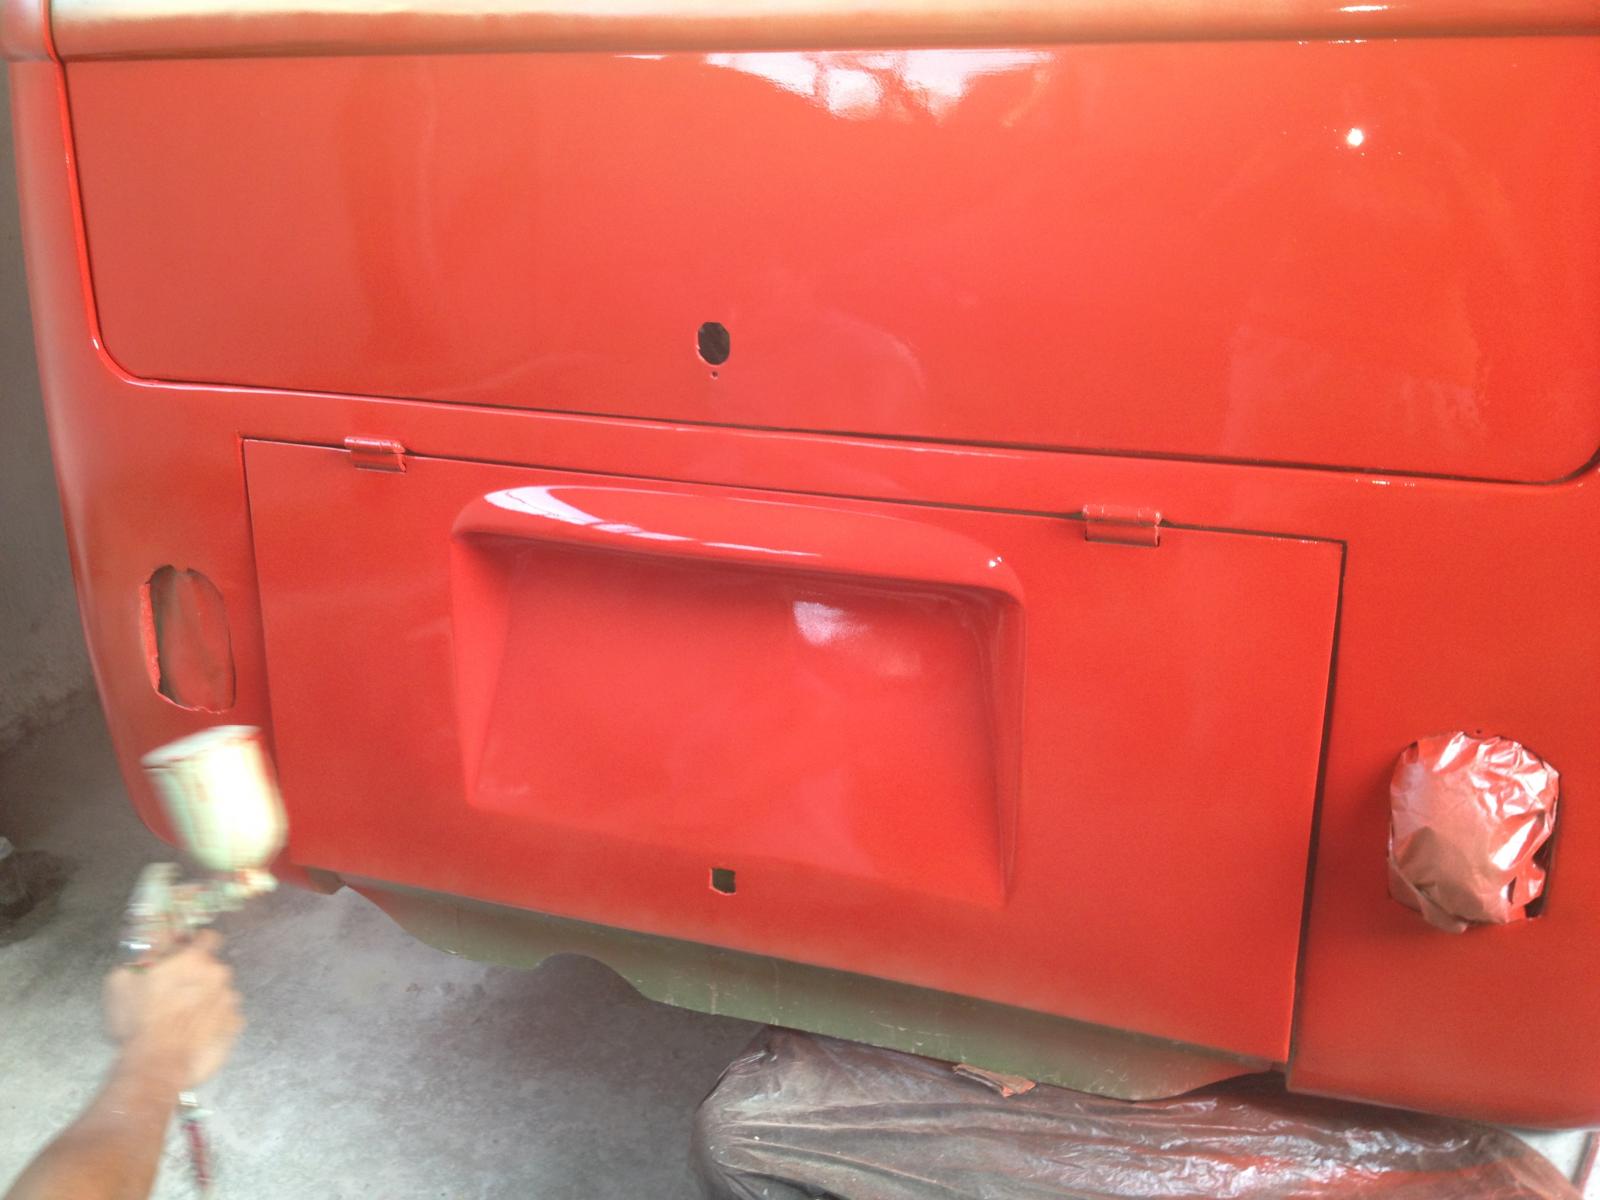
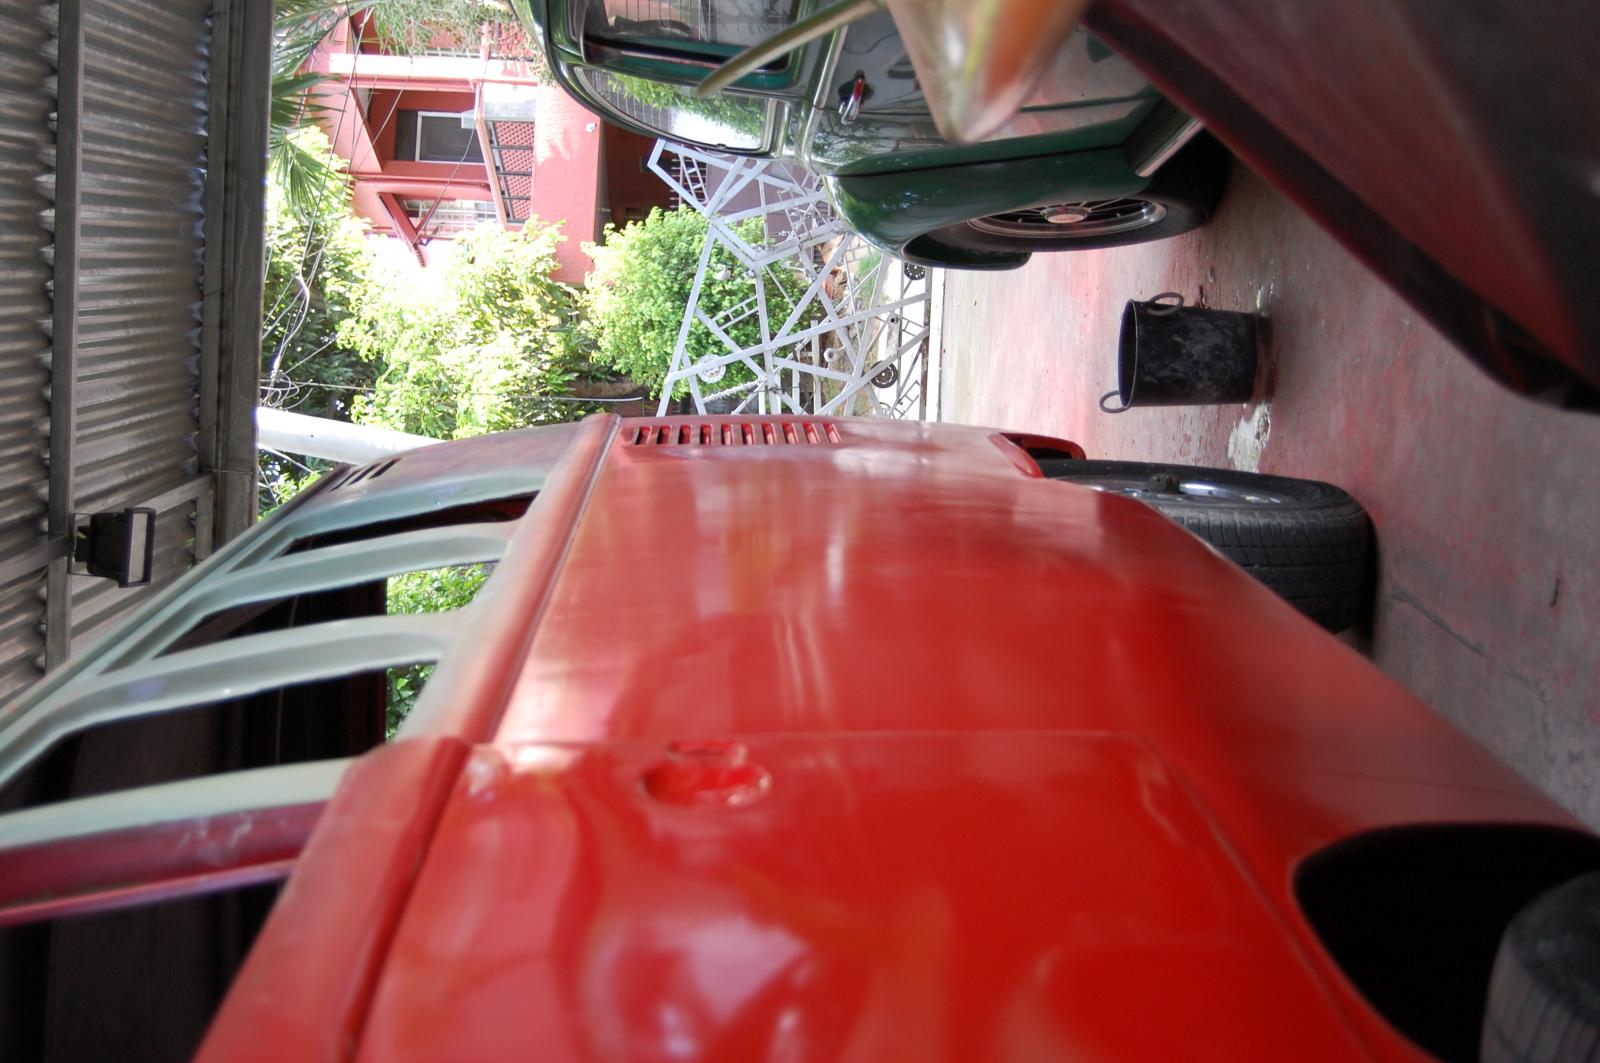


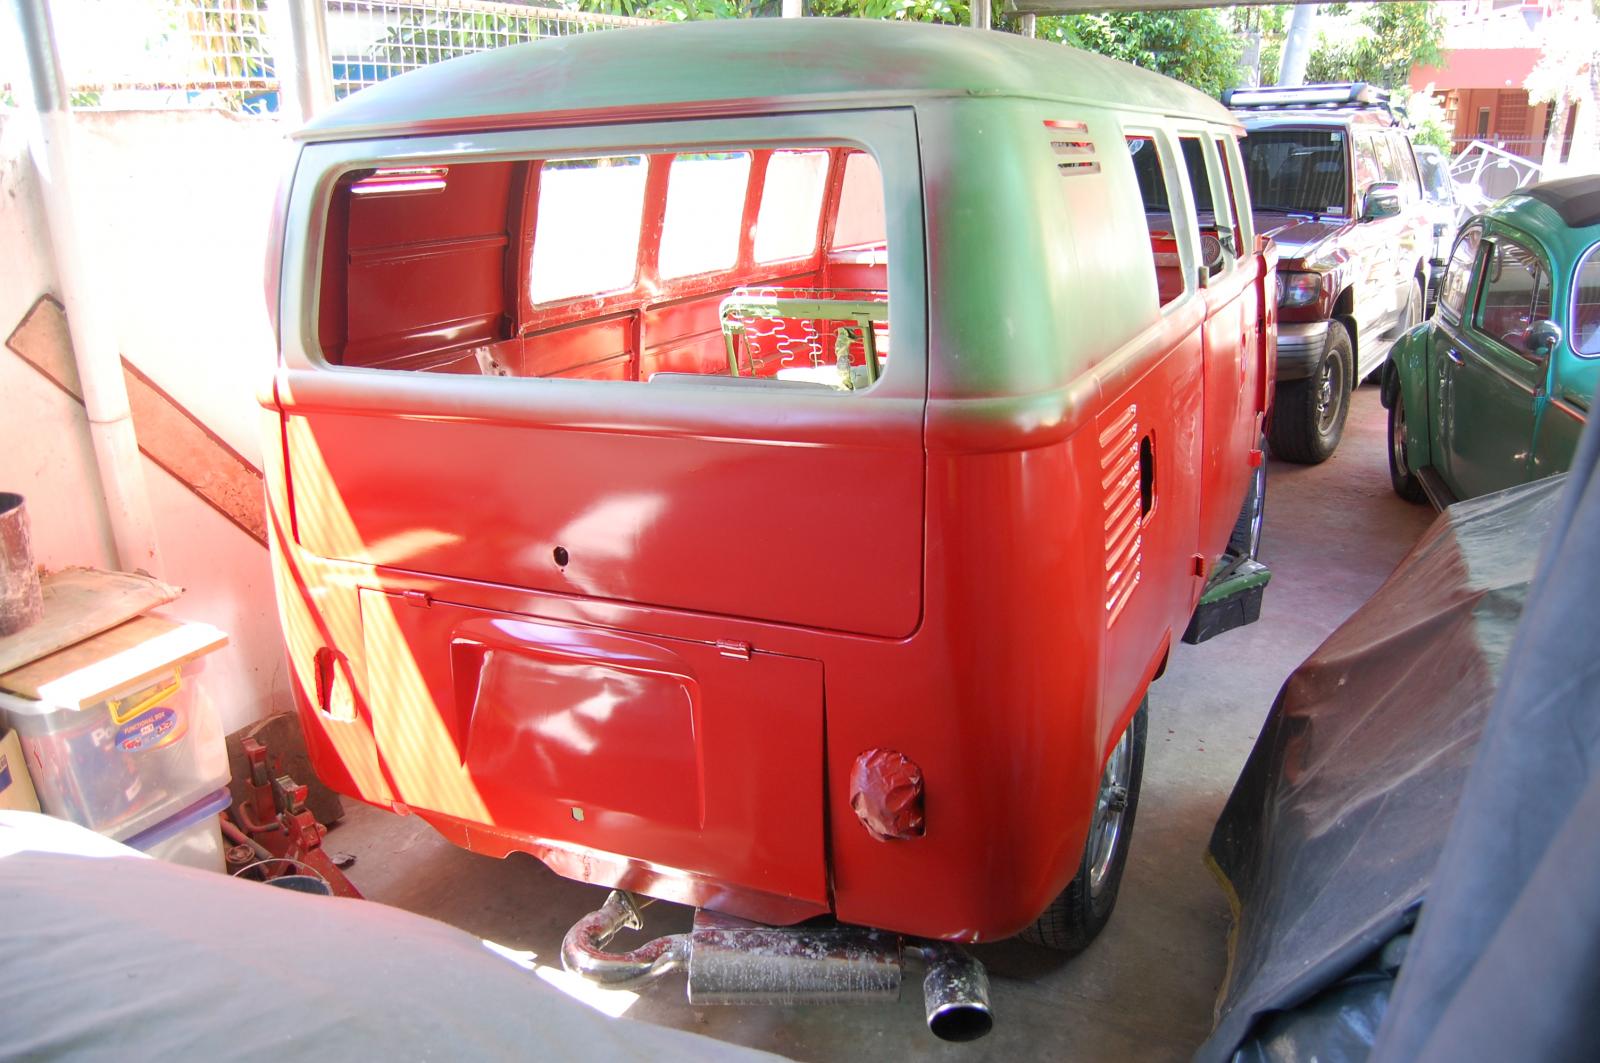
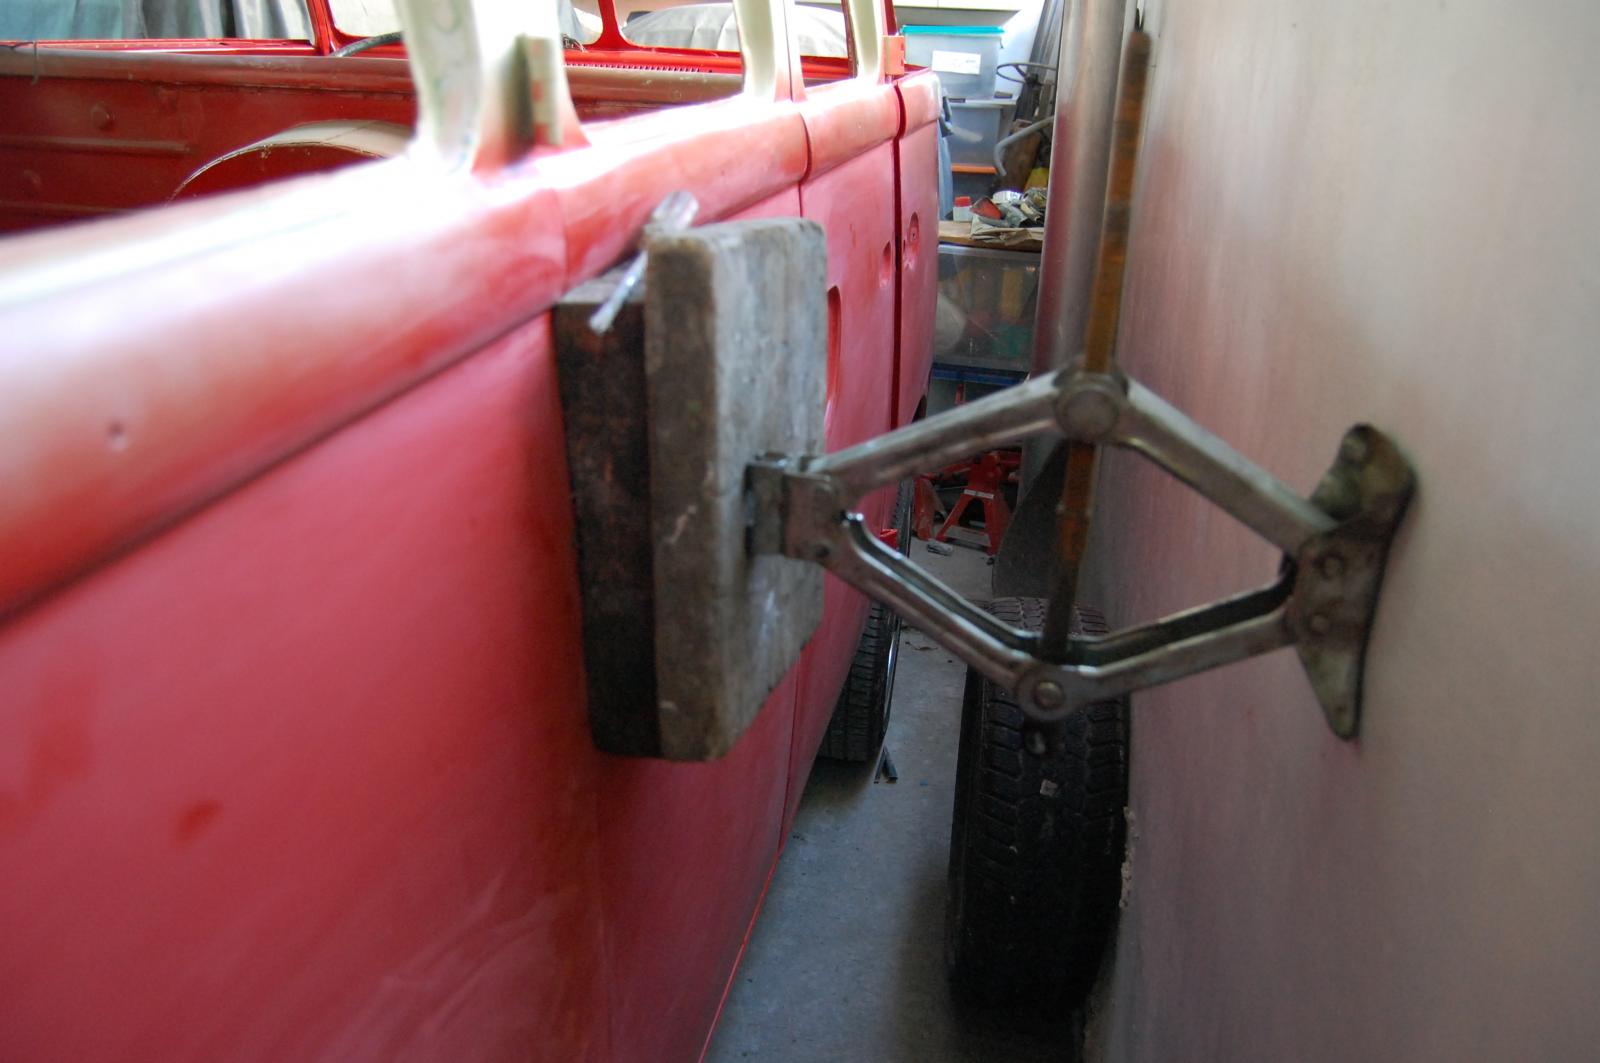
This door has to be aligned and I devised a way how to. Fortunately it worked!
I applied the Sealing Wax Red paint. So wonderful seeing the Split getting into share each day! I am excited to she her finished!


This door has to be aligned and I devised a way how to. Fortunately it worked!
dongkg
Registered user
Posts: 90
Joined: Tue Jul 16, 2013 7:58 am
Re: My '67 Split Bus Resto Thread in the Philippines
by dongkg » Wed Jul 17, 2013 10:32 am
(Note: taken during the last week of May 2013)
These are the pictures of some of the final touches I made of the fillers. Searching for those small depressions and pin-holes!
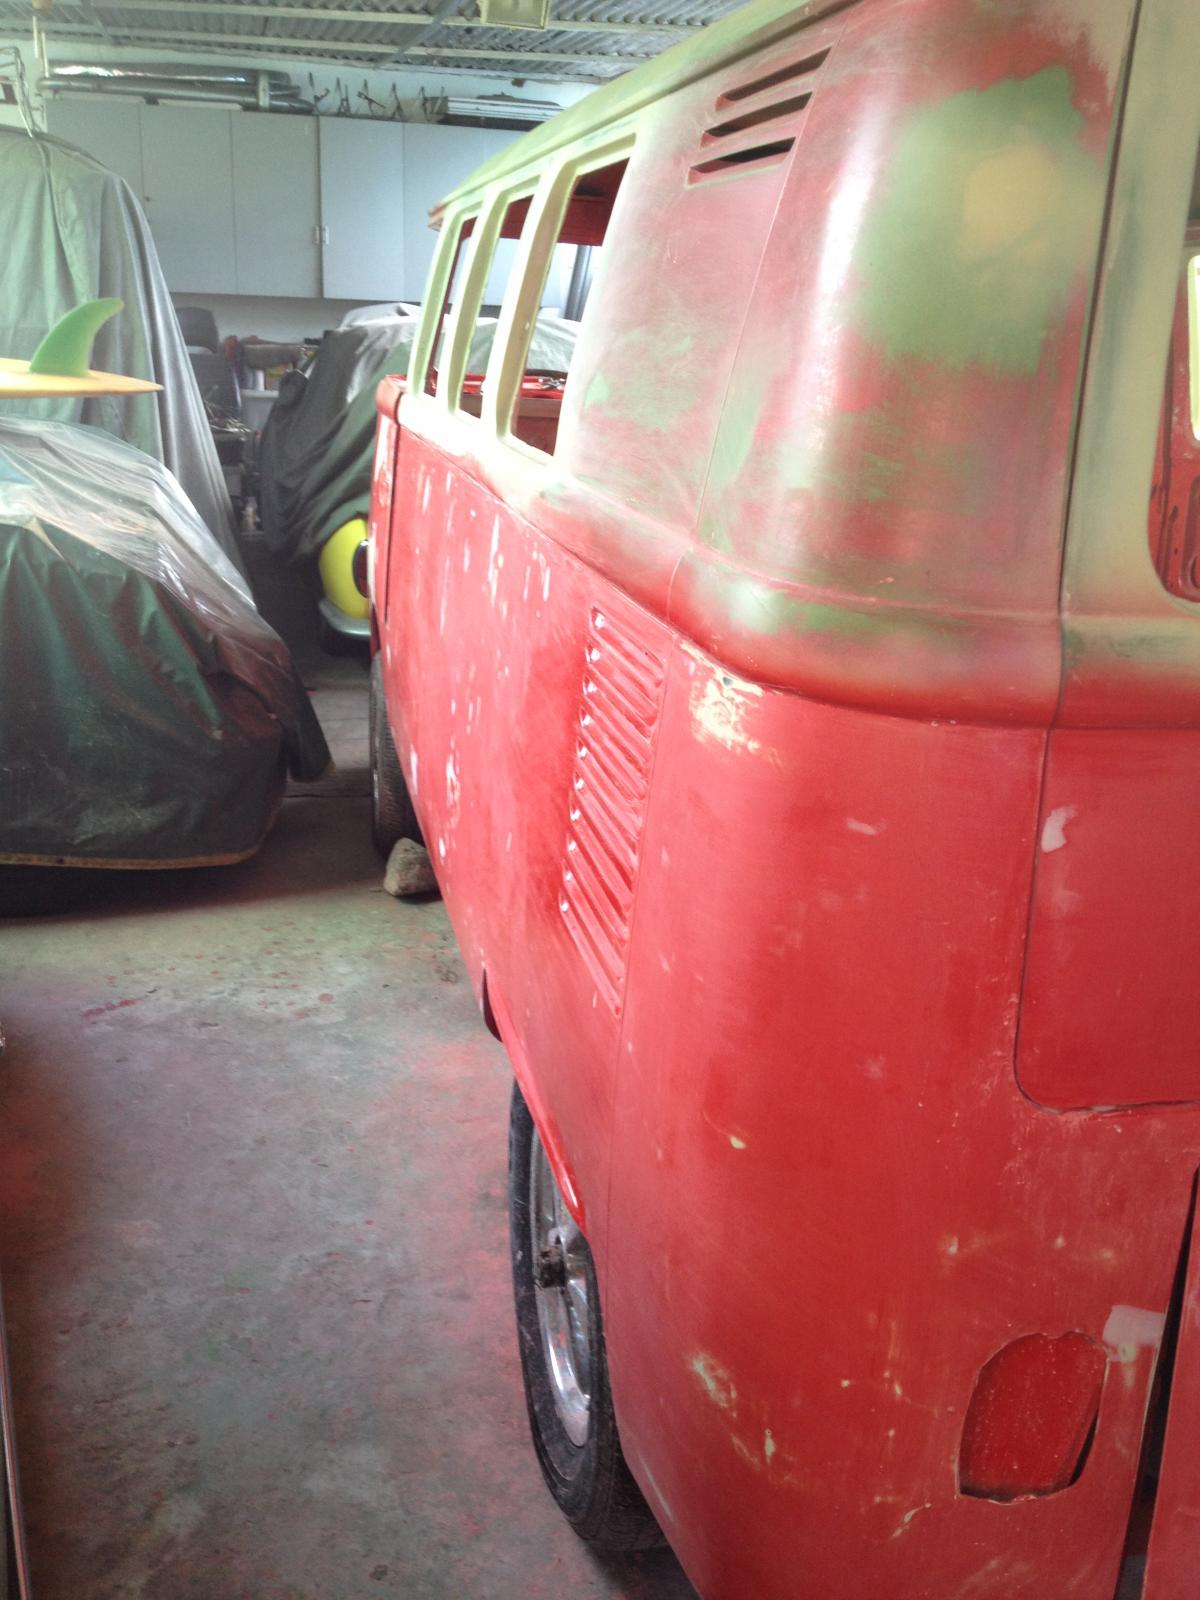

I made some color mixing and added some orange color equivalent to one pint to give that SWR a more orange touch!
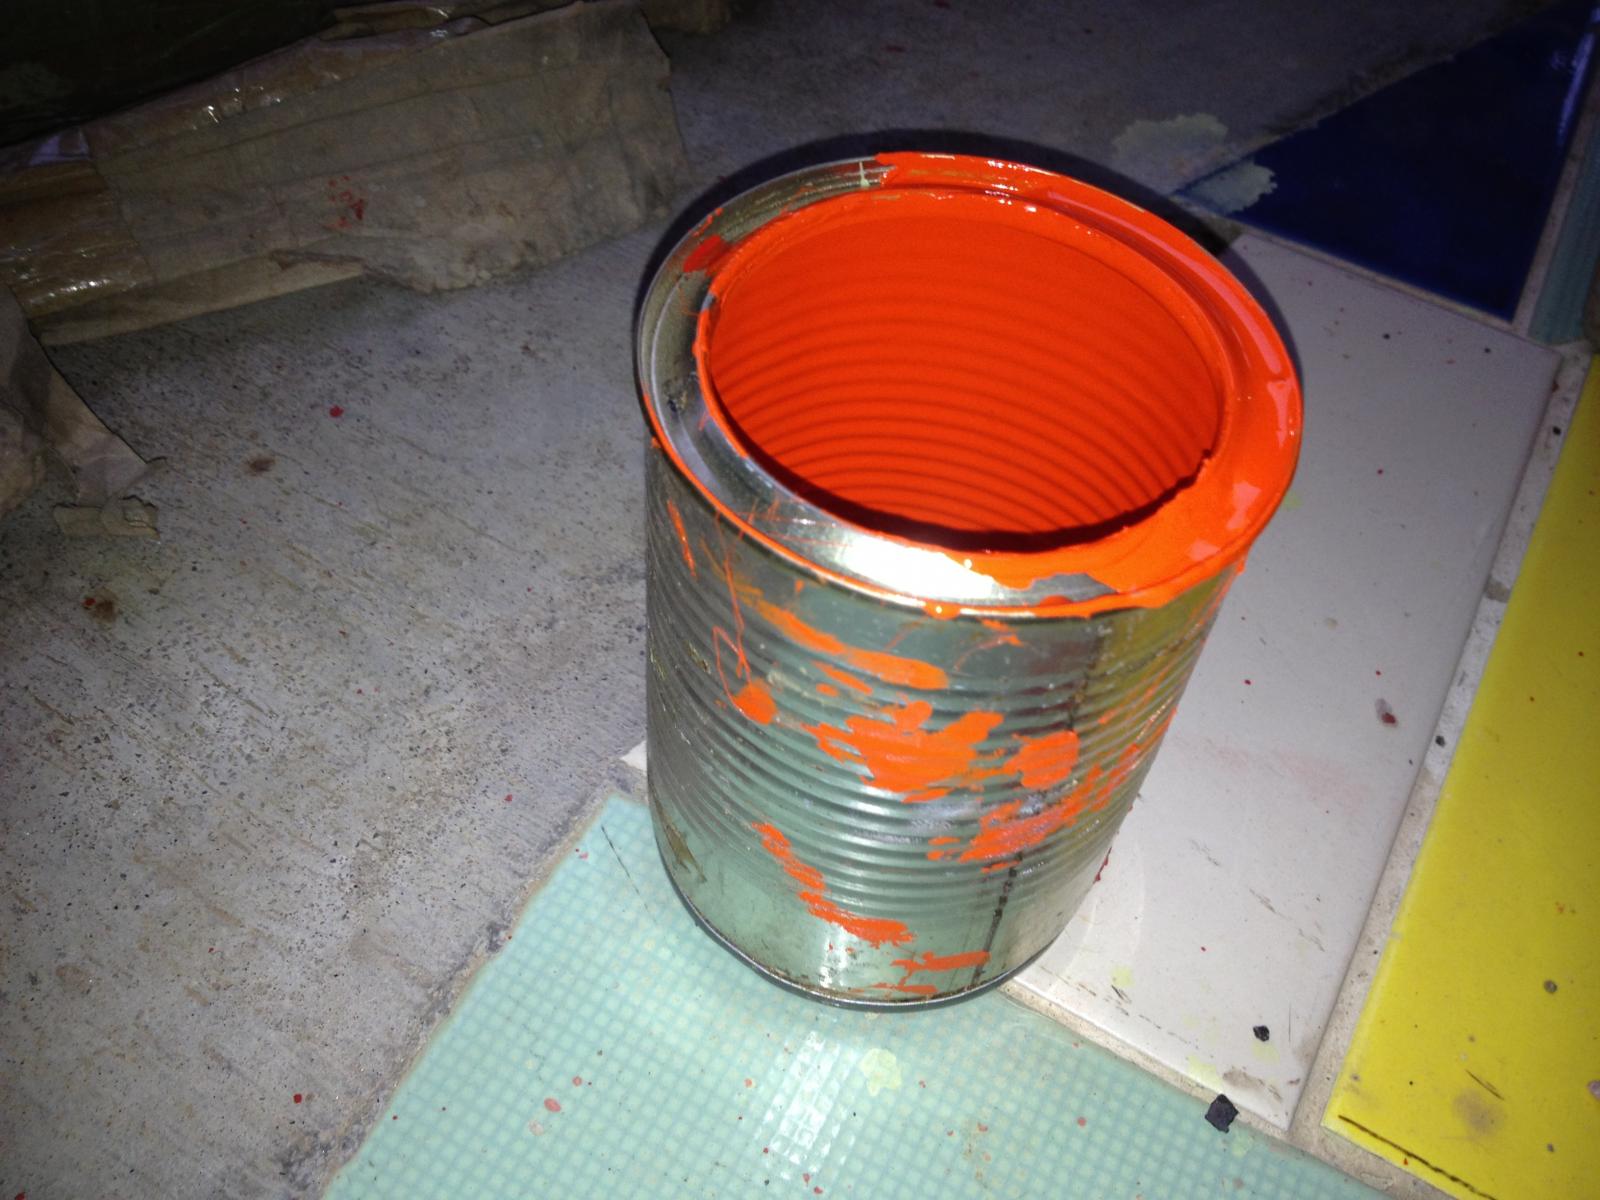
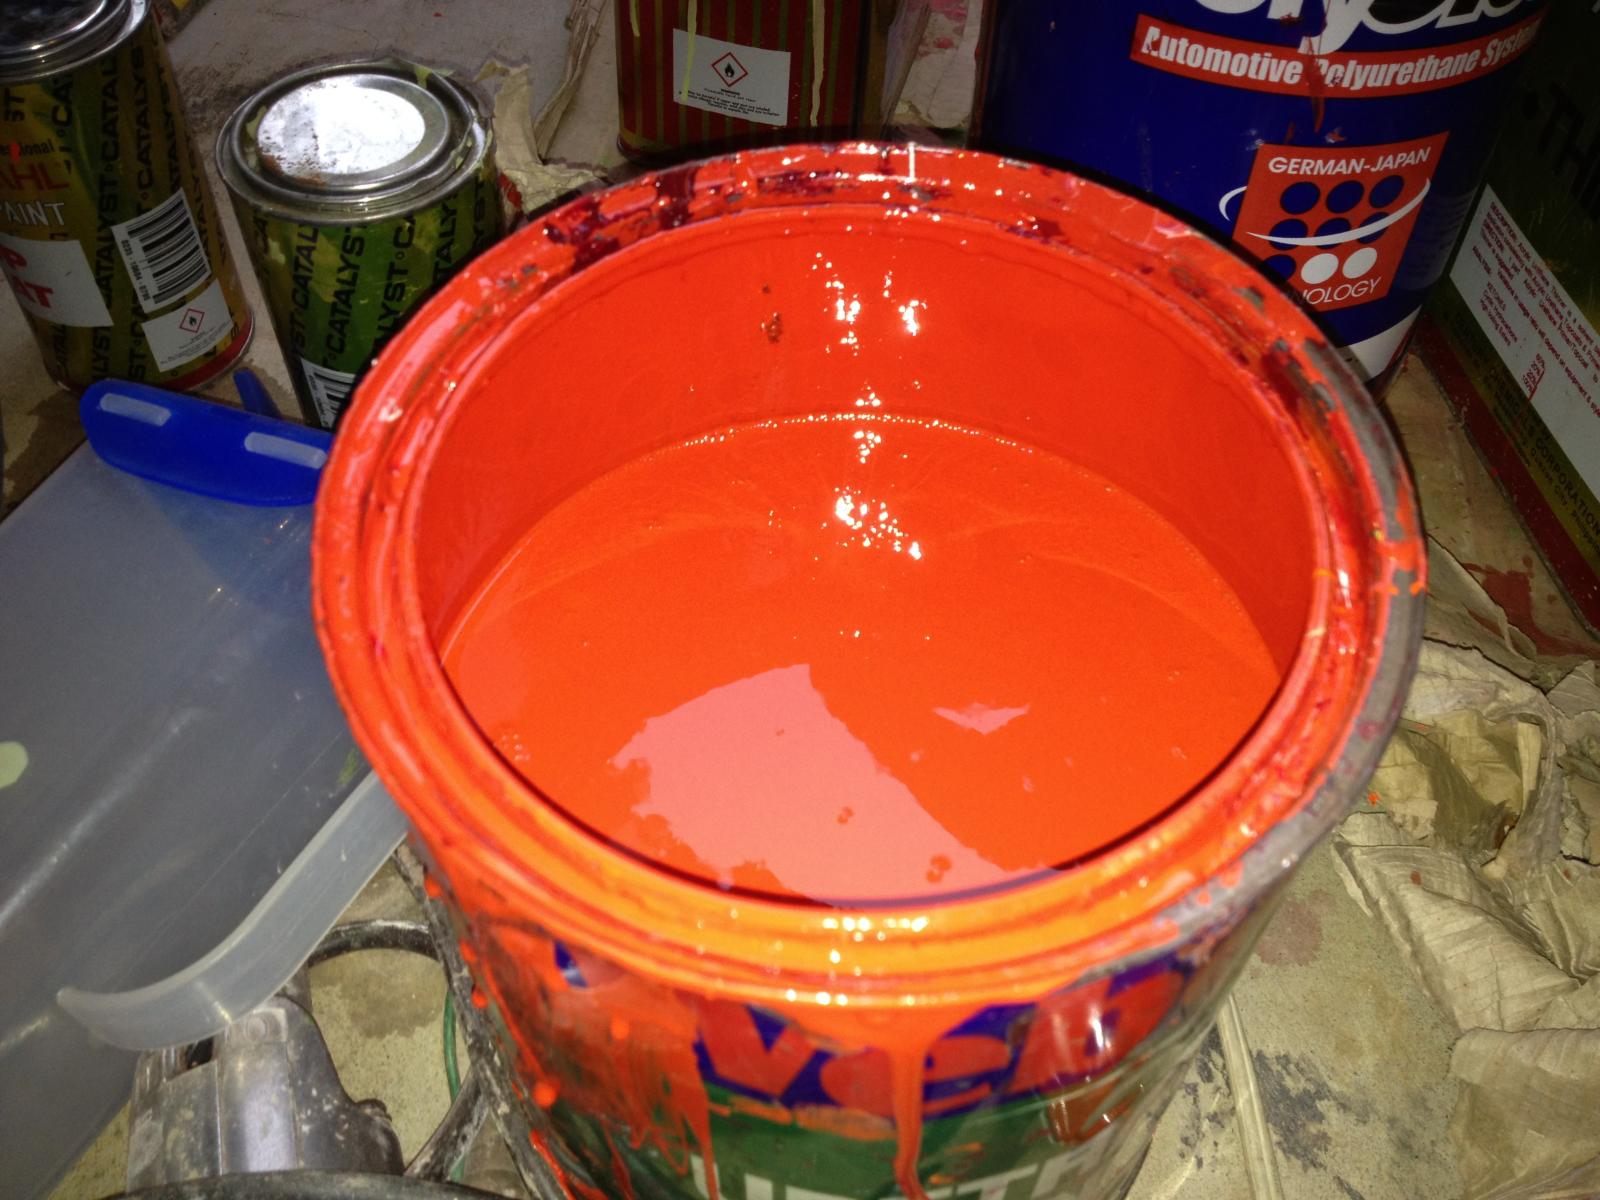
Thereafter, I applied again the SWR. This time, I Am on my way to finishing the SWR color. Hopefully, I'll be going to the cream next (waist line up portion) time.
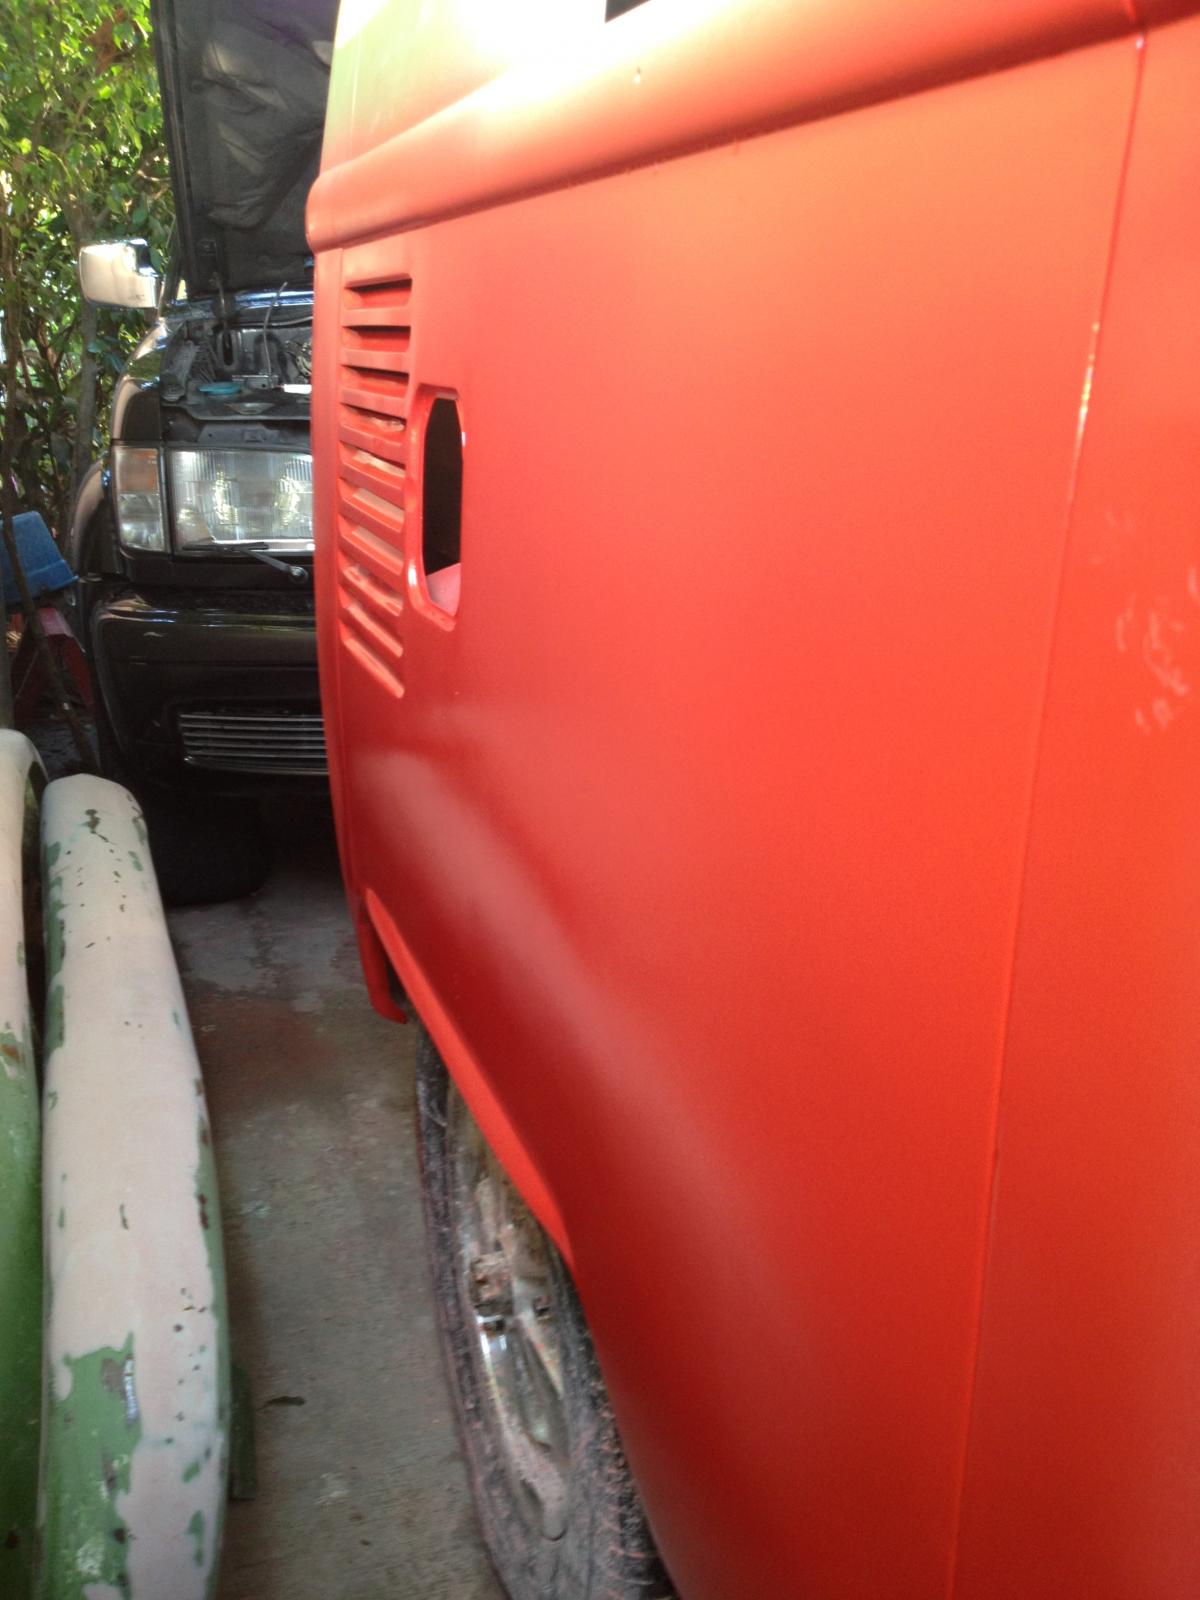
The countless hours of wet sanding has paid off!

This long panel side look sweeter now!
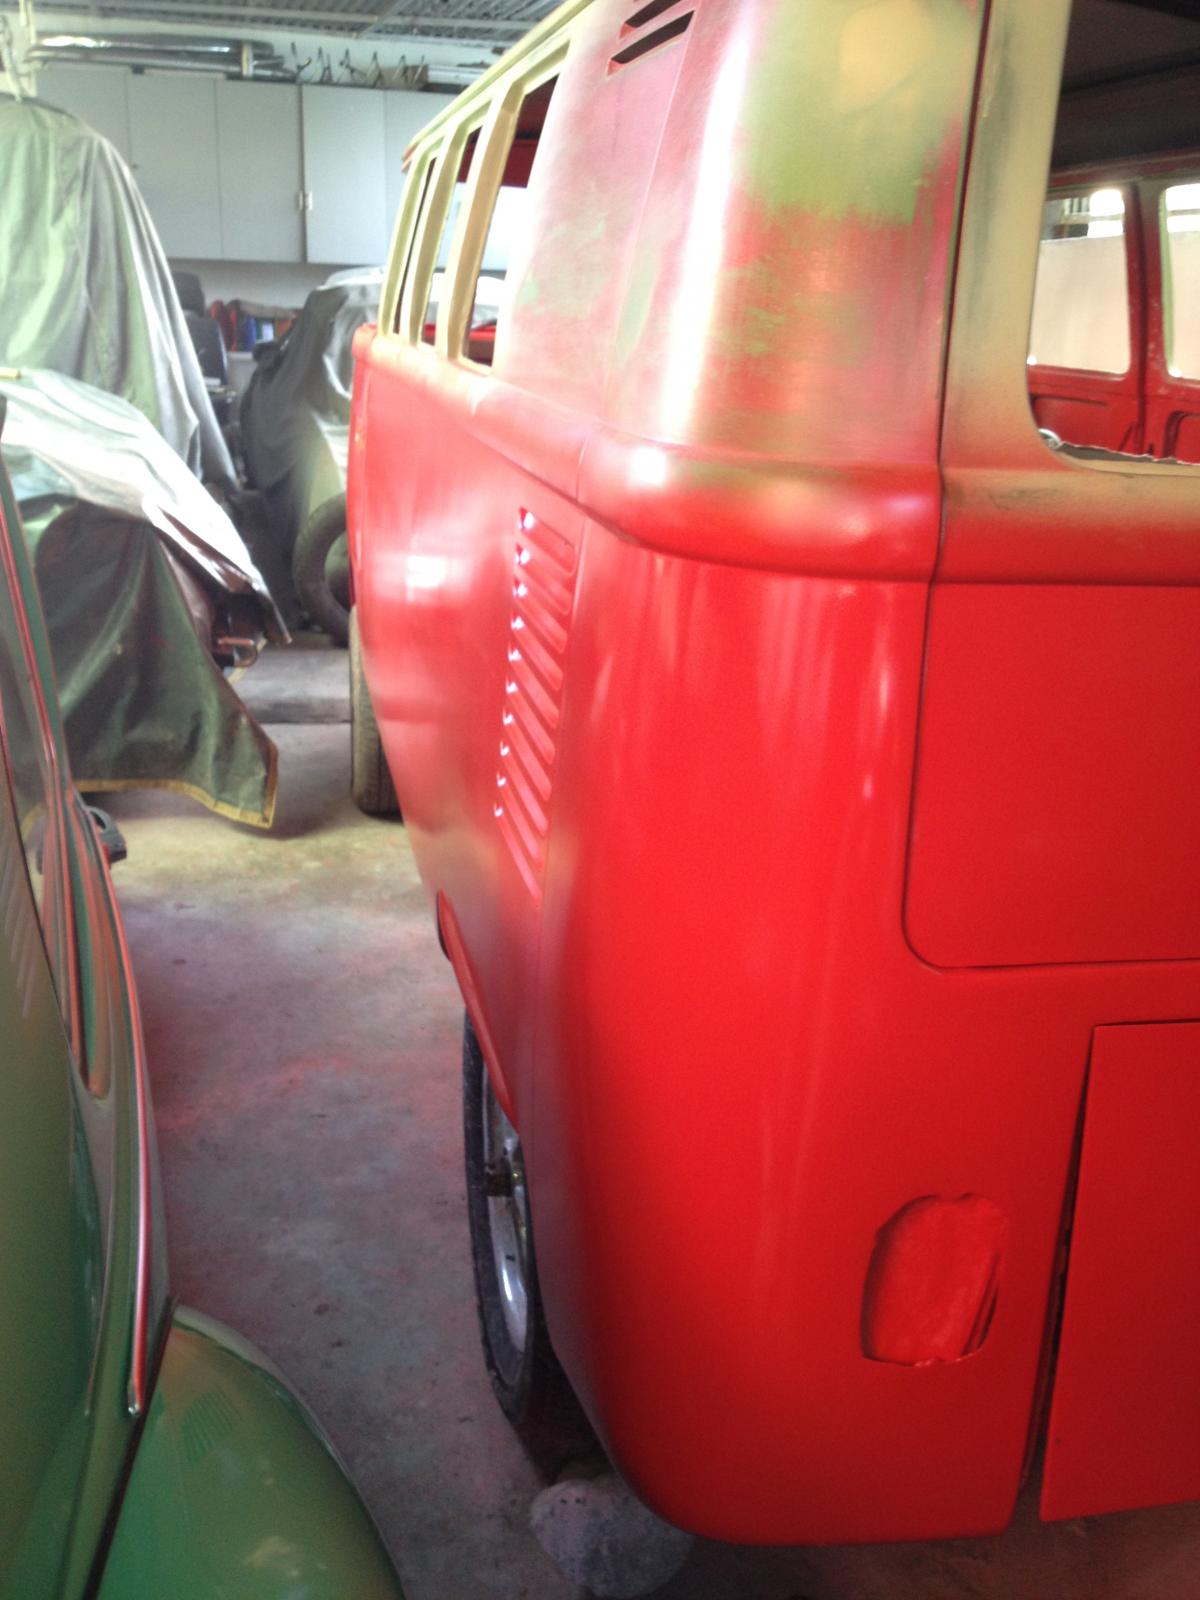
A better view of the long side panel. I am happy with the result each time I see this side!
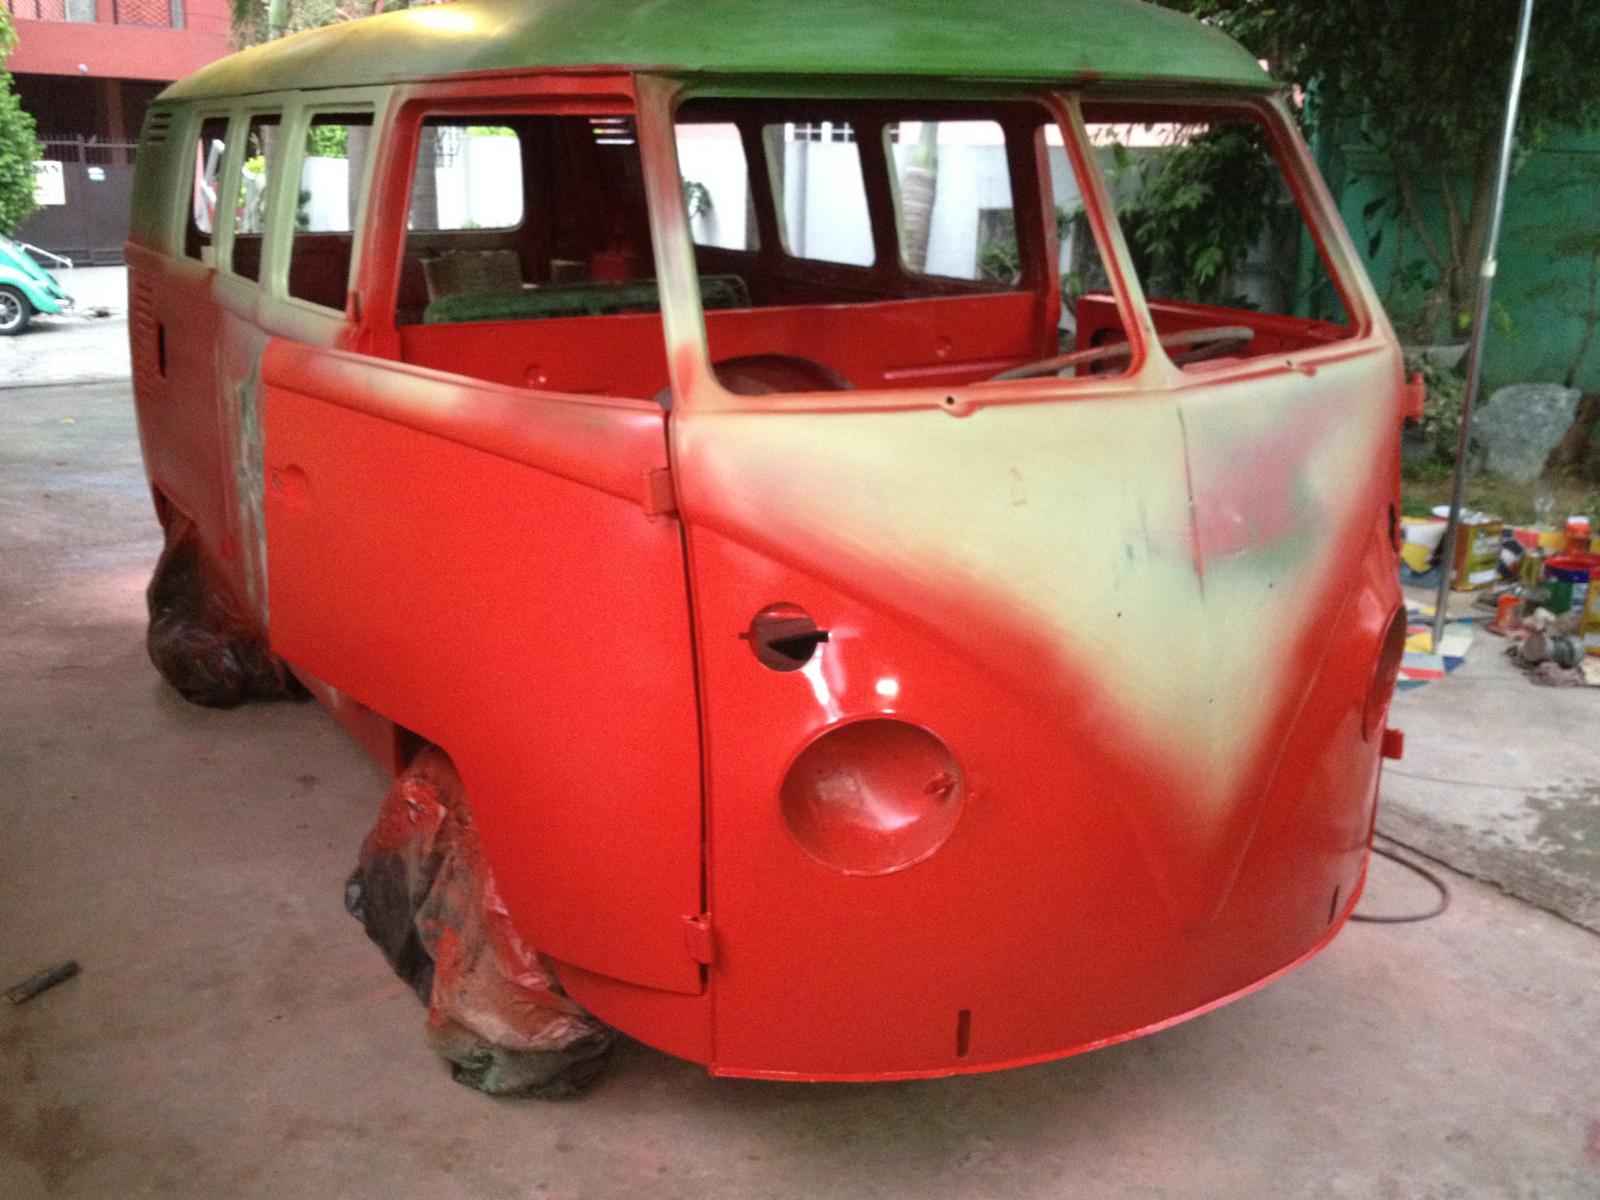
The front end is almost done!
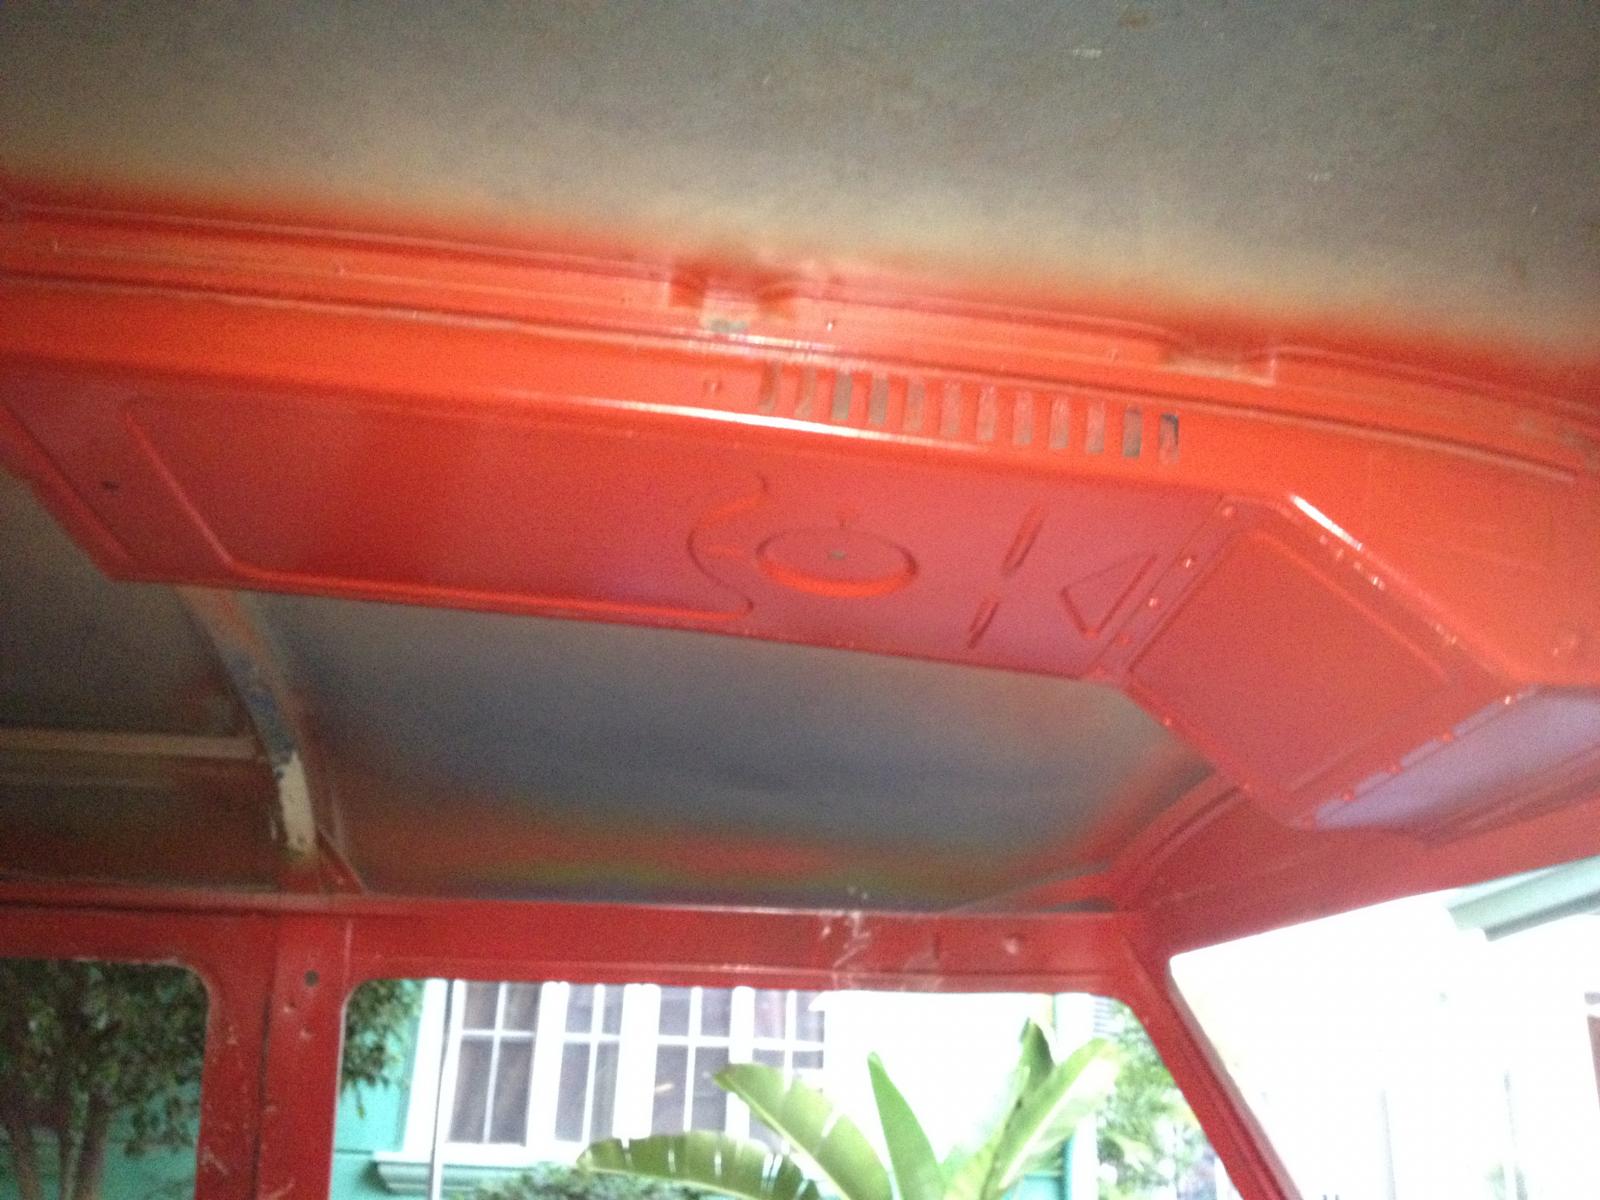
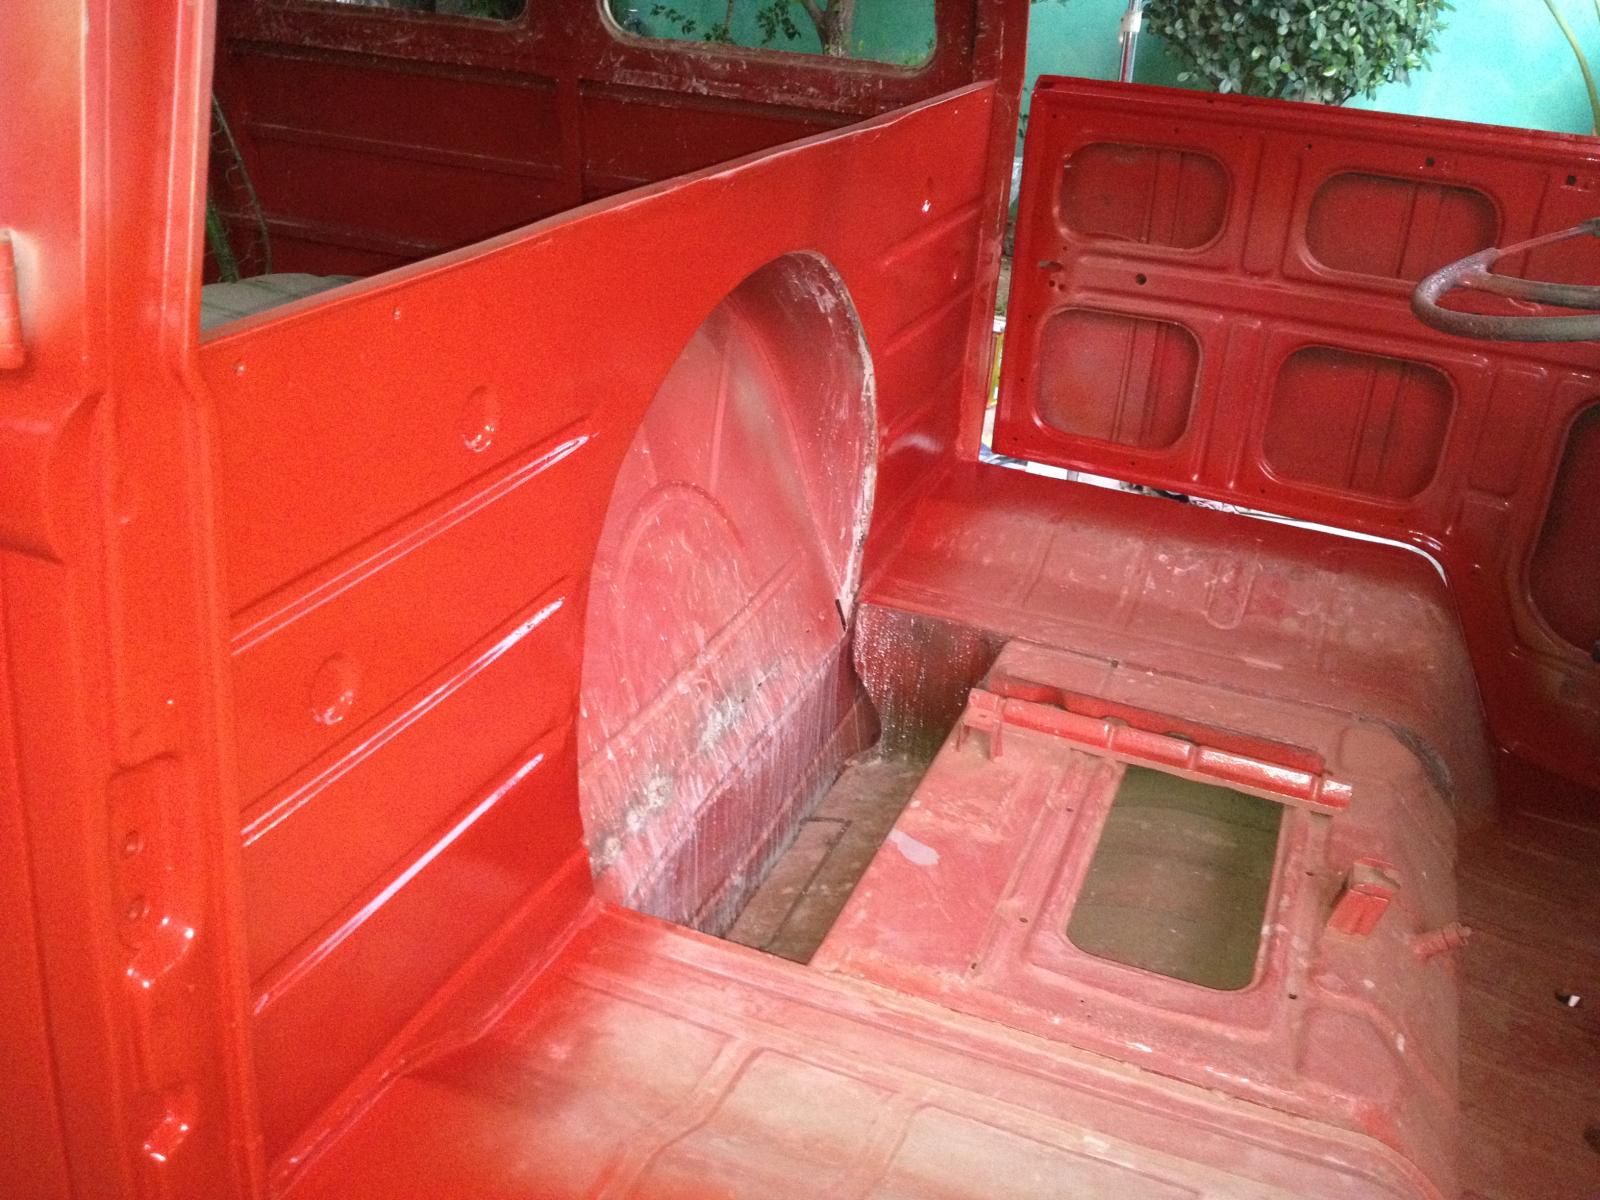
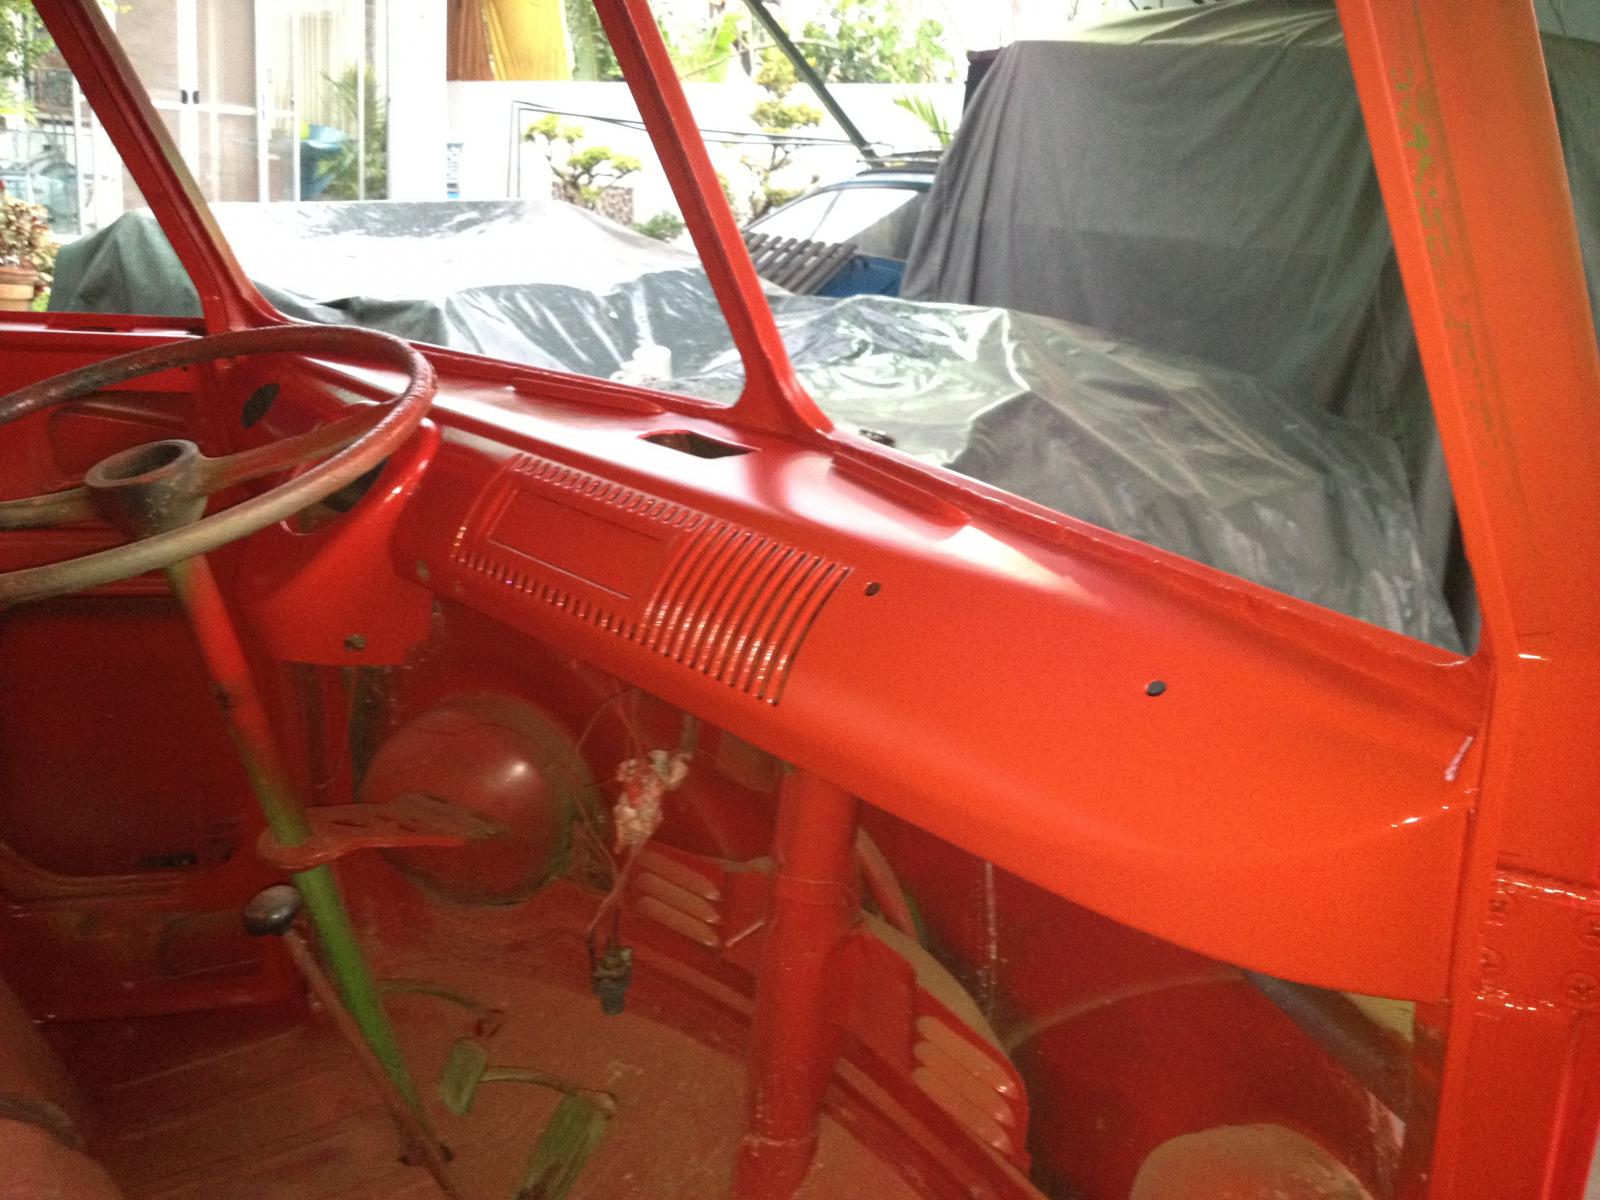
The dashboard is in nearly finished stage now!
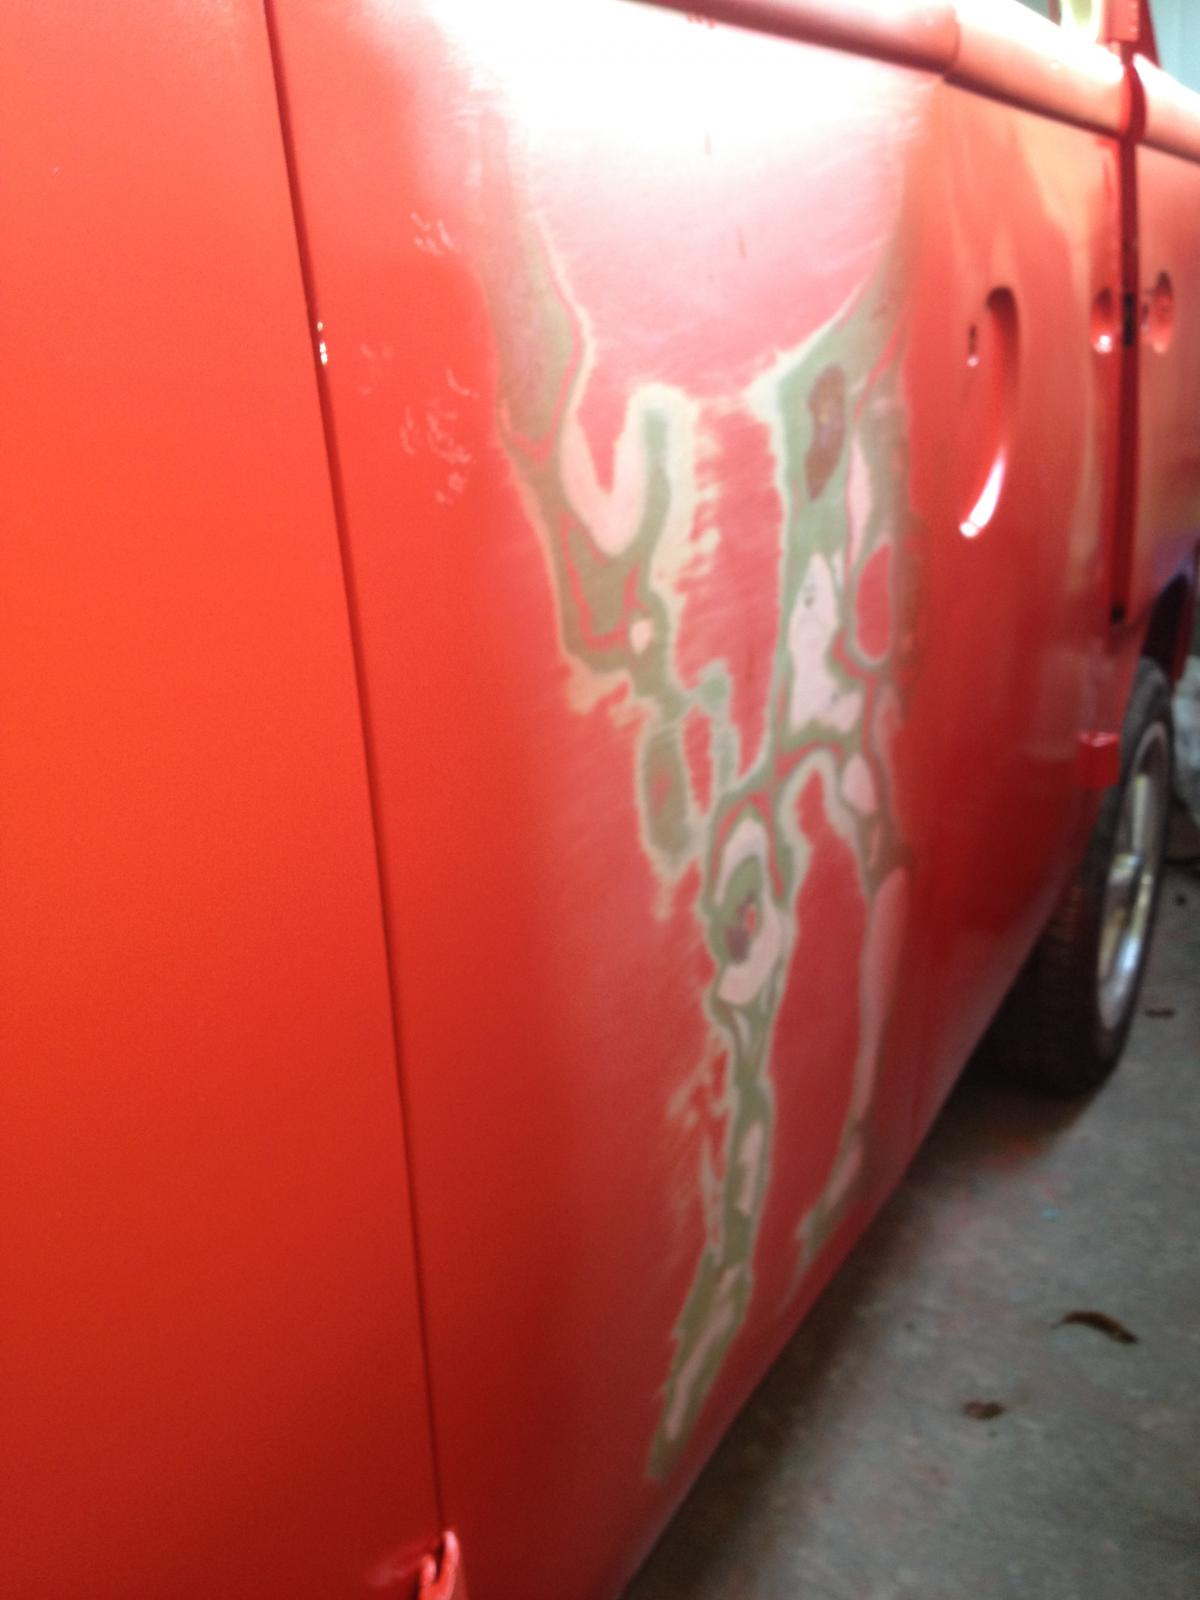
This door is like a Super Beetle's windshield! I need to address that issue!
These are the pictures of some of the final touches I made of the fillers. Searching for those small depressions and pin-holes!


I made some color mixing and added some orange color equivalent to one pint to give that SWR a more orange touch!


Thereafter, I applied again the SWR. This time, I Am on my way to finishing the SWR color. Hopefully, I'll be going to the cream next (waist line up portion) time.

The countless hours of wet sanding has paid off!

This long panel side look sweeter now!

A better view of the long side panel. I am happy with the result each time I see this side!

The front end is almost done!


The dashboard is in nearly finished stage now!

This door is like a Super Beetle's windshield! I need to address that issue!
dongkg
Registered user
Posts: 90
Joined: Tue Jul 16, 2013 7:58 am

