You are viewing the Split Screen Van Club forum archive.
The forum archive is read-only.Unfortunately in 2021 the Split Screen Van Club forum suffered a ransomware attack and lots of the forum data was lost.
What threads that have been recovered are now searchable on this site. Some threads may be incomplete and some images are still being recovered.
Forum archive search
My '67 Split Bus Resto Thread in the Philippines
Re: My '67 Split Bus Resto Thread in the Philippines
by dongkg » Wed Jul 17, 2013 10:33 am
(Note: Taken during the middle part of June 2013)
I have been out of the restoration of a while, I was busy at work. And the weekend project has been affected too. But, I really have to give the Split the justice it deserve. So I see to it that I am still attending to the restoration phase.
I recently brought some parts for repair since I did not have that sufficient time for me to attend to it.
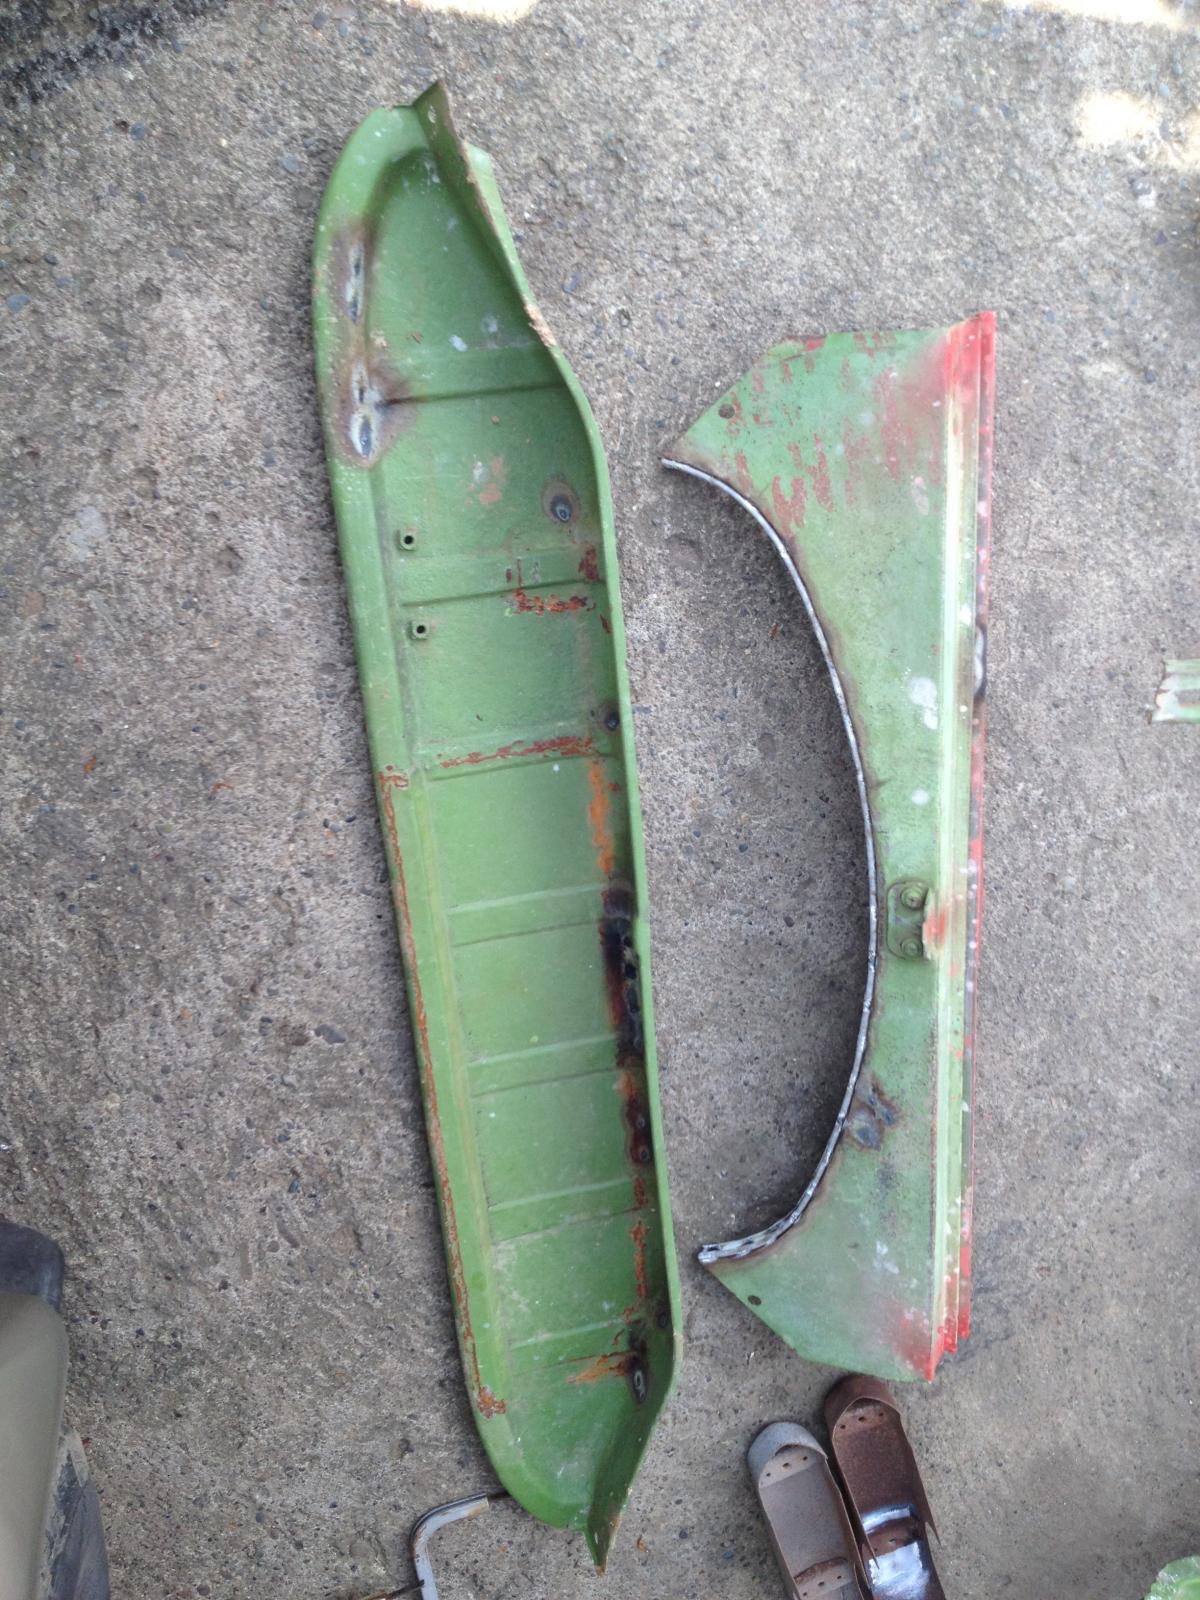

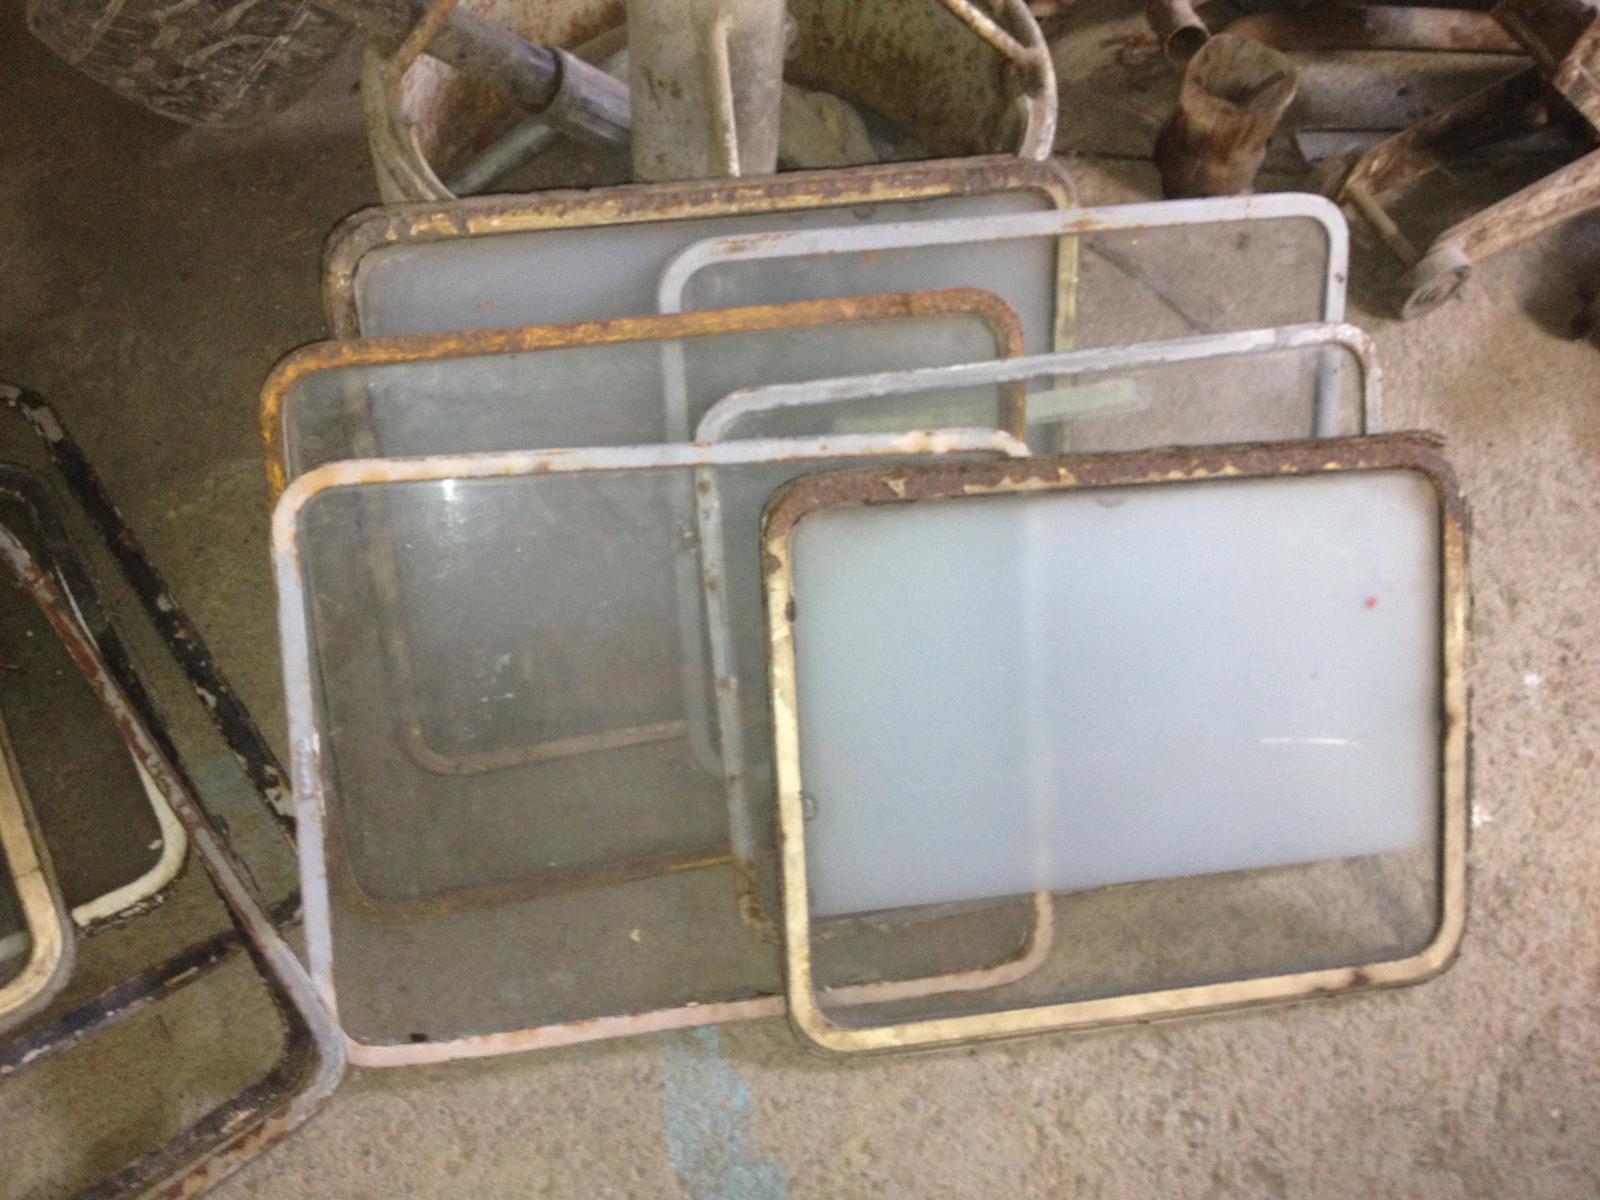
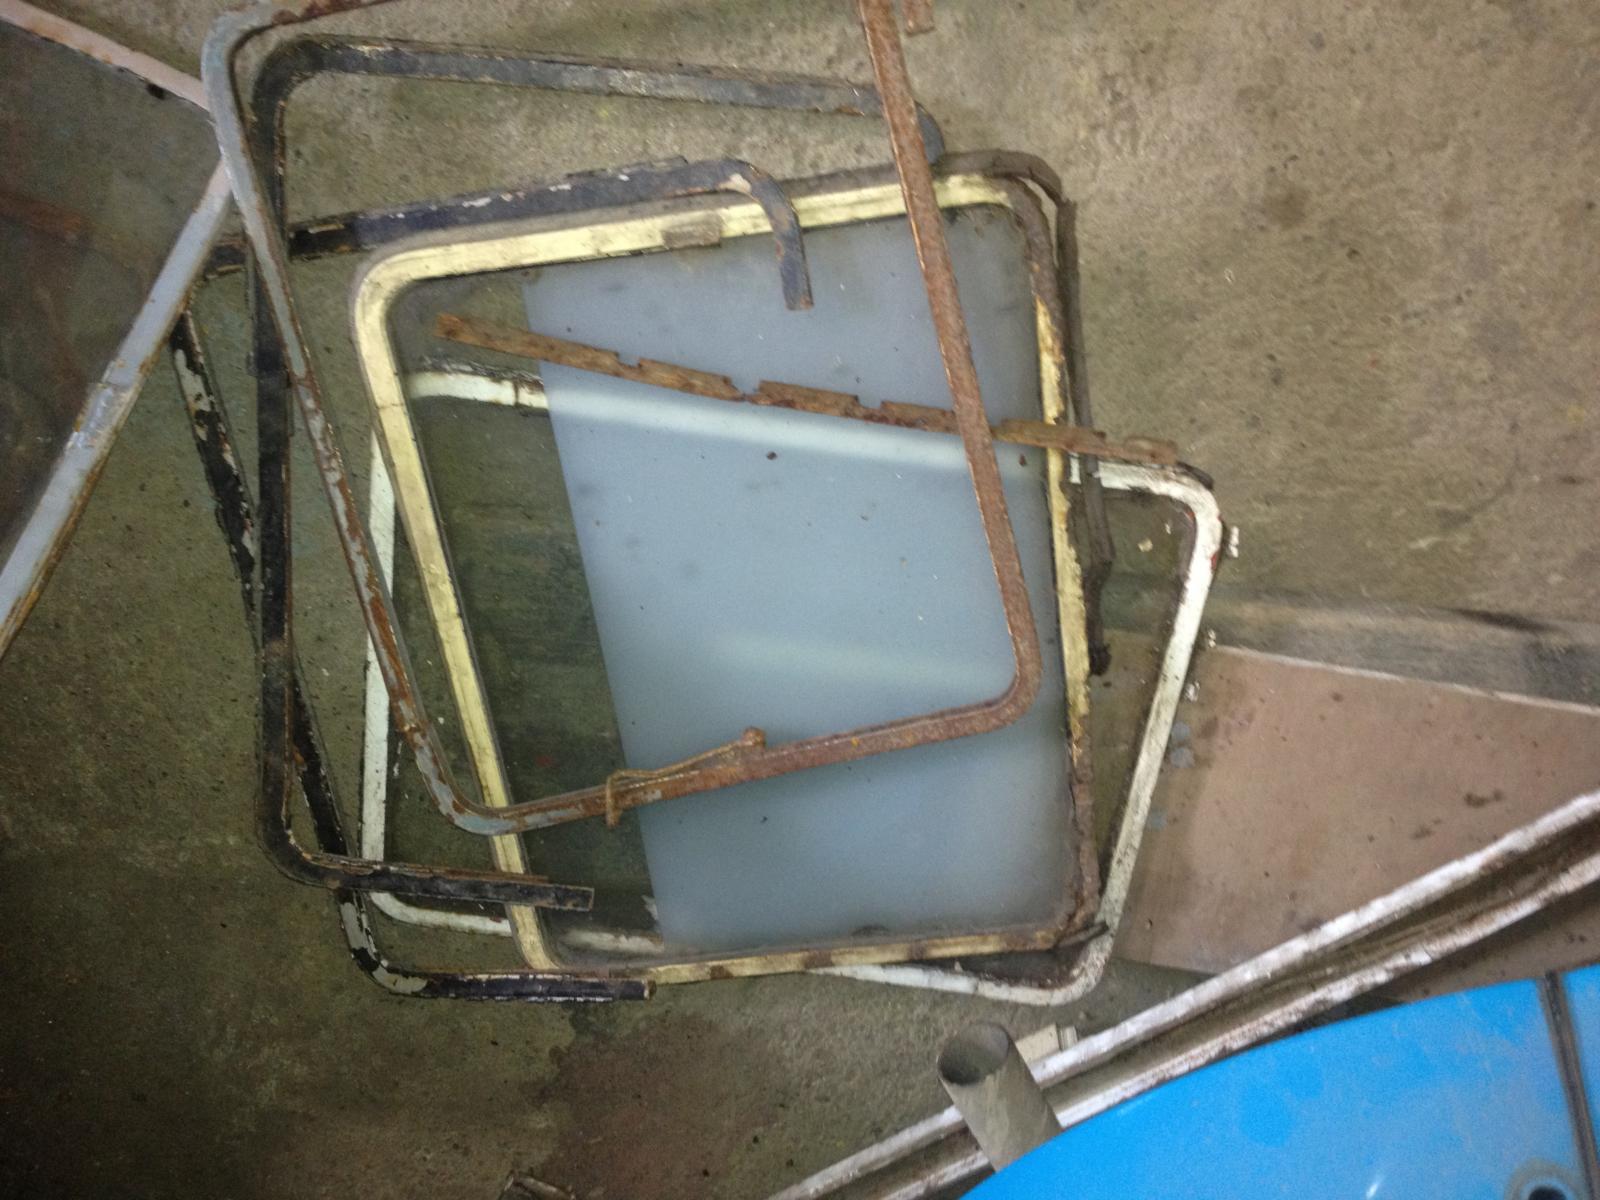
The side windows need more caring..for sure!
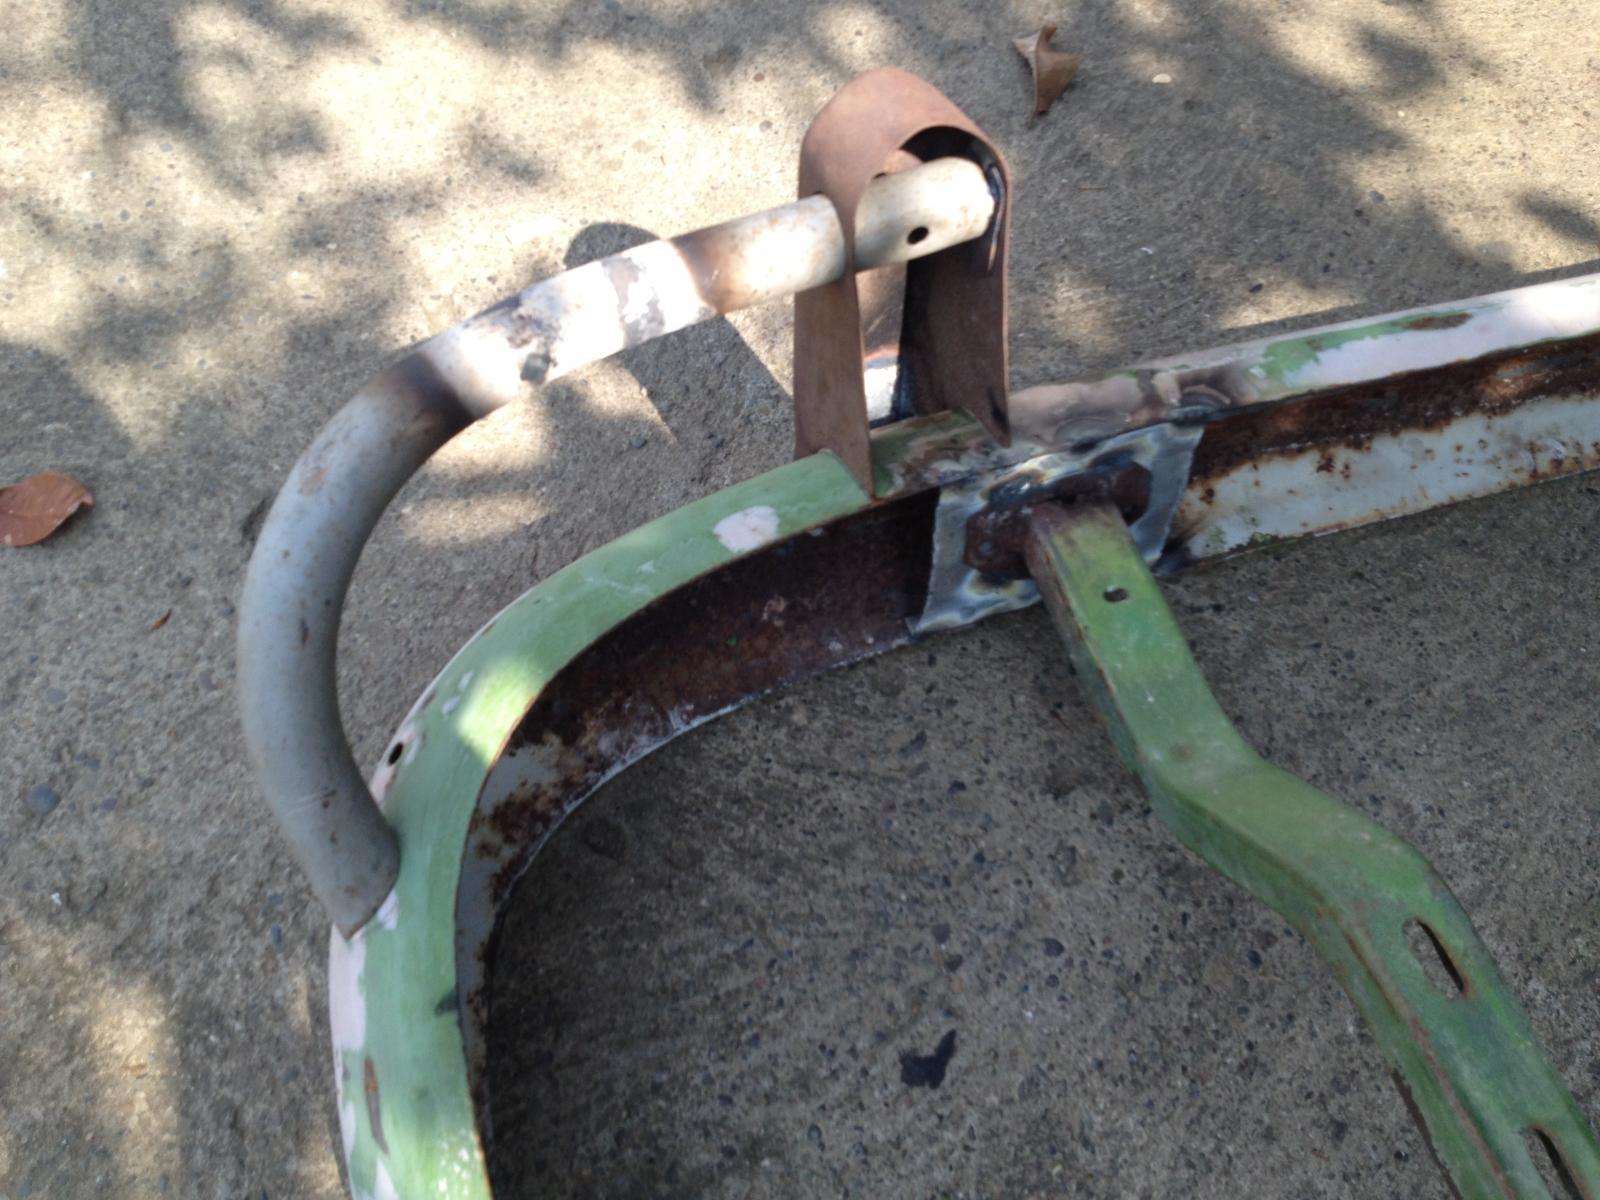
The bumpers were repaired too:
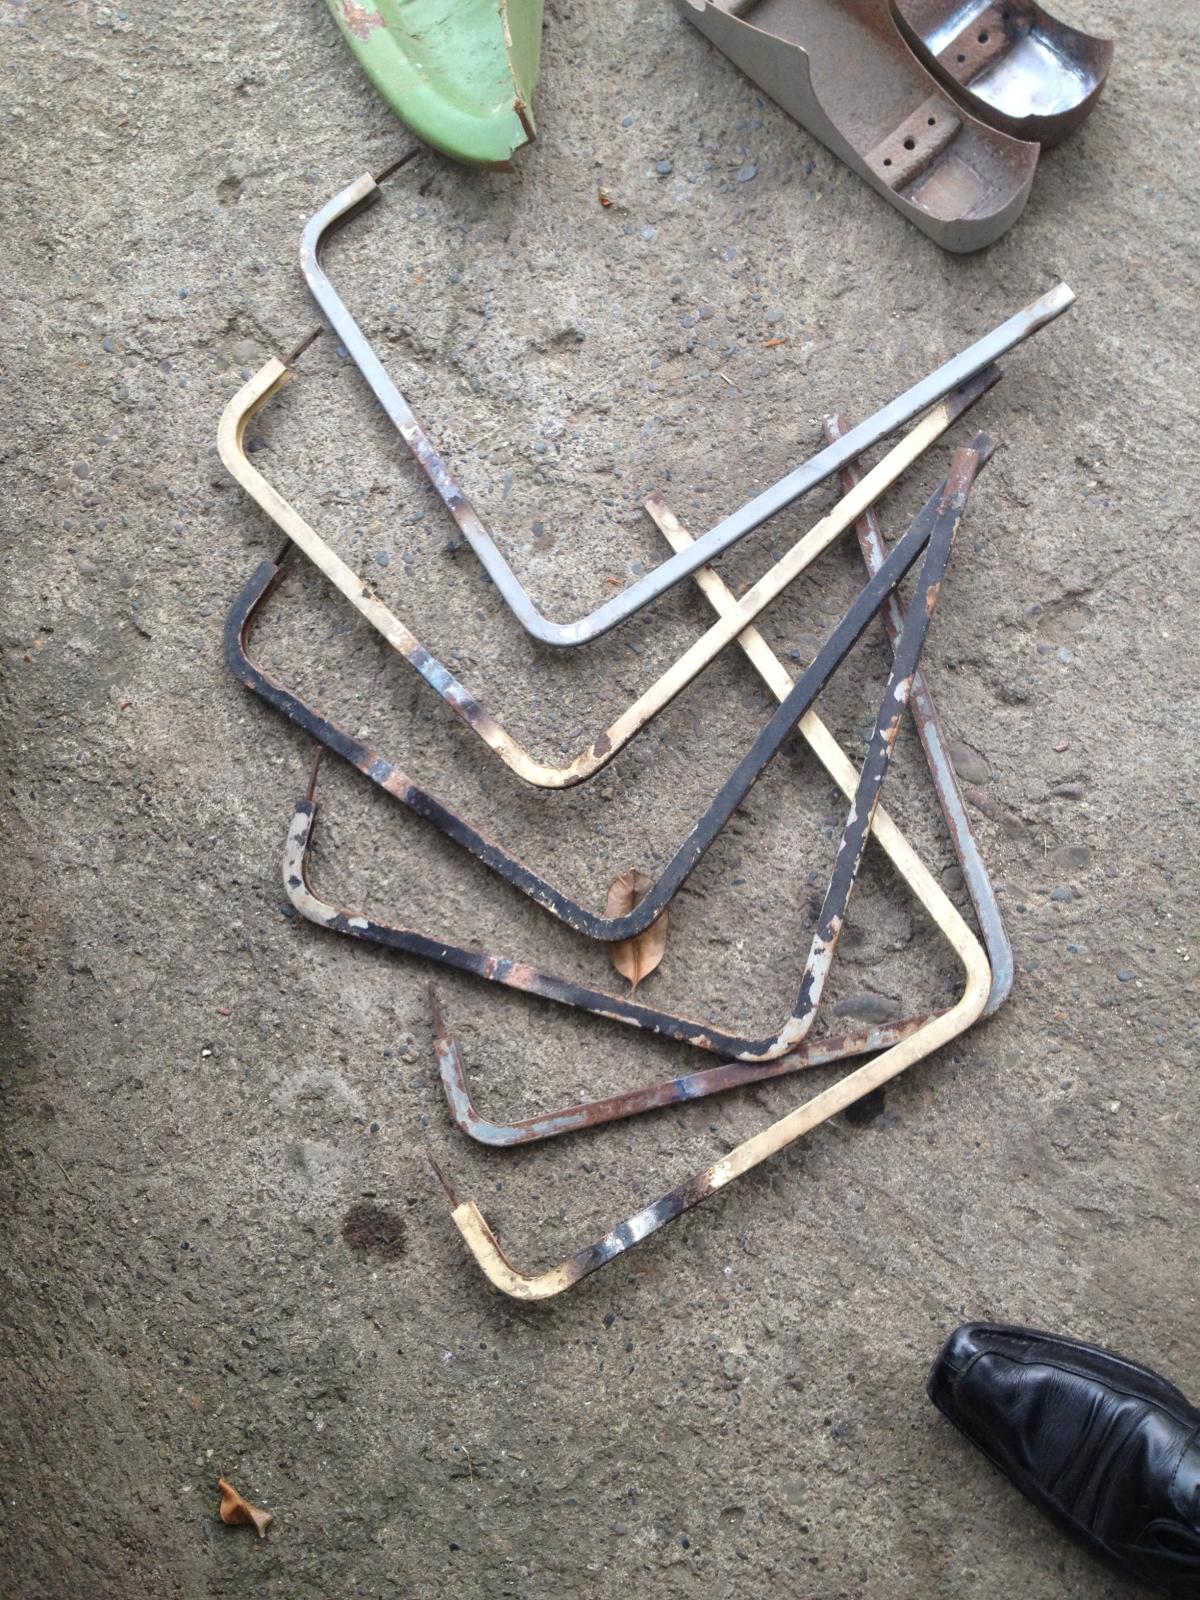
Those are the first three pairs of side window frames. These were just savaged from existing frames and cut and welded all those portions that can be used. It is more of a jig-saw thing that we did.
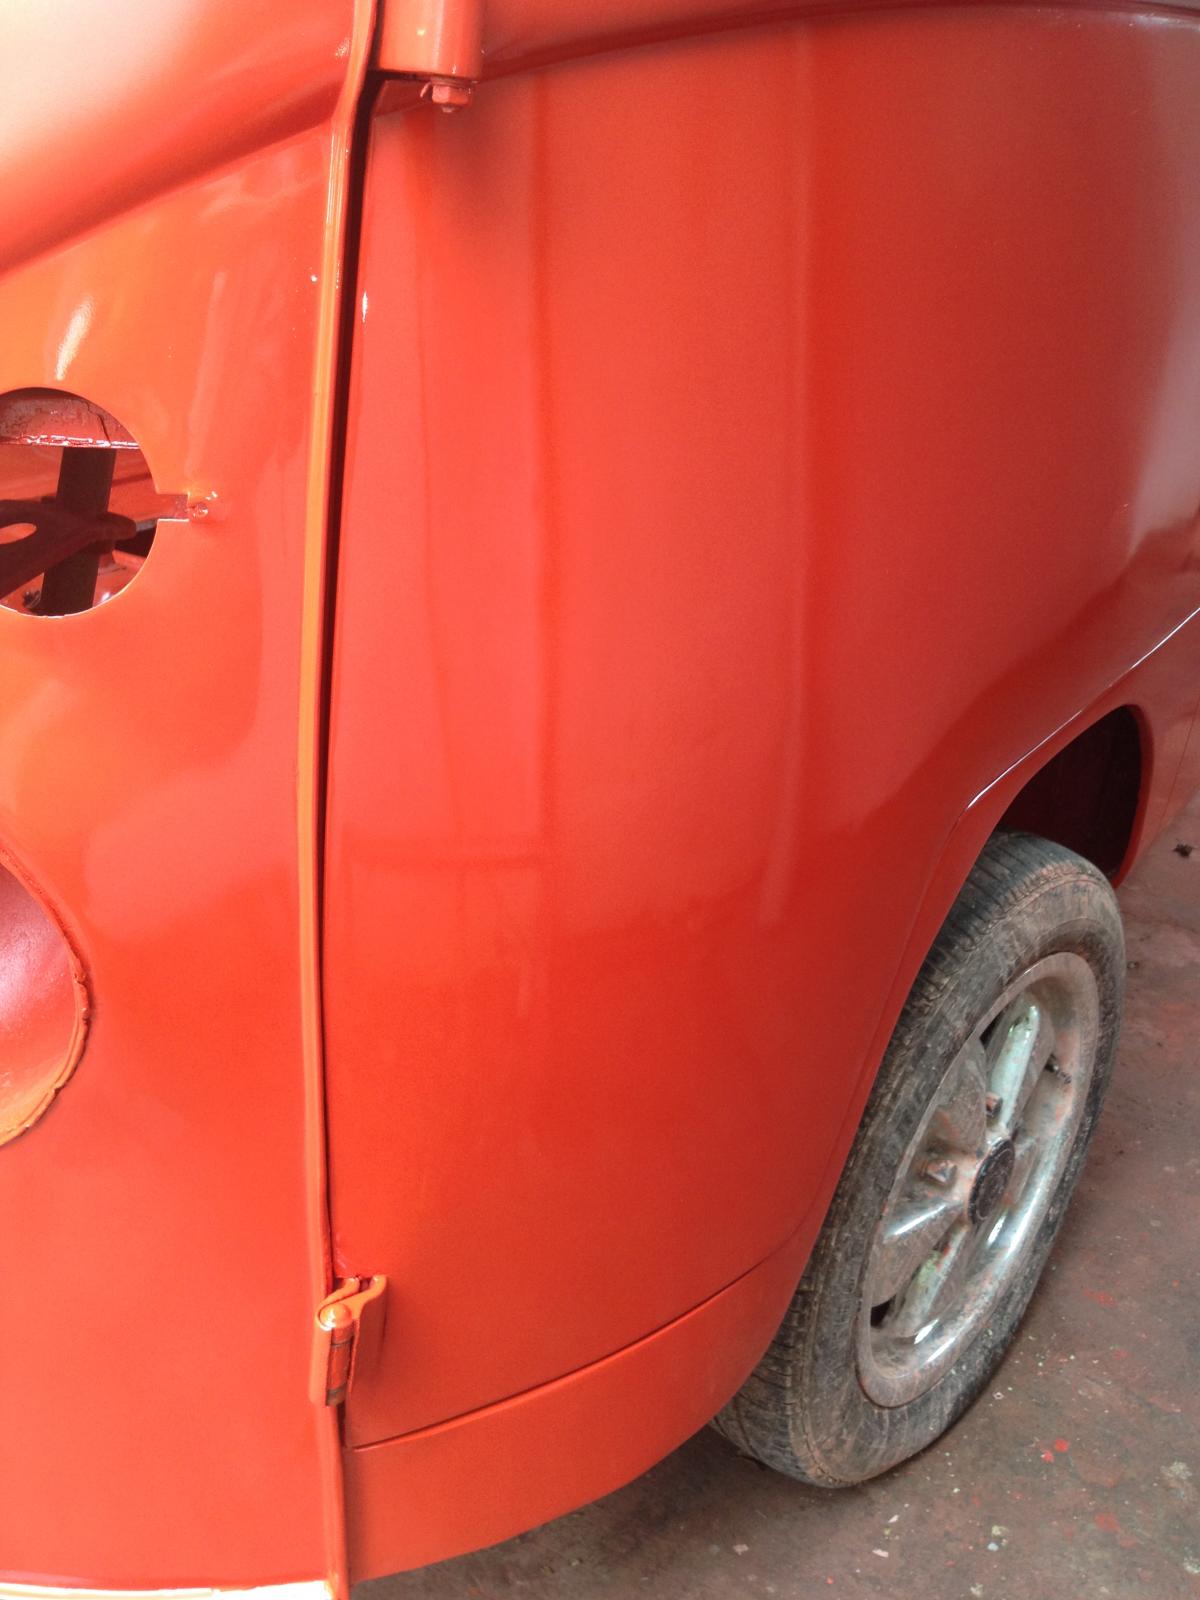
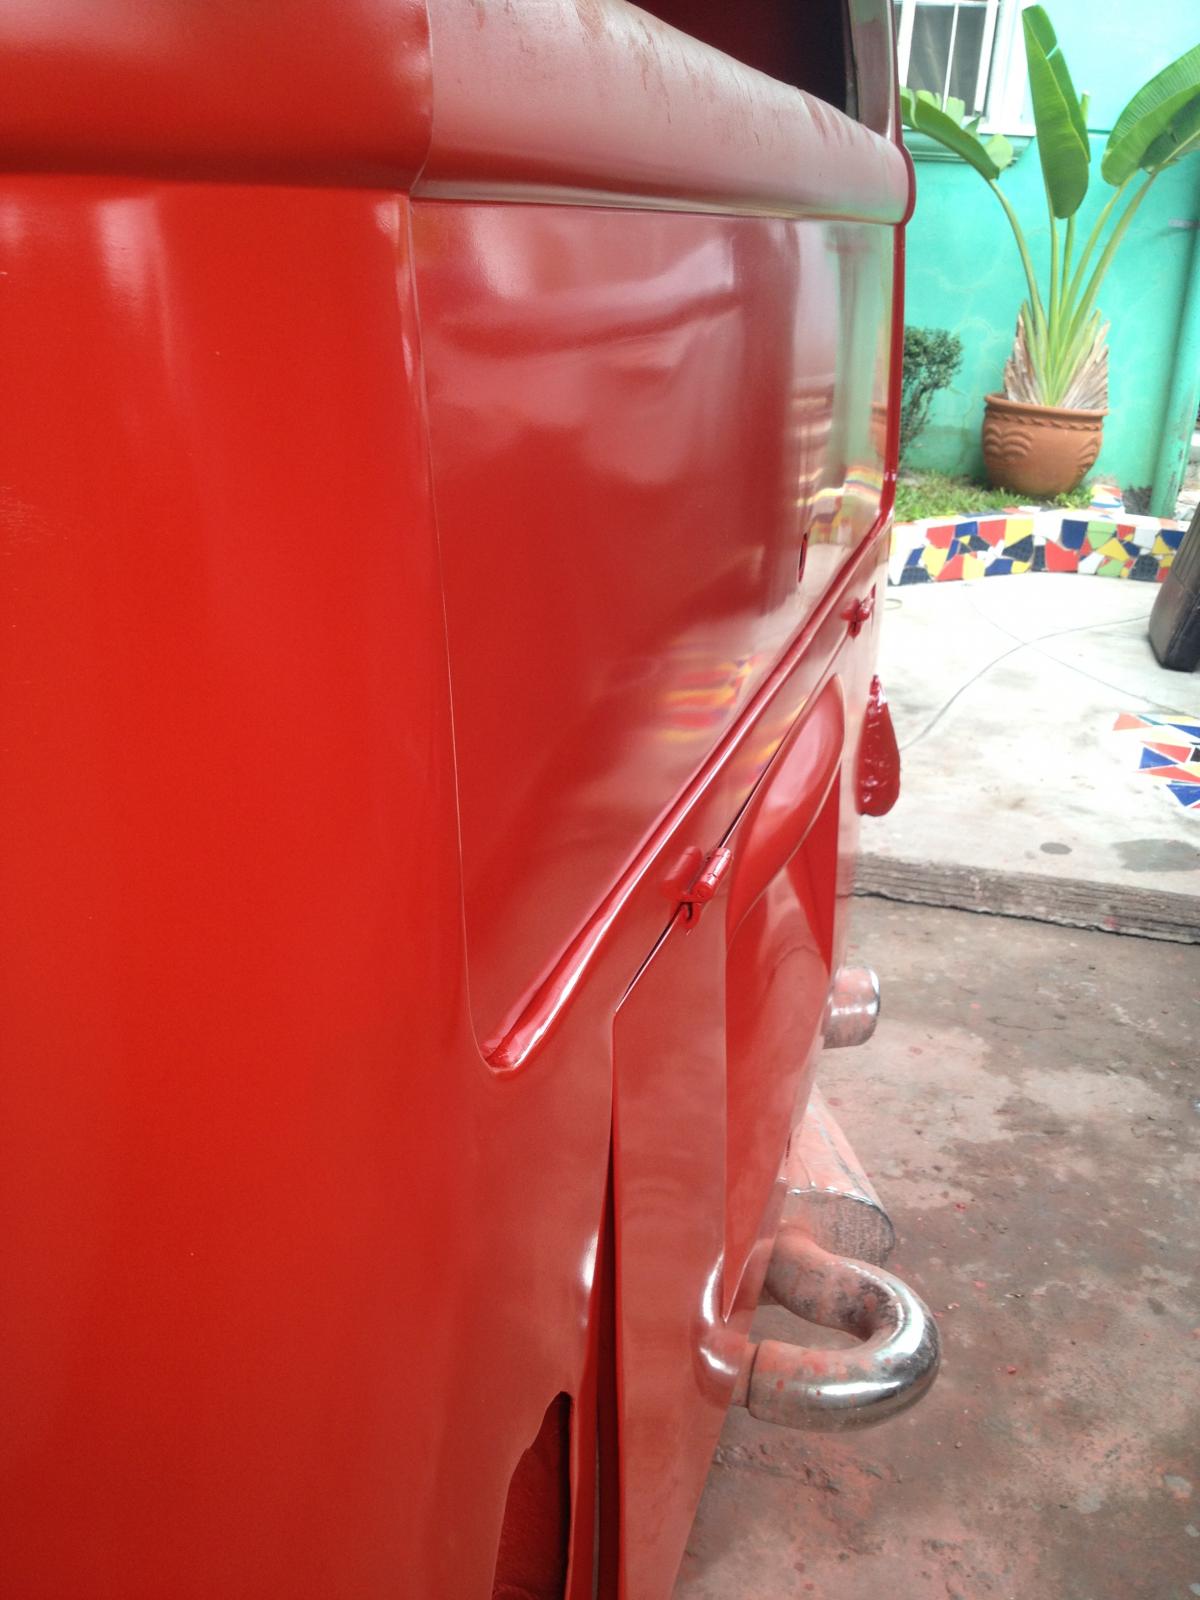
I am nearing the finishing stage of the Sealing Wax Red. Hopefully, this coming July I will paint the upper portion.. Chestnut brown or beige? I really don't know yet!
I have been out of the restoration of a while, I was busy at work. And the weekend project has been affected too. But, I really have to give the Split the justice it deserve. So I see to it that I am still attending to the restoration phase.
I recently brought some parts for repair since I did not have that sufficient time for me to attend to it.


The side windows need more caring..for sure!

The bumpers were repaired too:

Those are the first three pairs of side window frames. These were just savaged from existing frames and cut and welded all those portions that can be used. It is more of a jig-saw thing that we did.
I am nearing the finishing stage of the Sealing Wax Red. Hopefully, this coming July I will paint the upper portion.. Chestnut brown or beige? I really don't know yet!


dongkg
Registered user
Posts: 90
Joined: Tue Jul 16, 2013 7:58 am
Re: My '67 Split Bus Resto Thread in the Philippines
by dongkg » Wed Jul 17, 2013 10:36 am
(Note: Taken during the first week of July 2013)
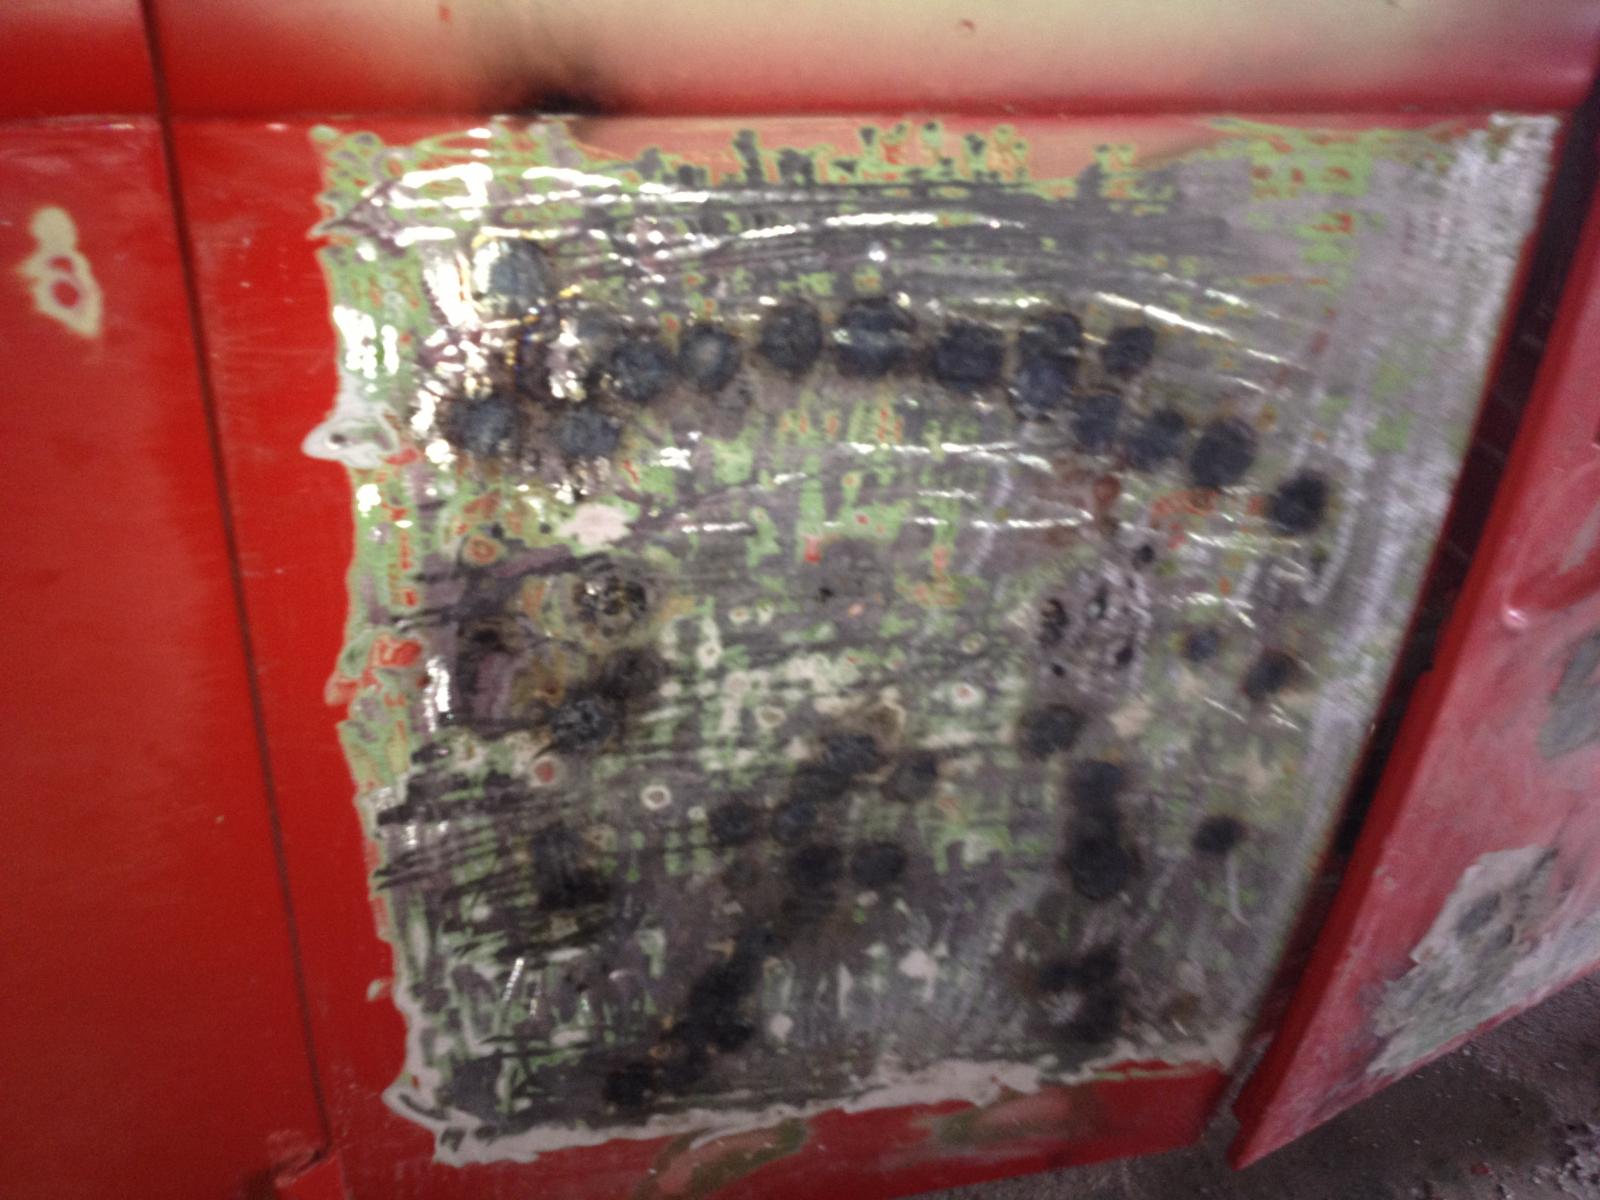
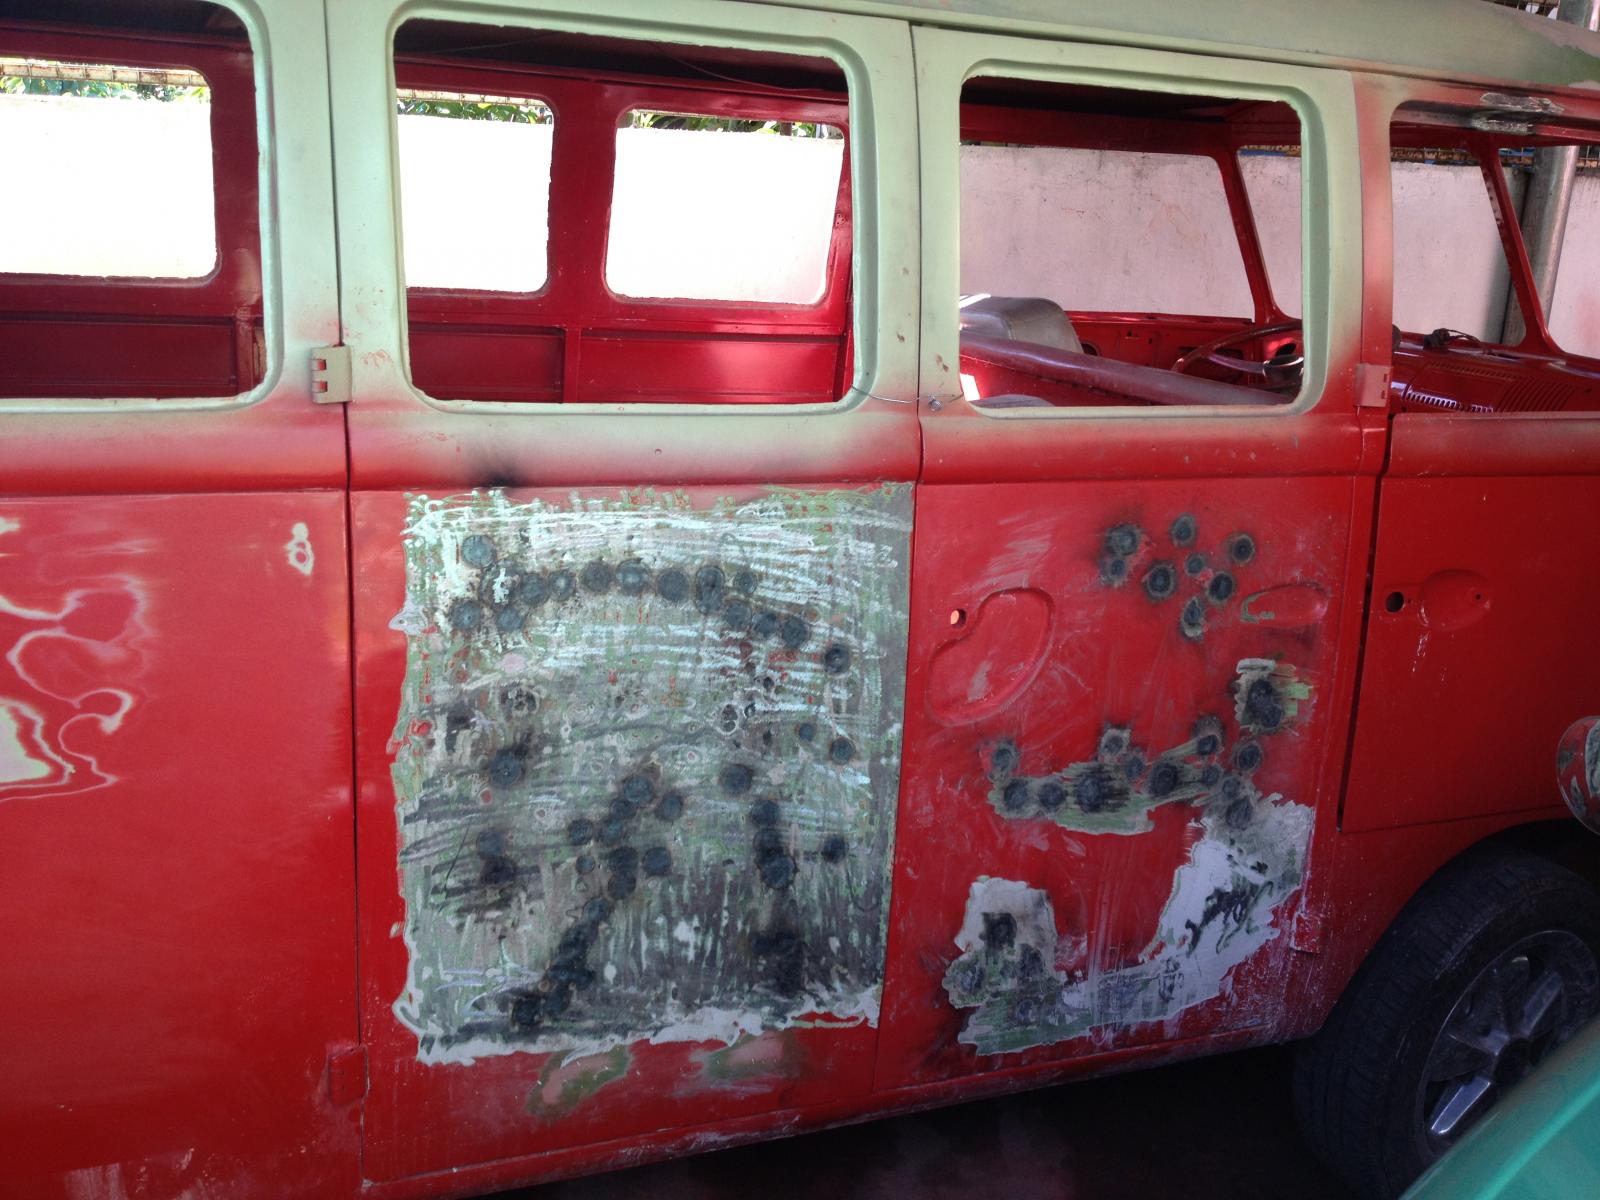
This weekend, we repaired the panel and the cargo doors be getting rid of the unwanted curves of the panel that had expanded when the split was repaired before by the previous owner. The result is wonderful and I can finally finish it.
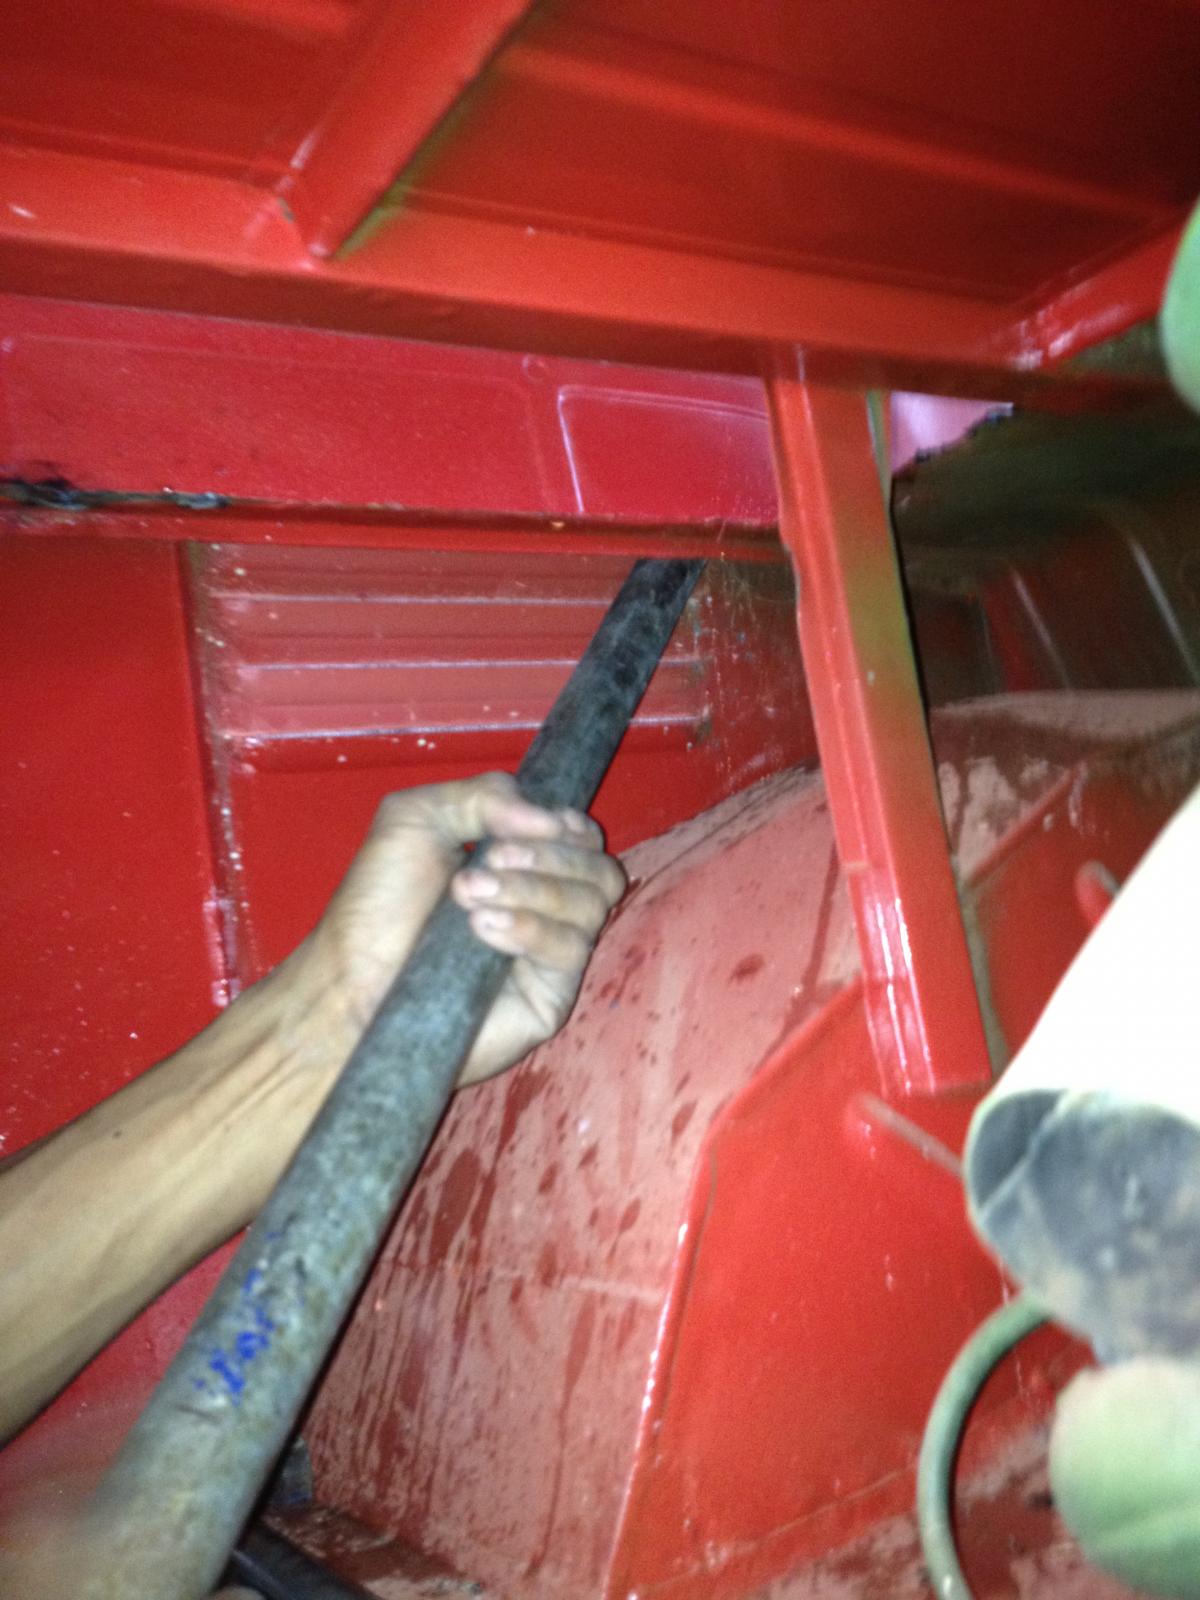
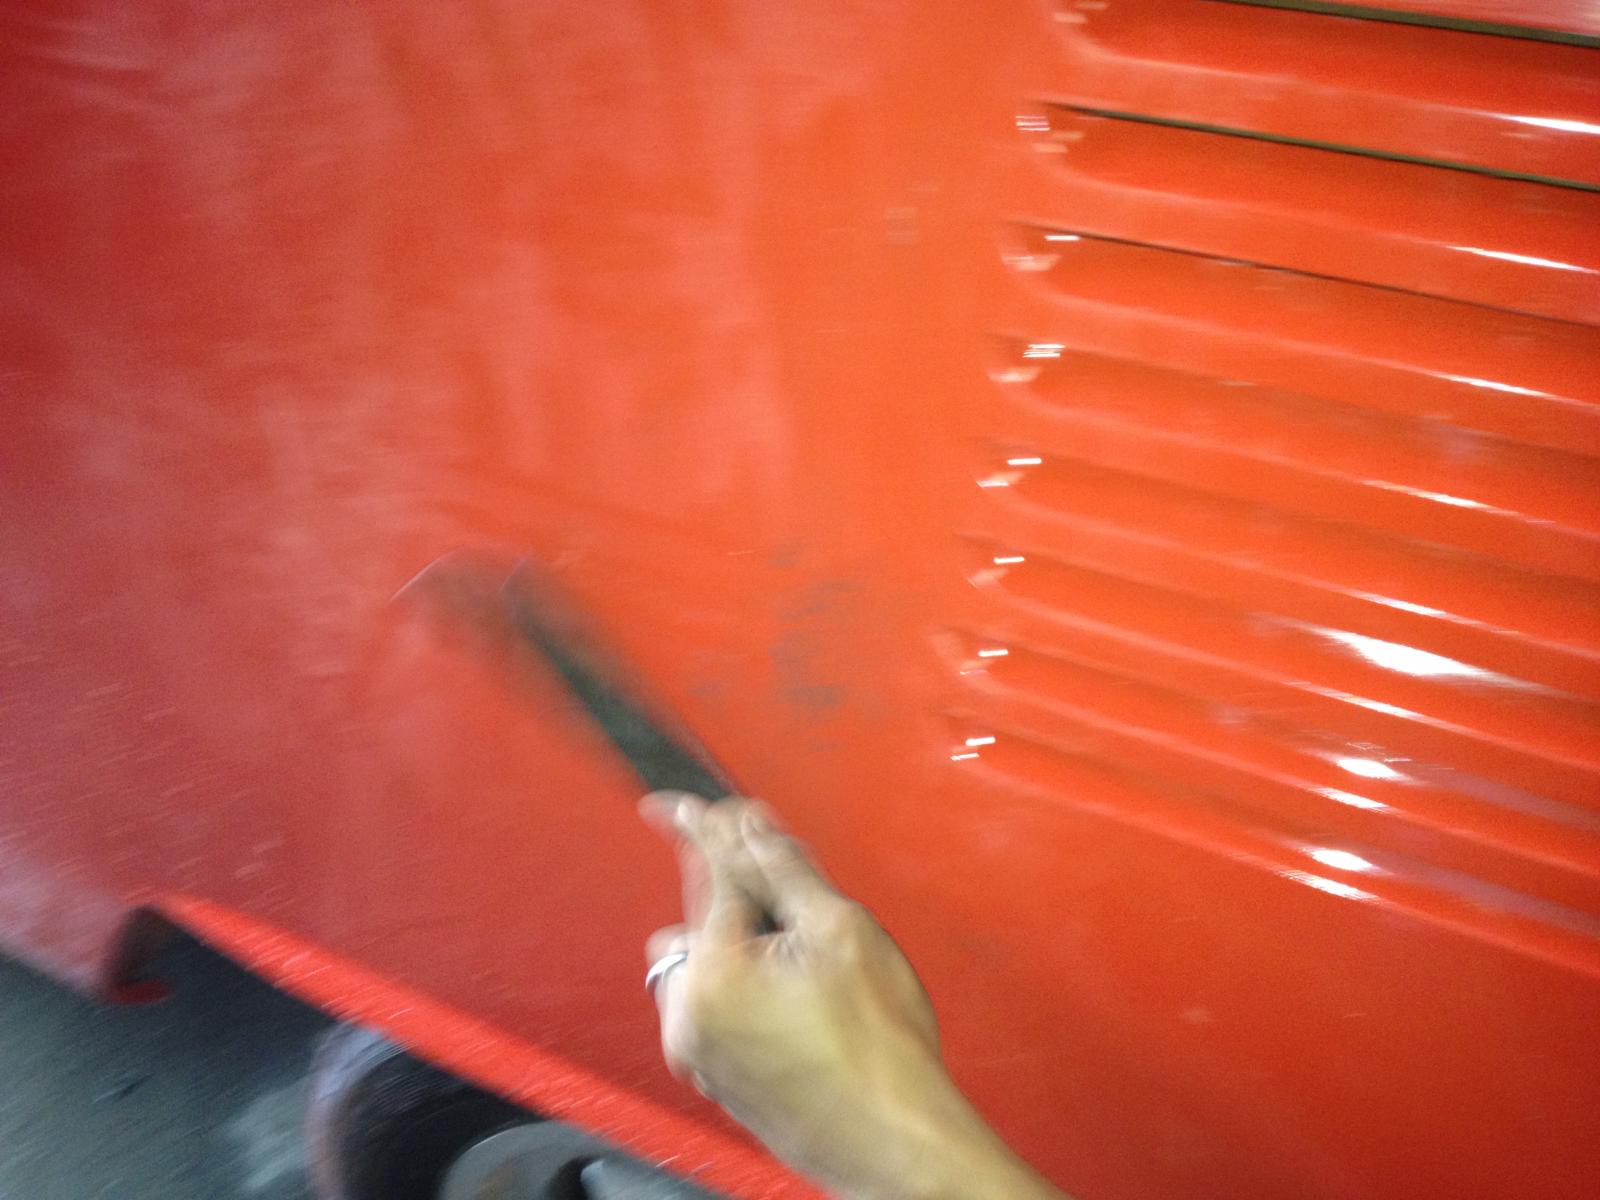
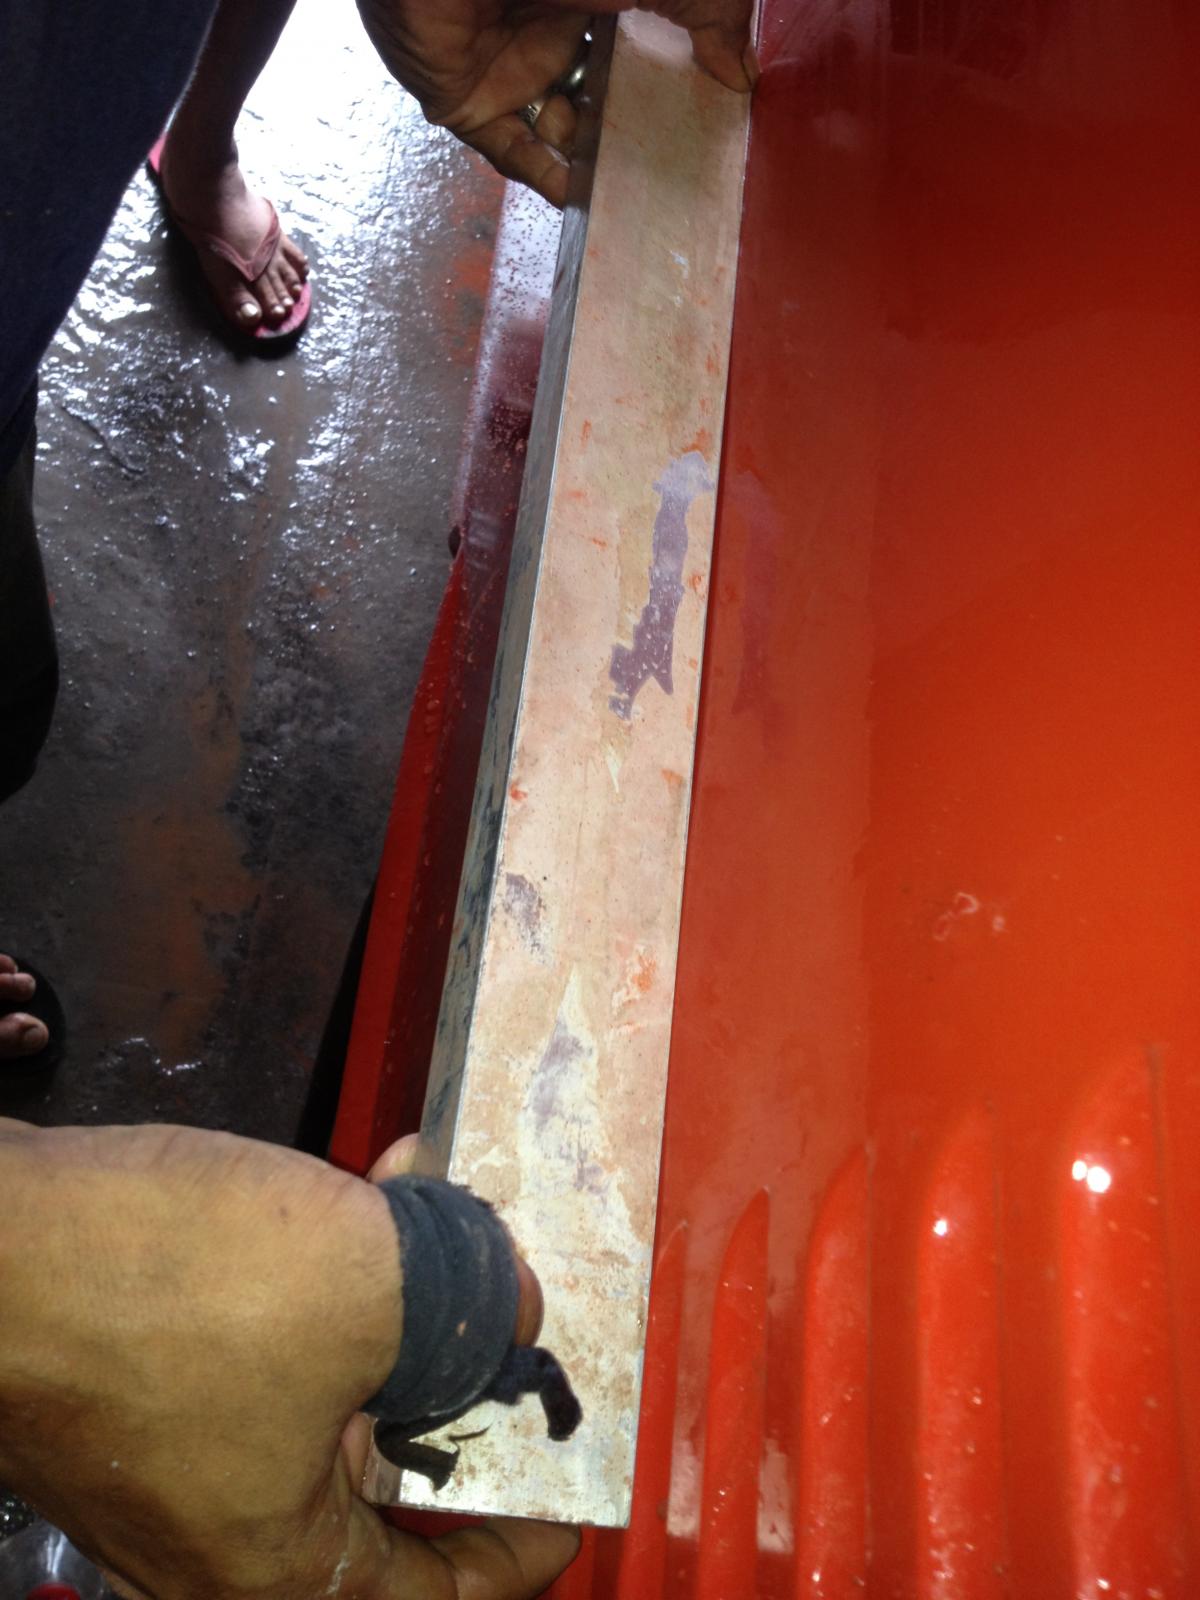
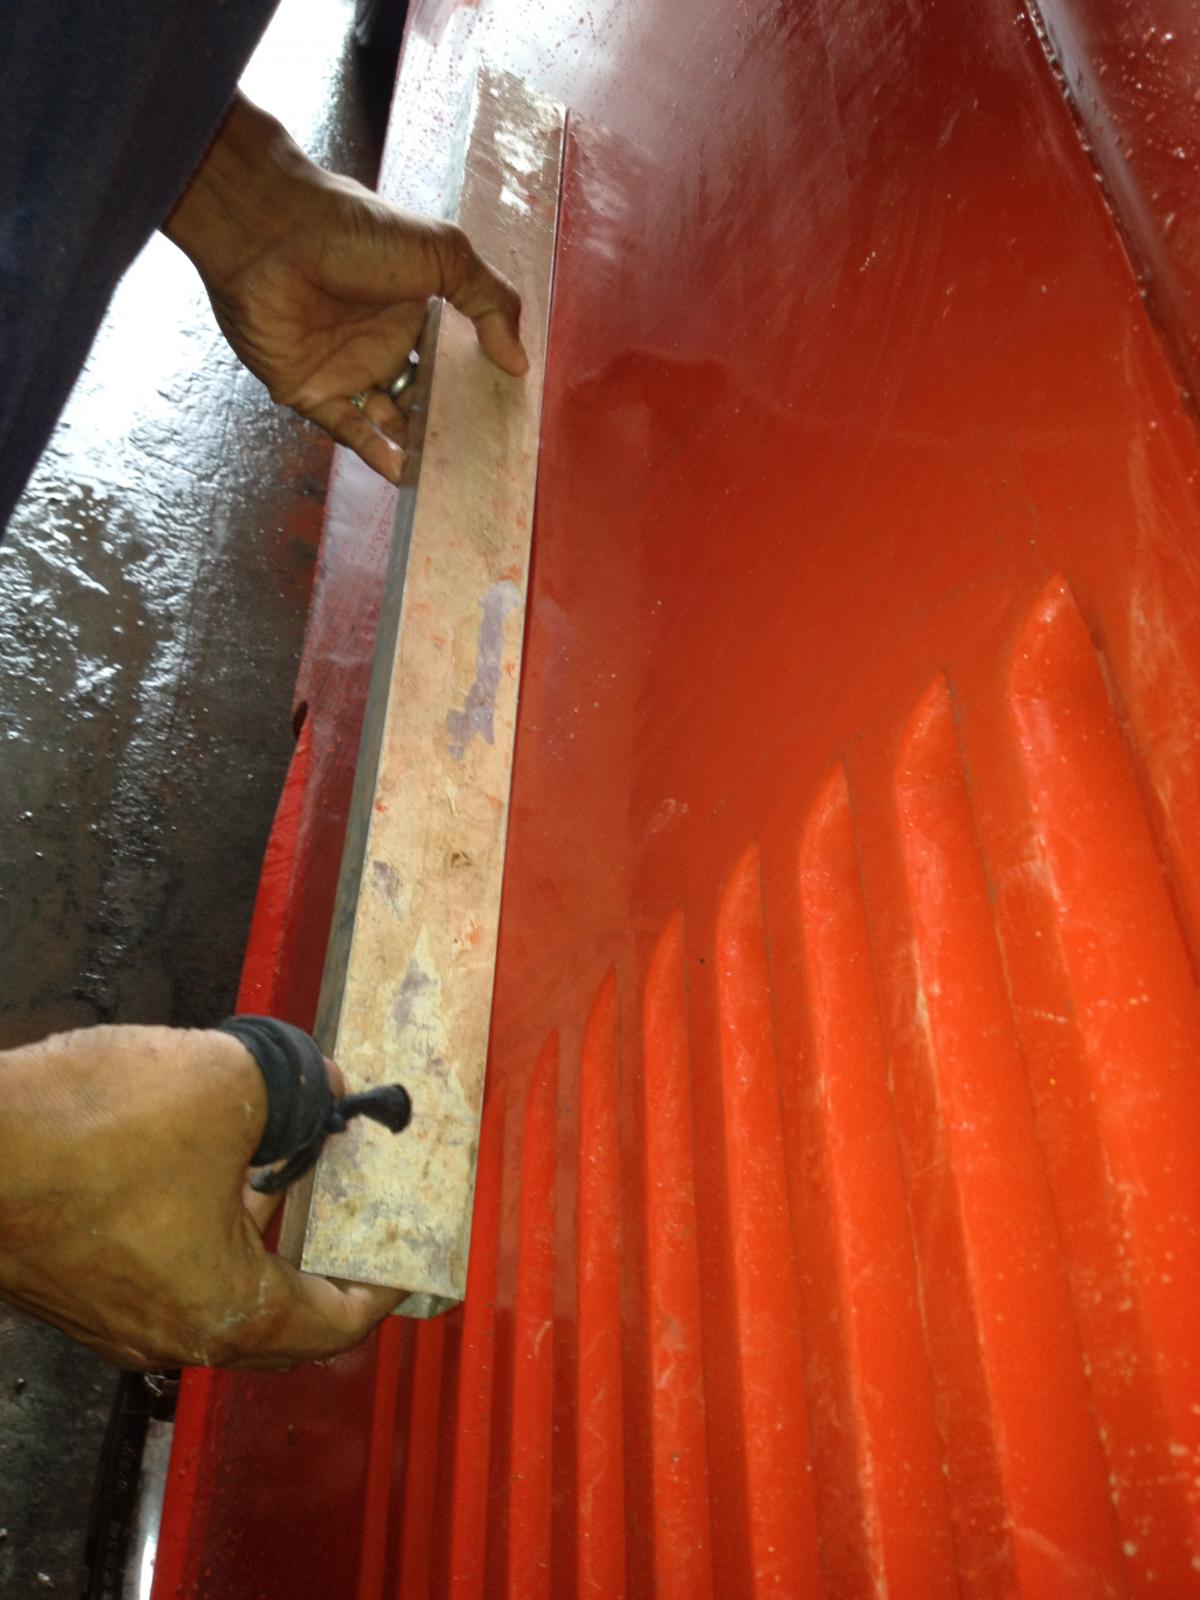
After straightening the panel, the result is okay!
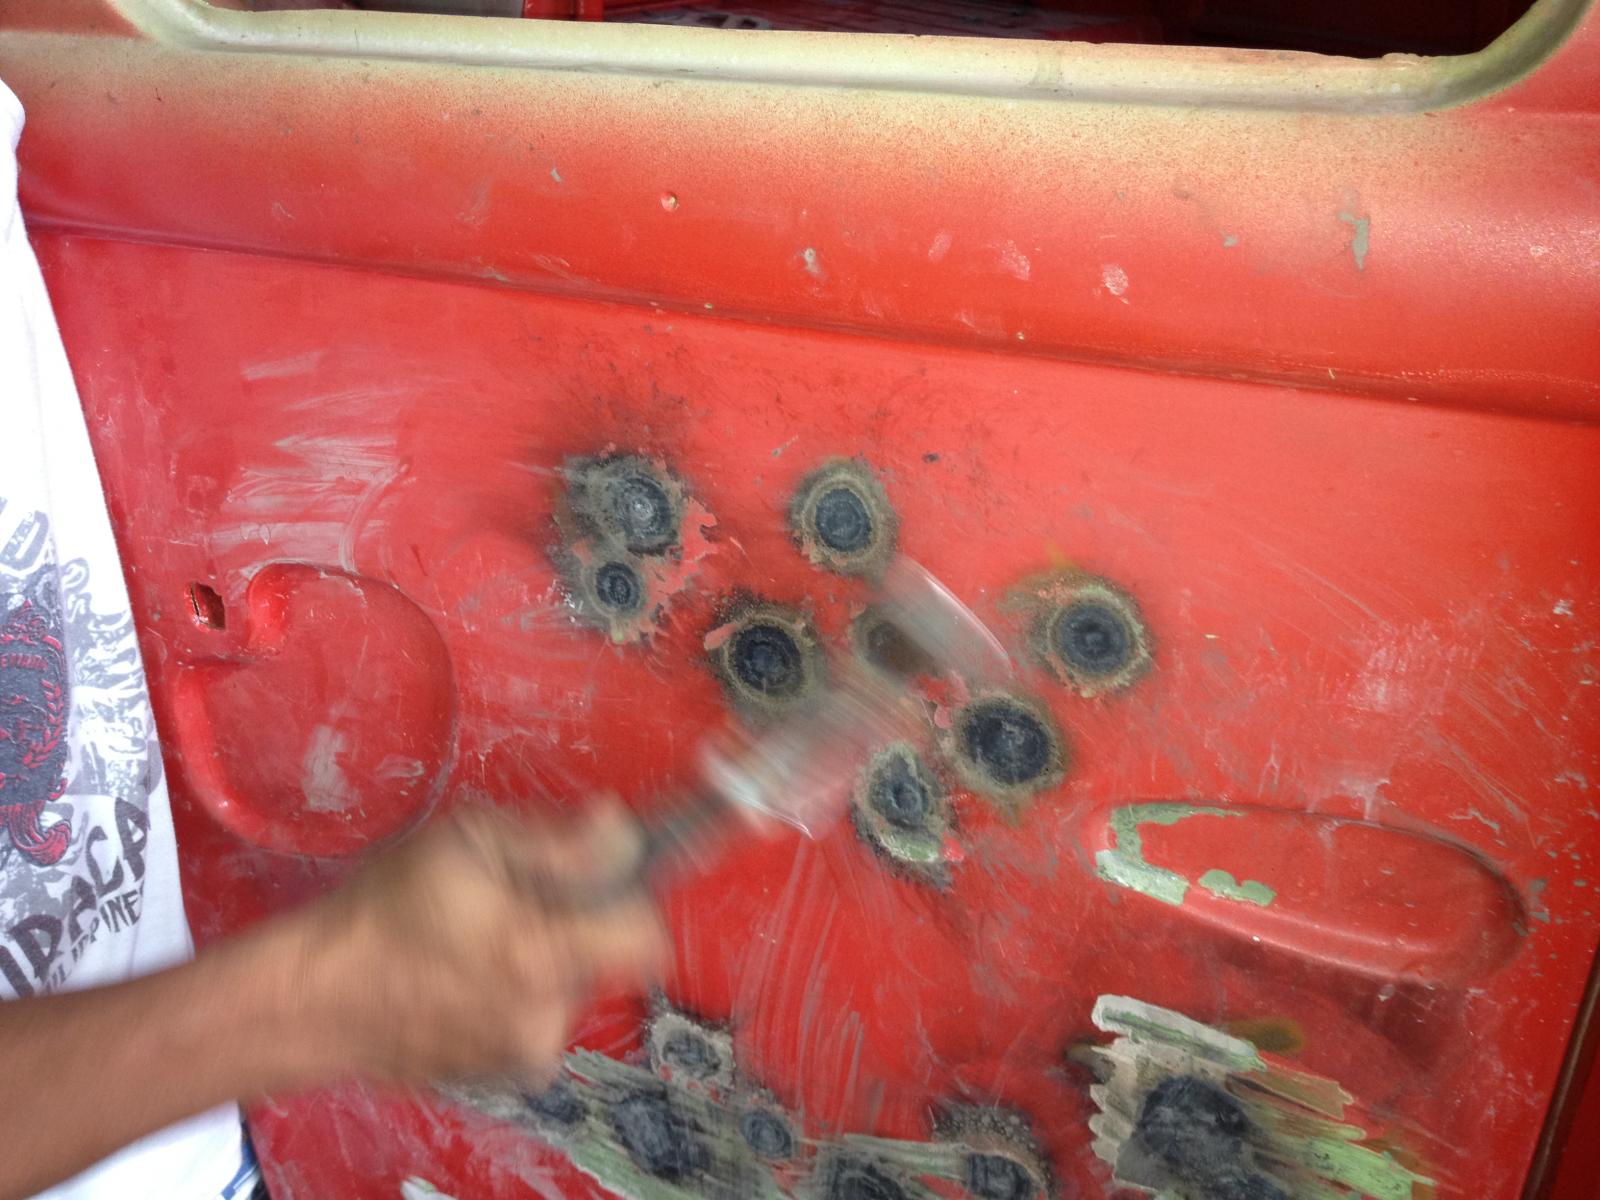
This will look better in these coming weekends!
Thanks
This weekend, we repaired the panel and the cargo doors be getting rid of the unwanted curves of the panel that had expanded when the split was repaired before by the previous owner. The result is wonderful and I can finally finish it.


After straightening the panel, the result is okay!


This will look better in these coming weekends!
Thanks
dongkg
Registered user
Posts: 90
Joined: Tue Jul 16, 2013 7:58 am
Re: My '67 Split Bus Resto Thread in the Philippines
by dongkg » Wed Jul 17, 2013 10:39 am
(Note: taken just last week, Saturday, 13 July 2013)
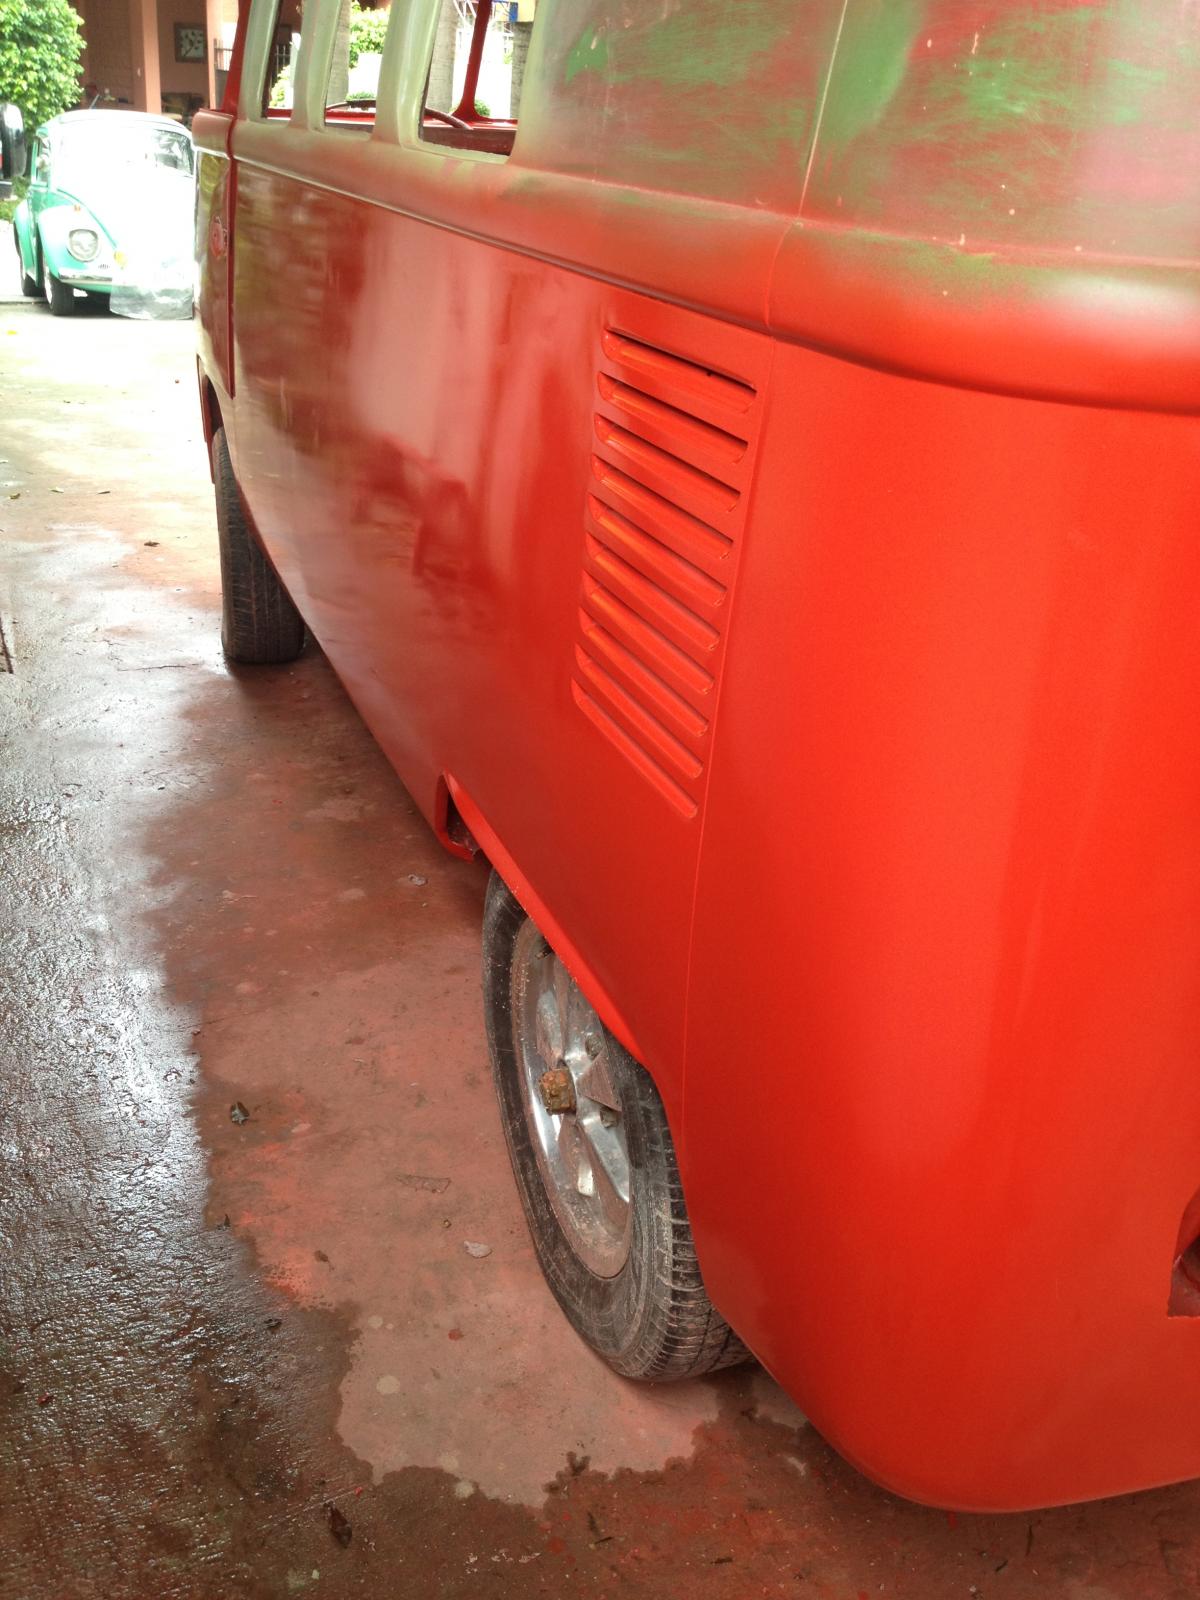
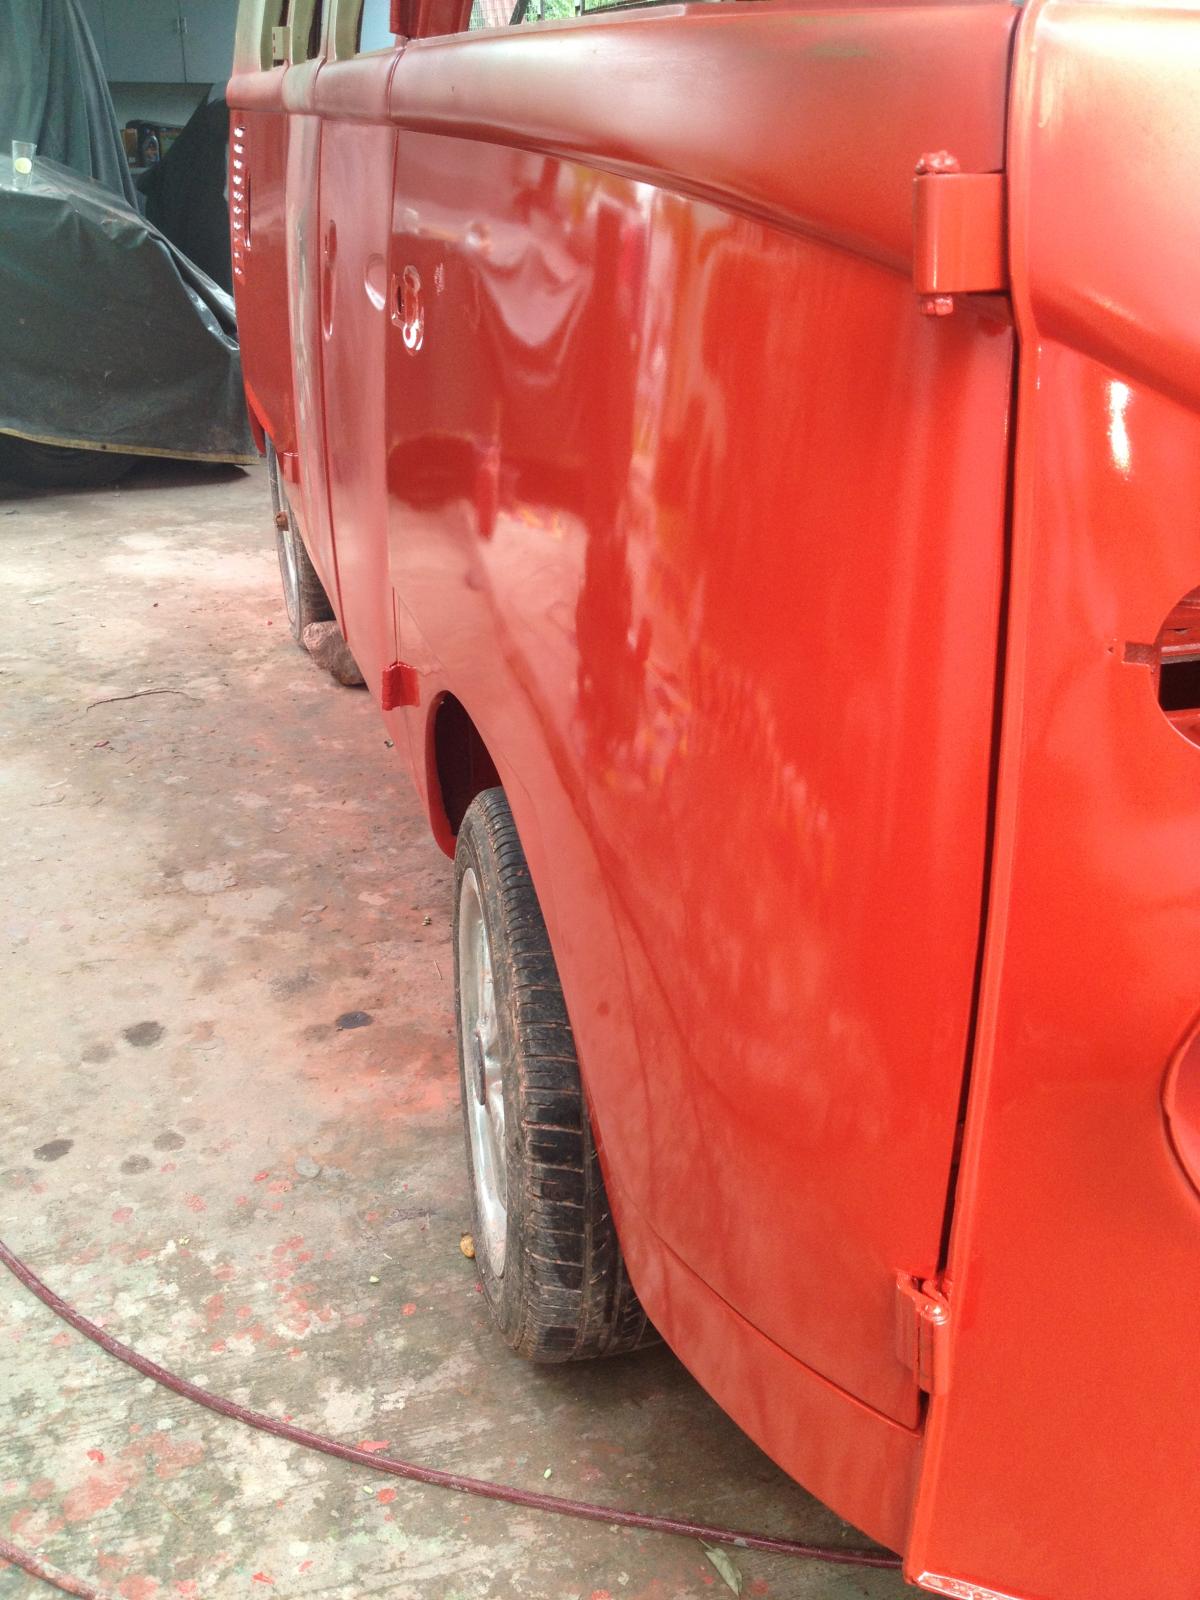
This week was productive as far as my restoration is concerned. Last Tuesday, I spent half day block sanding the long side panel considering that there are "paper thin" depressions.

this is the long panel after hours of block sanding using 220 grit and followed by 400 grit!
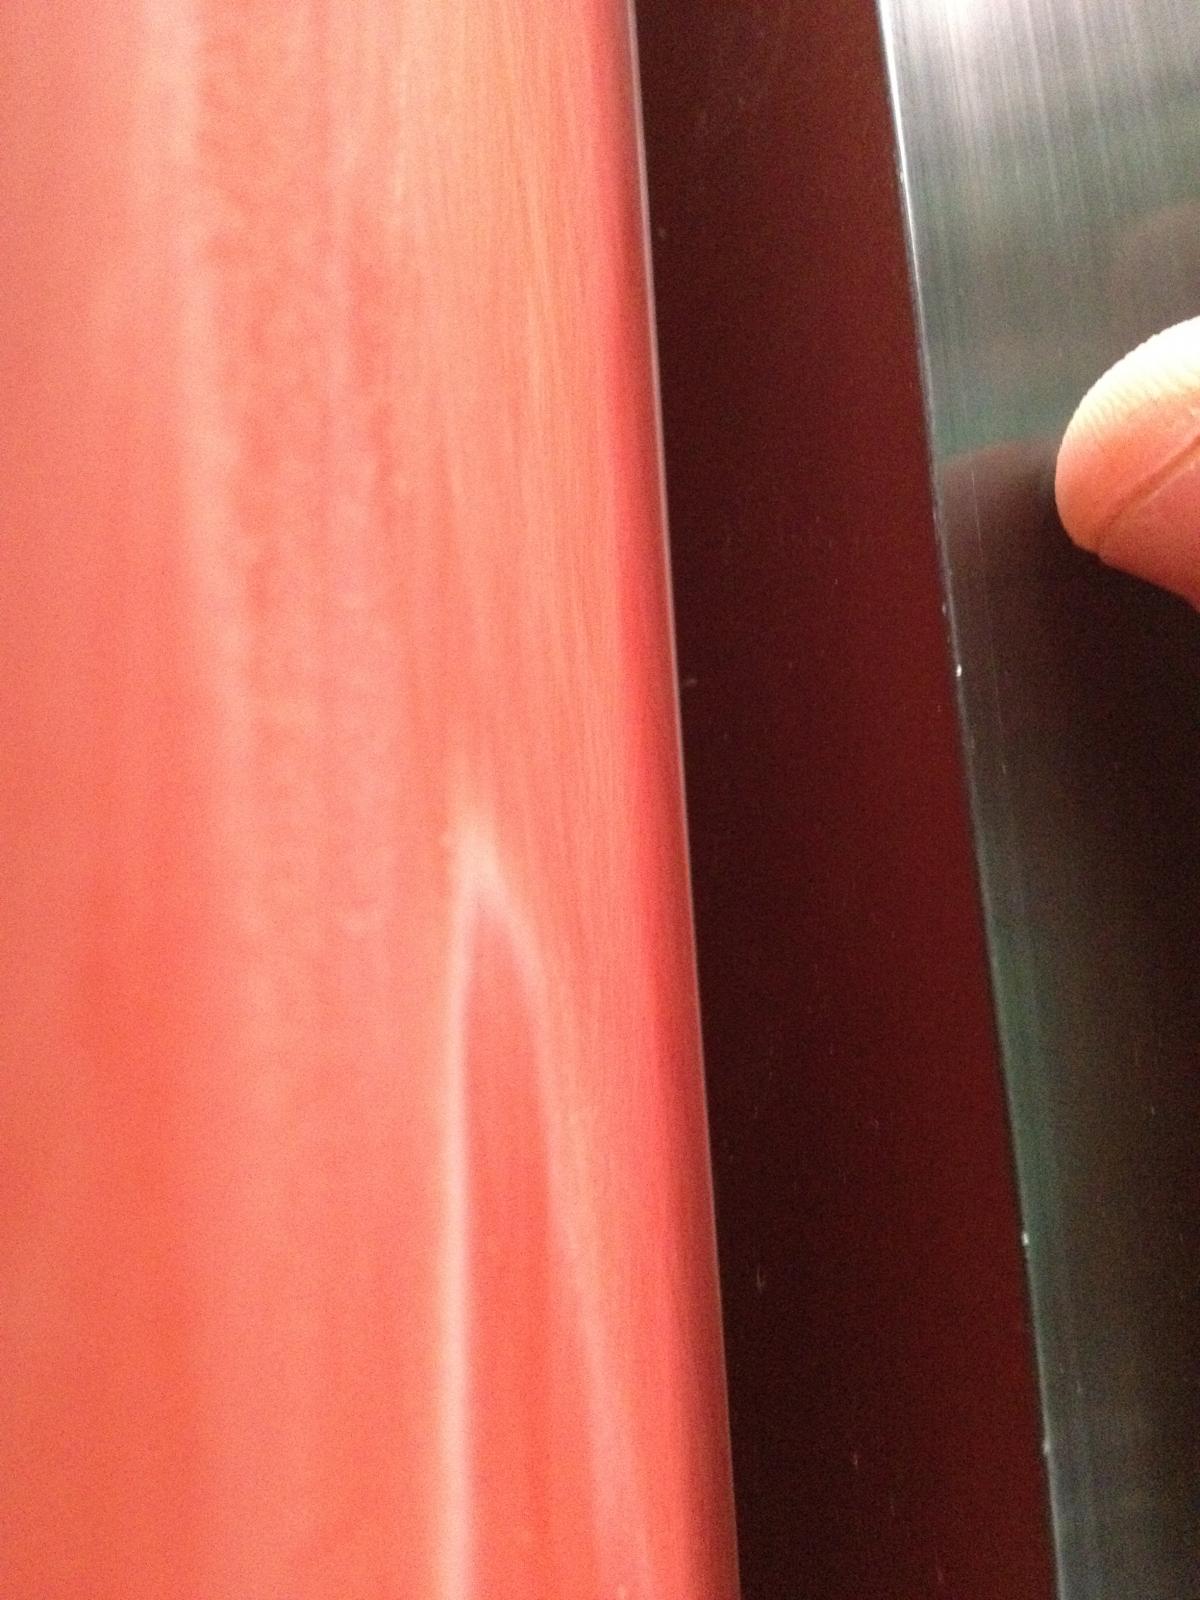
Please take a closer look and you will find a "paper thin" depression between the 1x2x24 aluminum hallow block I am using to measure all the minute depressions and the panel. Take note that when you view the panel from the sides, the very very thin depression may be visible but when you rub your palm onto it slowly, it seems that there are no depressions. So I addressed this because it annoys me knowing that the panel isn't that straight.
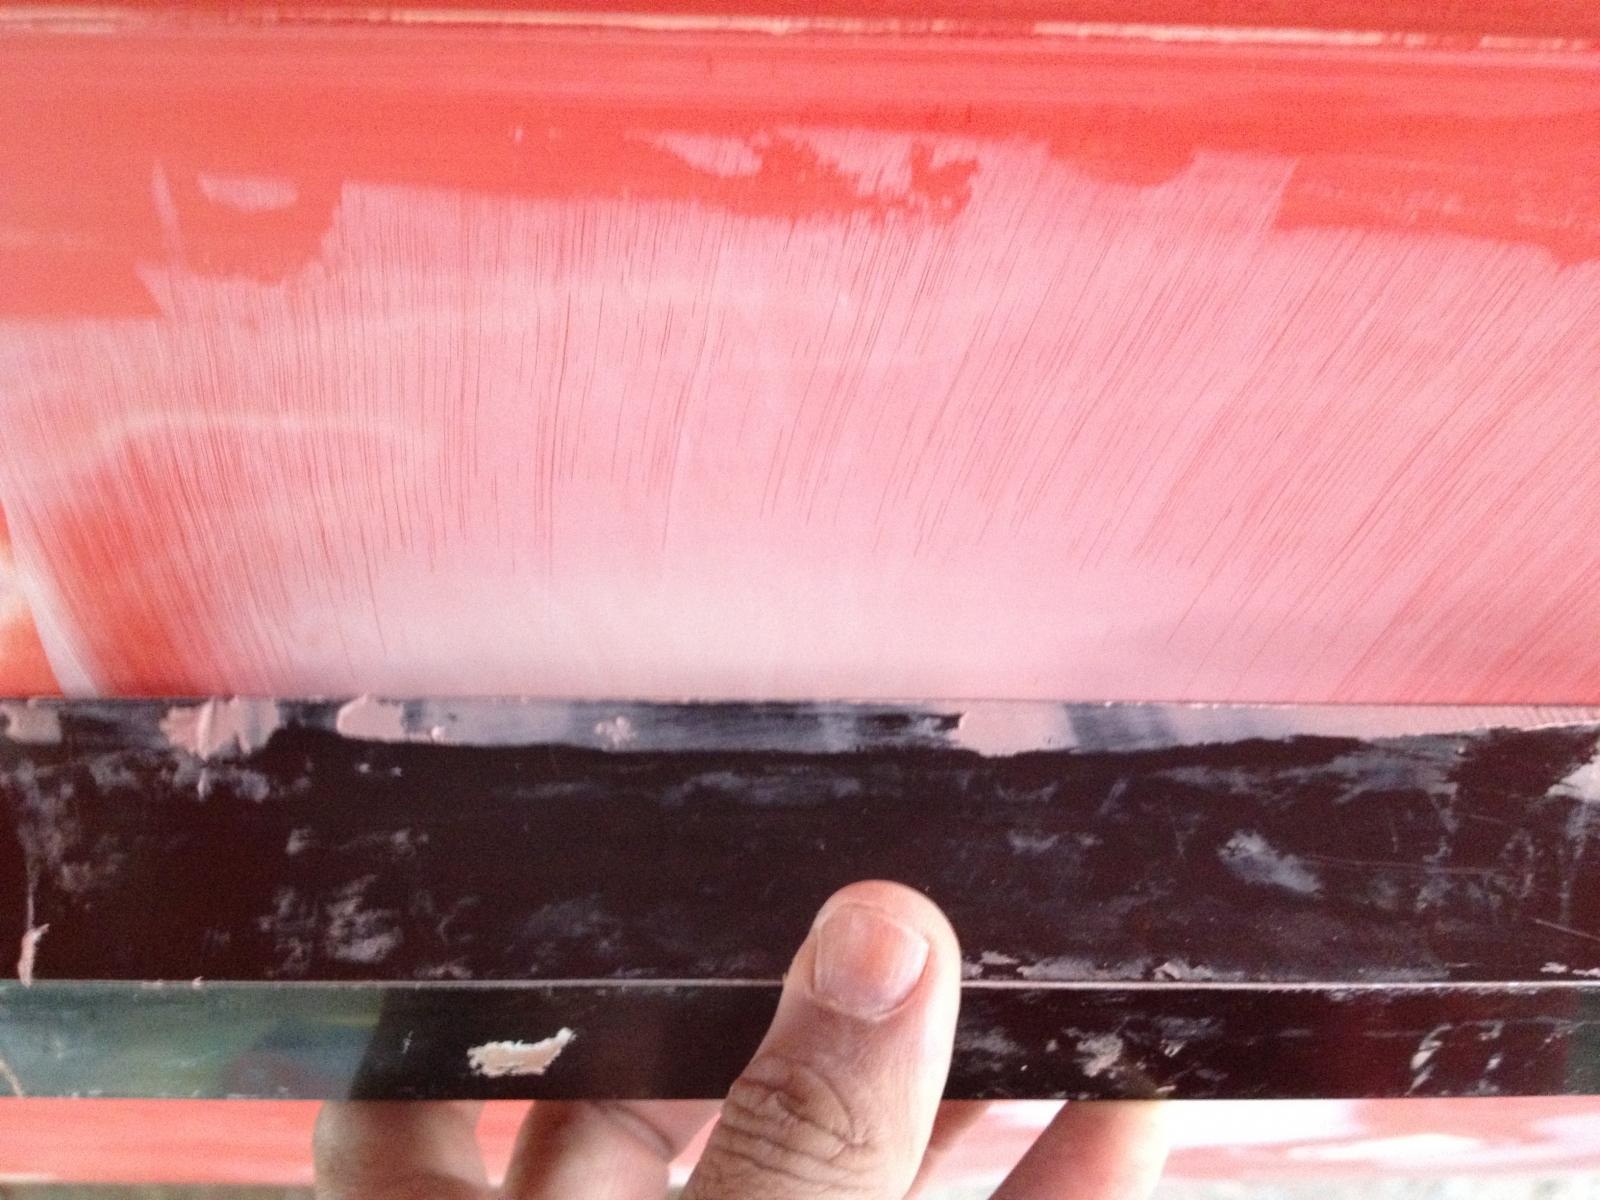
After applying the fillers, I used the 1x2x24 aluminum hallow tube to scrap the thick fillers on the panel to achieve the desired thinness of the fillers that should be left on the panel for block sanding.
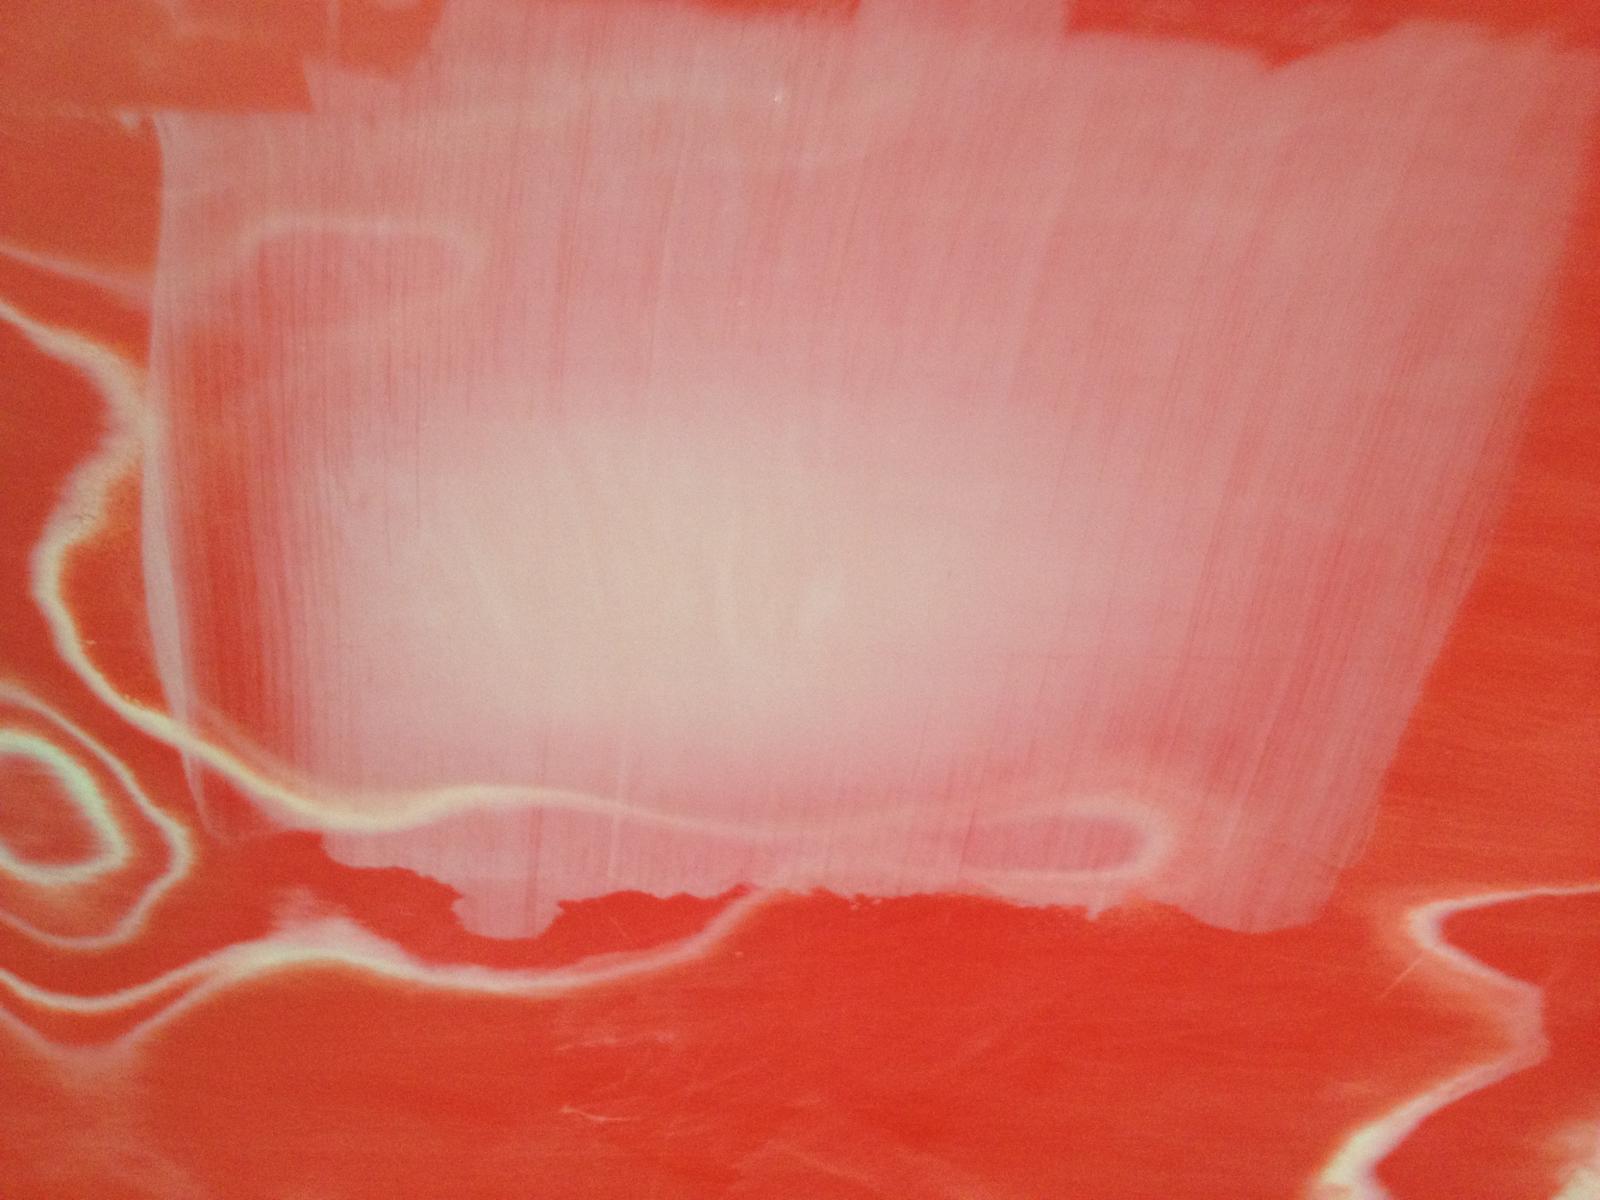
One the 1x2x24 aluminum hallow tube has been used to scrap off the excess fillers, you can immediately see the amount of fillers that is left on the panel that is so straight to the current panel. I did this procedure everything that there were "paper thin" depressions. And it wasn't easy because I had to see the panel from the sides and it is becoming so difficult to see the "paper thin" depressions as soon as there are so many fillers on the panel.
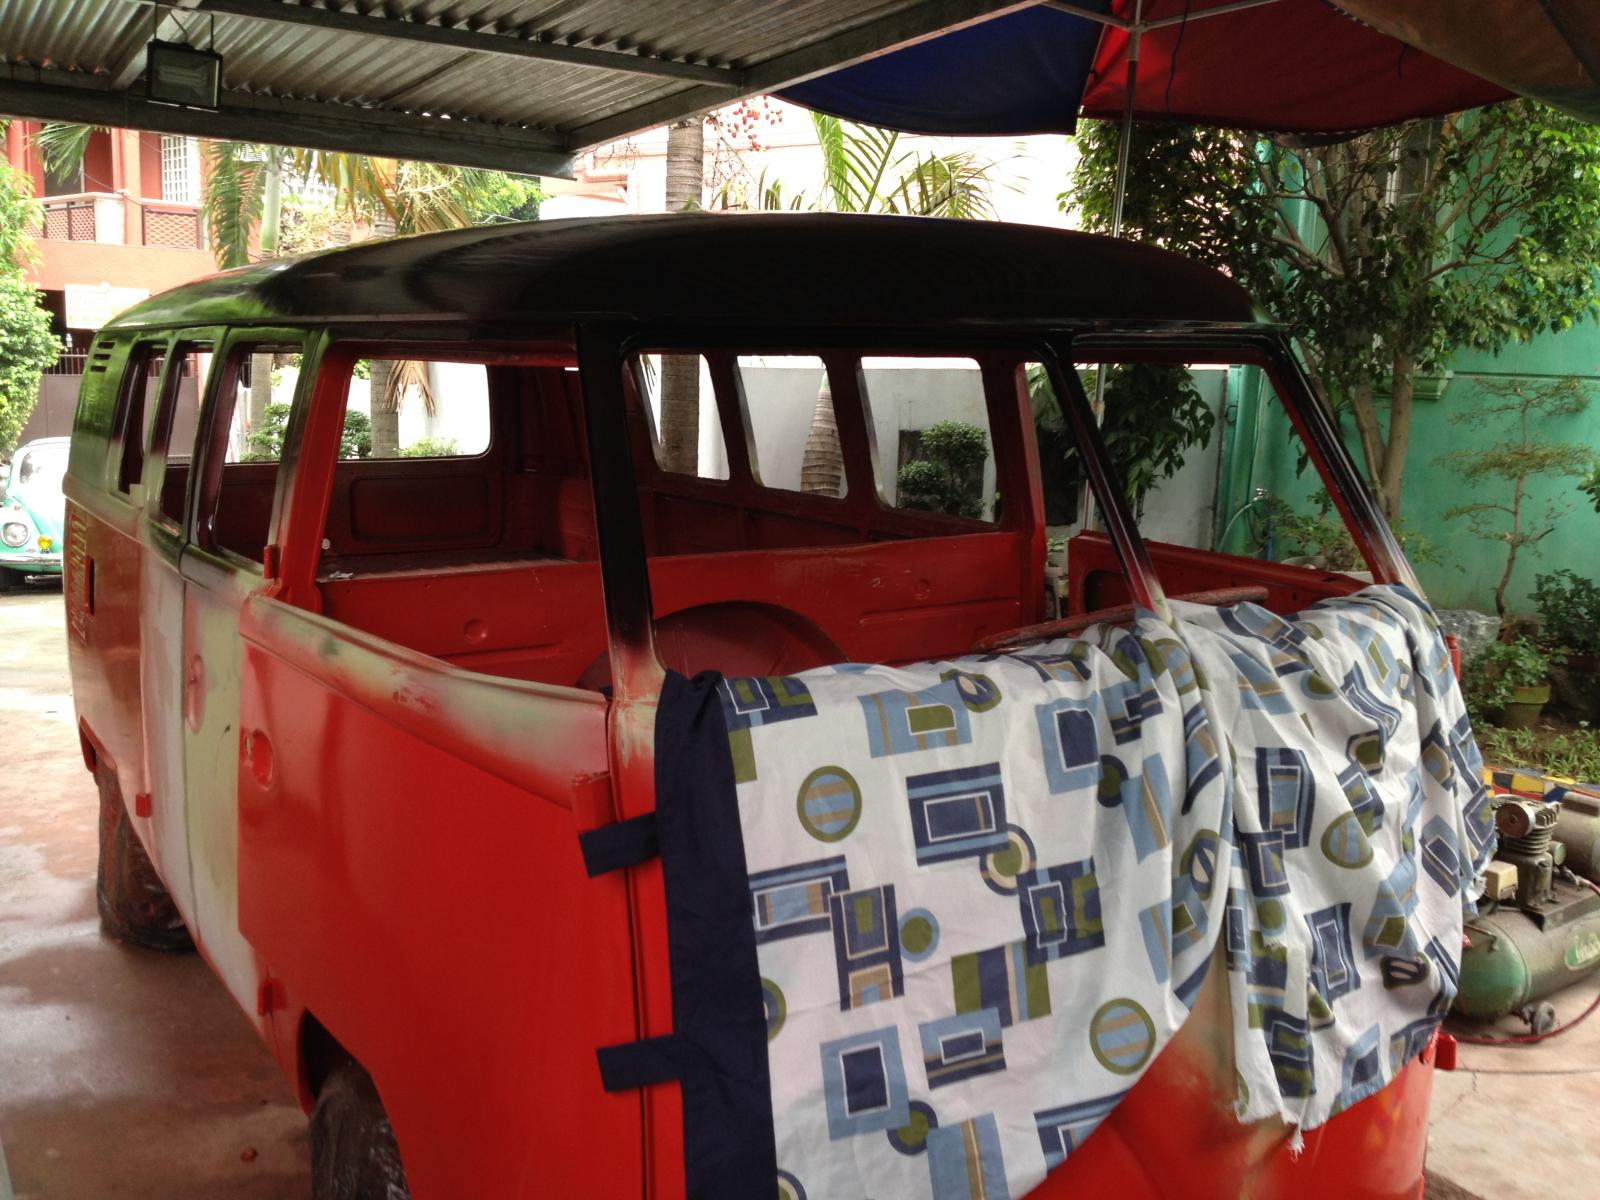
After I have applied the sealing wax red (which turned out to be okay), I applied he chesnut brown color (I just needed to see that color on the split! I am pretty much excited to see how it will look!), and I cover the dashboard with the used bed sheet to eliminate possible sprinkling chestnut brown paint.
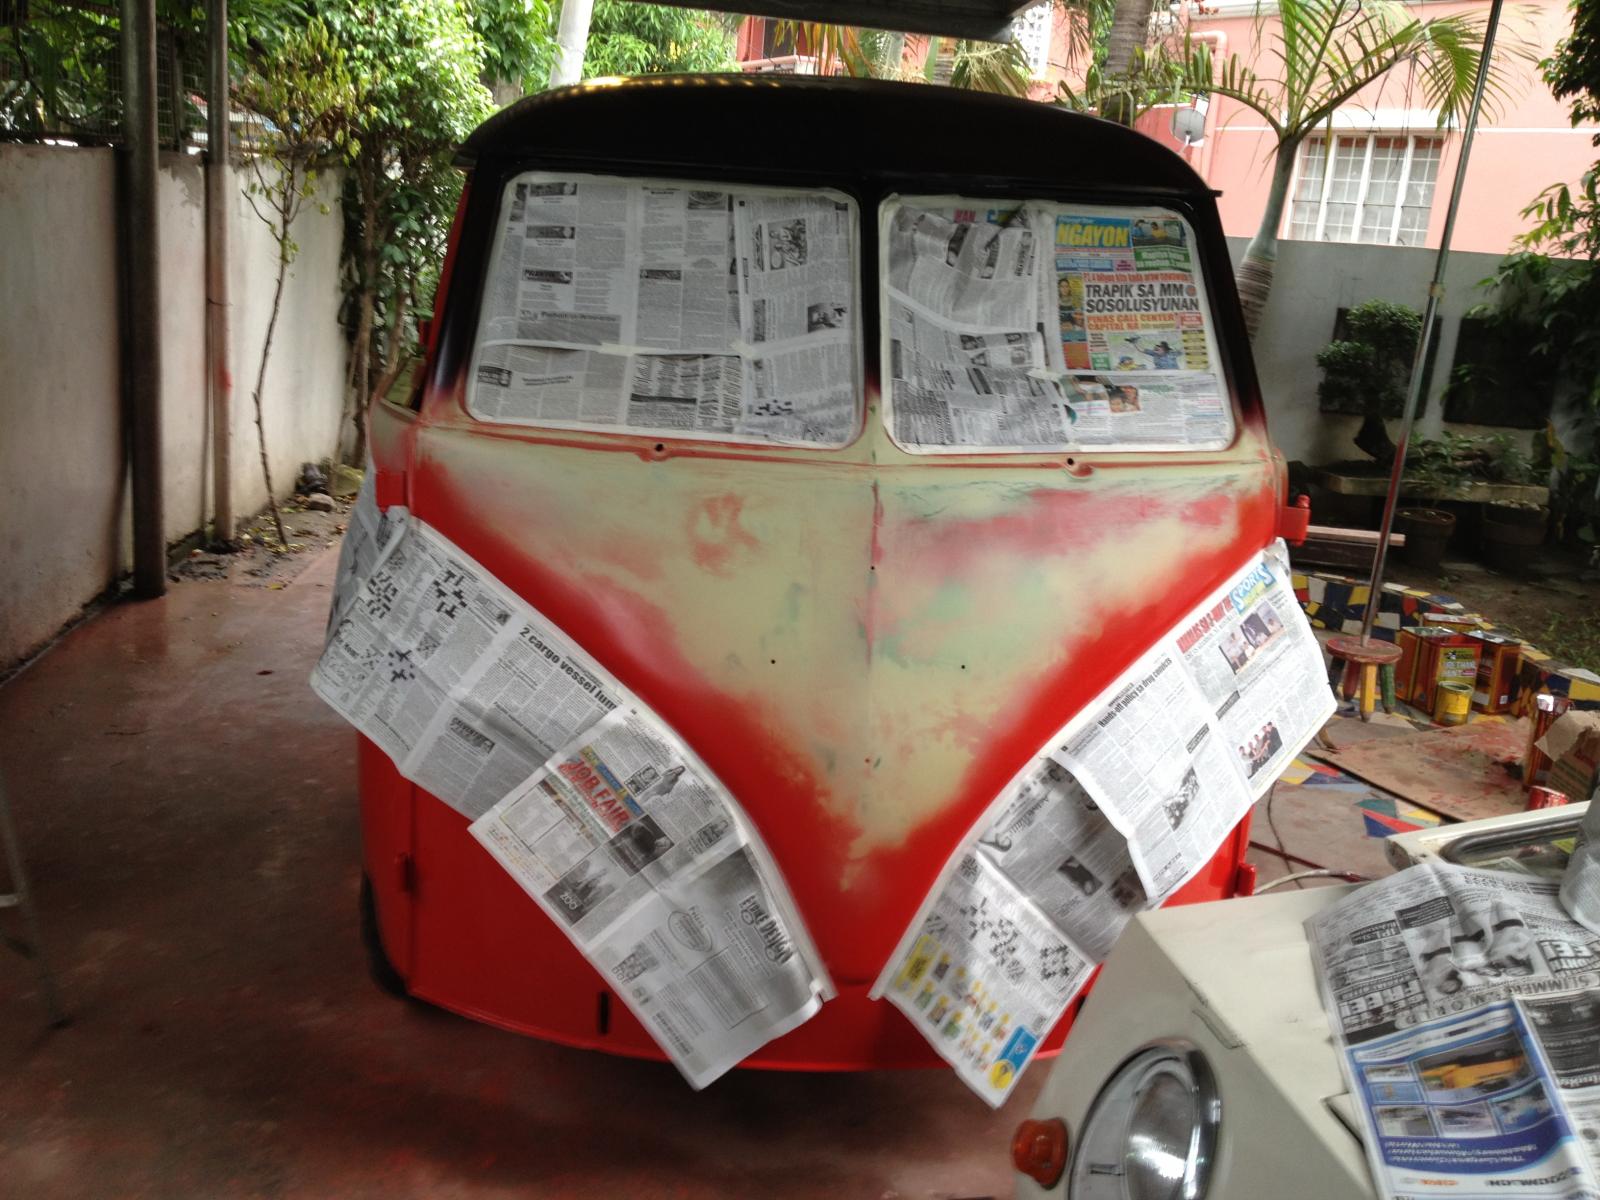
Of course, the used news papers are always helpful!
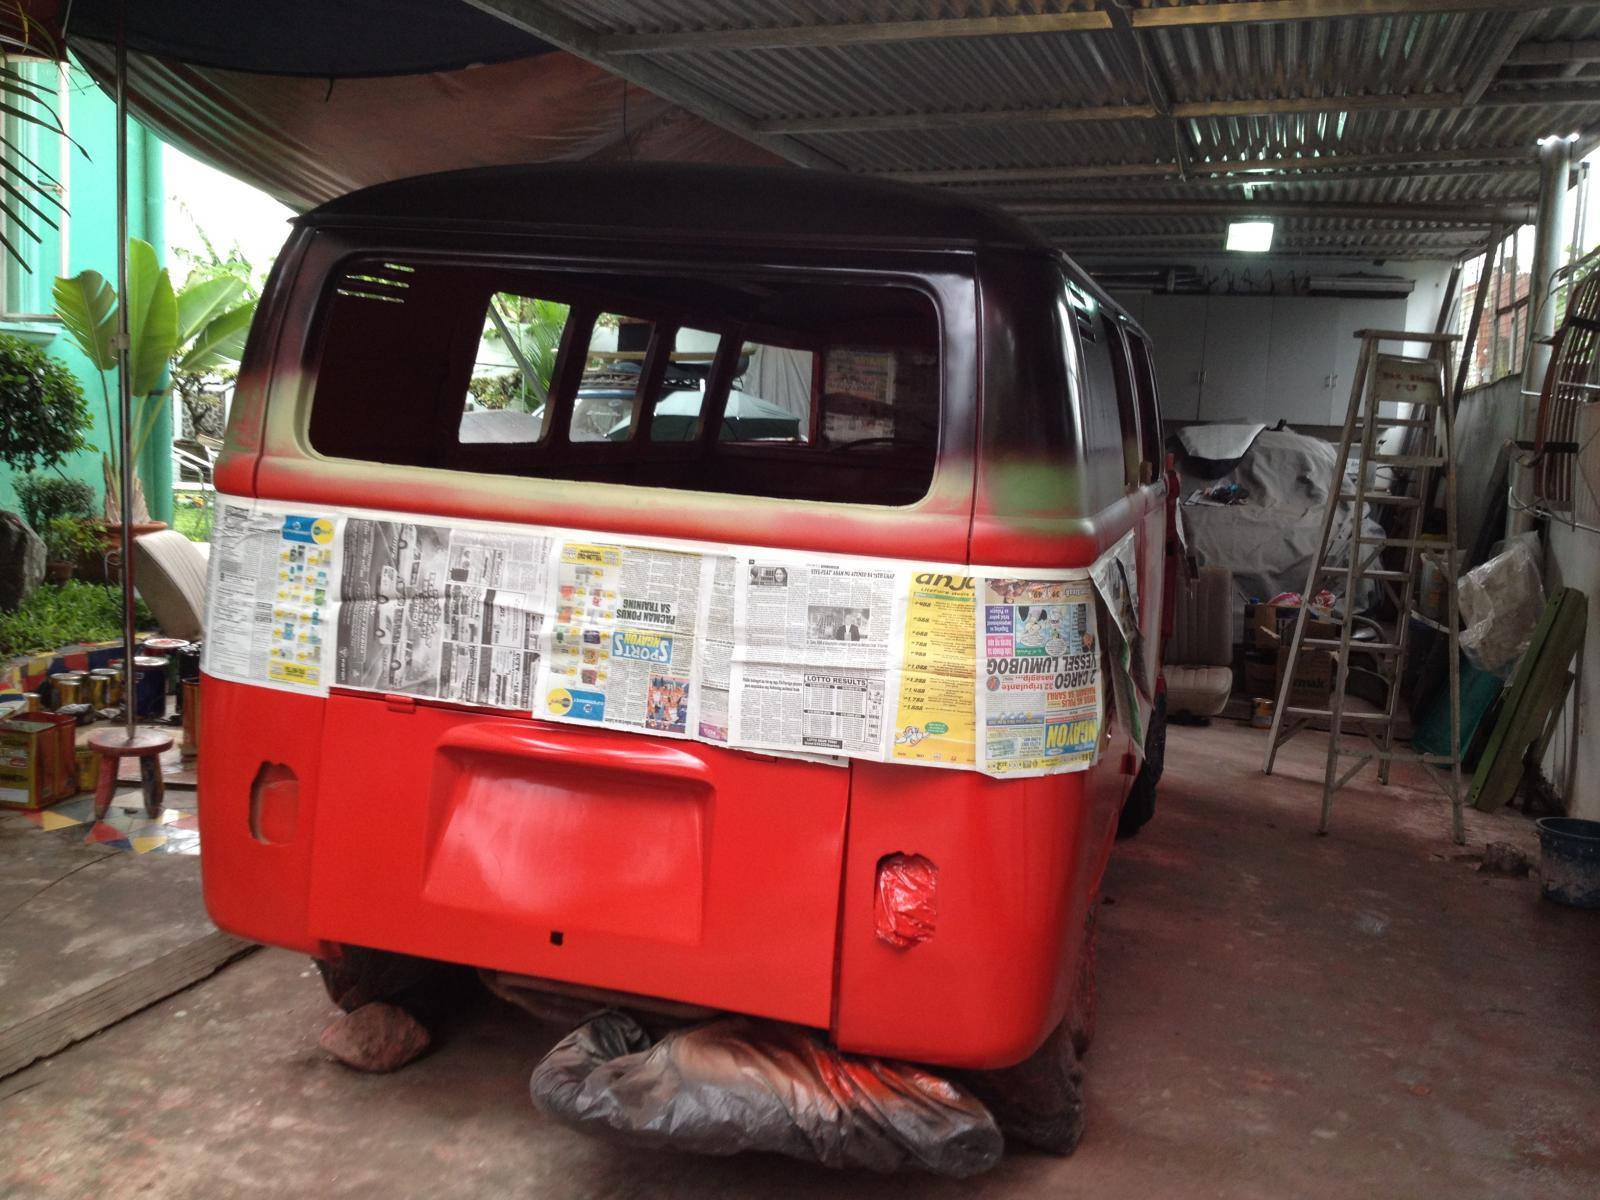
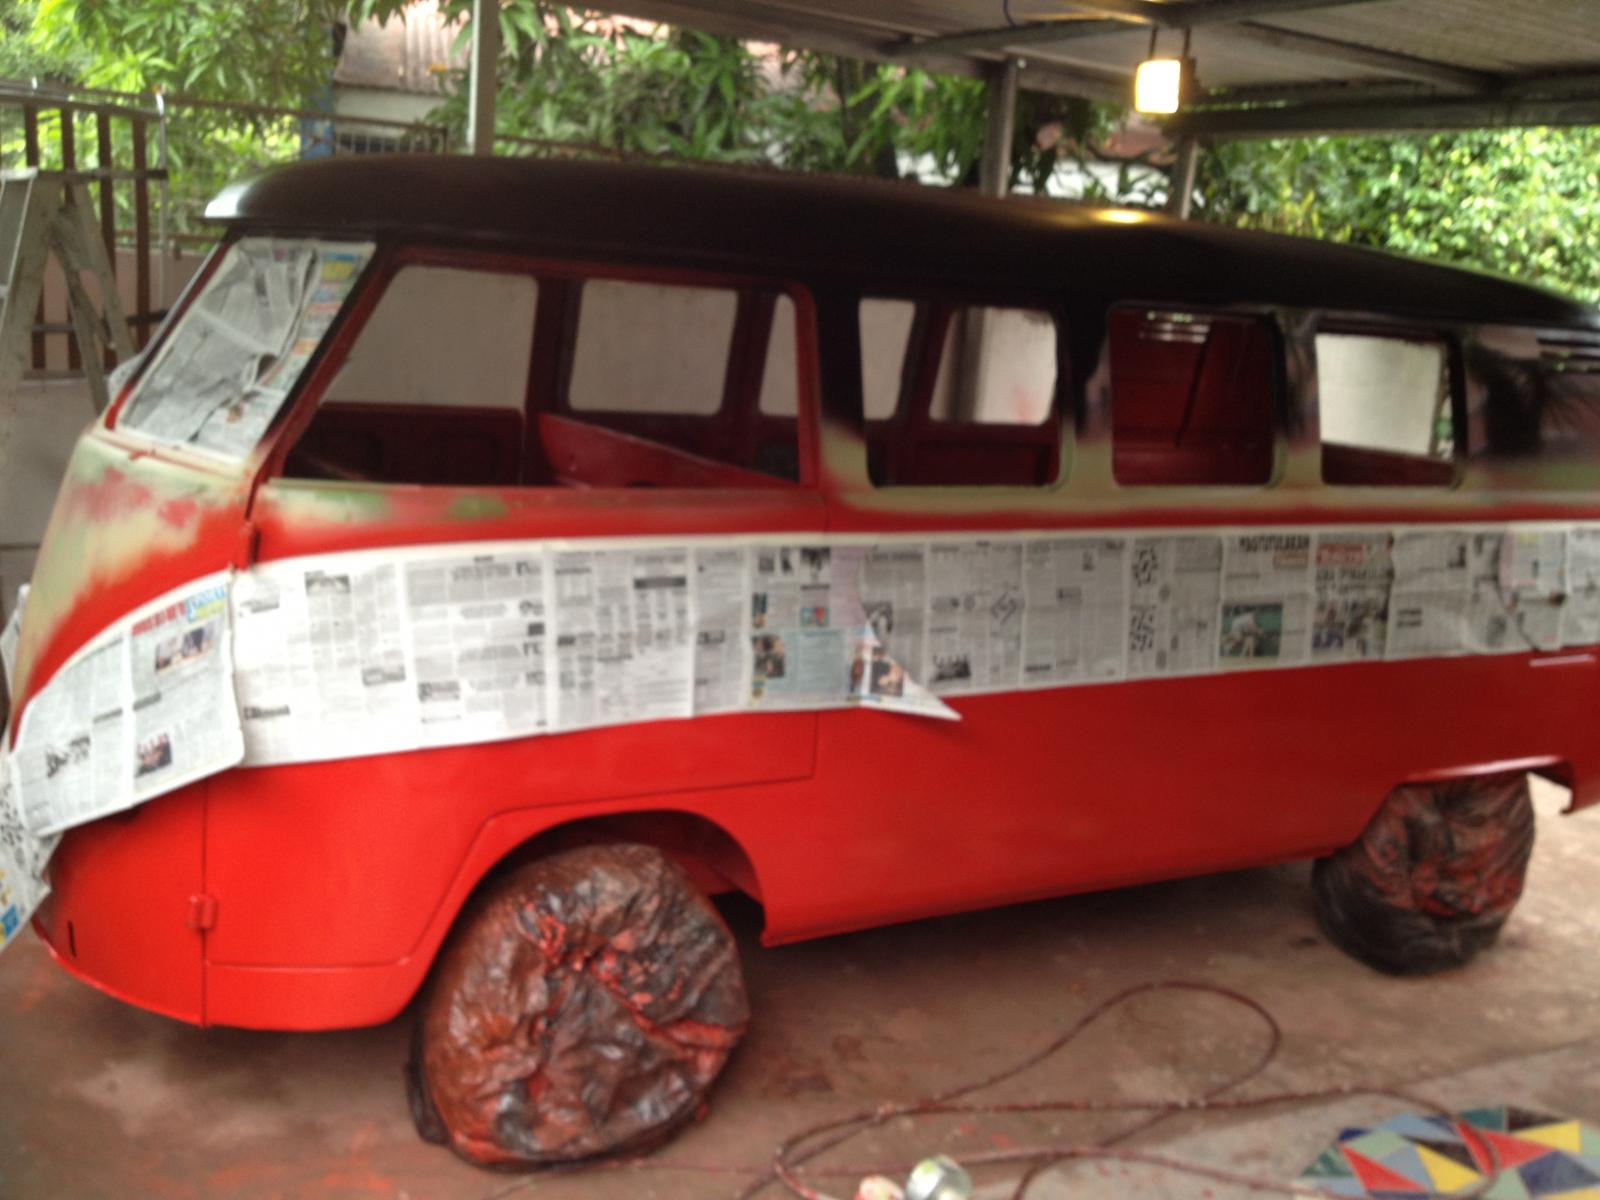
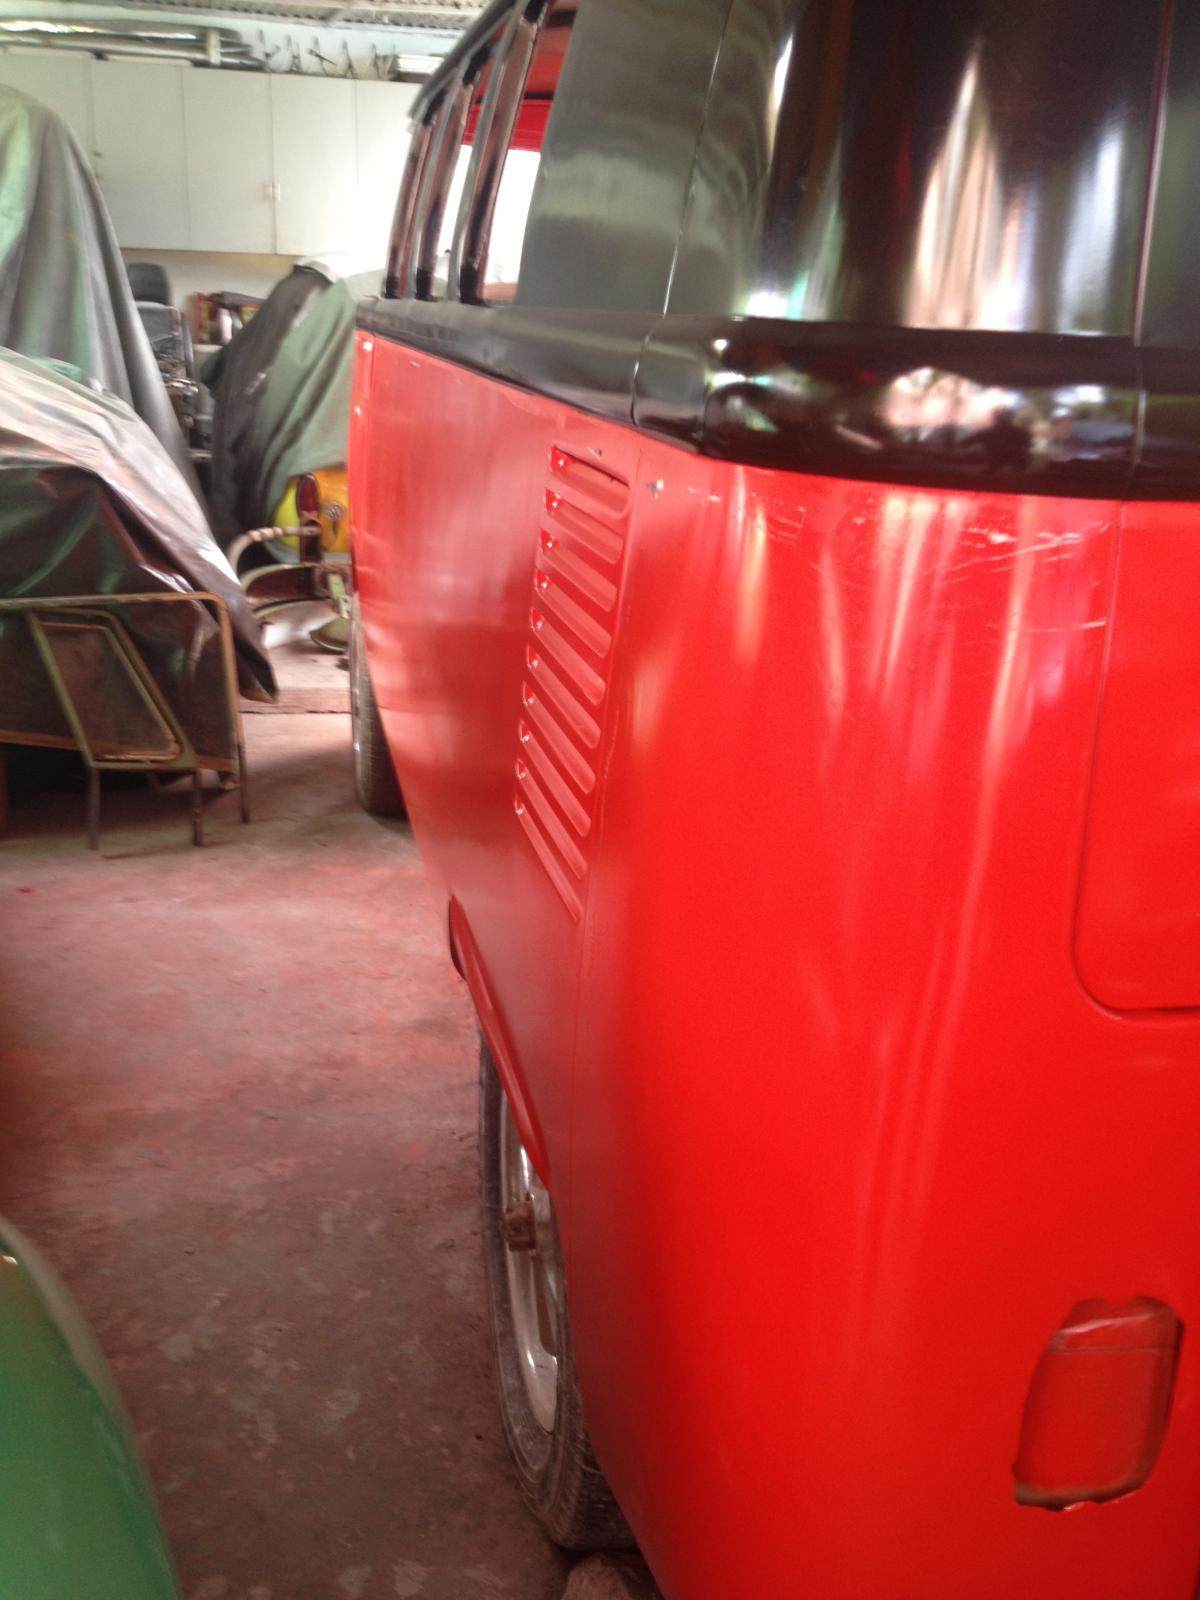
Finished one! That panel is the best result I have had in 6 months, and I am so much happier seeing that panel that straighter compared before!
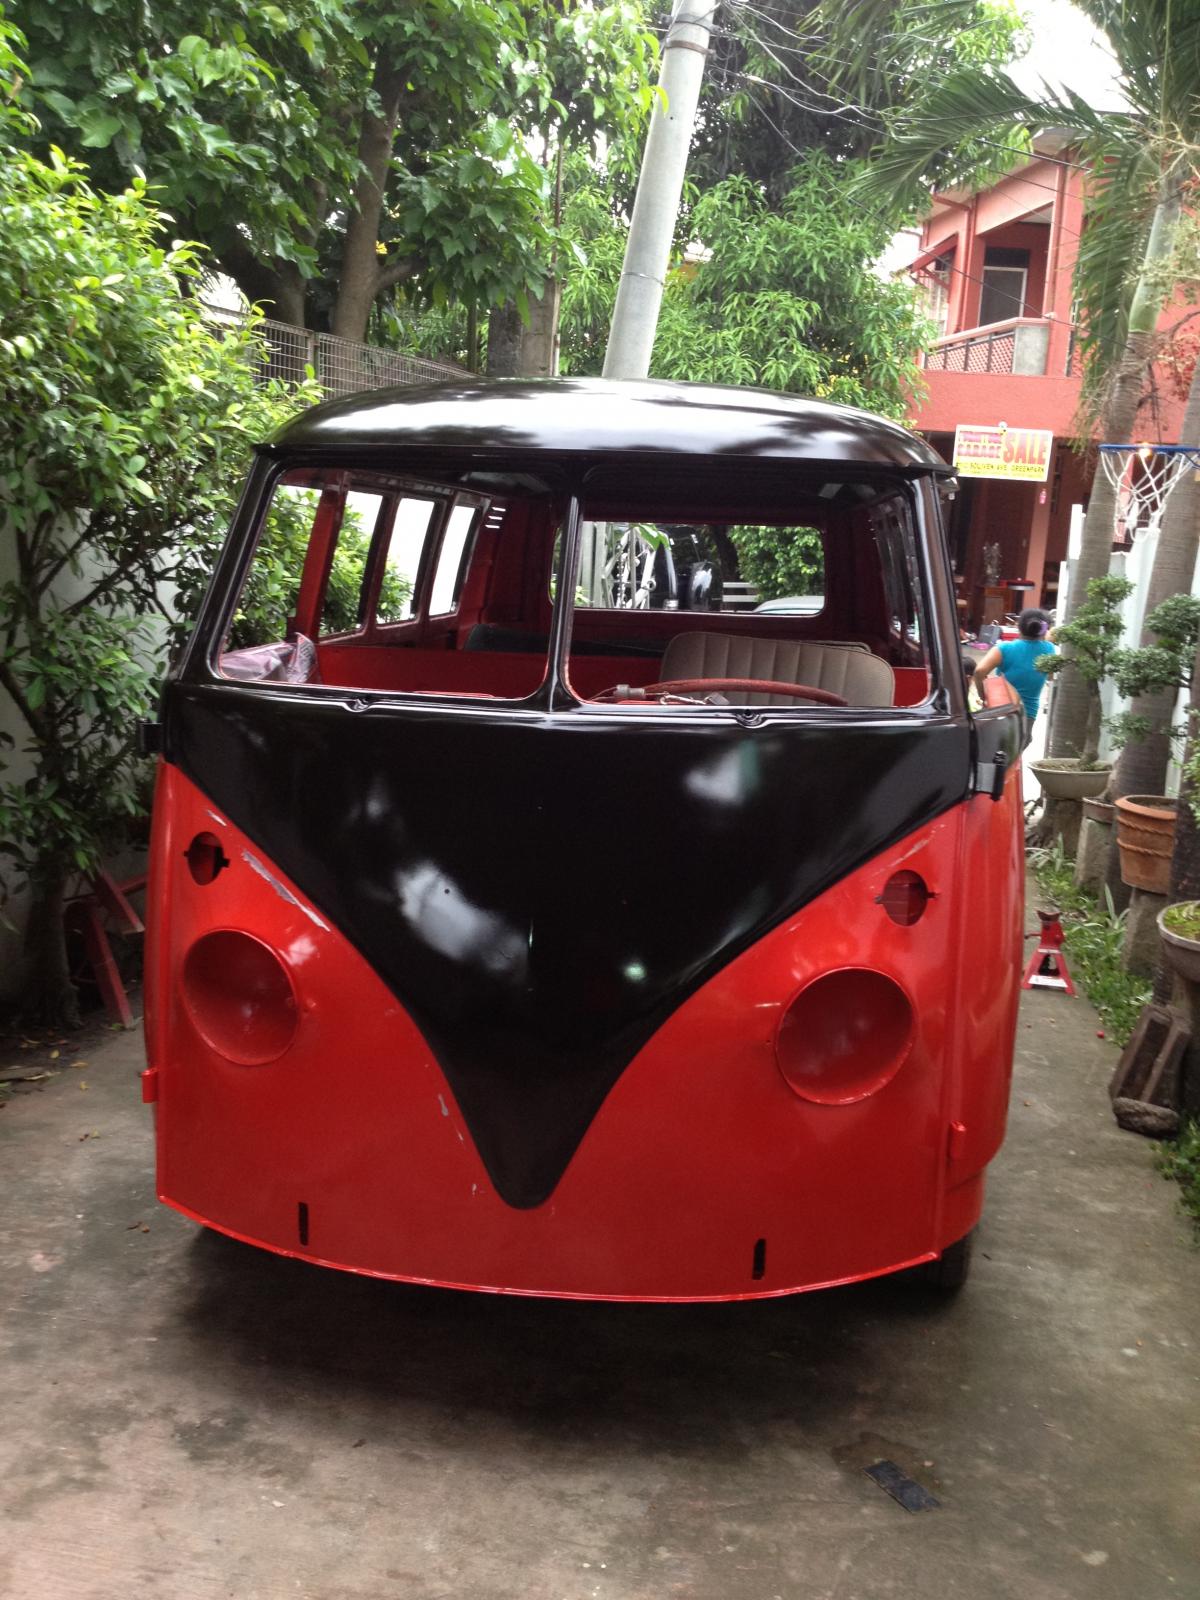
The chestnut brown look blackish while it was still drying up but when it is completely dried up, the brown hue became more apparent!
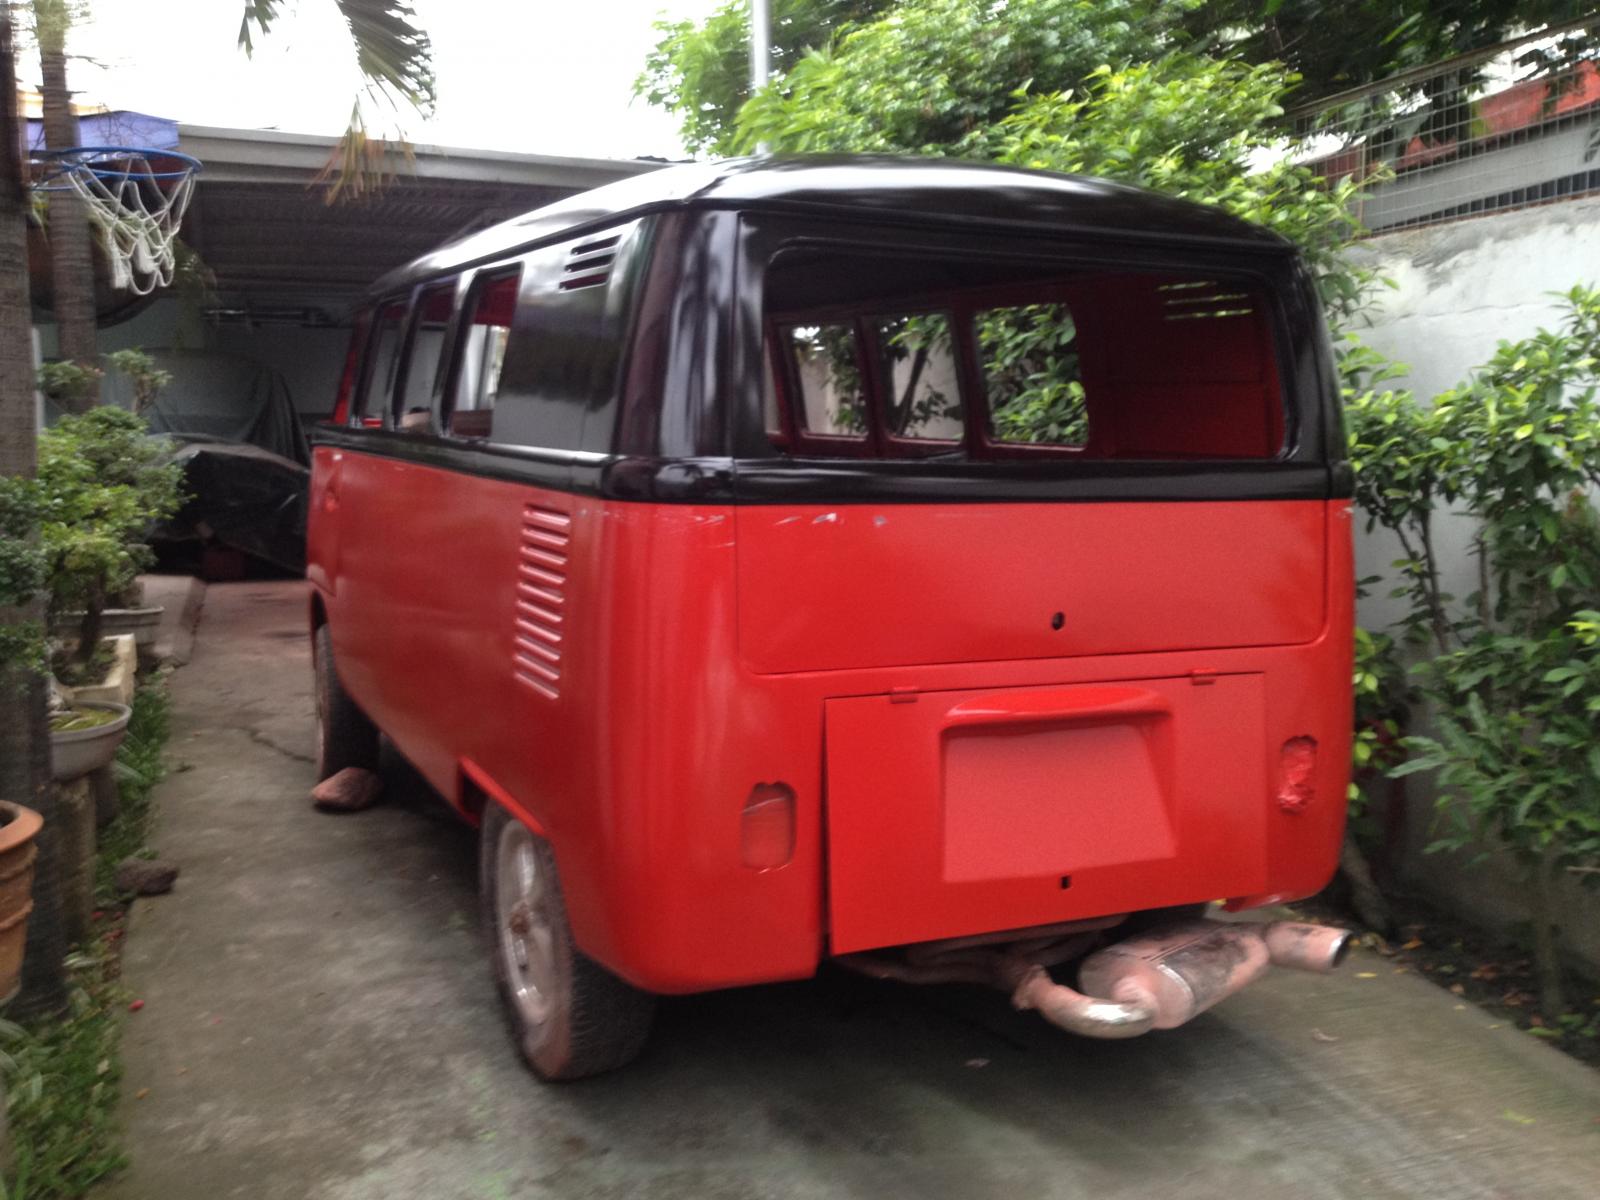
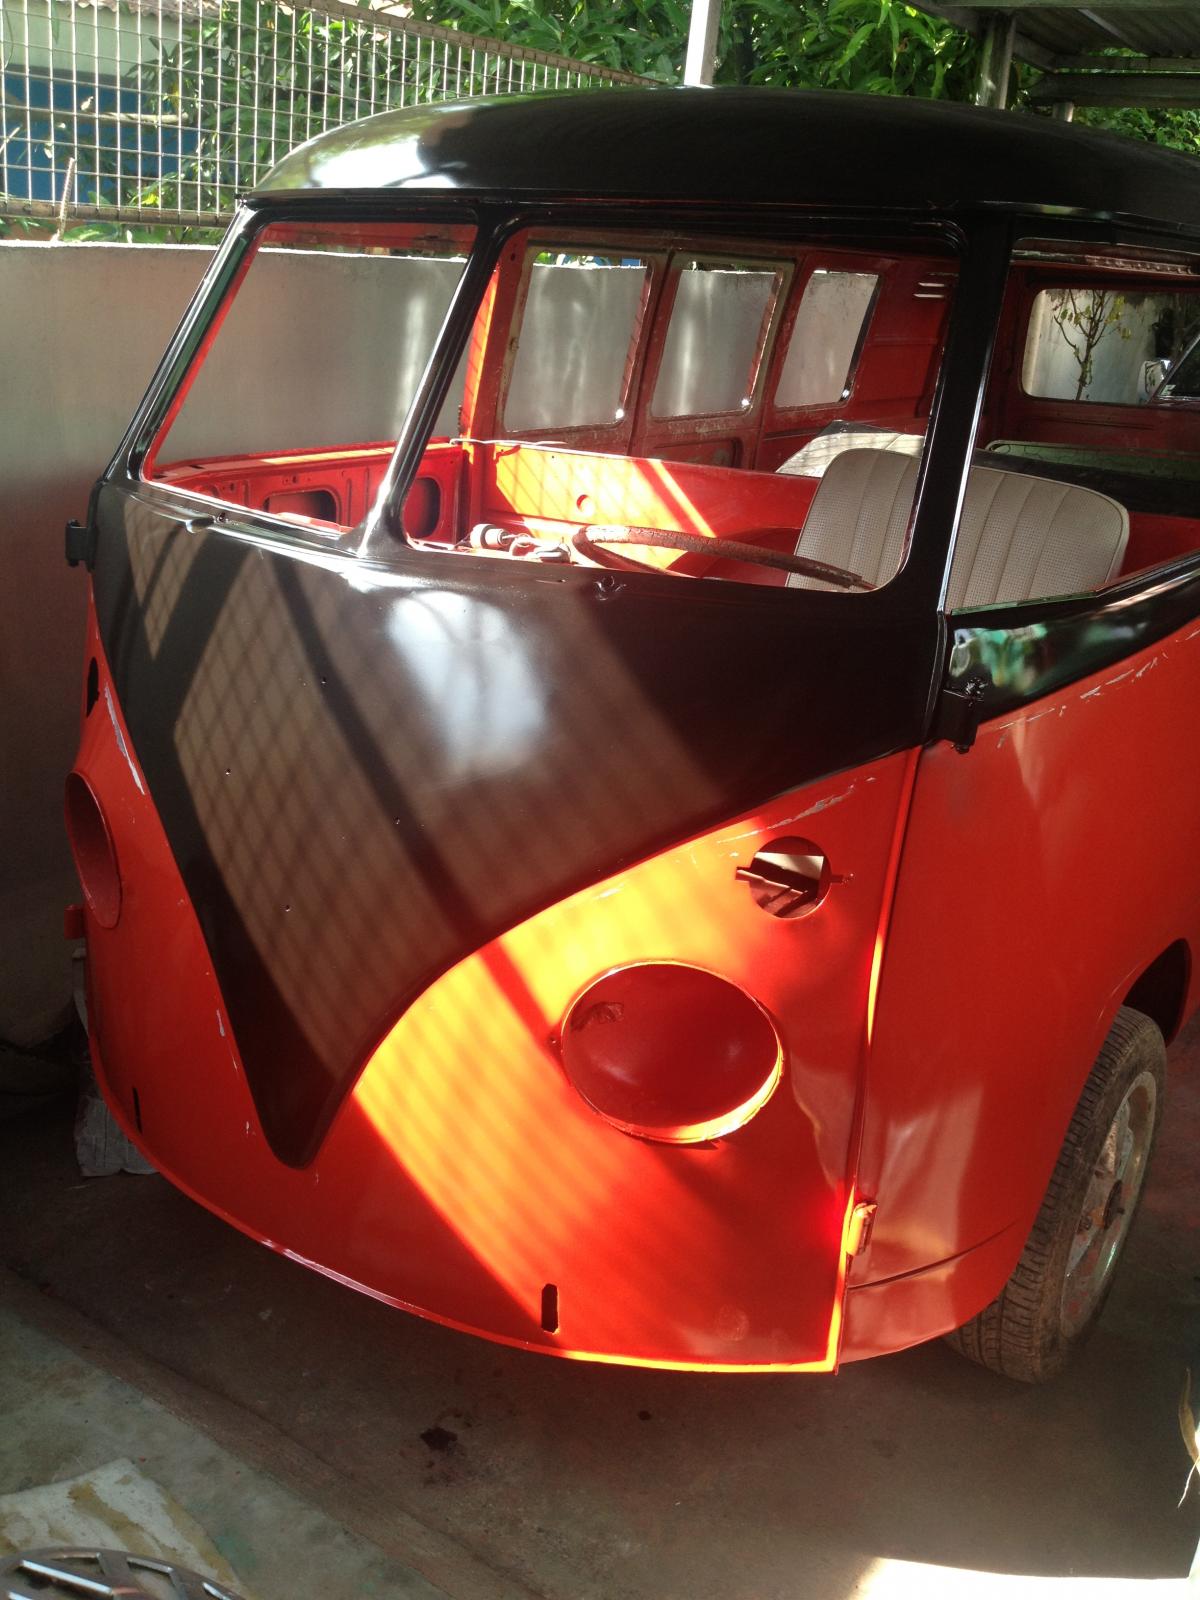
When I woke up Sunday morning, I immediately checked the split and the chestnut brown became so visible compared to the time that I just finished painting it!
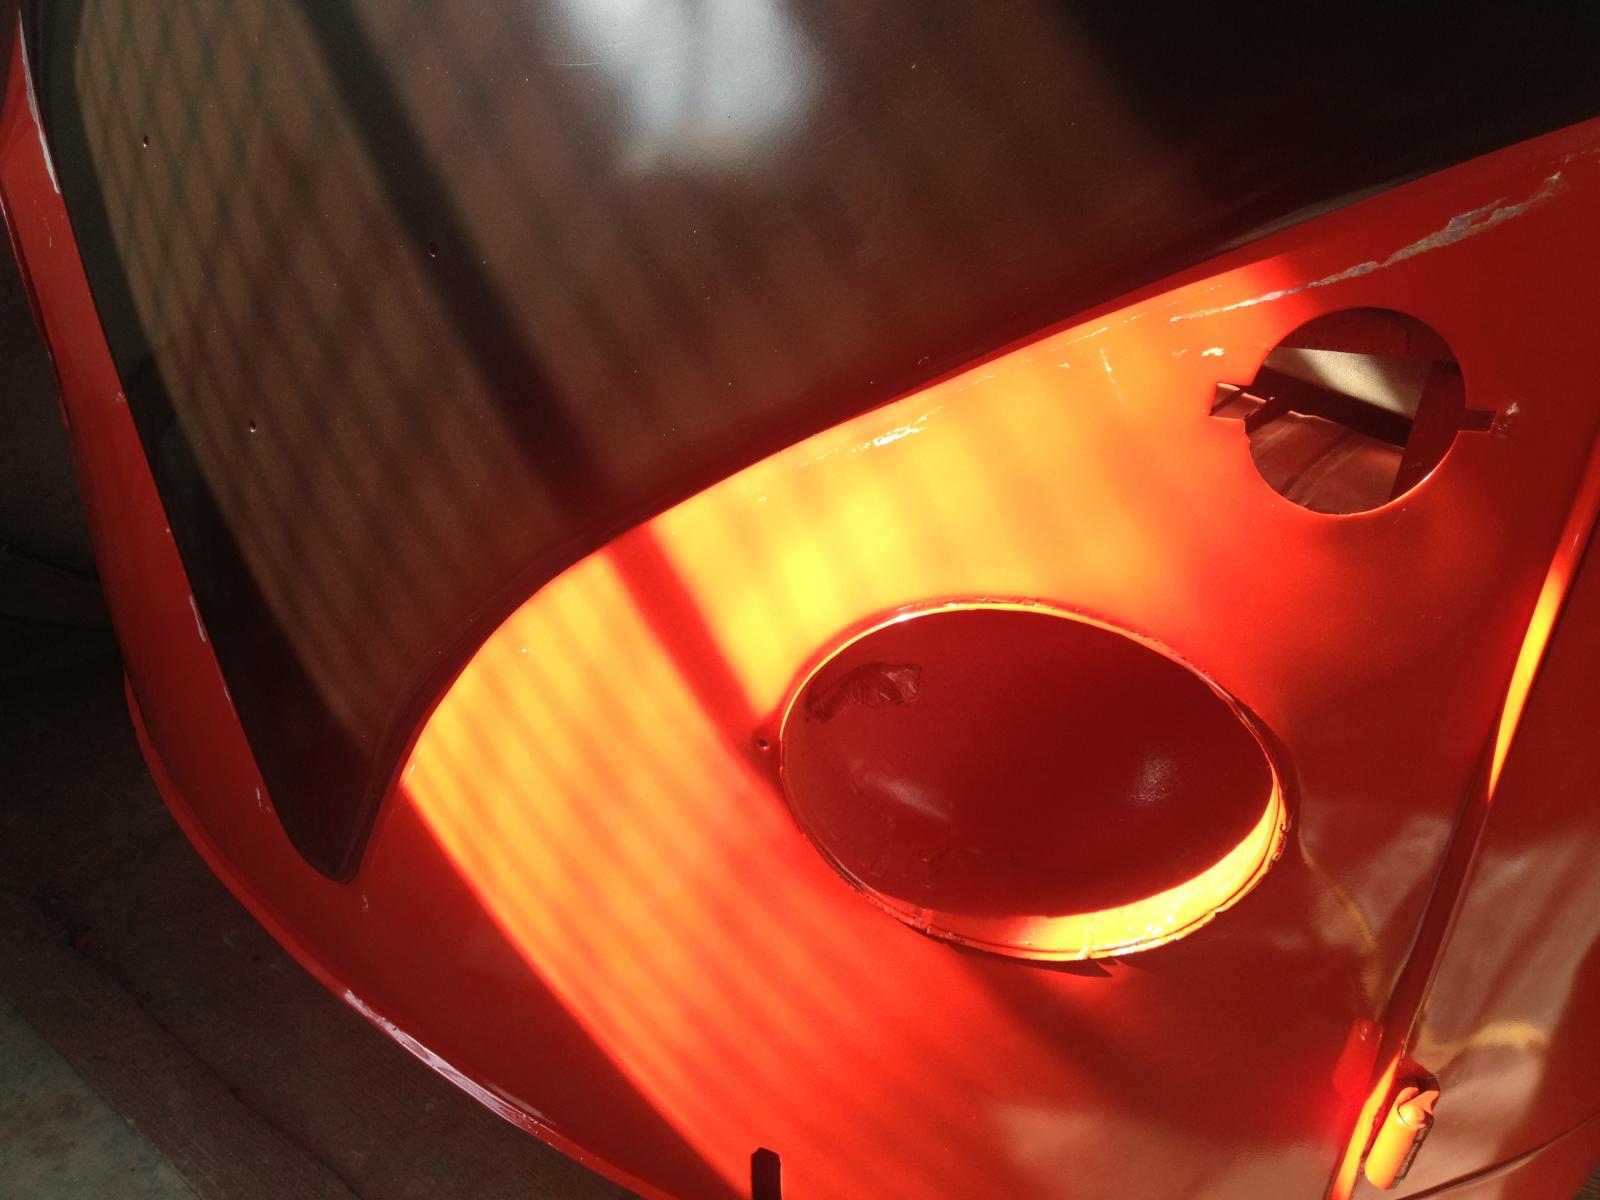
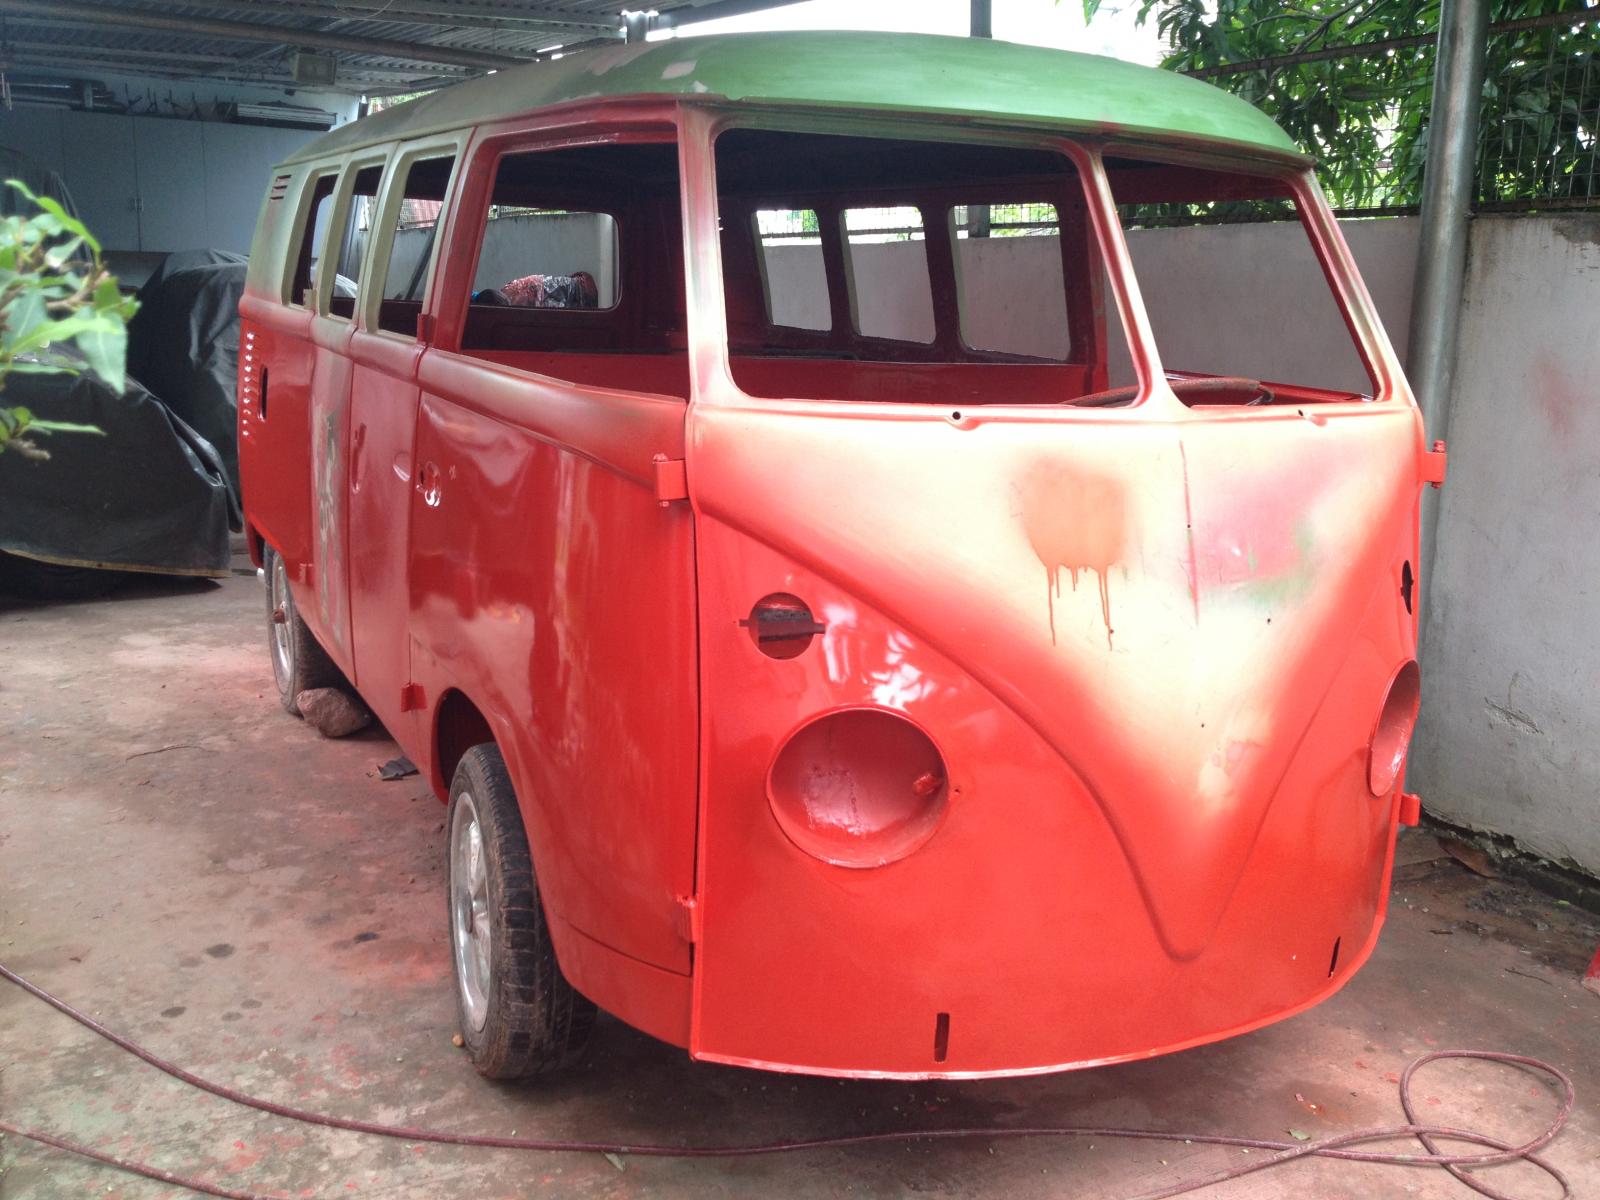
A closer view of the front end! The split may look cool on these pictures, but in person..... still long way to go, especially the waist up chestnut brown color. Although the sealing wax red is 90 % finished, and the remaining 10% is still even more toucher...
Thanks a lot!
This week was productive as far as my restoration is concerned. Last Tuesday, I spent half day block sanding the long side panel considering that there are "paper thin" depressions.

this is the long panel after hours of block sanding using 220 grit and followed by 400 grit!

Please take a closer look and you will find a "paper thin" depression between the 1x2x24 aluminum hallow block I am using to measure all the minute depressions and the panel. Take note that when you view the panel from the sides, the very very thin depression may be visible but when you rub your palm onto it slowly, it seems that there are no depressions. So I addressed this because it annoys me knowing that the panel isn't that straight.

After applying the fillers, I used the 1x2x24 aluminum hallow tube to scrap the thick fillers on the panel to achieve the desired thinness of the fillers that should be left on the panel for block sanding.

One the 1x2x24 aluminum hallow tube has been used to scrap off the excess fillers, you can immediately see the amount of fillers that is left on the panel that is so straight to the current panel. I did this procedure everything that there were "paper thin" depressions. And it wasn't easy because I had to see the panel from the sides and it is becoming so difficult to see the "paper thin" depressions as soon as there are so many fillers on the panel.

After I have applied the sealing wax red (which turned out to be okay), I applied he chesnut brown color (I just needed to see that color on the split! I am pretty much excited to see how it will look!), and I cover the dashboard with the used bed sheet to eliminate possible sprinkling chestnut brown paint.

Of course, the used news papers are always helpful!


Finished one! That panel is the best result I have had in 6 months, and I am so much happier seeing that panel that straighter compared before!

The chestnut brown look blackish while it was still drying up but when it is completely dried up, the brown hue became more apparent!


When I woke up Sunday morning, I immediately checked the split and the chestnut brown became so visible compared to the time that I just finished painting it!

A closer view of the front end! The split may look cool on these pictures, but in person..... still long way to go, especially the waist up chestnut brown color. Although the sealing wax red is 90 % finished, and the remaining 10% is still even more toucher...
Thanks a lot!
dongkg
Registered user
Posts: 90
Joined: Tue Jul 16, 2013 7:58 am
Re: My '67 Split Bus Resto Thread in the Philippines
by pauldee » Wed Jul 17, 2013 11:12 am
Wow sounds like you started around the same time as me, and while you're almost finished, I'm barely started!
I do like these international build threads.
Great work!
I do like these international build threads.
Great work!
pauldee
Registered user
Posts: 208
Joined: Sun Mar 25, 2012 11:07 am
Re: My '67 Split Bus Resto Thread in the Philippines
by dongkg » Wed Jul 17, 2013 11:36 am
pauldee wrote:Wow sounds like you started around the same time as me, and while you're almost finished, I'm barely started!
I do like these international build threads.
Great work!
Thanks, buddy! I started the restoration myself last week of December 2012. And I am restoring the split only every weekend, particularly during Saturdays. So basically four days in a month. Although the body was already caused to be repaired by the previous owner. So, I am just continuing from where the PO stopped. But restoring it isn't a walk in the park because, I am not a painter by profession. But the restoration gives me satisfactions and removes all the stress from the long week of work.
Thanks.
dongkg
Registered user
Posts: 90
Joined: Tue Jul 16, 2013 7:58 am
Re: My '67 Split Bus Resto Thread in the Philippines
by dongkg » Thu Jul 18, 2013 9:26 am
I also fixed and removed the old paints on the pop out window frames. I am still missing tow more pairs. to complete the six pop out windows.
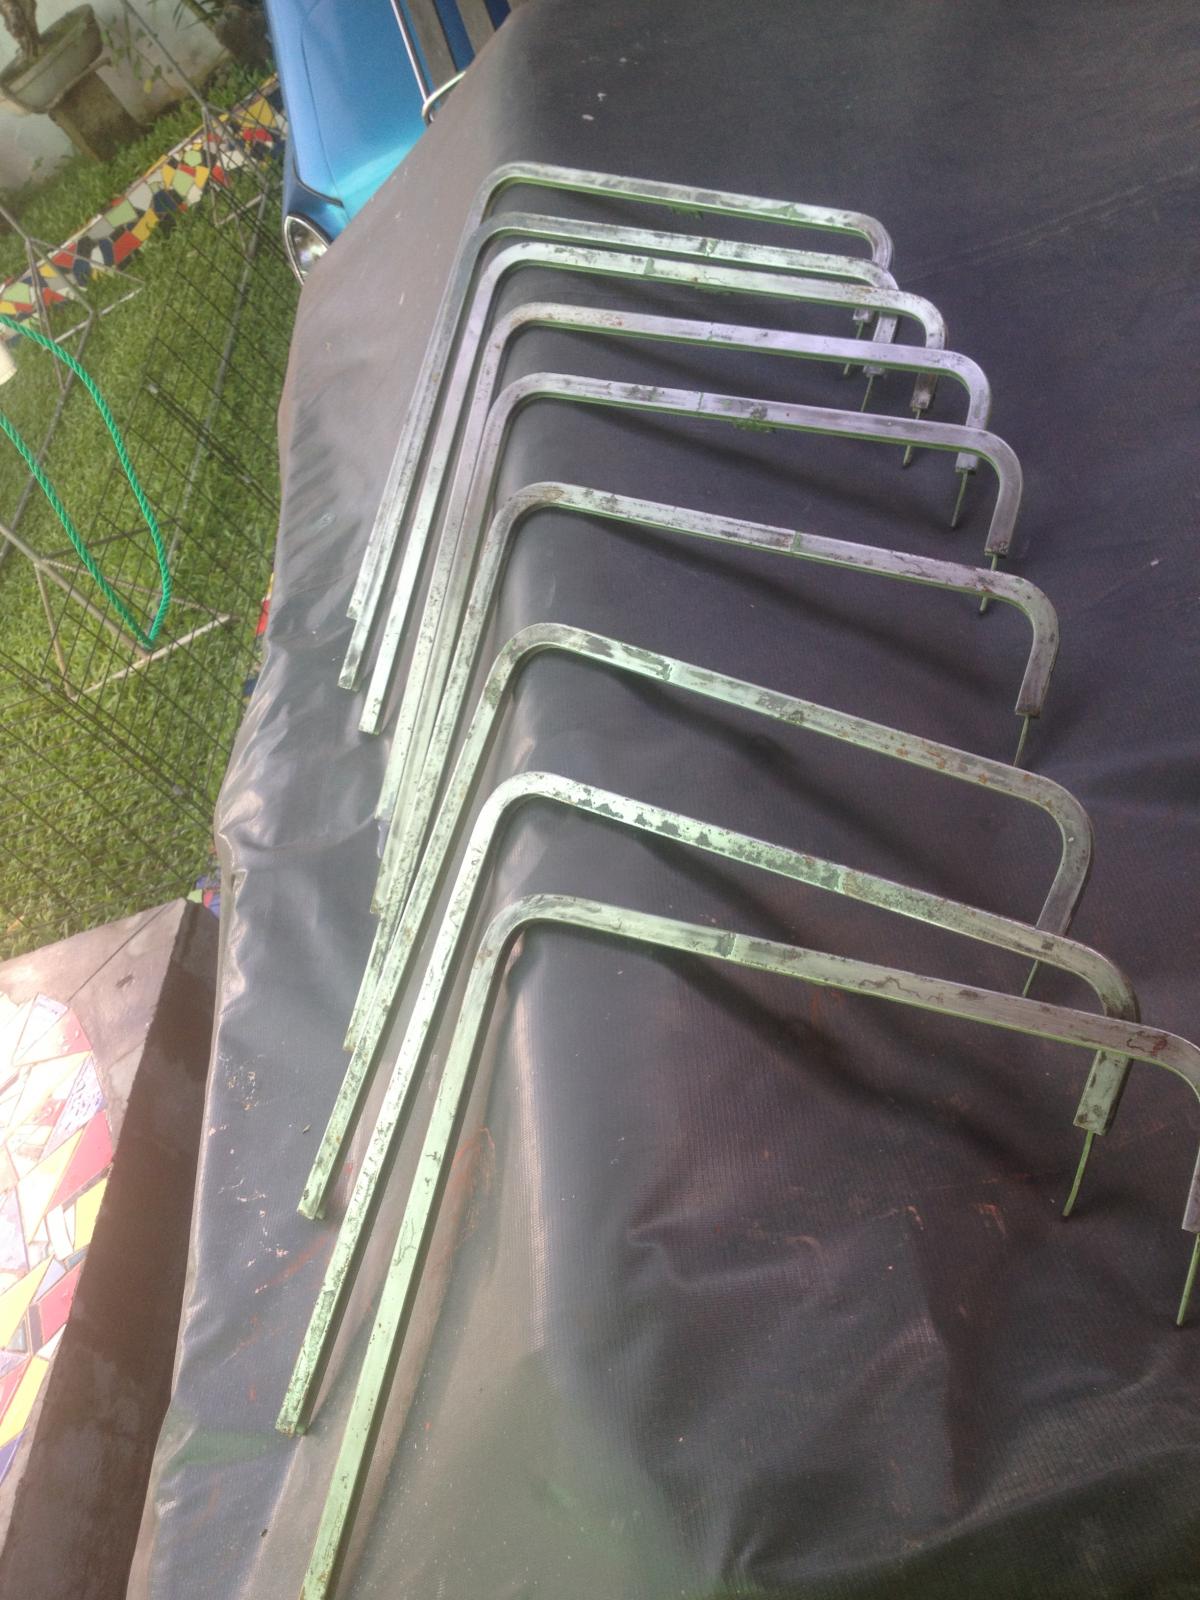
After much sanding, the frame is ready for painting.
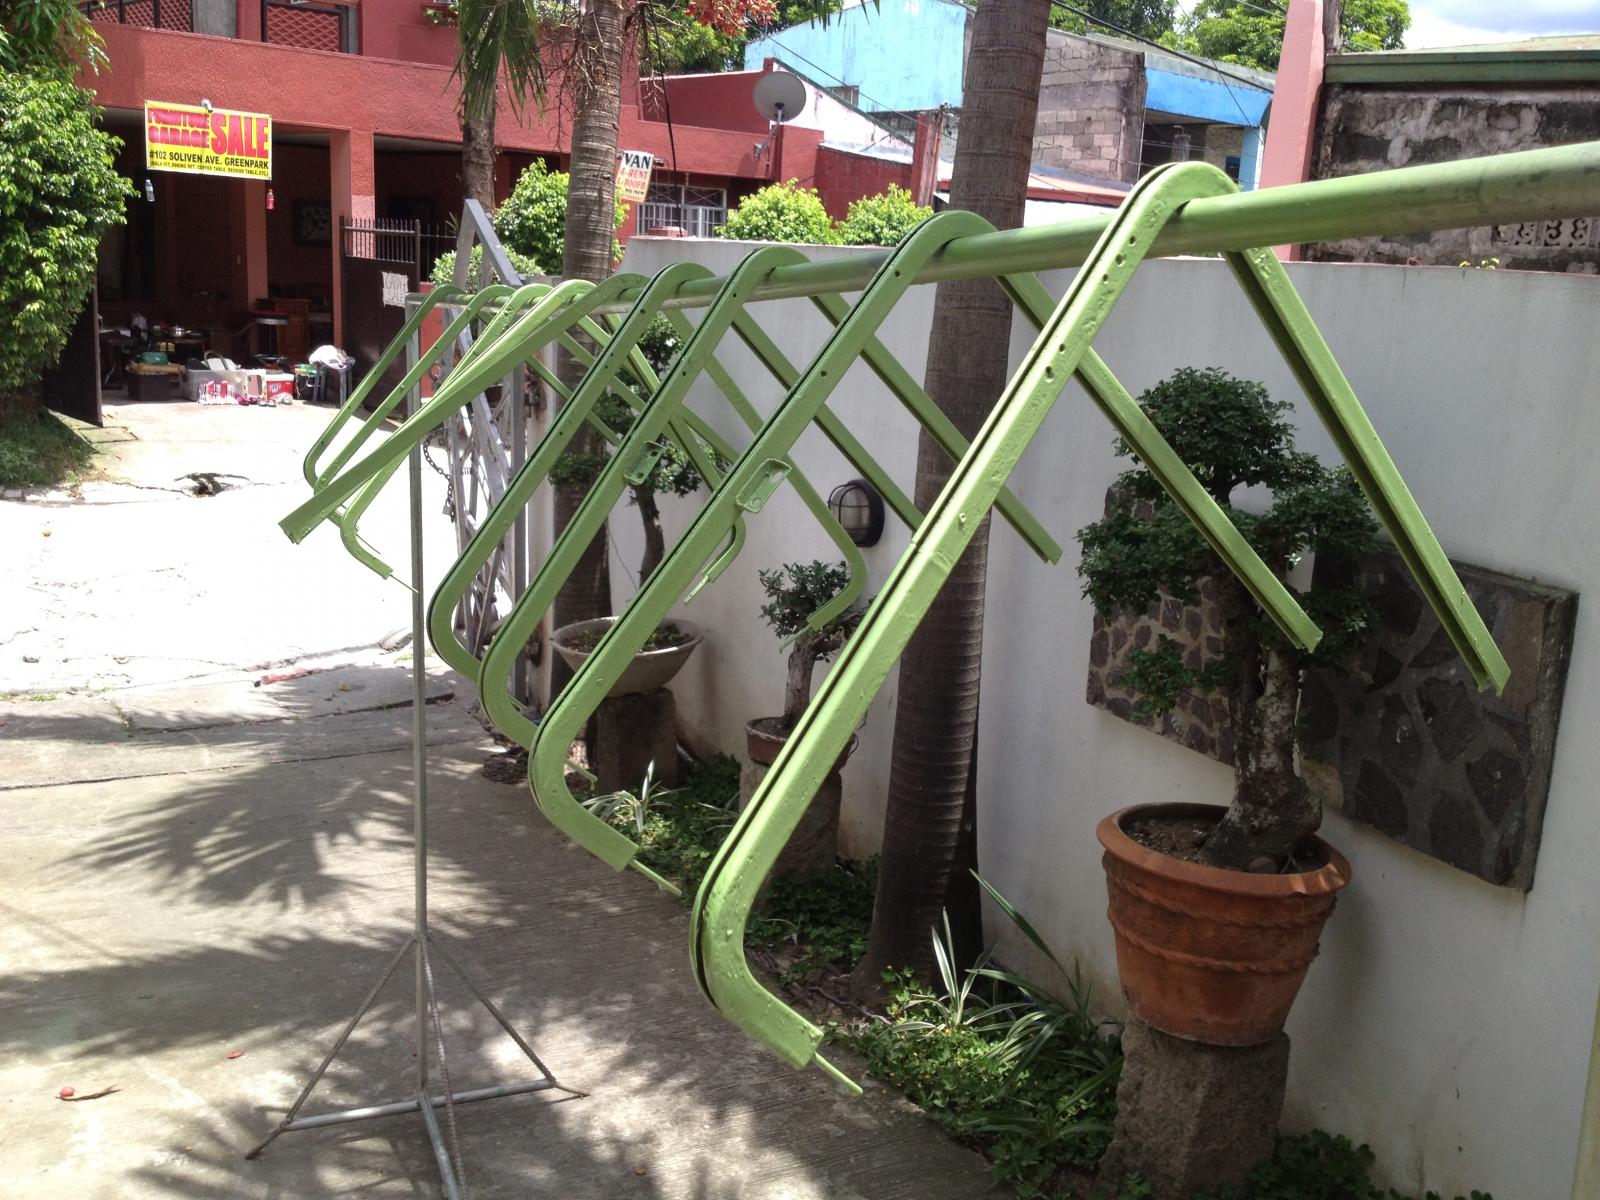
With paint and many more things to be done!
Thanks a lot.

After much sanding, the frame is ready for painting.

With paint and many more things to be done!
Thanks a lot.
dongkg
Registered user
Posts: 90
Joined: Tue Jul 16, 2013 7:58 am
Re: My '67 Split Bus Resto Thread in the Philippines
by dongkg » Thu Jul 18, 2013 9:30 am
dongkg
Registered user
Posts: 90
Joined: Tue Jul 16, 2013 7:58 am
Re: My '67 Split Bus Resto Thread in the Philippines
by dongkg » Mon Jul 22, 2013 9:43 am
This weekend, I applied the Sealing wax red with a mixture of clear paint. The result is awesome. I am nearing finishing the SWR.
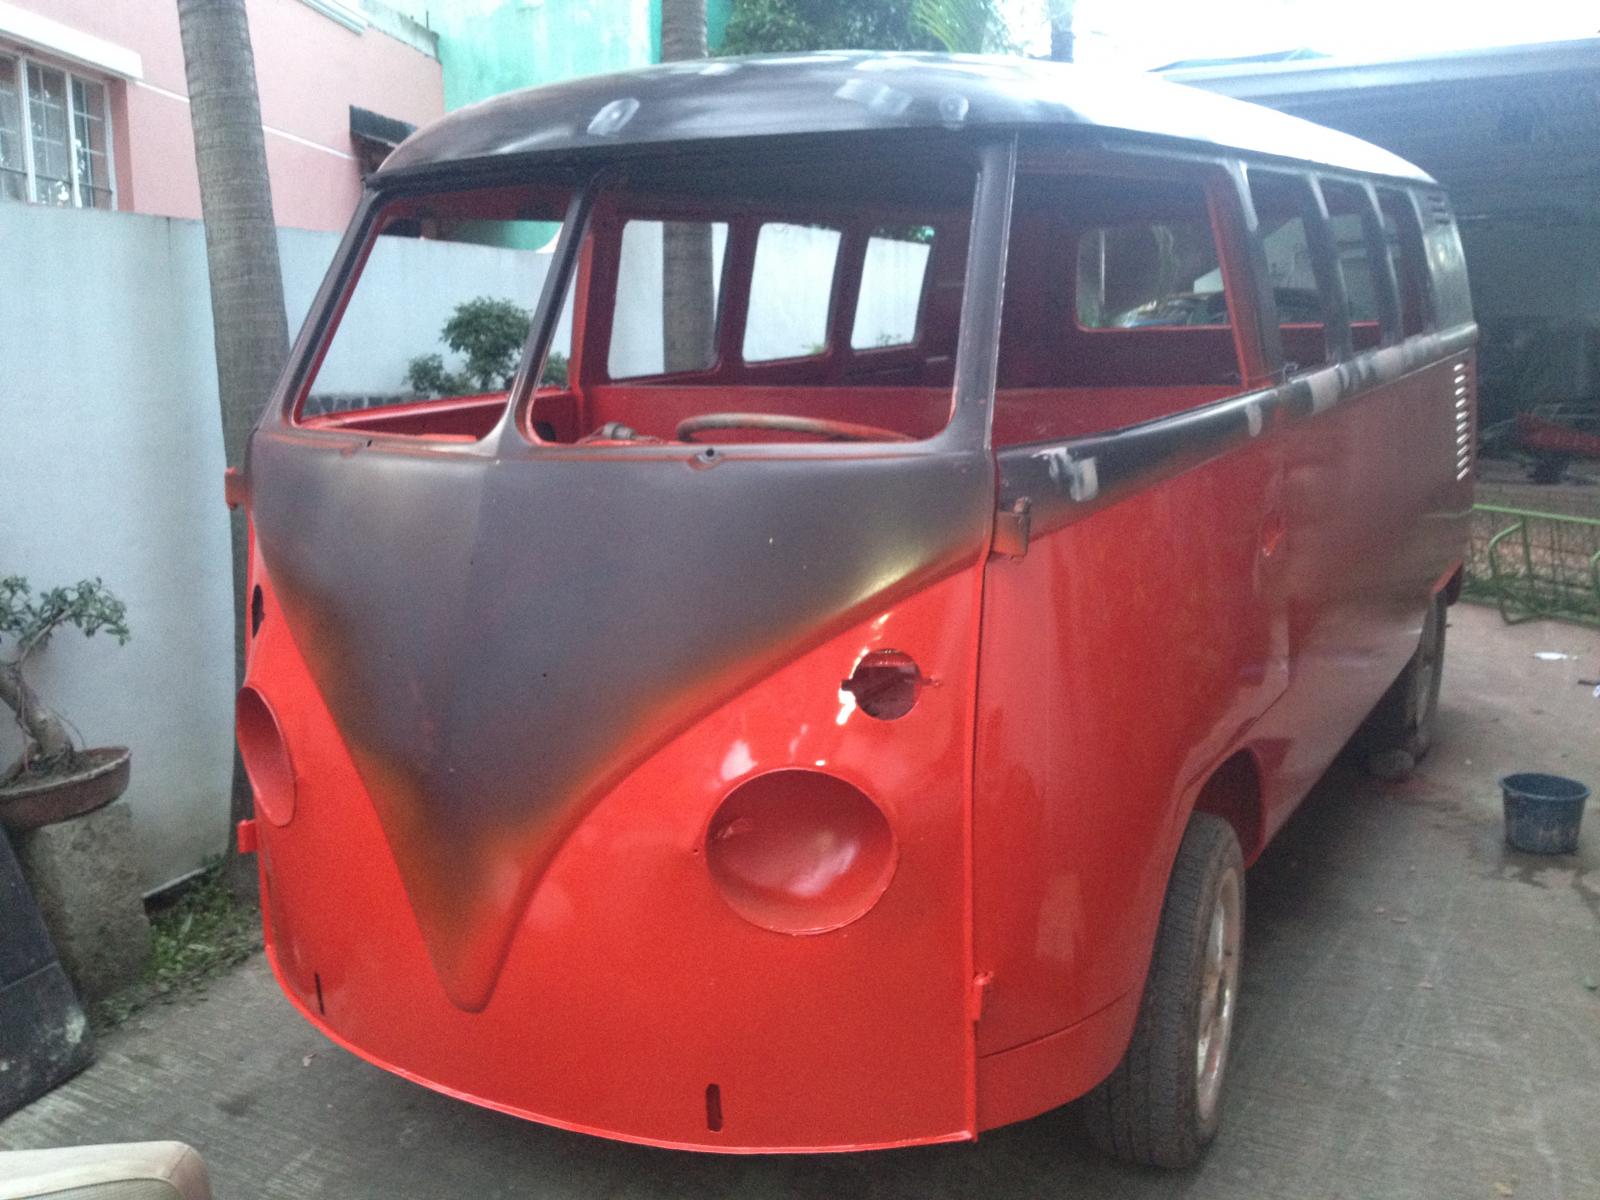
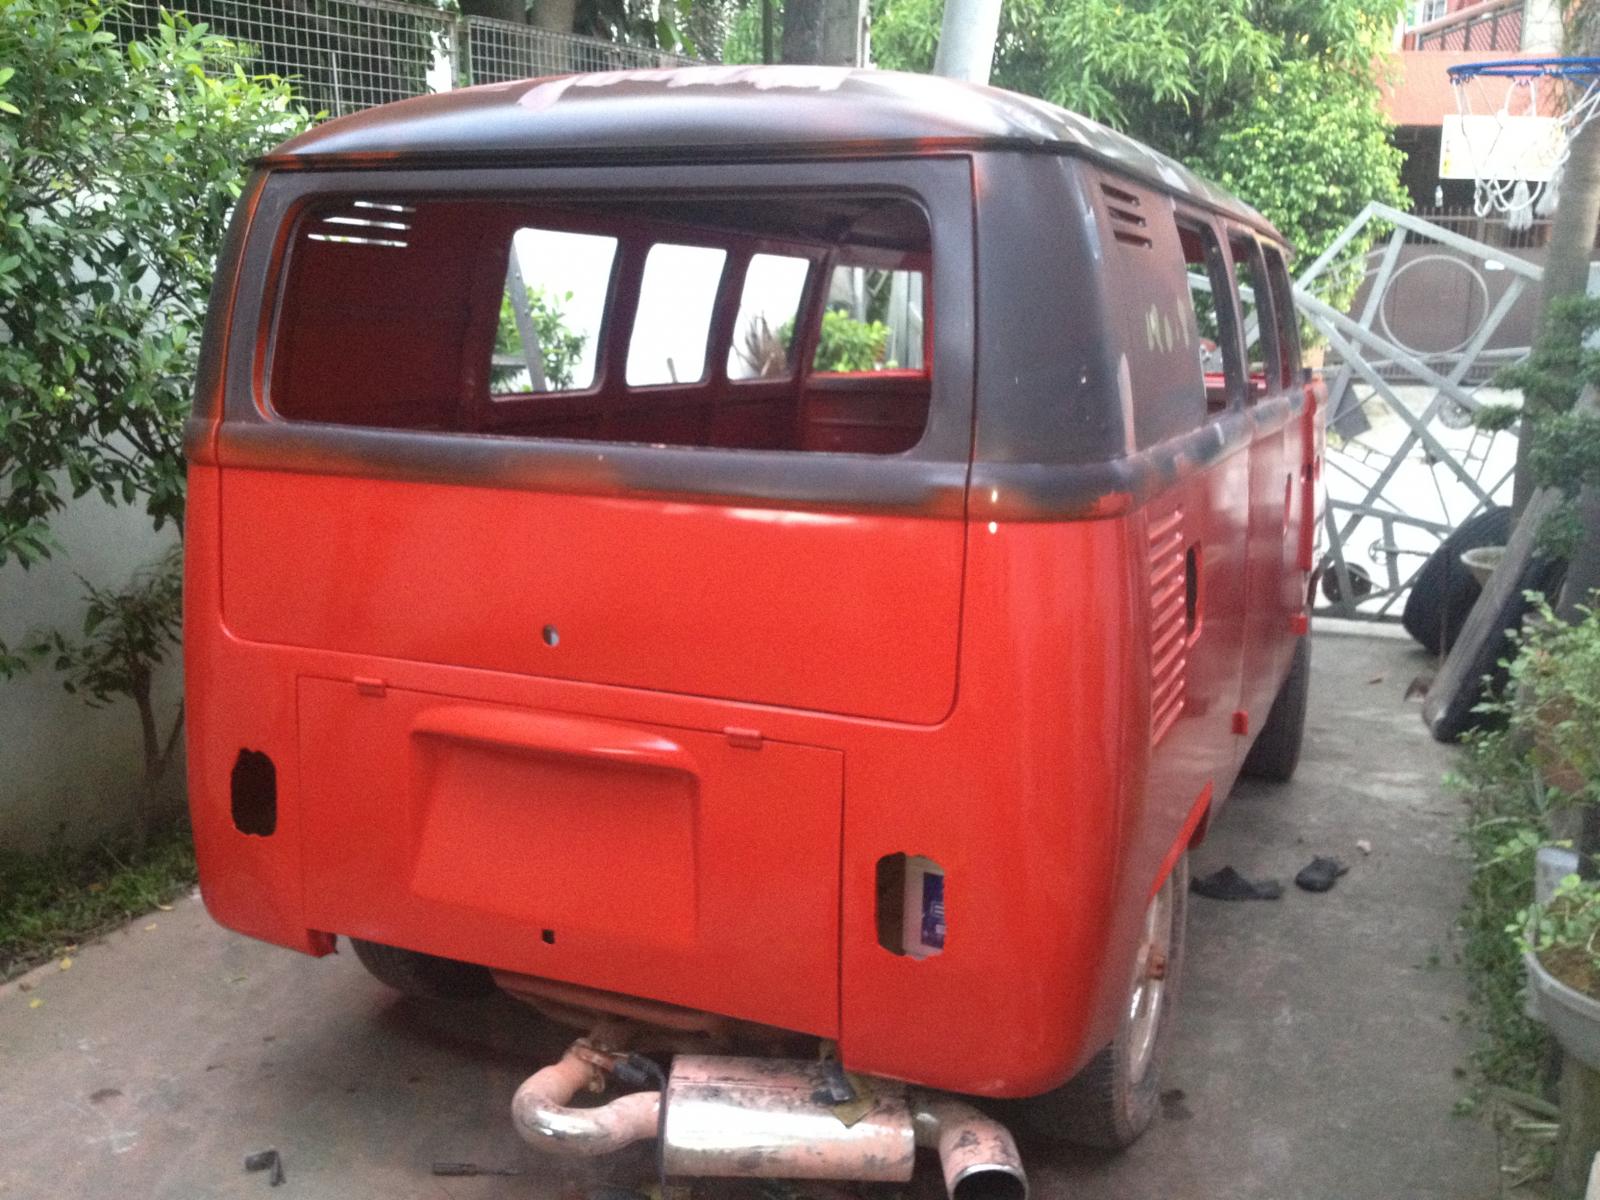
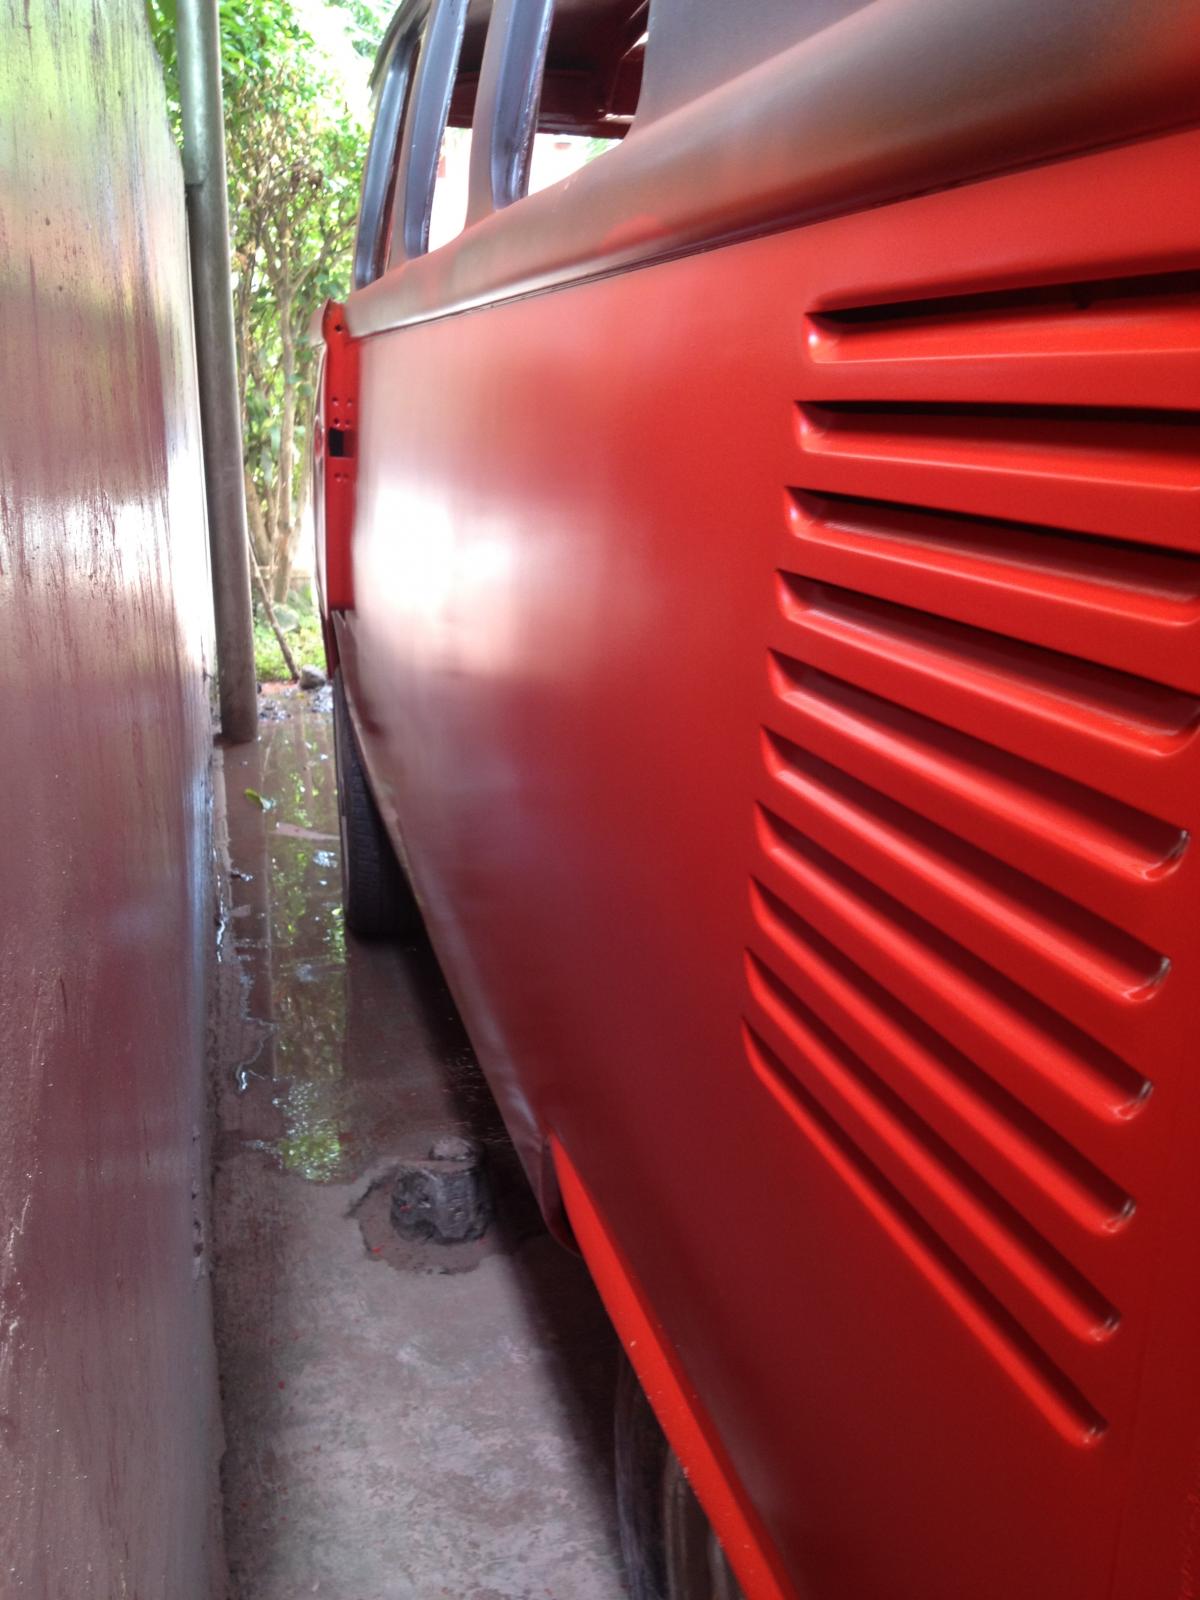
I really like this angle, the long panel so much straighter no compared a few weeks back!
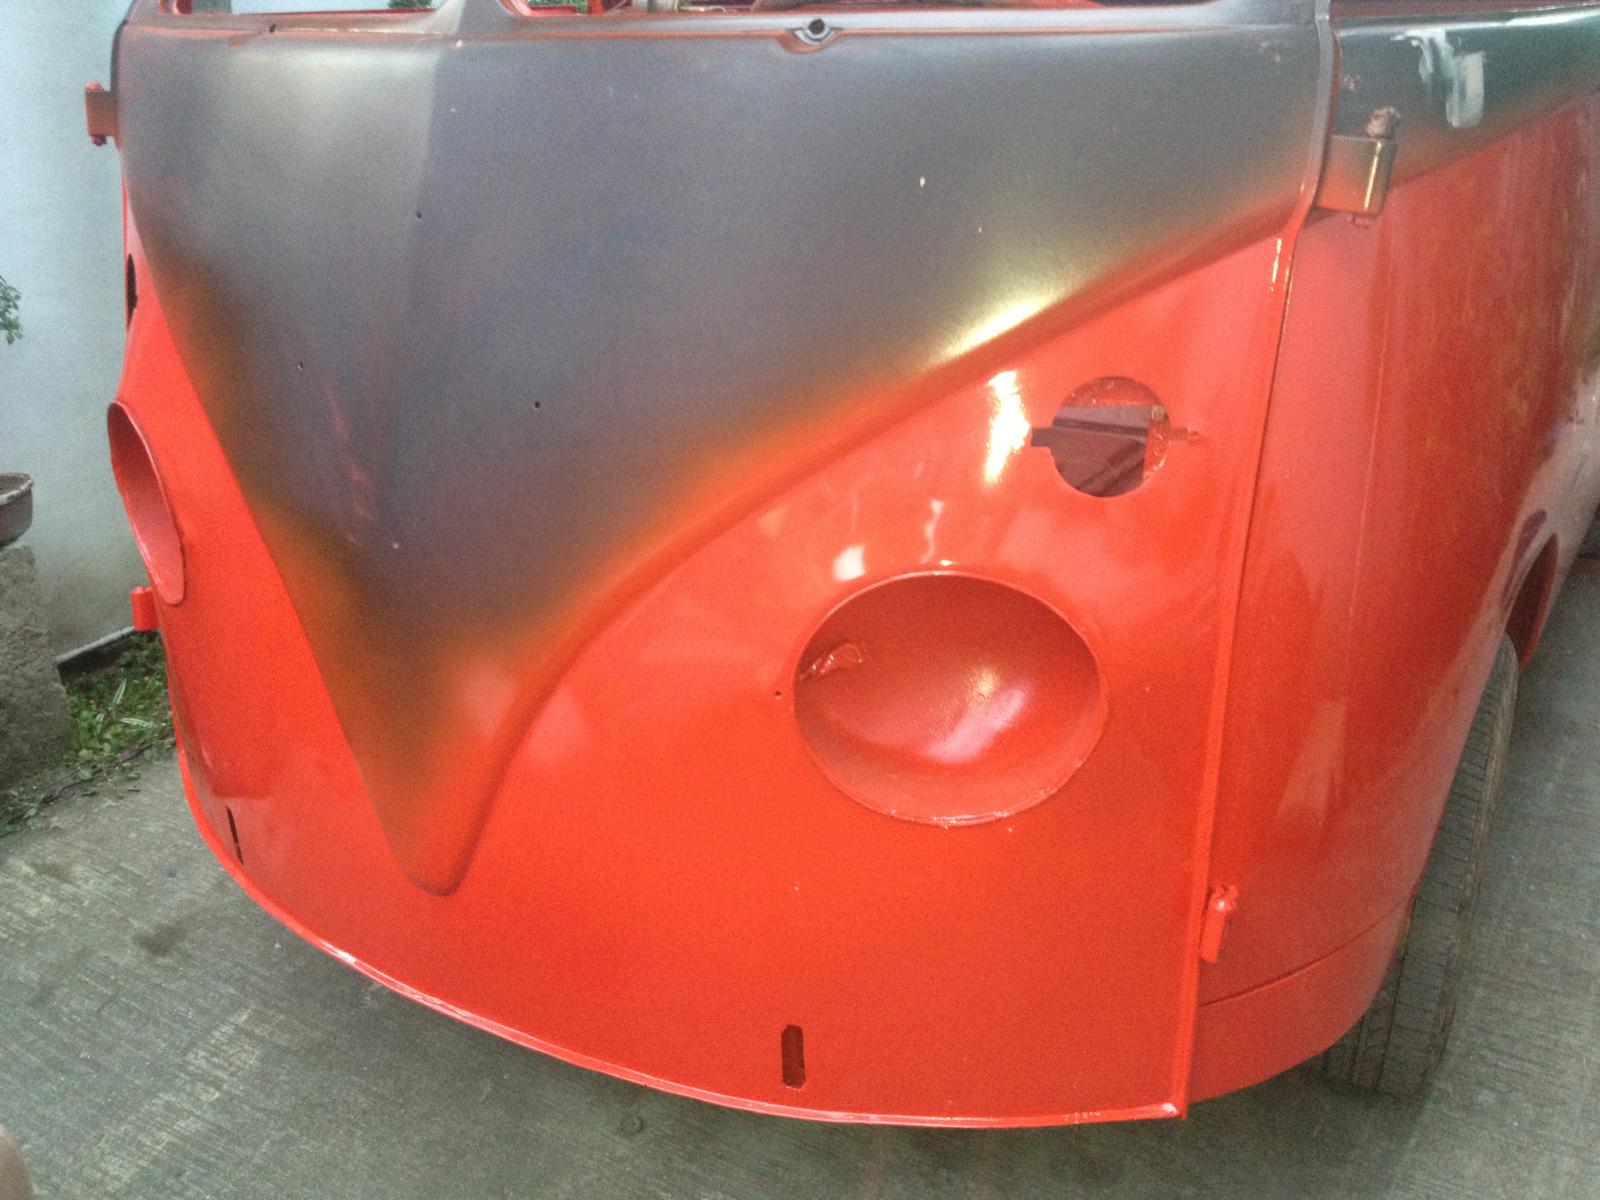
A closer view of the frond end.
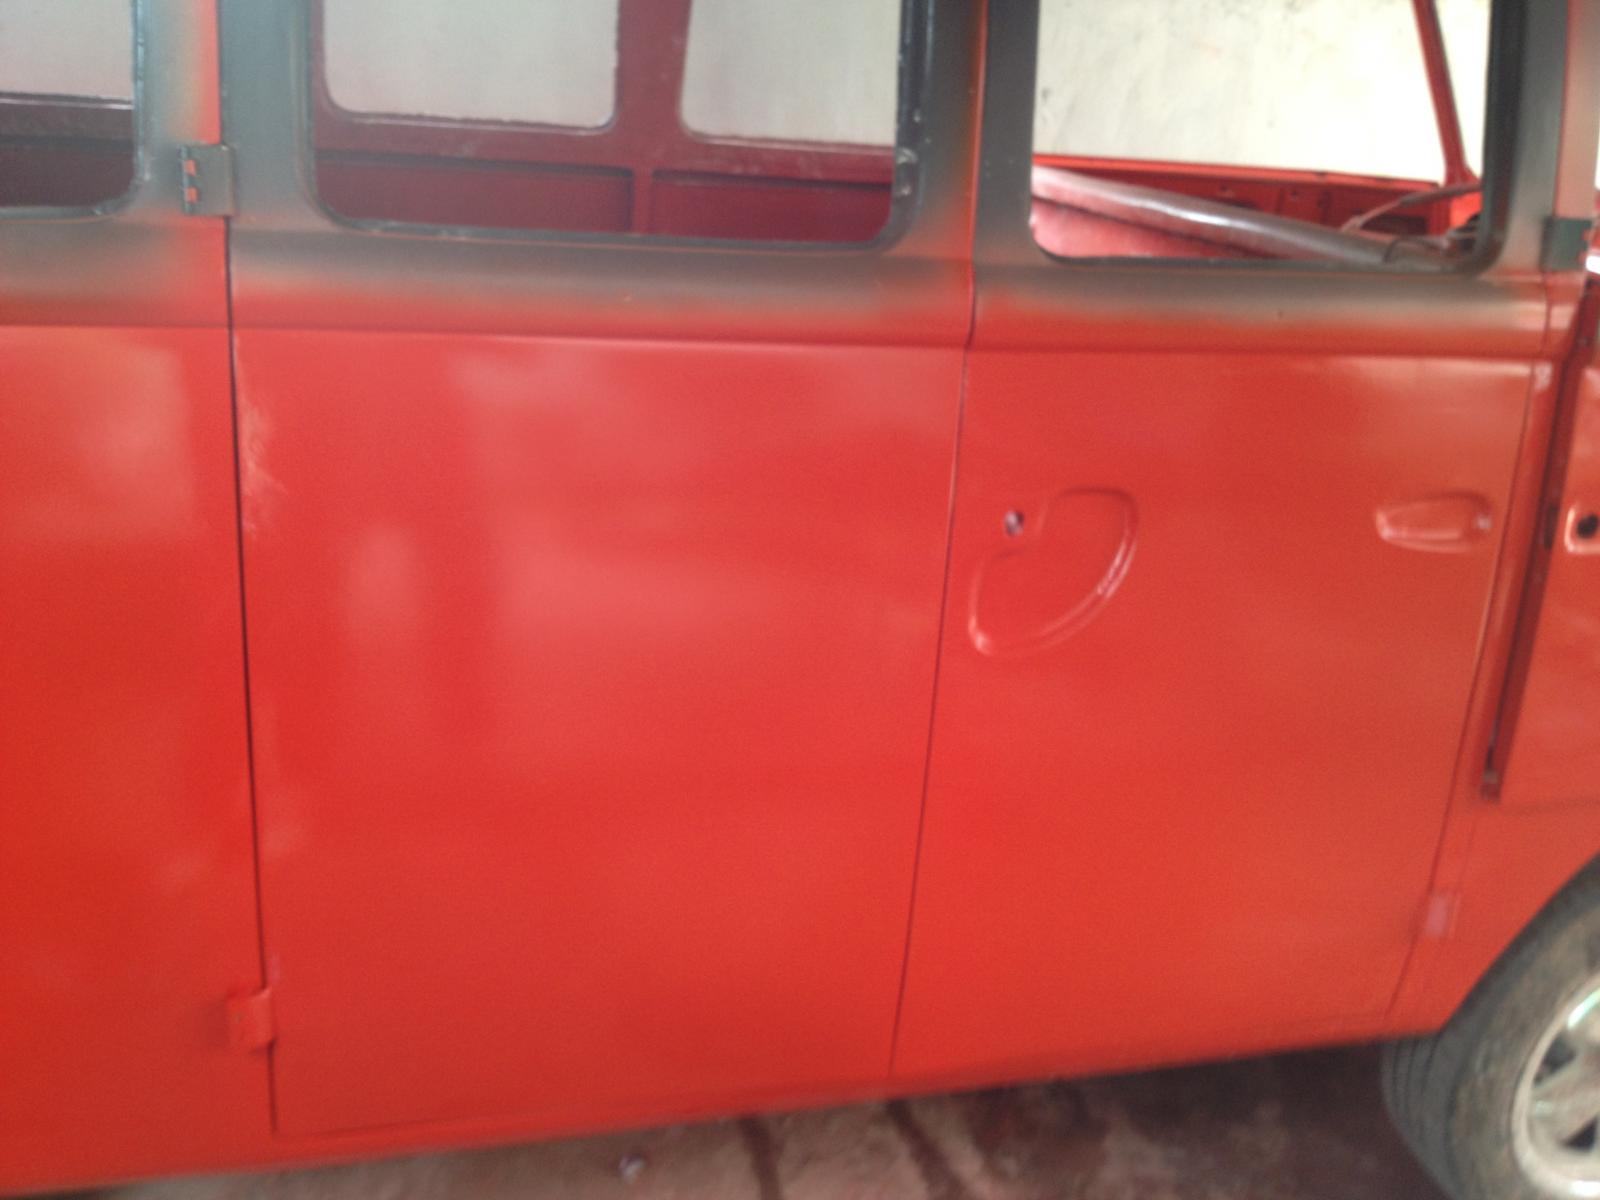
Finally, after the cargo doors were straightened, I painted it with the SWR.
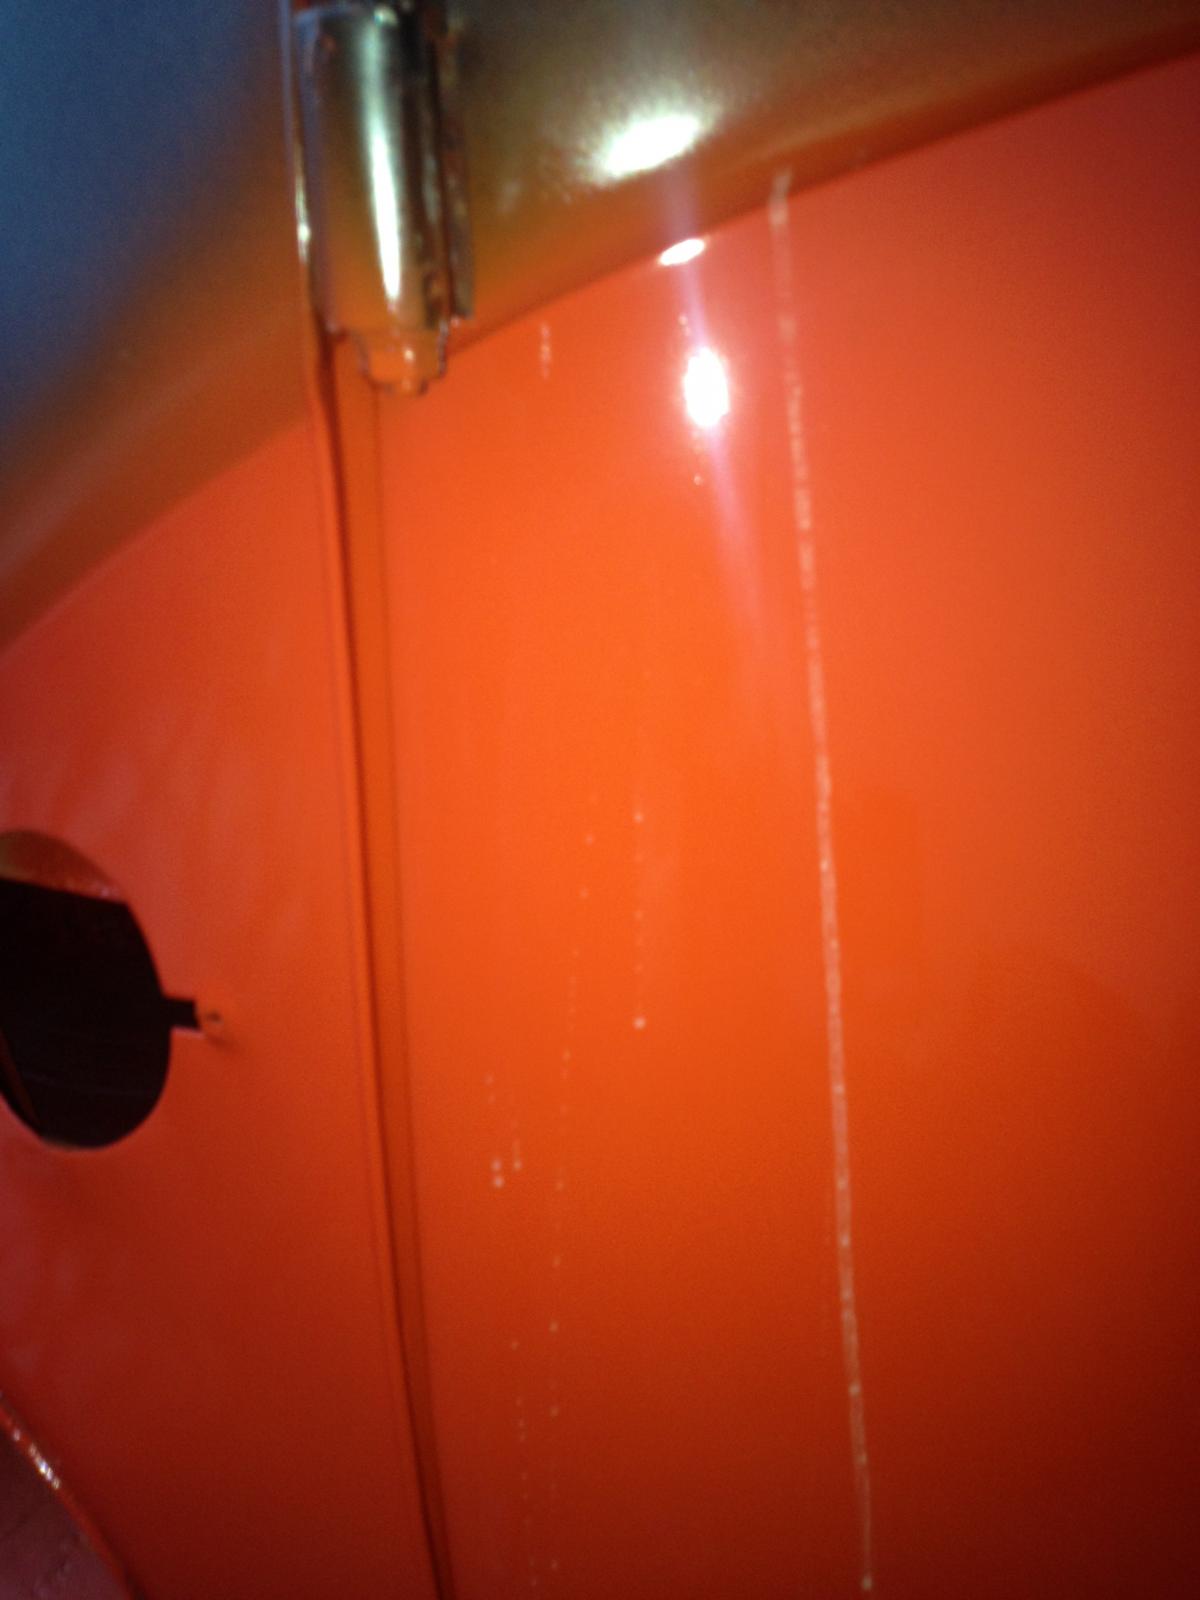
The clear paint is apparent in this picture.
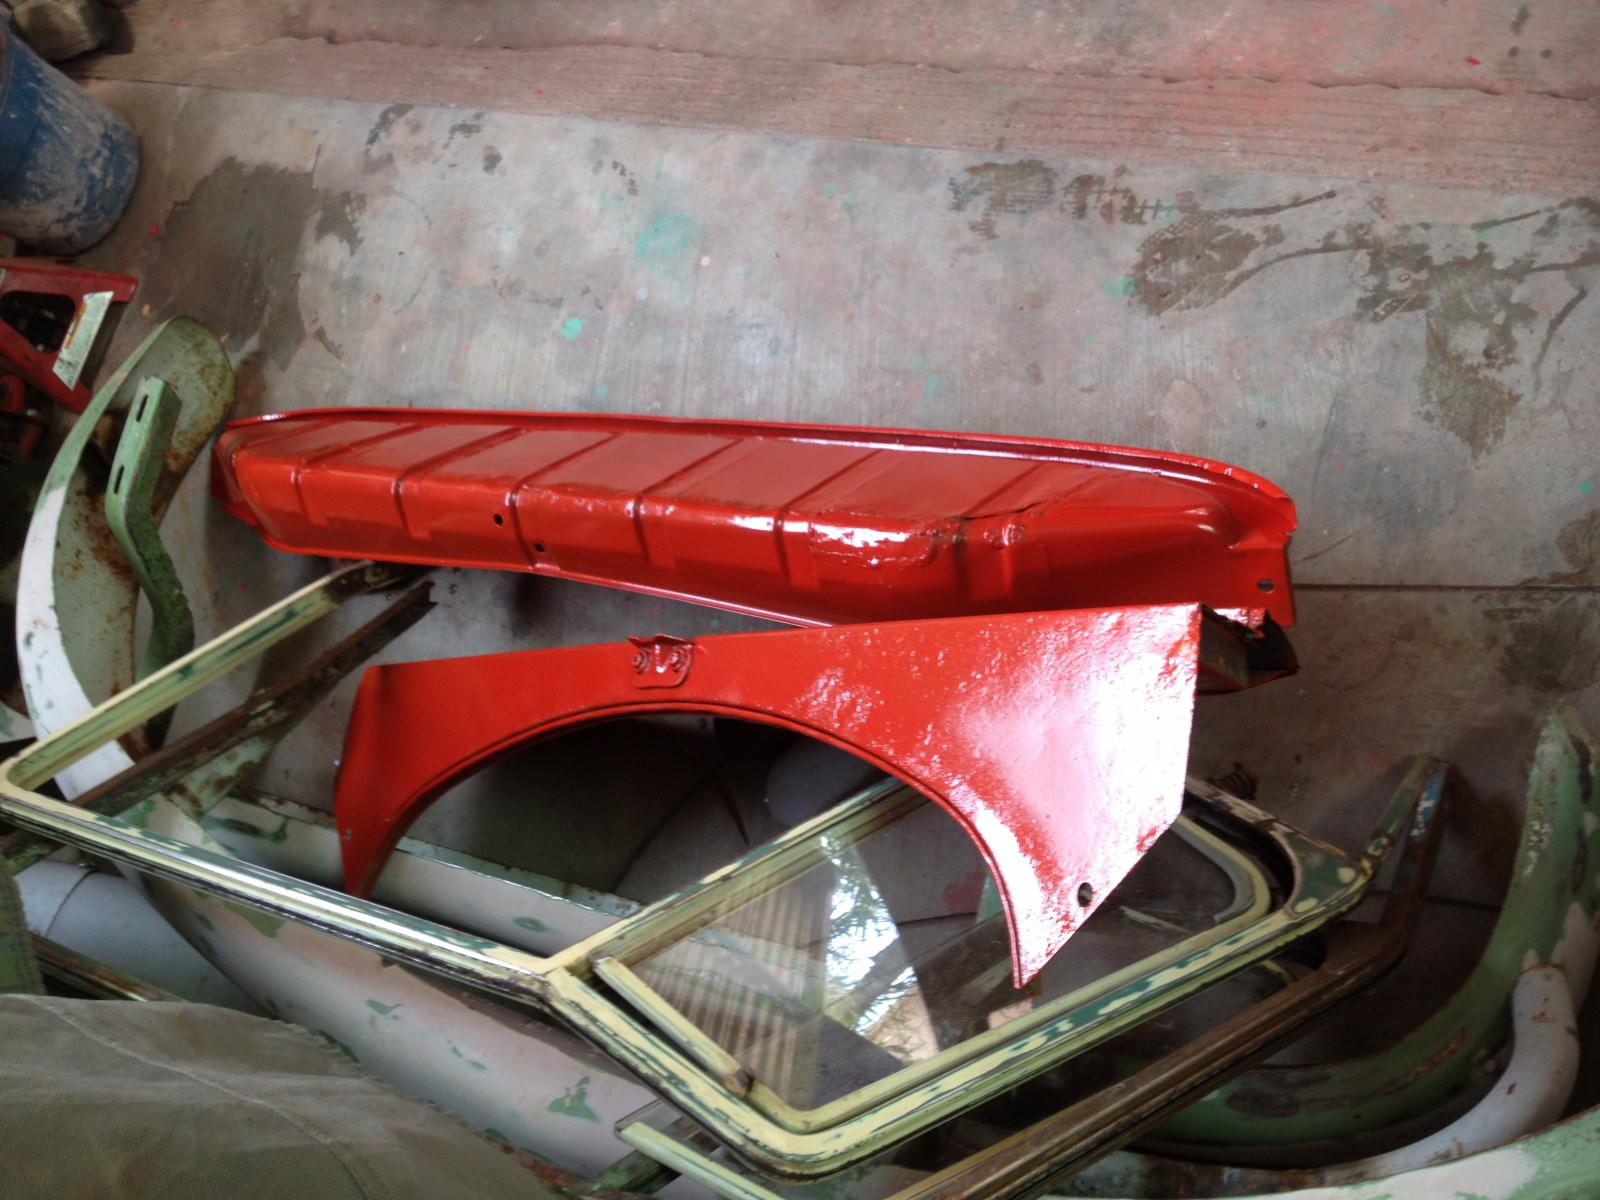
The tray and apron received also the SWR.
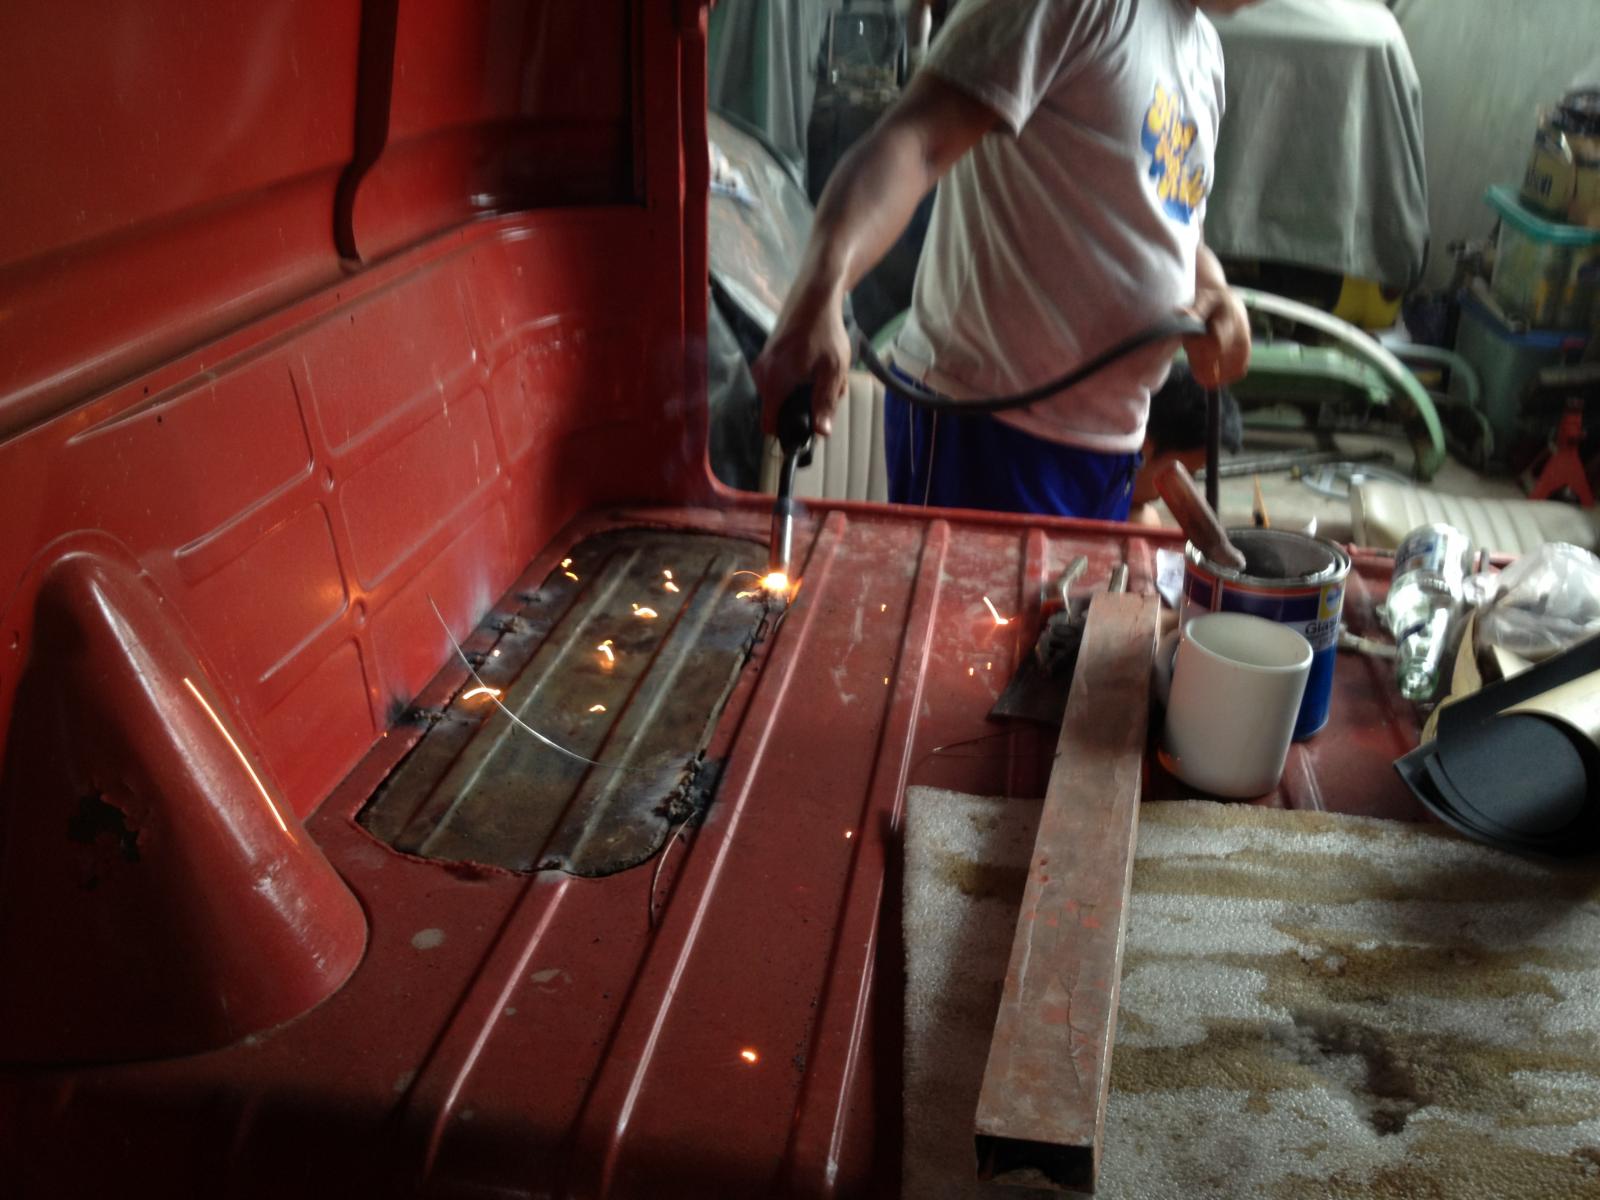
This I welded the remaining over of the portion of the cargo area which was a hack job of the previous owner!


I really like this angle, the long panel so much straighter no compared a few weeks back!

A closer view of the frond end.

Finally, after the cargo doors were straightened, I painted it with the SWR.

The clear paint is apparent in this picture.

The tray and apron received also the SWR.

This I welded the remaining over of the portion of the cargo area which was a hack job of the previous owner!
dongkg
Registered user
Posts: 90
Joined: Tue Jul 16, 2013 7:58 am
Re: My '67 Split Bus Resto Thread in the Philippines
by dongkg » Mon Jul 22, 2013 9:44 am
A few months back, I had the rear drums re-drilled to fit the Fuchs and left the frond drums untouched. This morning, I removed the front Fuchs, adapters and drums and brought the drums to the machine shop for re-drilling so that I can eliminate the presence of the adopters that caused the wheels and tires to extend outward.
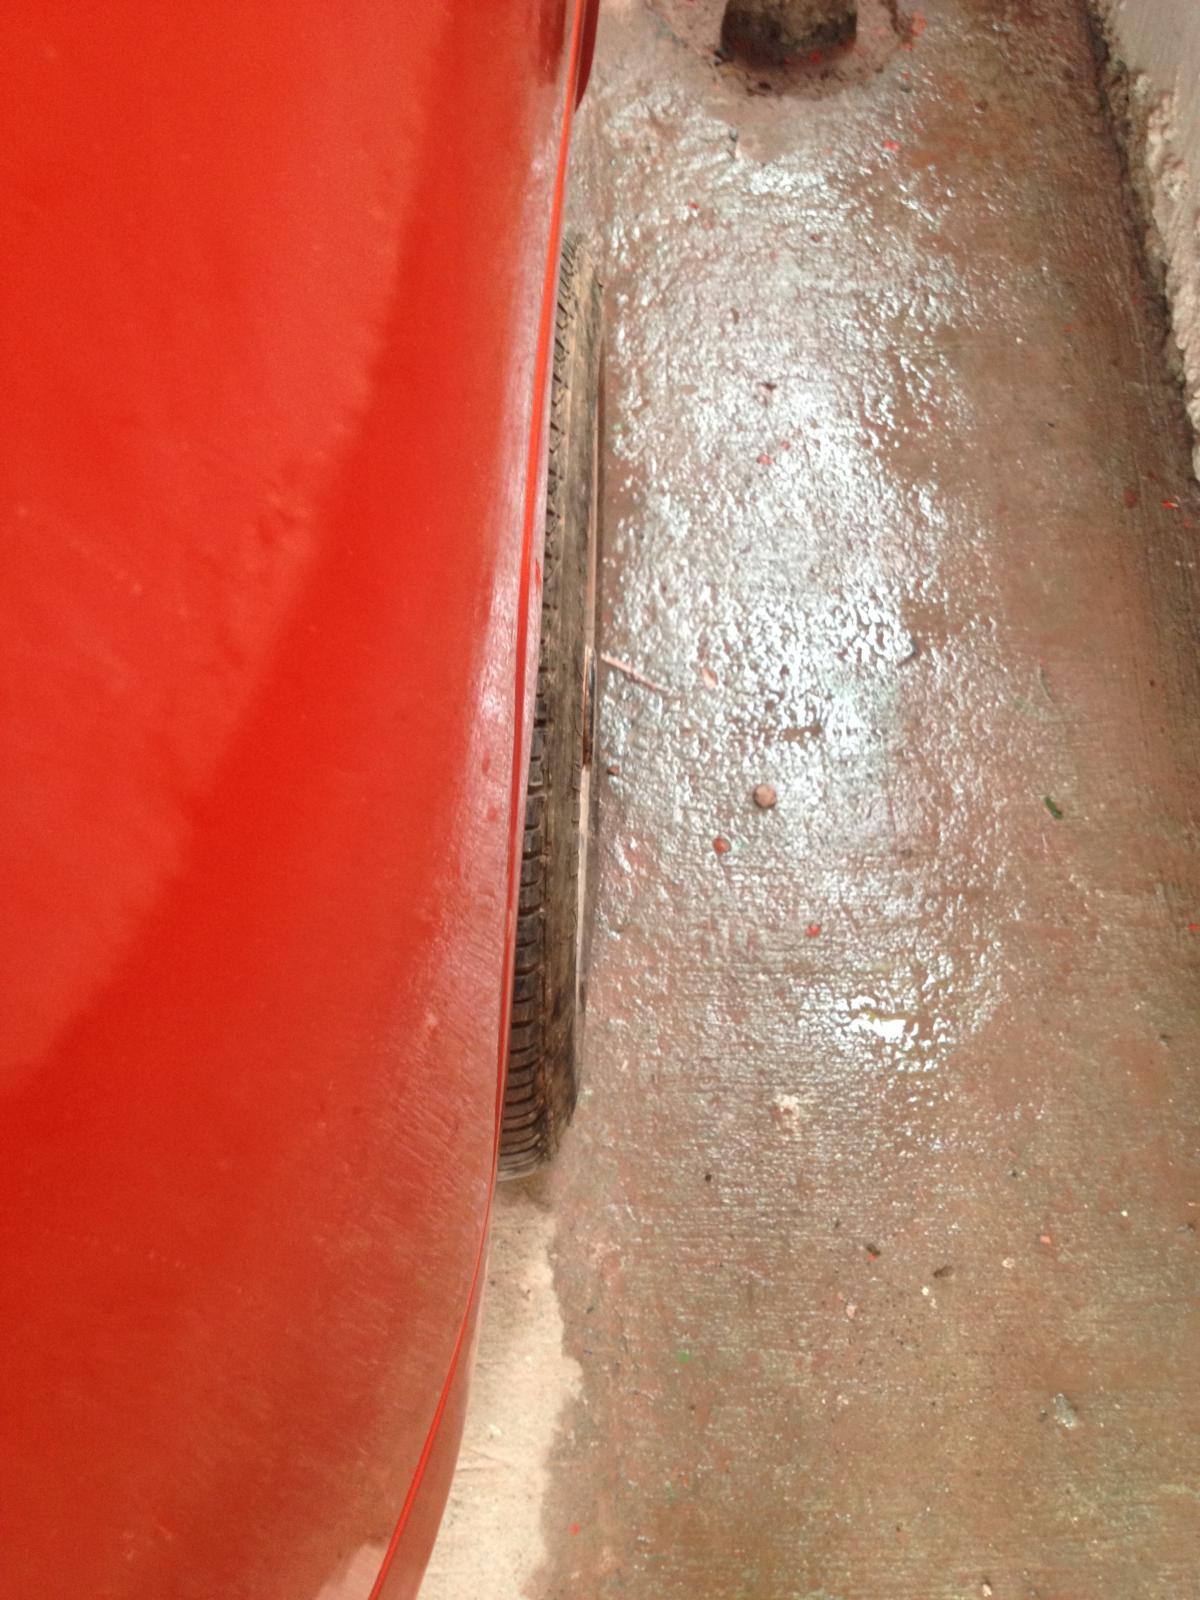
The tire is about one inch extended outward from the dogleg.
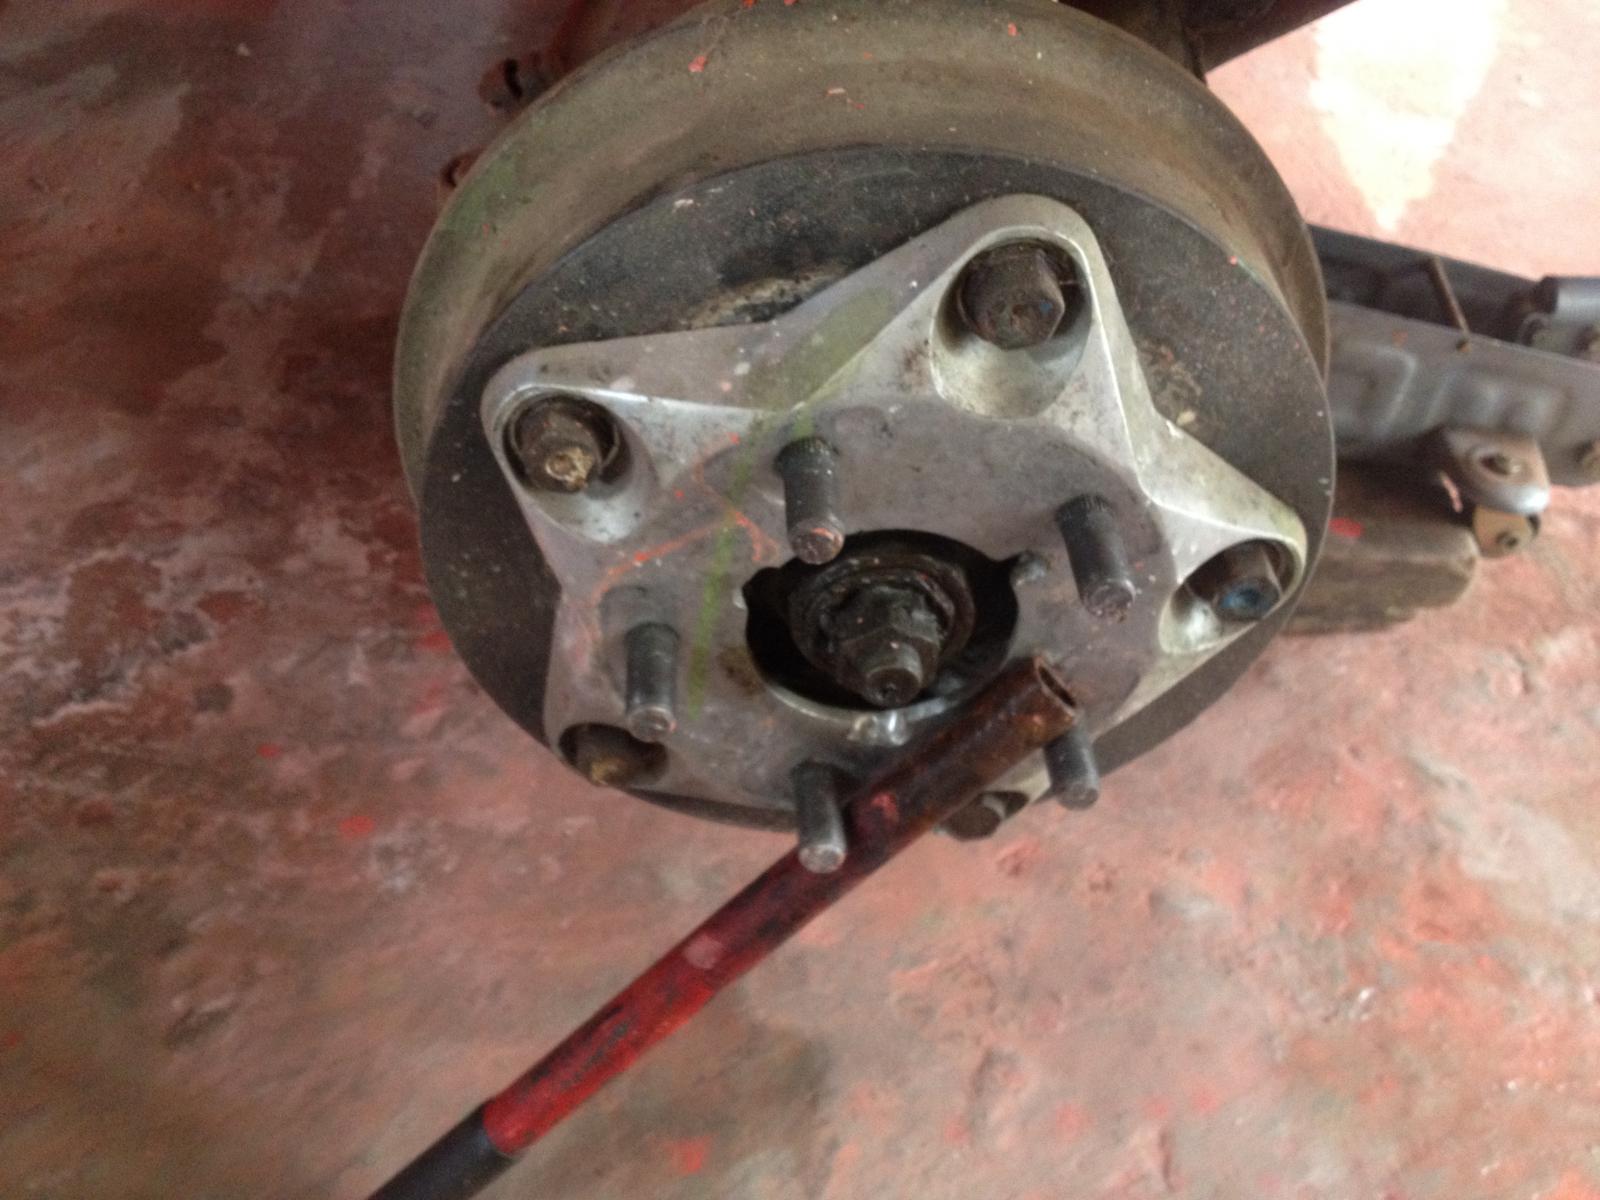
This adapter has to be removed!

After removing the drums, it was time to deliver them to the machine shop. The Fuchs has to be left thereat too! (with an instruction to the worker to take care of the Fuchs!)

The tire is about one inch extended outward from the dogleg.

This adapter has to be removed!

After removing the drums, it was time to deliver them to the machine shop. The Fuchs has to be left thereat too! (with an instruction to the worker to take care of the Fuchs!)
dongkg
Registered user
Posts: 90
Joined: Tue Jul 16, 2013 7:58 am
Re: My '67 Split Bus Resto Thread in the Philippines
by dongkg » Mon Jul 22, 2013 9:52 am
IN RETROSPECT:
This is the video taken in the past sometime in December of 2012 when pushed the split from the garage of the PO. That was a monumental day for me considering that a dream of owning a split bus has finally been realized. And that day on, I knew that the coming weekends would be so busy having my hands dirty and greased. This is the start of the restoration!

This is the video taken in the past sometime in December of 2012 when pushed the split from the garage of the PO. That was a monumental day for me considering that a dream of owning a split bus has finally been realized. And that day on, I knew that the coming weekends would be so busy having my hands dirty and greased. This is the start of the restoration!
dongkg
Registered user
Posts: 90
Joined: Tue Jul 16, 2013 7:58 am
Re: My '67 Split Bus Resto Thread in the Philippines
by dongkg » Wed Jul 24, 2013 6:56 am
Last night I picked up the front re-drilled drums of the split and installed it late last night!
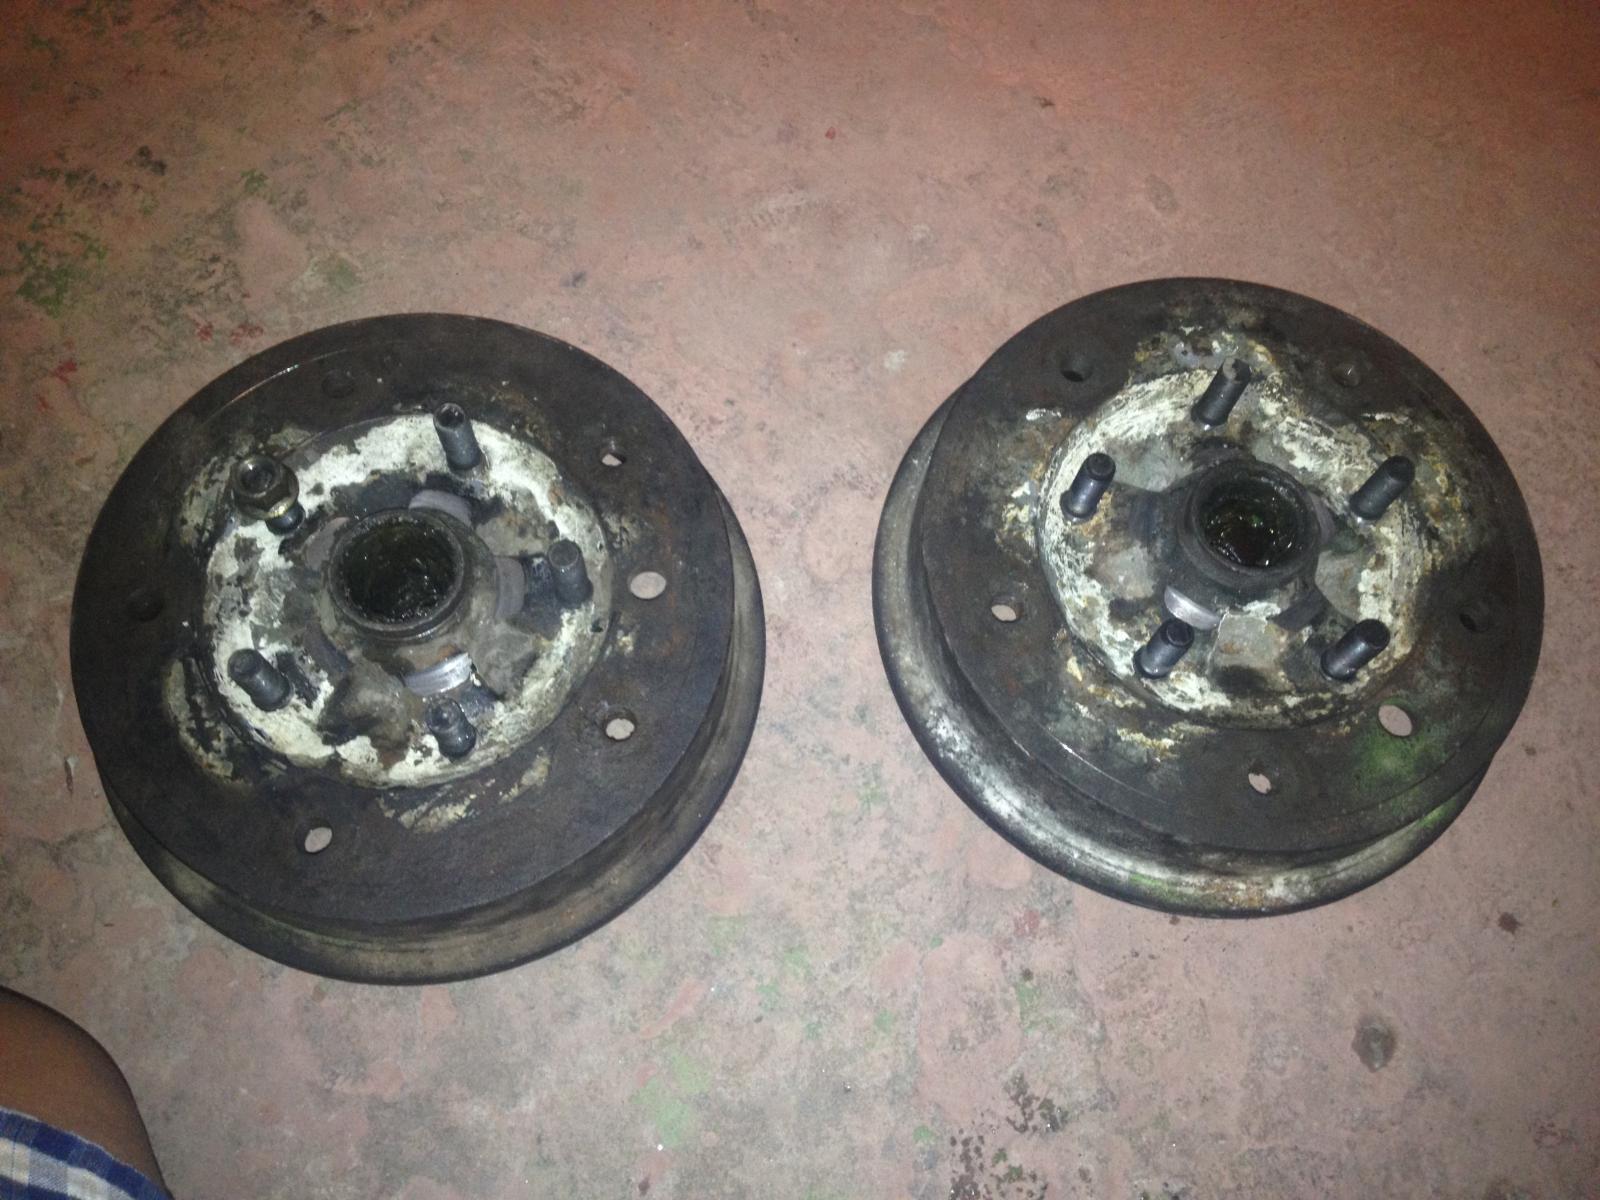
The two re-drilled drums ready for the Fuchs sans adapters.
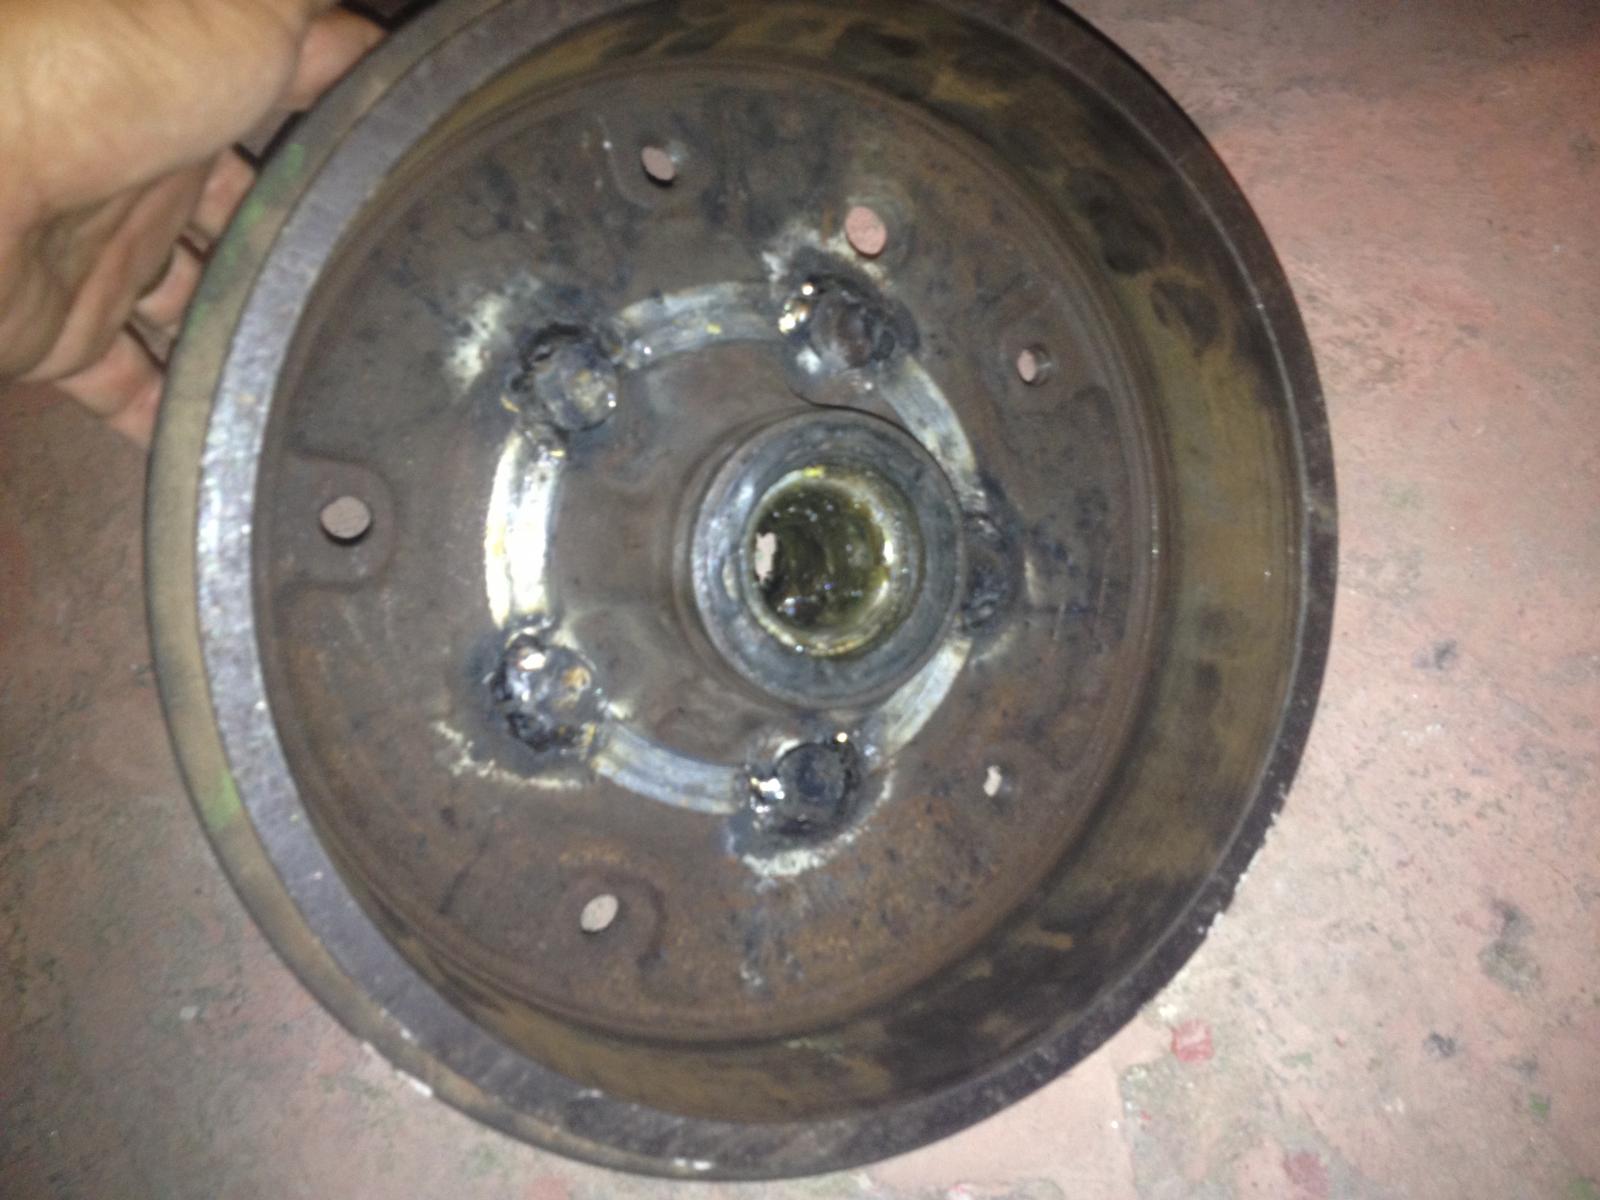
The inner view of the drums reveals that the base of the studs were welded to get a strong grip of the inner drum.
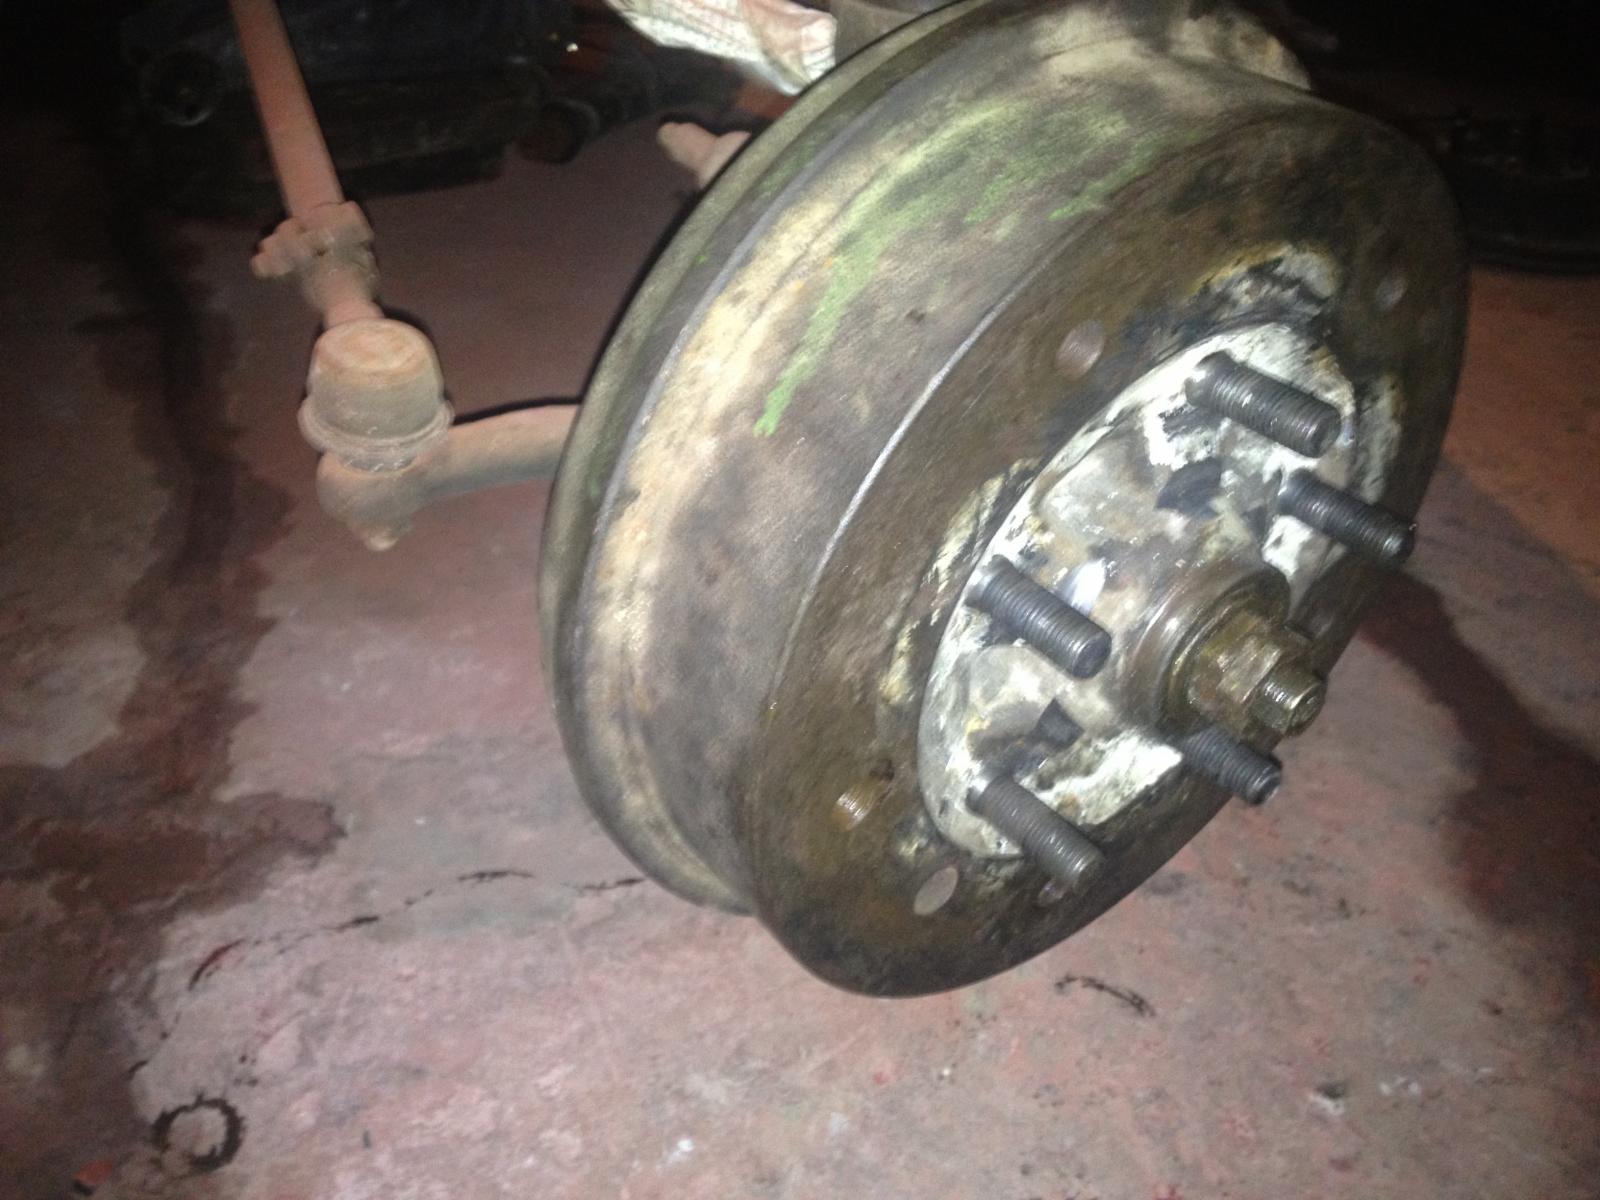
Once the drums are installed, it dramatically reveals the big difference it looks compared to the time that the adapters were still installed. I was able to get the Fuchs tacked in about 1 inches each side. Take note that the five archs near the center were also flattened so that the base of the Fuchs can seat accordingly and be accommodated.
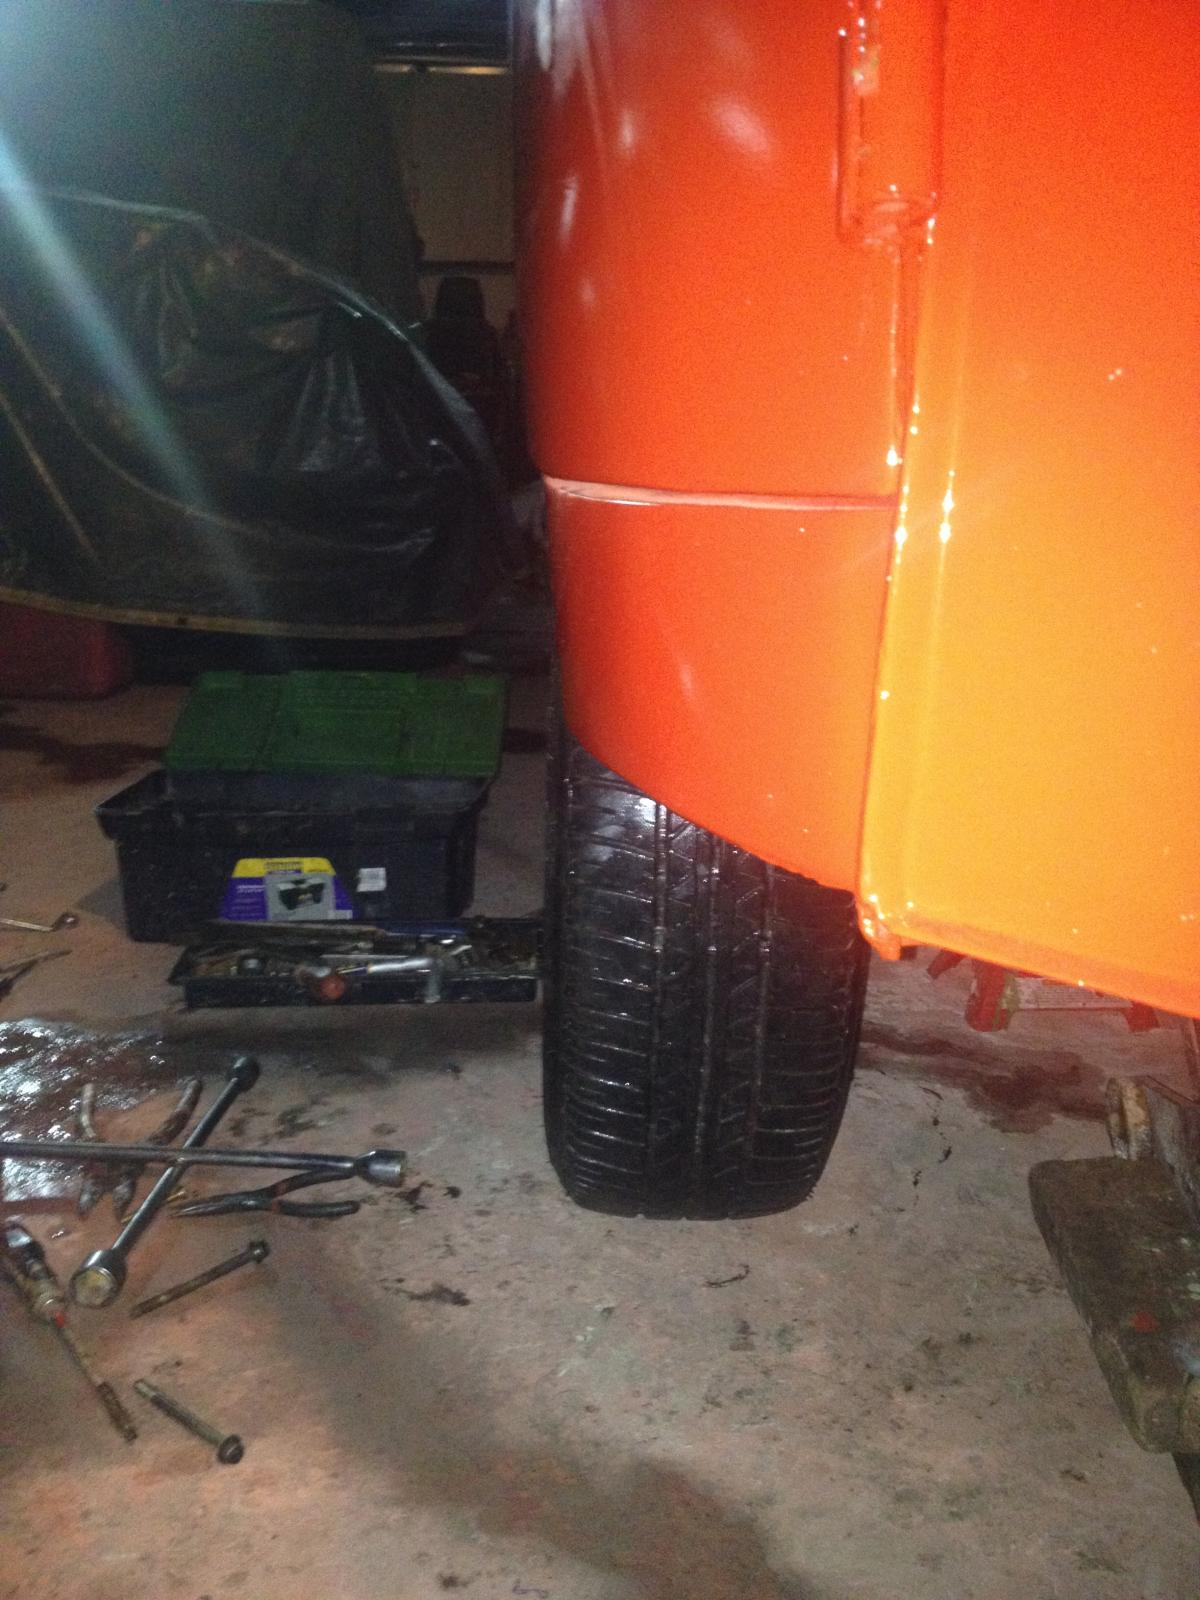
This picture says it all! The tires and wheels are now under the dogleg!

Before
AFTER

The two re-drilled drums ready for the Fuchs sans adapters.

The inner view of the drums reveals that the base of the studs were welded to get a strong grip of the inner drum.

Once the drums are installed, it dramatically reveals the big difference it looks compared to the time that the adapters were still installed. I was able to get the Fuchs tacked in about 1 inches each side. Take note that the five archs near the center were also flattened so that the base of the Fuchs can seat accordingly and be accommodated.

This picture says it all! The tires and wheels are now under the dogleg!

Before

AFTER
dongkg
Registered user
Posts: 90
Joined: Tue Jul 16, 2013 7:58 am
Re: My '67 Split Bus Resto Thread in the Philippines
by dongkg » Mon Jul 29, 2013 8:24 am
This weekend, we removed the pins in the front hinges so we can fit the new pin integrated with the neck of the side mirrors.
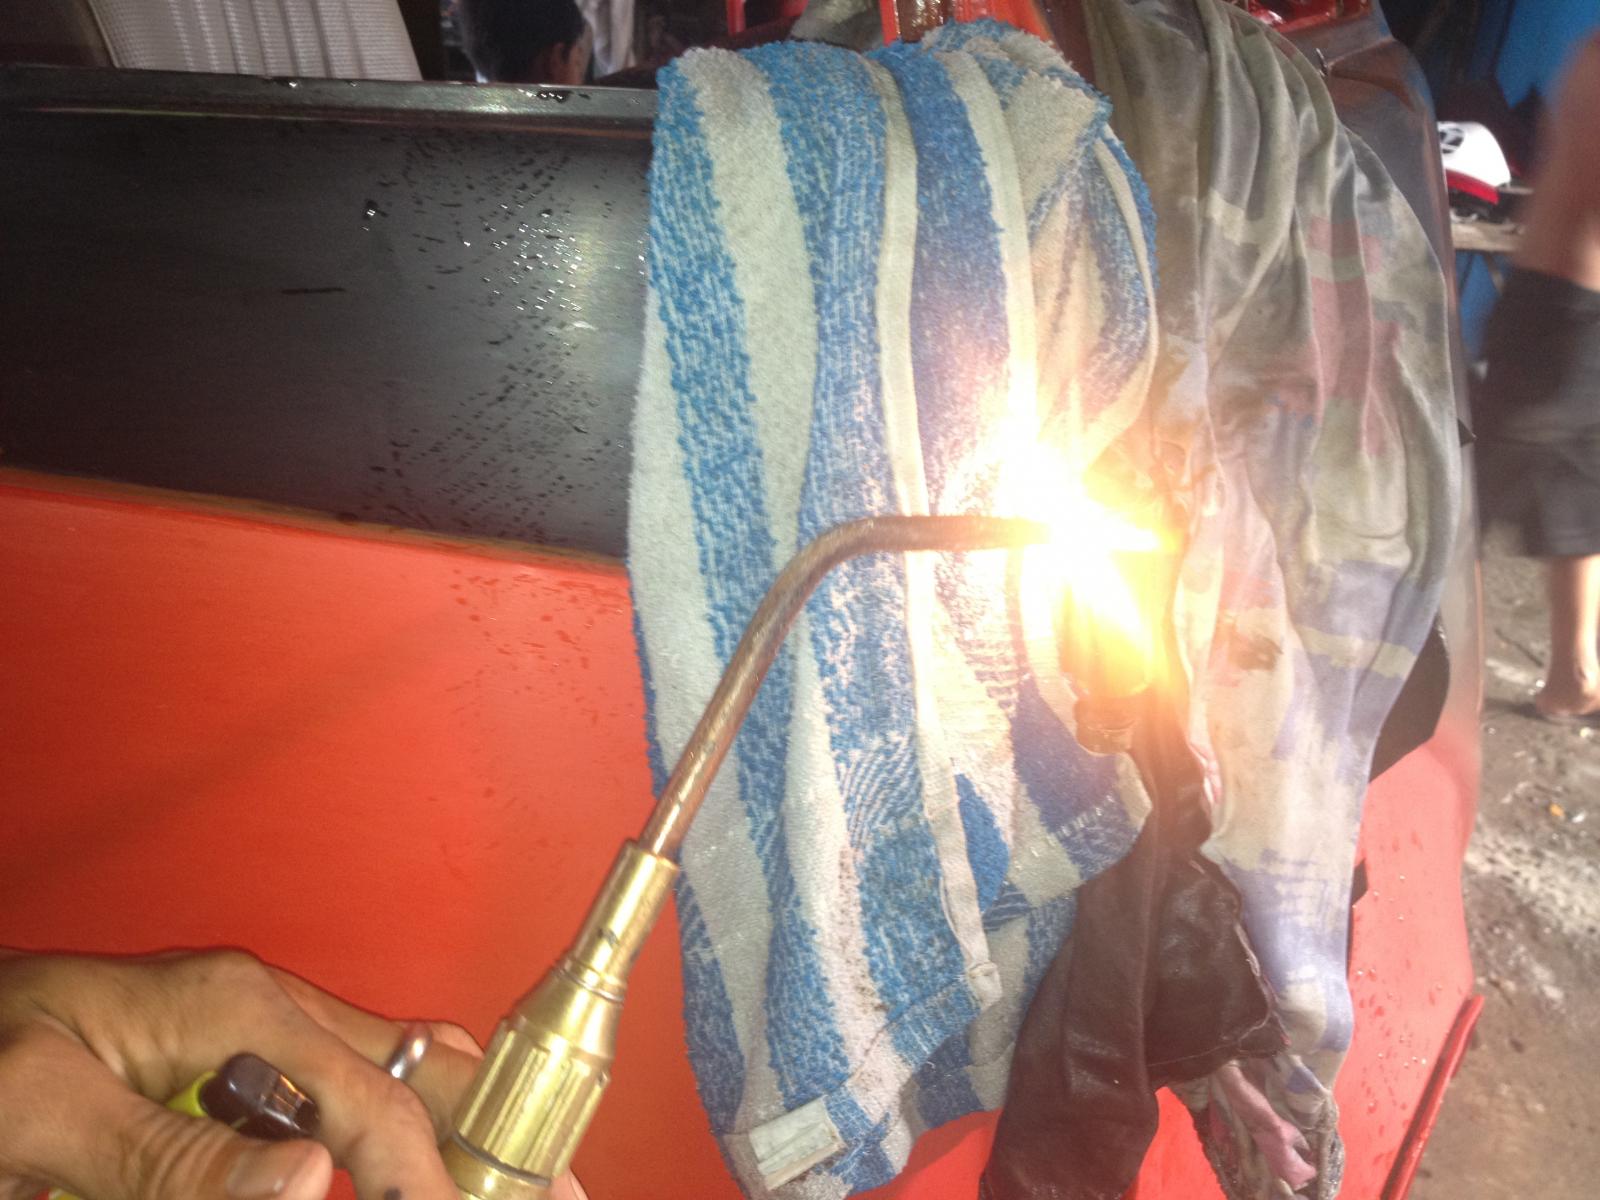
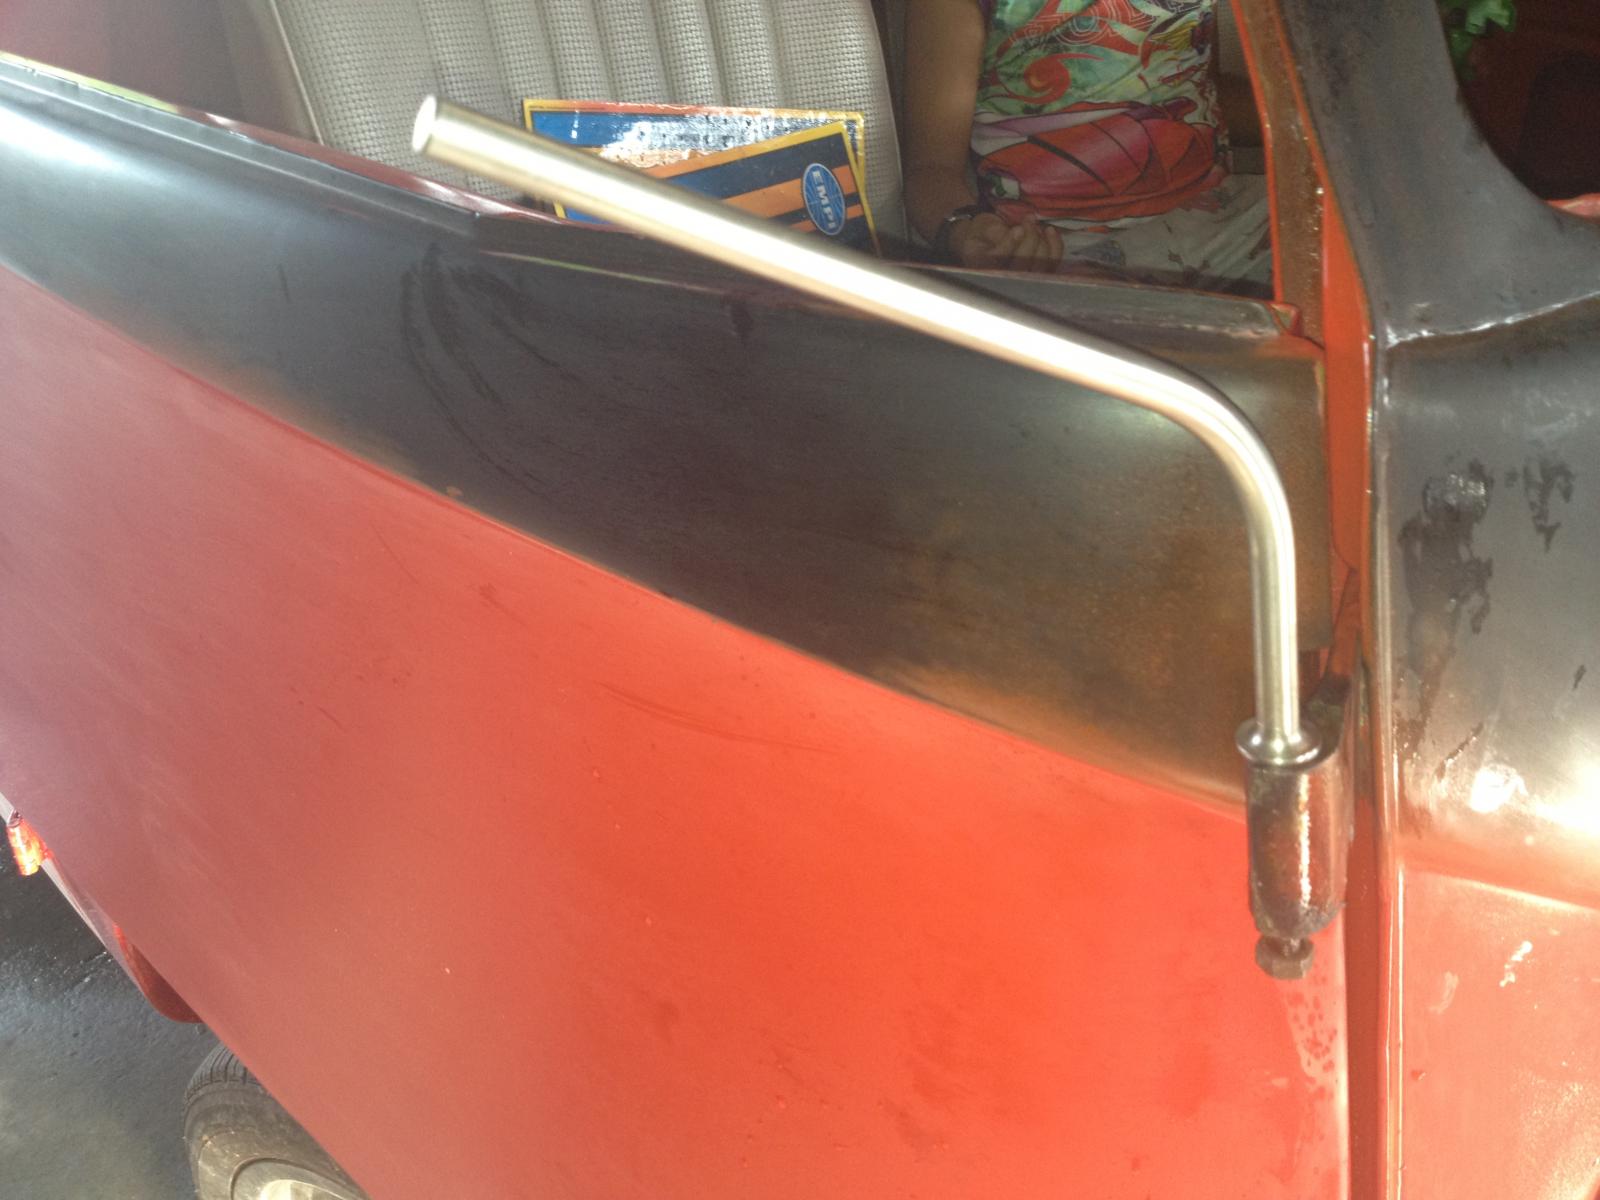
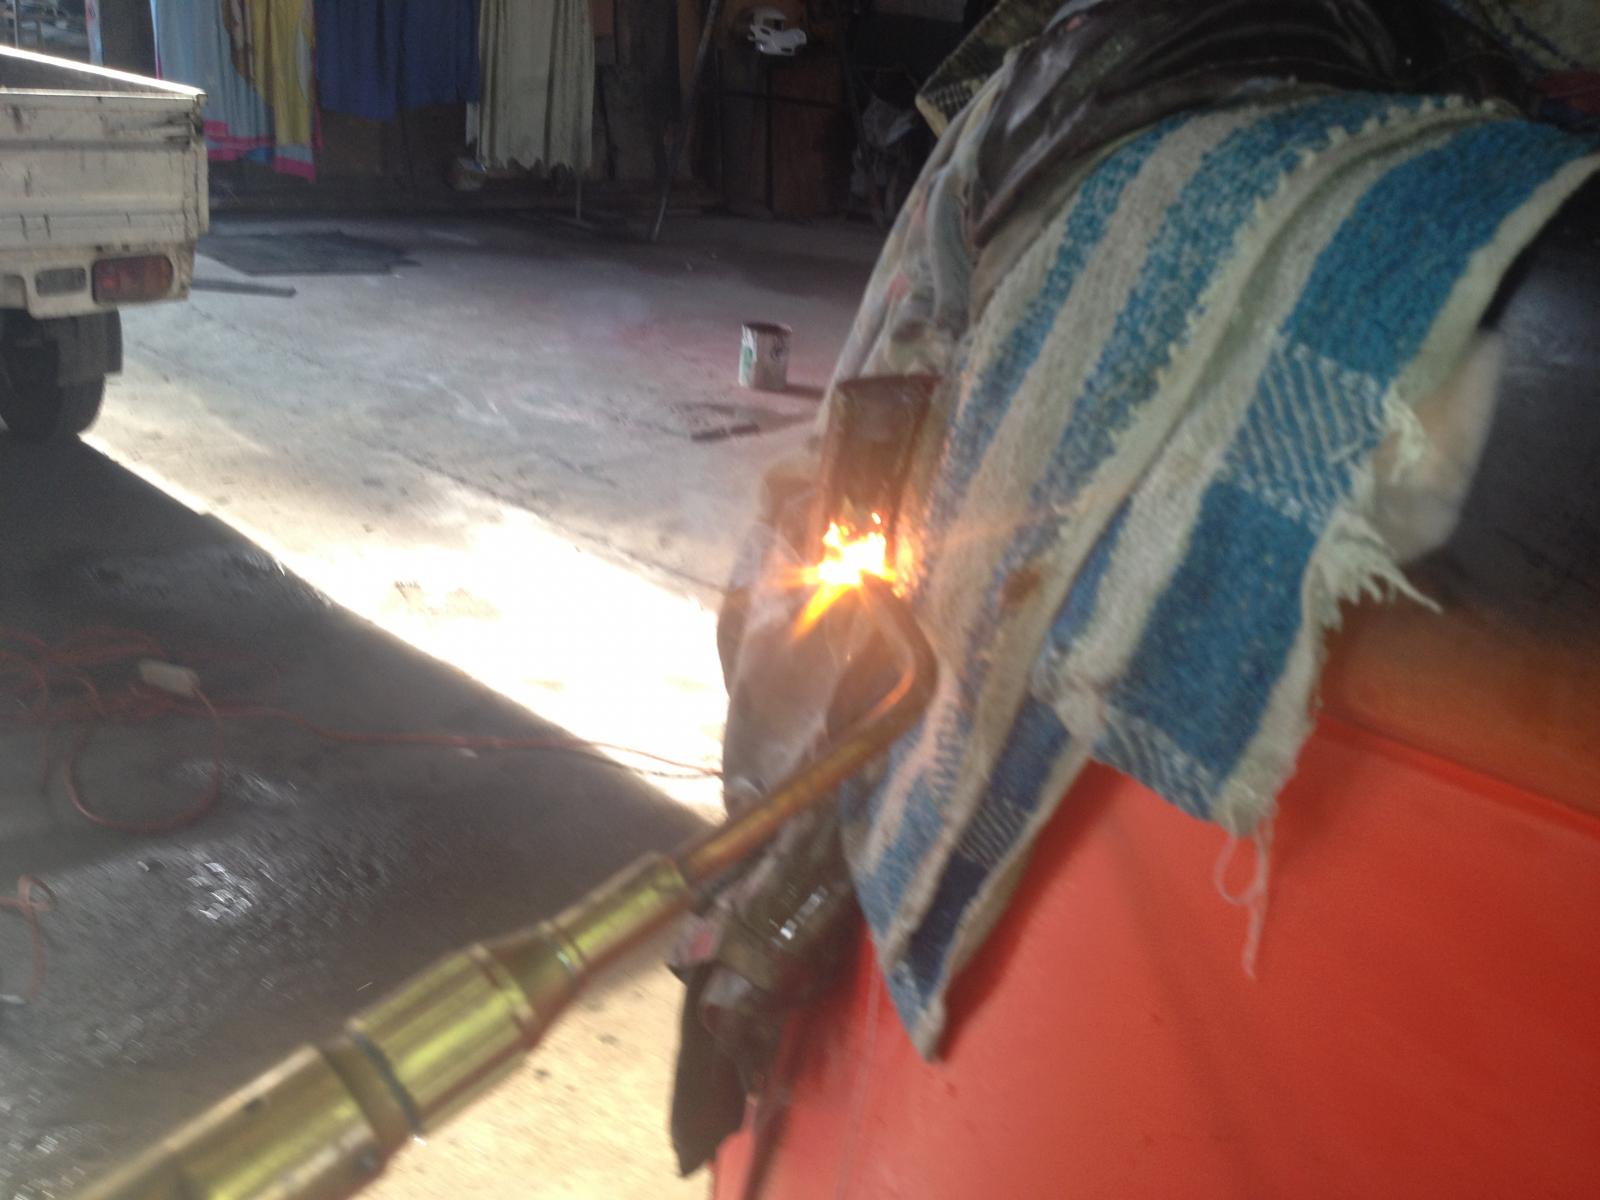
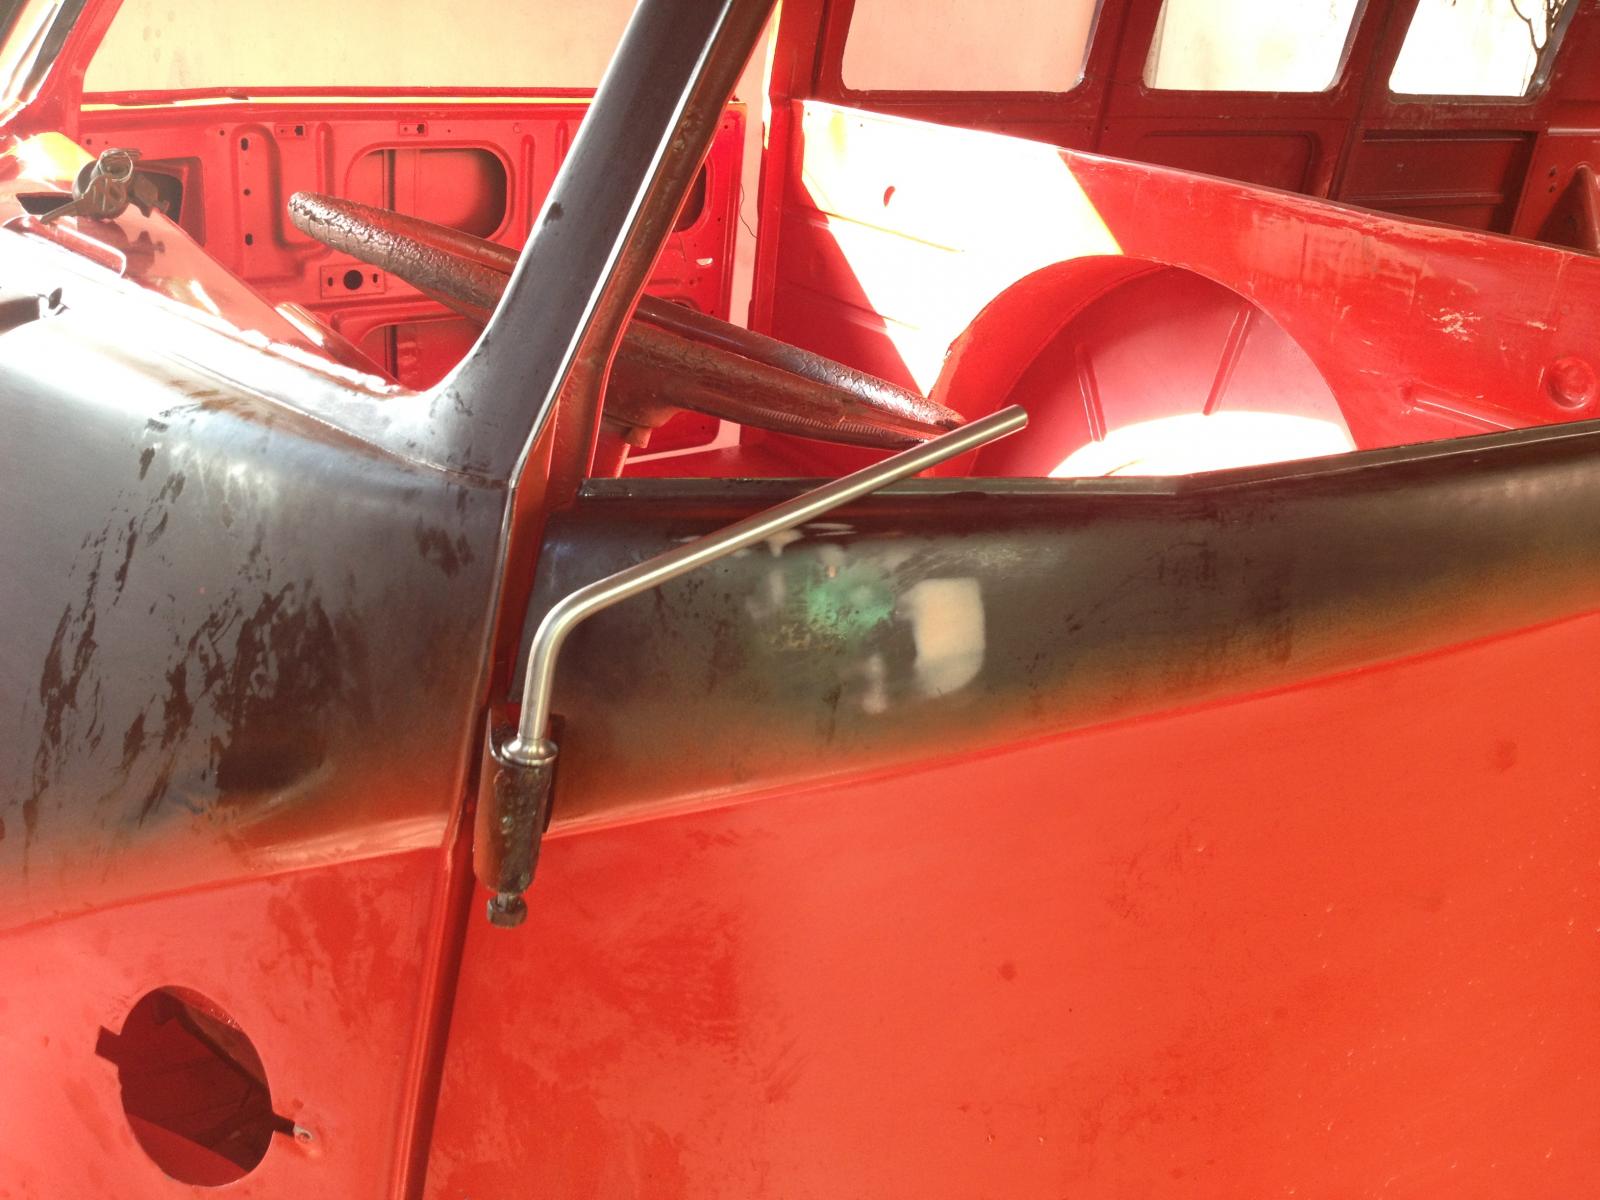
The hinges had to be heated for the pins to be removed. I guess, since 1967, that day was the first time that these hinges were removed. Hammering the pins out was an exercise in futility that is why I resorted to heating up the hinges.

I friend of mine also sold to me this horn button at a very very reasonable price!


The hinges had to be heated for the pins to be removed. I guess, since 1967, that day was the first time that these hinges were removed. Hammering the pins out was an exercise in futility that is why I resorted to heating up the hinges.

I friend of mine also sold to me this horn button at a very very reasonable price!
dongkg
Registered user
Posts: 90
Joined: Tue Jul 16, 2013 7:58 am
Re: My '67 Split Bus Resto Thread in the Philippines
by dongkg » Thu Aug 01, 2013 11:52 am
The latest fine:
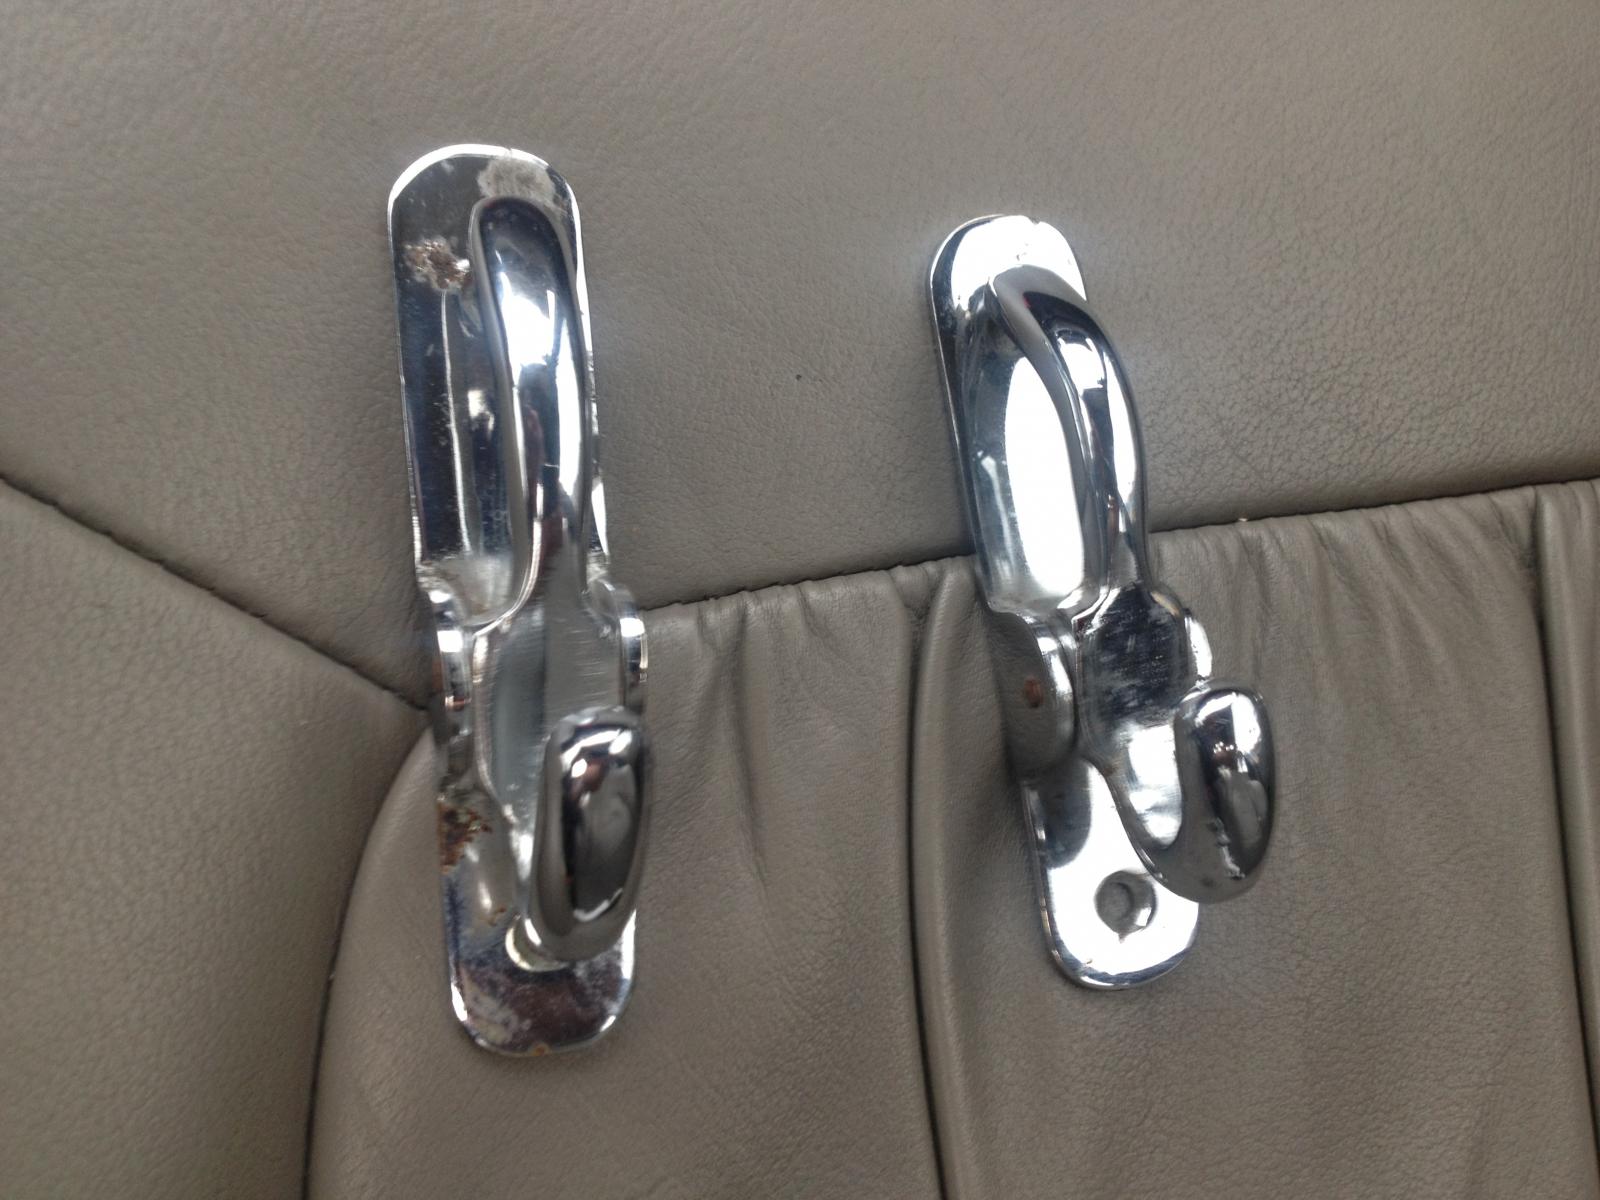
Coat hook (these will look cool in the split!)
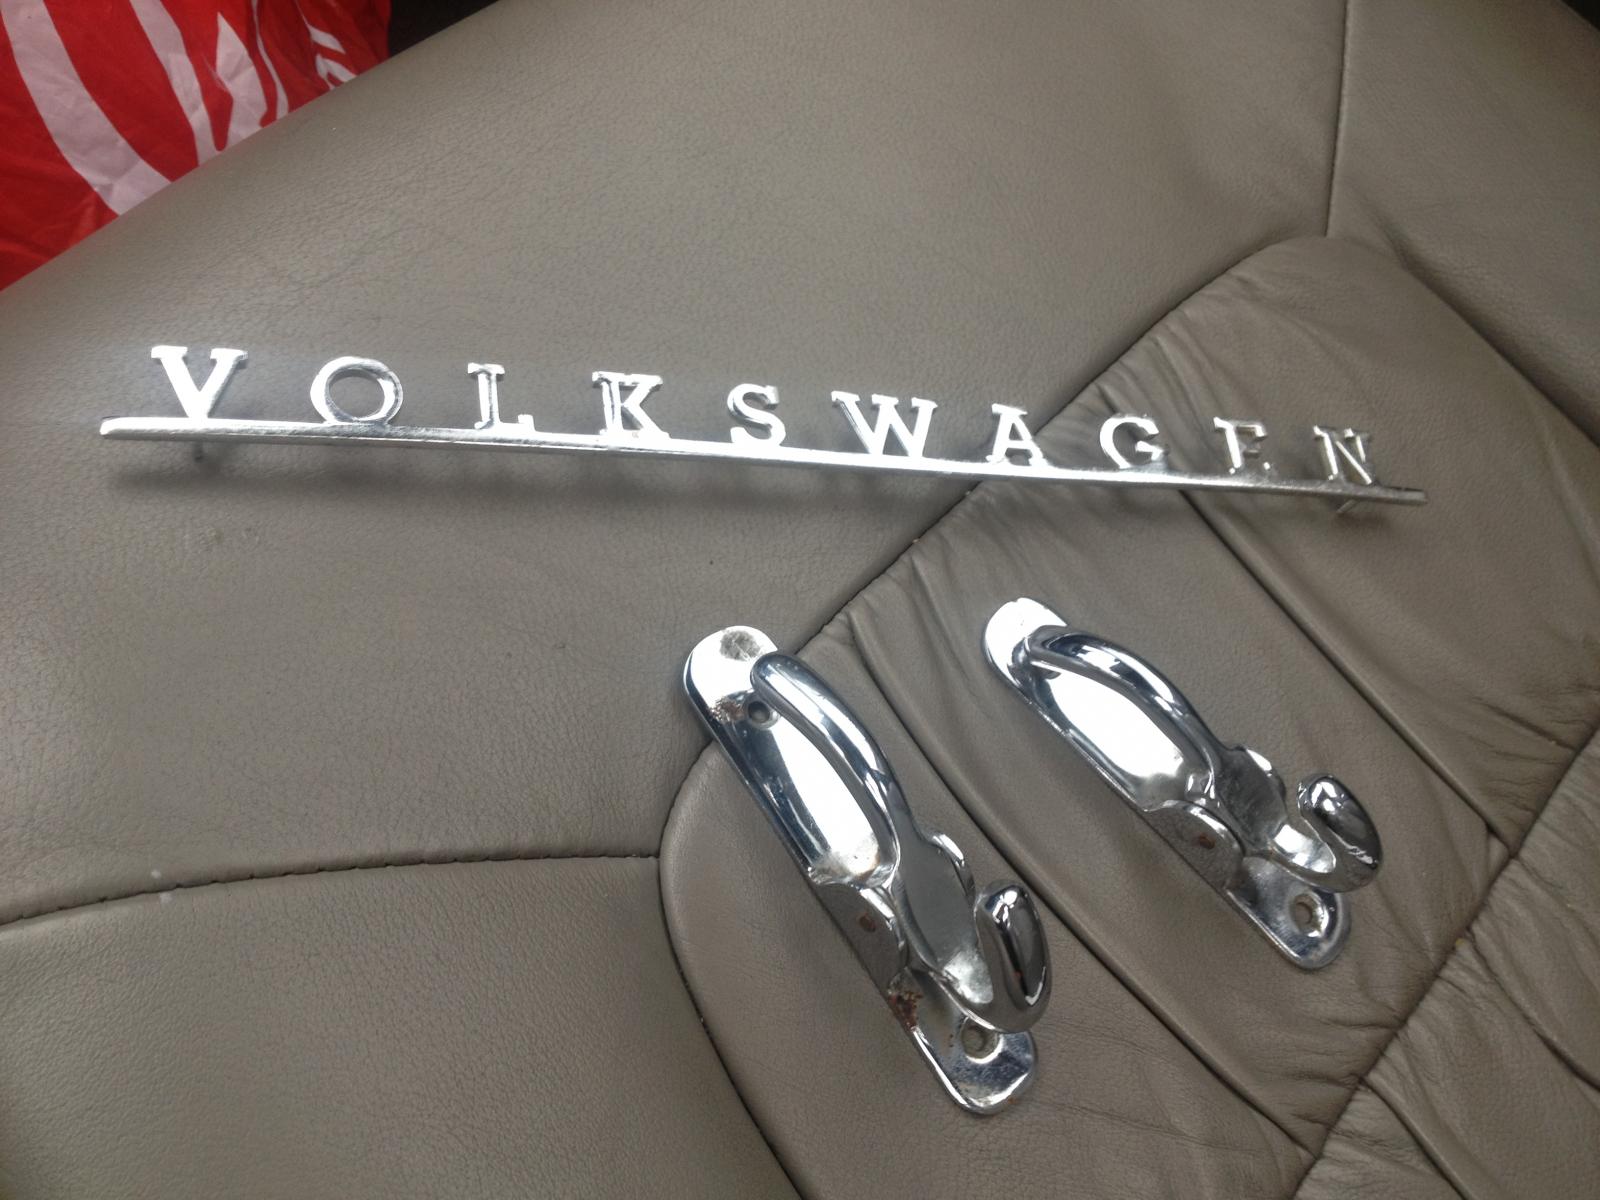
Volkswagen badge for the hatch. This one will give a more detailed look from the outside.
Thanks

Coat hook (these will look cool in the split!)

Volkswagen badge for the hatch. This one will give a more detailed look from the outside.
Thanks
dongkg
Registered user
Posts: 90
Joined: Tue Jul 16, 2013 7:58 am
Re: My '67 Split Bus Resto Thread in the Philippines
by dongkg » Thu Aug 08, 2013 9:27 am
I applied the Chestnut Brown paint last weekend. Although I had some adjustments on the hue of the color by adding little of orange, and the brown is more apparent now that the first time i applied it.
I need your input on the hue of the brown buddies. Whether it is okay now or I have to add black paint to that the hue of the brown will go darker that this one..
Thanks in advance.
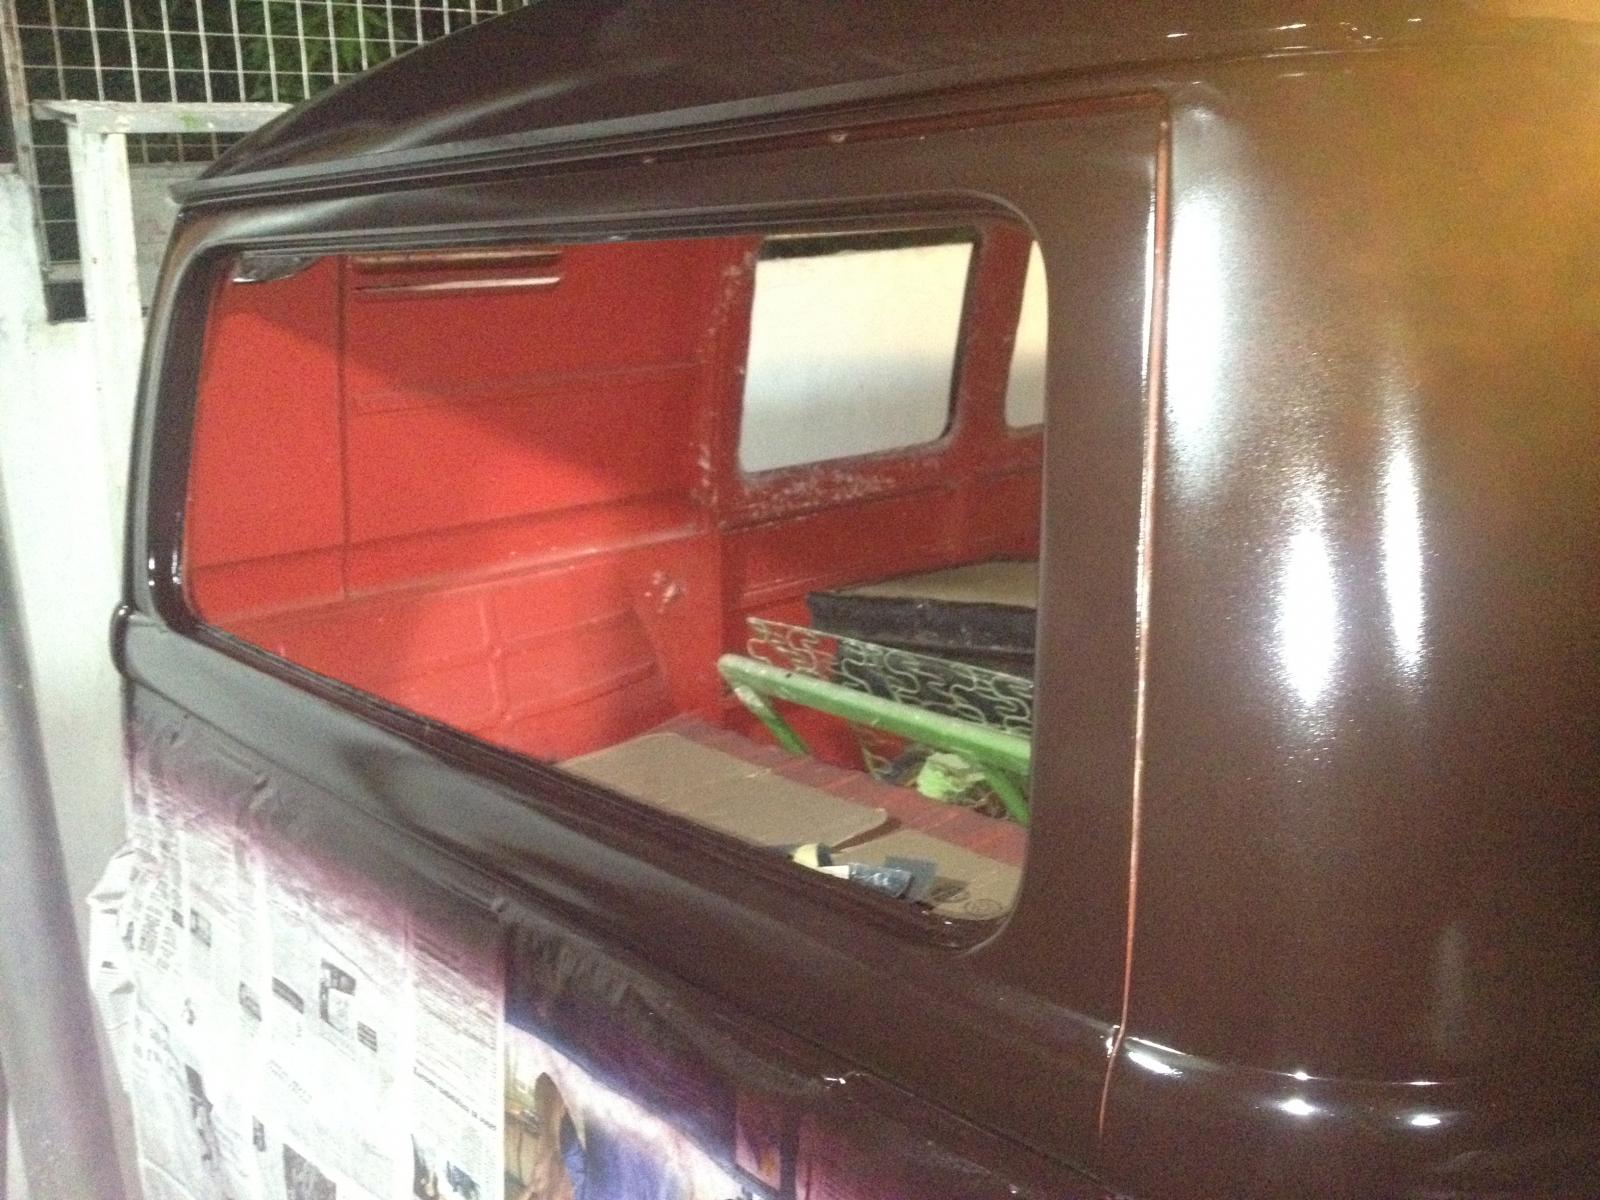
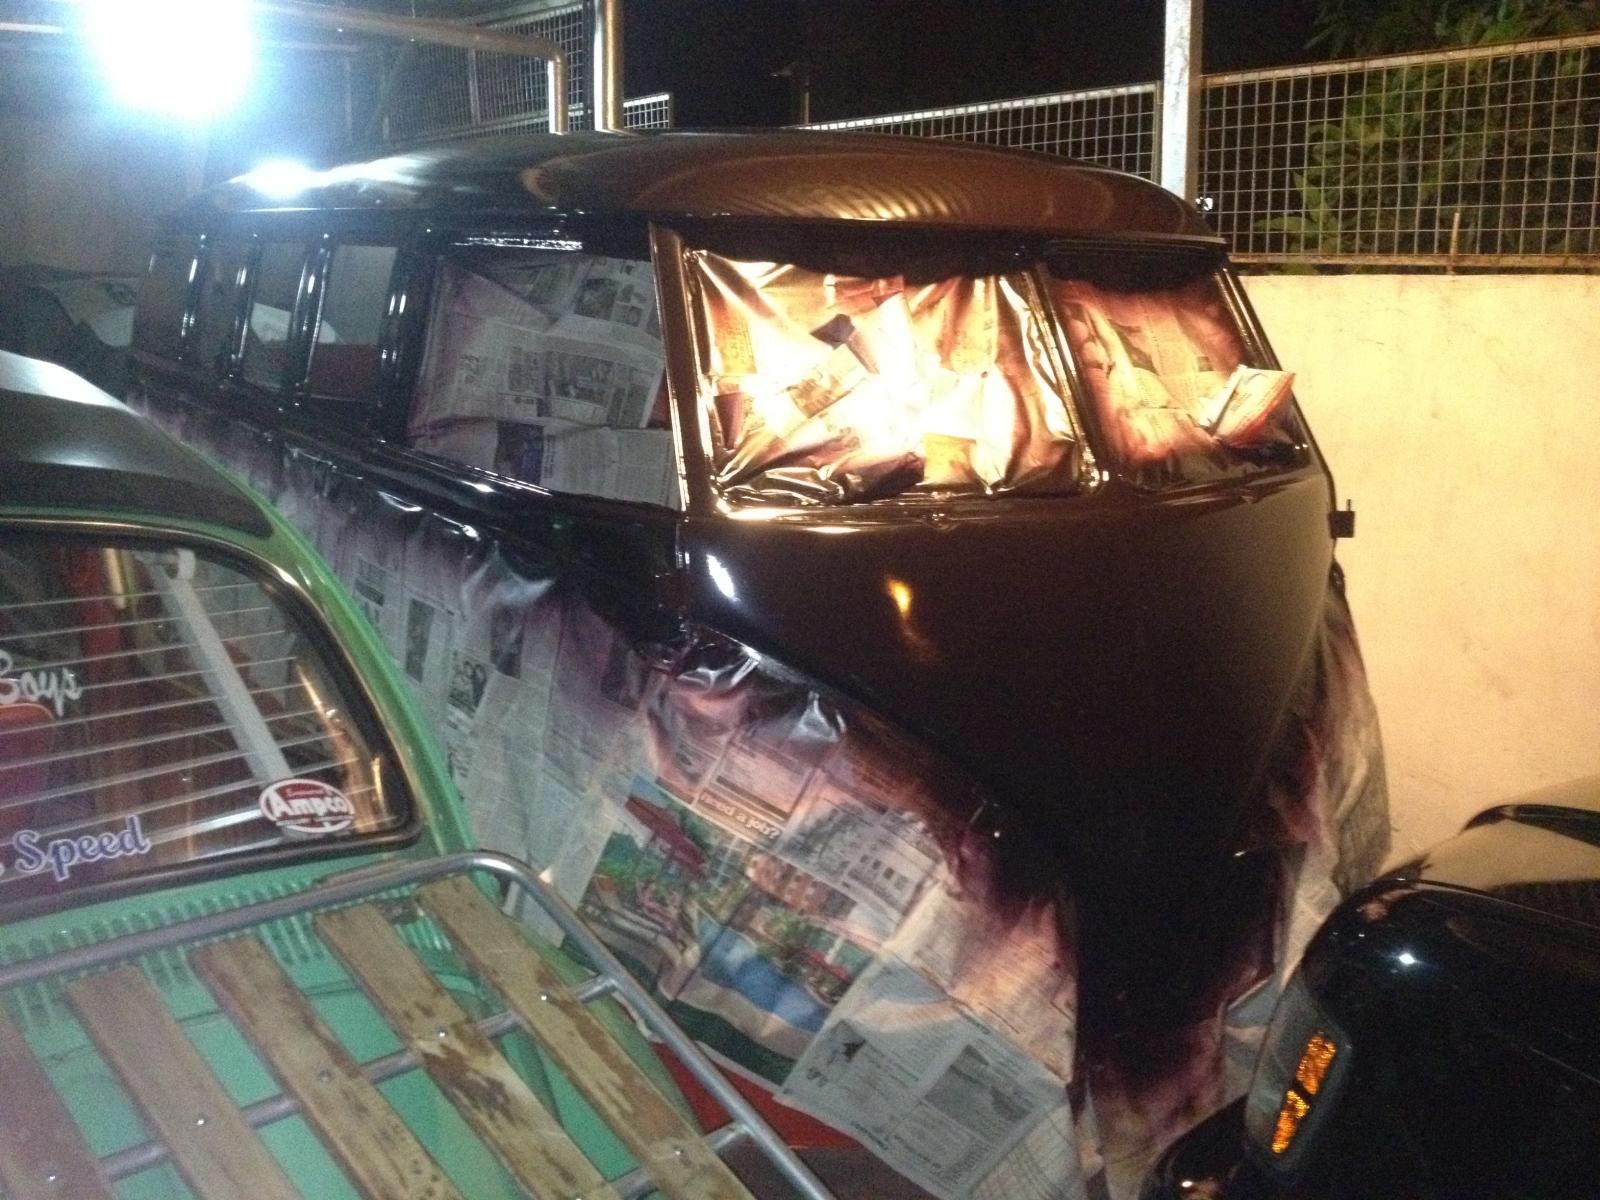
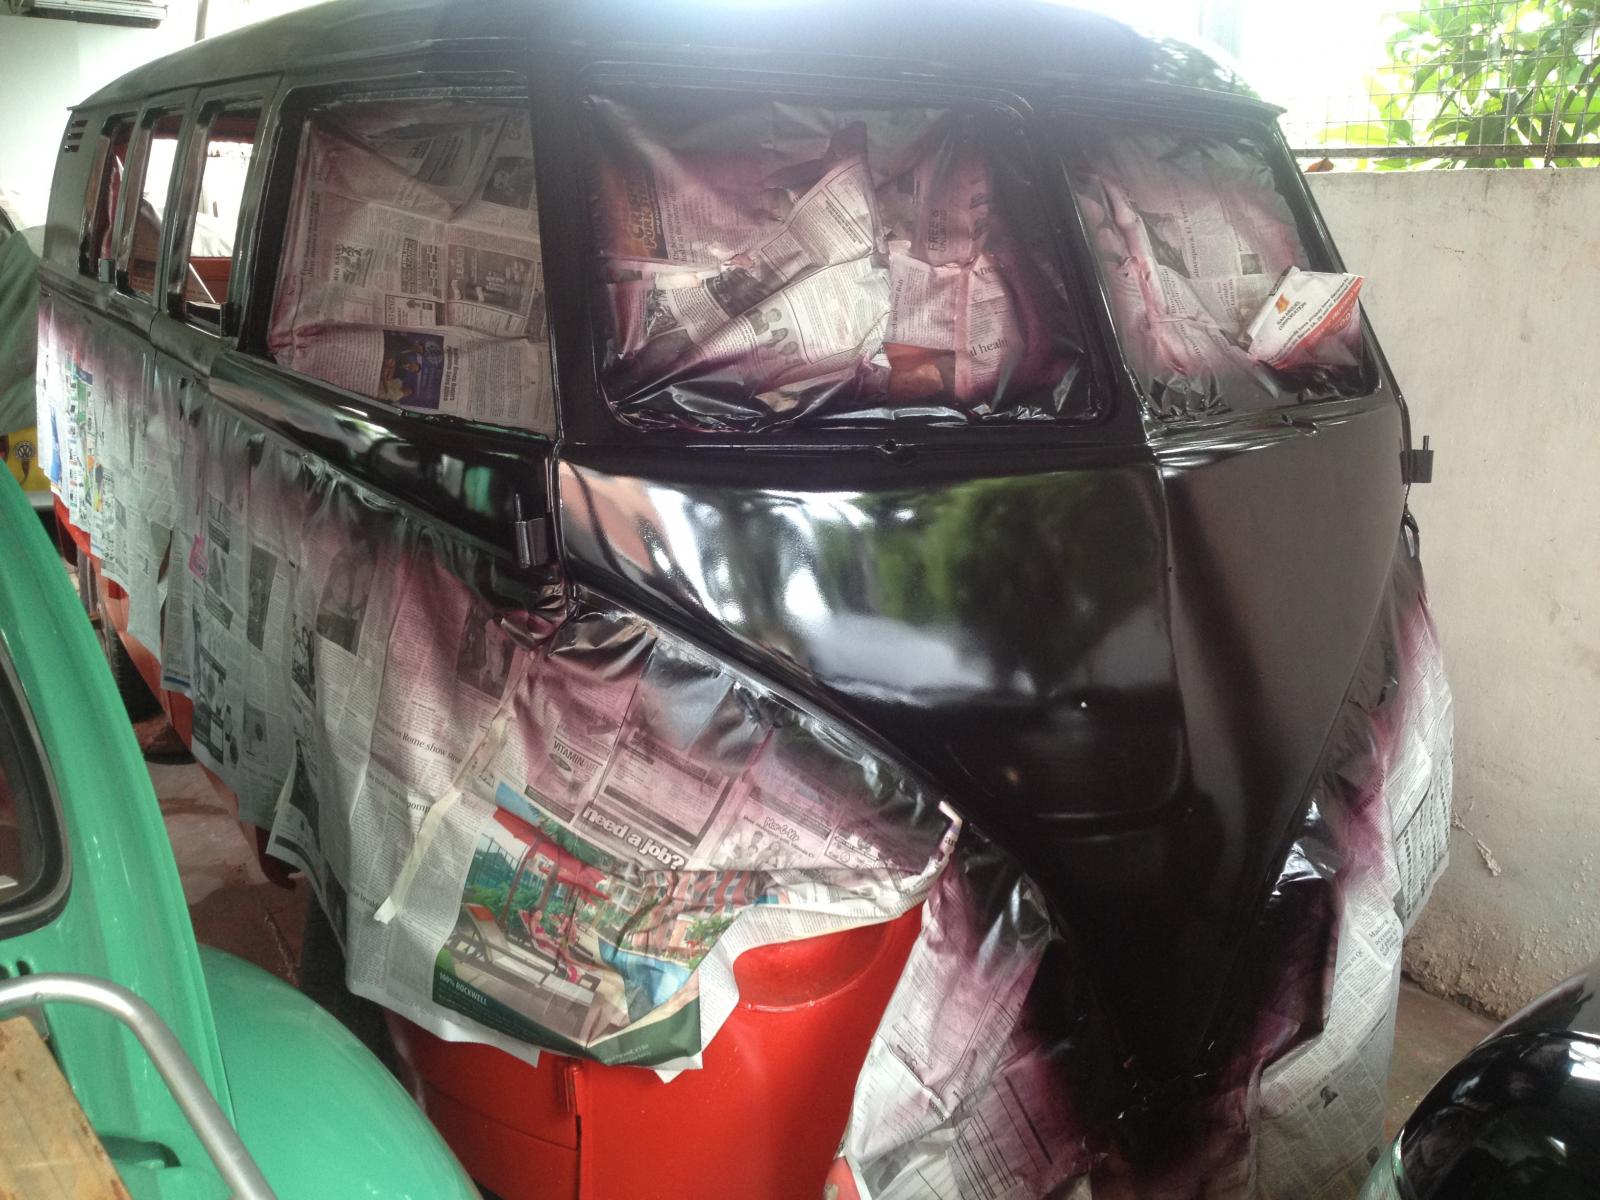
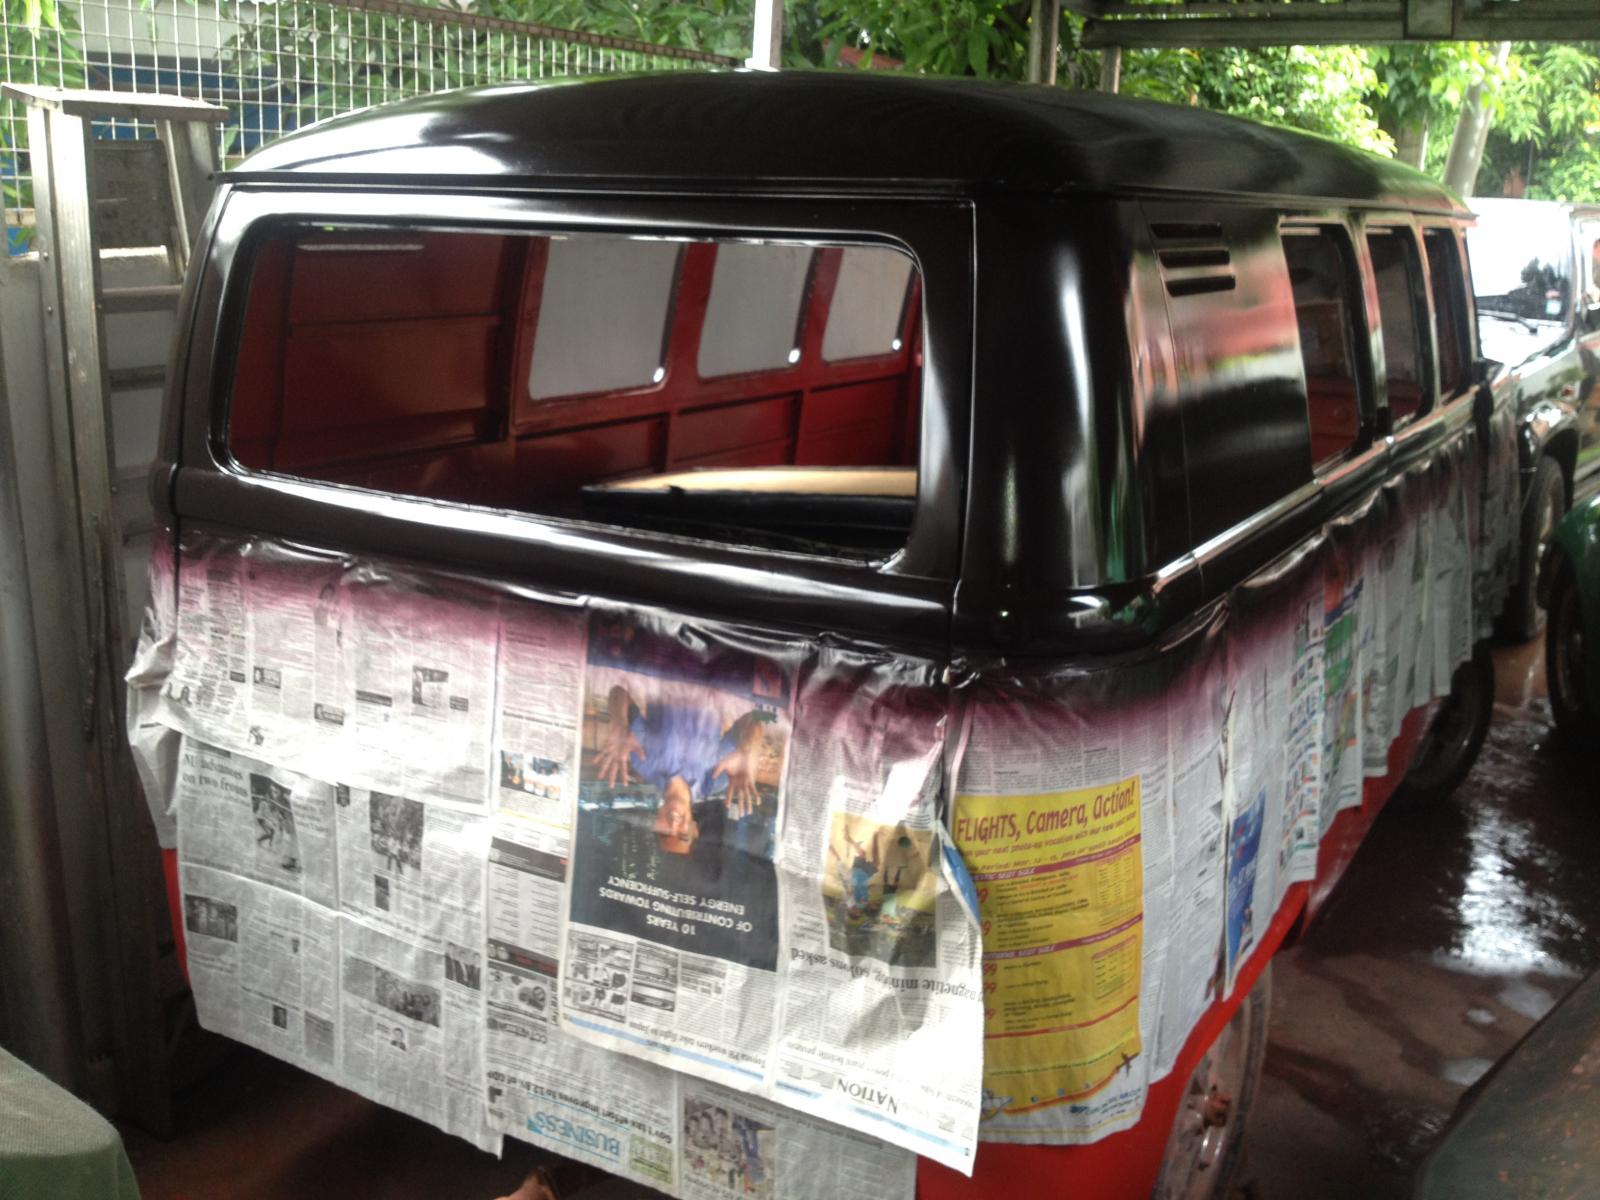
I need your input on the hue of the brown buddies. Whether it is okay now or I have to add black paint to that the hue of the brown will go darker that this one..
Thanks in advance.


dongkg
Registered user
Posts: 90
Joined: Tue Jul 16, 2013 7:58 am
Re: My '67 Split Bus Resto Thread in the Philippines
by markp » Thu Aug 08, 2013 11:26 am
Well done for getting stuck in
getting there
Mark
markp
SSVC Member
Posts: 4493
Joined: Wed Jul 20, 2011 9:56 pm

