You are viewing the Split Screen Van Club forum archive.
The forum archive is read-only.Unfortunately in 2021 the Split Screen Van Club forum suffered a ransomware attack and lots of the forum data was lost.
What threads that have been recovered are now searchable on this site. Some threads may be incomplete and some images are still being recovered.
Forum archive search
Re: 65 13w deluxe 'Project Franklin'
by pauldee » Tue Aug 26, 2014 5:32 pm
OK, lots of late nights at work means I haven't been doing much work, but I'm between contracts now so have a lot of time on my hands, and so begins the Big Push.
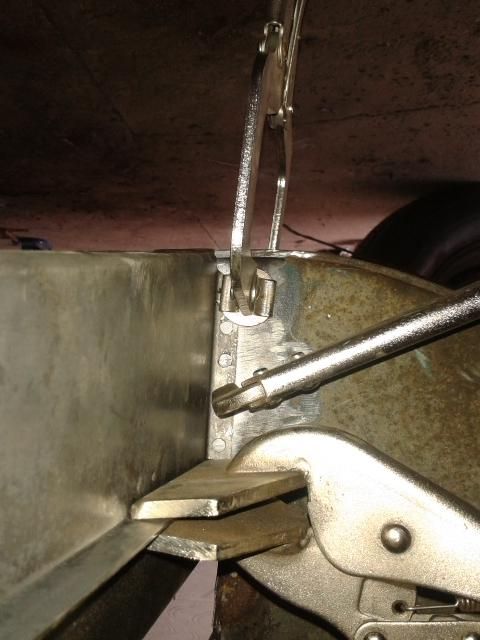
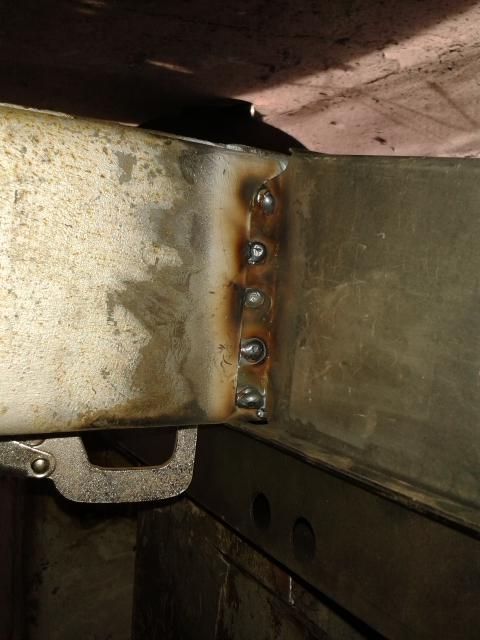
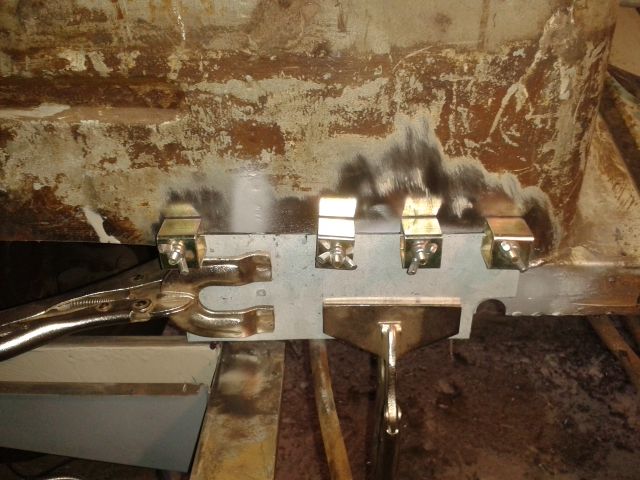
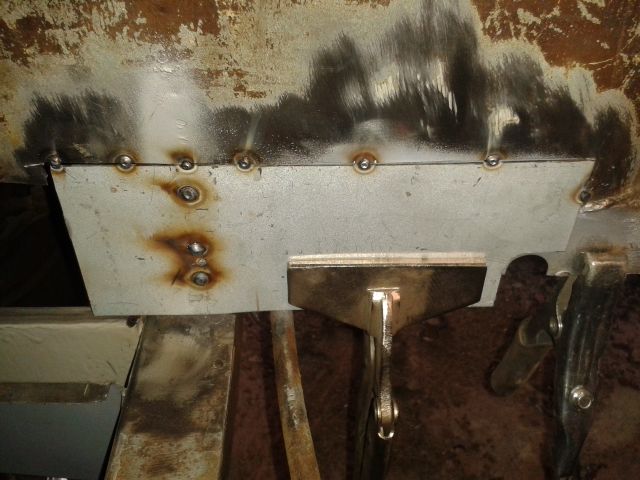
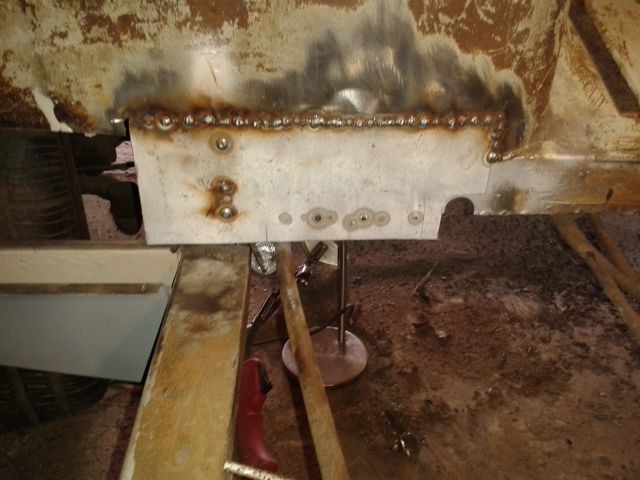
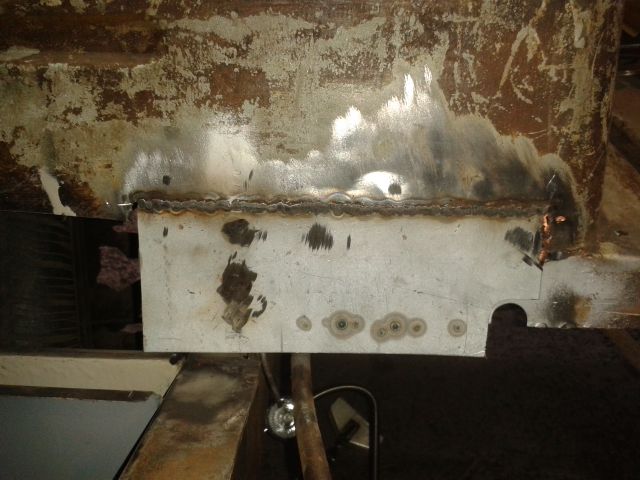
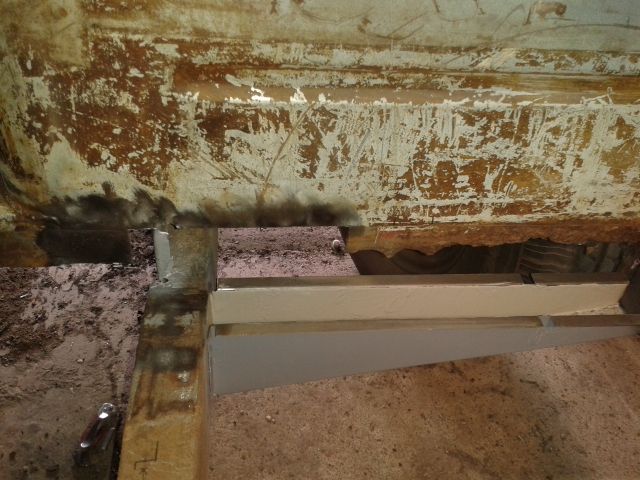
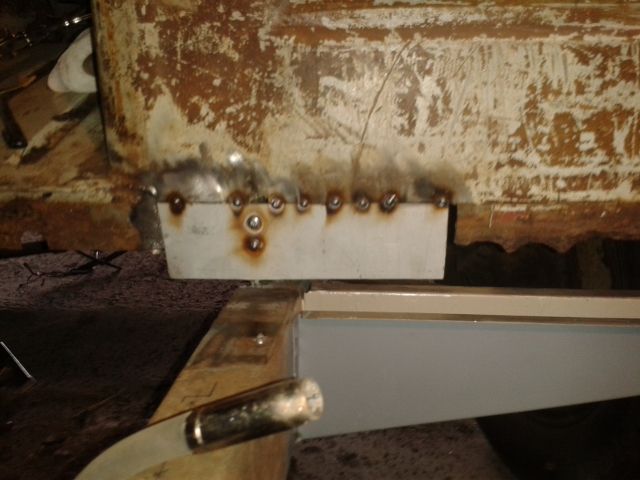
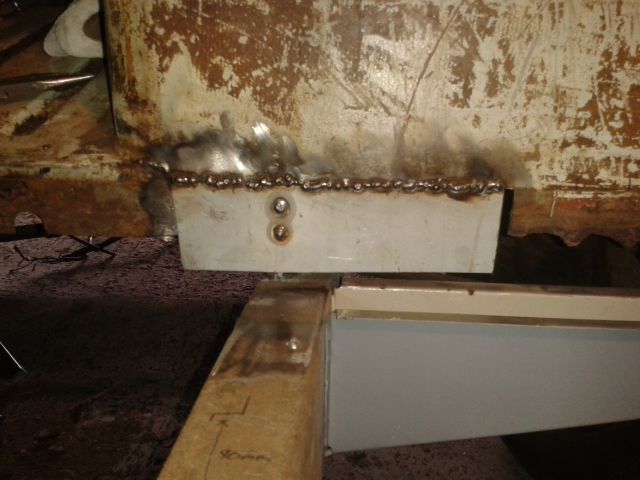
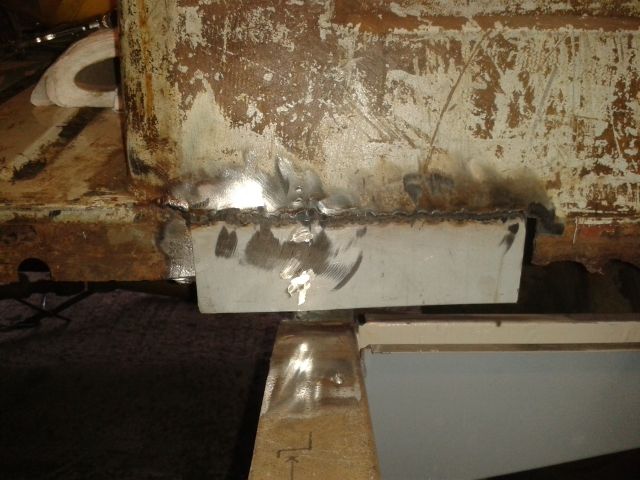
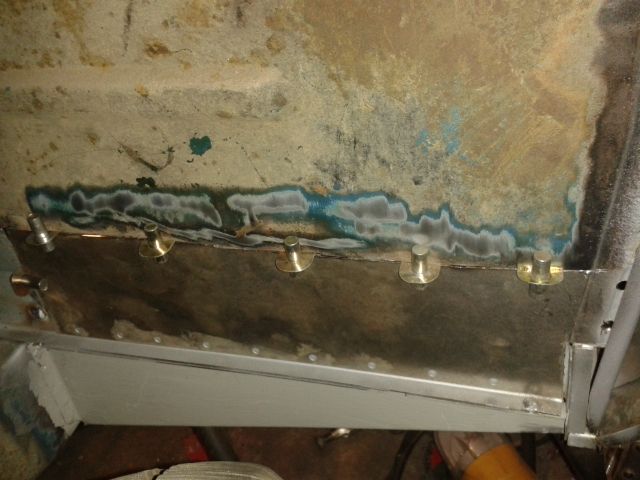
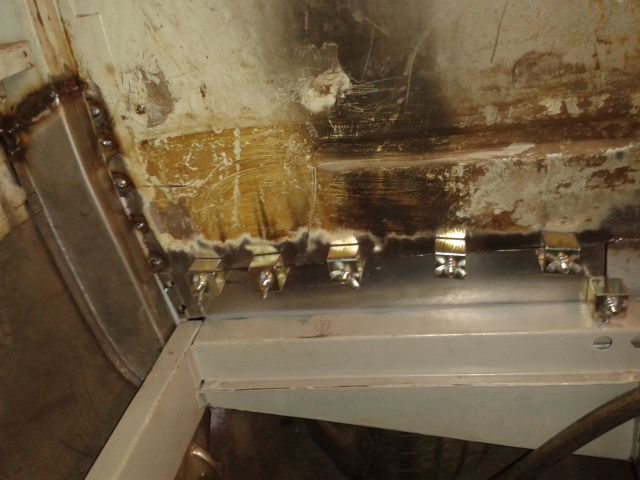
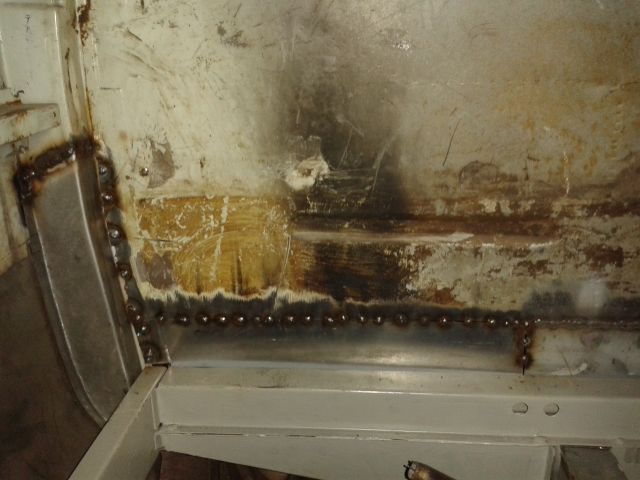
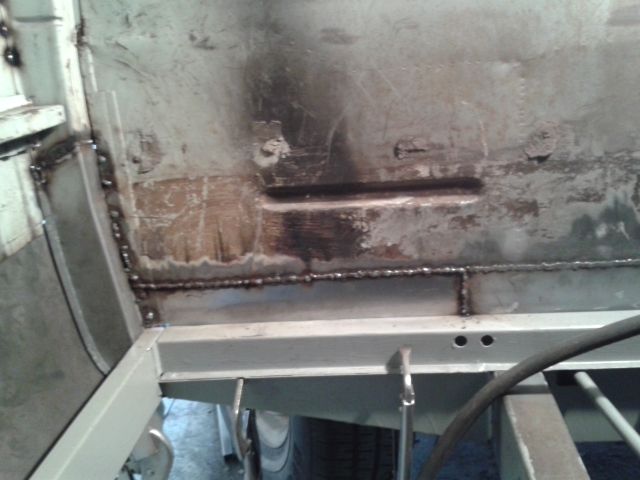
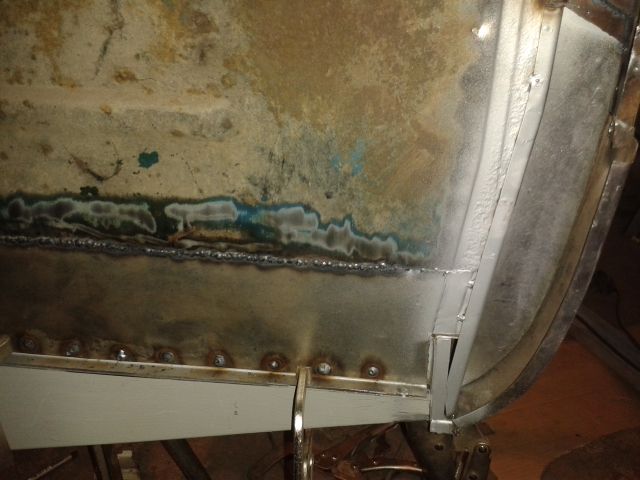
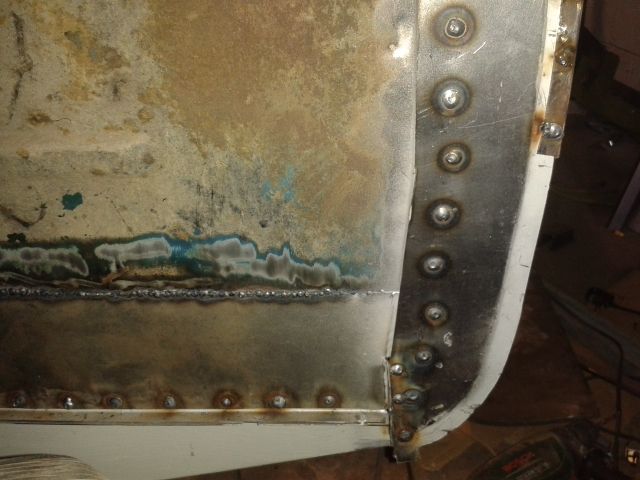
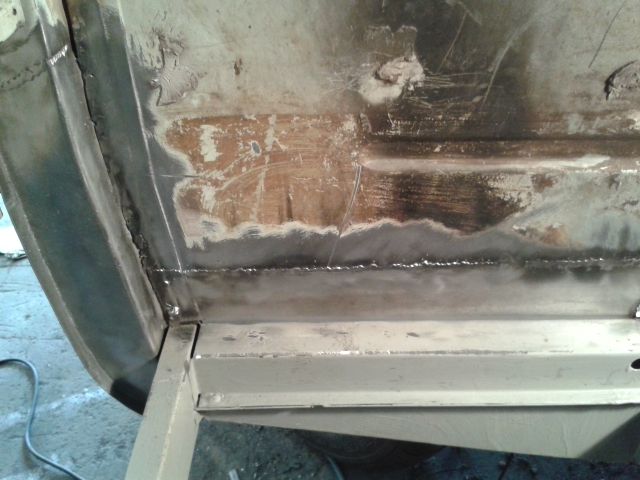
Right cab floor repairs:
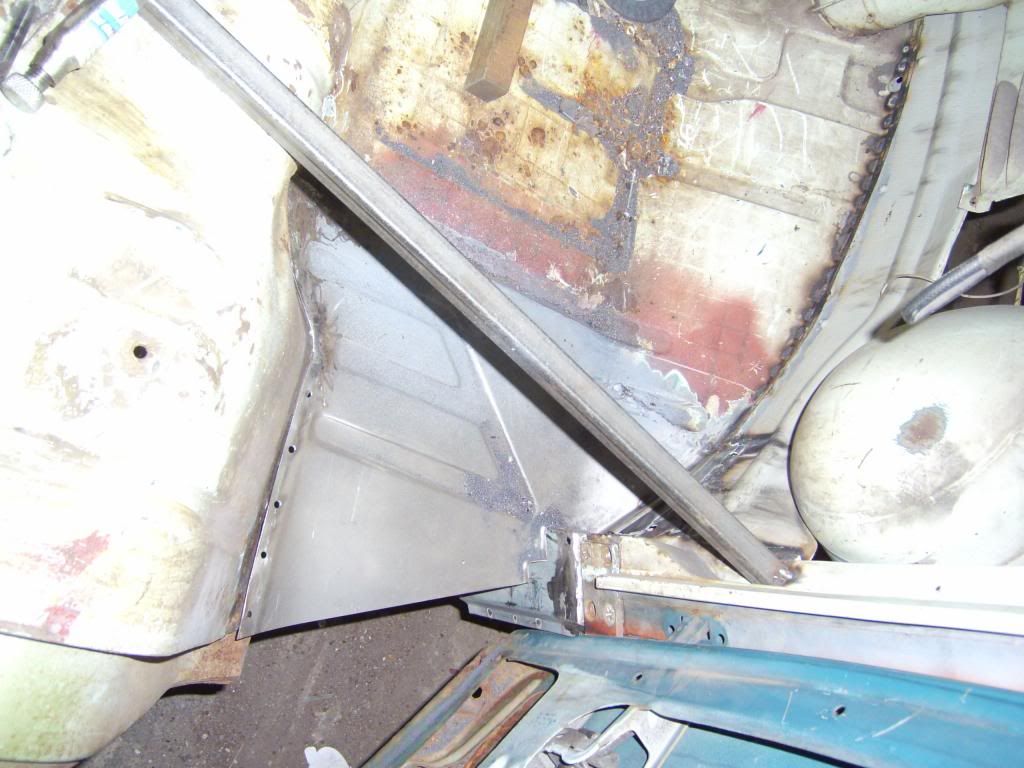
I redid the left hand side cab floor I wasn't happy with but don't seem to have any pics of that. Basically, it looks the same but better.
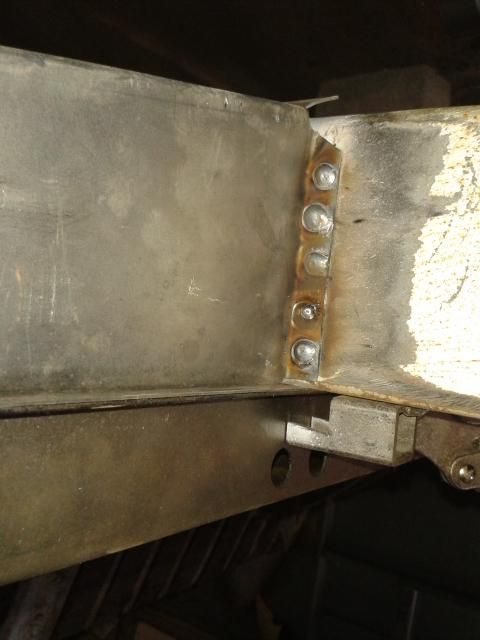
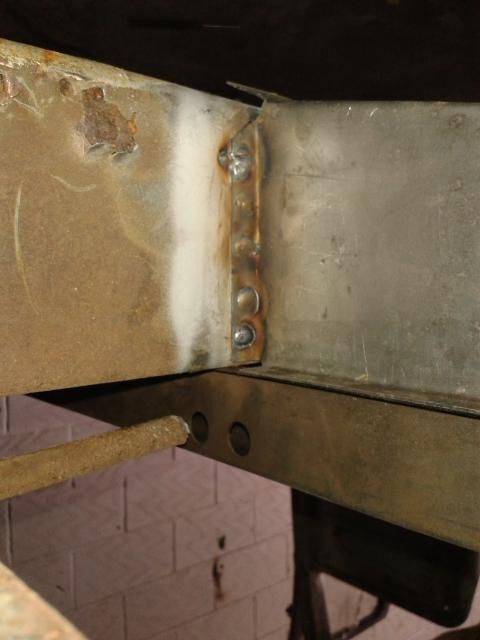
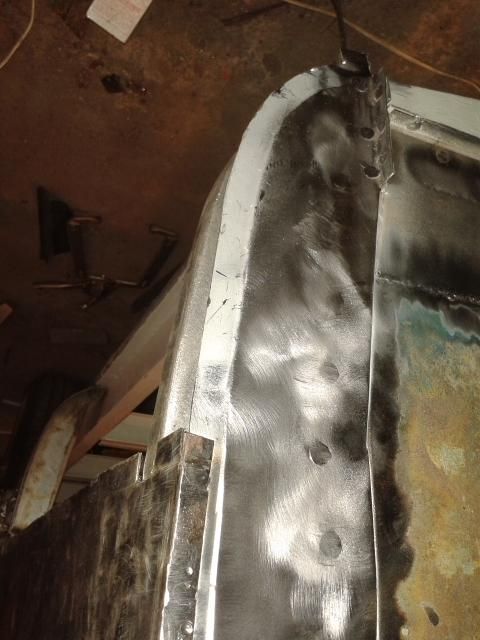
The front:
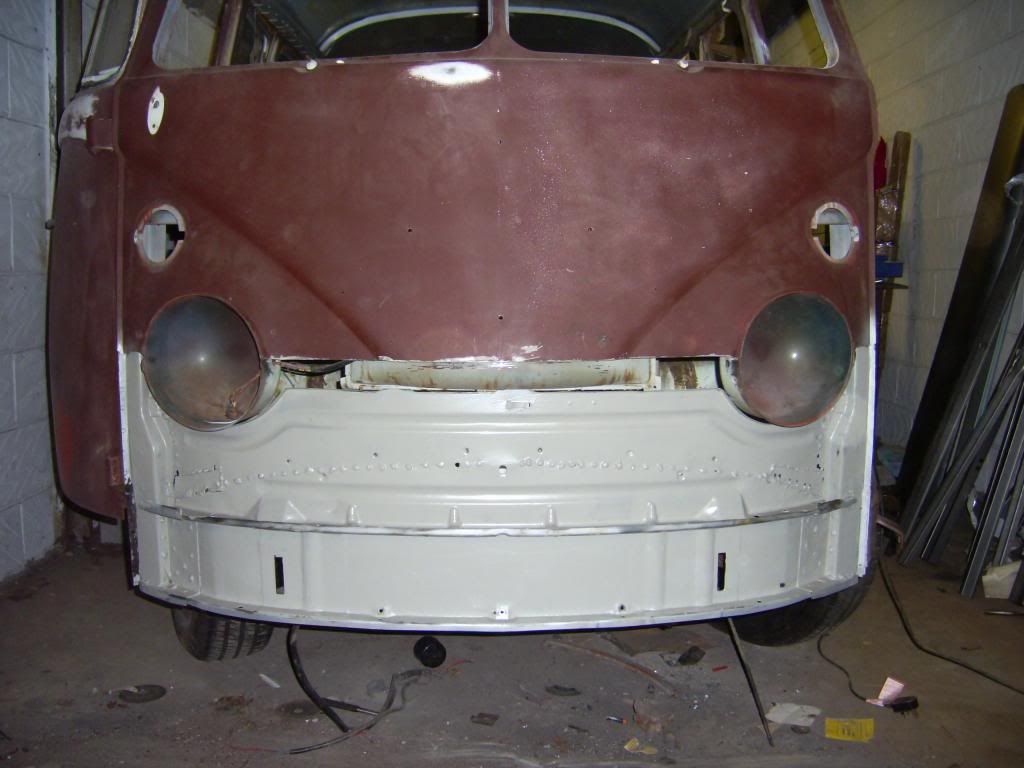
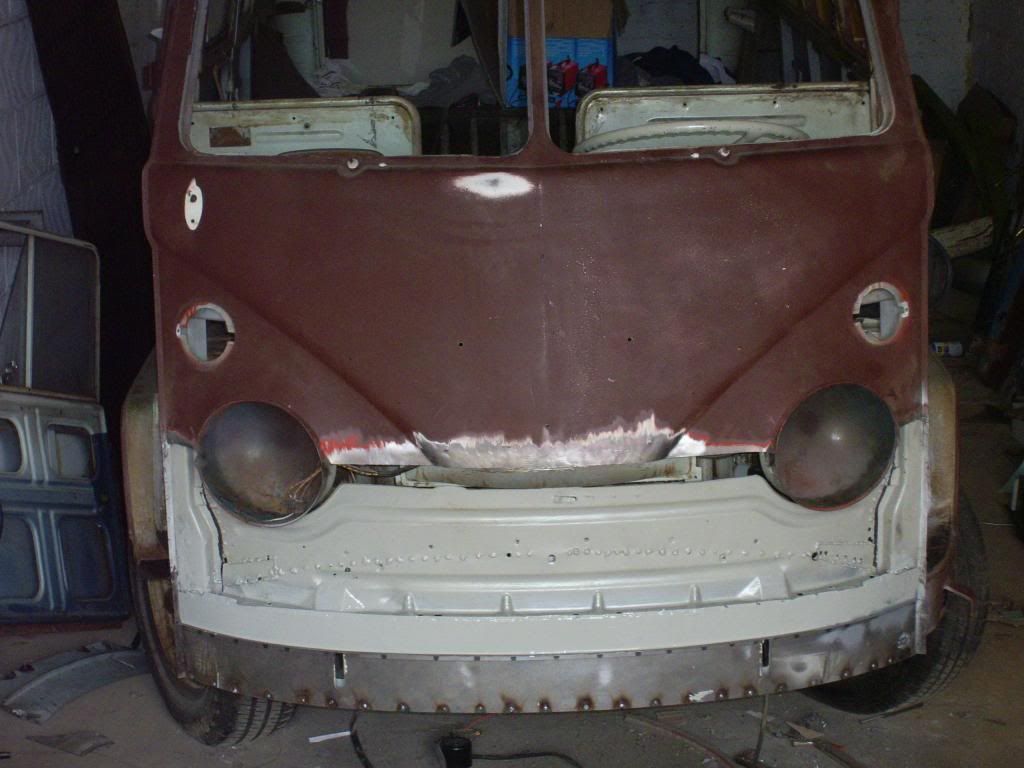
Then I admit I messed up the front panel. That might be one I'll leave to a pro. I think knowing your limits is an important part of this game.
Right cab floor repairs:


I redid the left hand side cab floor I wasn't happy with but don't seem to have any pics of that. Basically, it looks the same but better.
The front:


Then I admit I messed up the front panel. That might be one I'll leave to a pro.
pauldee
Registered user
Posts: 211
Joined: Sun Mar 25, 2012 11:07 am
Re: 65 13w deluxe 'Project Franklin'
by pauldee » Tue Aug 26, 2014 5:43 pm
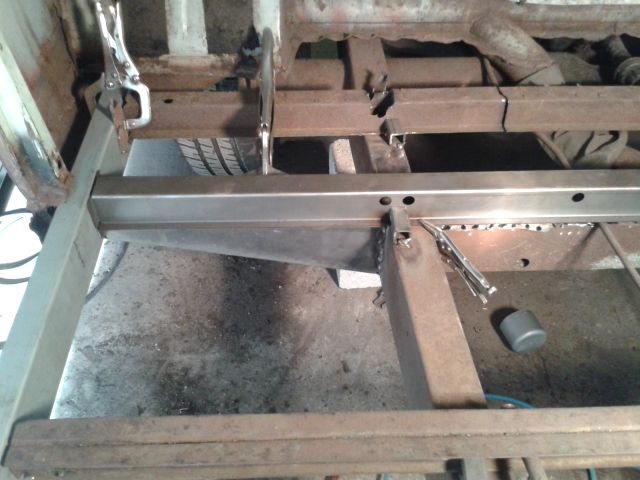
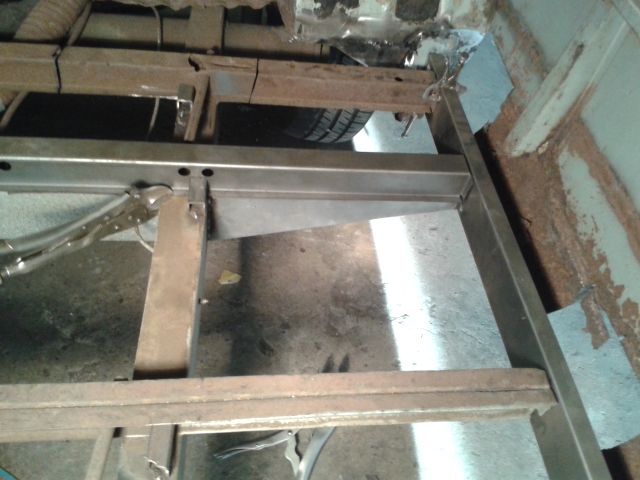
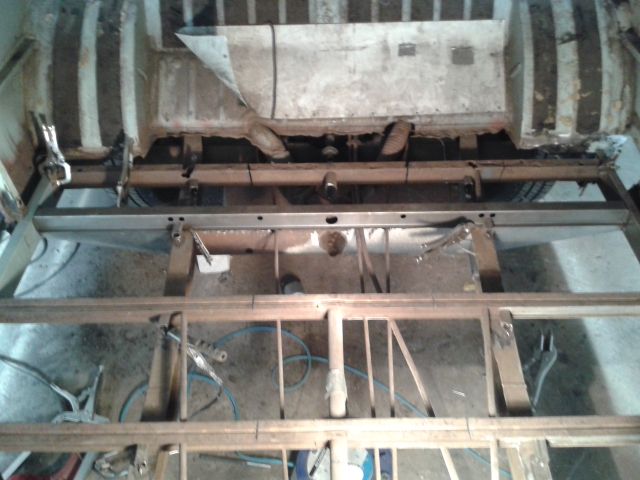
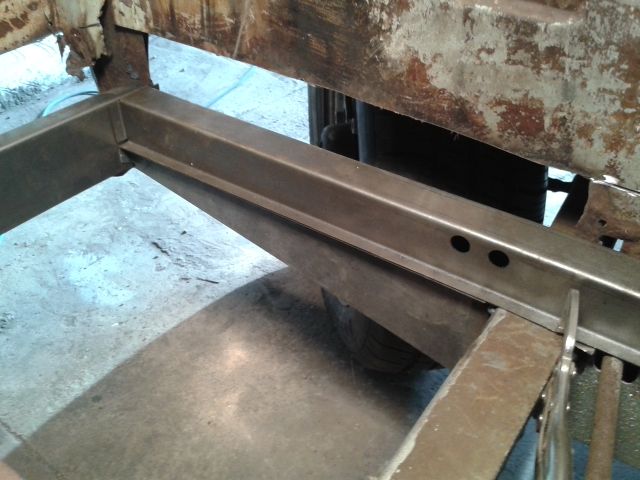
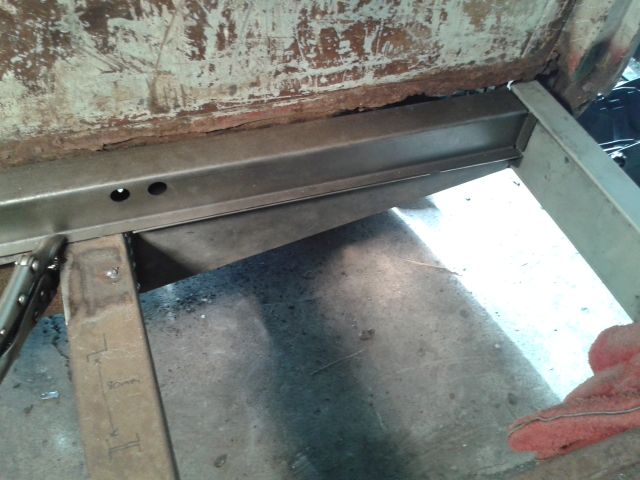
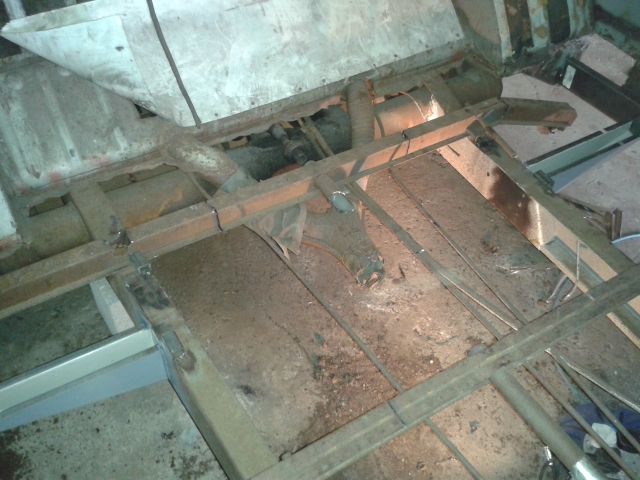
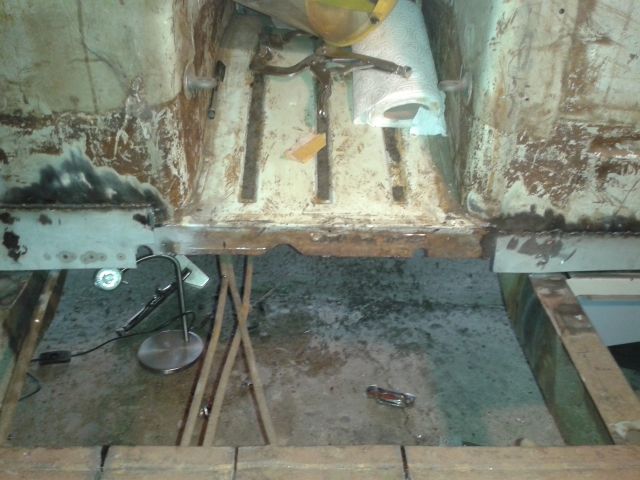
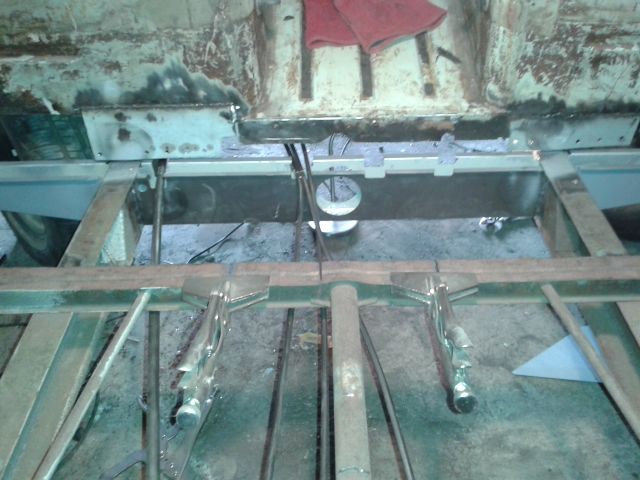
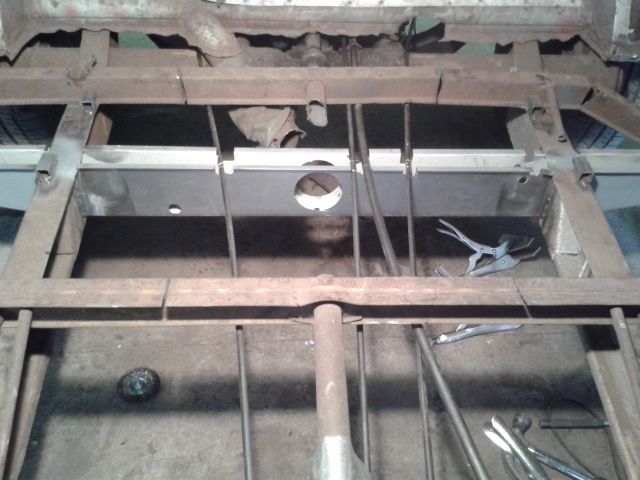
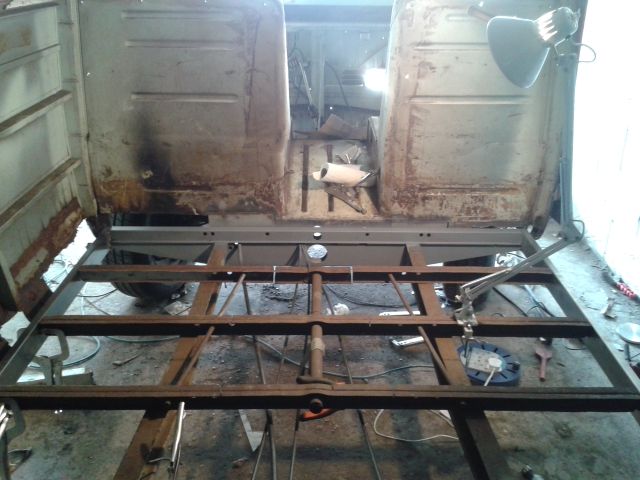
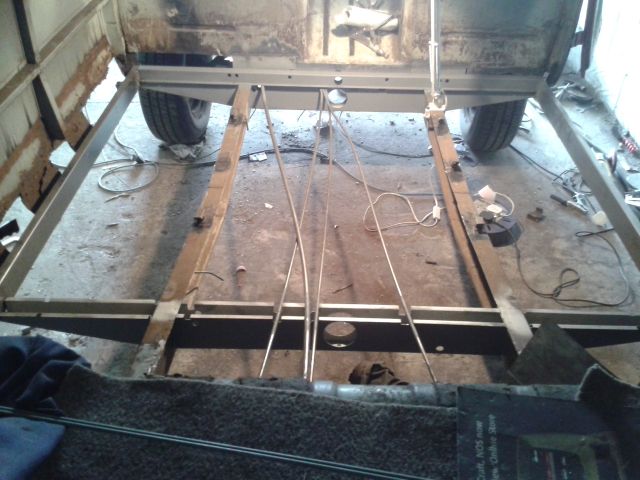
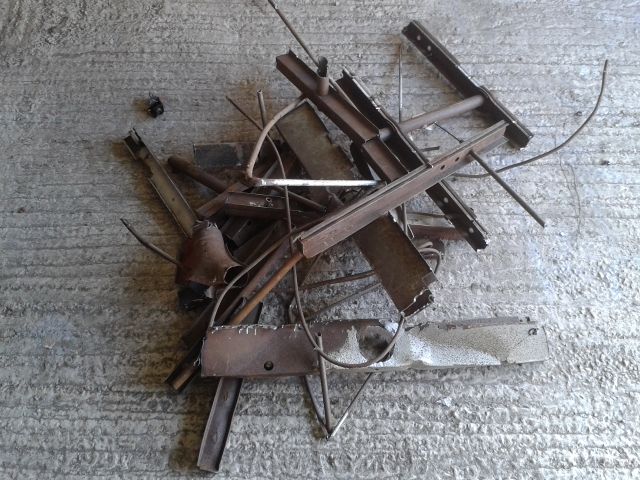
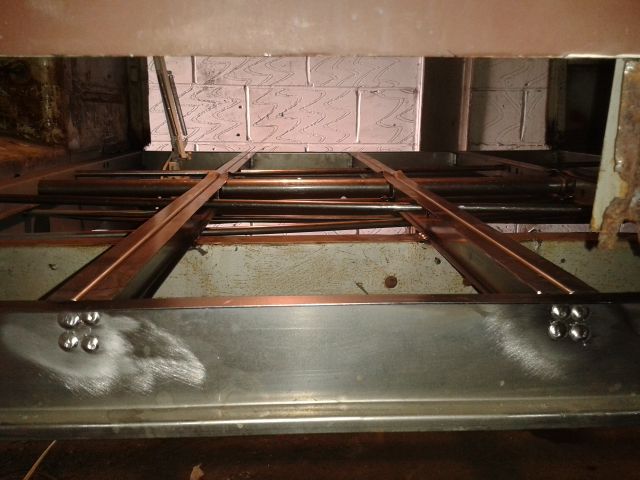
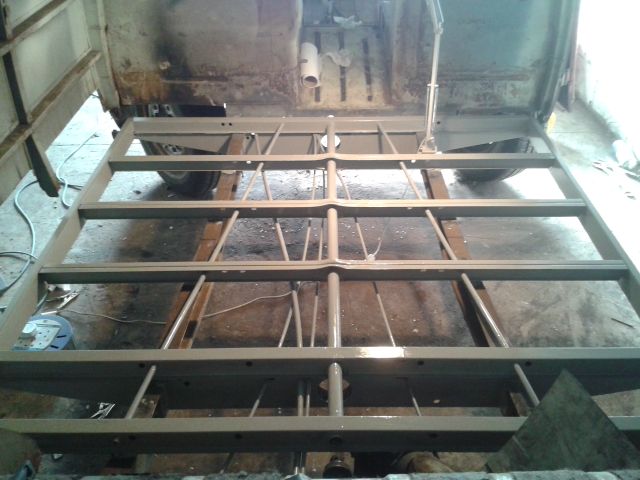
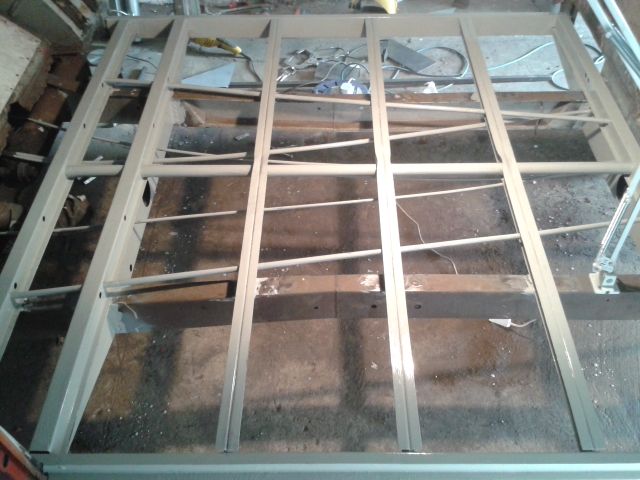
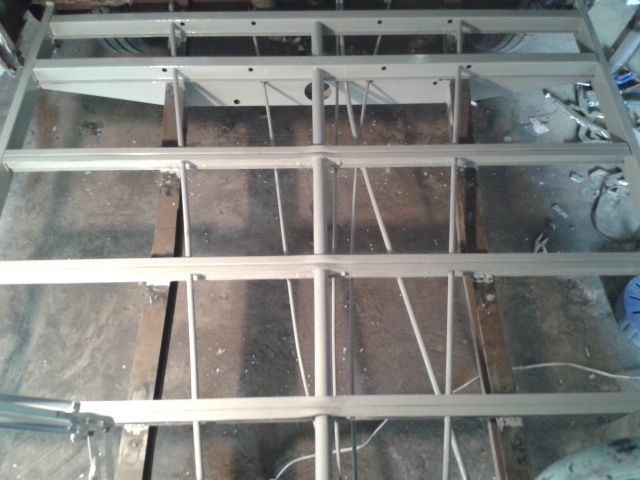
The chassis was always going to be a major part of this resto:
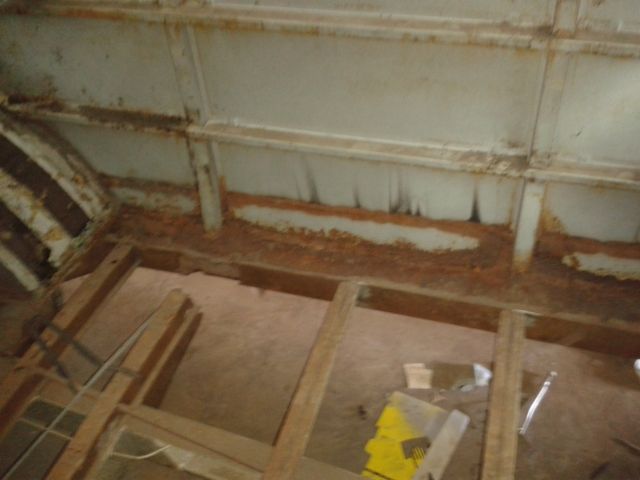
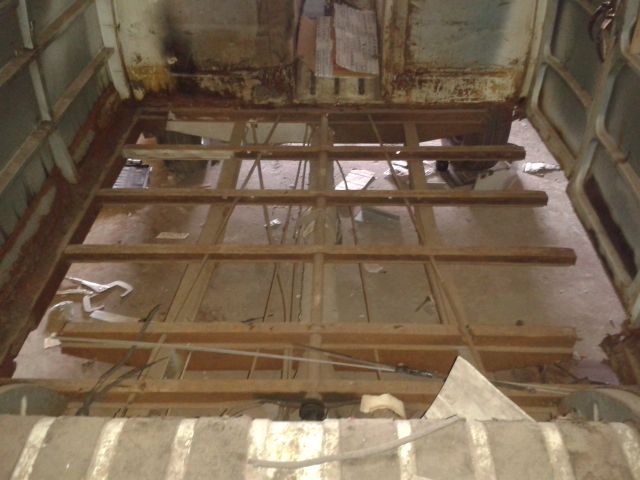
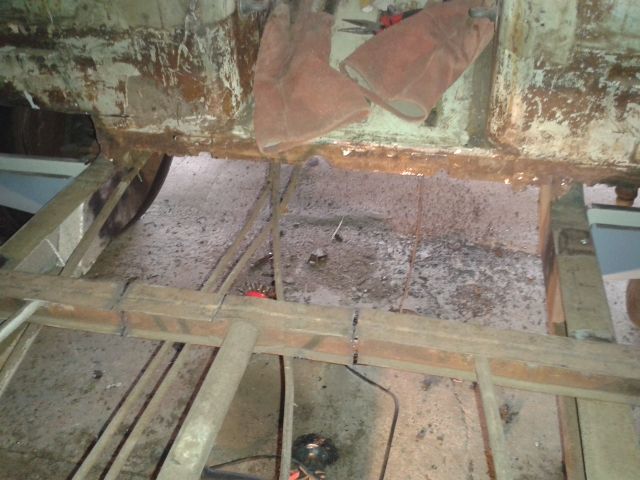
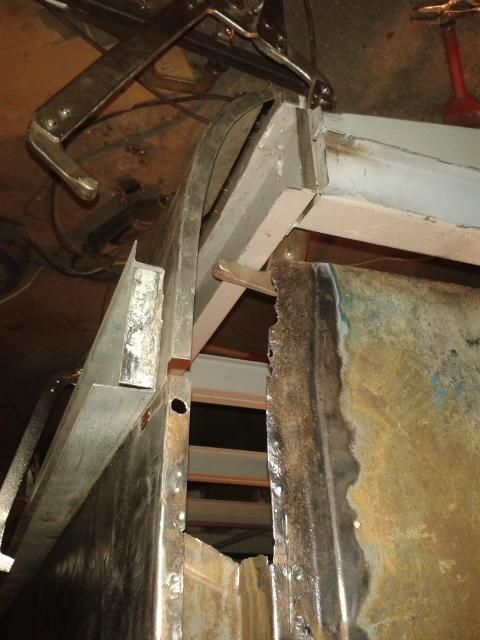
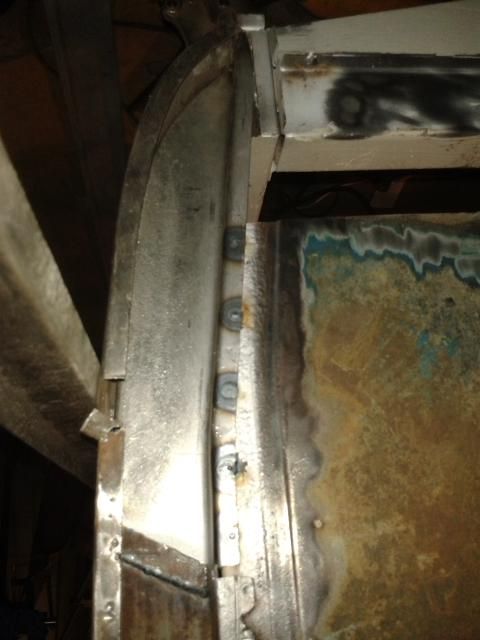
I figure it's a good idea to get the inner sills on, lining up the I-beams and top hats that are still there, then I can replace all of them in one go (which it seems you need to do because of the tubes that go through them.
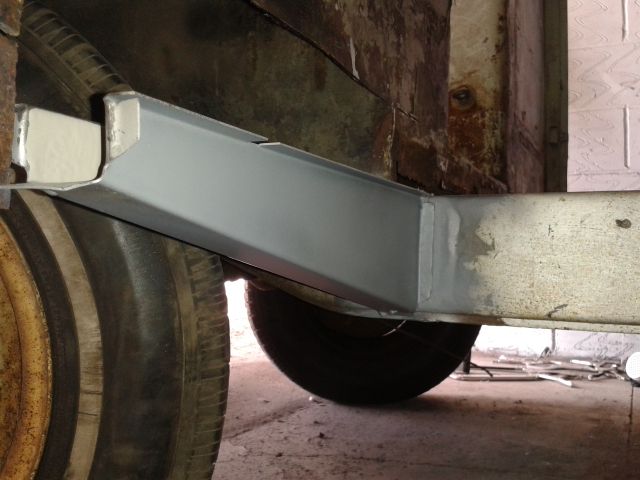
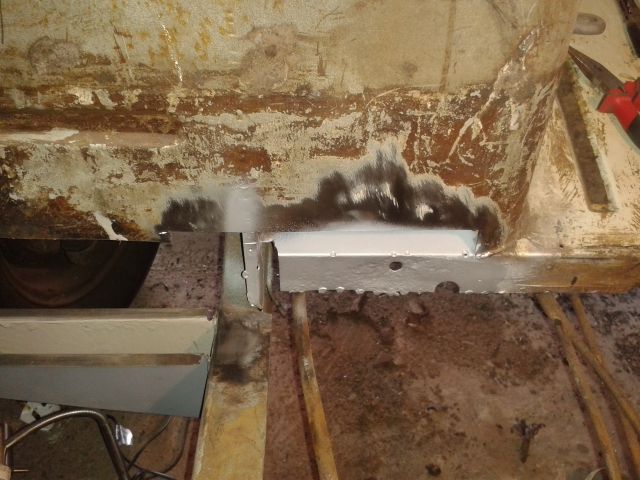
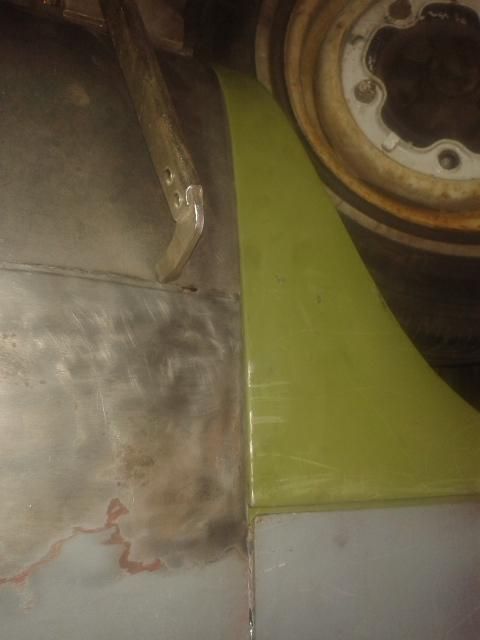
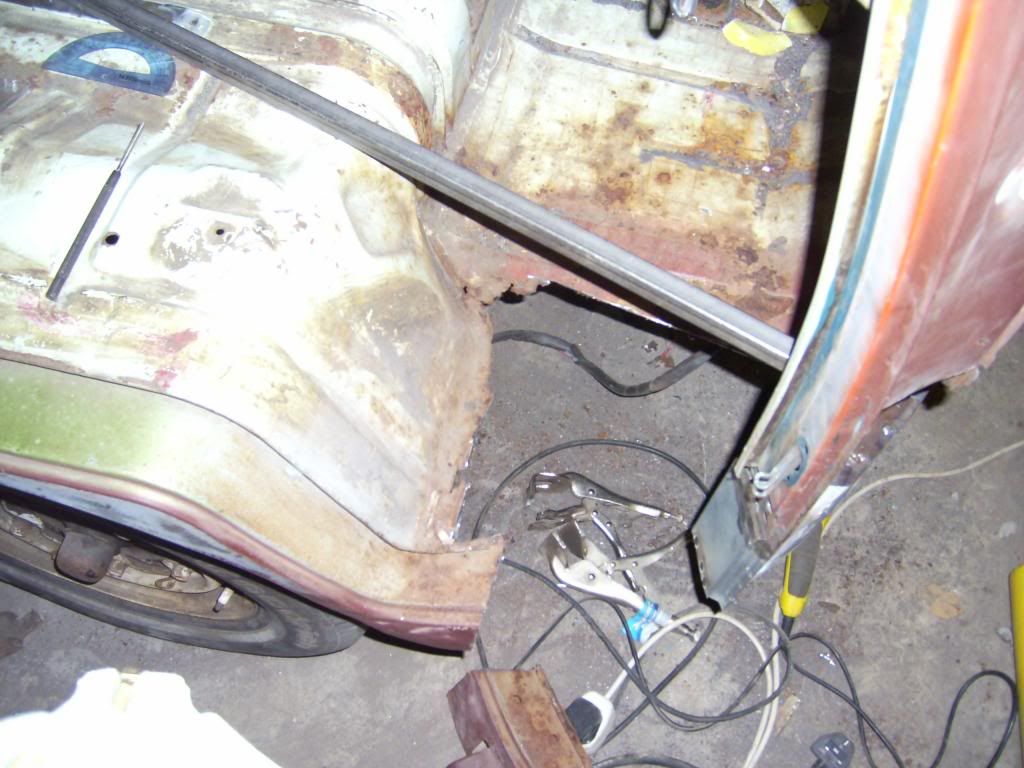
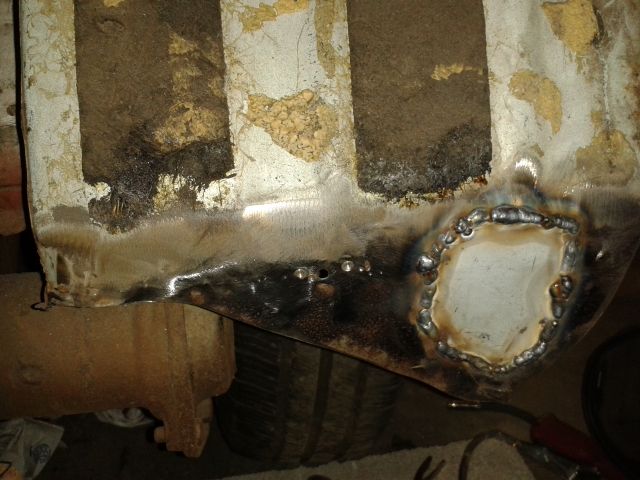
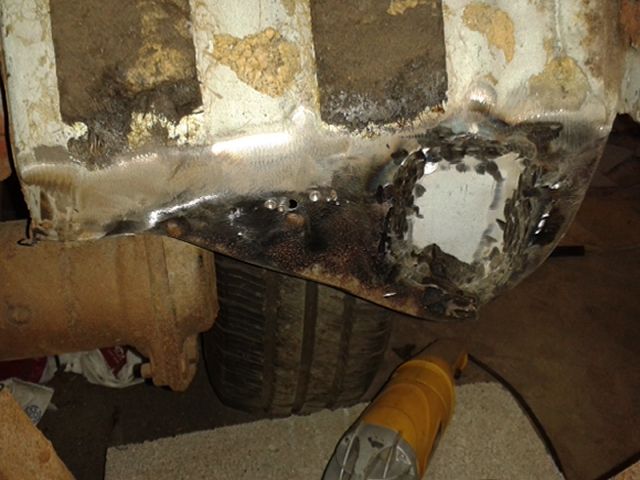
So those inner sills will need something to attach to, one part being the rear wheel arches. So some repairs to the not-too-bad left hand side one:
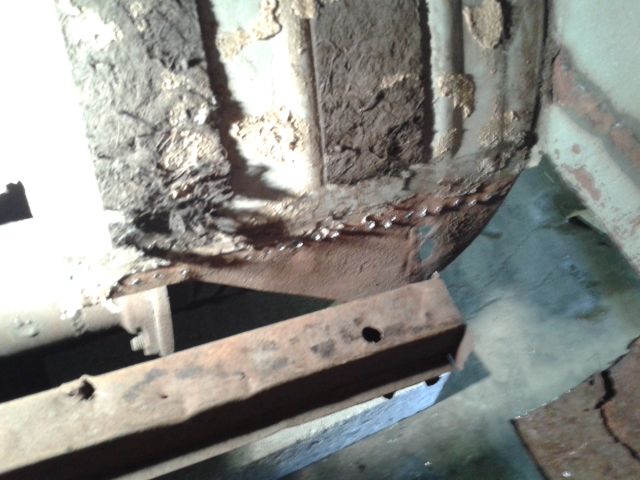
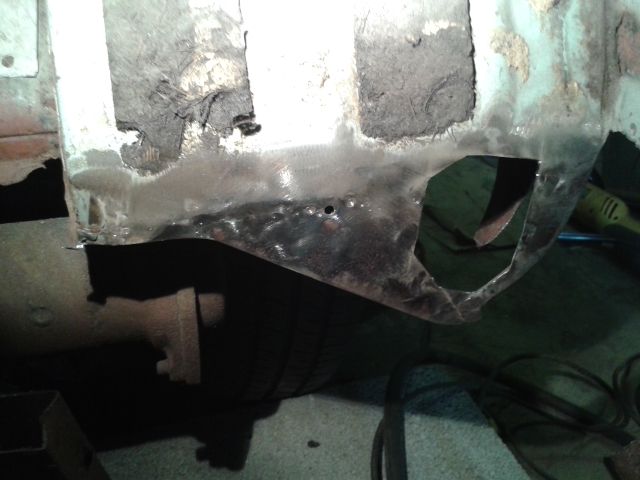
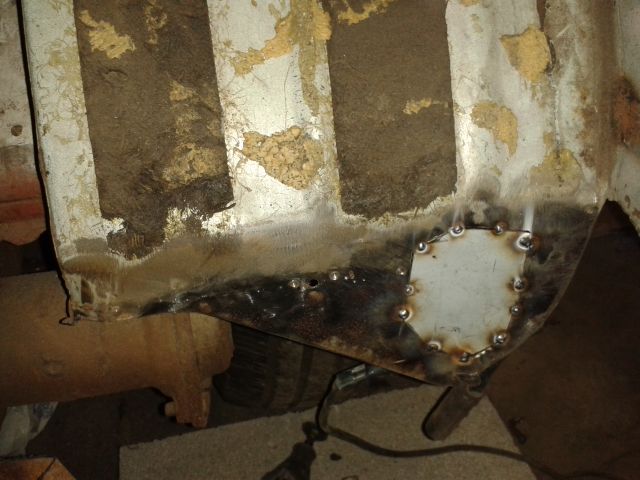
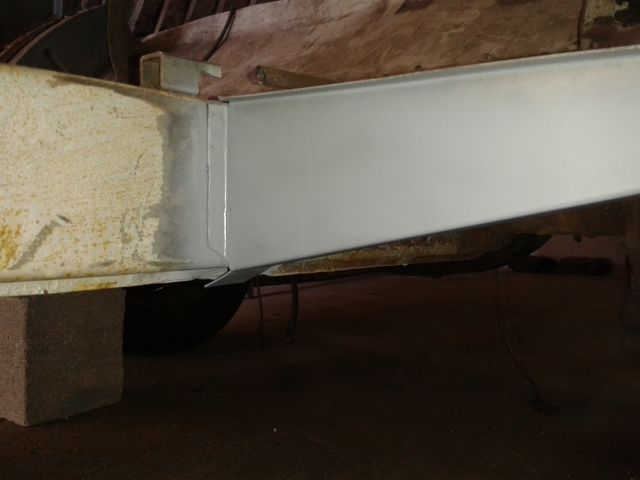
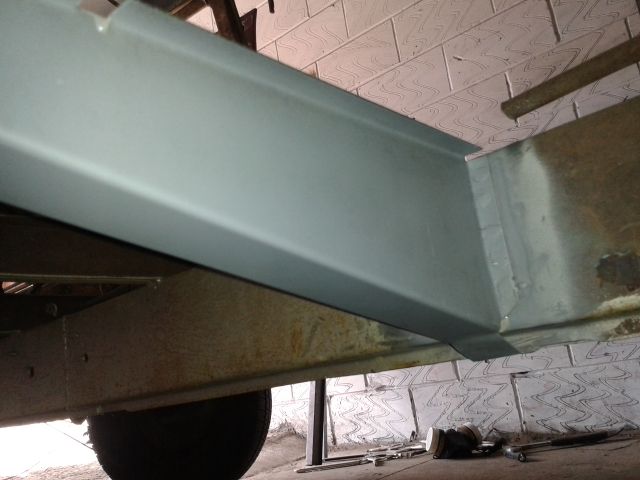
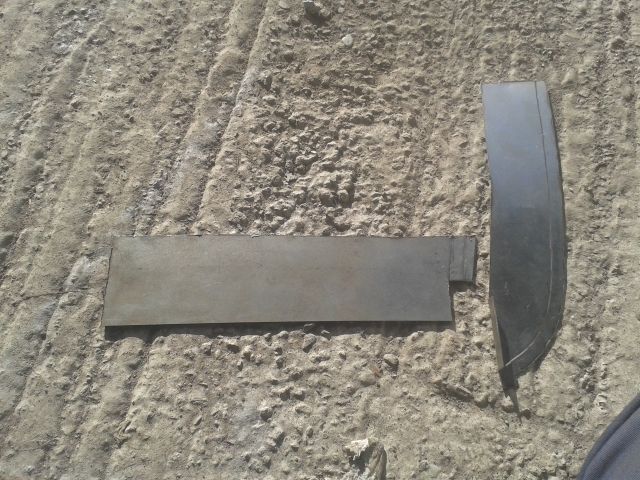
And replacement of the front top hat for it to also connect to (there will be a post in Technical to ask if this is a good idea).
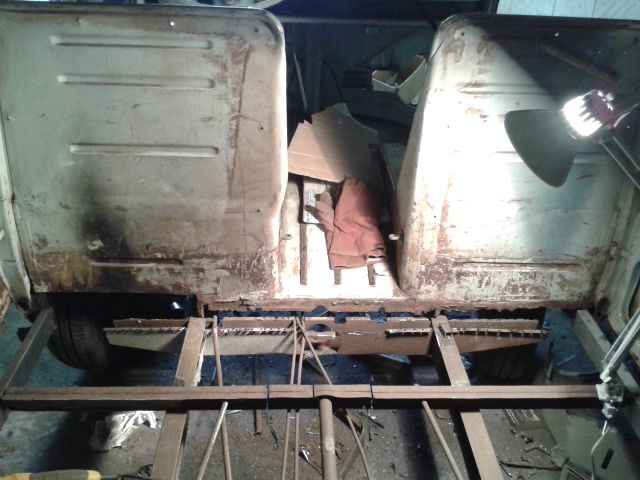
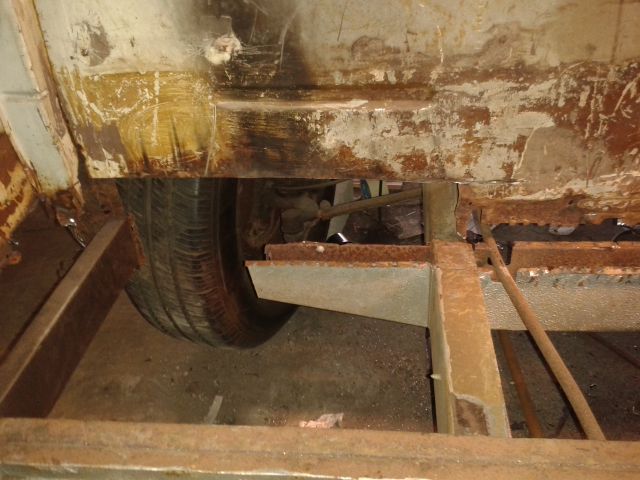
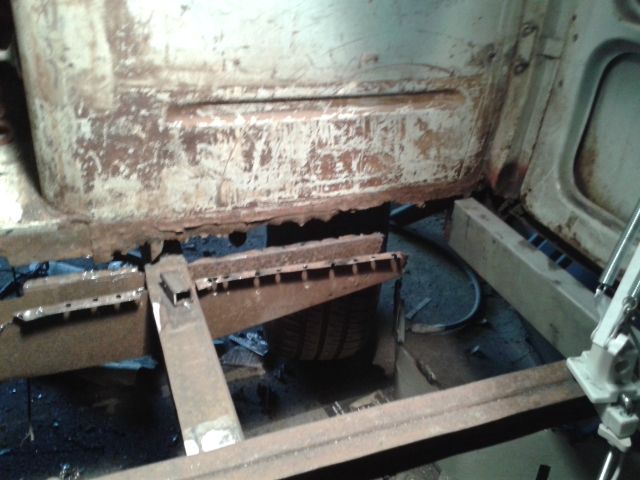
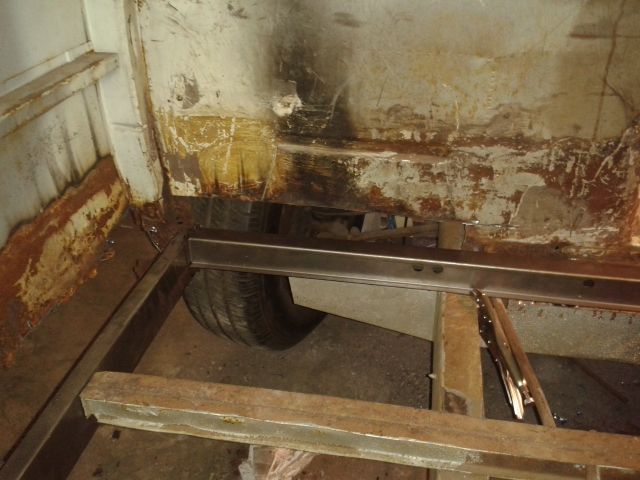
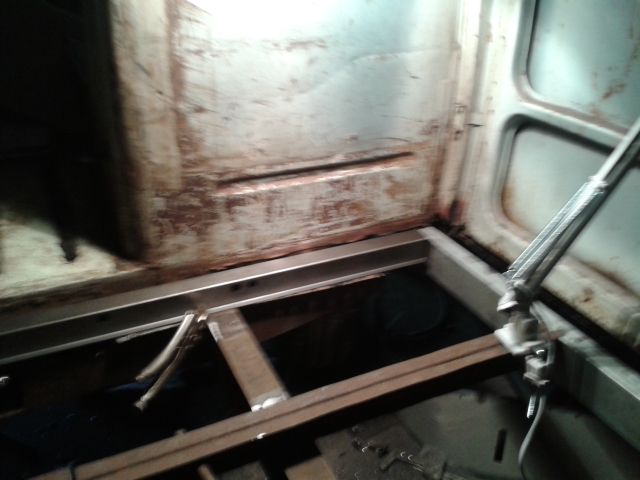
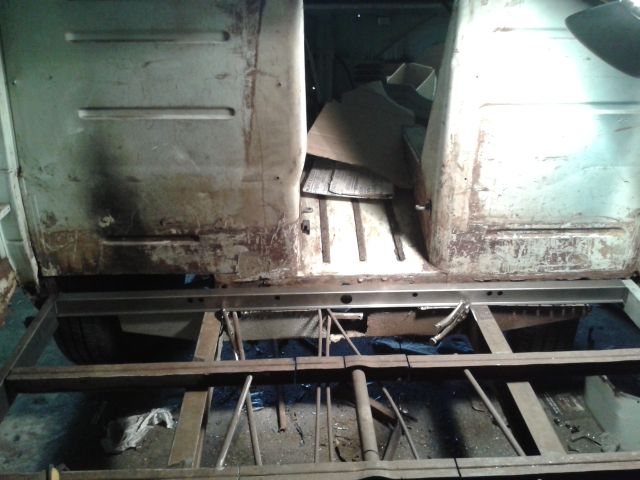


I figure it's a good idea to get the inner sills on, lining up the I-beams and top hats that are still there, then I can replace all of them in one go (which it seems you need to do because of the tubes that go through them.
So those inner sills will need something to attach to, one part being the rear wheel arches. So some repairs to the not-too-bad left hand side one:


And replacement of the front top hat for it to also connect to (there will be a post in Technical to ask if this is a good idea).


pauldee
Registered user
Posts: 211
Joined: Sun Mar 25, 2012 11:07 am
Re: 65 13w deluxe 'Project Franklin'
by pauldee » Thu Aug 28, 2014 5:49 pm
pauldee
Registered user
Posts: 211
Joined: Sun Mar 25, 2012 11:07 am
Re: 65 13w deluxe 'Project Franklin'
by wejjy » Thu Aug 28, 2014 8:30 pm
Looking nice, lots done and bet you are feeling quite pleased. Are you using rust.co.uk's epoxy? Interested in your thoughts as I have it on the shelf ready for when I tackle my undercarriage as it were, but keen to know how hard it dries?
Sent from my C6903 using Tapatalk
Sent from my C6903 using Tapatalk
wejjy
Registered user
Posts: 1465
Joined: Sun Jun 05, 2005 8:40 am
Re: 65 13w deluxe 'Project Franklin'
by pauldee » Thu Aug 28, 2014 9:28 pm
wejjy wrote:Looking nice, lots done and bet you are feeling quite pleased. Are you using rust.co.uk's epoxy? Interested in your thoughts as I have it on the shelf ready for when I tackle my undercarriage as it were, but keen to know how hard it dries?
Sent from my C6903 using Tapatalk
Yes that's the one I'm using. I'm applying it with a brush. It dies as hard as any paint but I can't report on long term protection, although most reports are very good. I have noticed it flakes off easily if any heat is applied though.
pauldee
Registered user
Posts: 211
Joined: Sun Mar 25, 2012 11:07 am
Re: 65 13w deluxe 'Project Franklin'
by pauldee » Mon Sep 01, 2014 9:57 pm
pauldee
Registered user
Posts: 211
Joined: Sun Mar 25, 2012 11:07 am
Re: 65 13w deluxe 'Project Franklin'
by jonthebuilder » Tue Sep 02, 2014 6:02 am
Oxy acetaline is the only way...that's what I had to do on mine
Jin
Jin
jonthebuilder
Registered user
Posts: 442
Joined: Thu Aug 12, 2010 7:00 pm
Re: 65 13w deluxe 'Project Franklin'
by pauldee » Sat Sep 06, 2014 3:04 pm
pauldee
Registered user
Posts: 211
Joined: Sun Mar 25, 2012 11:07 am
Re: 65 13w deluxe 'Project Franklin'
by pauldee » Fri Sep 19, 2014 4:39 pm
pauldee
Registered user
Posts: 211
Joined: Sun Mar 25, 2012 11:07 am
Re: 65 13w deluxe 'Project Franklin'
by Kitesurfer1683 » Fri Sep 19, 2014 5:03 pm
Like it mate we are at similiar stages, well done your work looks good. Keep at it! Been to Schofields myself today for the rear centre cross member and floor repair sheet..
Kitesurfer1683
SSVC Member
Posts: 156
Joined: Sat Jul 05, 2014 5:03 am
Re: 65 13w deluxe 'Project Franklin'
by pauldee » Fri Sep 19, 2014 7:15 pm
Kitesurfer1683 wrote:Like it mate we are at similiar stages, well done your work looks good. Keep at it! Been to Schofields myself today for the rear centre cross member and floor repair sheet..
Cheers mate. I found that rear cross member needed fettling - didn't seem to be narrower at the front than the back which of course it should be. I think it was a Schofields. All the other chassis pieces seemed to fit nicely.
Good luck!
pauldee
Registered user
Posts: 211
Joined: Sun Mar 25, 2012 11:07 am
Re: 65 13w deluxe 'Project Franklin'
by pauldee » Mon Sep 22, 2014 7:02 pm
Now I have the chassis done, I have something to work to for the rest of it.
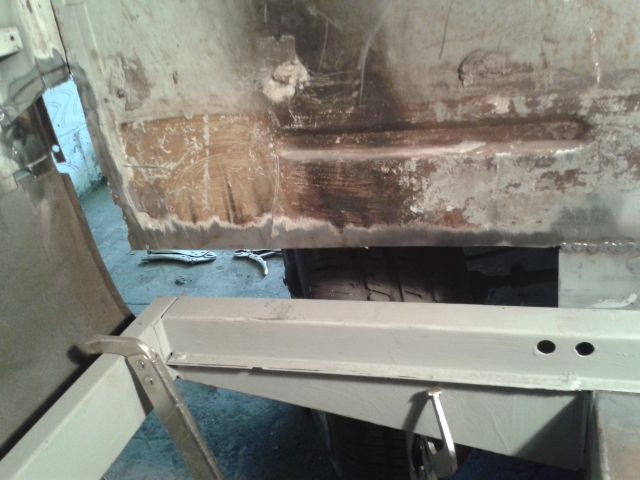
So I've made a start on the long side. I put one strengthener in and then when I tried to fit the sill, it didn't quite fit. Looking at others' work it seems it would be better to get the sill all lined up first and then weld in the strengthener.
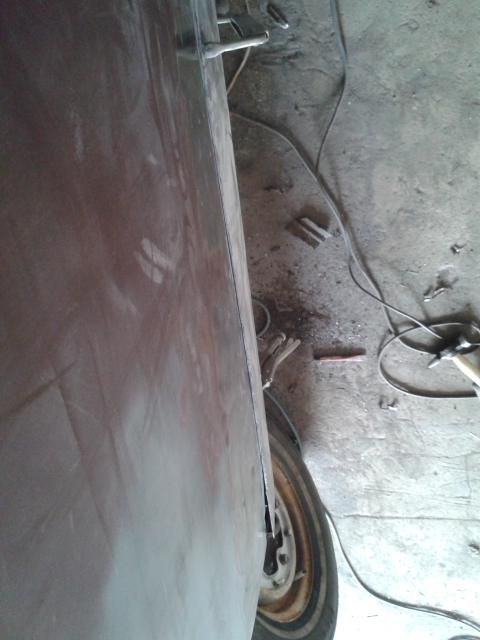
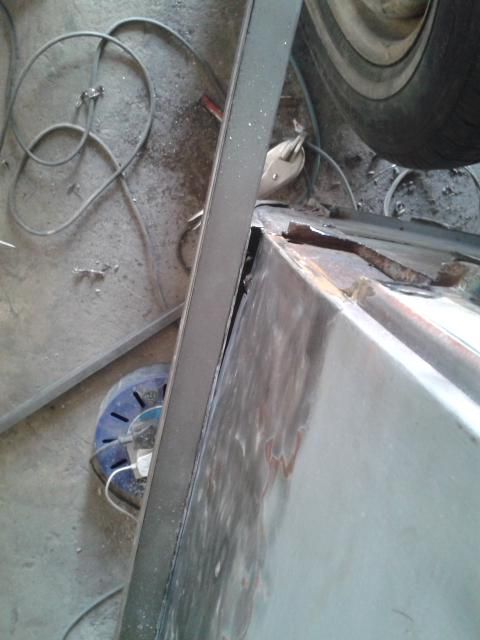
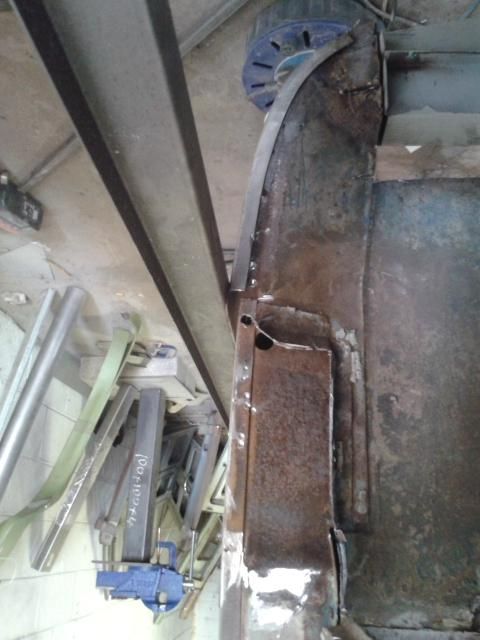
This brings up again the issue with the nearside b-post, which seems to be a bit out of line. Fitting the new sill really shows this:
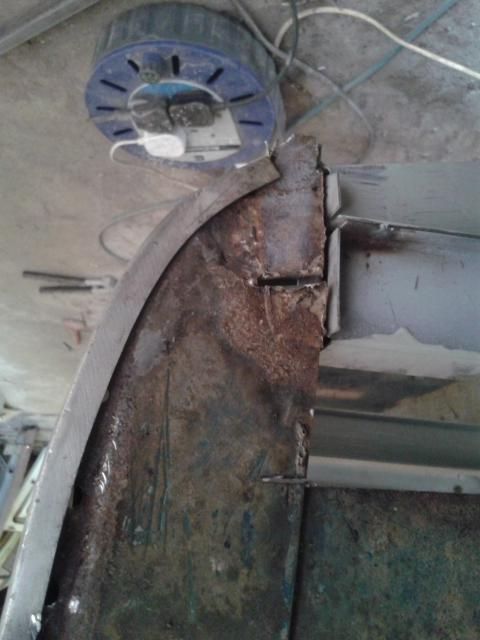
I had at first thought this had been caused by an attempt to use the jacking point, but the fact that it all lines up at the bottom would suggest this can't be the case:
This combined with some dodgy repairs under some filler would suggest it's had a knock.
So I've made a start on the long side. I put one strengthener in and then when I tried to fit the sill, it didn't quite fit. Looking at others' work it seems it would be better to get the sill all lined up first and then weld in the strengthener.
This brings up again the issue with the nearside b-post, which seems to be a bit out of line. Fitting the new sill really shows this:


I had at first thought this had been caused by an attempt to use the jacking point, but the fact that it all lines up at the bottom would suggest this can't be the case:

This combined with some dodgy repairs under some filler would suggest it's had a knock.
pauldee
Registered user
Posts: 211
Joined: Sun Mar 25, 2012 11:07 am
Re: 65 13w deluxe 'Project Franklin'
by pauldee » Tue Sep 23, 2014 7:01 pm
More rust removed, but some still to go:
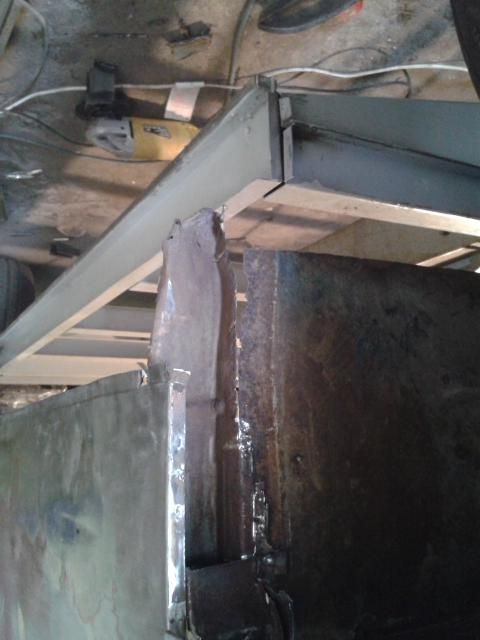
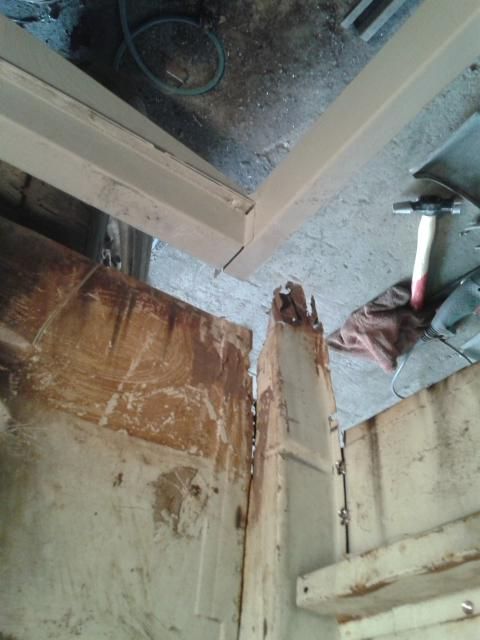
Separated out the side panel from the b-post, hoping it would ping back into place, removing the dip caused by the knock in the side. Unfortunately it didn't.
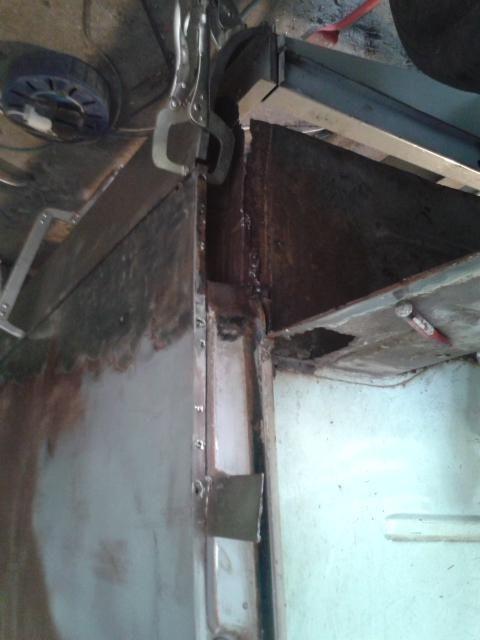
However, I then separated the horizontal strengthener from the side panel and b-post and KLANK. The b-post pinged ut taking the side panel with it and now everything lines up nicely!
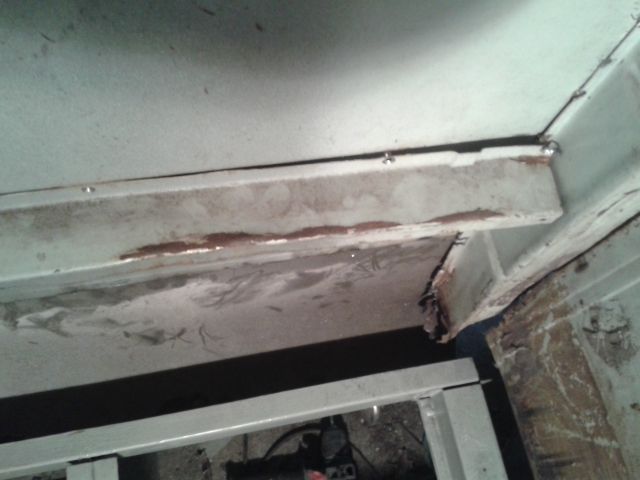
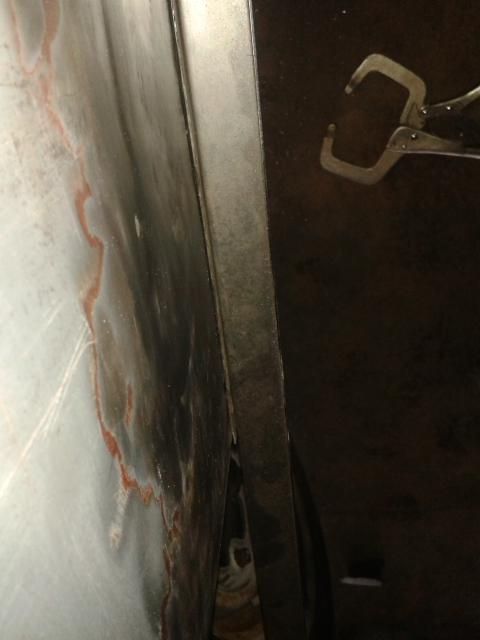
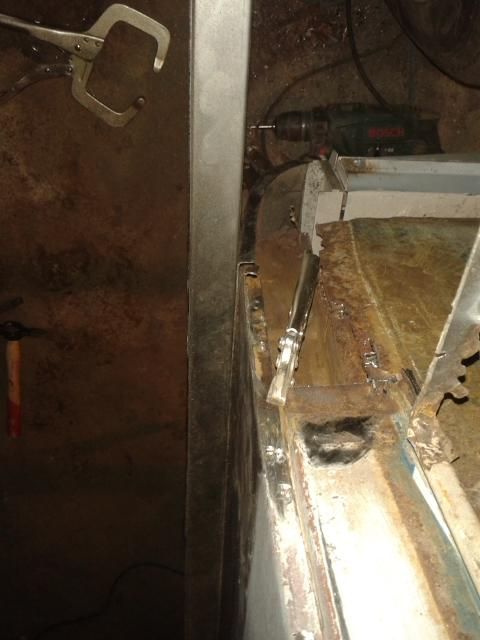
Really should have done that first


Separated out the side panel from the b-post, hoping it would ping back into place, removing the dip caused by the knock in the side. Unfortunately it didn't.

However, I then separated the horizontal strengthener from the side panel and b-post and KLANK. The b-post pinged ut taking the side panel with it and now everything lines up nicely!


Really should have done that first
pauldee
Registered user
Posts: 211
Joined: Sun Mar 25, 2012 11:07 am
Re: 65 13w deluxe 'Project Franklin'
by pauldee » Wed Sep 24, 2014 5:01 pm
pauldee
Registered user
Posts: 211
Joined: Sun Mar 25, 2012 11:07 am
Re: 65 13w deluxe 'Project Franklin'
by pauldee » Sun Sep 28, 2014 5:24 pm
pauldee
Registered user
Posts: 211
Joined: Sun Mar 25, 2012 11:07 am

