You are viewing the Split Screen Van Club forum archive.
The forum archive is read-only.Unfortunately in 2021 the Split Screen Van Club forum suffered a ransomware attack and lots of the forum data was lost.
What threads that have been recovered are now searchable on this site. Some threads may be incomplete and some images are still being recovered.
Forum archive search
My '67 Split Bus Resto Thread in the Philippines
Re: My '67 Split Bus Resto Thread in the Philippines
by dongkg » Mon Aug 12, 2013 3:32 am
This weekend was a busy one for me. I as able to replace the worn out steering gear box with the one what was given to me by a vw buddy that was salvage from a wrecked split bus (what a waste). Then painted the window frames and the safari windows. I also block sanded the window posts and the wide wide roof sections.

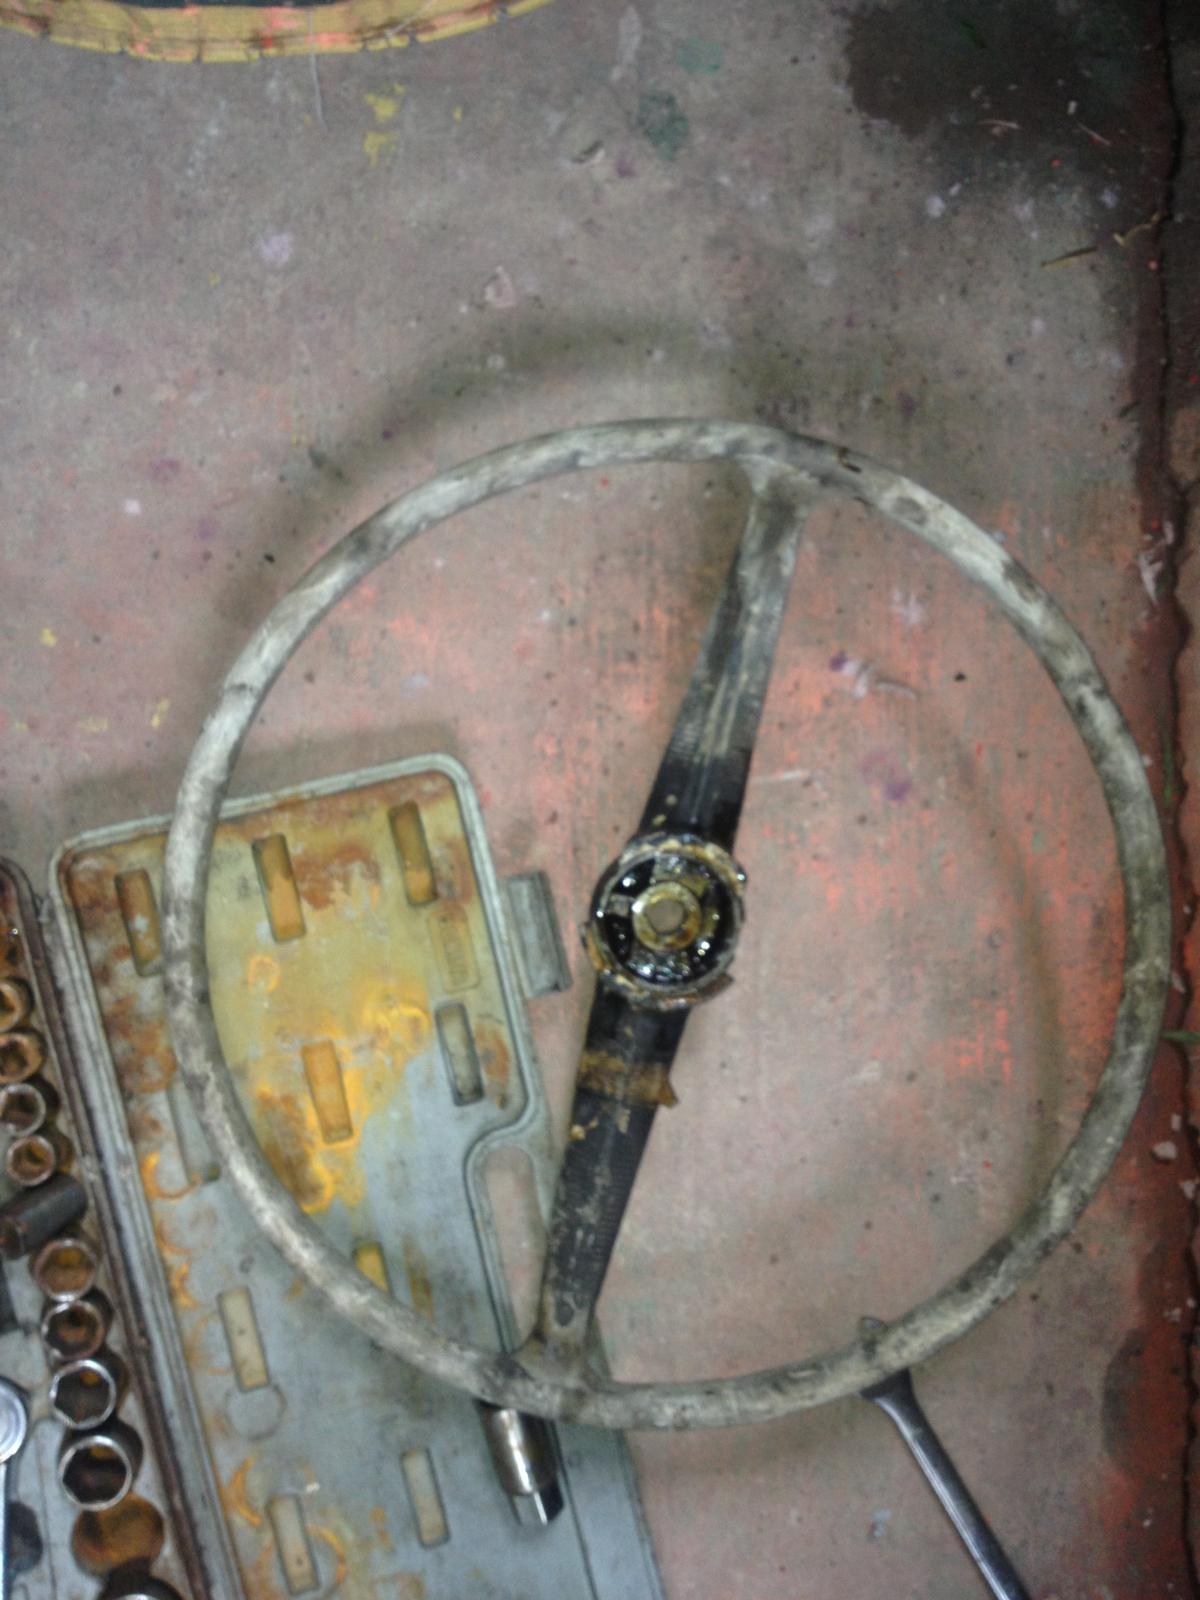
Removing the steering wheel.
I will use this one instead.
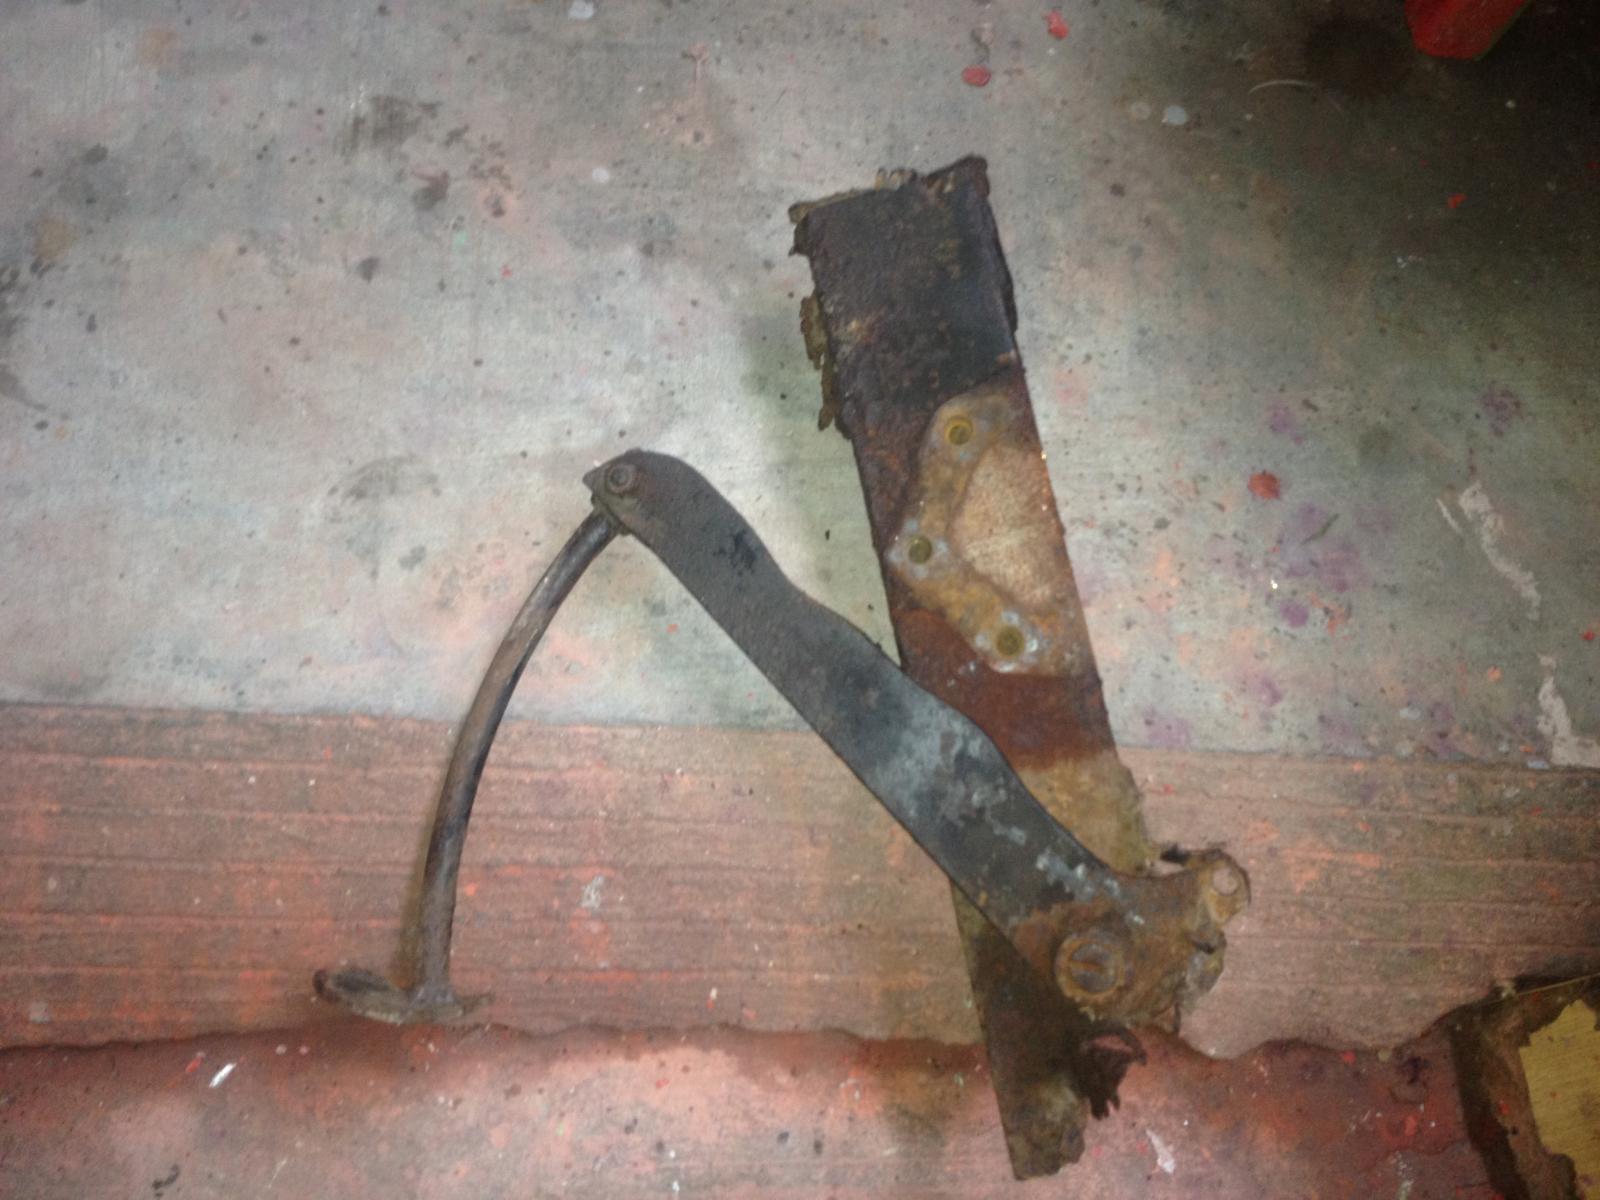
The portion of the frame and the brake pedal removed from the steering gear box.

Fixing and cleaning and greasing the steering gear box.
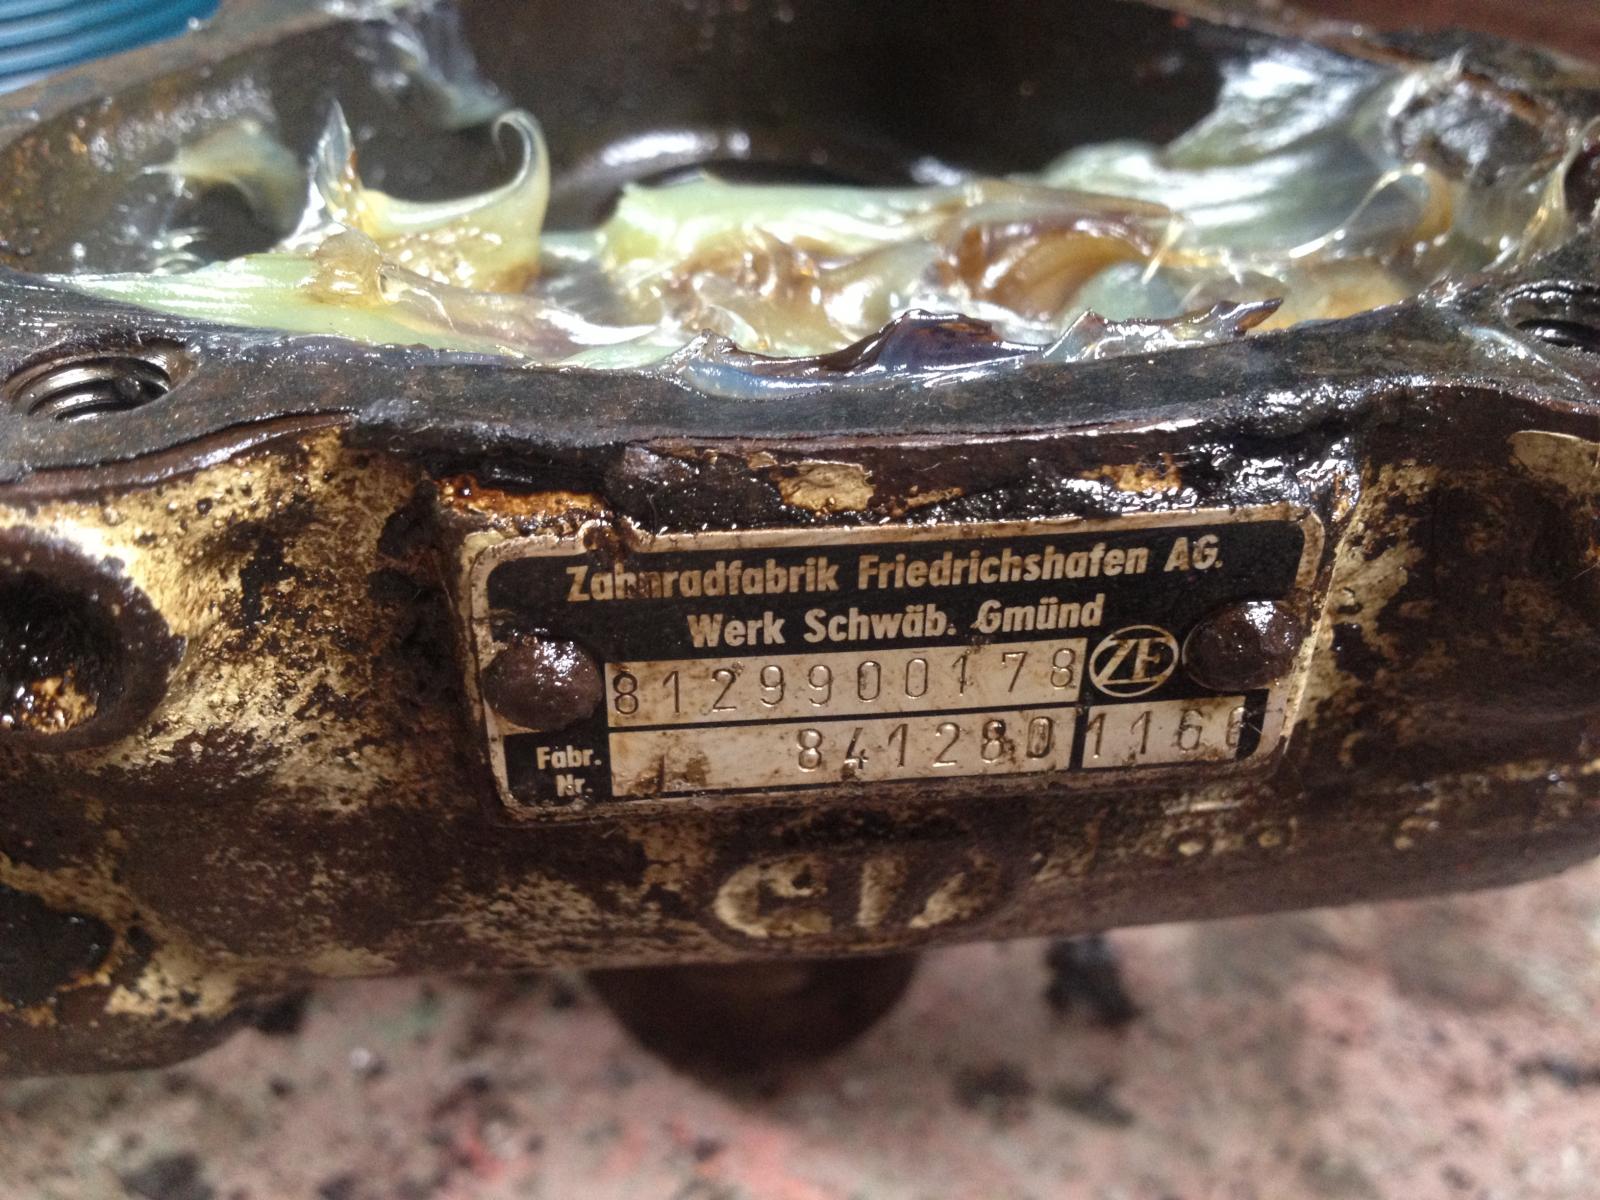
It speaks German!
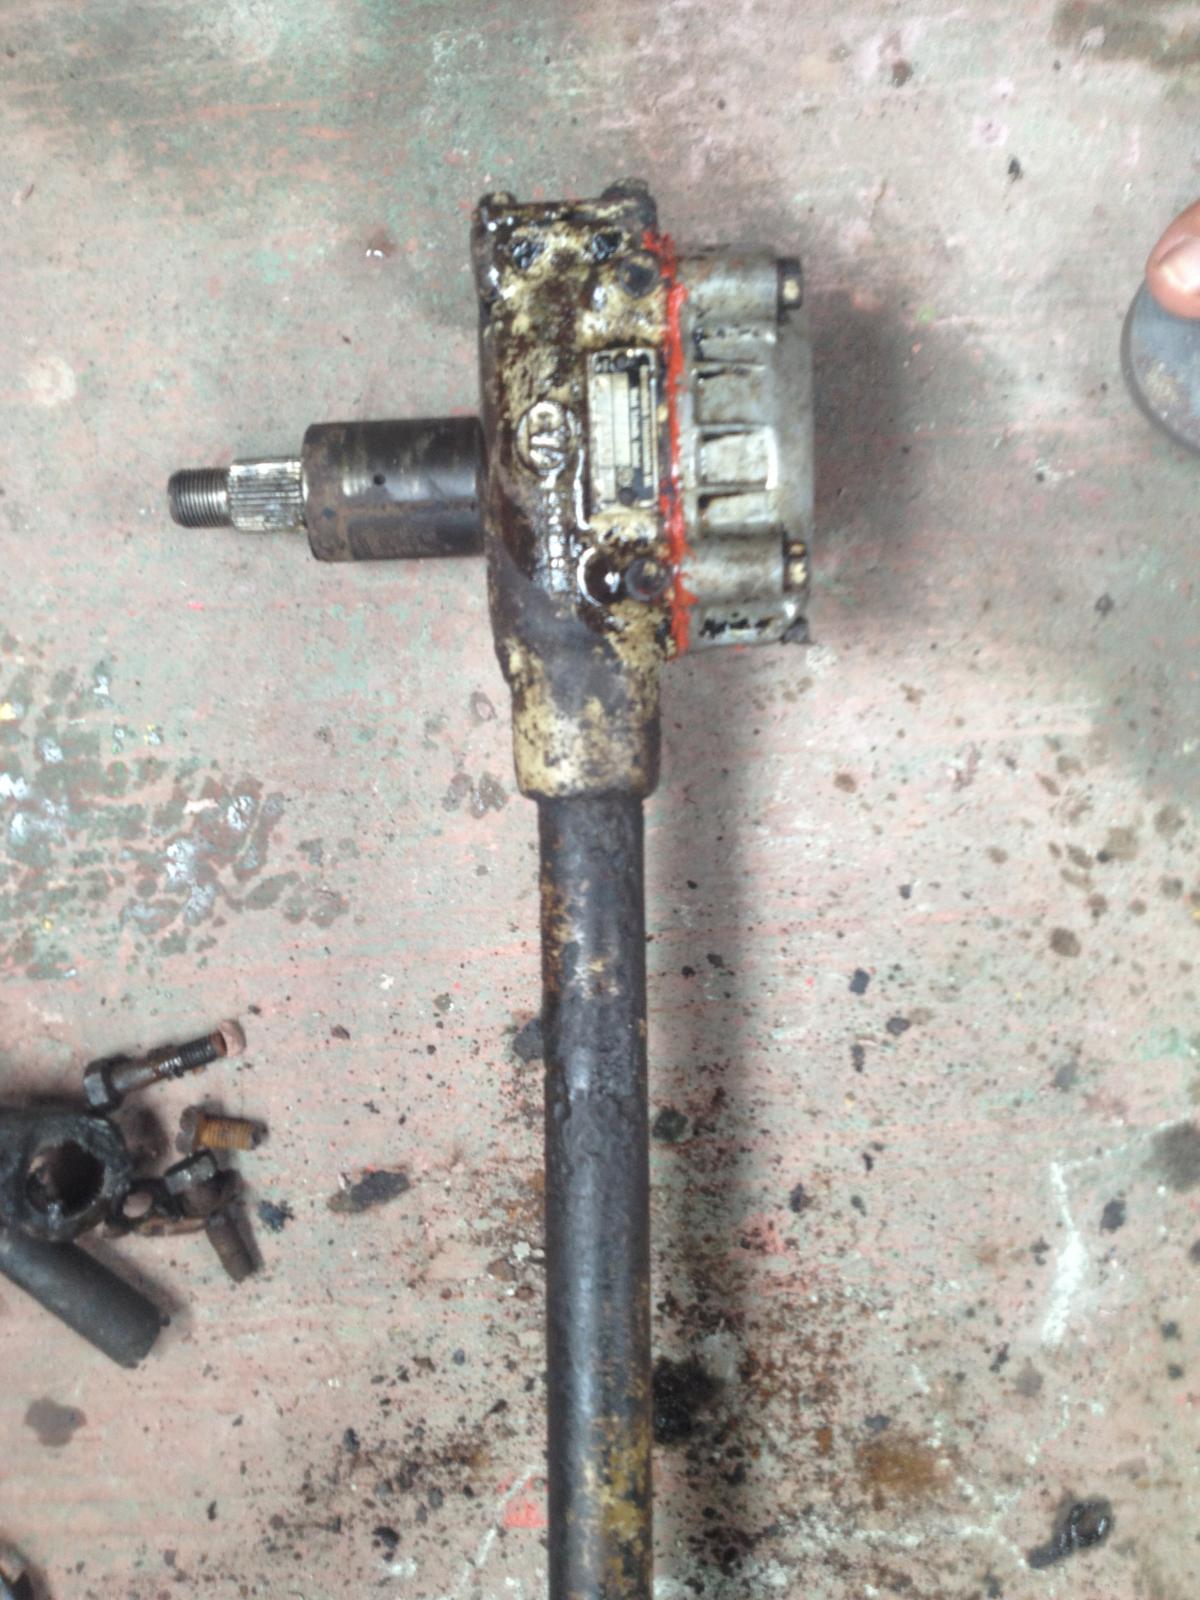
The ready steering gear box.
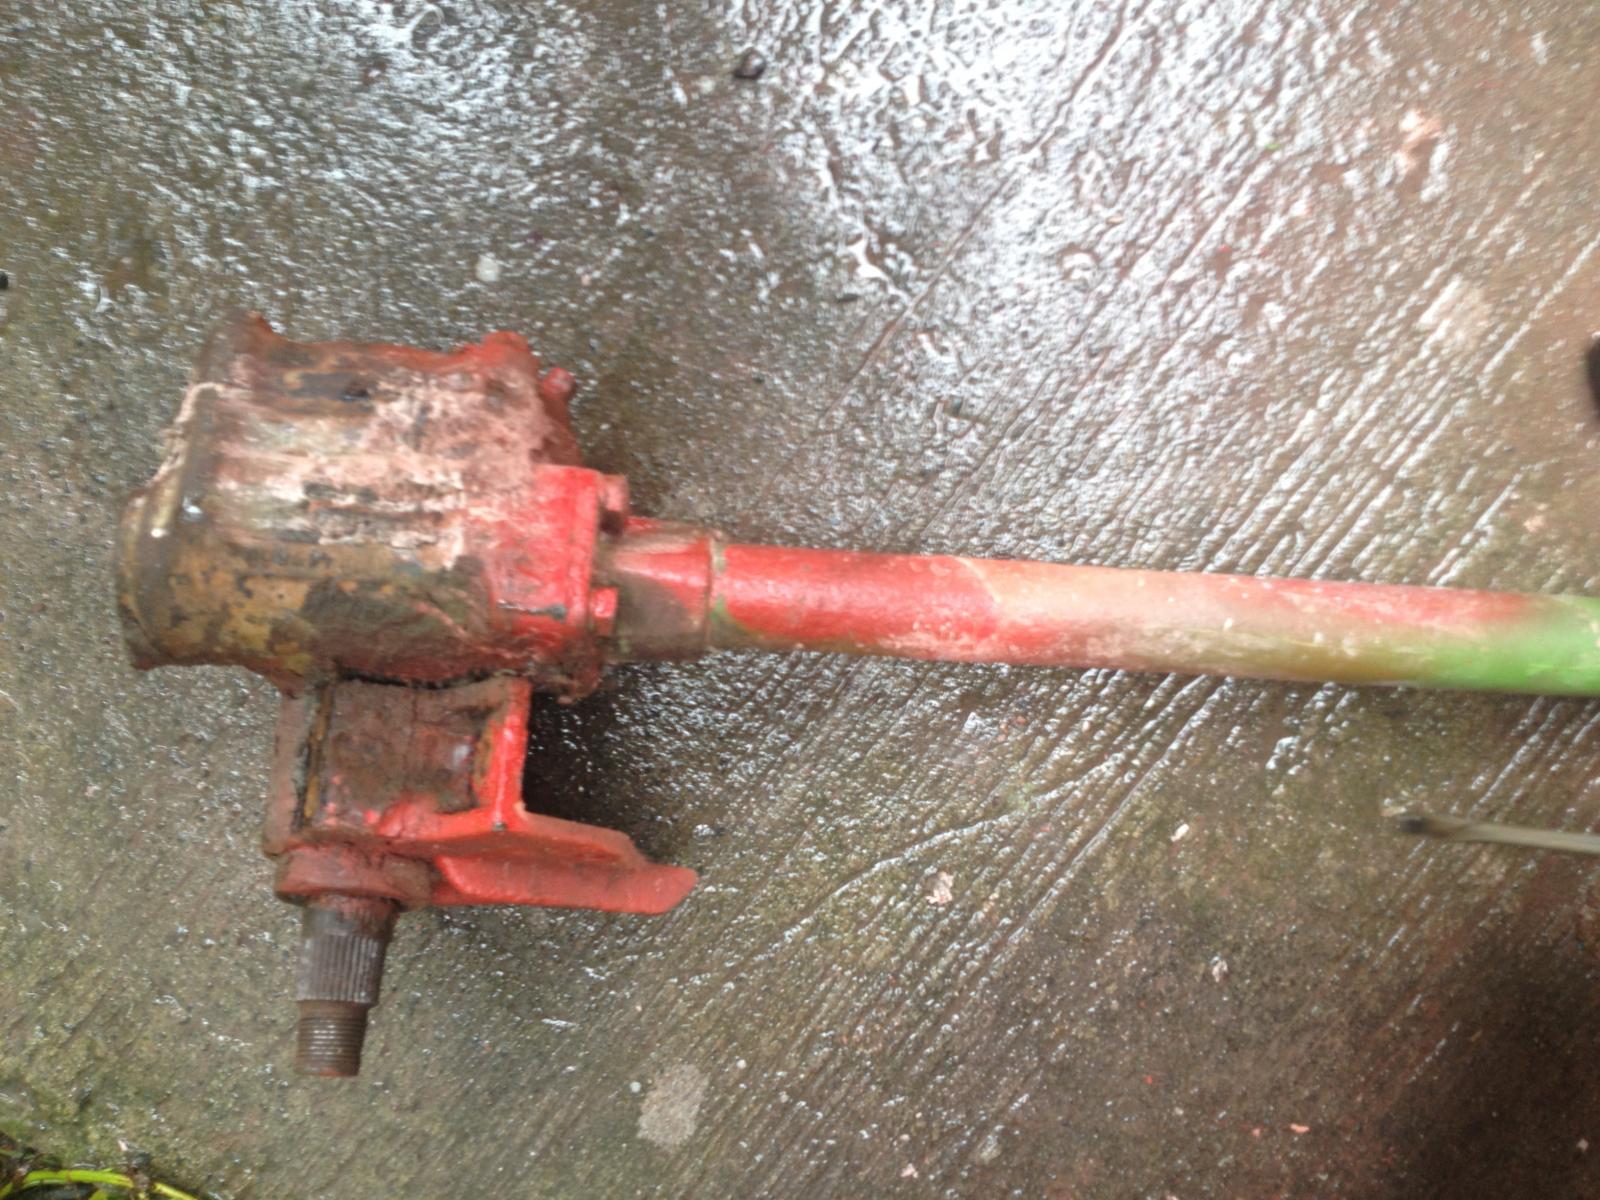
The removed worn out steering gear box.
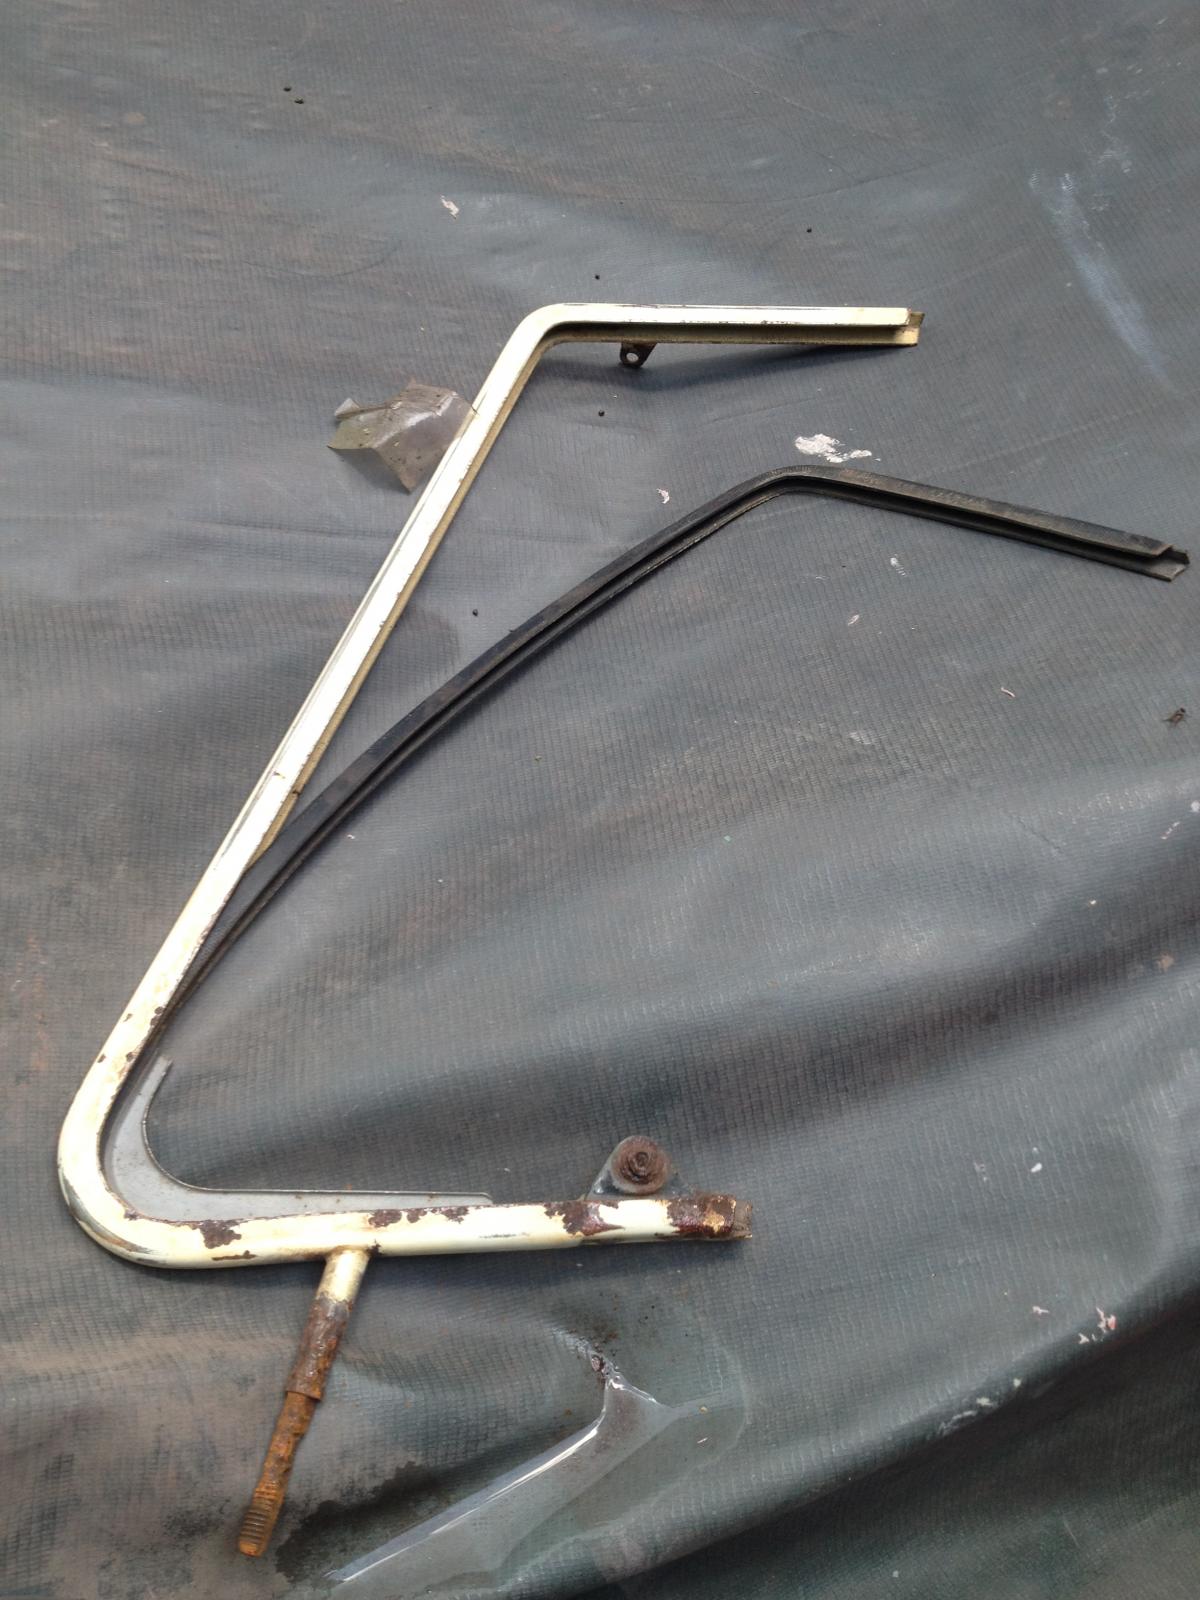
I was able to salvage the rubber seal on the vent win.
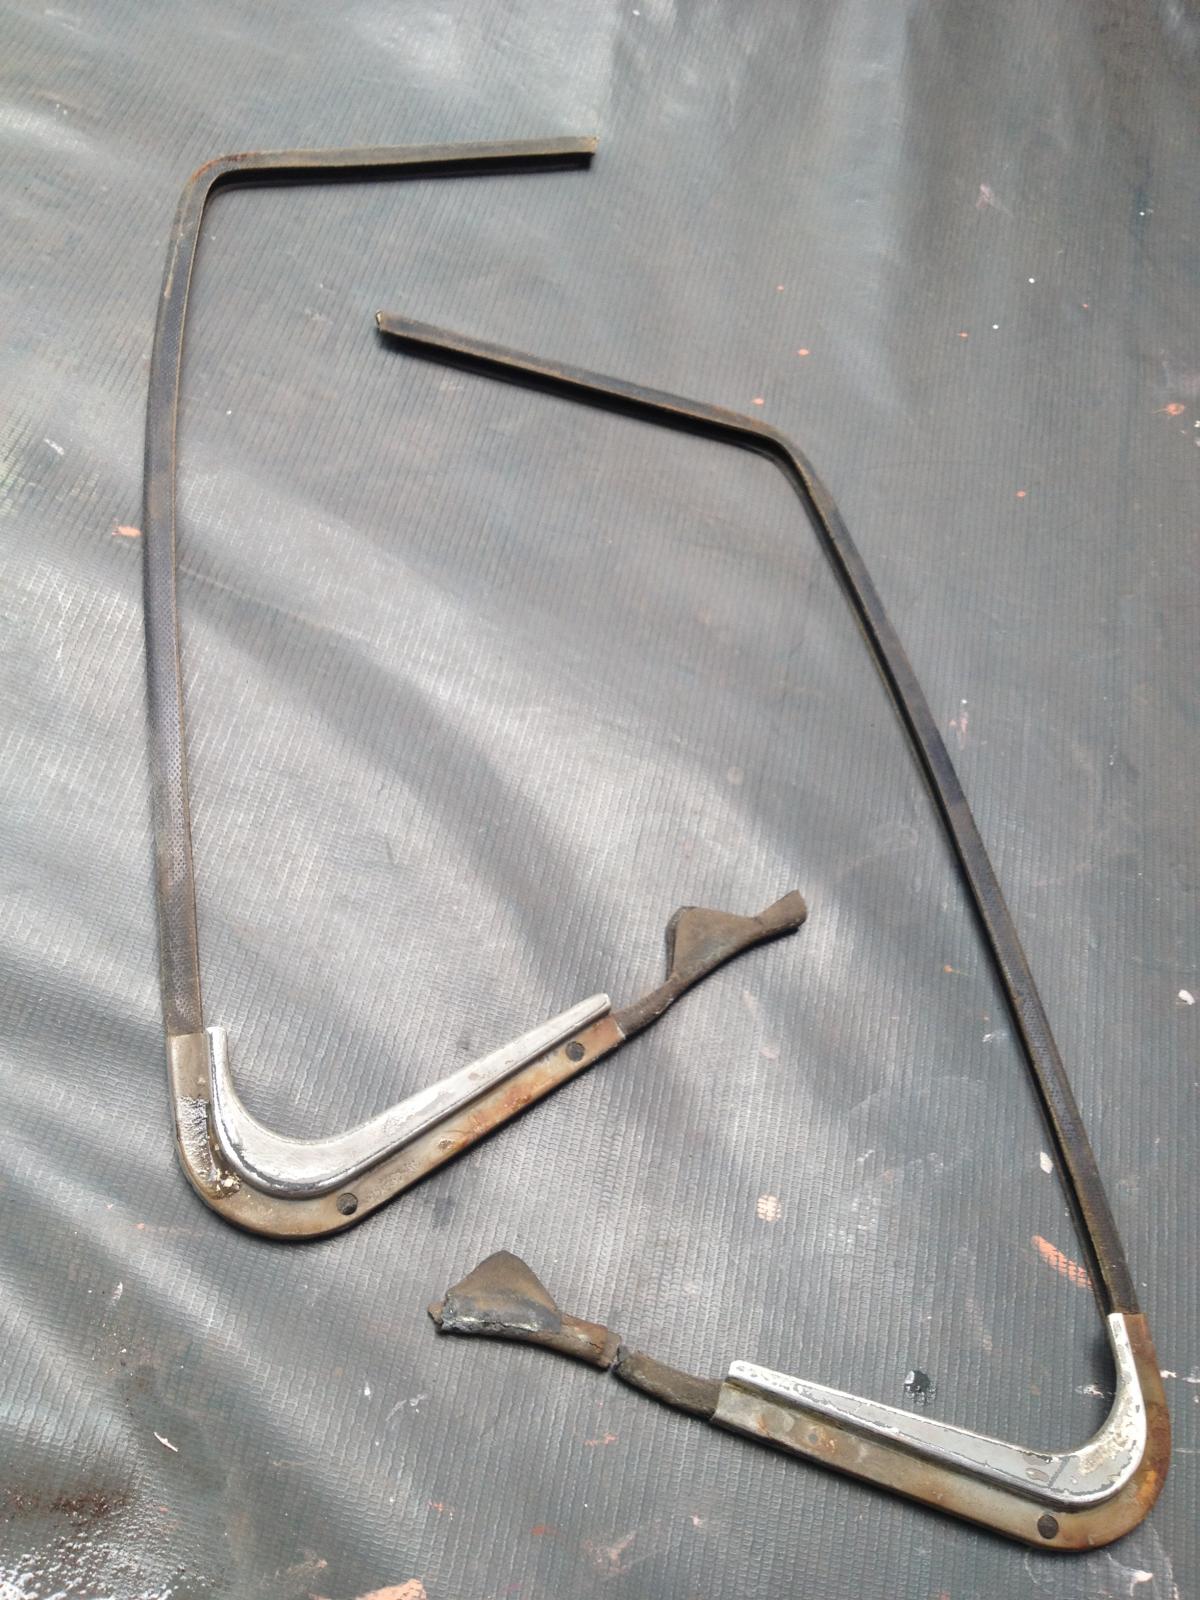
The original rubbers!
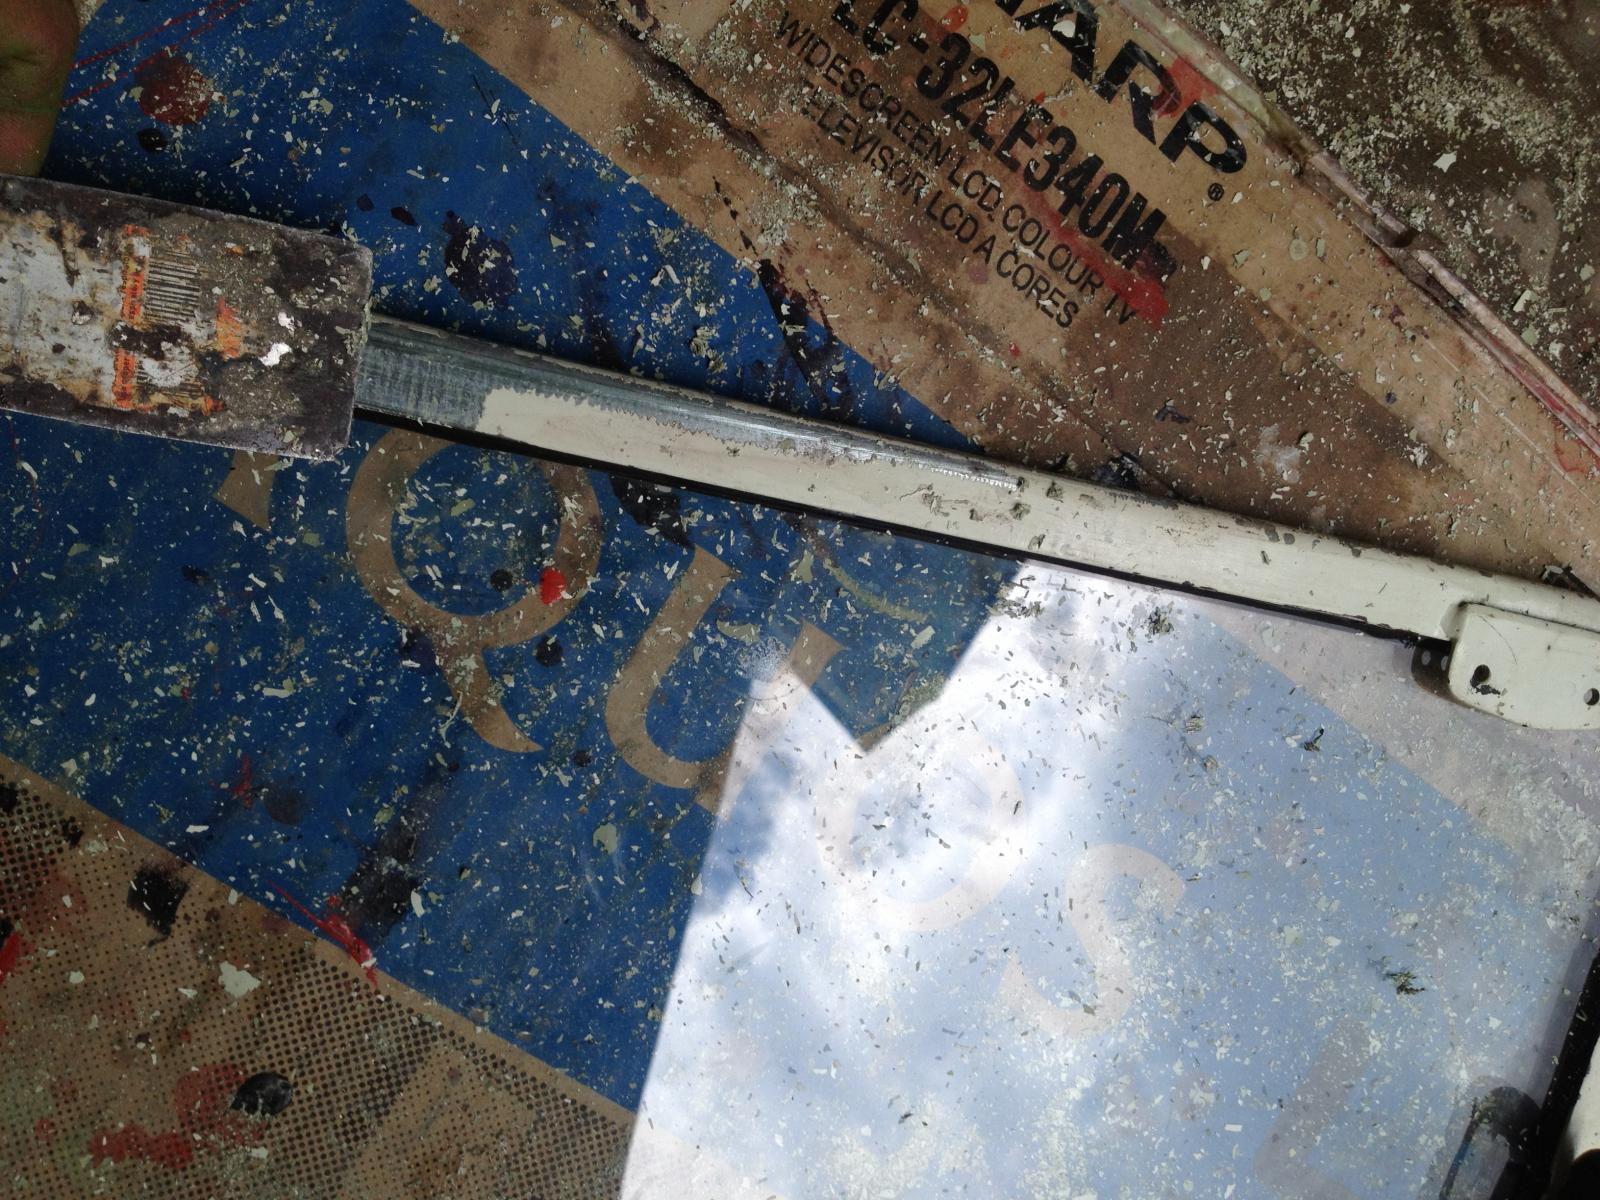
I scraped the old worn out paint on the safari windows

Checking on some more unremoved paints.
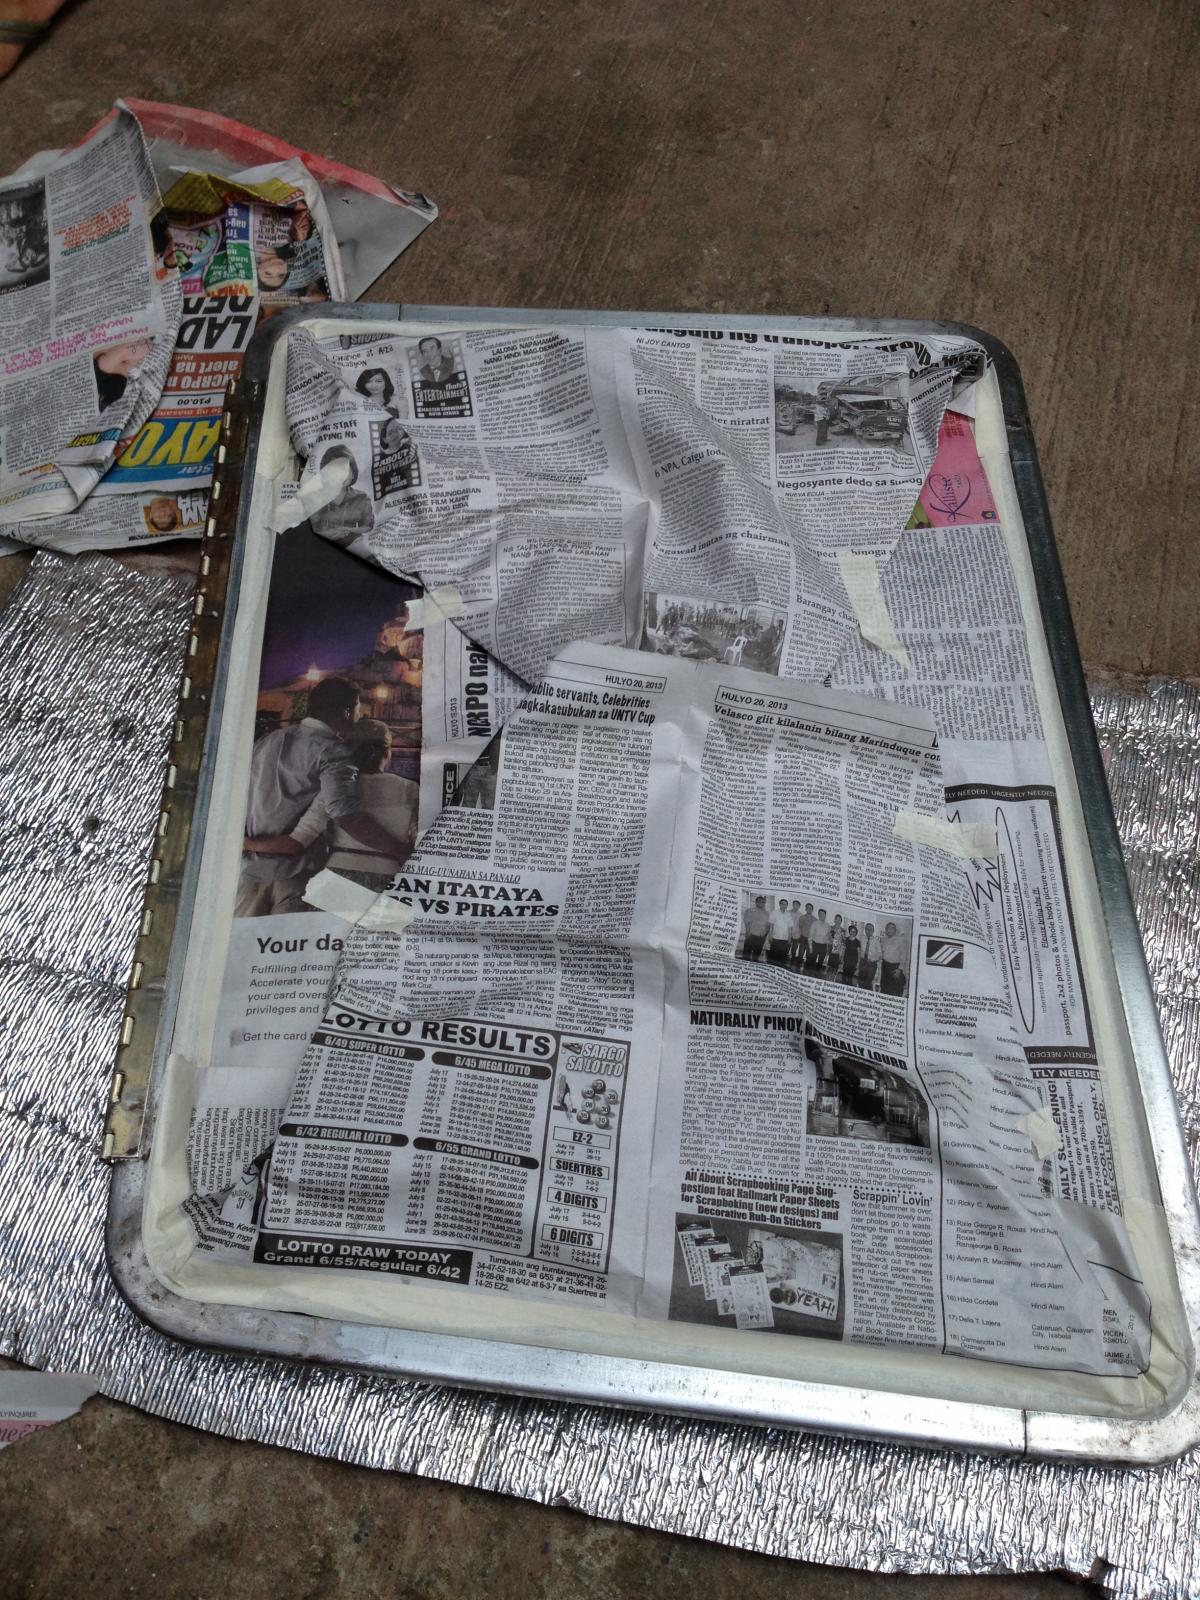
I covered the window and ready for the paint.
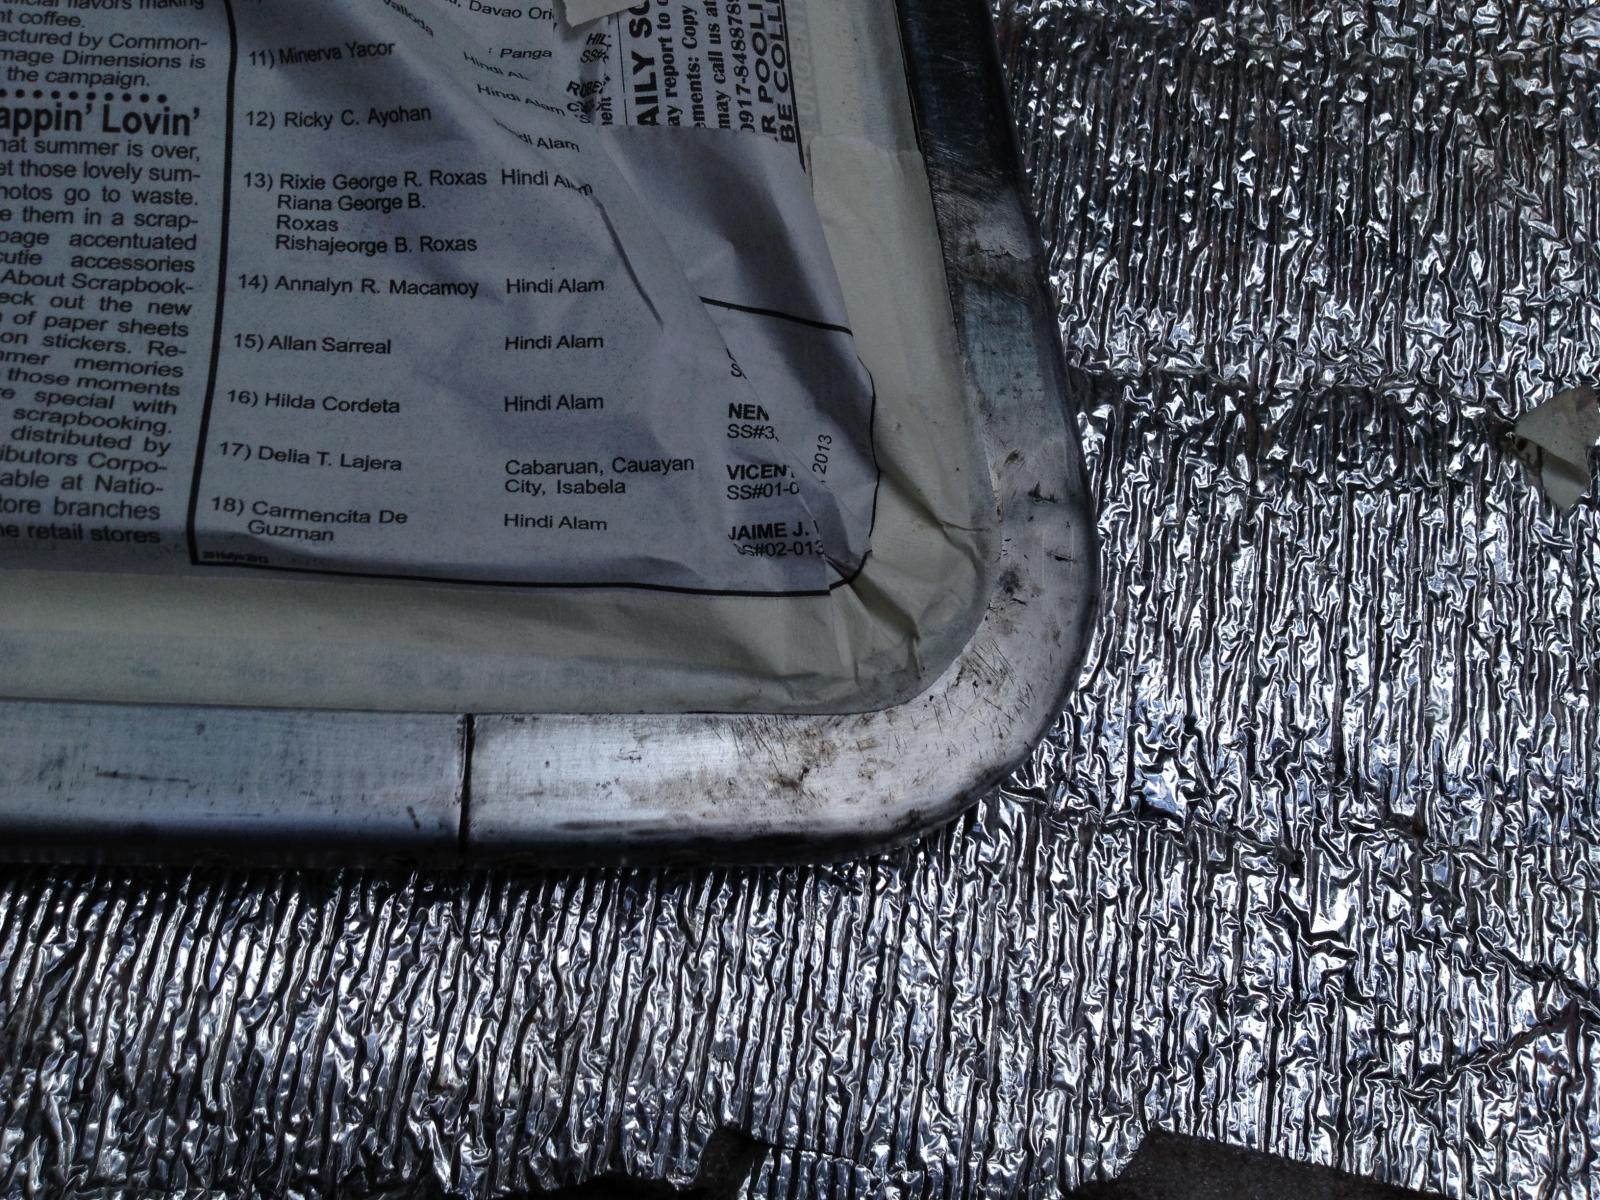
This corner is touch to place the masking tape!
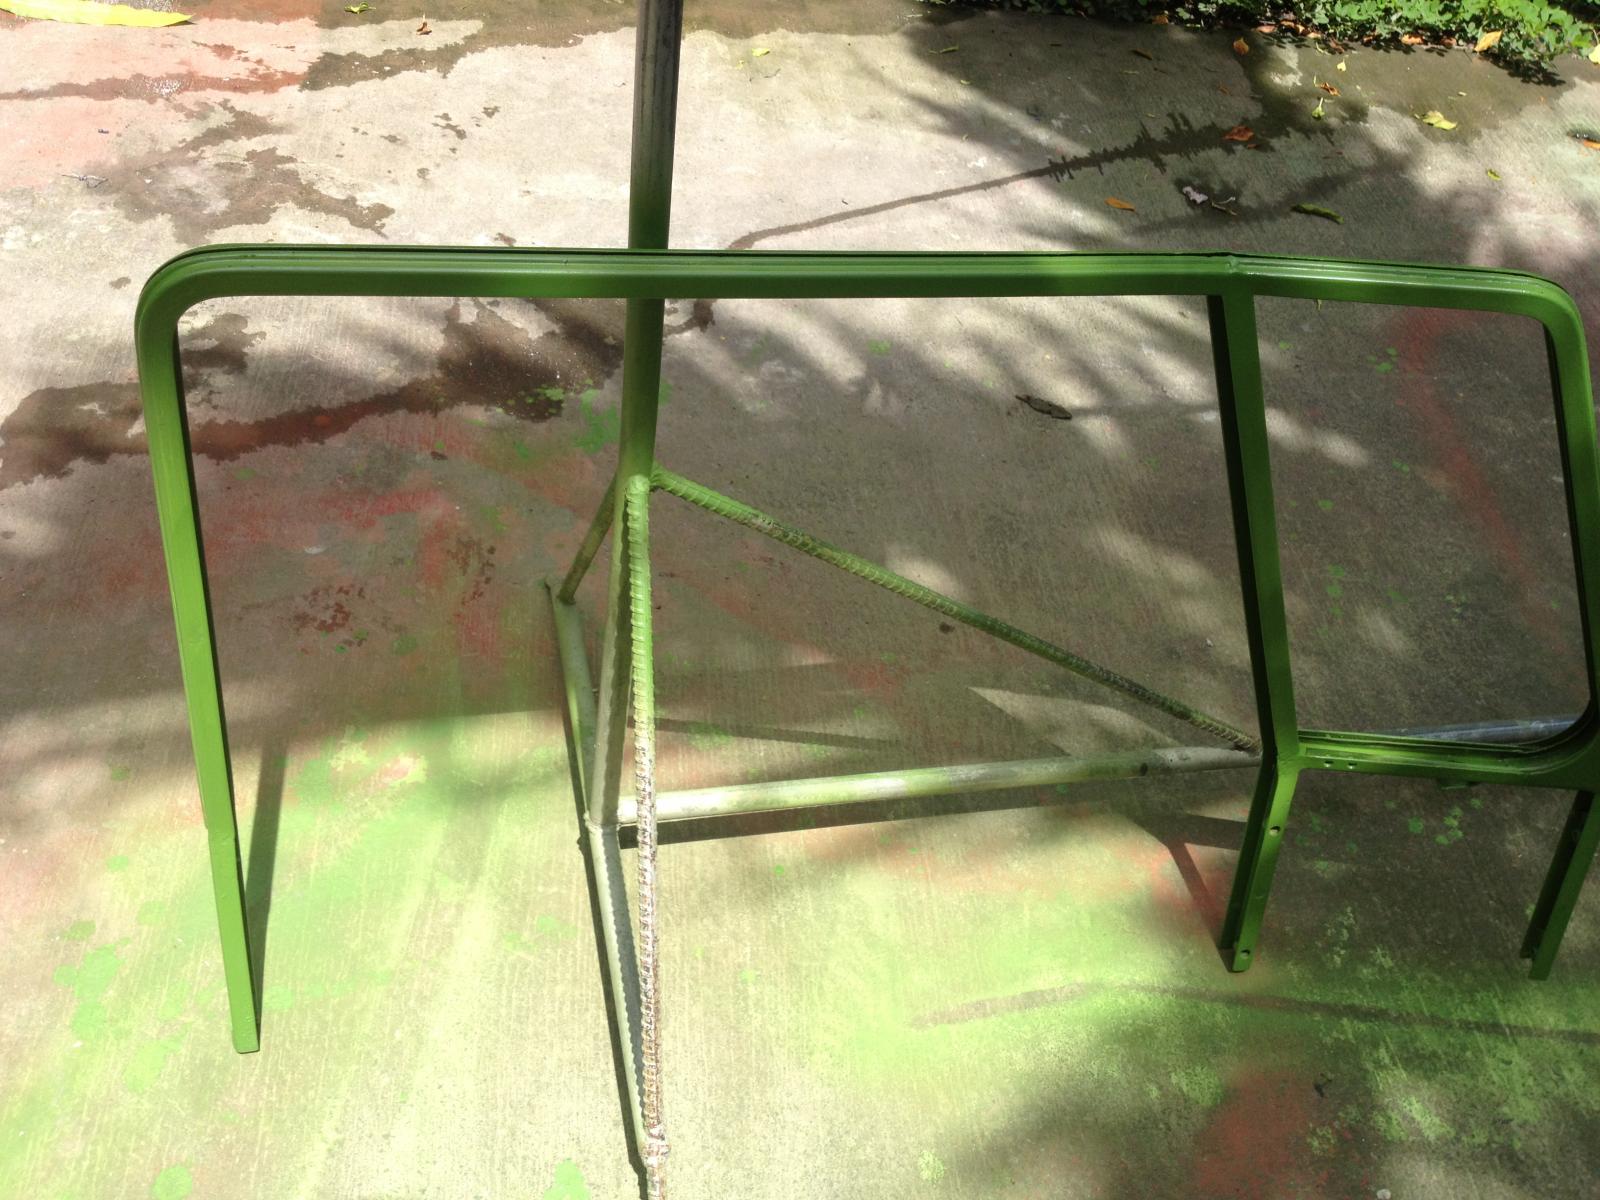
The window frames had to be painted too.
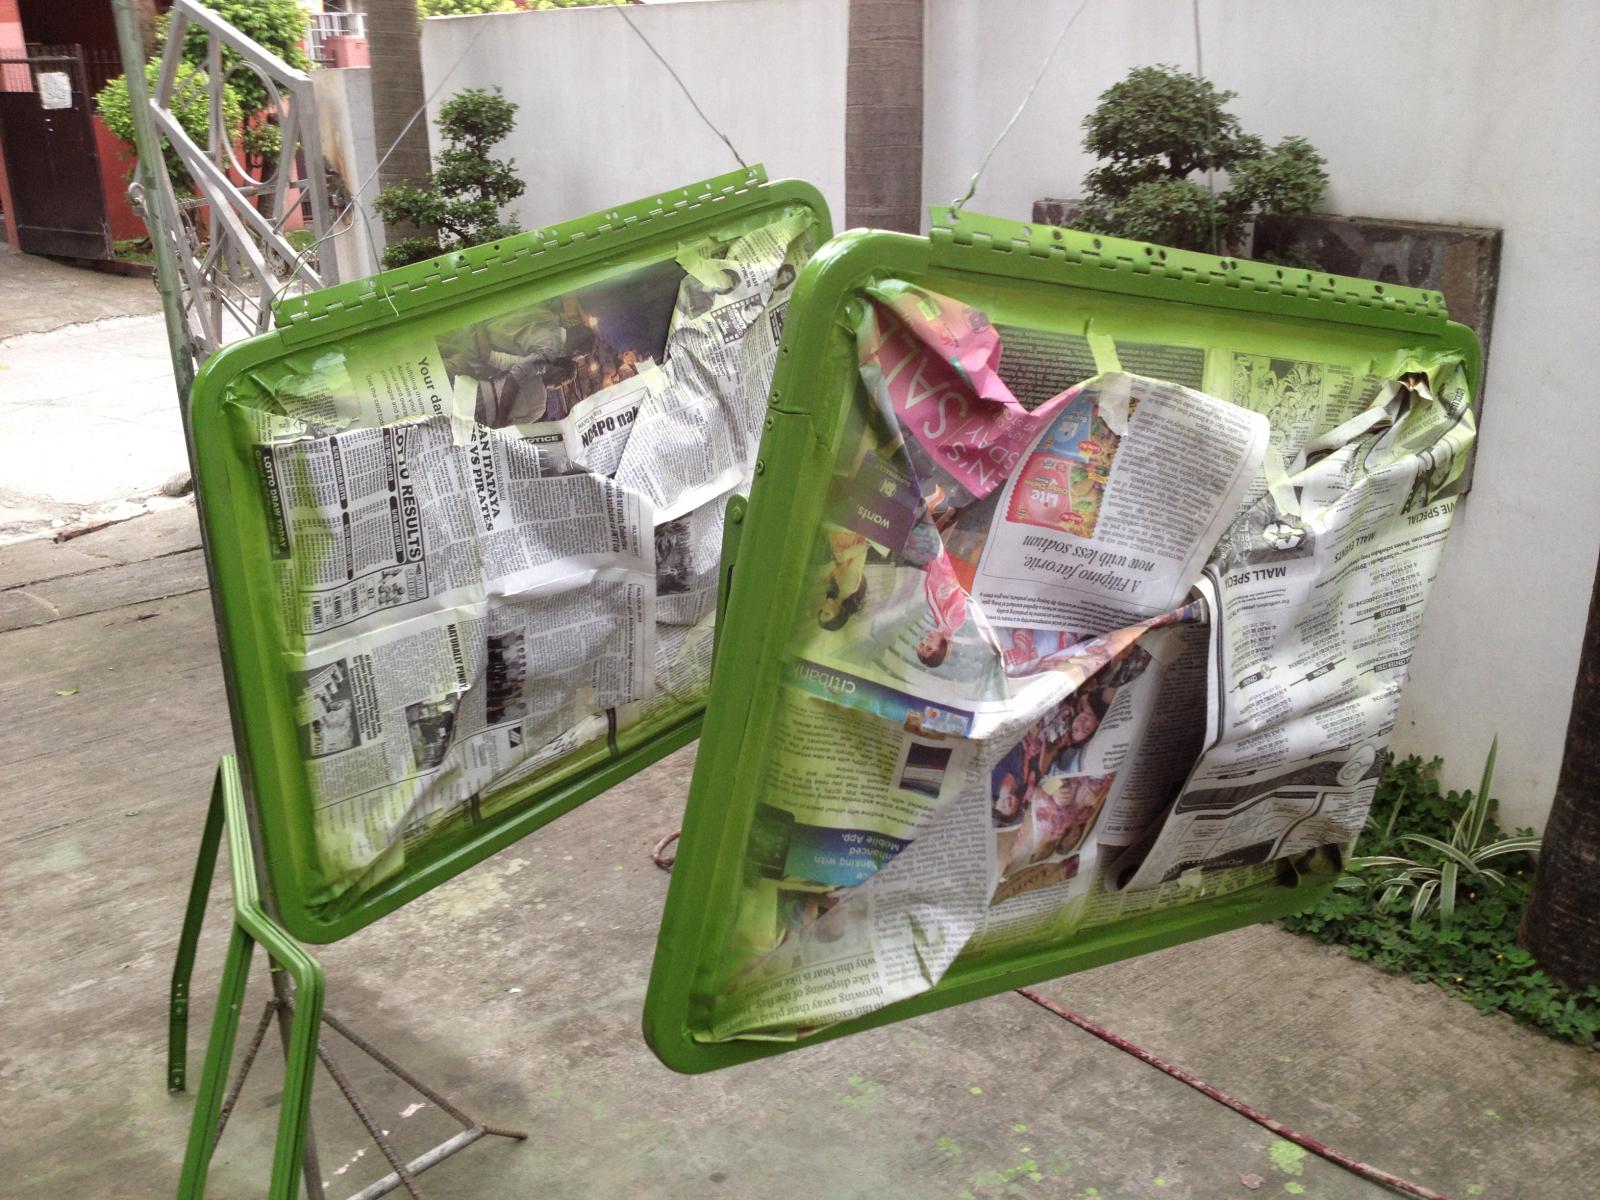
The safari windows painted with the anti corrosion primer.
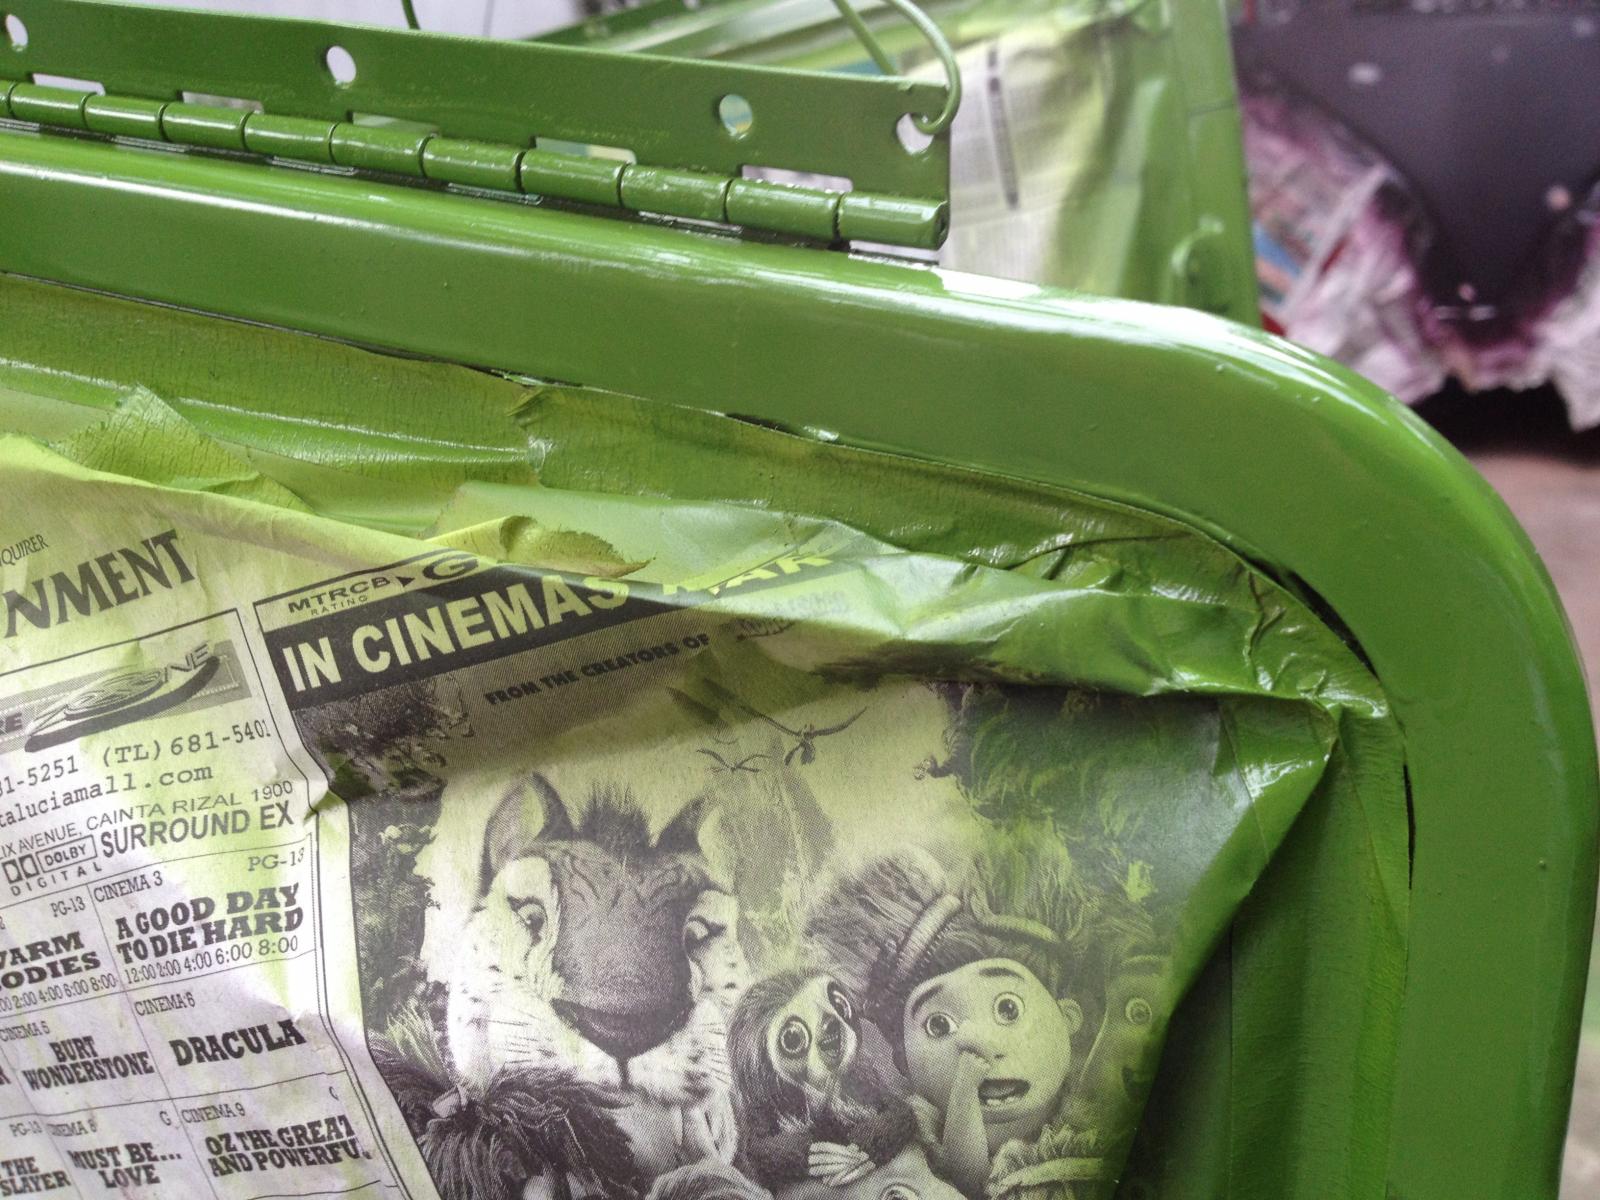
I guess I need to apply some fillers too.
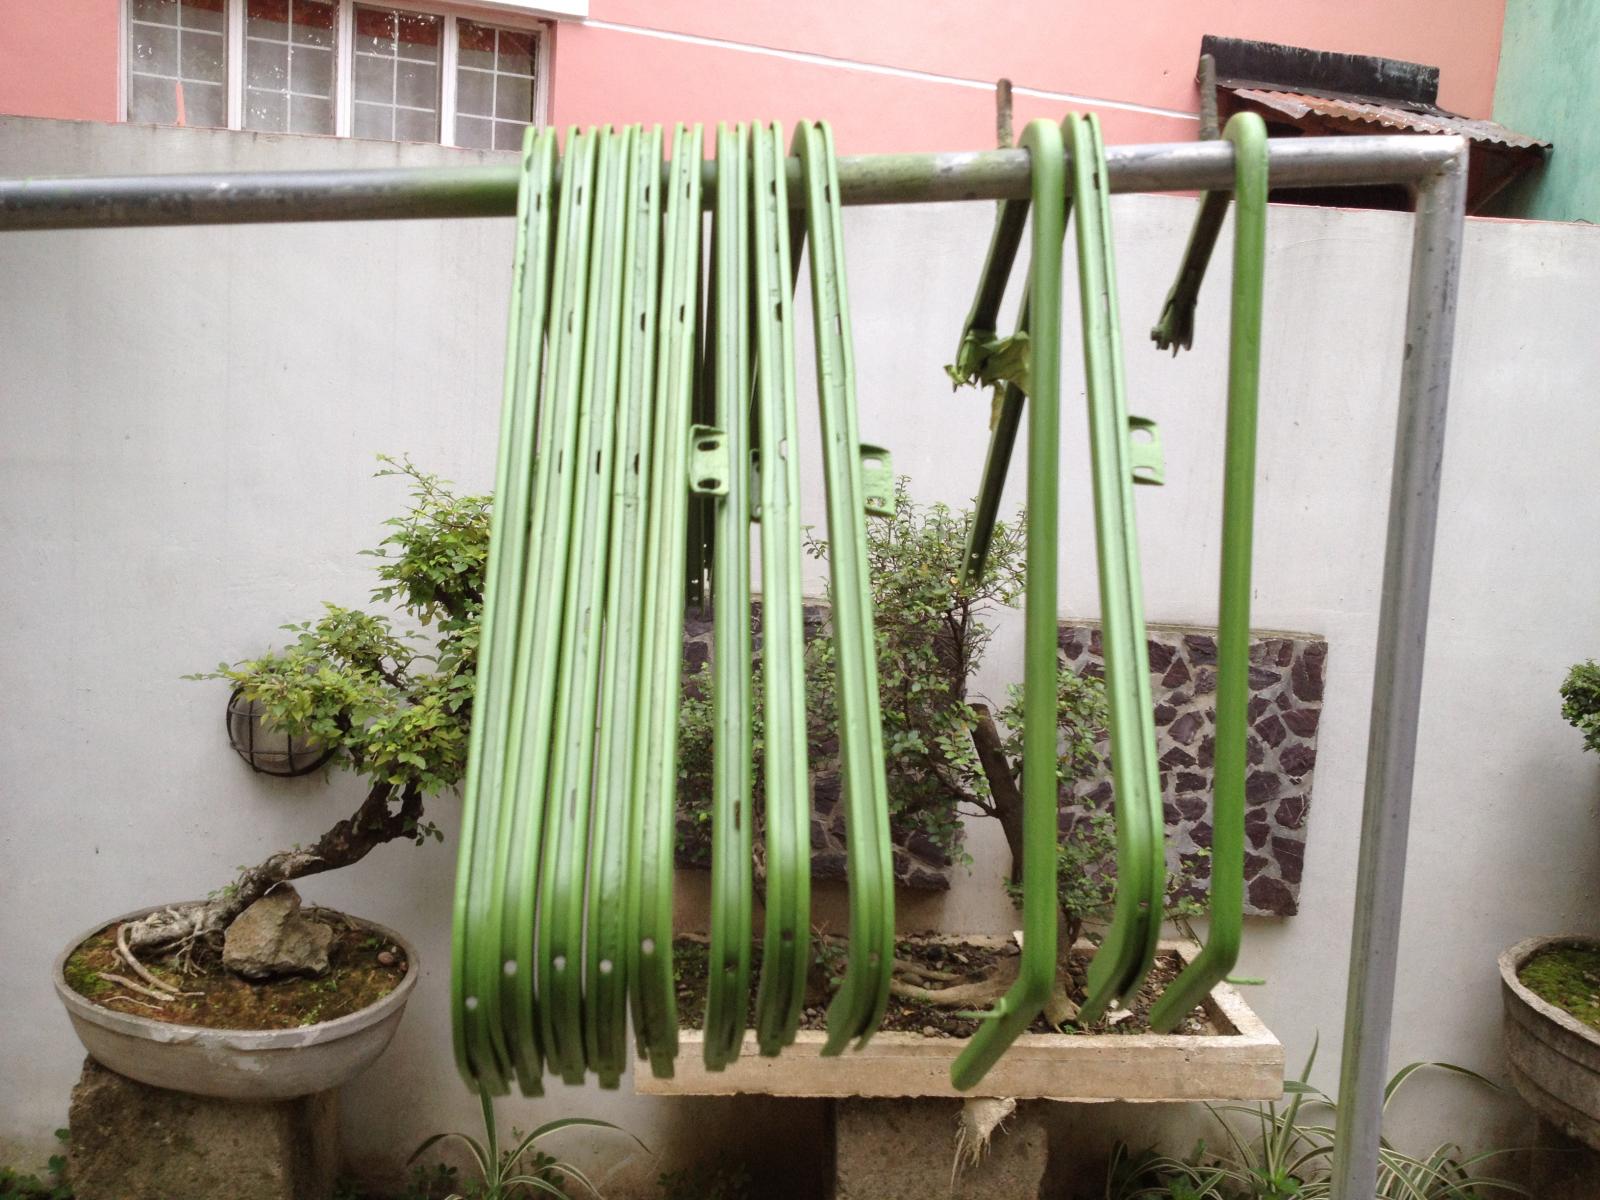
The window frames must receive that second coat of anti corrosion primer.
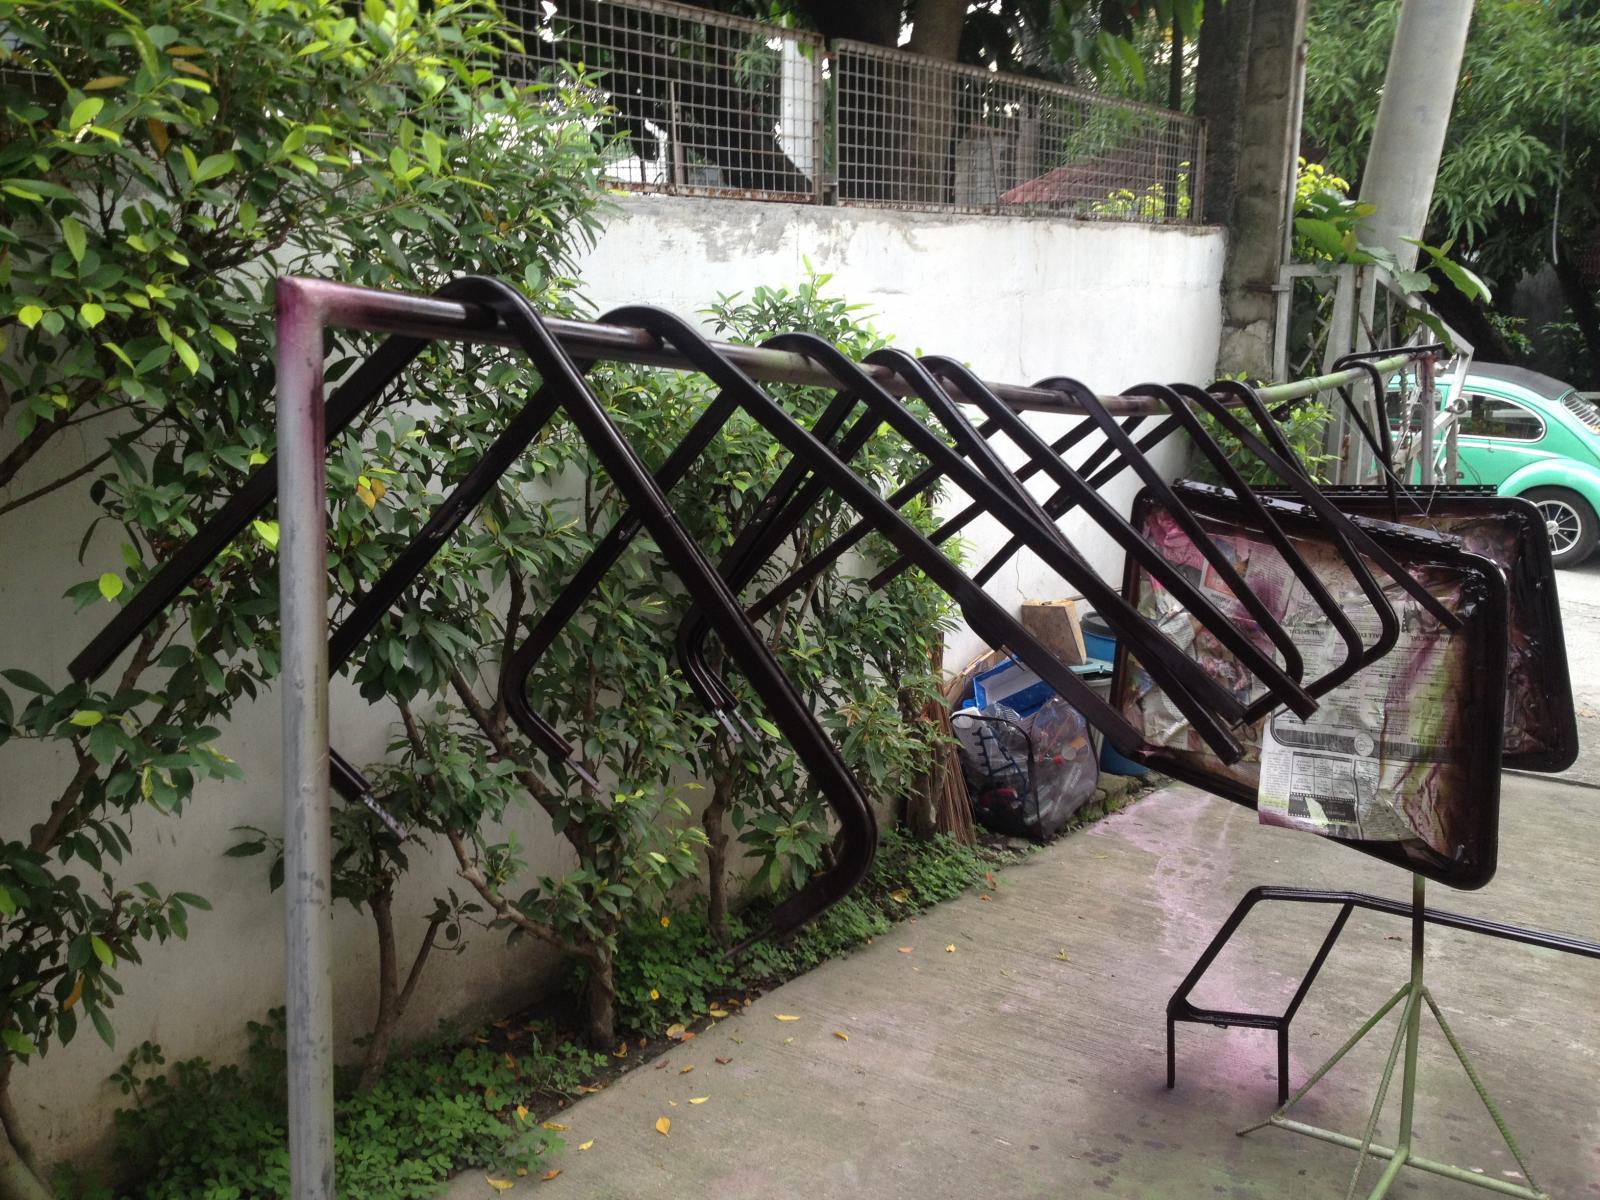
The Chestnut Brown paint was just applied.
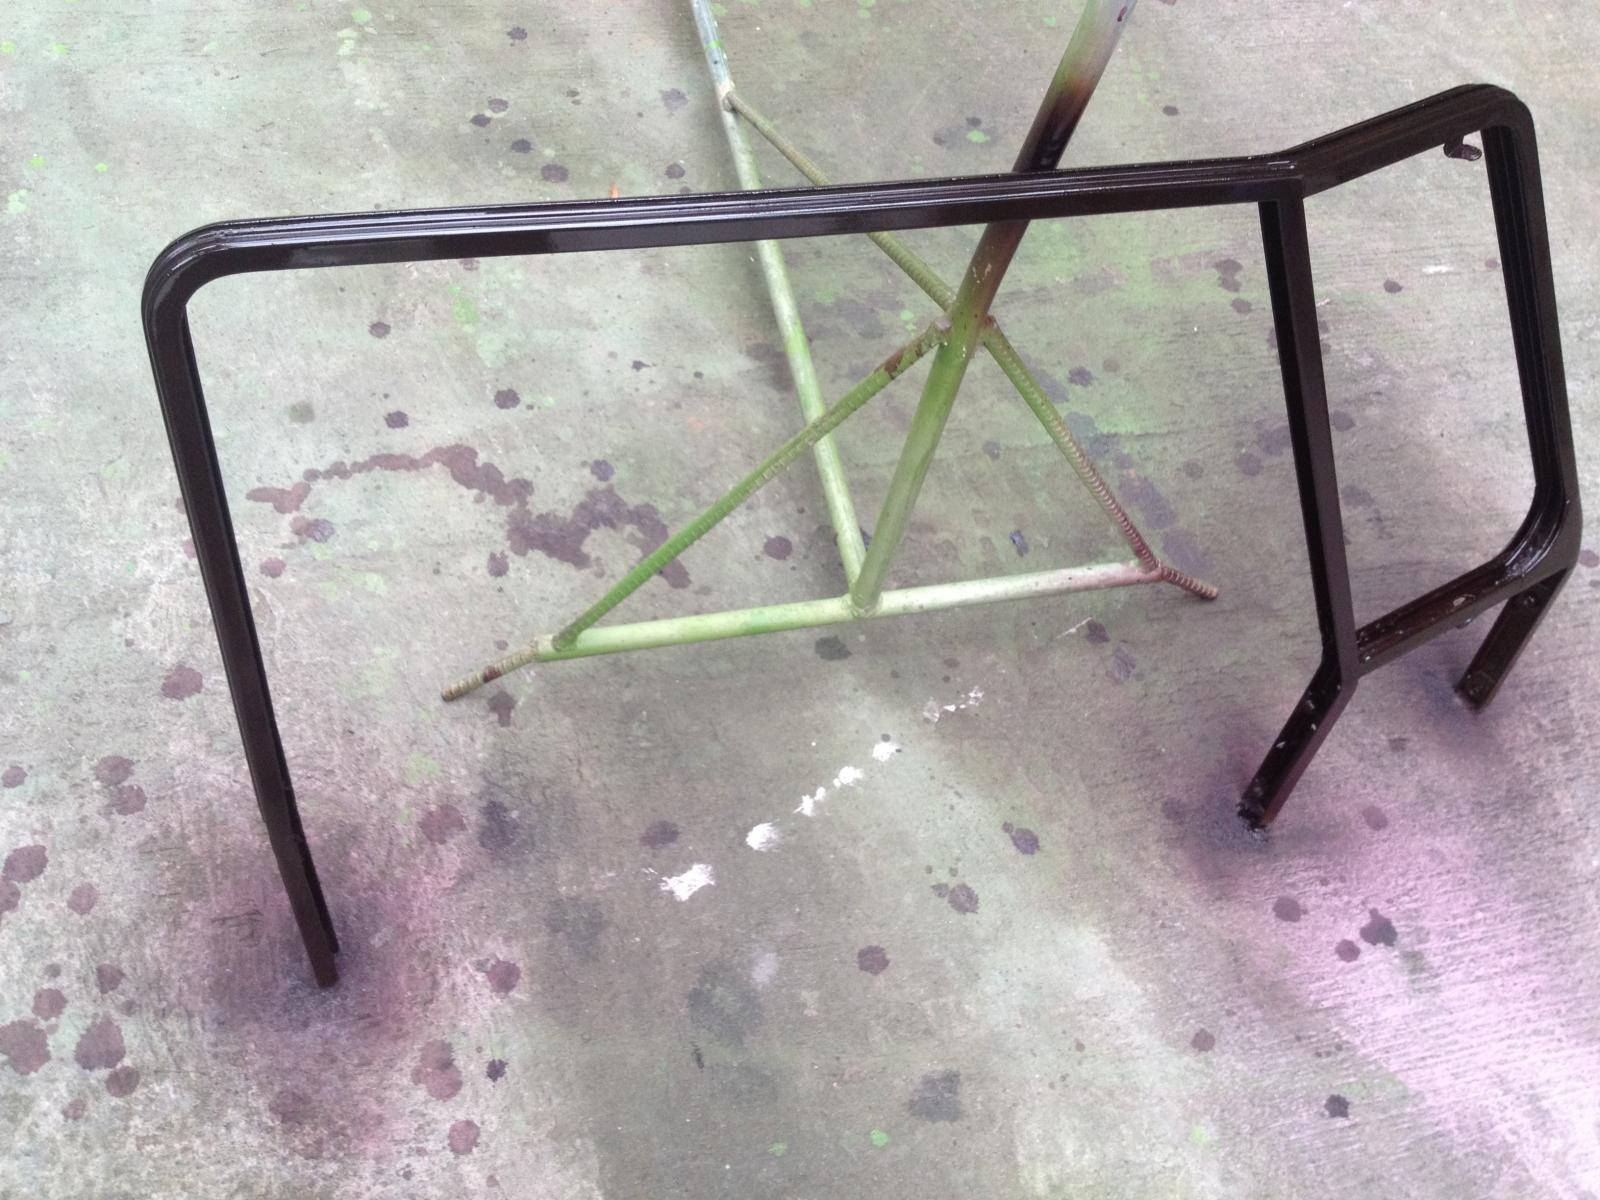
The window frame deserved the same TLC it deserves.
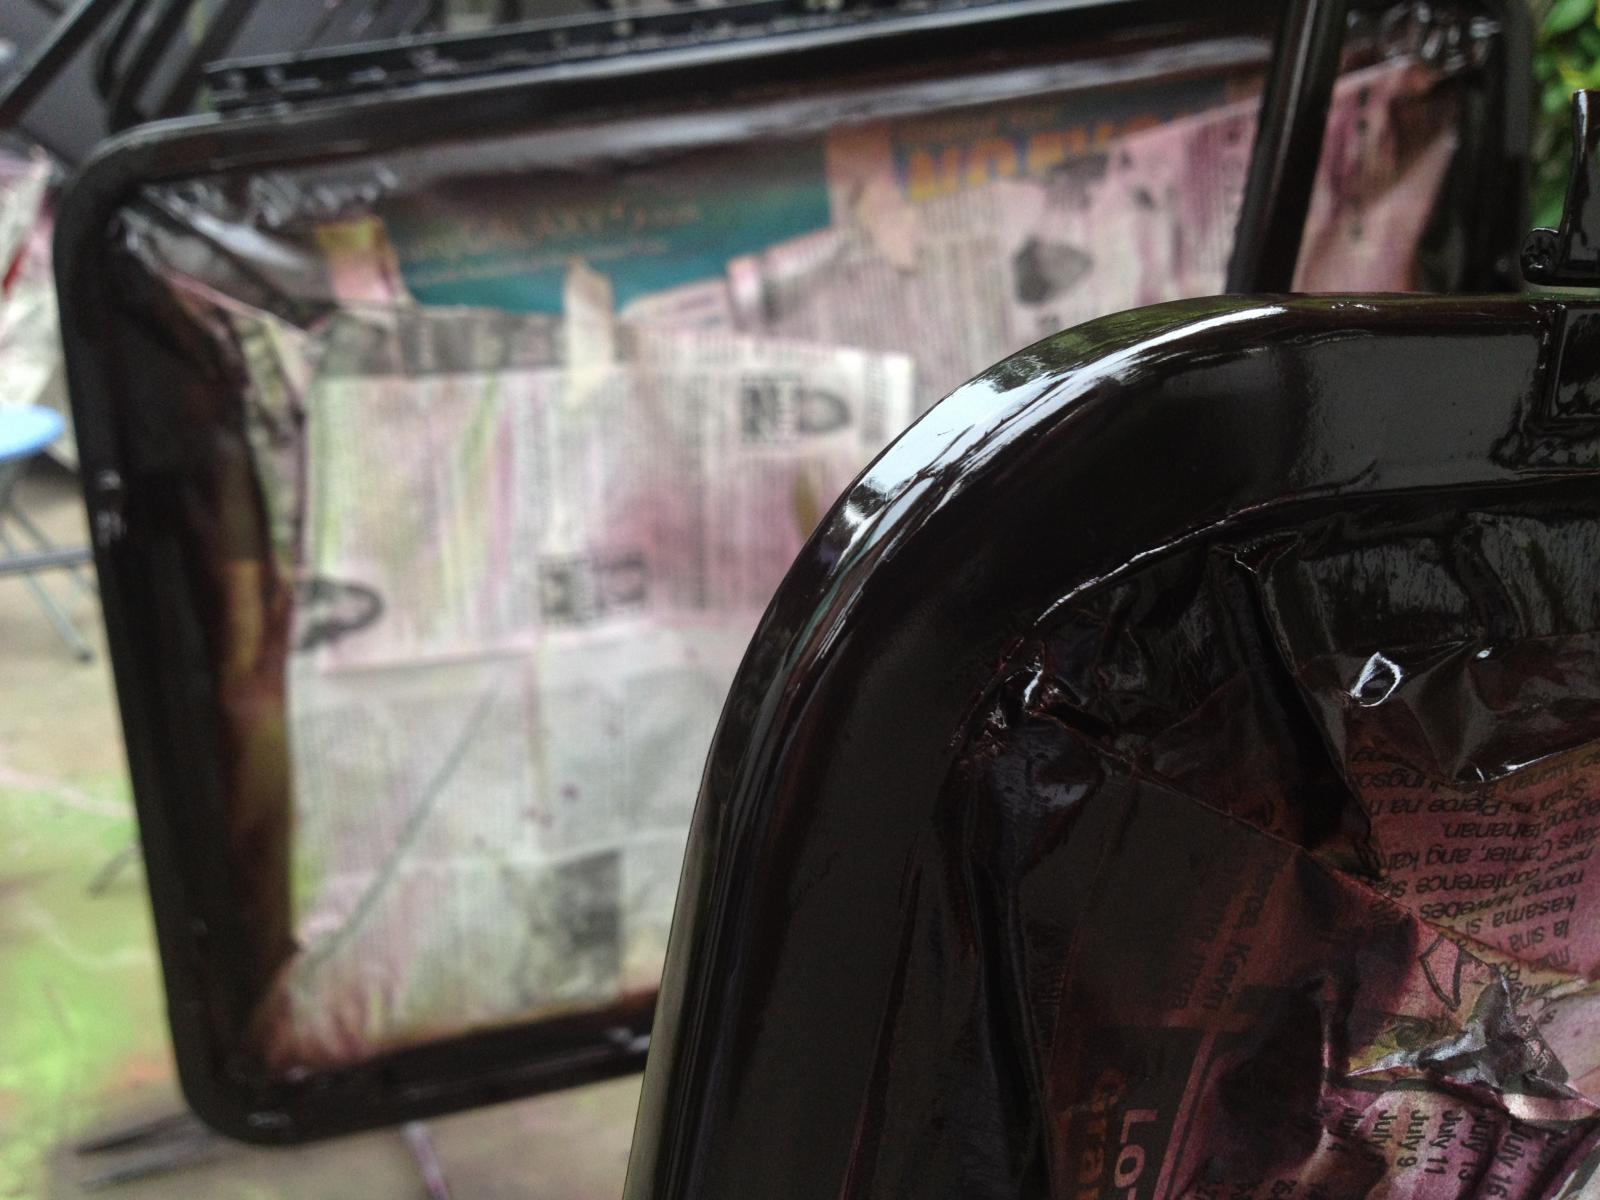
The Chestnut brown paint was okay but i guess a second coat will be fine (some other weekend, i guess!)
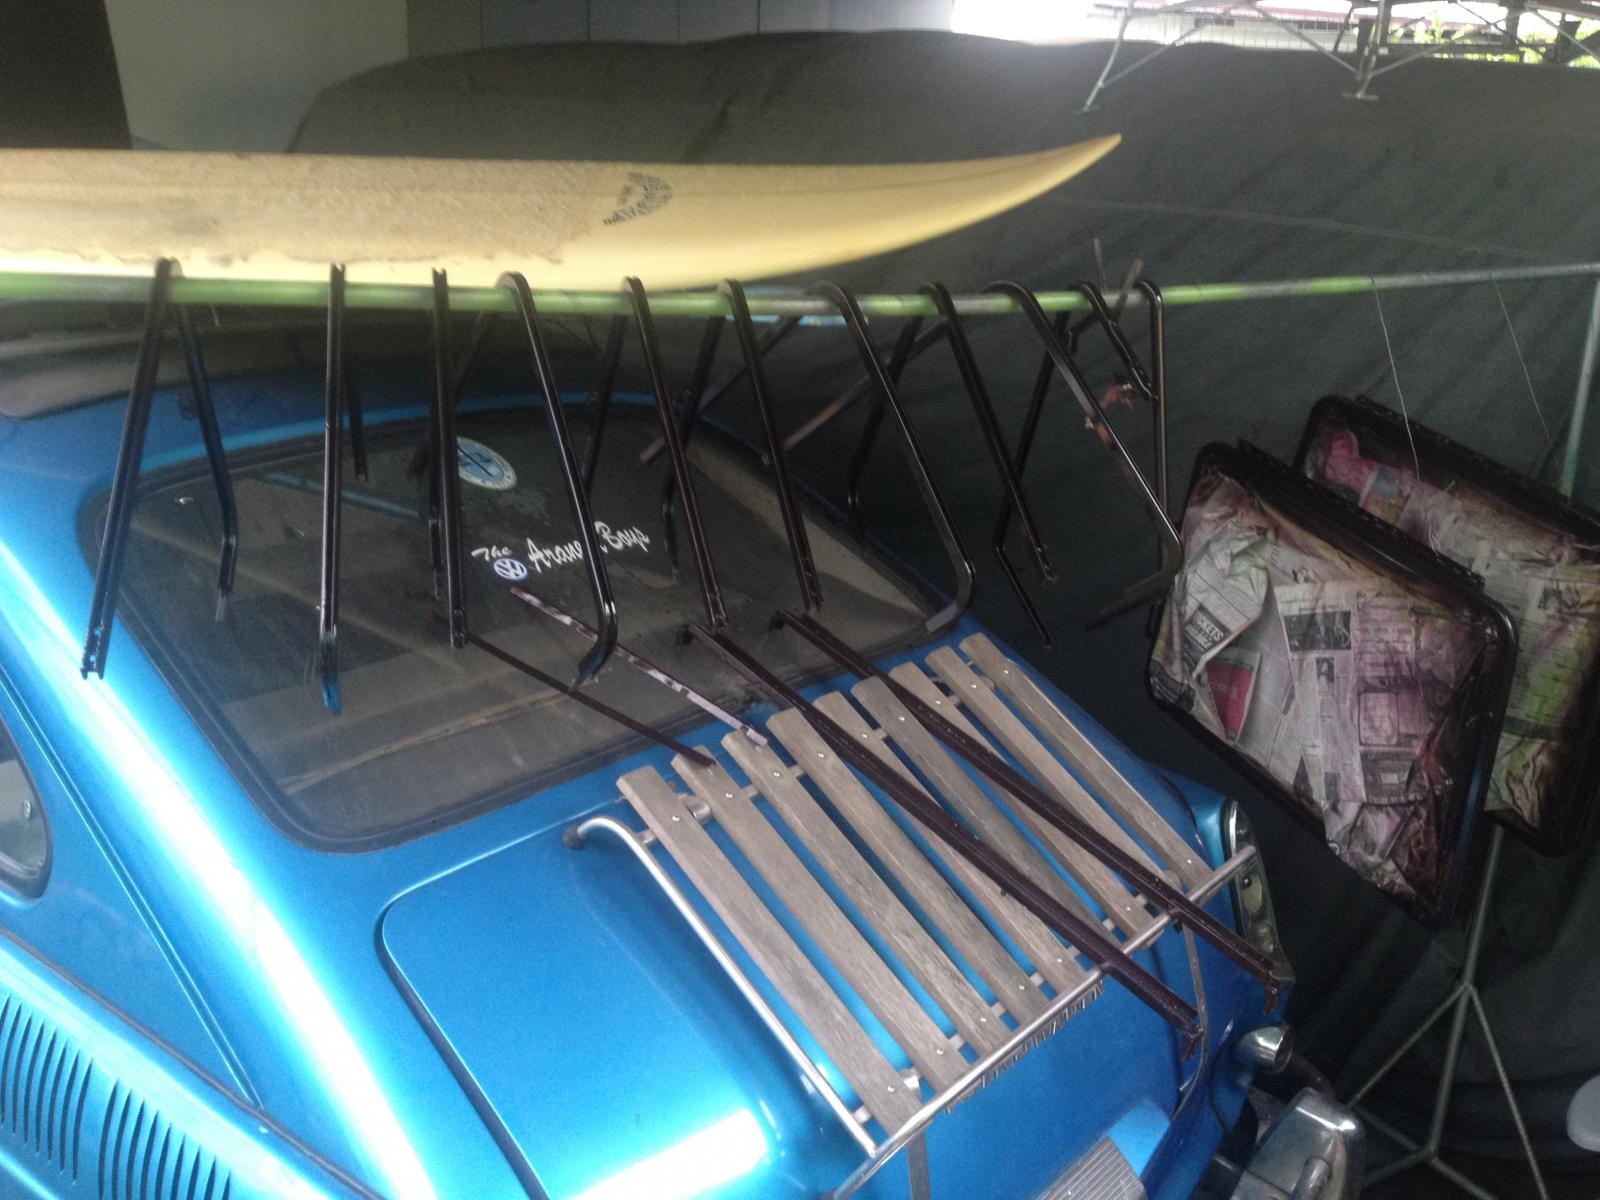
Since is it rainy season in the Philippines, these gems had to be place in the garage to keep it away from the possible rain. And that is Sharkey 2, out Type 3 Fasty beside our bay window a.k.a. Homey.
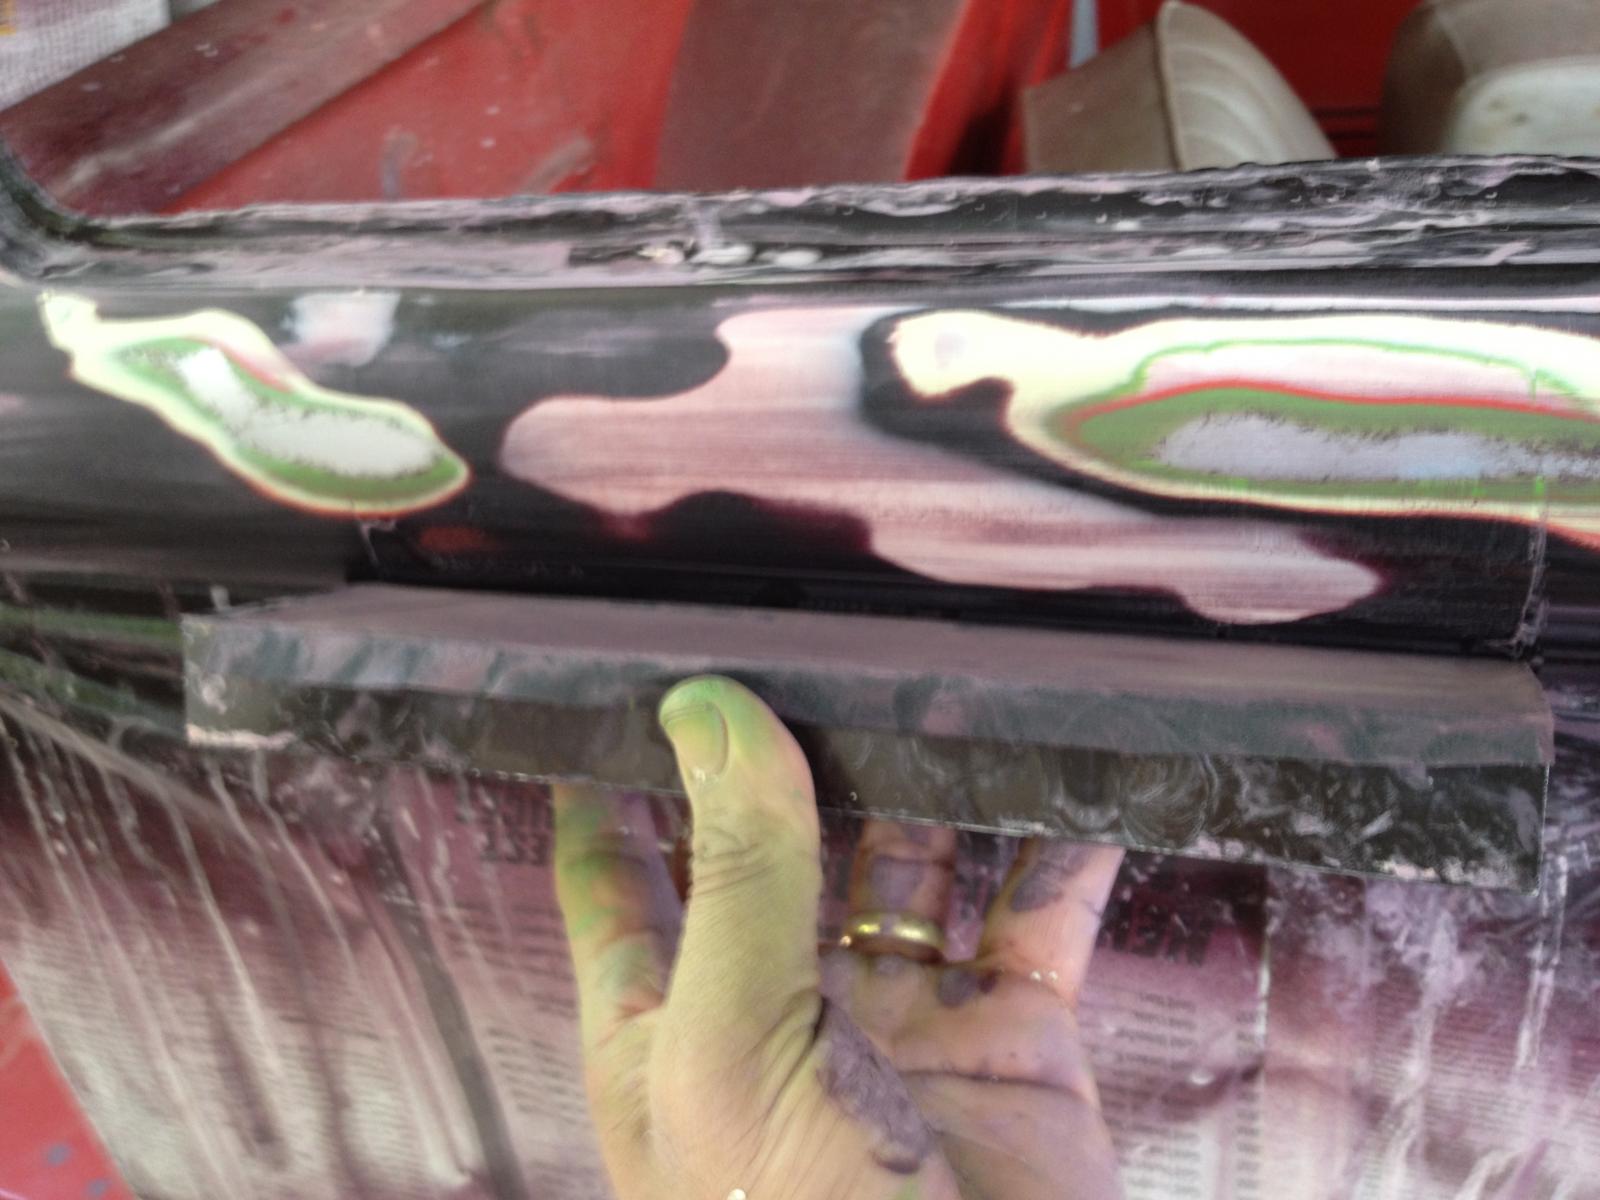
Block sanding the waist line is worth the sweat and time!
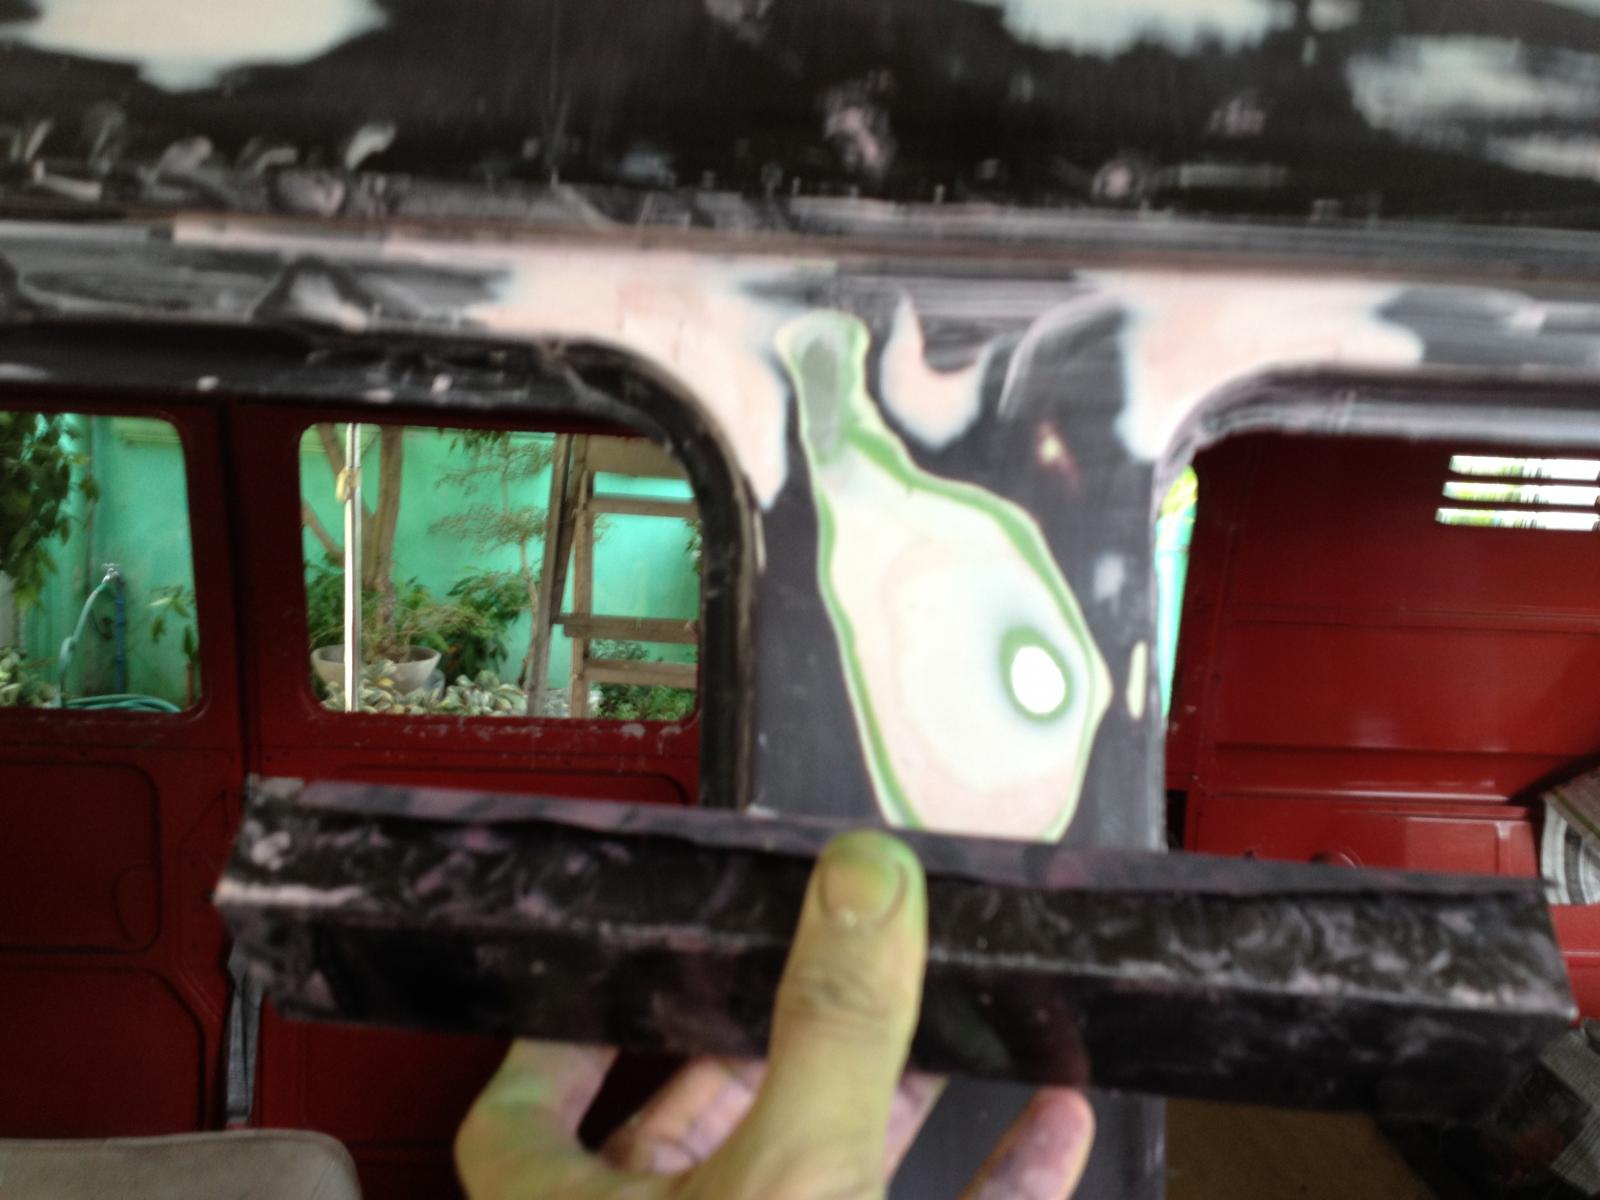
These posts needed to be block sanded too.
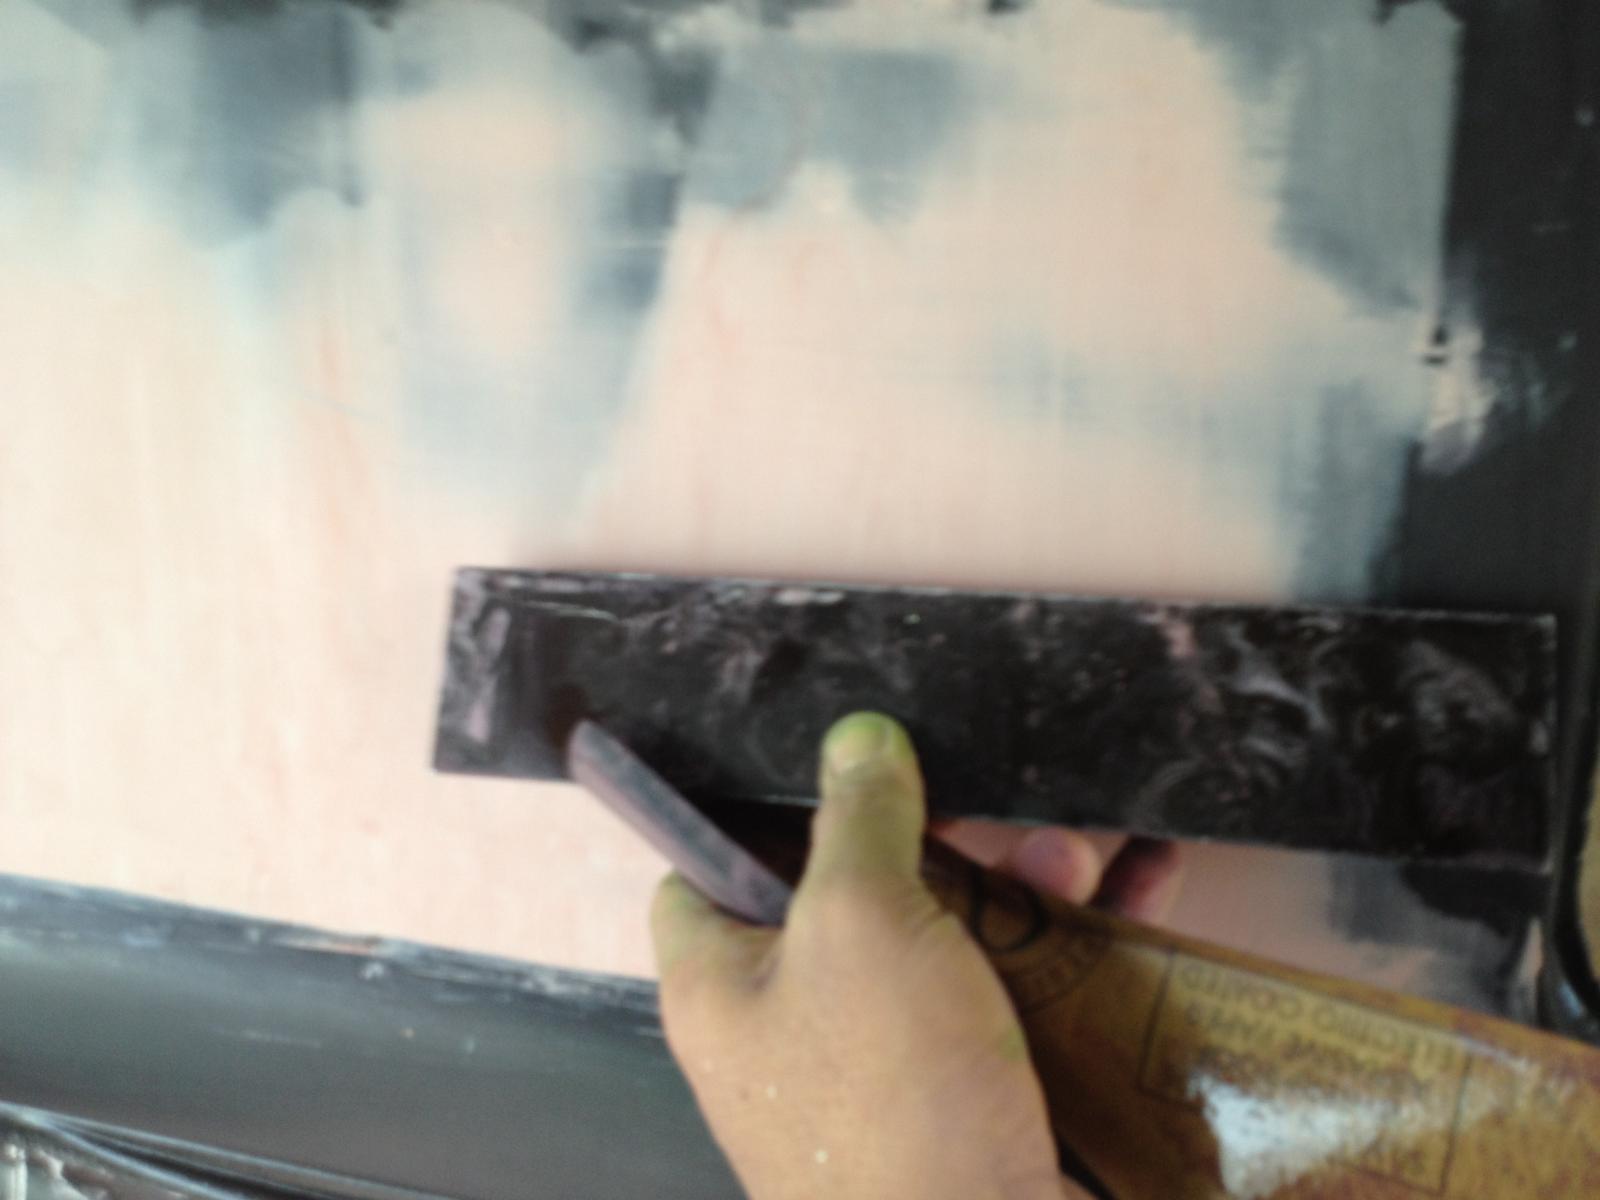
The paper thin depressions one the panel near the rear corned needed to be addressed too using the 1x2x12 hollow aluminum tube.
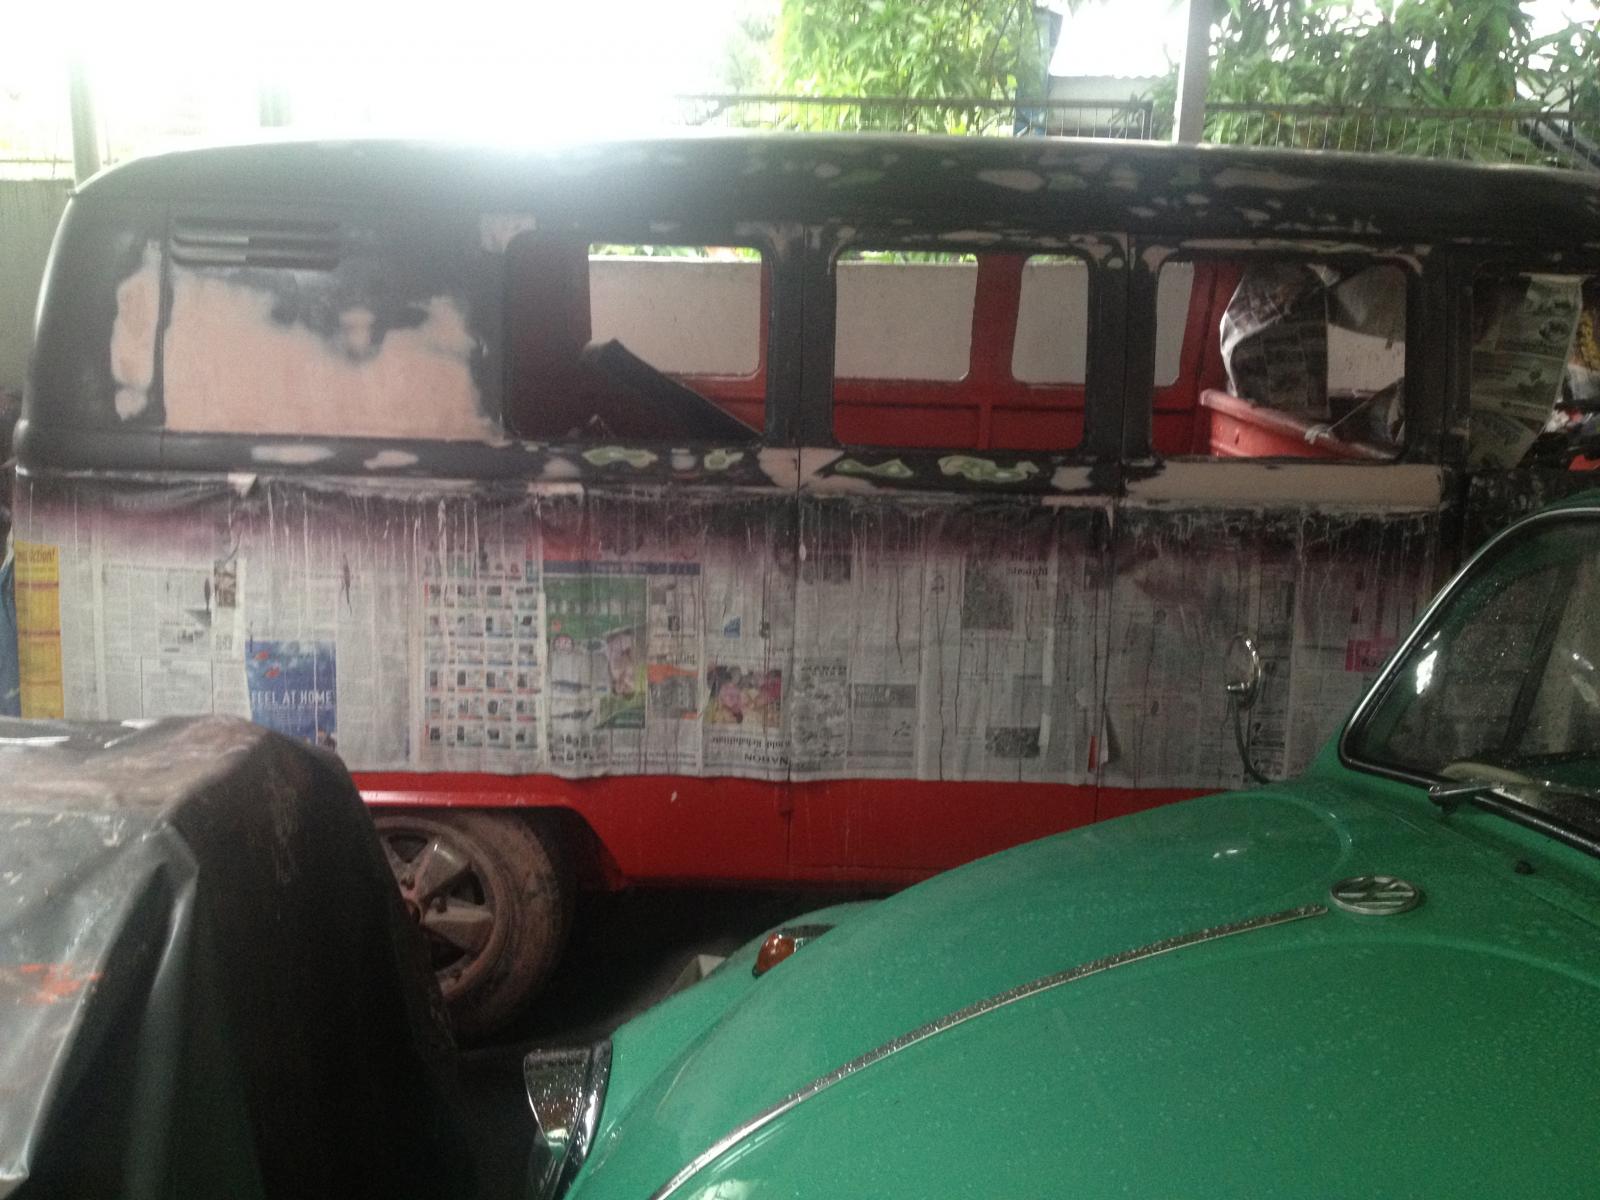
After block sanding the Chestnut brown, by next week the split is ready for the third coat of Chestnut brown paint.
Thanks a lot..
Dong

Removing the steering wheel.

I will use this one instead.

The portion of the frame and the brake pedal removed from the steering gear box.

Fixing and cleaning and greasing the steering gear box.

It speaks German!

The ready steering gear box.

The removed worn out steering gear box.

I was able to salvage the rubber seal on the vent win.

The original rubbers!

I scraped the old worn out paint on the safari windows

Checking on some more unremoved paints.

I covered the window and ready for the paint.

This corner is touch to place the masking tape!

The window frames had to be painted too.

The safari windows painted with the anti corrosion primer.

I guess I need to apply some fillers too.

The window frames must receive that second coat of anti corrosion primer.

The Chestnut Brown paint was just applied.

The window frame deserved the same TLC it deserves.

The Chestnut brown paint was okay but i guess a second coat will be fine (some other weekend, i guess!)

Since is it rainy season in the Philippines, these gems had to be place in the garage to keep it away from the possible rain. And that is Sharkey 2, out Type 3 Fasty beside our bay window a.k.a. Homey.

Block sanding the waist line is worth the sweat and time!

These posts needed to be block sanded too.

The paper thin depressions one the panel near the rear corned needed to be addressed too using the 1x2x12 hollow aluminum tube.

After block sanding the Chestnut brown, by next week the split is ready for the third coat of Chestnut brown paint.
Thanks a lot..
Dong
dongkg
Registered user
Posts: 90
Joined: Tue Jul 16, 2013 7:58 am
Re: My '67 Split Bus Resto Thread in the Philippines
by markp » Mon Aug 12, 2013 6:31 am
Looking good dude
I see you got some good movies on around your way

 ( news paper used to mask up with )
Keep pushing dude you'll get there
Mark
I see you got some good movies on around your way
Keep pushing dude you'll get there
Mark
markp
SSVC Member
Posts: 4472
Joined: Wed Jul 20, 2011 9:56 pm
Re: My '67 Split Bus Resto Thread in the Philippines
by dongkg » Mon Aug 12, 2013 1:31 pm
Thanks buddy!
I hope to finish it soon.
Thanks,
Dong
I hope to finish it soon.
Thanks,
Dong
dongkg
Registered user
Posts: 90
Joined: Tue Jul 16, 2013 7:58 am
Re: My '67 Split Bus Resto Thread in the Philippines
by dongkg » Fri Aug 23, 2013 9:42 am
This weekend was another busy one. Although it was basically a rainy weekend, nevertheless, I was managed to paint and apply the spray fillers when the sun shone.
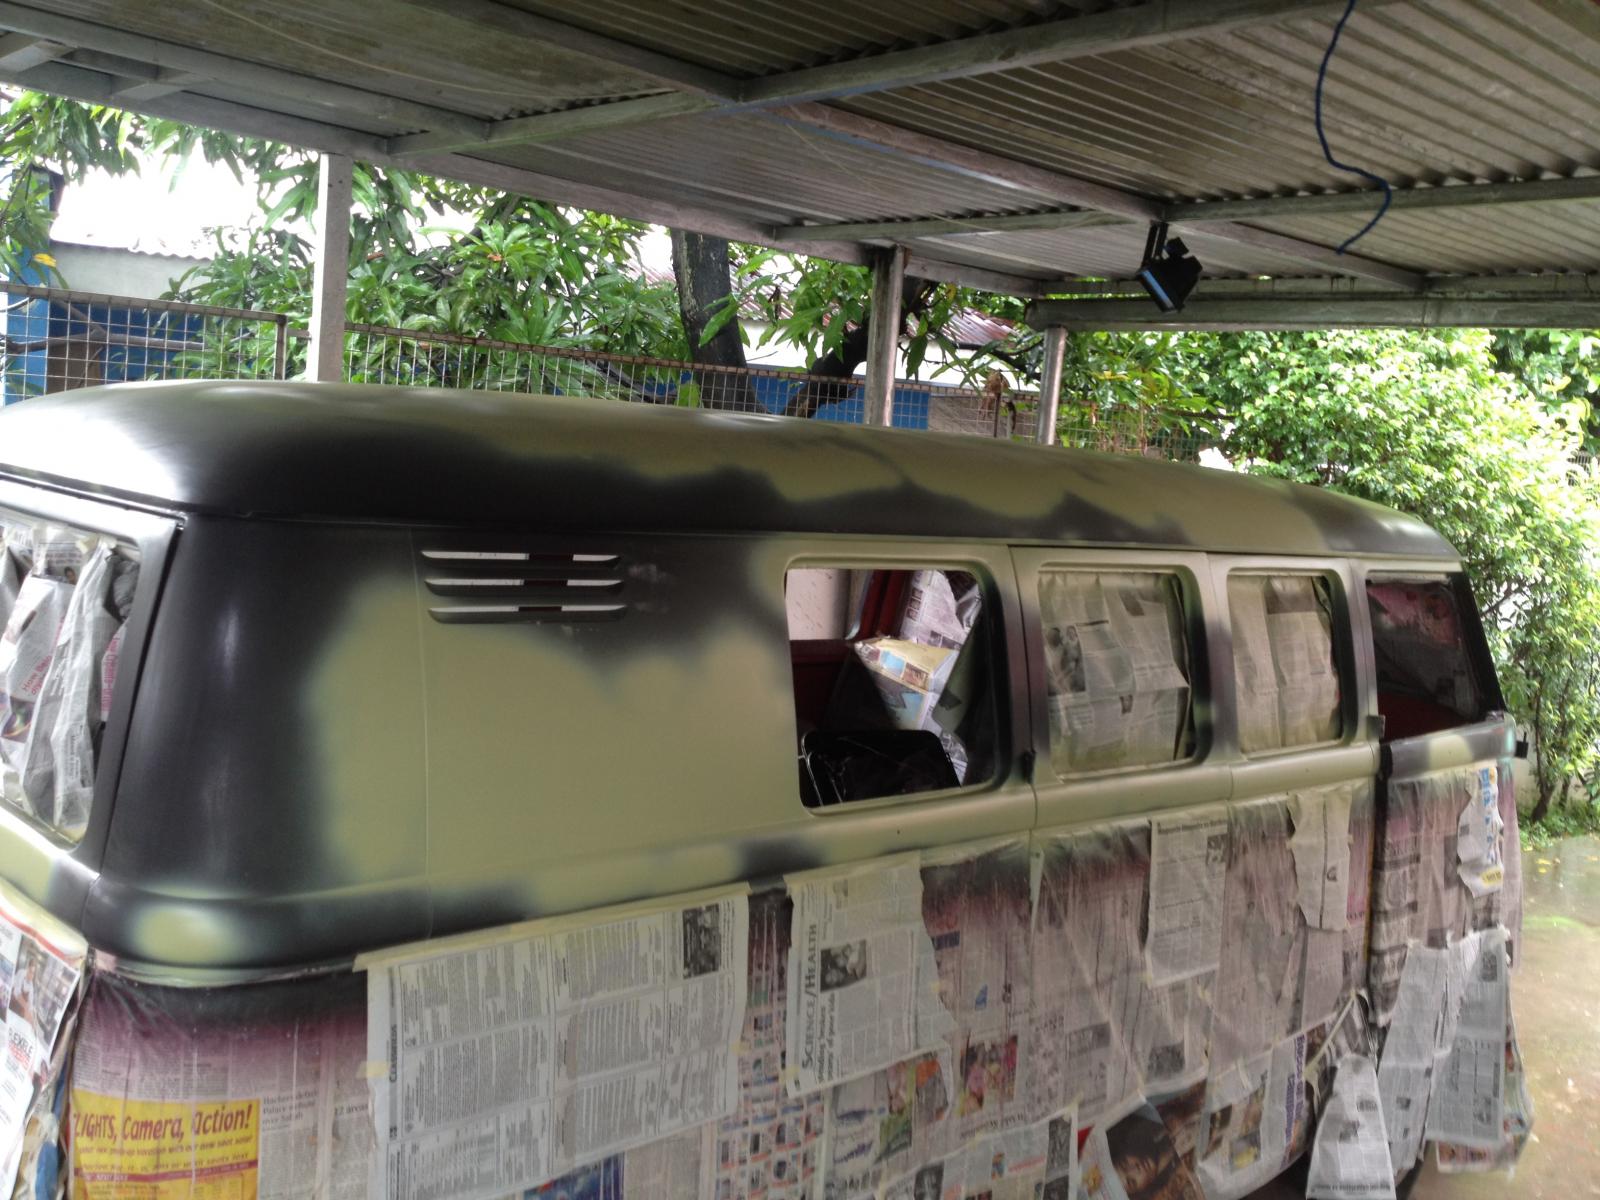
The exposed fillers were painted using the spray fillers.
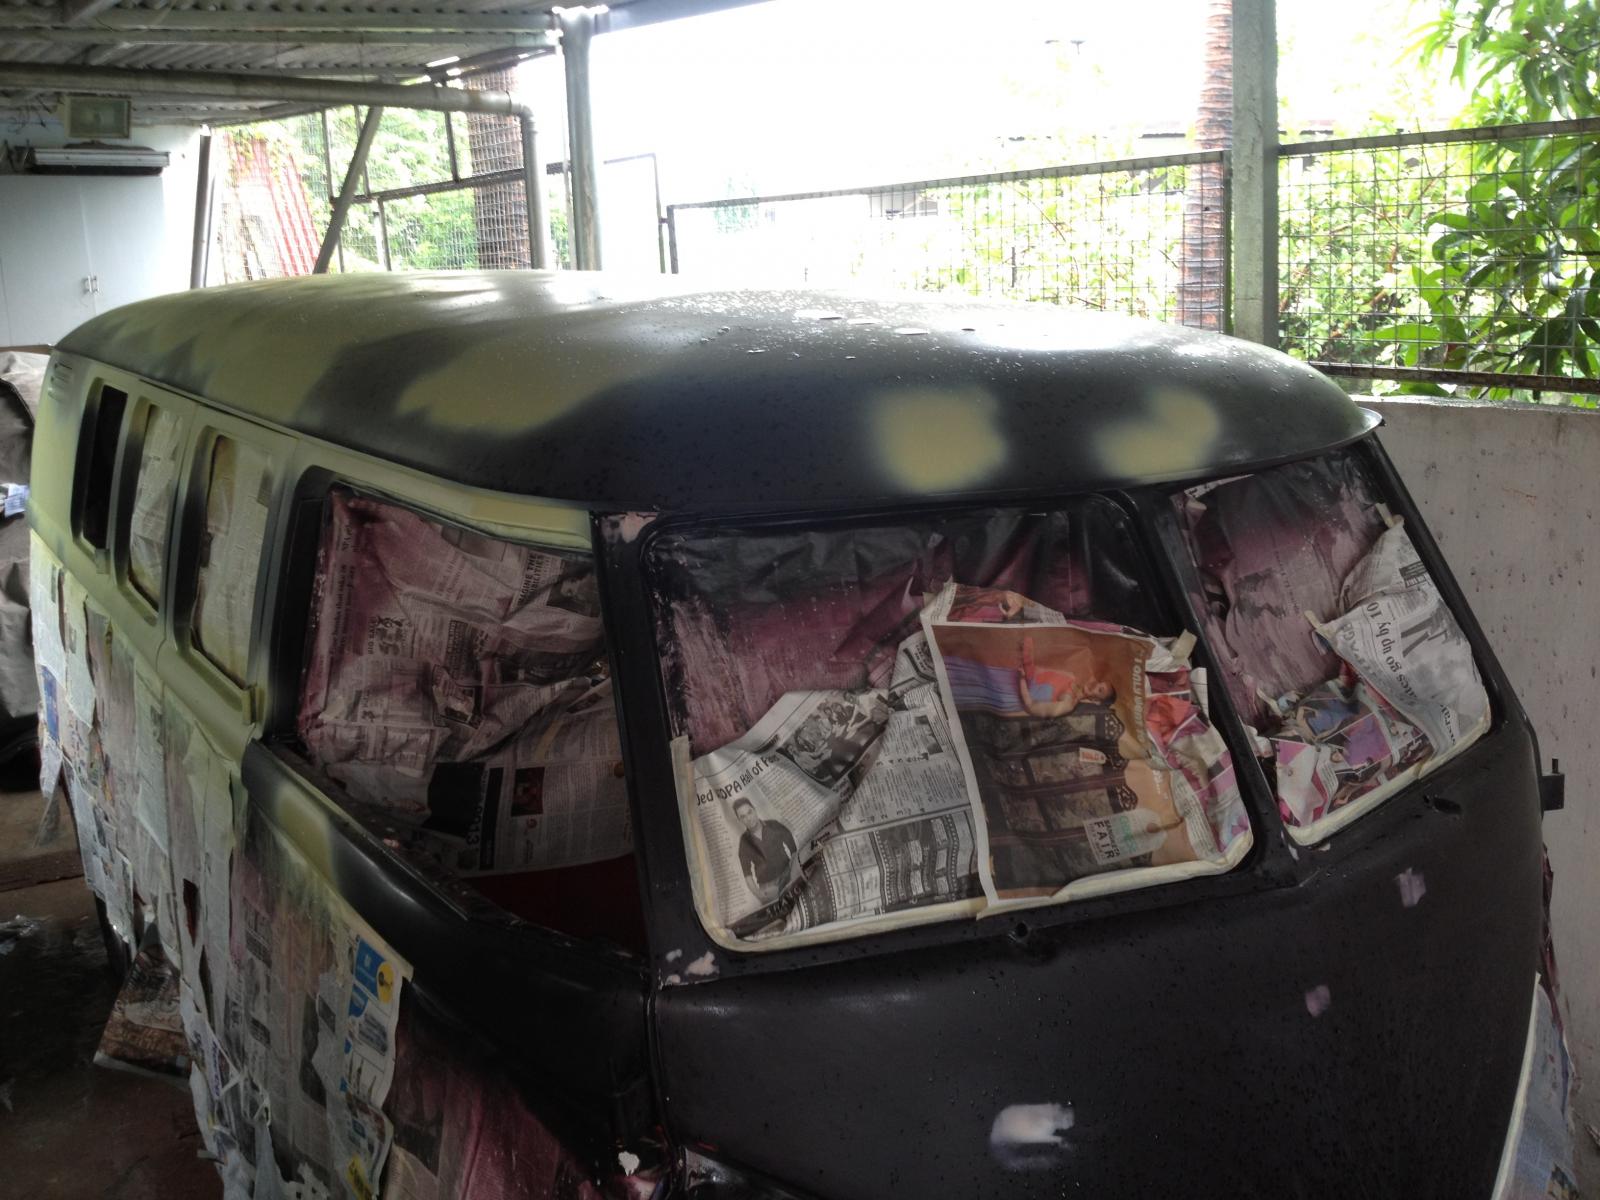
The roof was getting into shape and those unnecessary depressions are out of the pictures now. Although minor paper thin depressions are left and these will be dealt with this weekend.

The rear end is getting into shape.
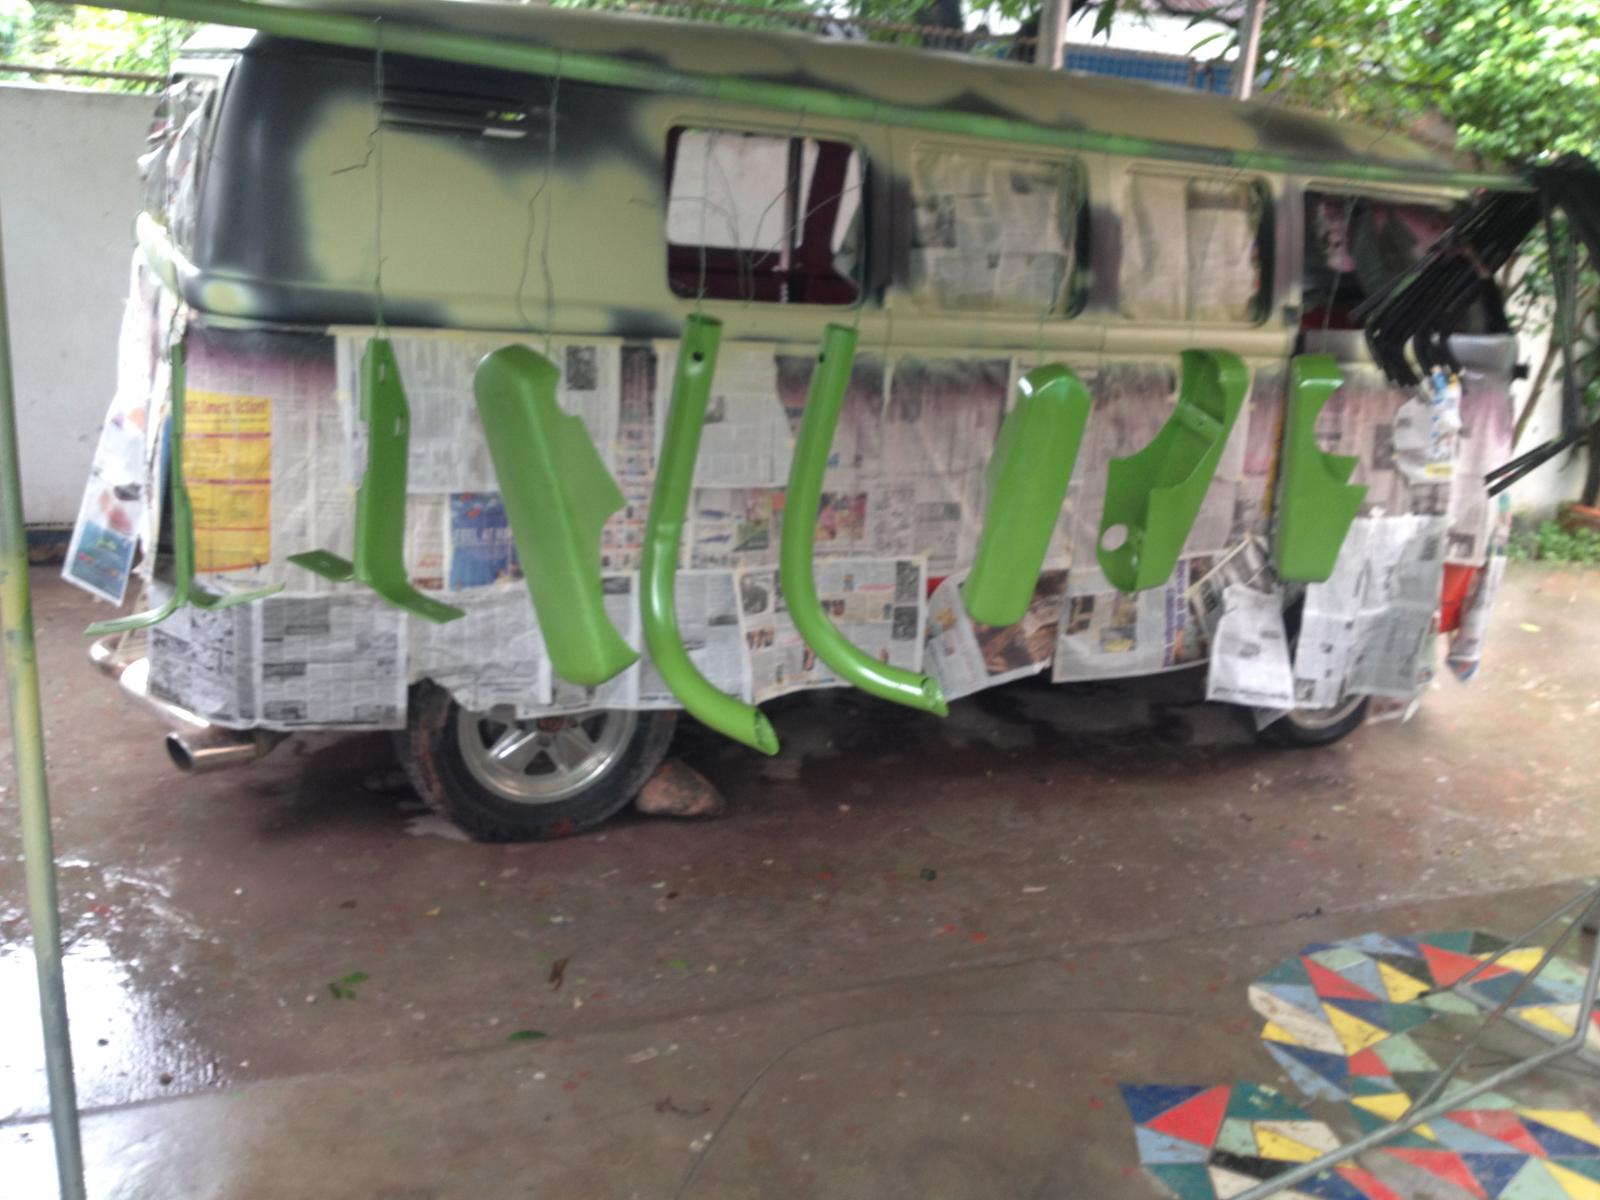
Primer was also applied and painted on the over riders and bumper guards.
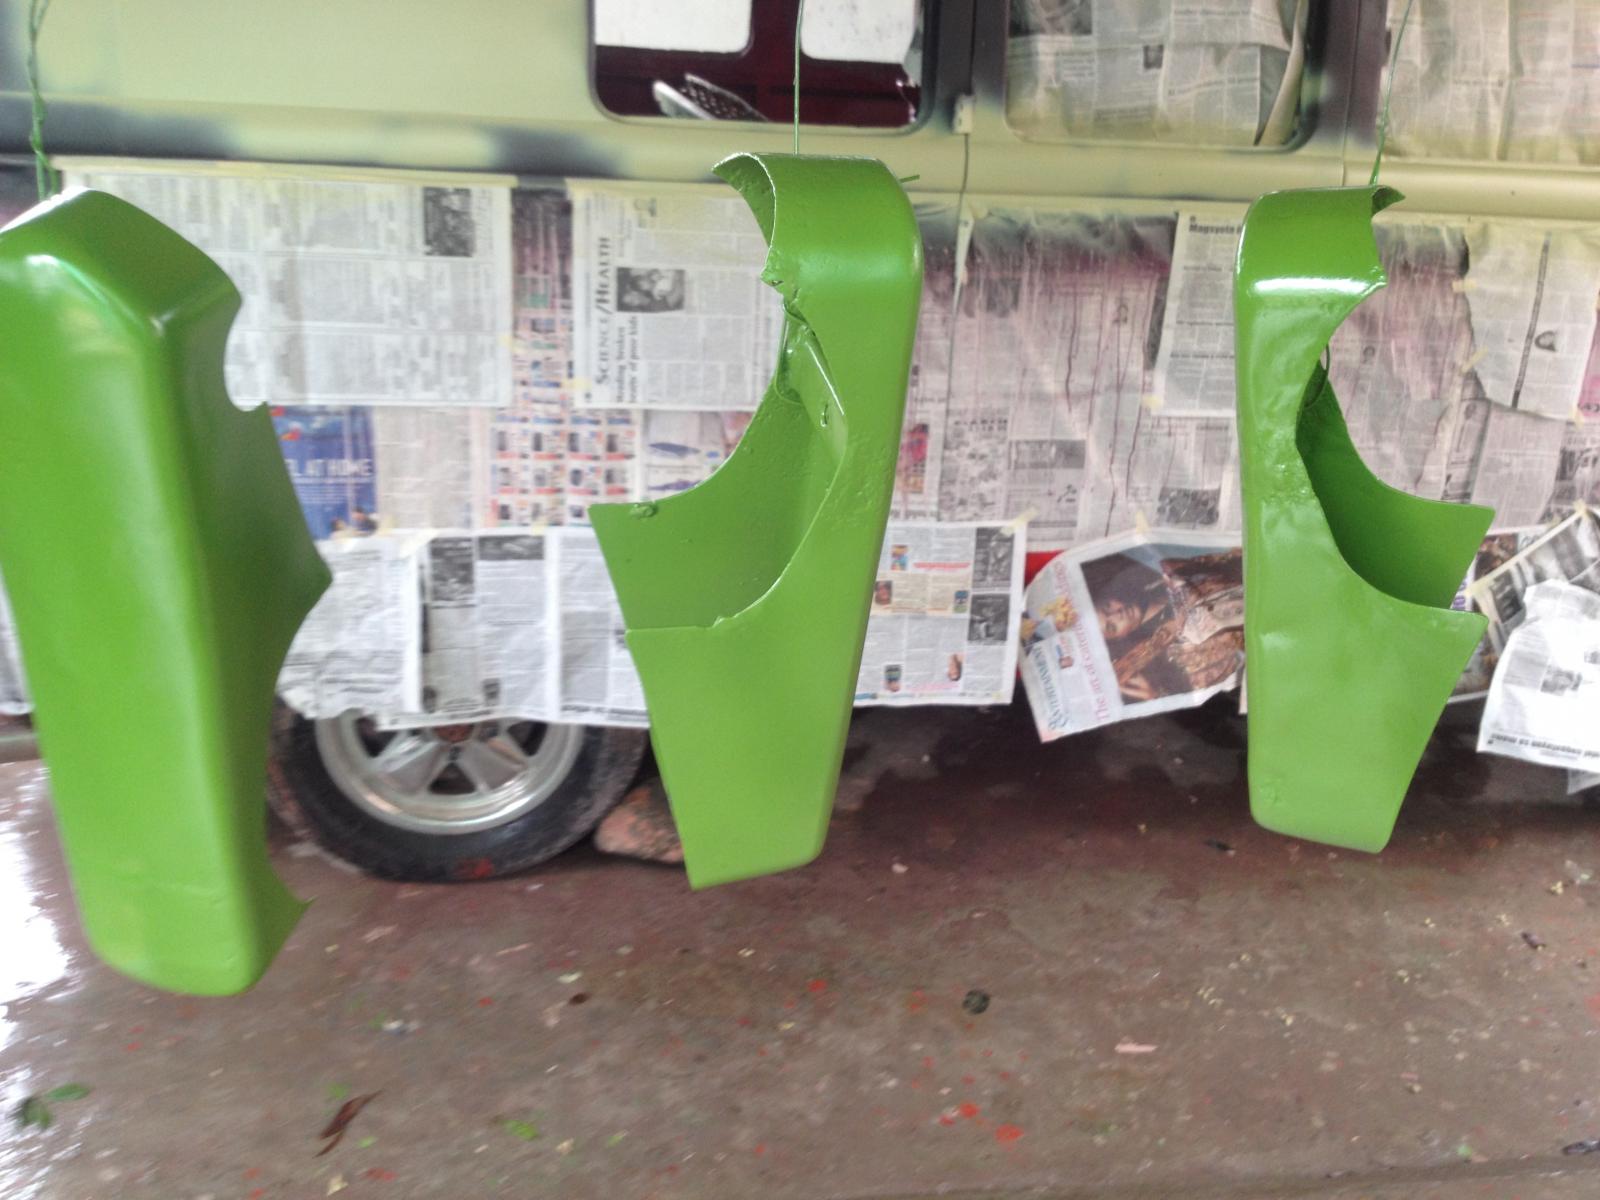
Lost of things are to be done here. These bumper guards are ready to be straightened.
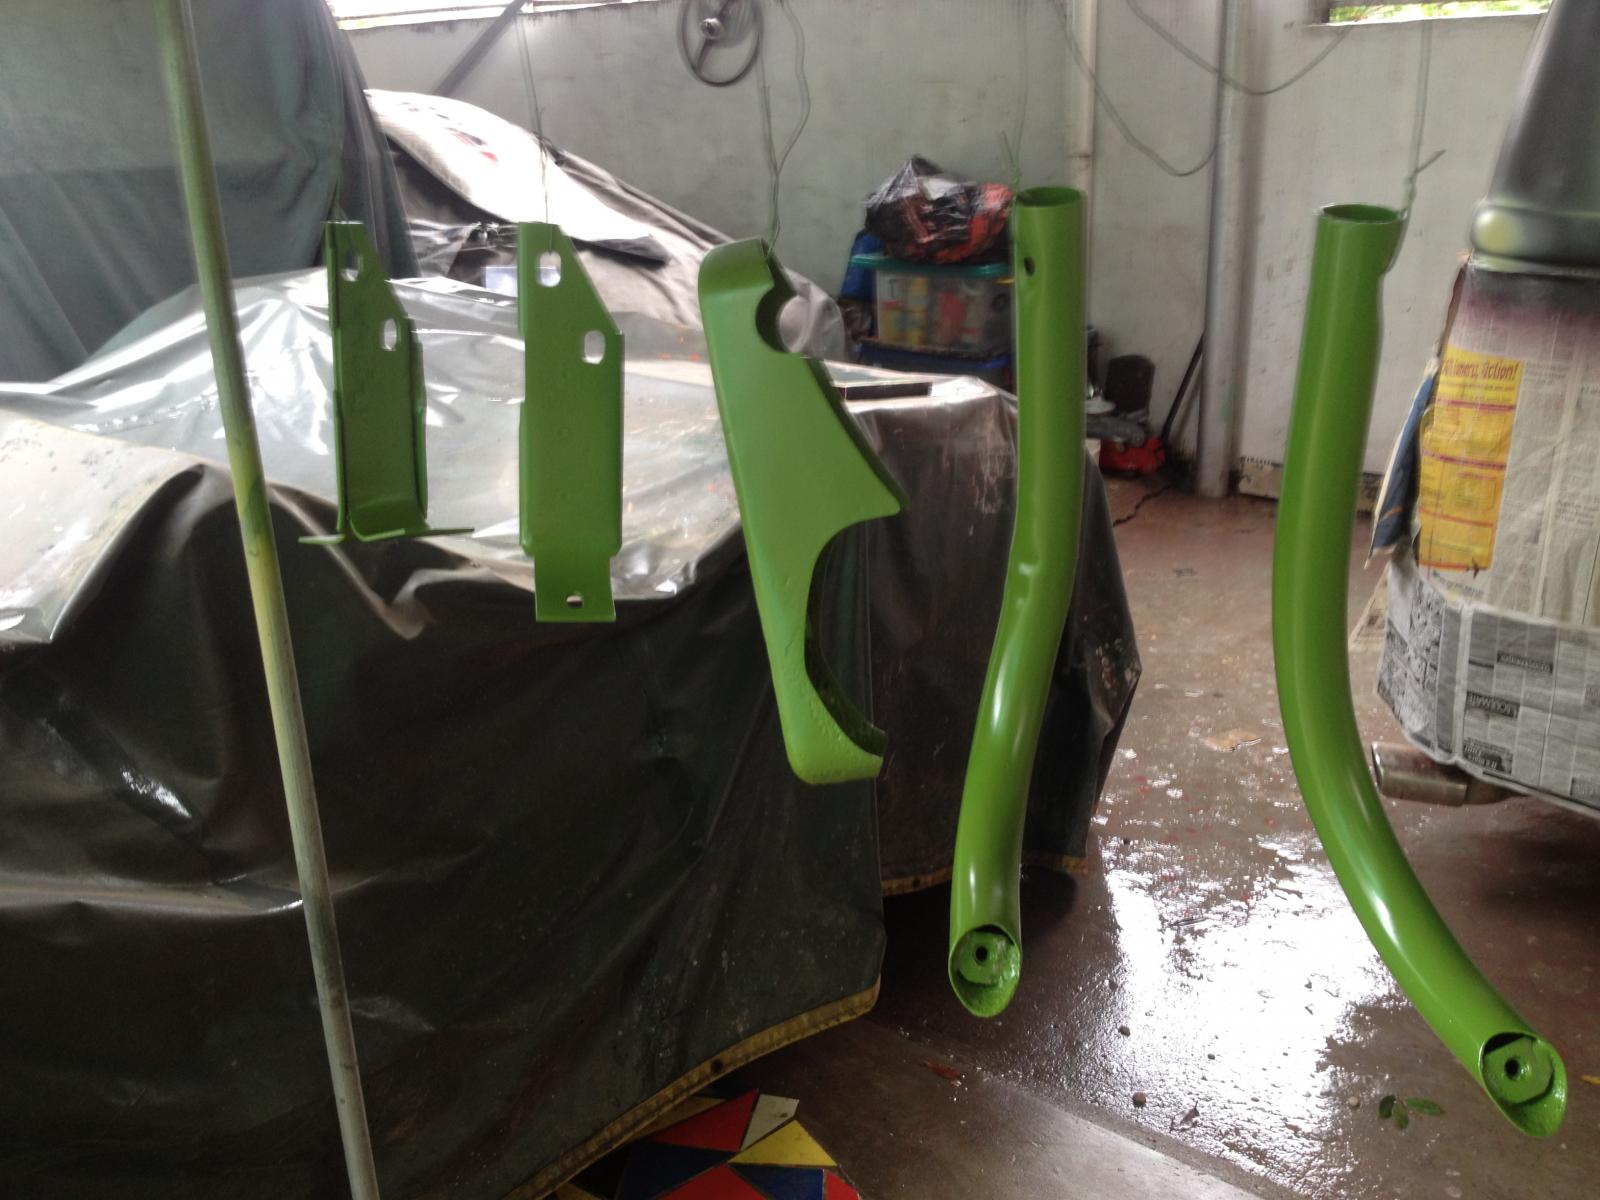
Looking good now and away from rusts.
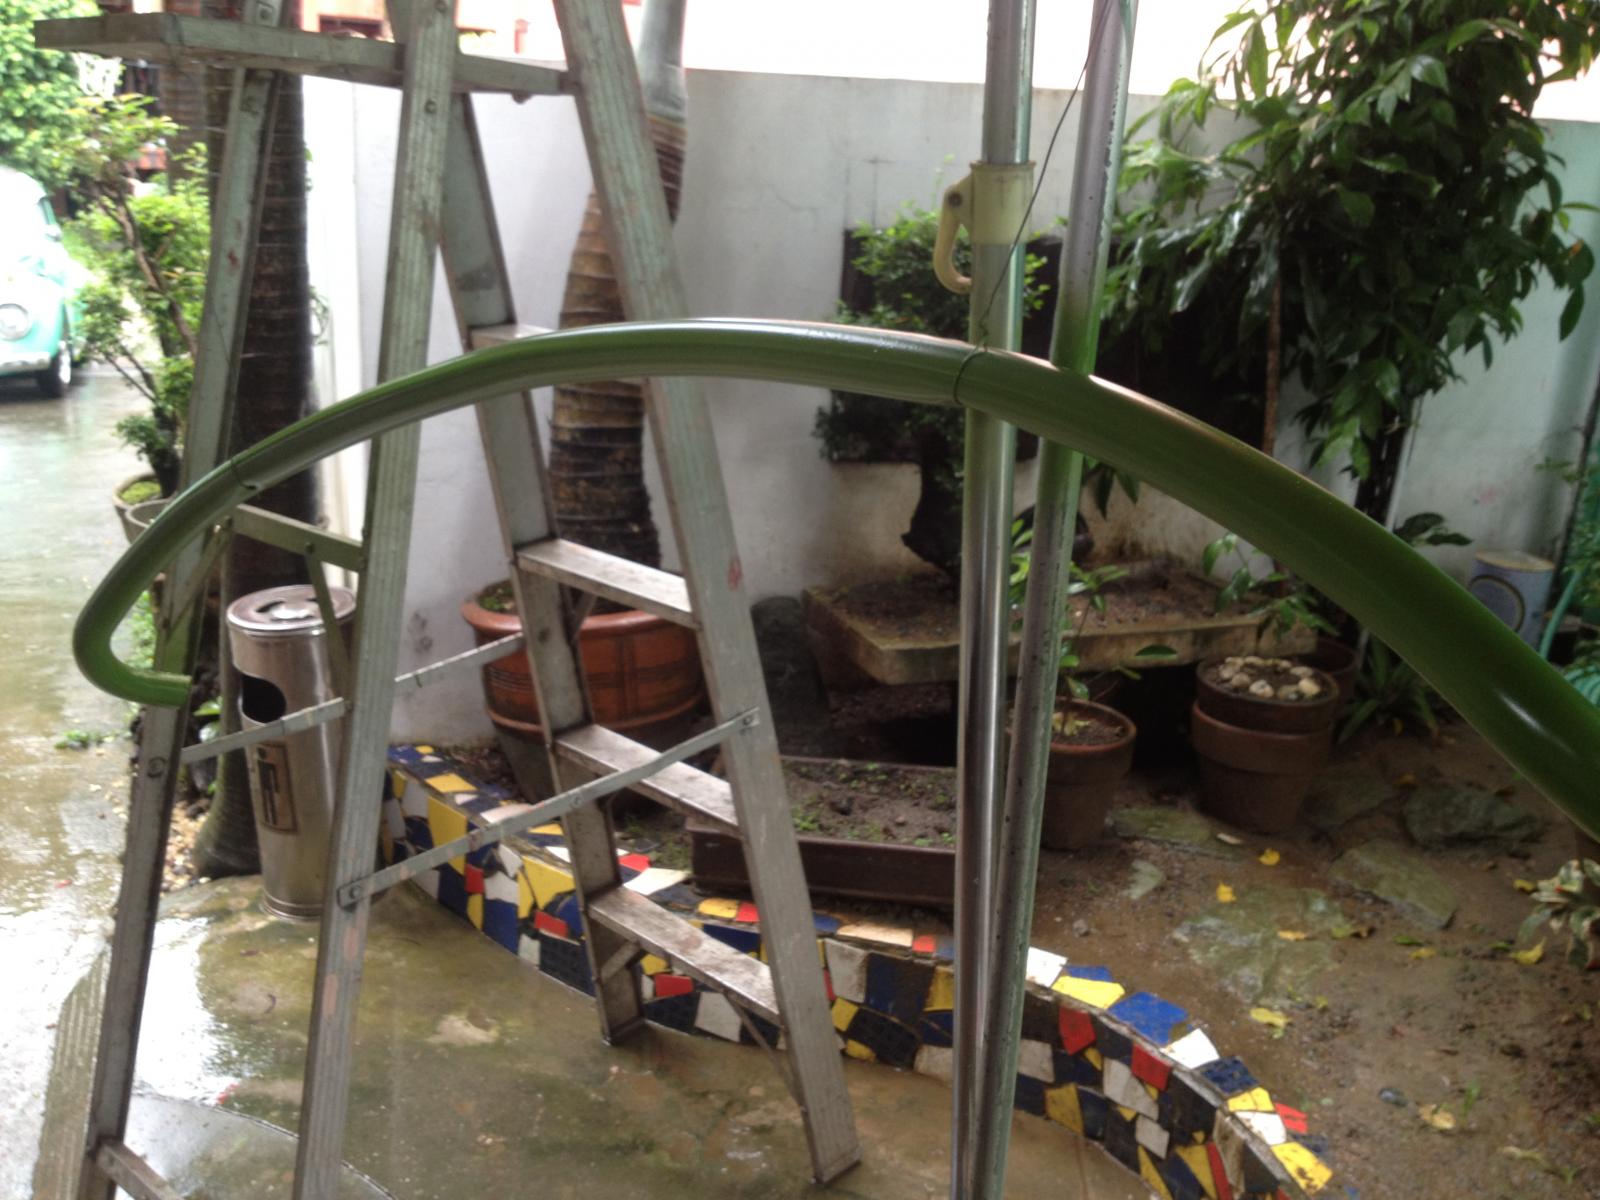
The frond over rider is ready for the sealing wax red paint.

The exposed fillers were painted using the spray fillers.

The roof was getting into shape and those unnecessary depressions are out of the pictures now. Although minor paper thin depressions are left and these will be dealt with this weekend.

The rear end is getting into shape.

Primer was also applied and painted on the over riders and bumper guards.

Lost of things are to be done here. These bumper guards are ready to be straightened.

Looking good now and away from rusts.

The frond over rider is ready for the sealing wax red paint.
dongkg
Registered user
Posts: 90
Joined: Tue Jul 16, 2013 7:58 am
Re: My '67 Split Bus Resto Thread in the Philippines
by dongkg » Fri Aug 23, 2013 9:44 am
Last night I installed a dual 34 Dellorto carbs. I started the installation procedure at around 8 p.m. It wasn't easy installing it because of the cramp space of the engine bay of the split bus. With lost of patience, I was able to finish it.
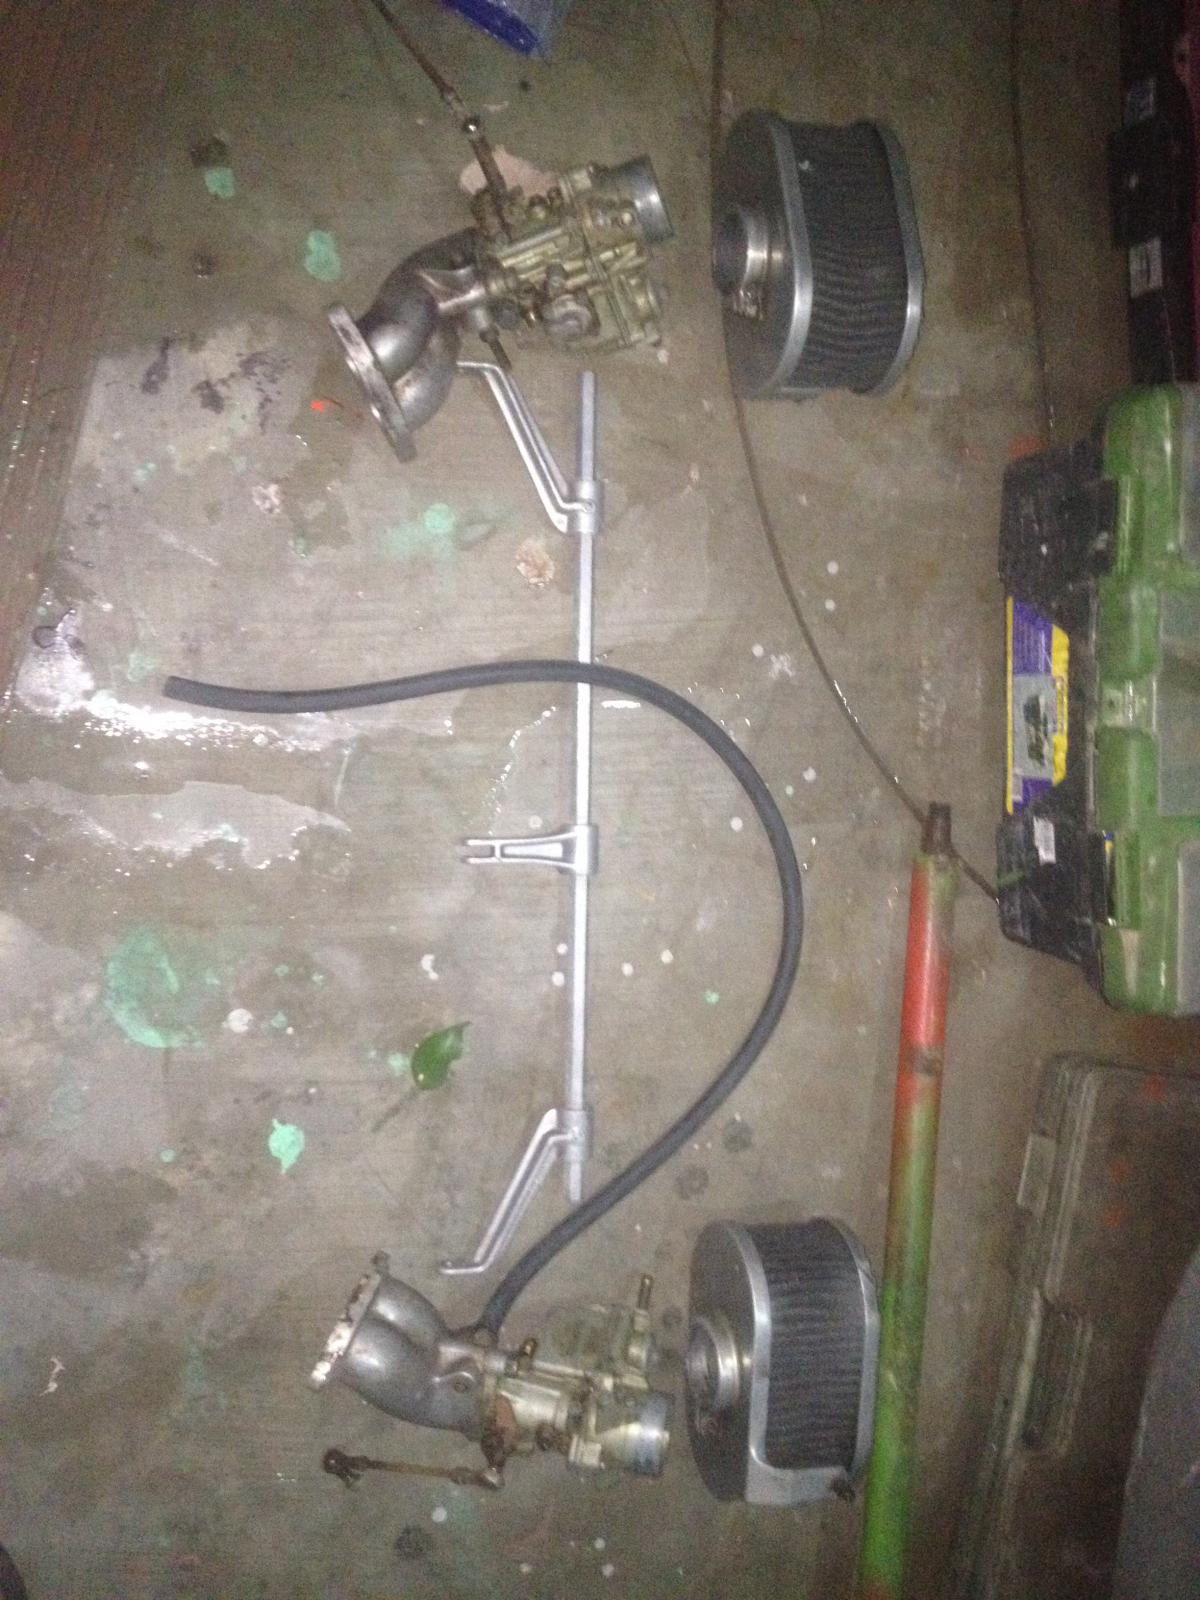
the dual 34 Dellorto carbs were in good shape.
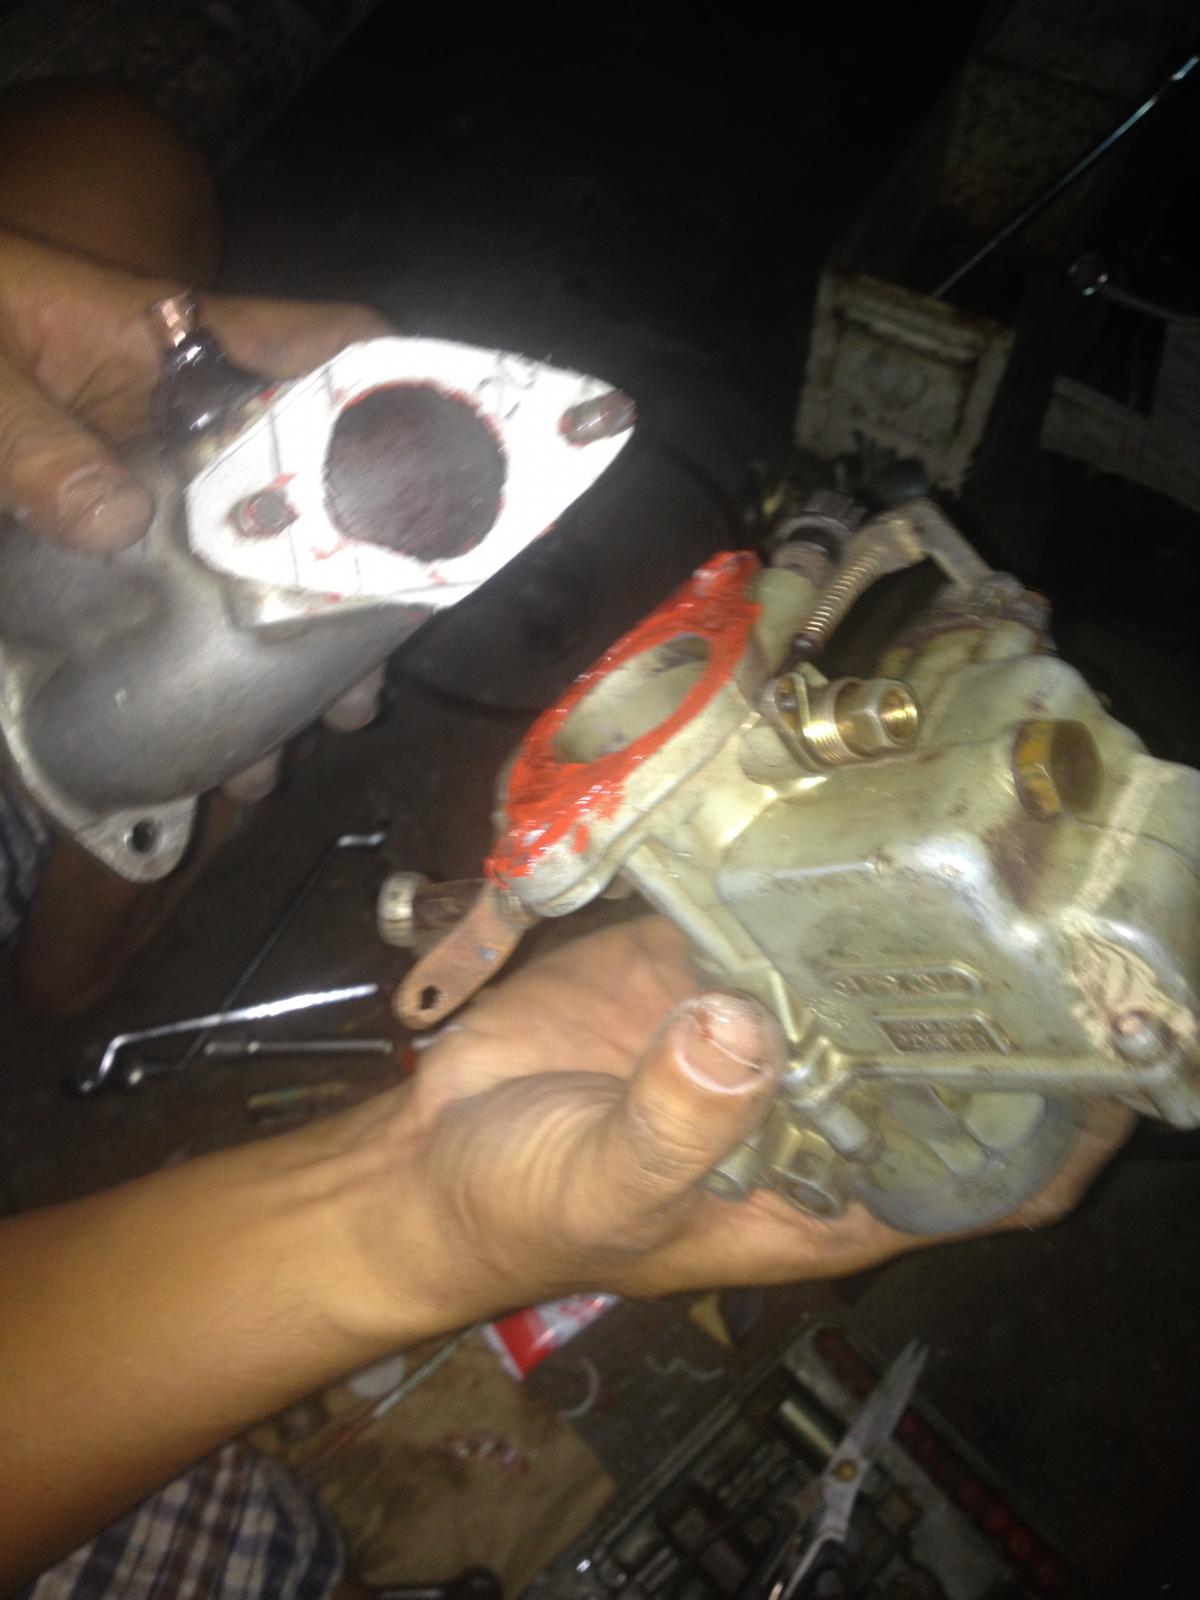
After cleaning the cars, I replaced a new gasket to spare the carbs from possible air leak.
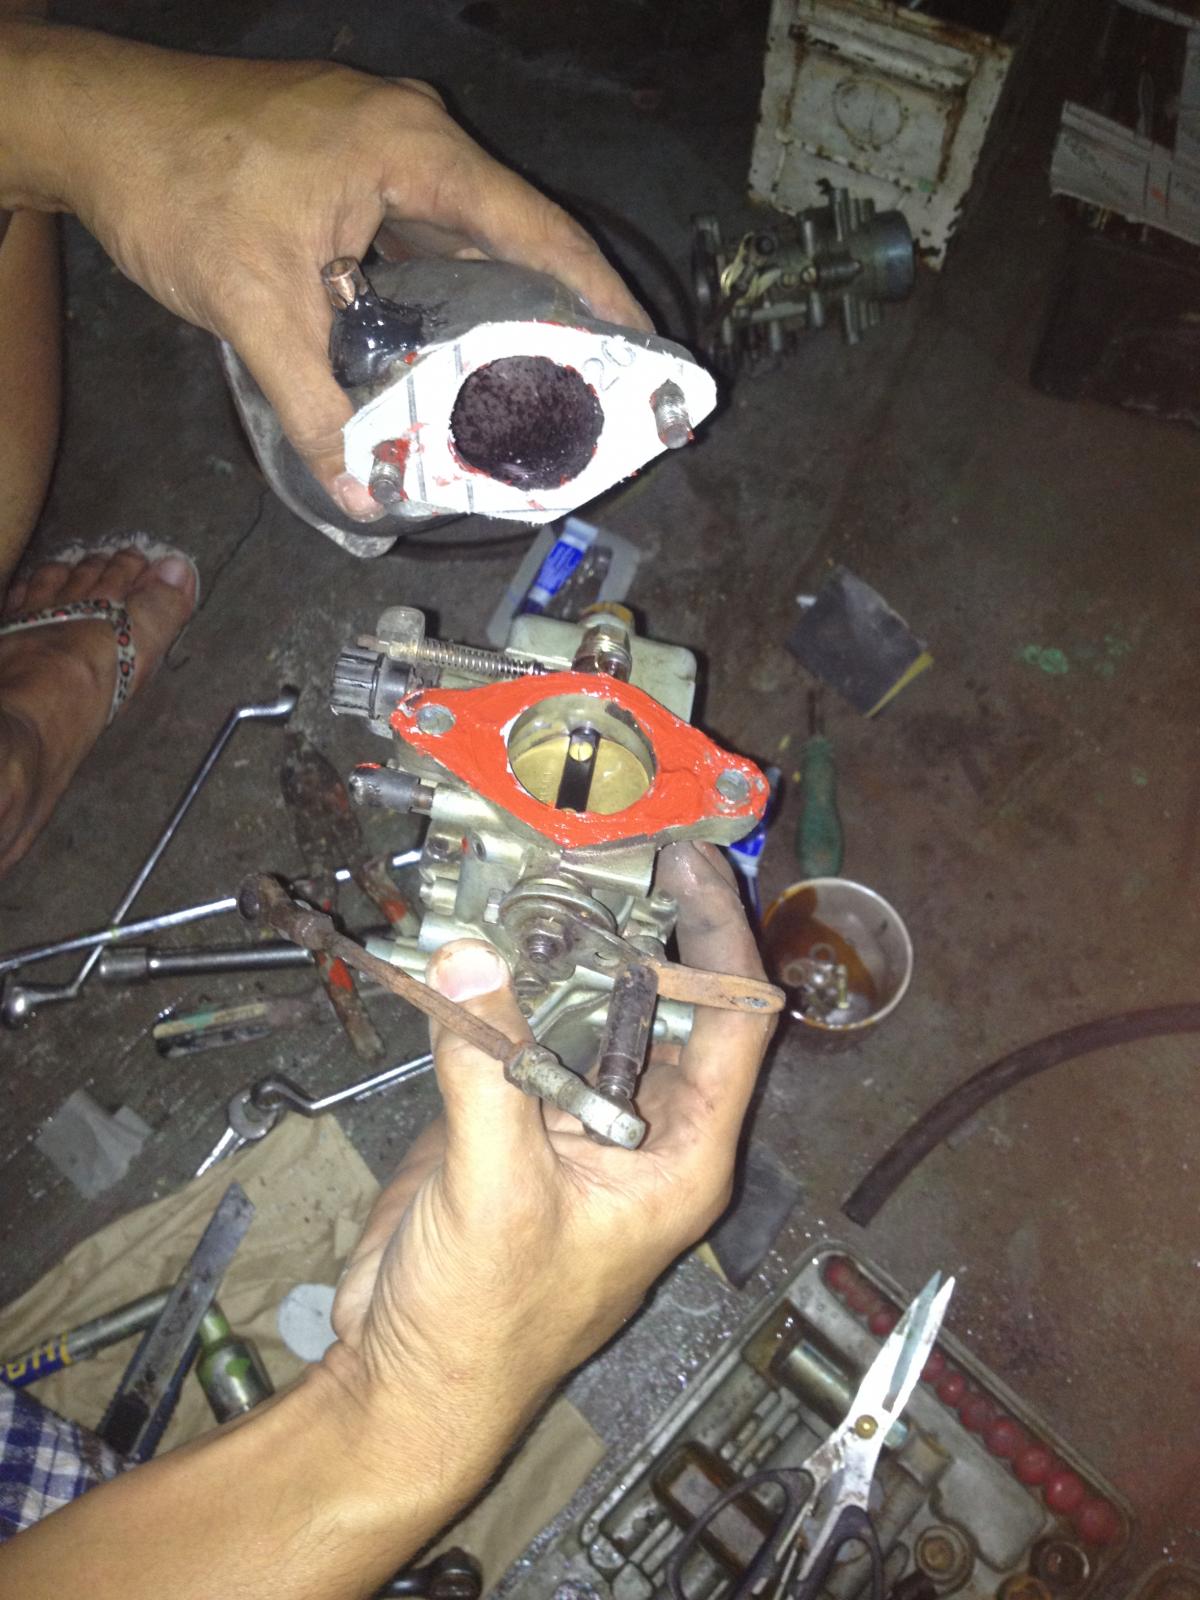
I followed the same procedure on the other carb.
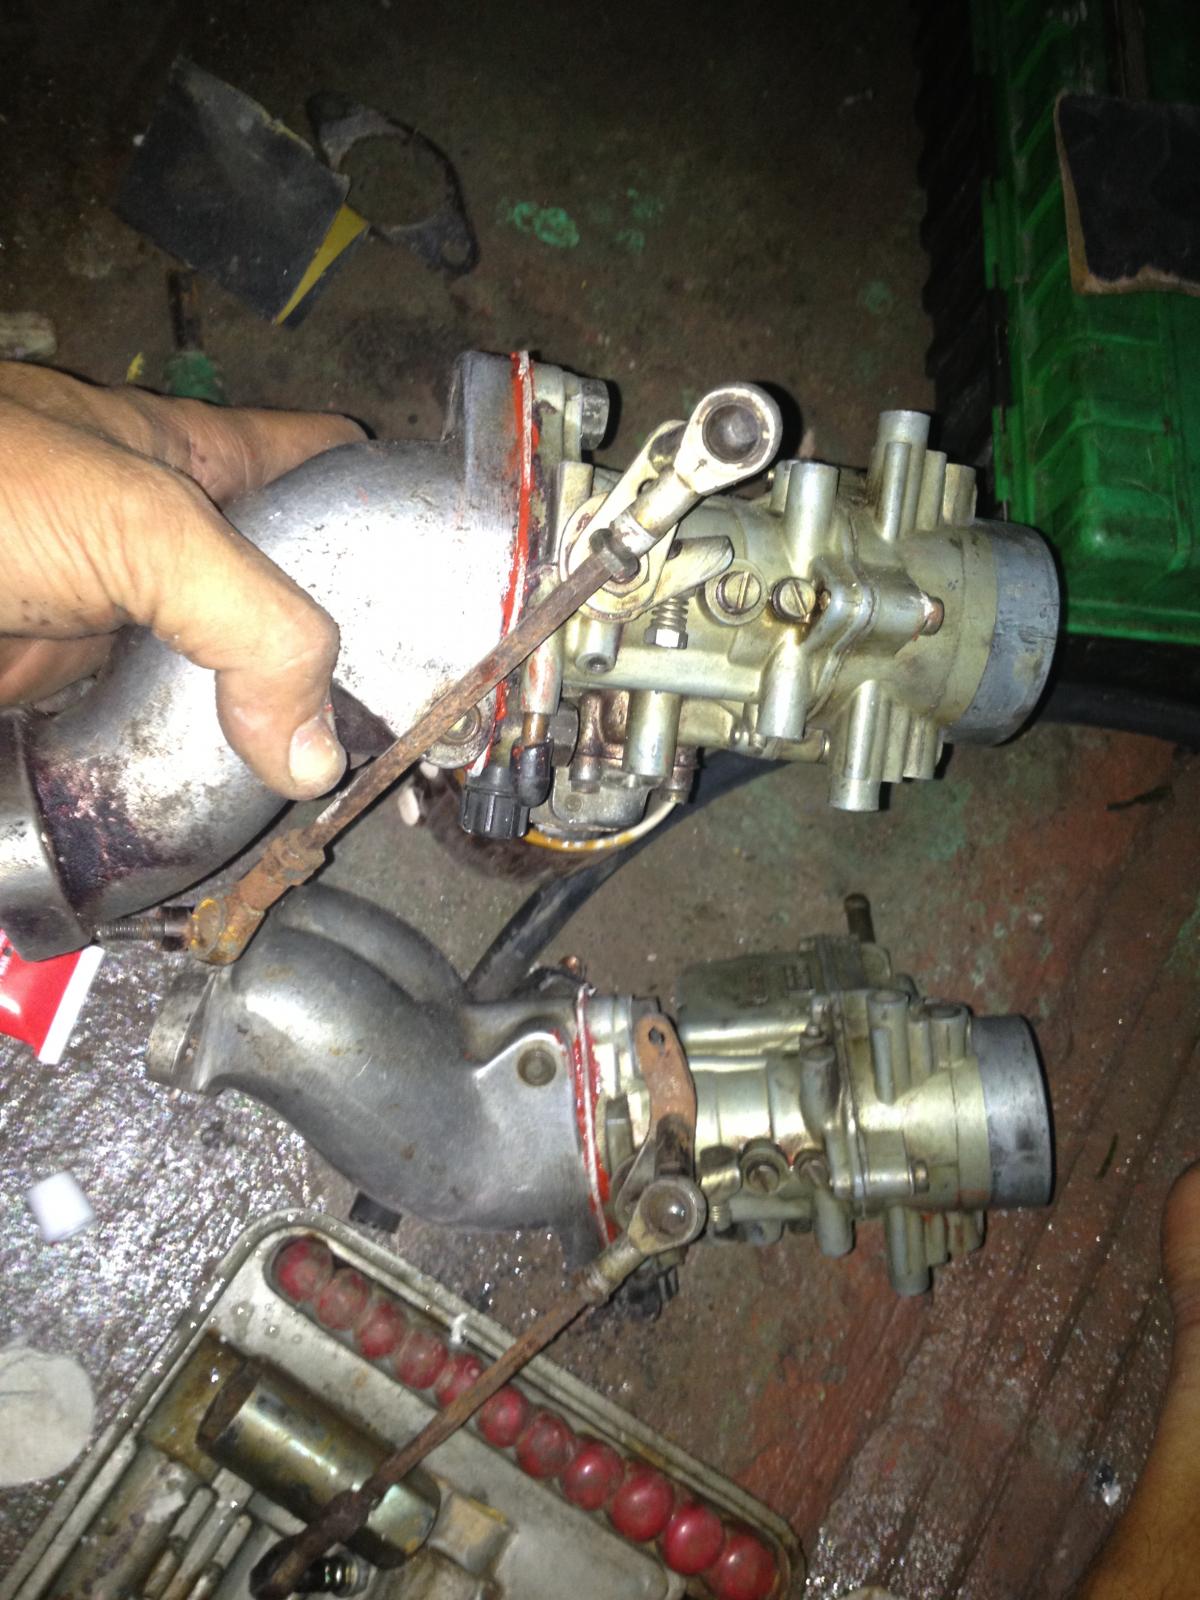
The carbs had to be inspected before installation to avoid duplicity of work.
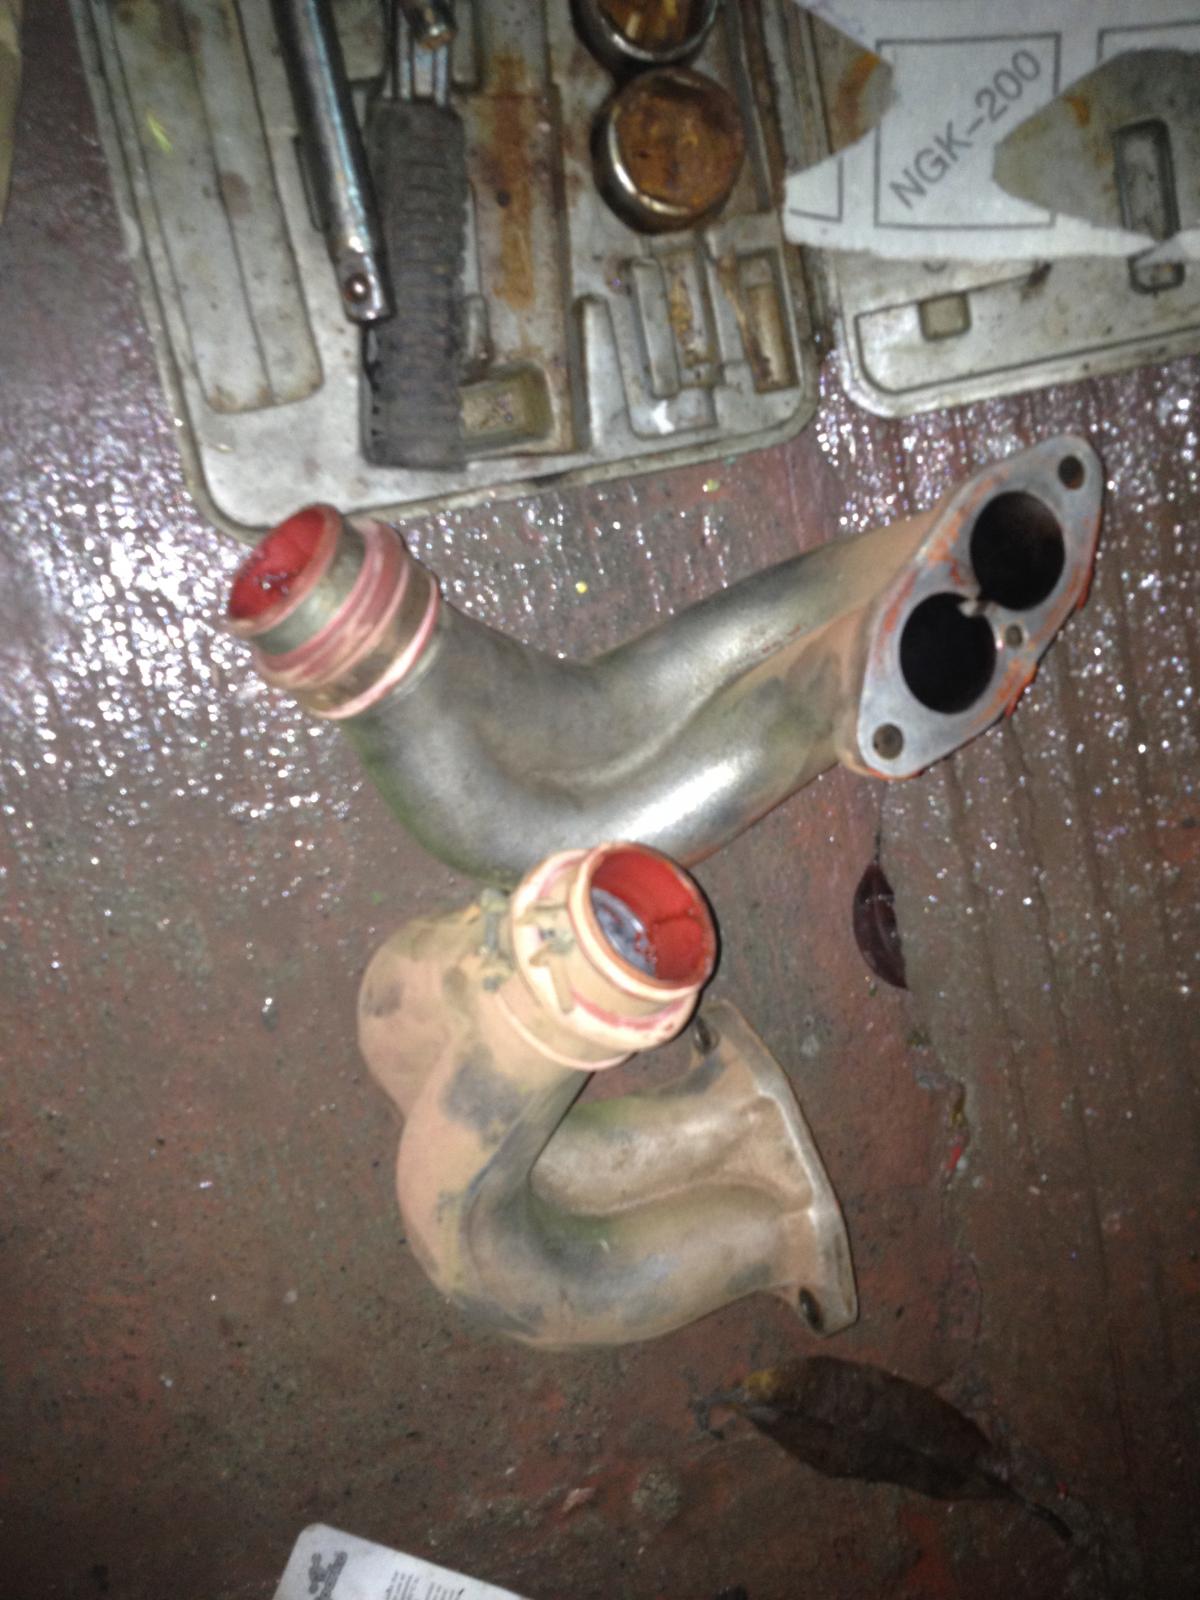
The side castings, manifold and stock carbs have to be kept for a long long time.
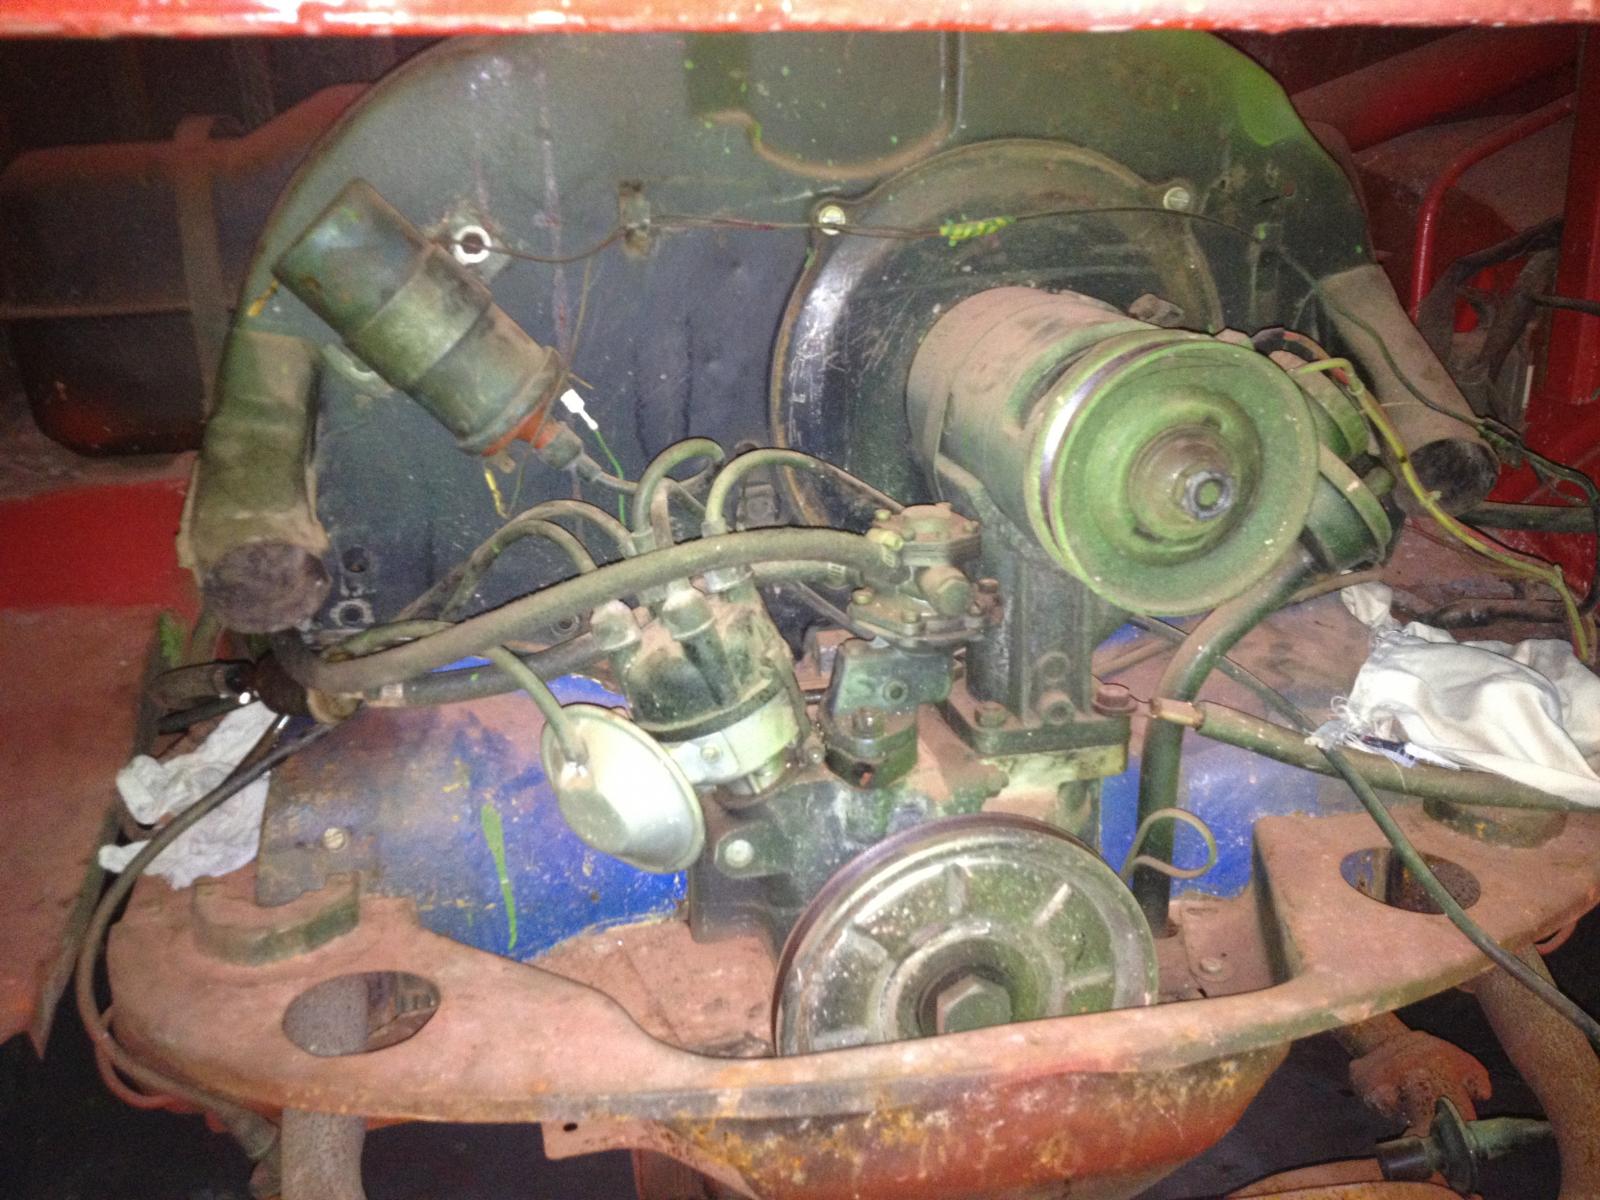
Removing he side casting was not a walk in the park. Unscrewing the nuts were so difficult considering that the space was so tight.
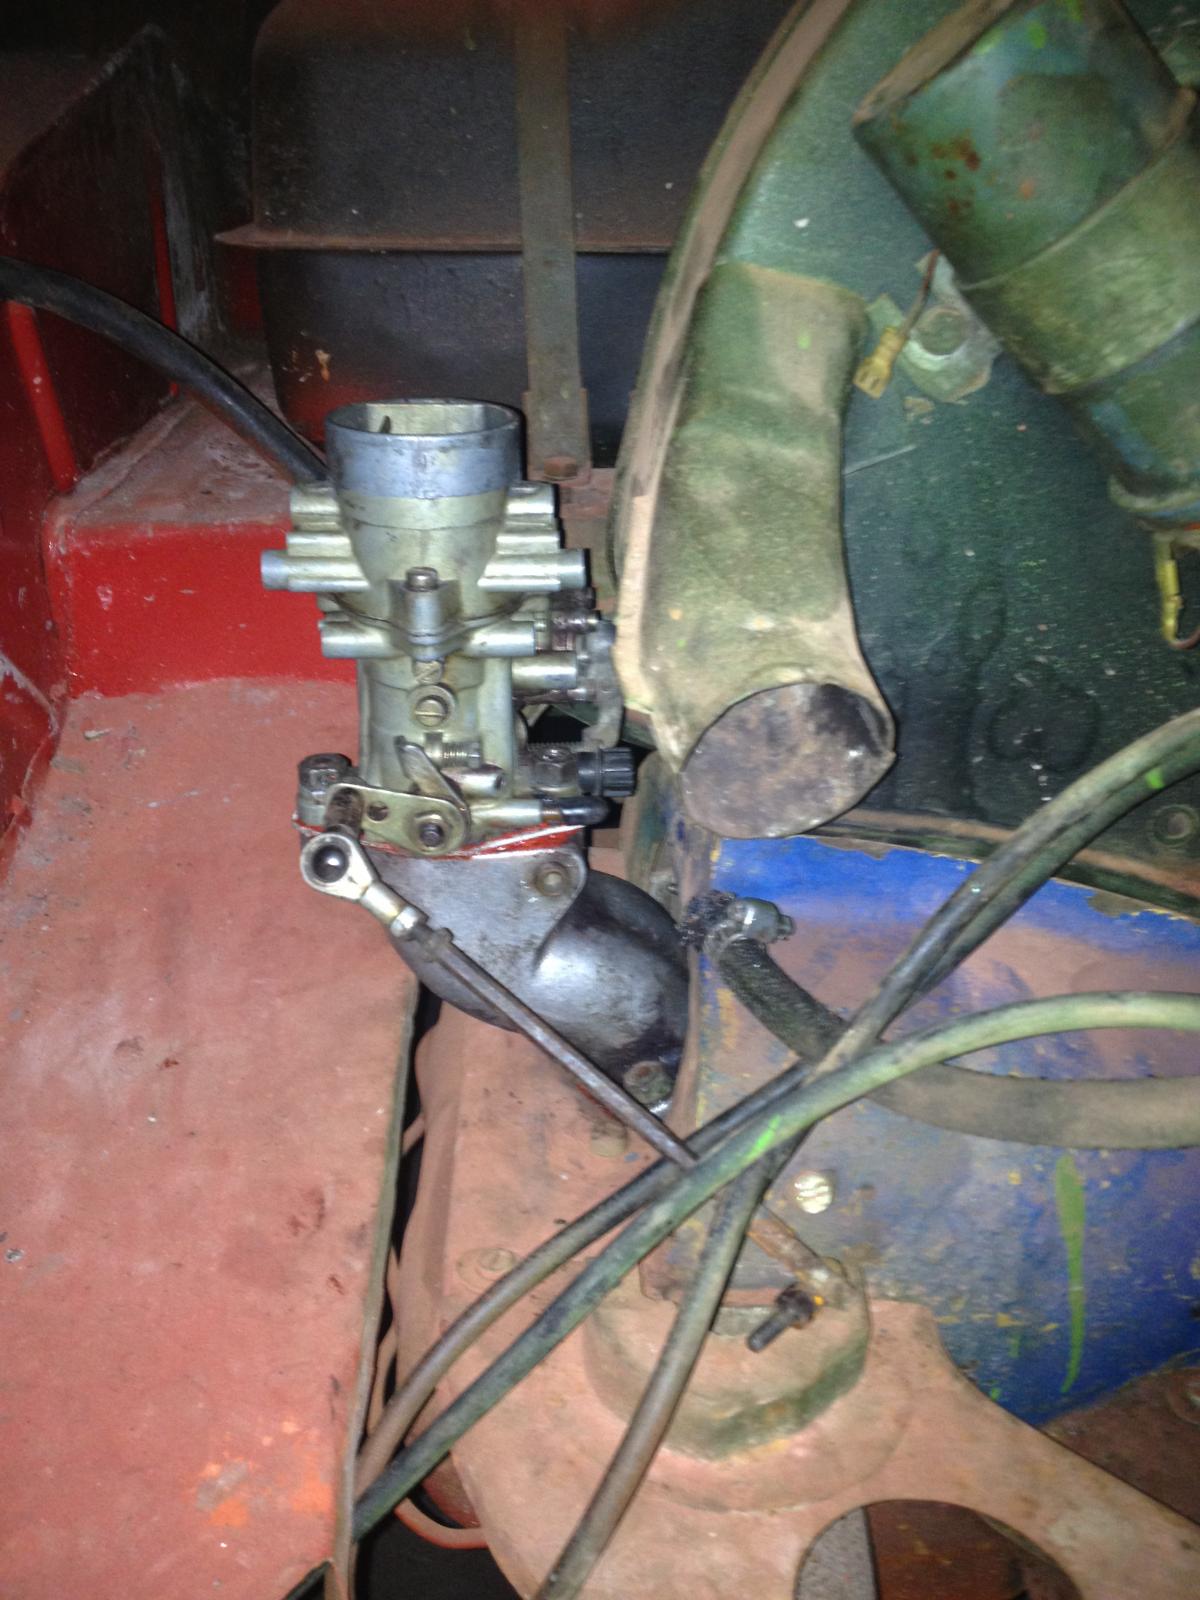
Test fitting the carb was necessary so that it would be properly installed.
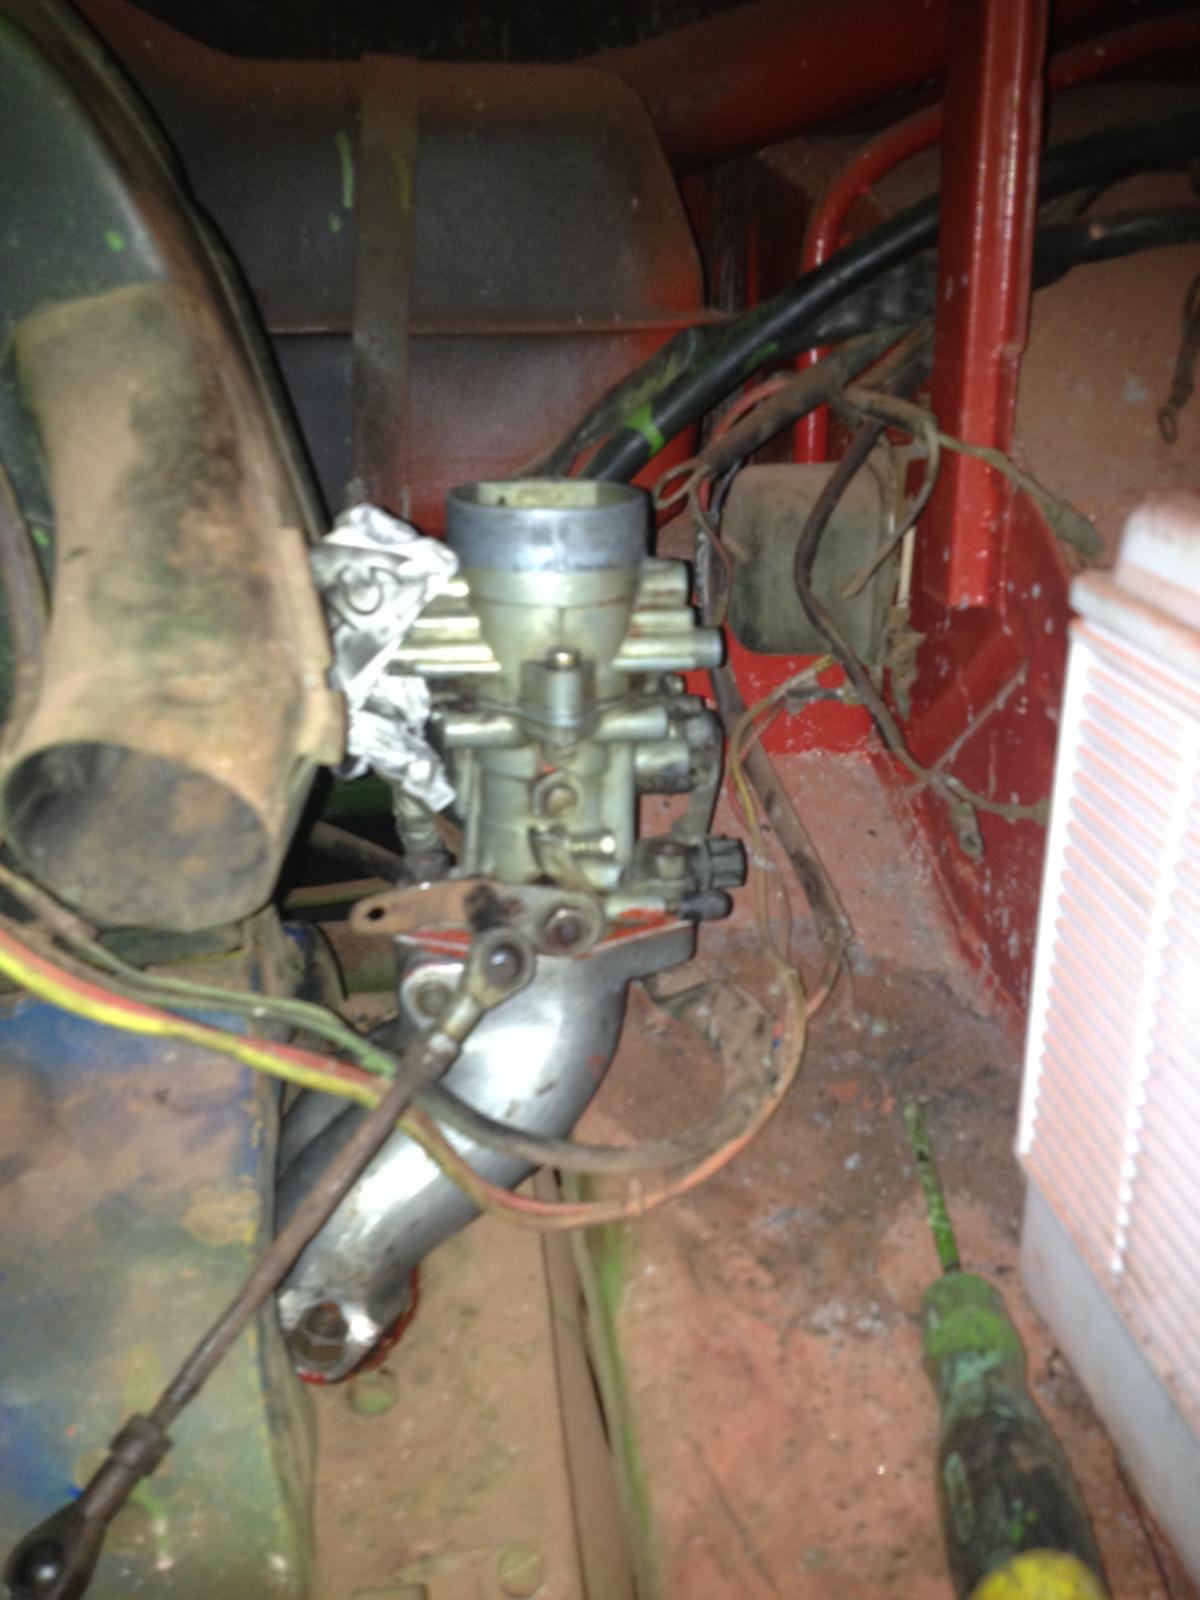
Same procedure was followed on the other side.

Once the carbs were in their proper places, I was ready to install the air cleaners and the linkage and the fuel hoses.

The finished installation. When I started the engine, the dual dellortos fired up and it ran unevenly. Henceforth, I checked the idle and the linkage to get the balance idle. I was idling accordingly. Although, I there were apparent hesitations when revving it successively and it sounded like it was lacking fuel or air supply. At around 11 p.m., my wife summoned me and called my attention that the revving was so load that the silent neighborhood was now affected. Alas, I stopped and packed up wanting to set the correct timing. Although, on Saturday, I will still check it for timing.
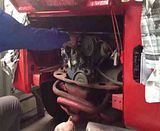
This is the video I took the following morning. I was idling okay, but successive revving reveals that there was hesitations or flat spot, which, needs to be addressed. The roaring of the de-facto A1 muffler was music to my ears!
QUESTION:
Please listen to the revving sound of the engine and you will hear hesitations or flat spots after revving it in successions. What is the usual cause of these? What is the proper timing that I need to do on this? Do I need to re-jet these carbs? Or a bucket full of patience timing it will make it rev properly?
Thanks in advance, buddies.
Dong

the dual 34 Dellorto carbs were in good shape.

After cleaning the cars, I replaced a new gasket to spare the carbs from possible air leak.

I followed the same procedure on the other carb.

The carbs had to be inspected before installation to avoid duplicity of work.

The side castings, manifold and stock carbs have to be kept for a long long time.

Removing he side casting was not a walk in the park. Unscrewing the nuts were so difficult considering that the space was so tight.

Test fitting the carb was necessary so that it would be properly installed.

Same procedure was followed on the other side.

Once the carbs were in their proper places, I was ready to install the air cleaners and the linkage and the fuel hoses.

The finished installation. When I started the engine, the dual dellortos fired up and it ran unevenly. Henceforth, I checked the idle and the linkage to get the balance idle. I was idling accordingly. Although, I there were apparent hesitations when revving it successively and it sounded like it was lacking fuel or air supply. At around 11 p.m., my wife summoned me and called my attention that the revving was so load that the silent neighborhood was now affected. Alas, I stopped and packed up wanting to set the correct timing. Although, on Saturday, I will still check it for timing.

This is the video I took the following morning. I was idling okay, but successive revving reveals that there was hesitations or flat spot, which, needs to be addressed. The roaring of the de-facto A1 muffler was music to my ears!
QUESTION:
Please listen to the revving sound of the engine and you will hear hesitations or flat spots after revving it in successions. What is the usual cause of these? What is the proper timing that I need to do on this? Do I need to re-jet these carbs? Or a bucket full of patience timing it will make it rev properly?
Thanks in advance, buddies.
Dong
dongkg
Registered user
Posts: 90
Joined: Tue Jul 16, 2013 7:58 am
Re: My '67 Split Bus Resto Thread in the Philippines
by dongkg » Tue Sep 03, 2013 10:42 am
This weekend, I sent practically the whole day block sanding the roof and there were so may surfaces that I addressed and I can say now that it was worth the work. Thereafter, I painted the spray filler paint last Sunday. This weekend, I will apply the chestnut brown paint and hope to get less and less depressions and other imperfections on the surfaces. I need to finish the split bus..
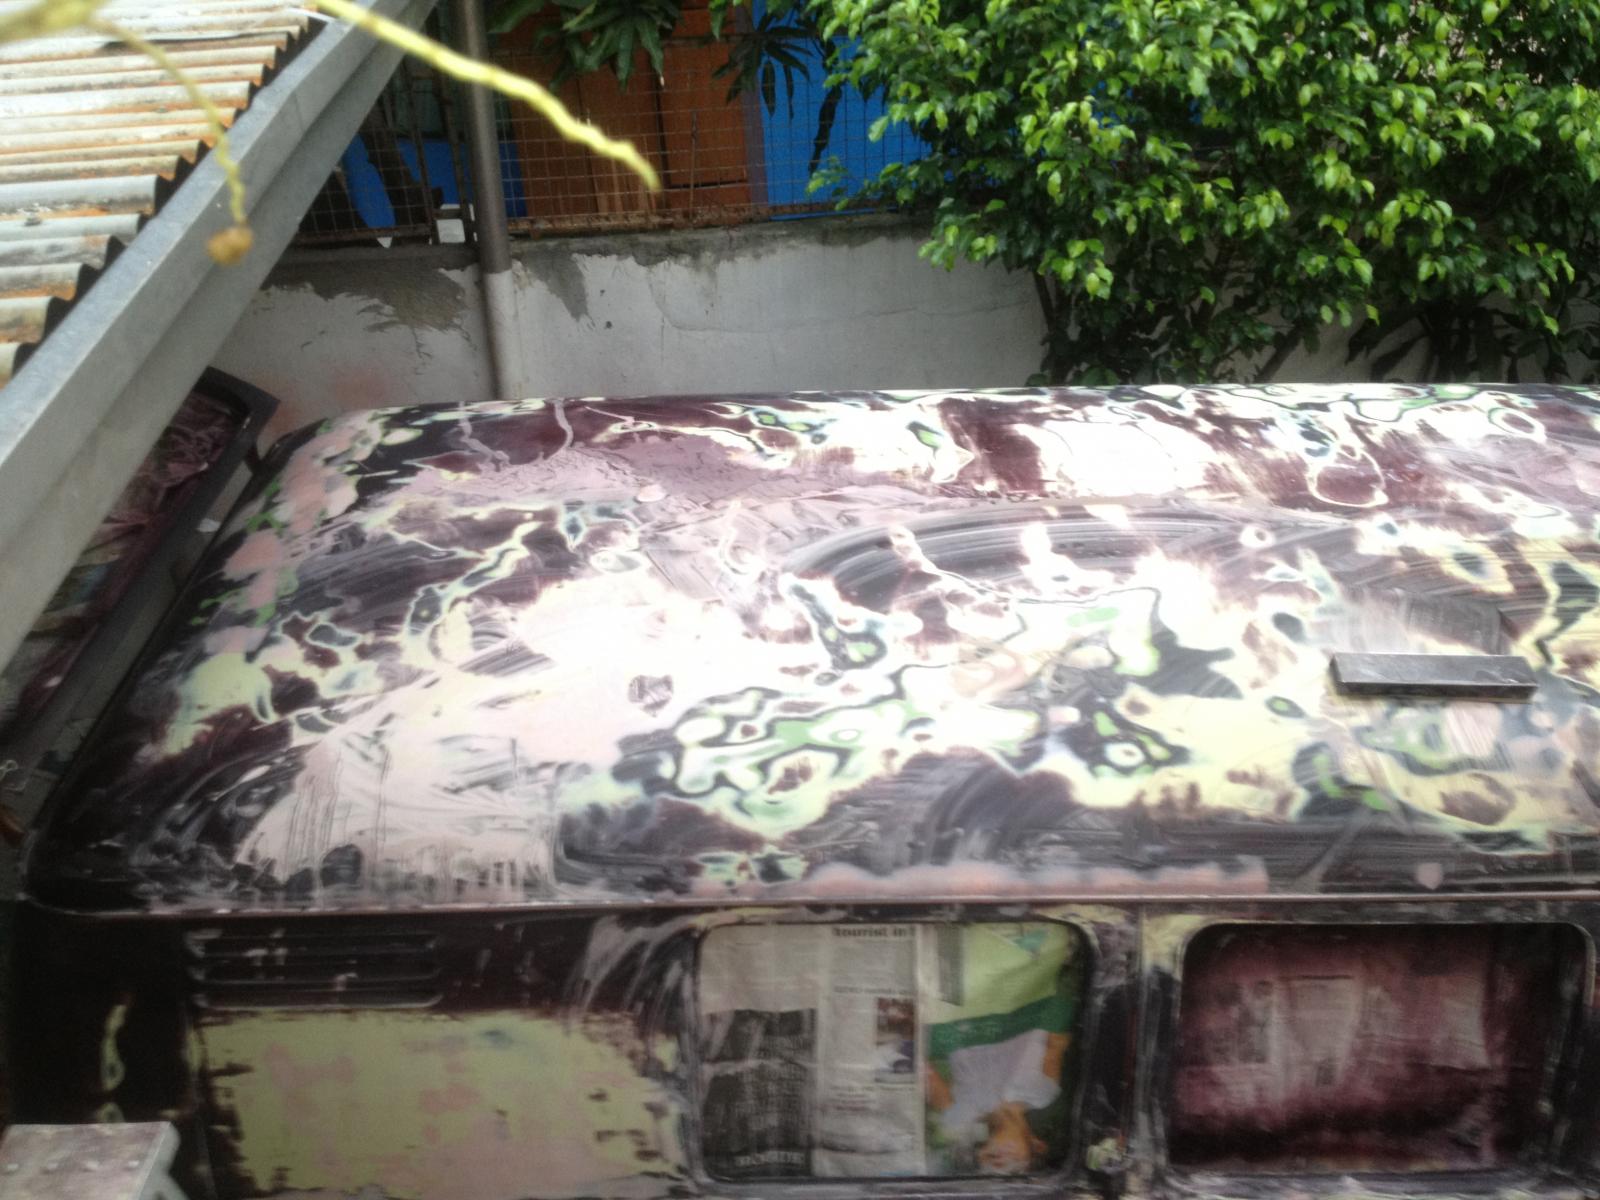
Front portion of the roof.
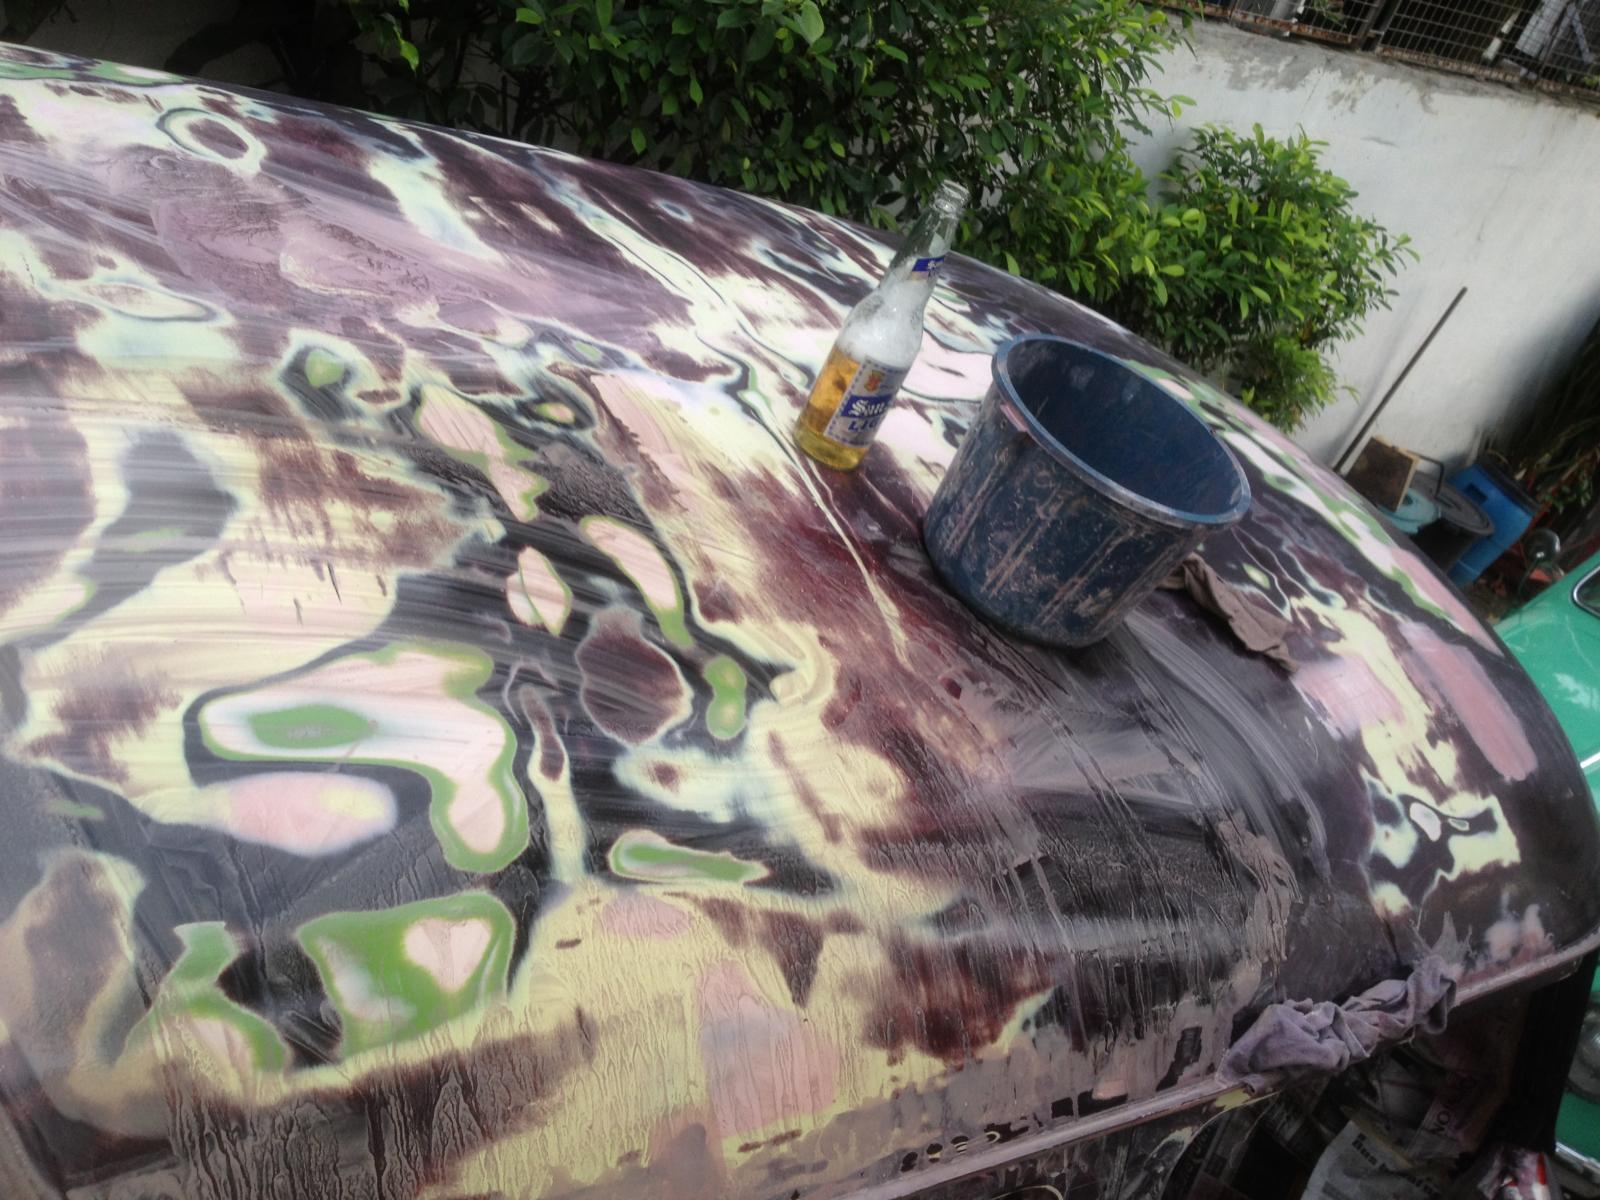
Rear portion of the roof.
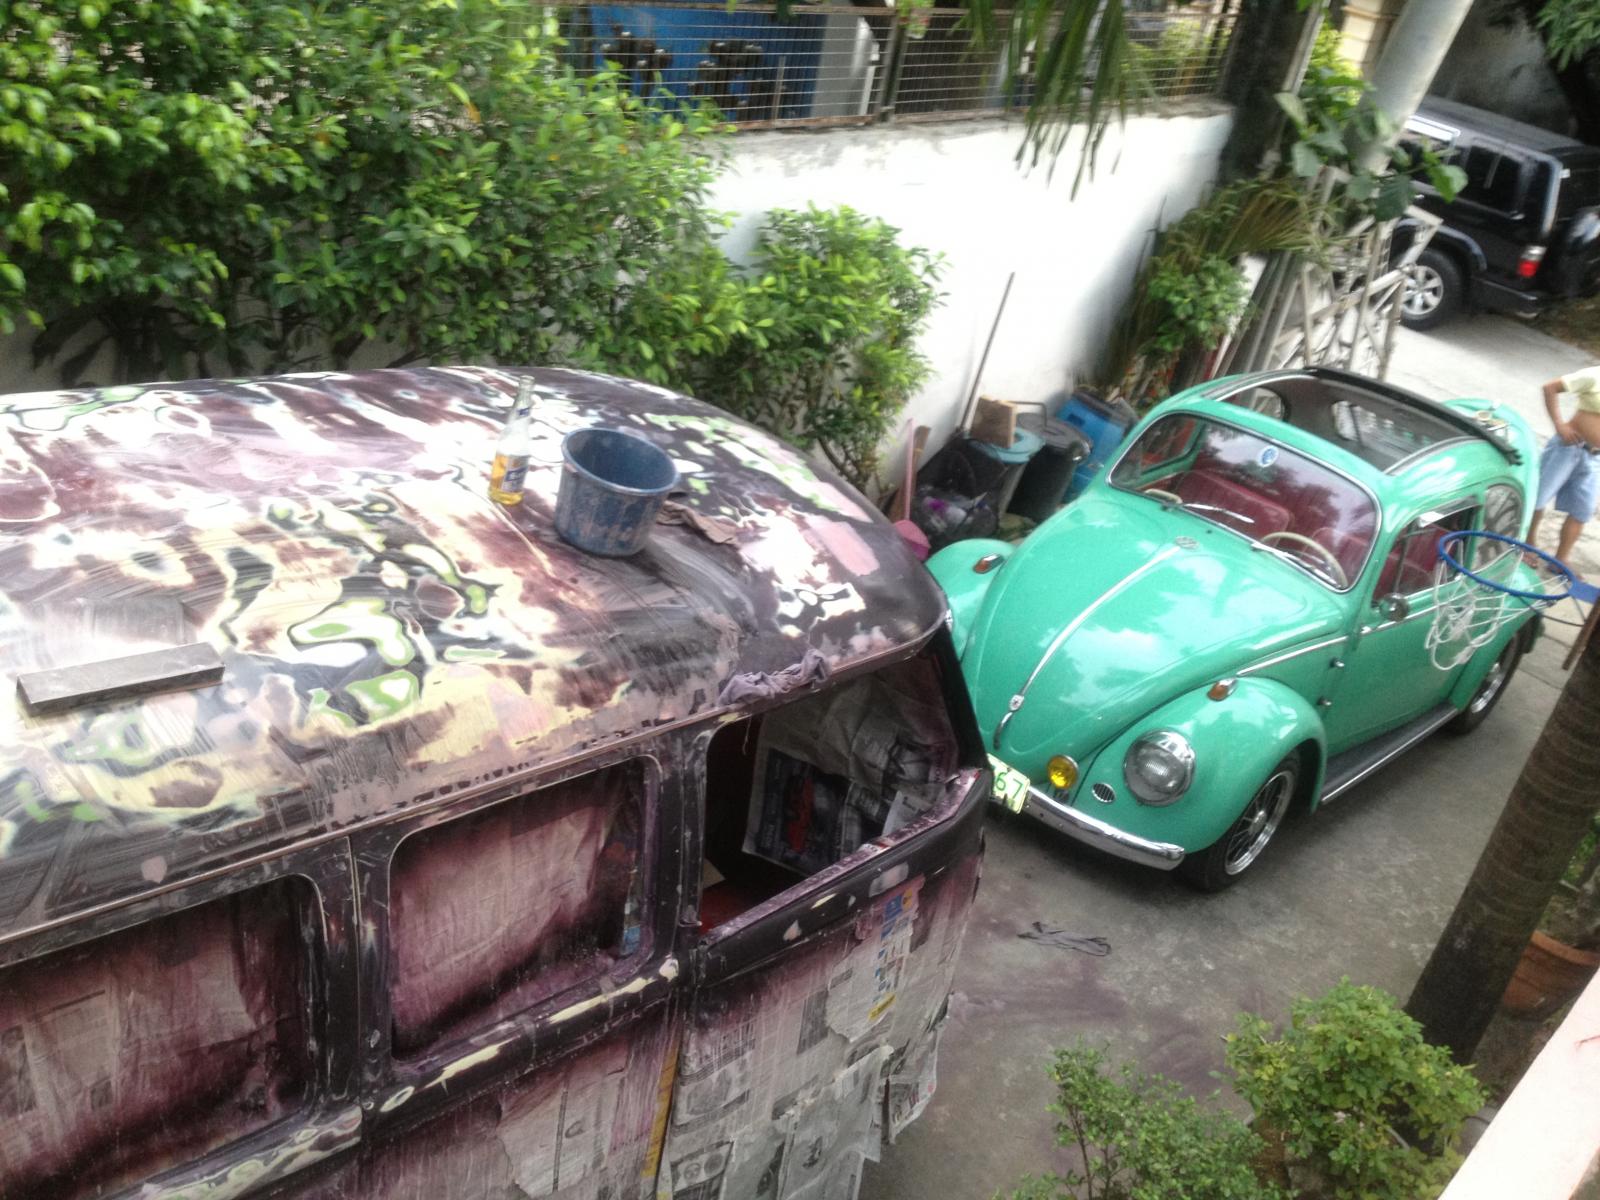
The bug kept me cool on the road this weekend everytime I would buy some sand papers and other stuff.

Front portion of the roof.

Rear portion of the roof.

The bug kept me cool on the road this weekend everytime I would buy some sand papers and other stuff.
dongkg
Registered user
Posts: 90
Joined: Tue Jul 16, 2013 7:58 am
Re: My '67 Split Bus Resto Thread in the Philippines
by dongkg » Mon Sep 09, 2013 7:37 am
I finally got this 1/3 2/3 seats correct for the Split 67. Although, they are quite looking tired, I need to fix them first before applying the primer and the black paint.
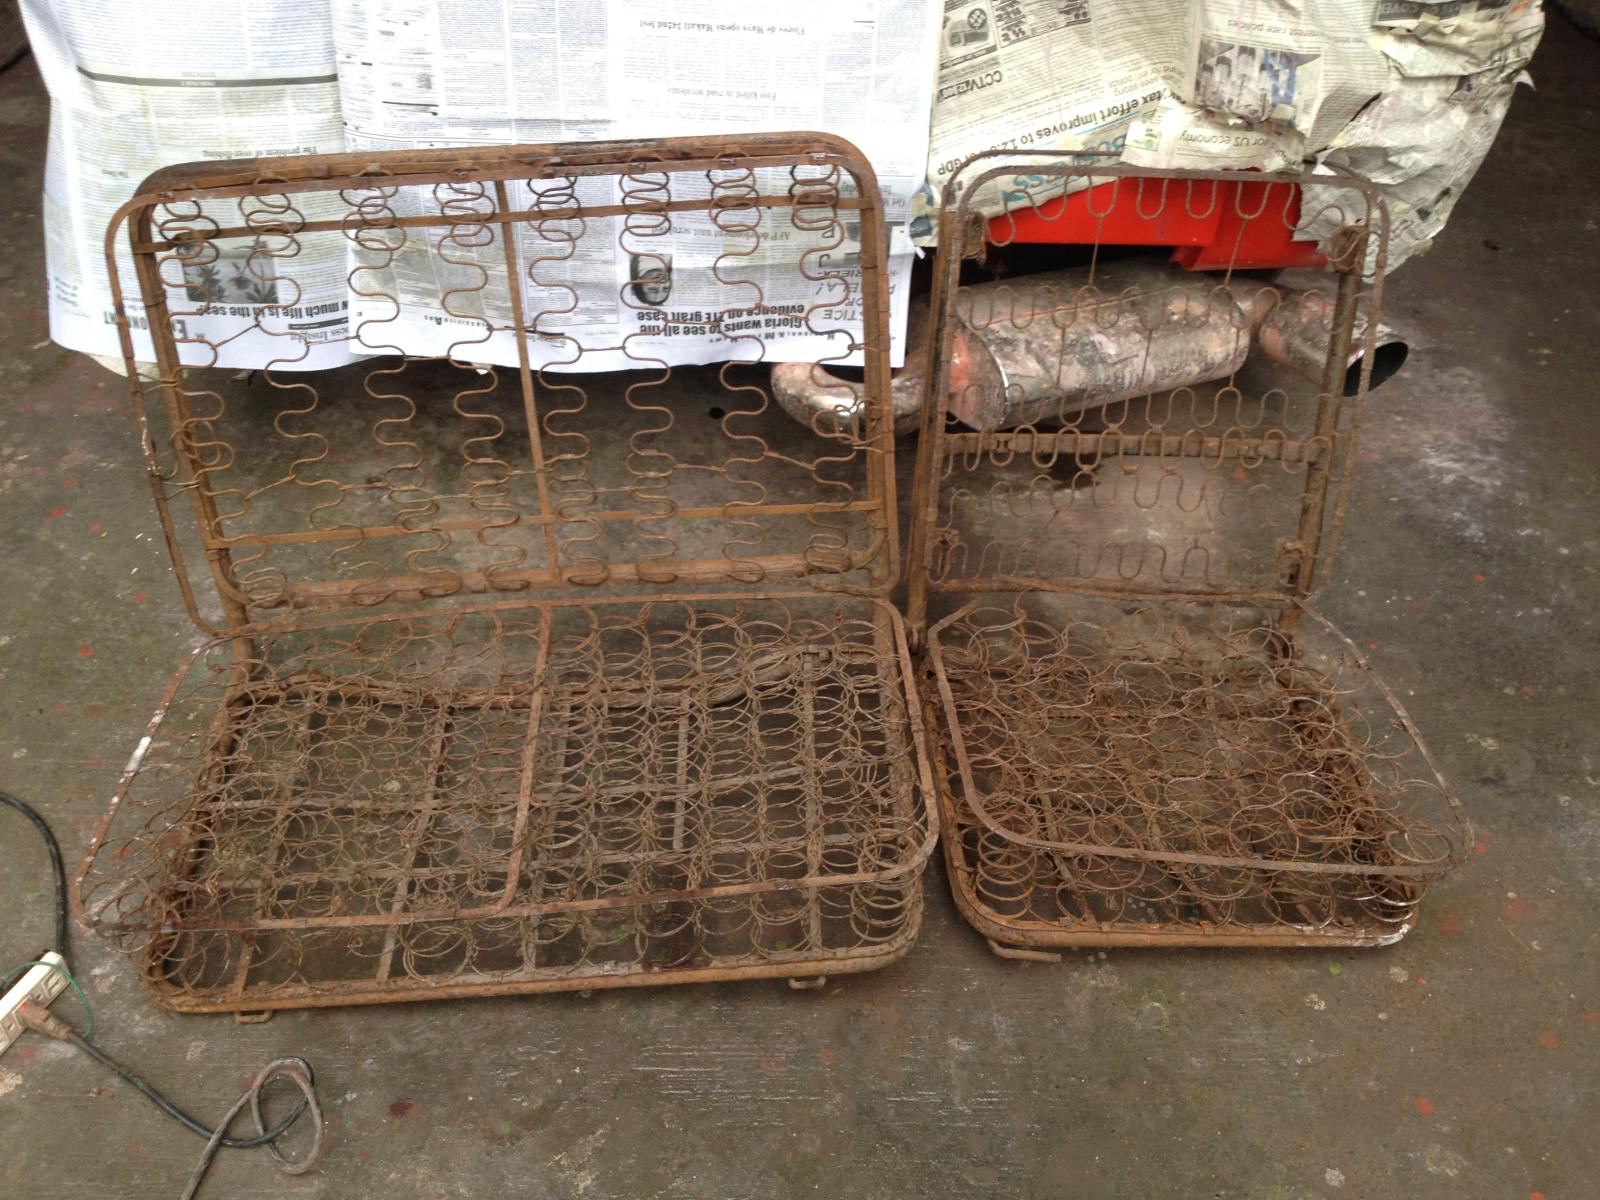
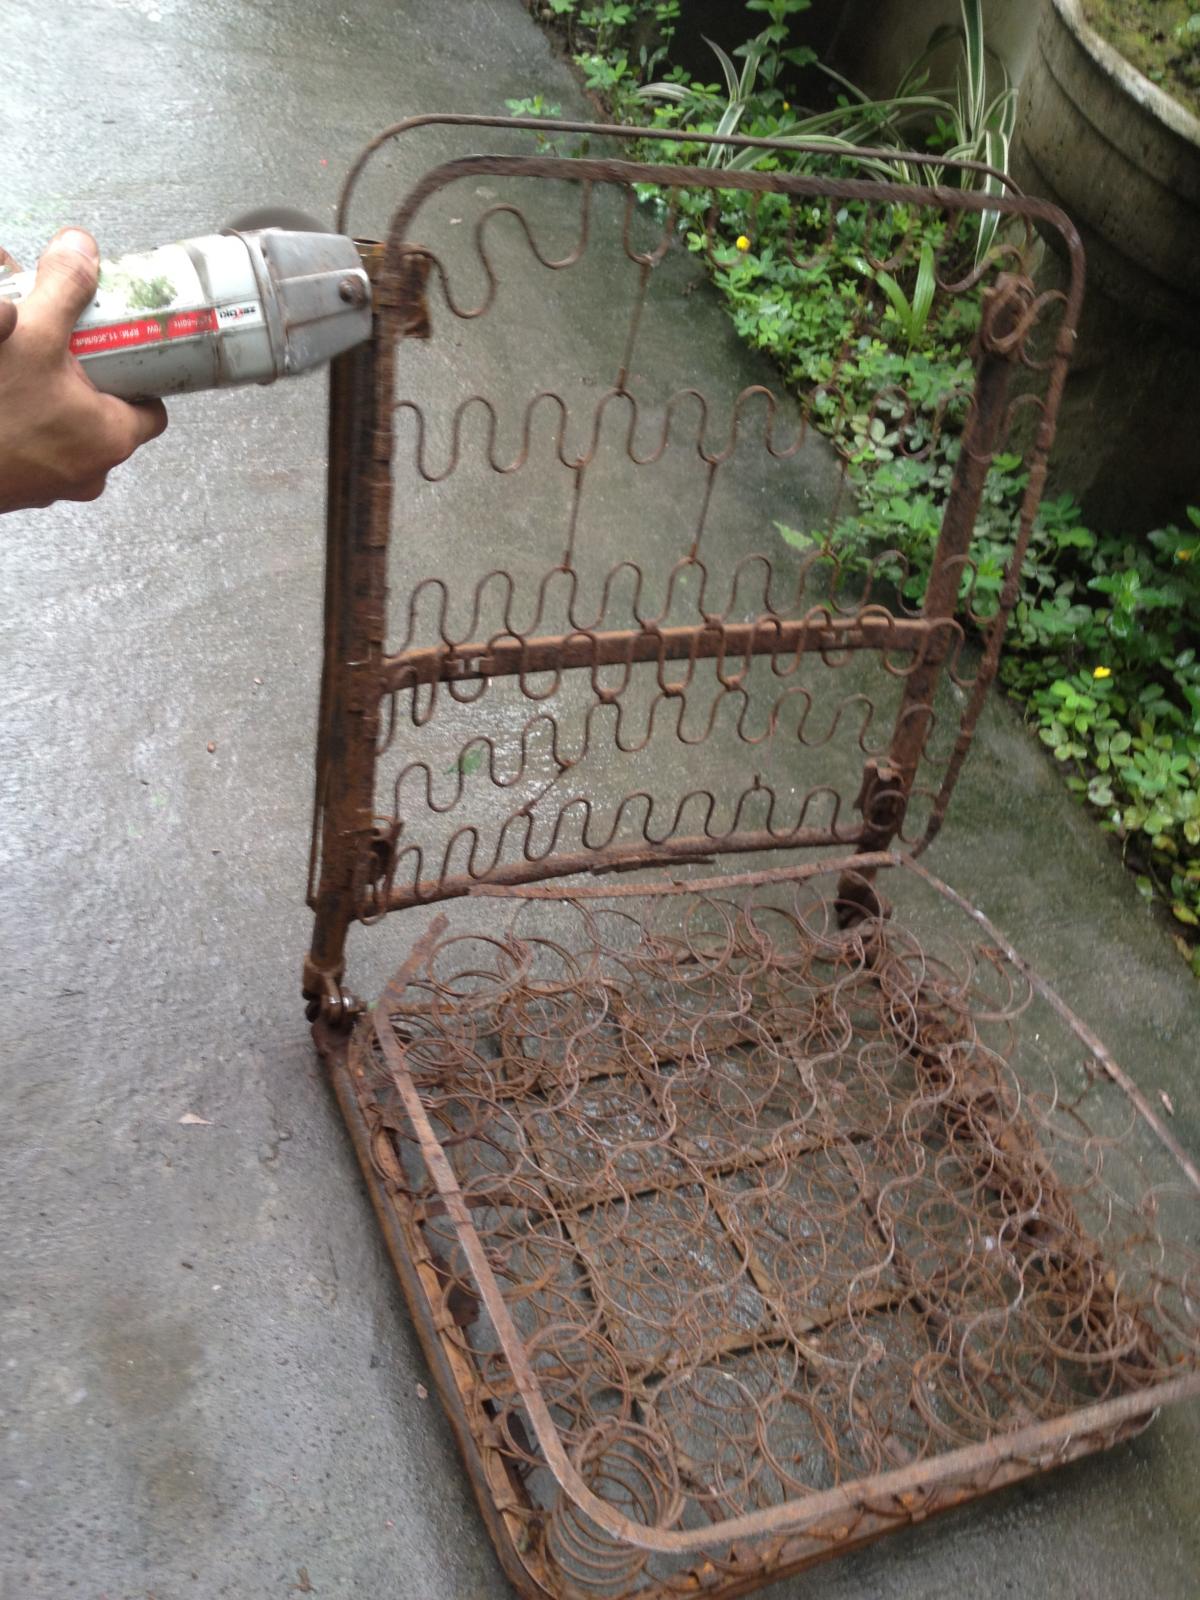
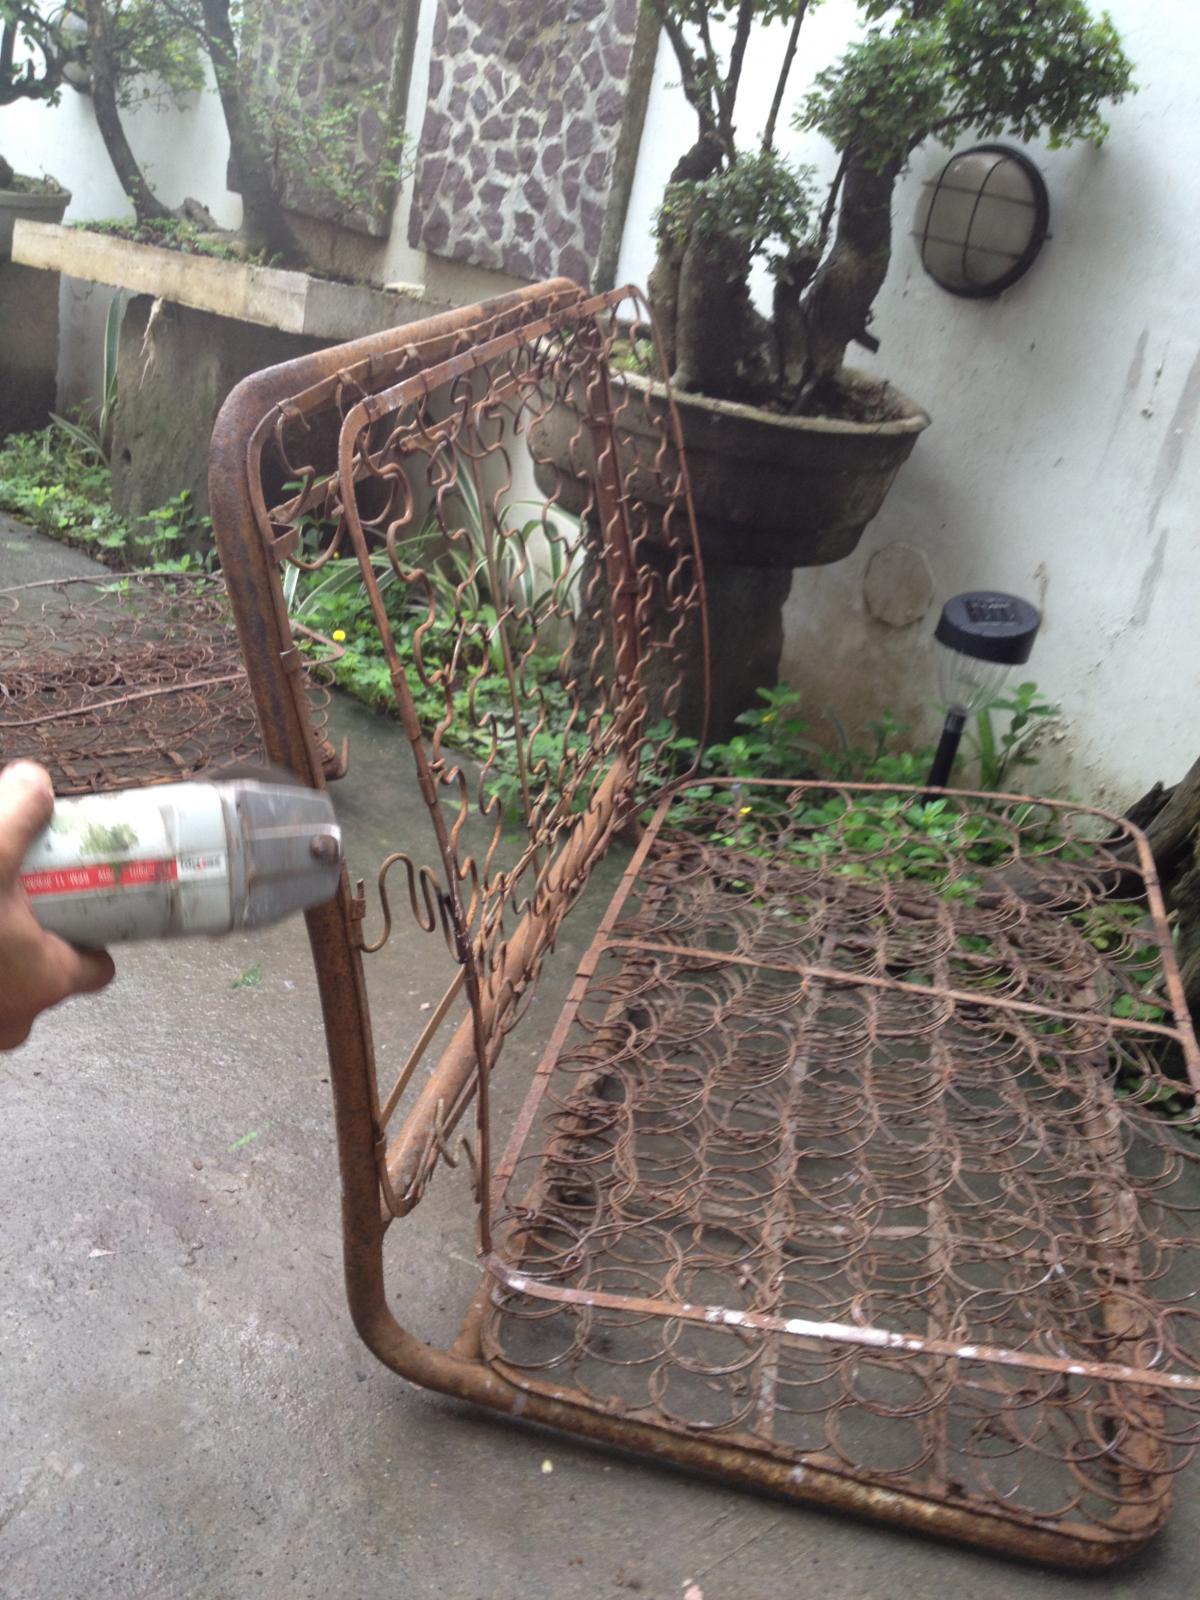
They need lots of TLC.. everyone can tell..


They need lots of TLC.. everyone can tell..
dongkg
Registered user
Posts: 90
Joined: Tue Jul 16, 2013 7:58 am
Re: My '67 Split Bus Resto Thread in the Philippines
by dongkg » Mon Sep 09, 2013 7:38 am
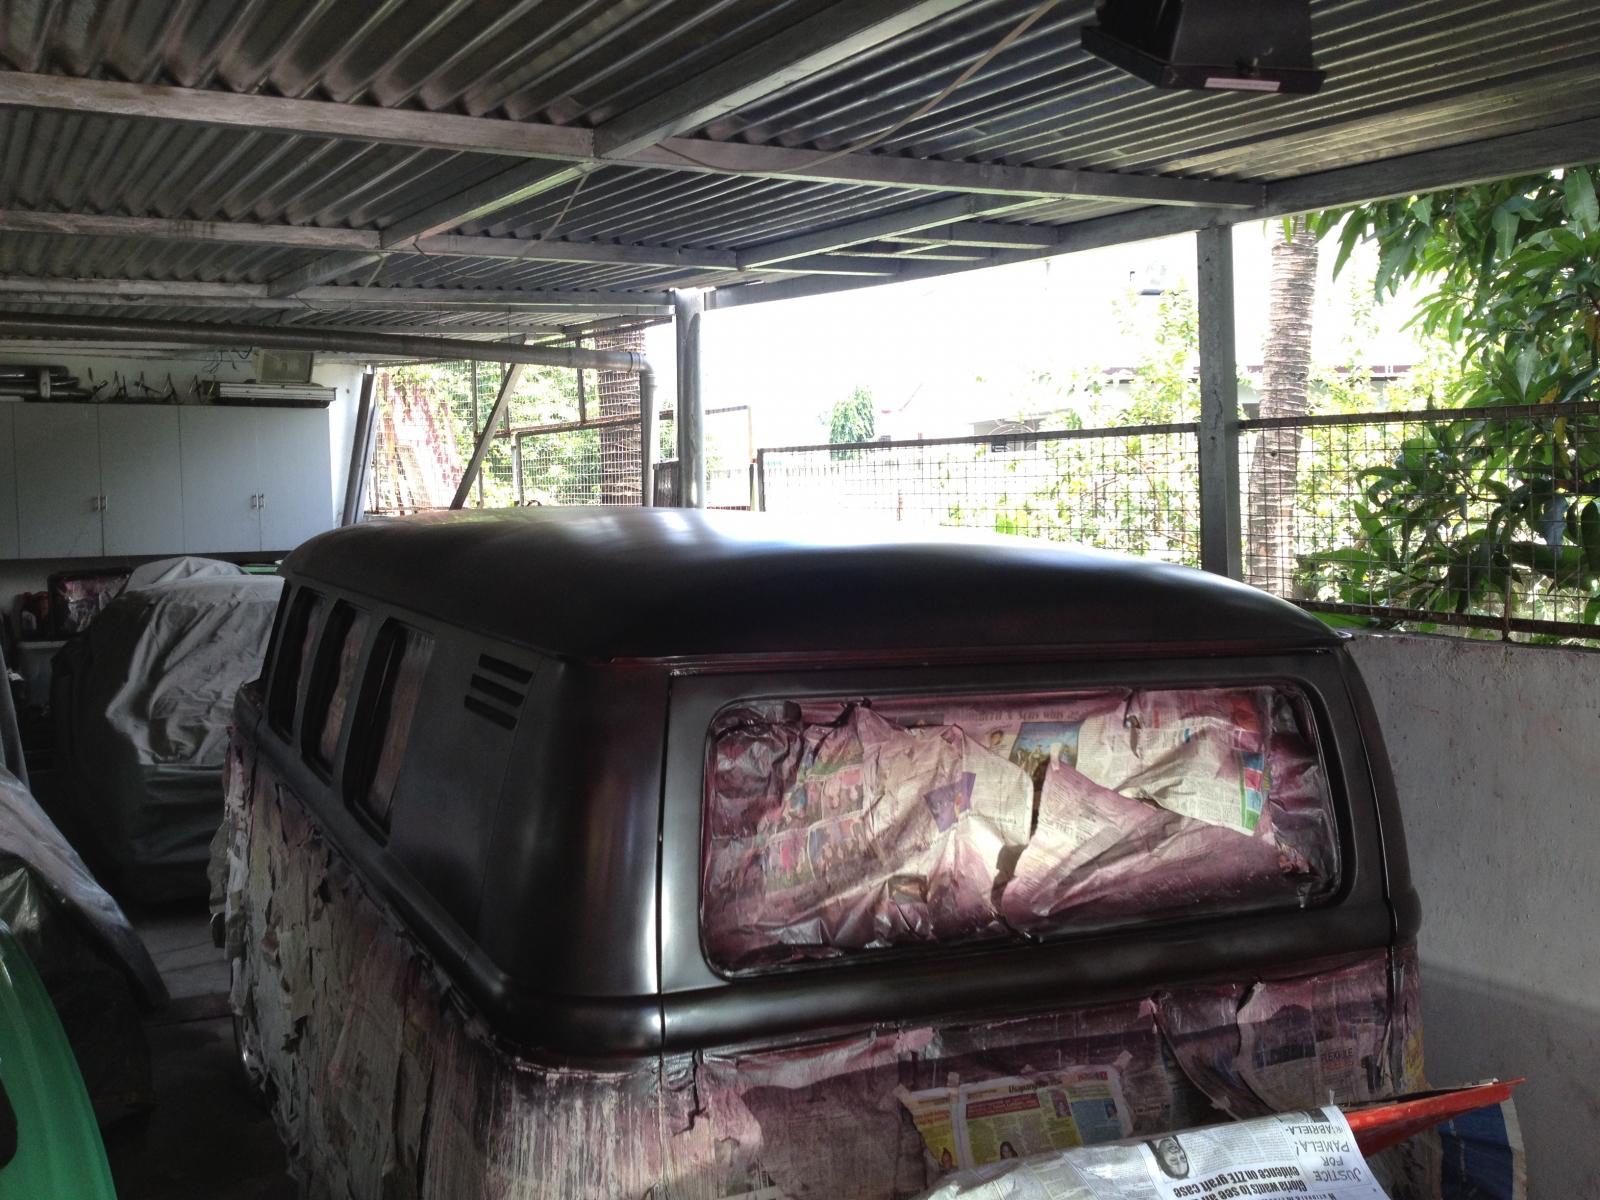
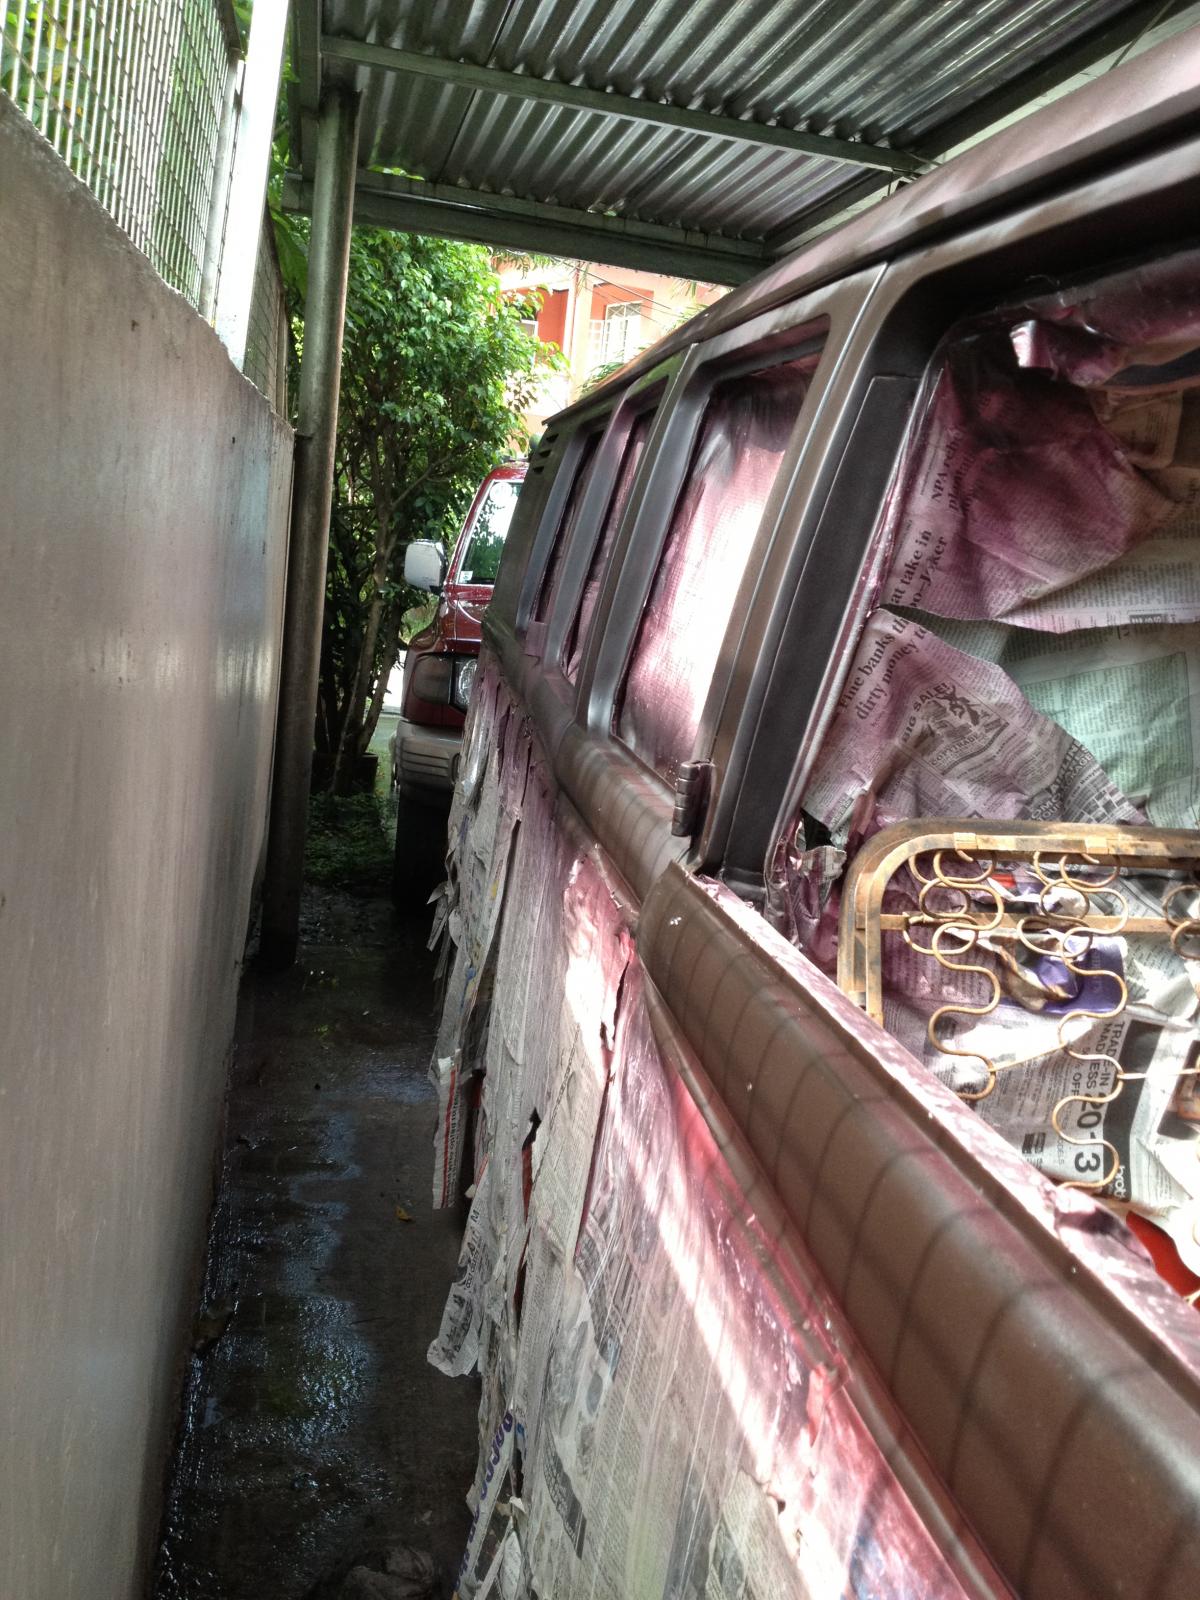
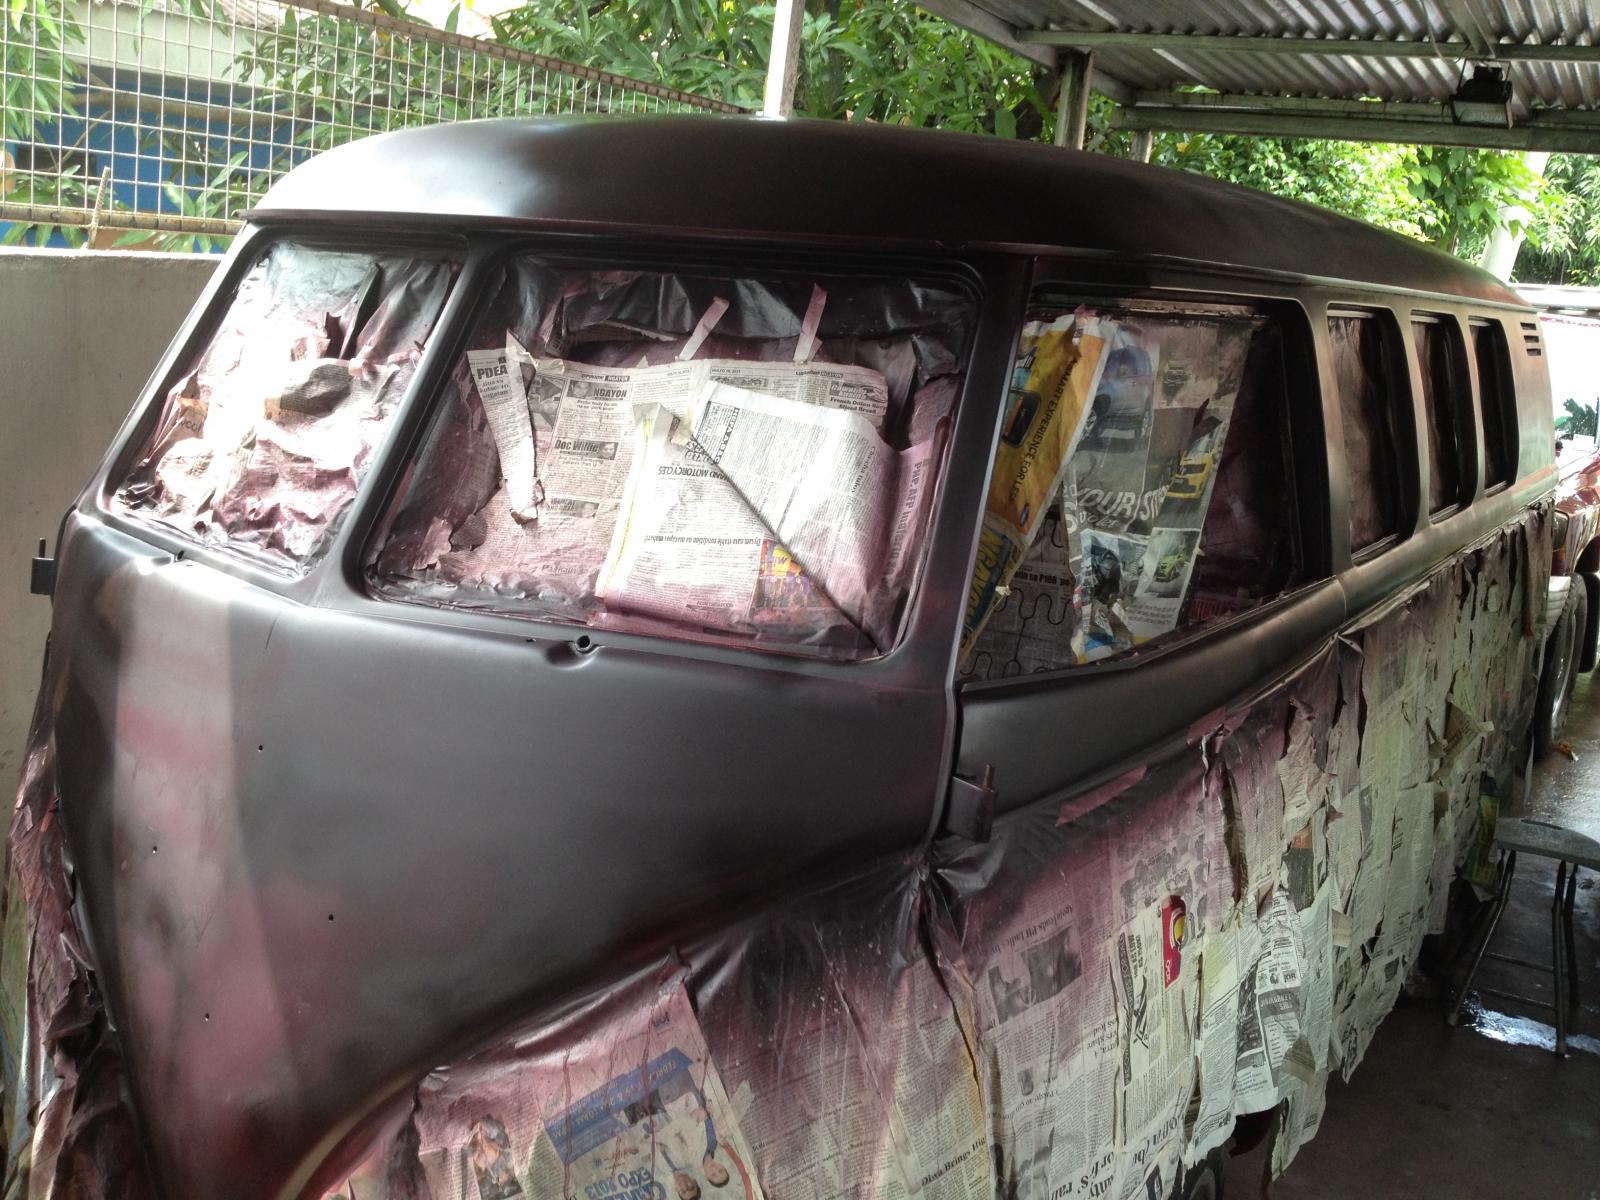
Now I can honestly say that the Chestnut brown color is almost finished.


dongkg
Registered user
Posts: 90
Joined: Tue Jul 16, 2013 7:58 am
Re: My '67 Split Bus Resto Thread in the Philippines
by dongkg » Mon Sep 09, 2013 7:39 am
I really like the old school stance of a Vee-dub in general so I opted to replace the 215x65x15 rear tires to 225/70/15. It looks cool (at least to me), and there is no rubbing issues when we installed it.
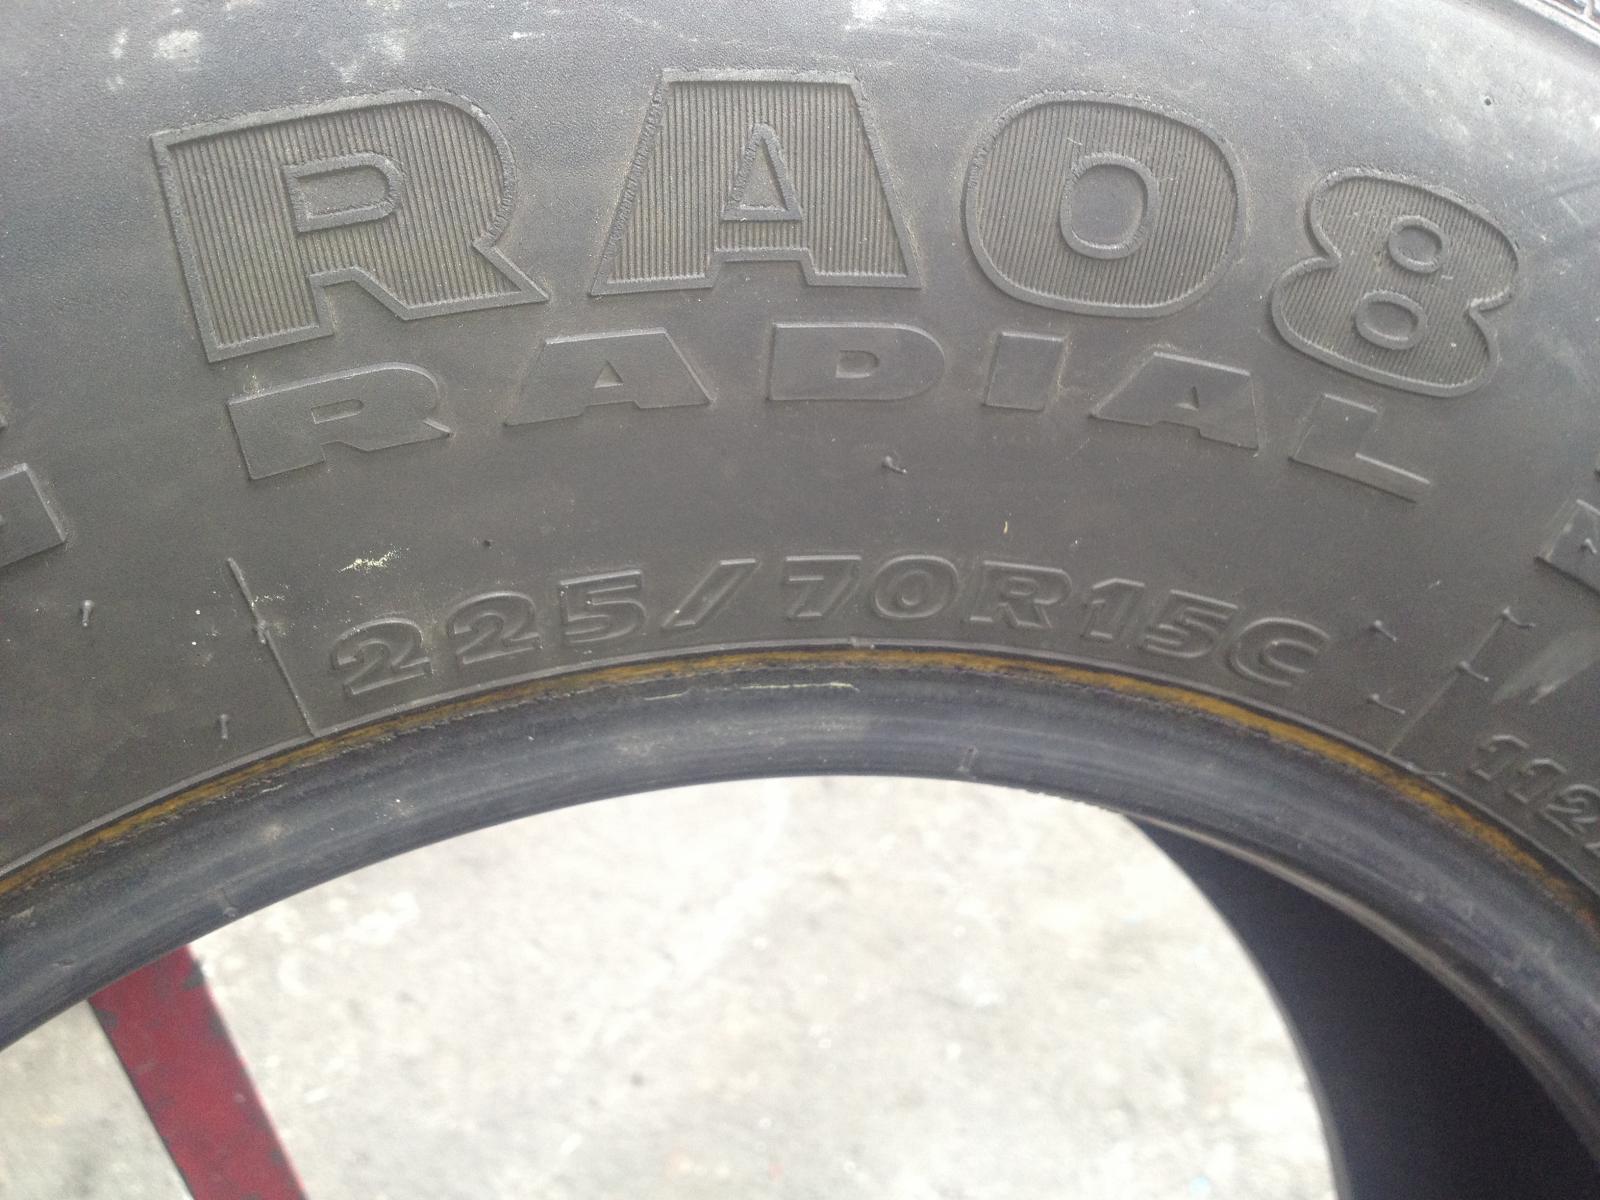
The size.
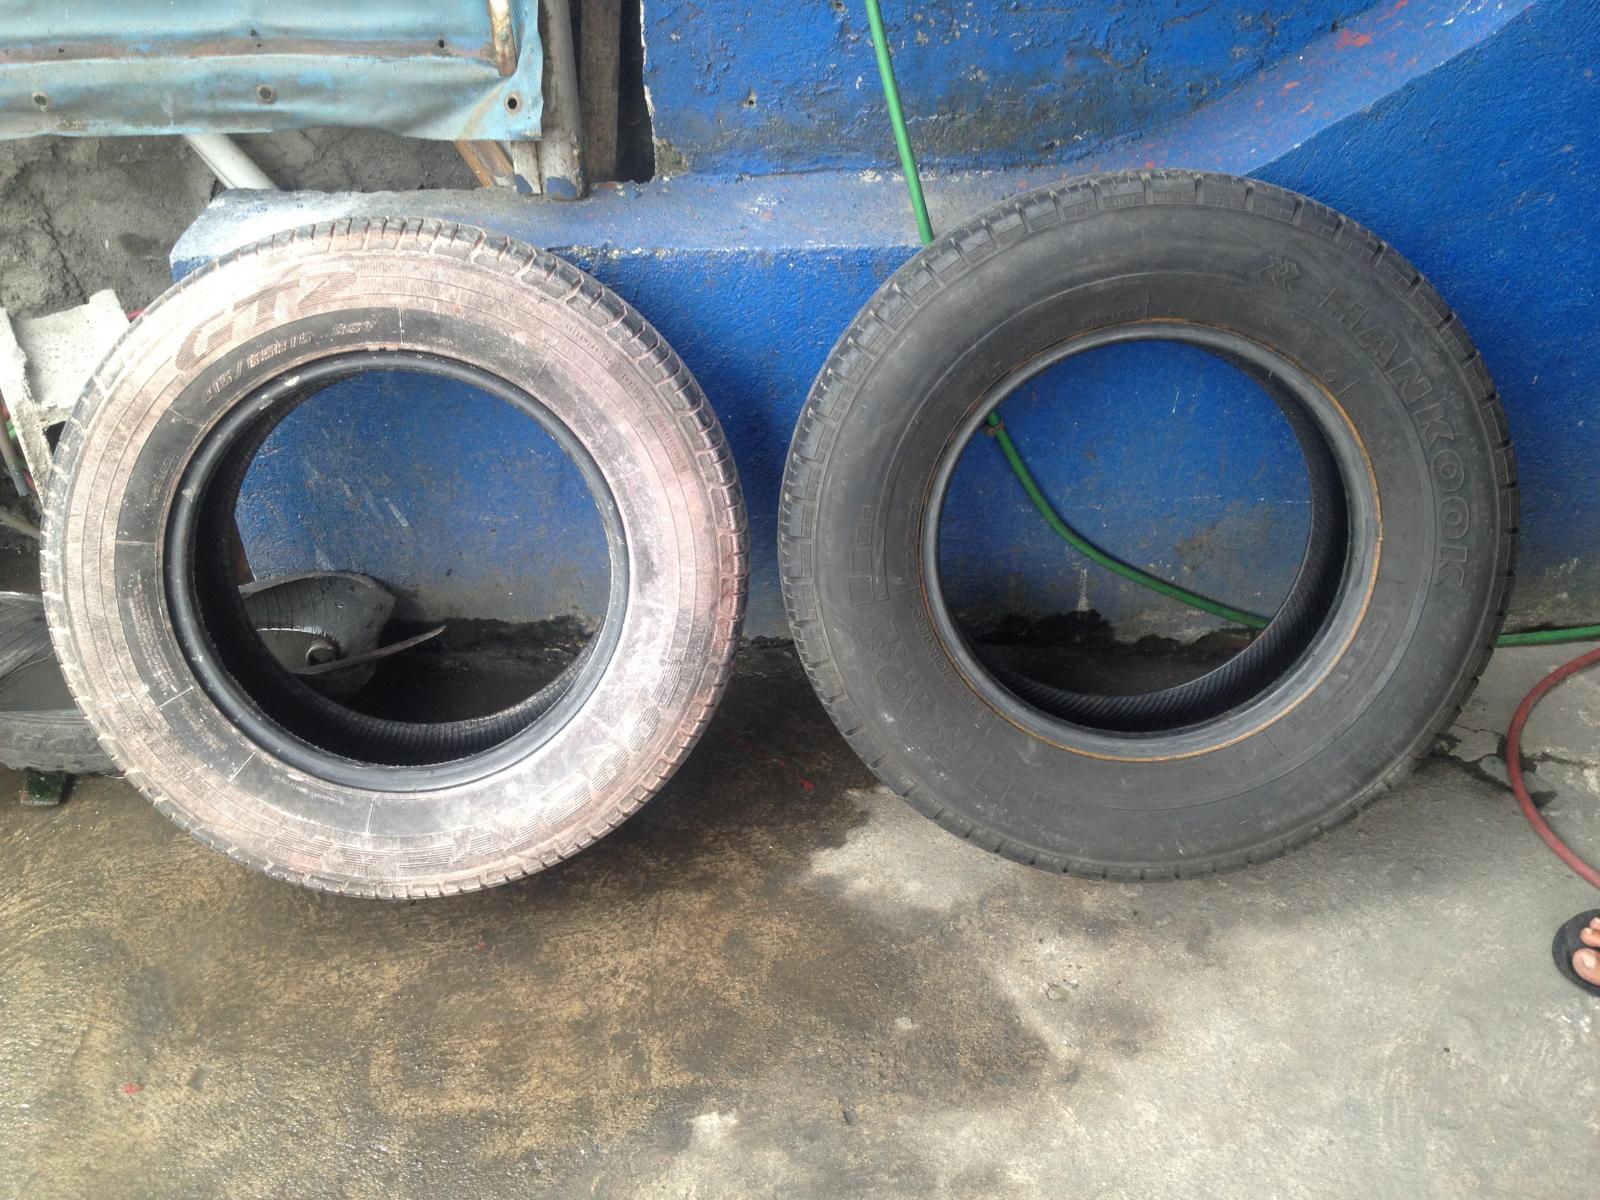
A comparison between 215x65x15 and 225/70/15 tires.
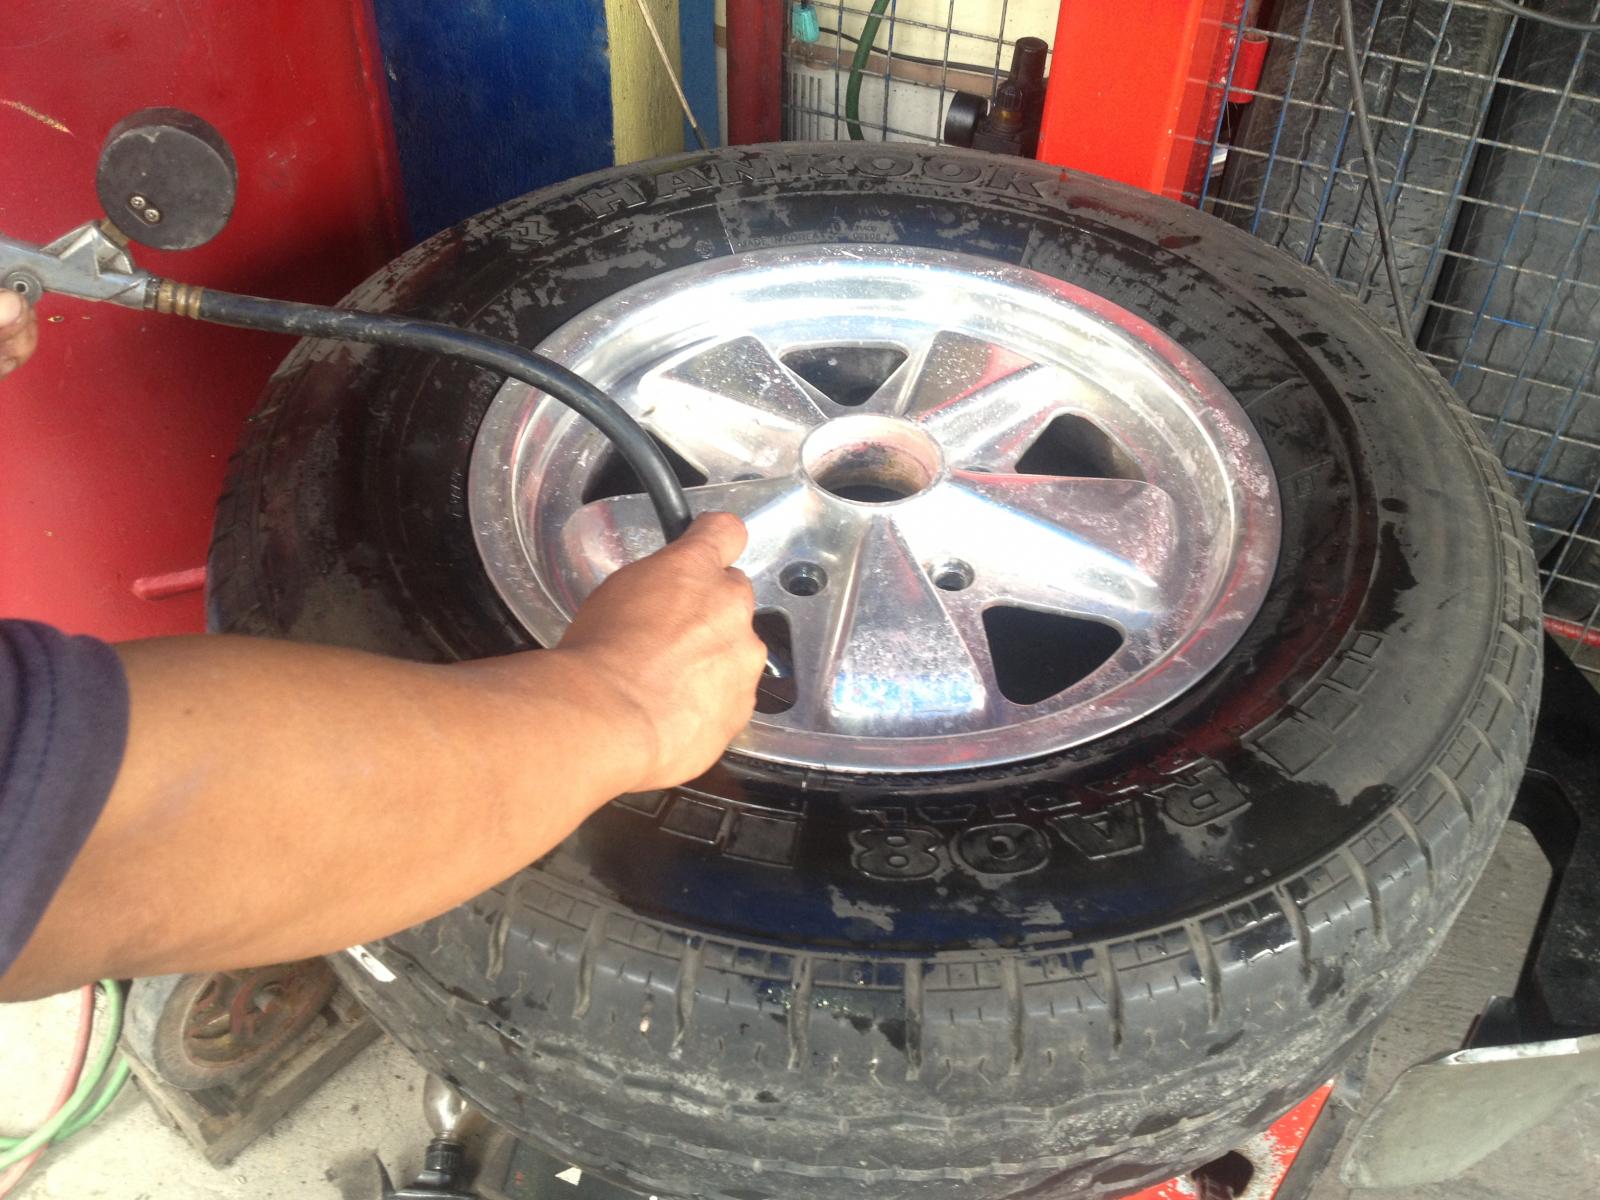
It looks pretty big!
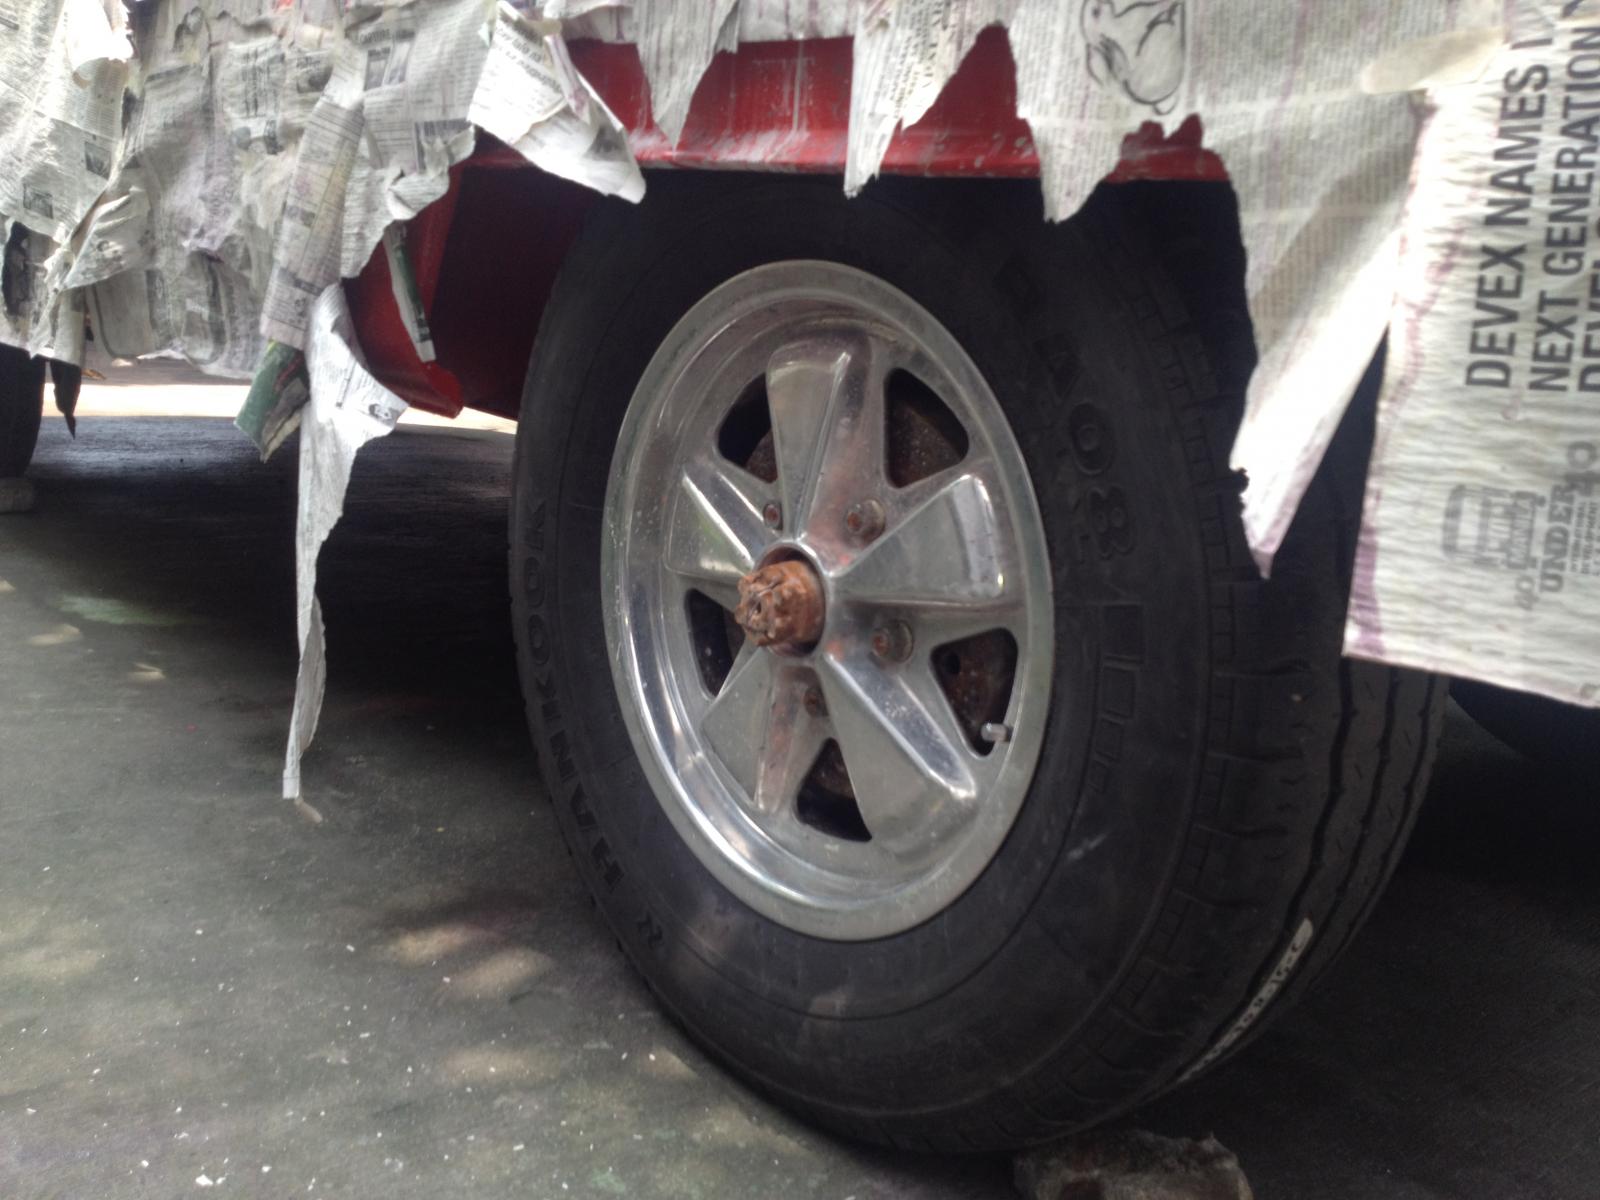
After installing, I was anticipating any rubbing issued, but it turned out to be otherwise. Fits perfectly!
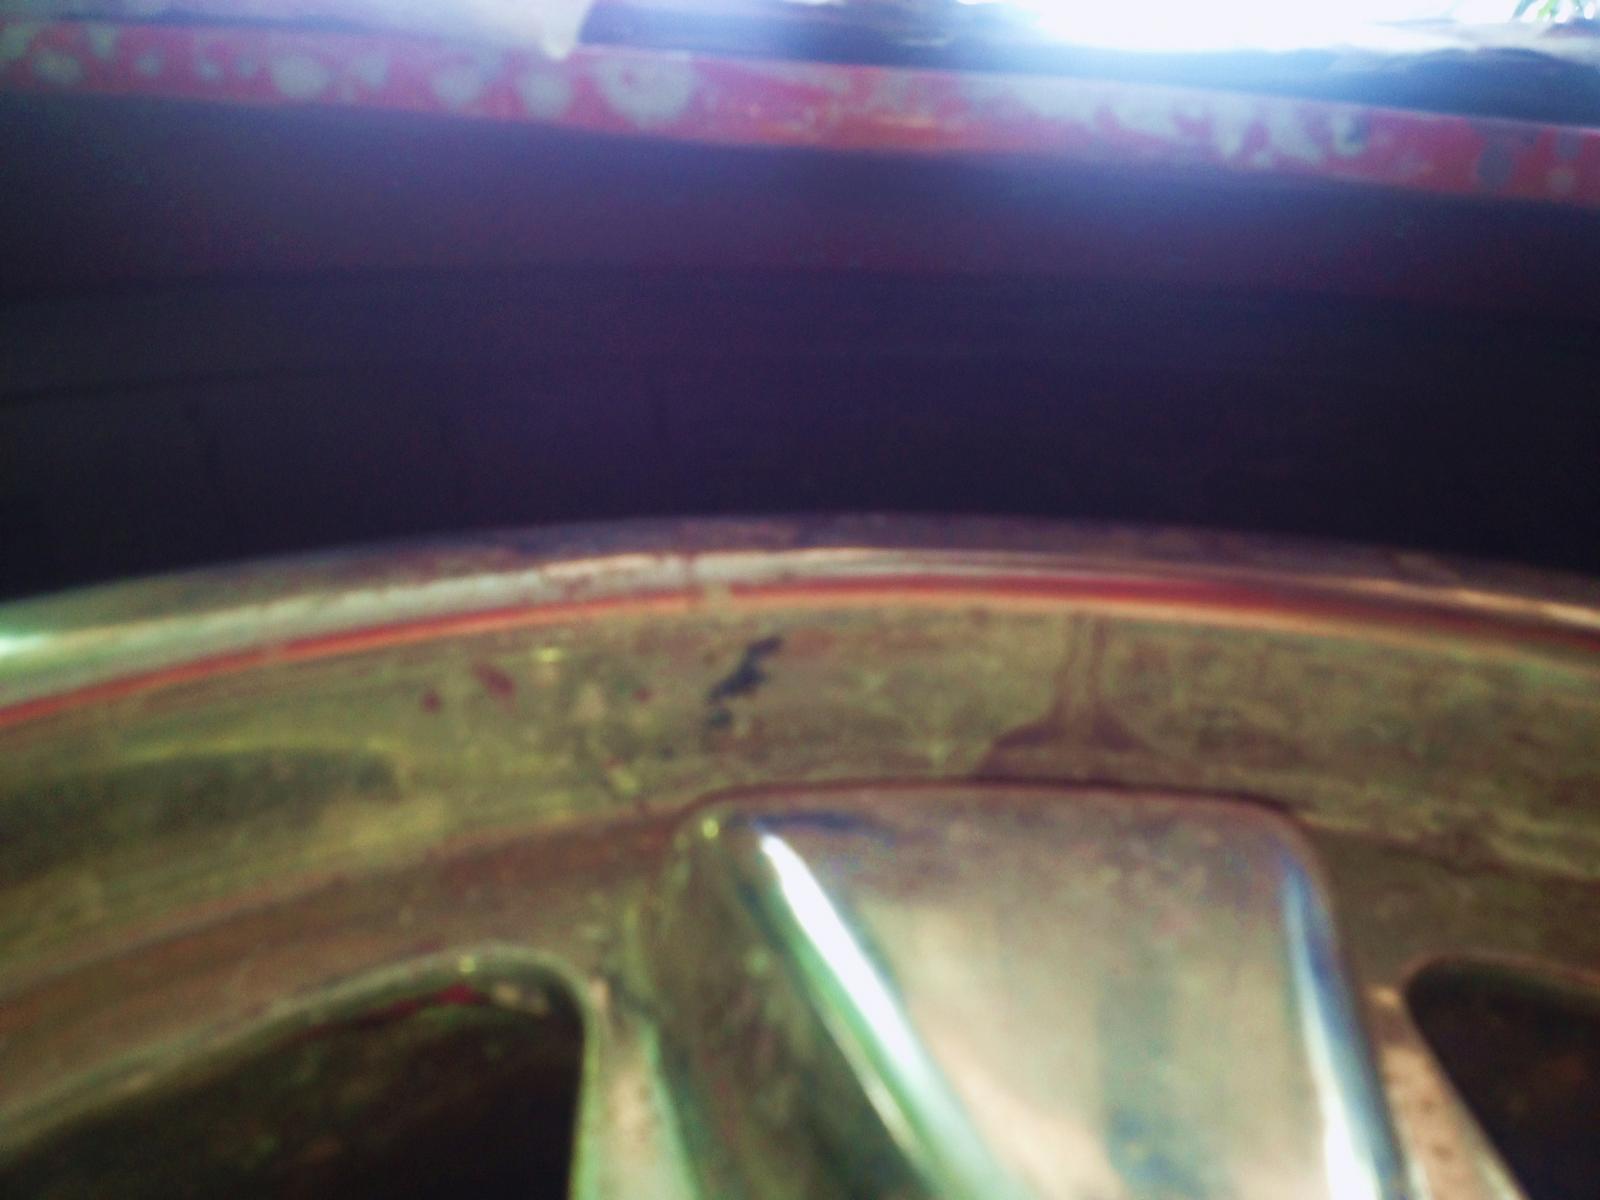
The glare might be too bright; nevertheless, it you can tell the reasonable clearance between the tire and the wheel well.

The size.

A comparison between 215x65x15 and 225/70/15 tires.

It looks pretty big!

After installing, I was anticipating any rubbing issued, but it turned out to be otherwise. Fits perfectly!

The glare might be too bright; nevertheless, it you can tell the reasonable clearance between the tire and the wheel well.
dongkg
Registered user
Posts: 90
Joined: Tue Jul 16, 2013 7:58 am
Re: My '67 Split Bus Resto Thread in the Philippines
by dongkg » Mon Sep 23, 2013 7:37 am
I finally finished painting the chestnust brown. Thereupon, I will apply the final paint of sealing wax red this weekend and the I will apply the clear coat all at one. I just hope I got the correct hue of the chestnut brown.
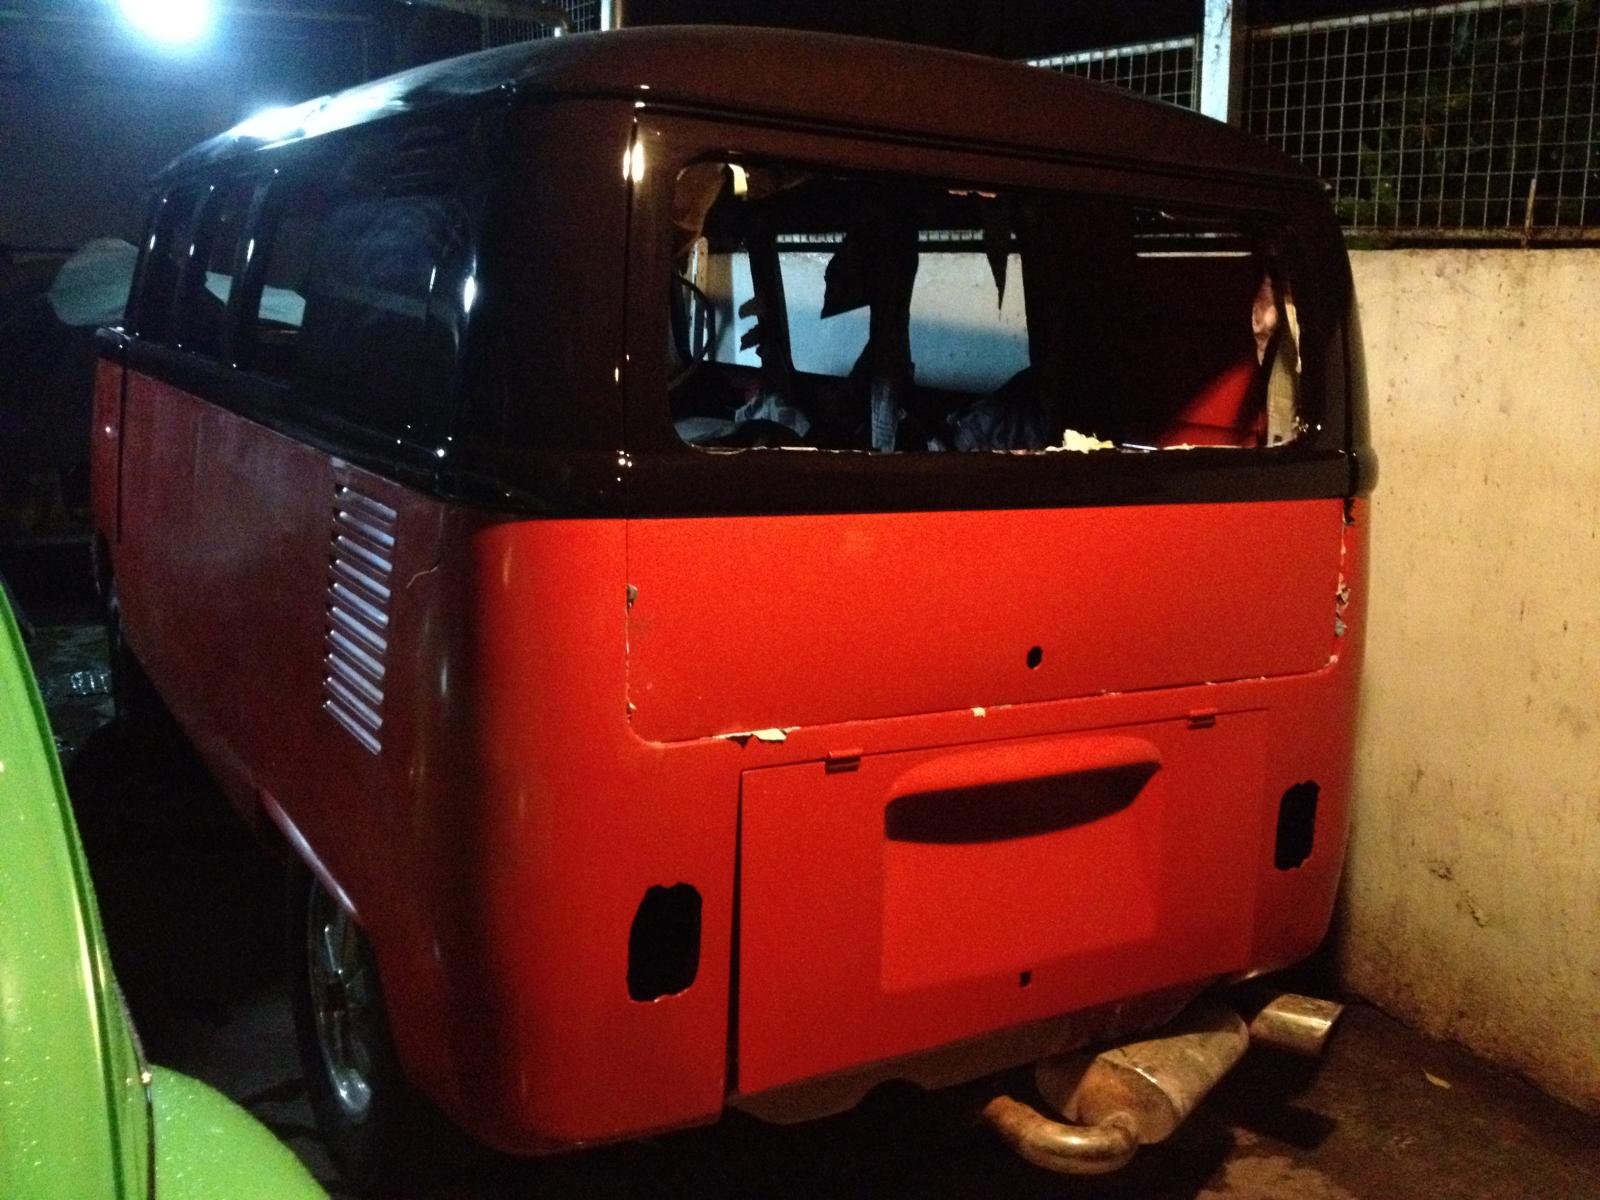
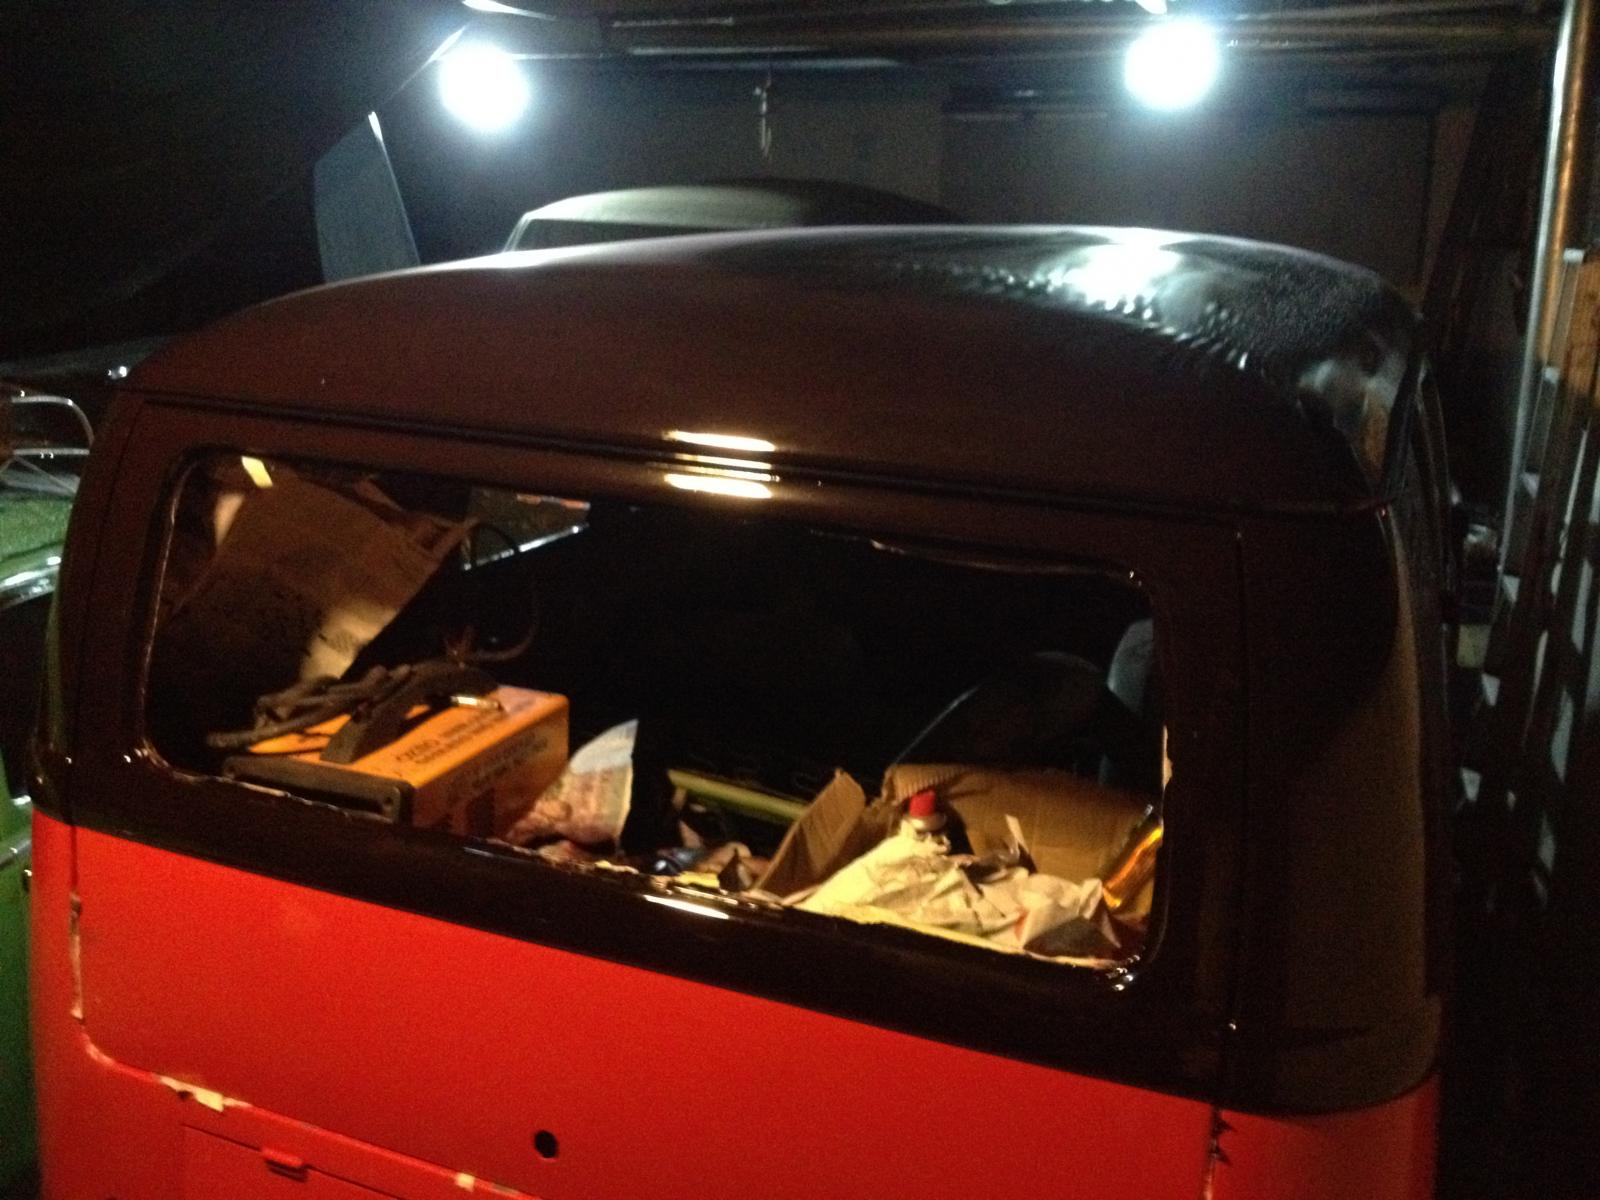
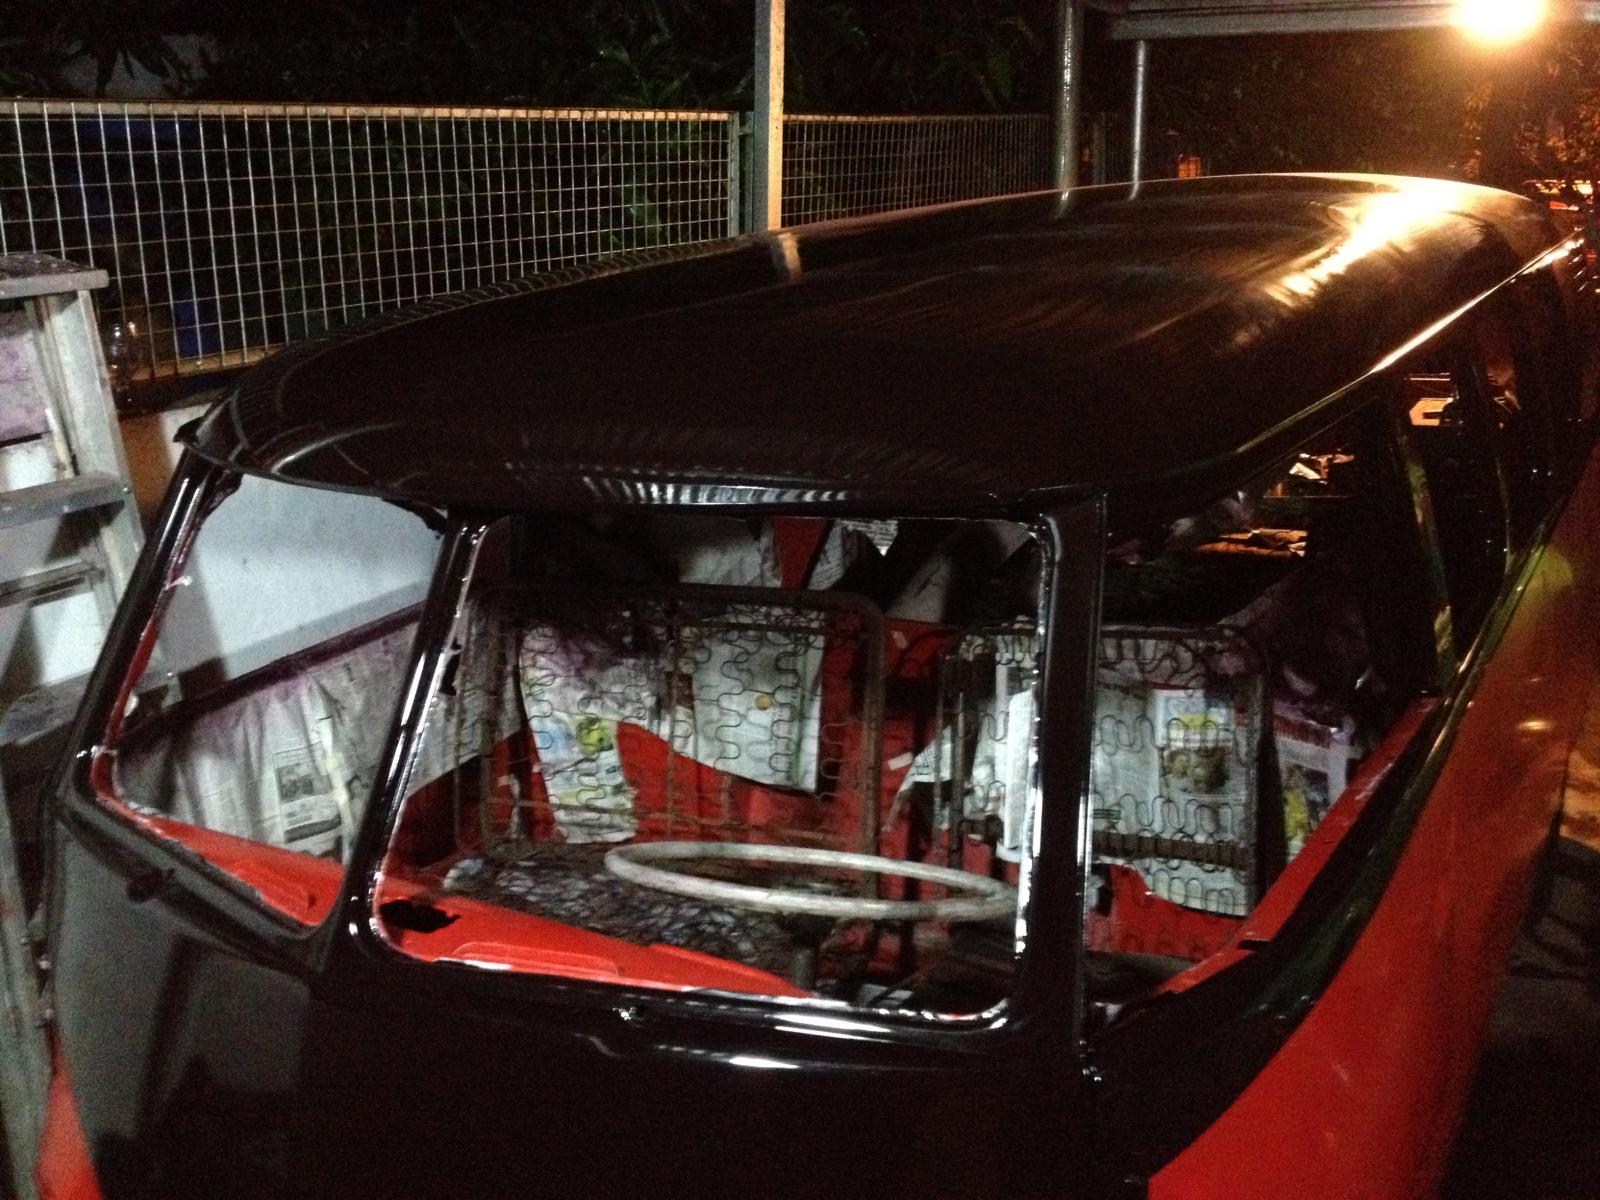
Painting the roof section was like painting the long side panel. It will really test your patience!
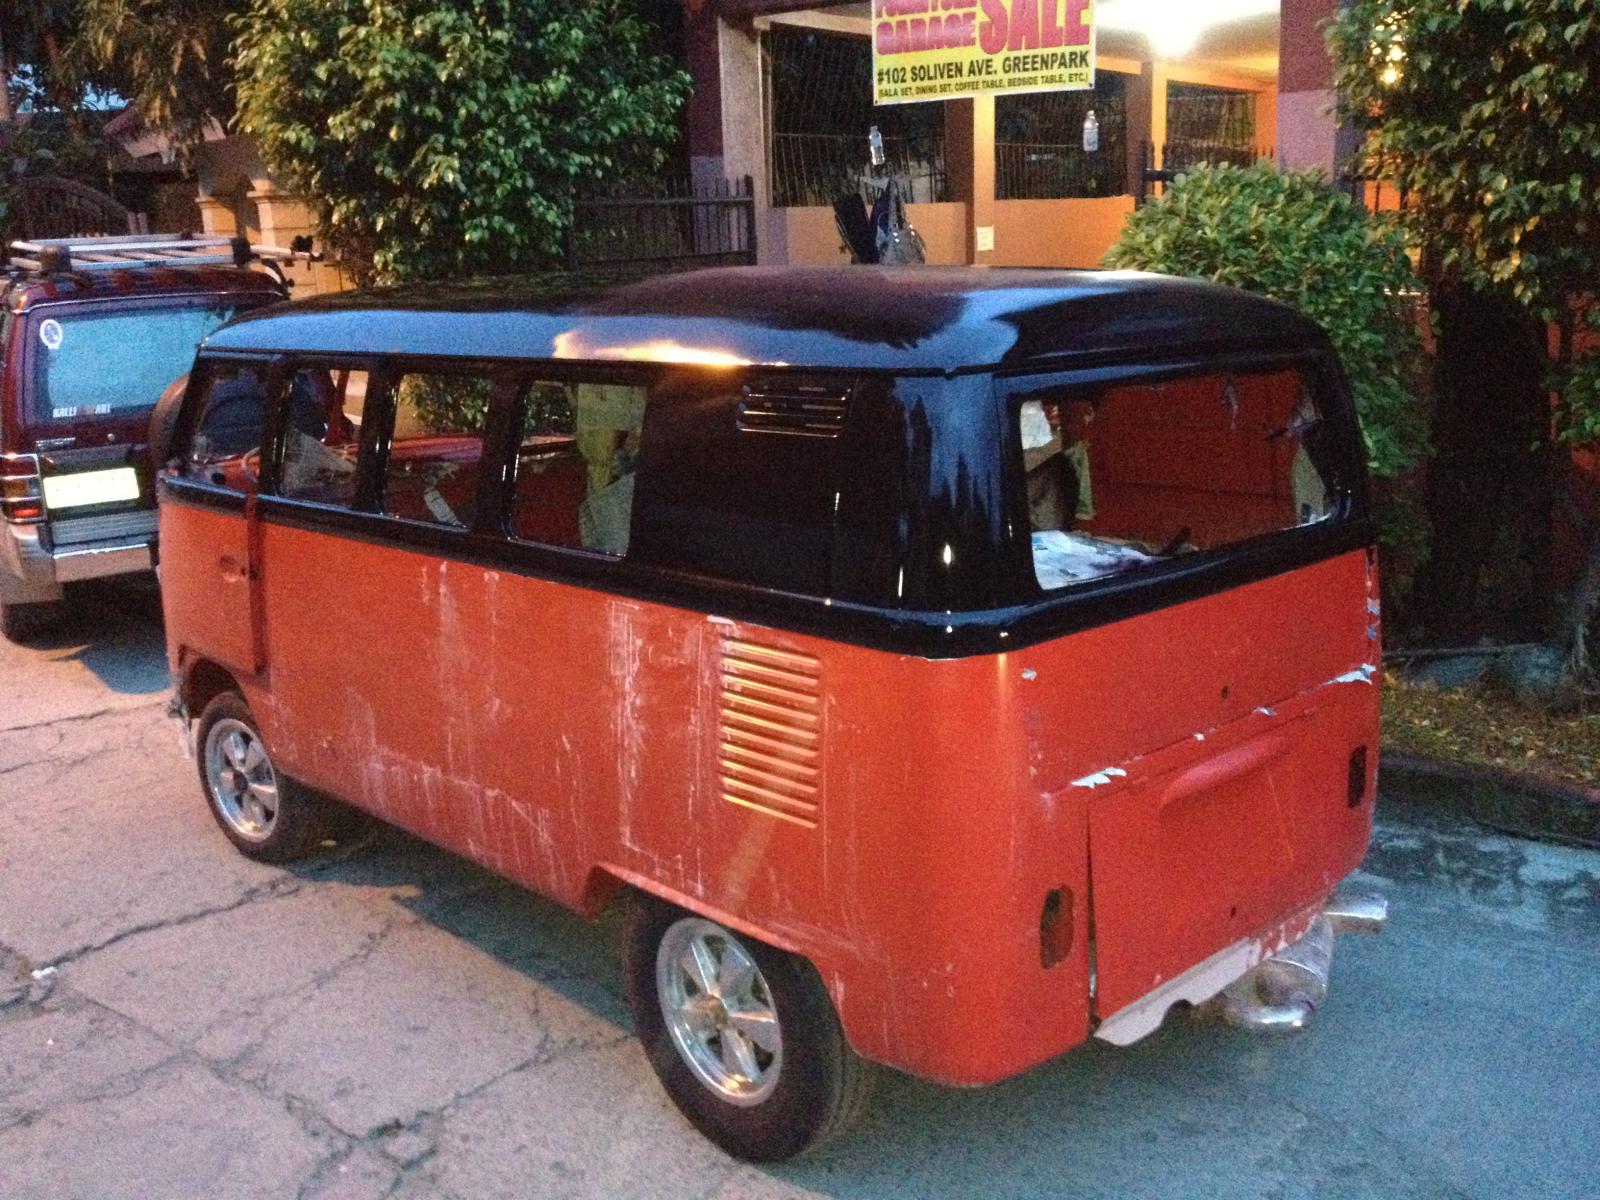
I drove the bus in the subdivision to see what would be the reactions of people who would see it. I turned out so cool!
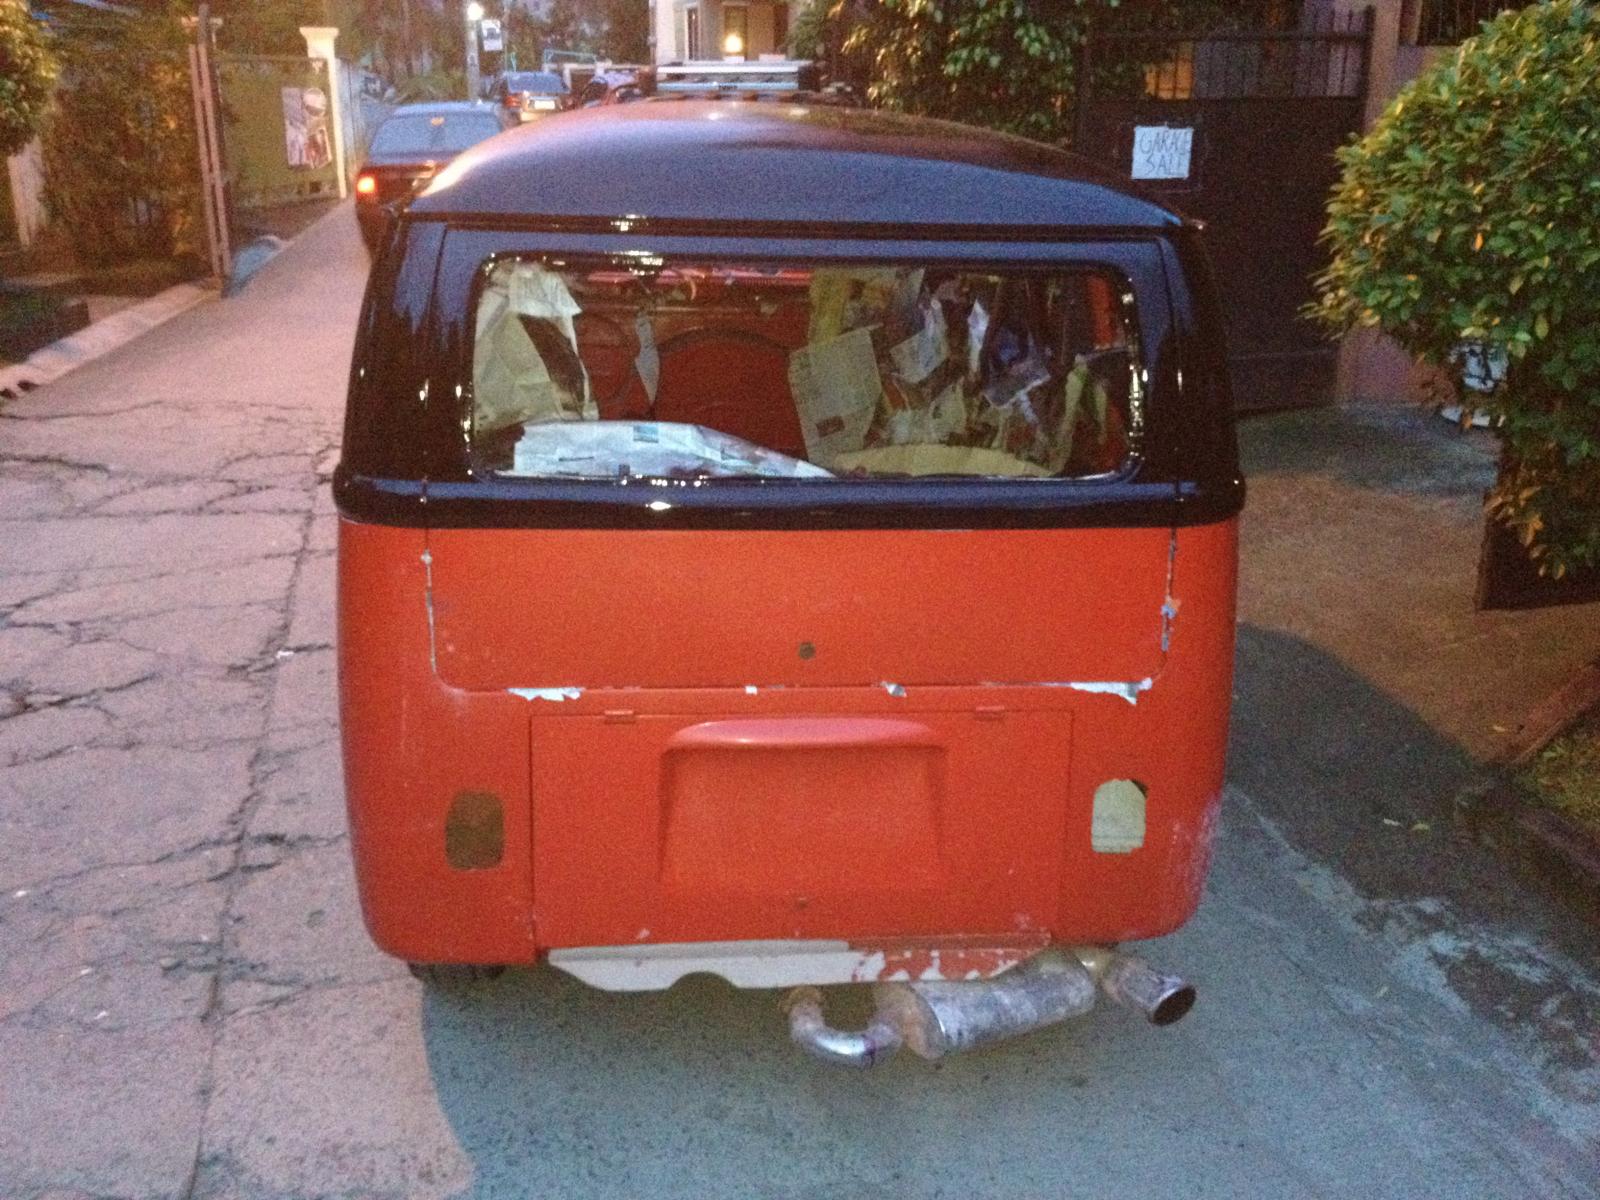
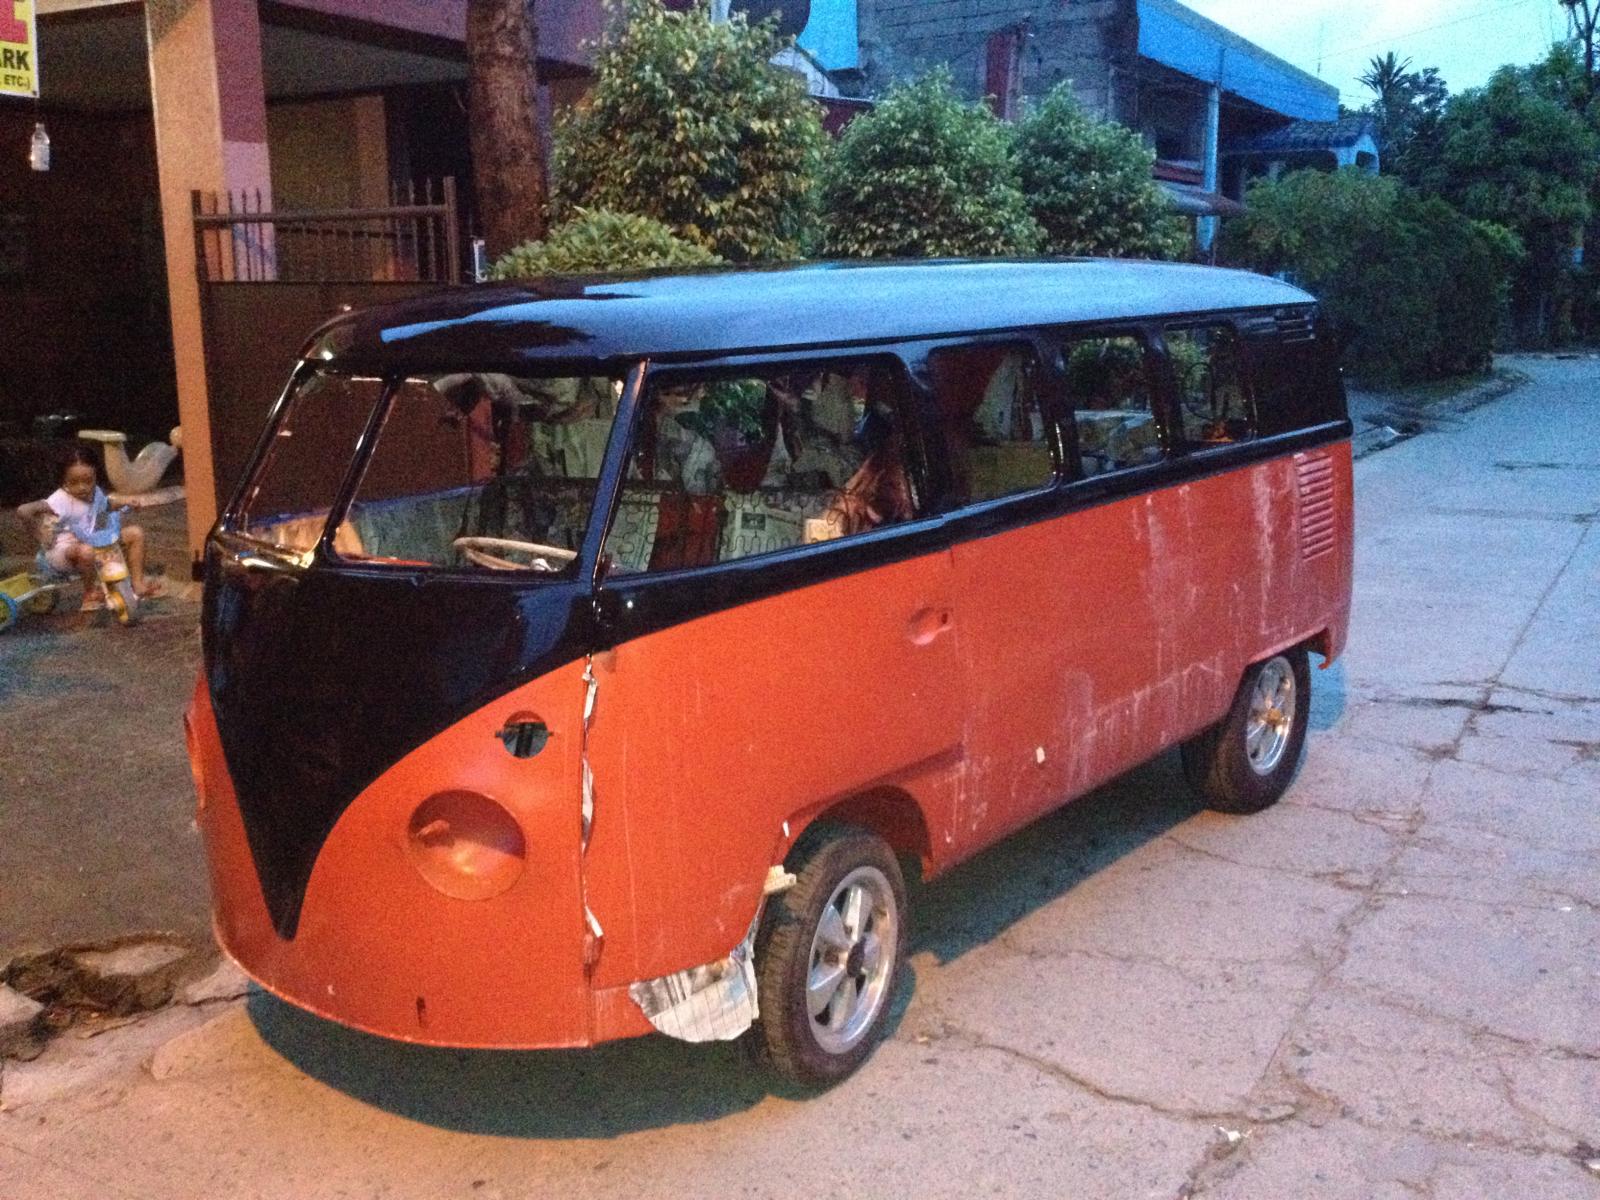


Painting the roof section was like painting the long side panel. It will really test your patience!

I drove the bus in the subdivision to see what would be the reactions of people who would see it. I turned out so cool!


dongkg
Registered user
Posts: 90
Joined: Tue Jul 16, 2013 7:58 am
Re: My '67 Split Bus Resto Thread in the Philippines
by SplitBusVanatic » Thu Sep 26, 2013 2:49 pm
Wow.
Looks great Don.
SplitBusVanatic

Registered user
Posts: 274
Joined: Wed Oct 12, 2005 12:19 pm
Re: My '67 Split Bus Resto Thread in the Philippines
by dongkg » Tue Oct 01, 2013 10:11 am
SplitBusVanatic wrote:8O

Wow.
Looks great Don.
Thanks so much, buddy!
dongkg
Registered user
Posts: 90
Joined: Tue Jul 16, 2013 7:58 am
Re: My '67 Split Bus Resto Thread in the Philippines
by dongkg » Tue Oct 01, 2013 10:12 am
Finally, the Sealing Was Red is finished and this weekend, i will be applying the clear coat for that gloss look!
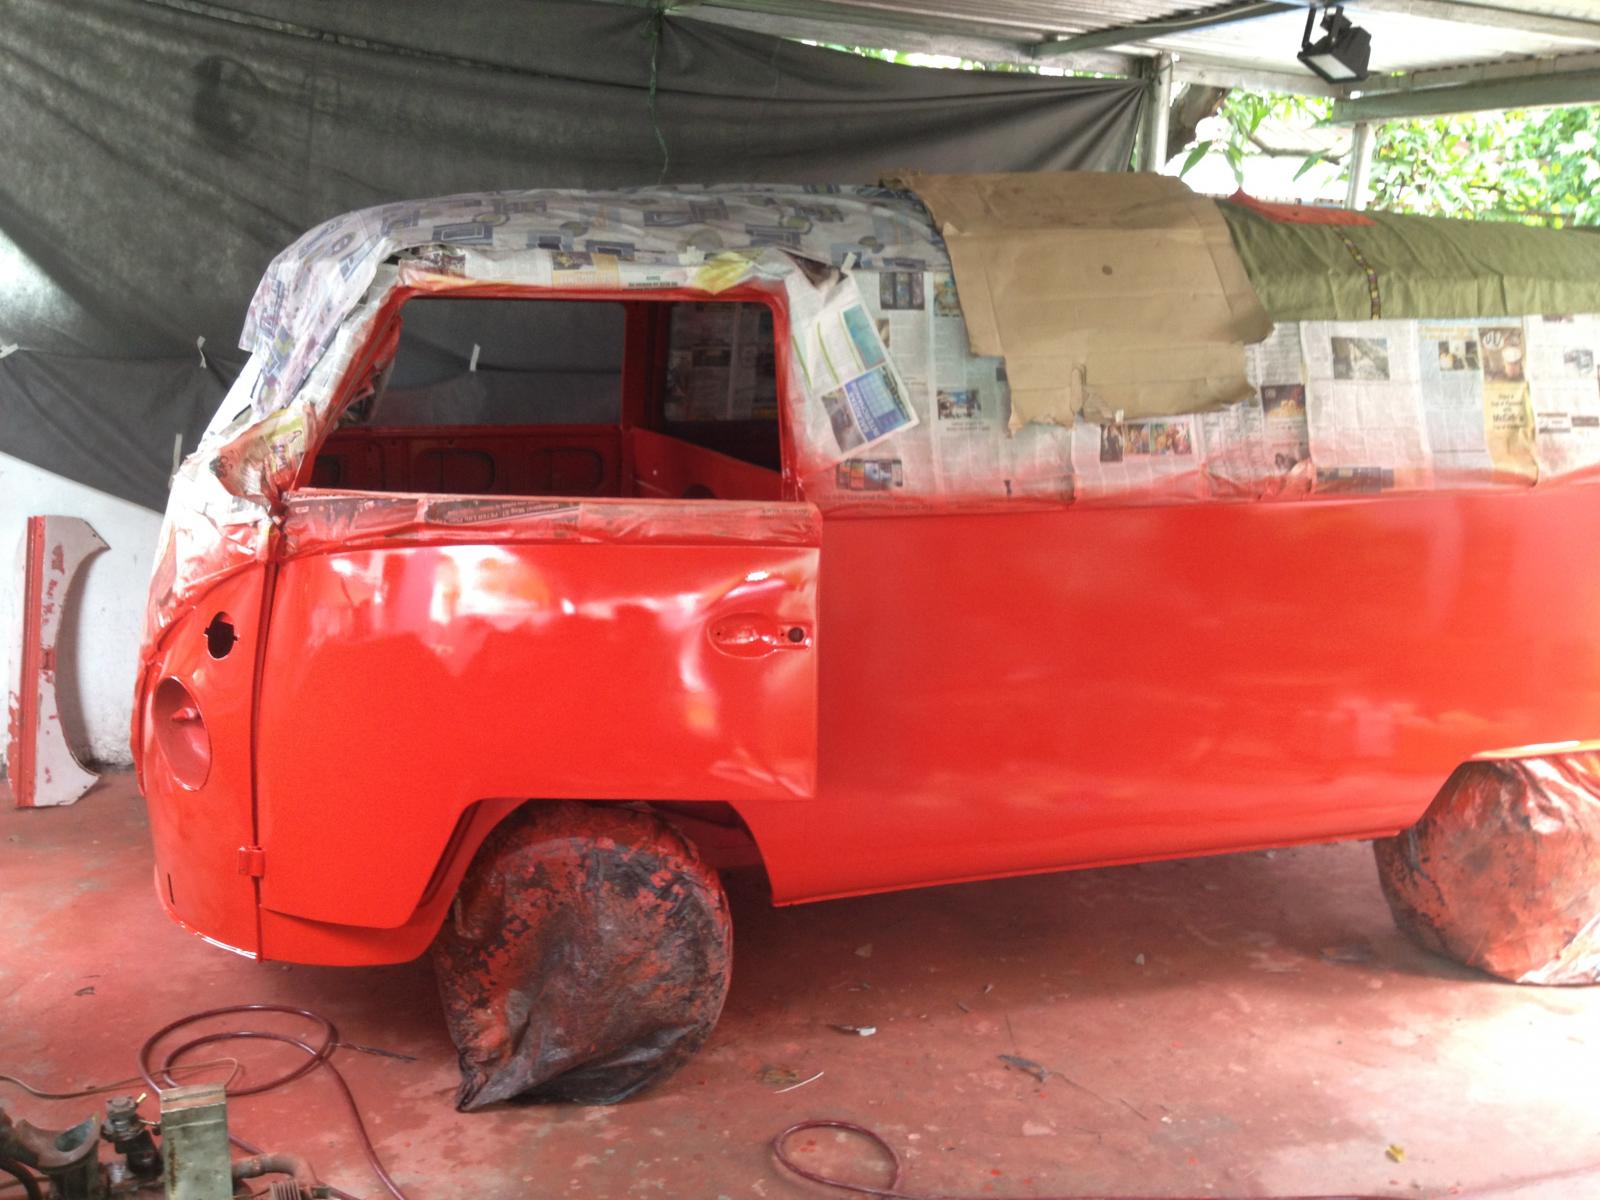
Of course the chestnut brown had to the covered!
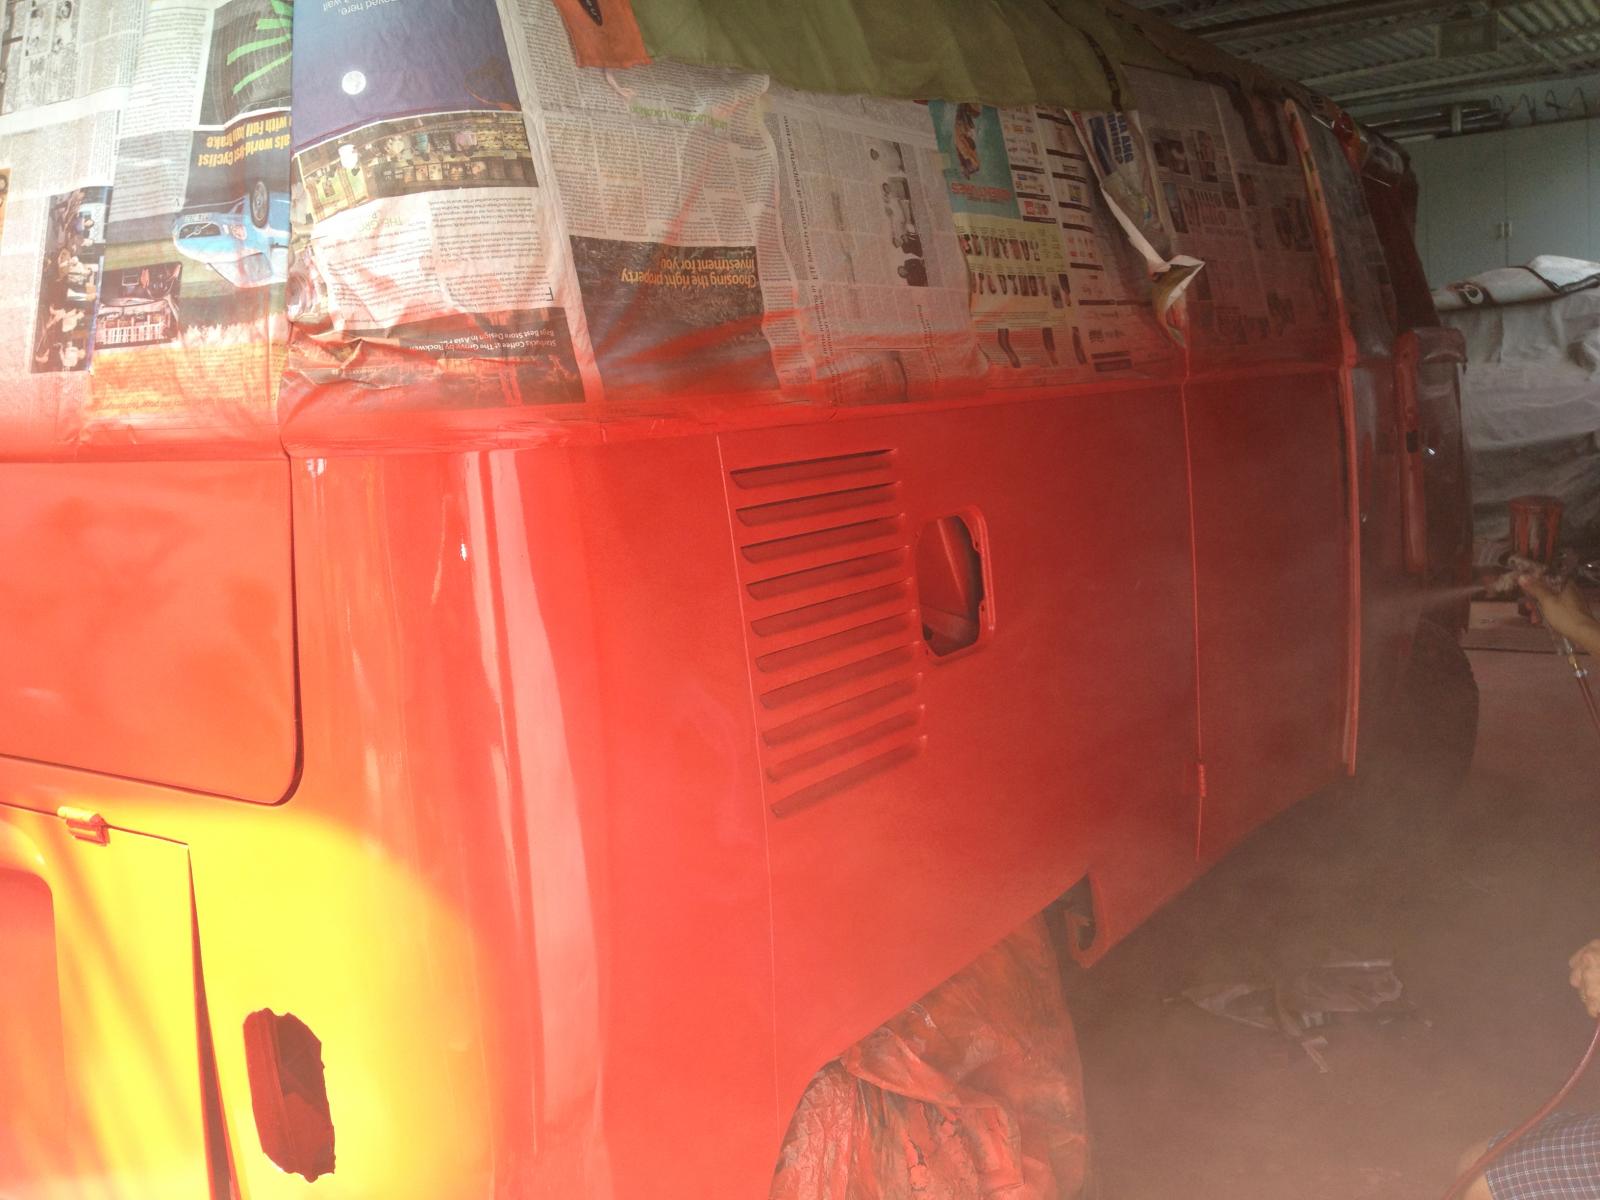
A shot of the side!

Finished one!

Another shot.
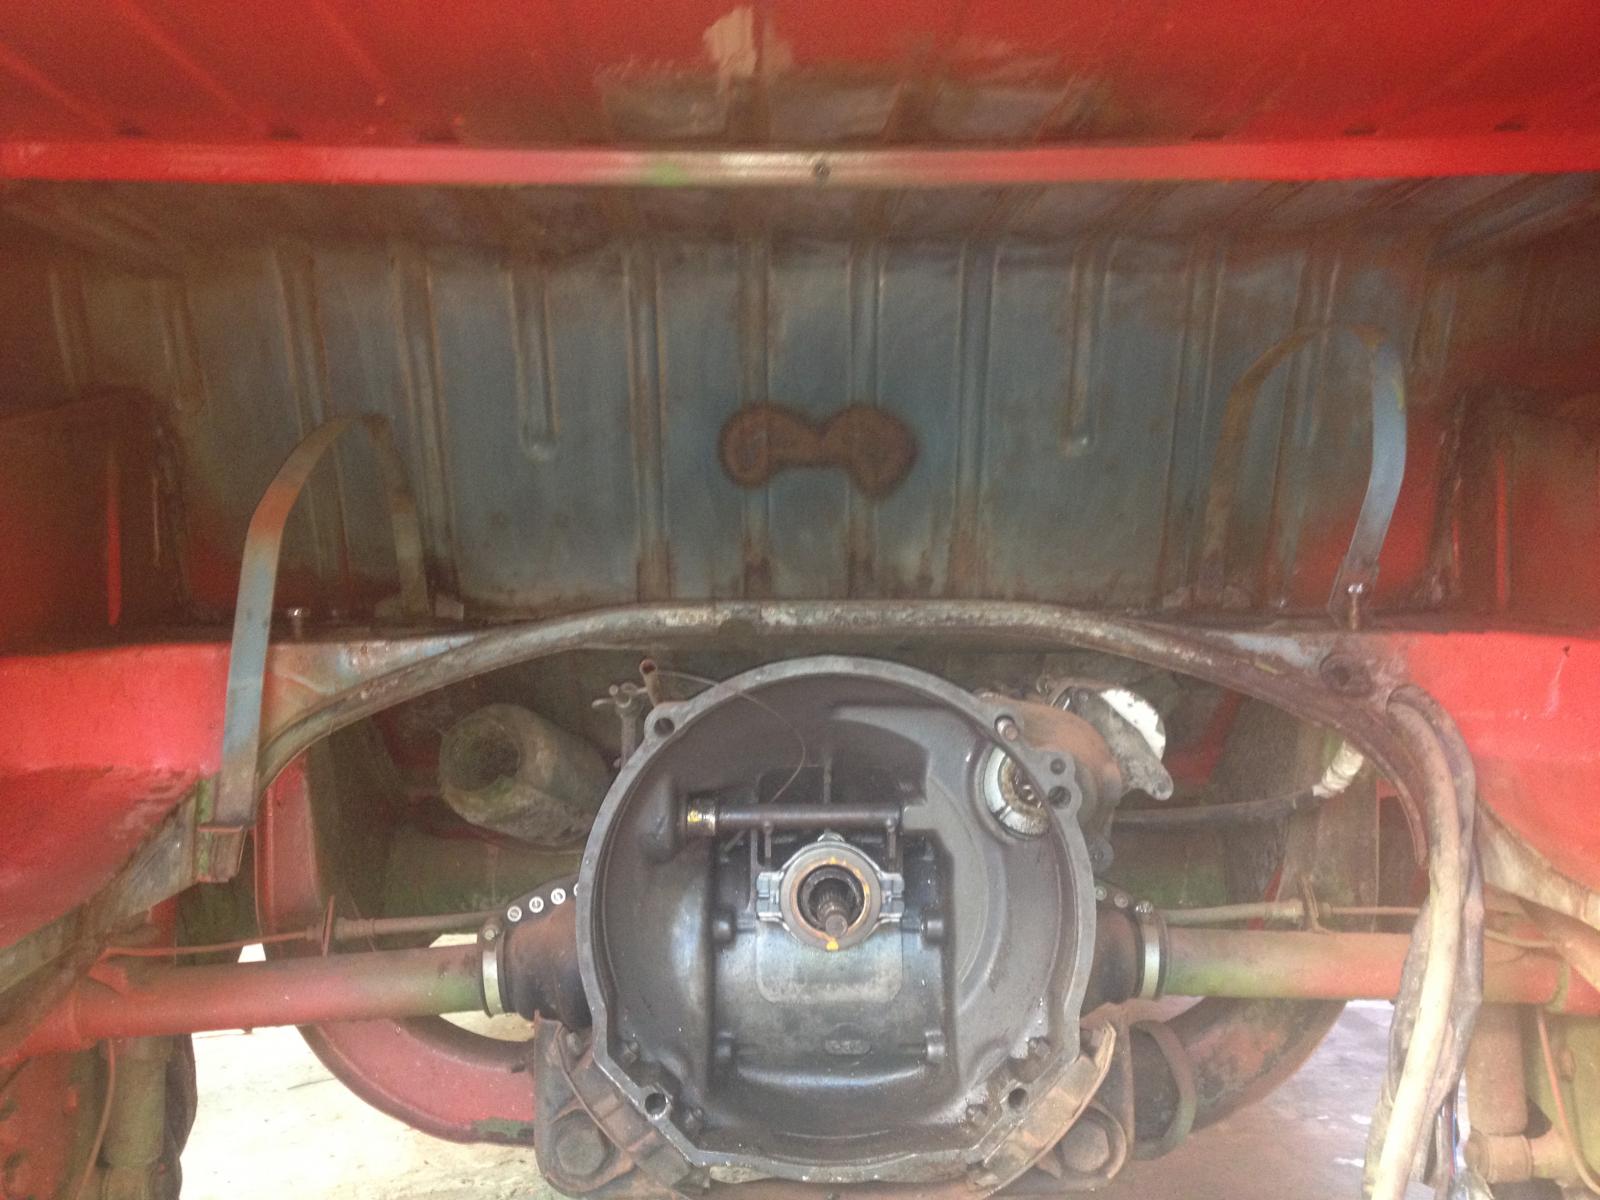
I also removed the engine to apply the sealing wax red and paint the engine tin wares! I already painted the engine bay but I forgot to take pics off the finished one. I will post it later.
Doing some final touches on the engine bay!
The other side too!

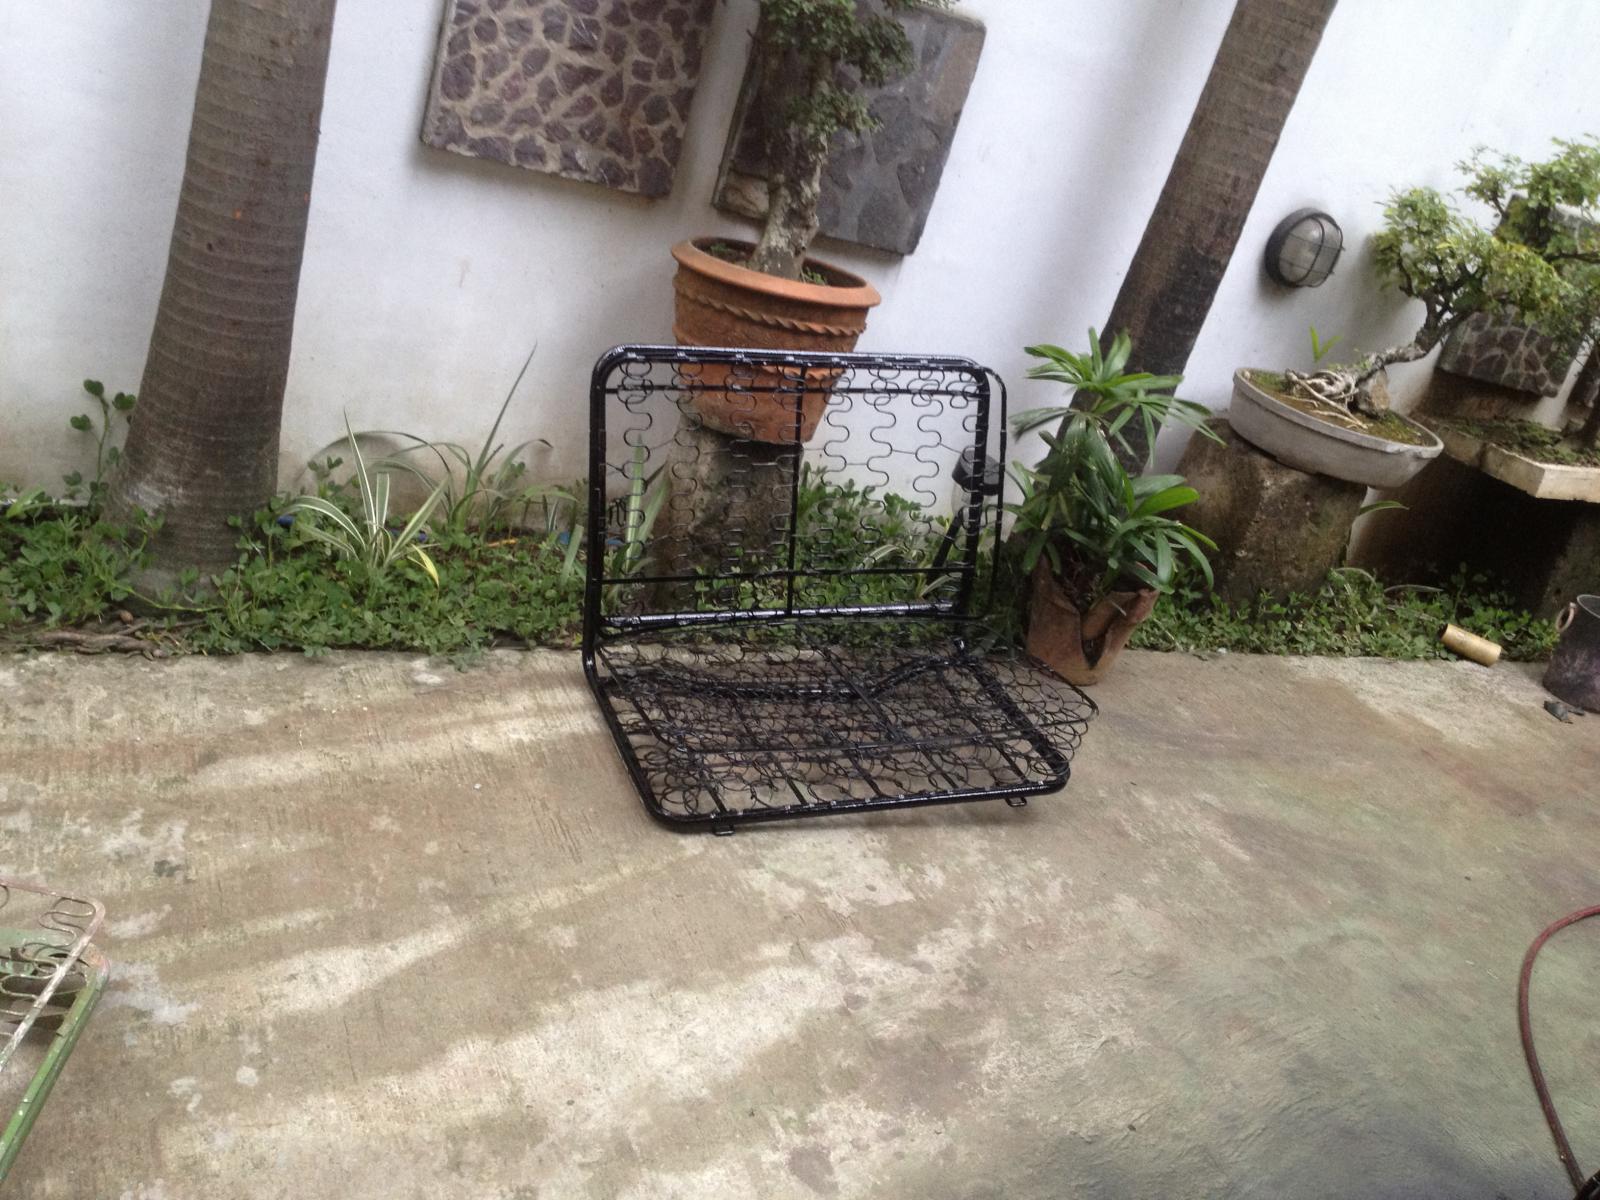
I applied the primer and the gloss black was already applied. I will post the pics later.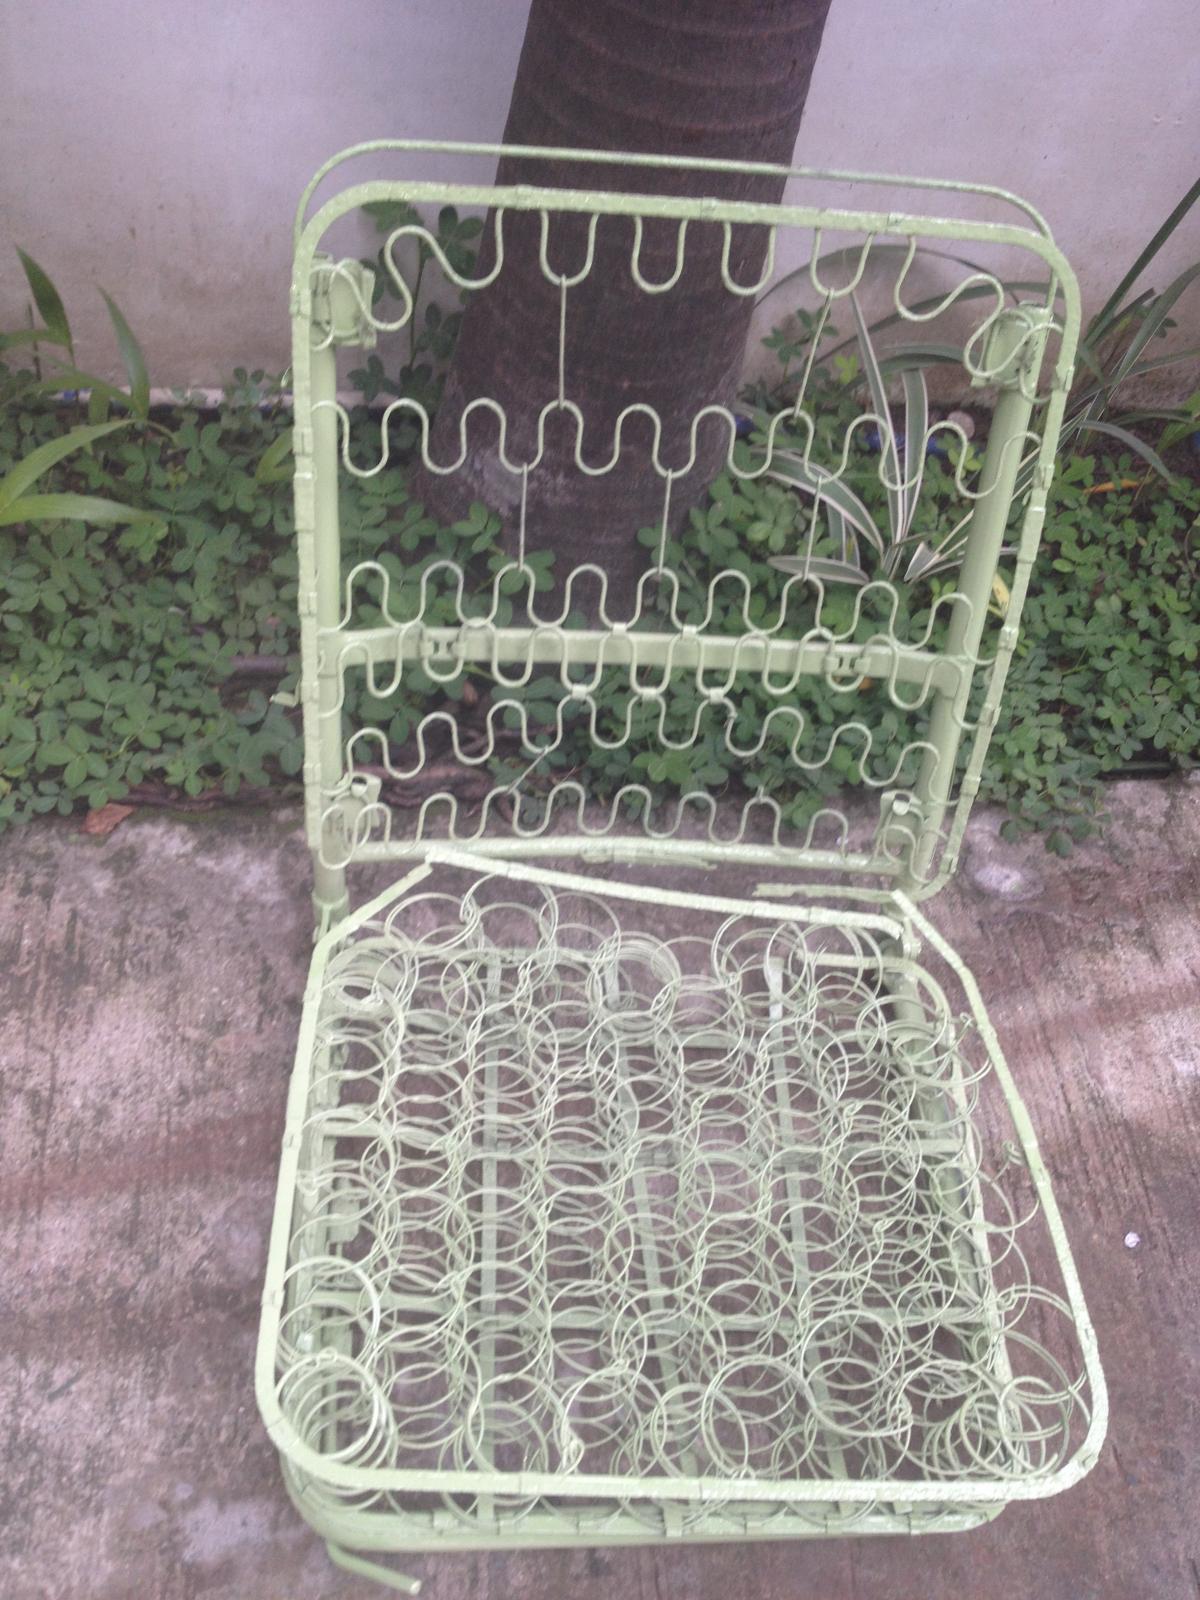
The seats had to the painted too!
This one too!
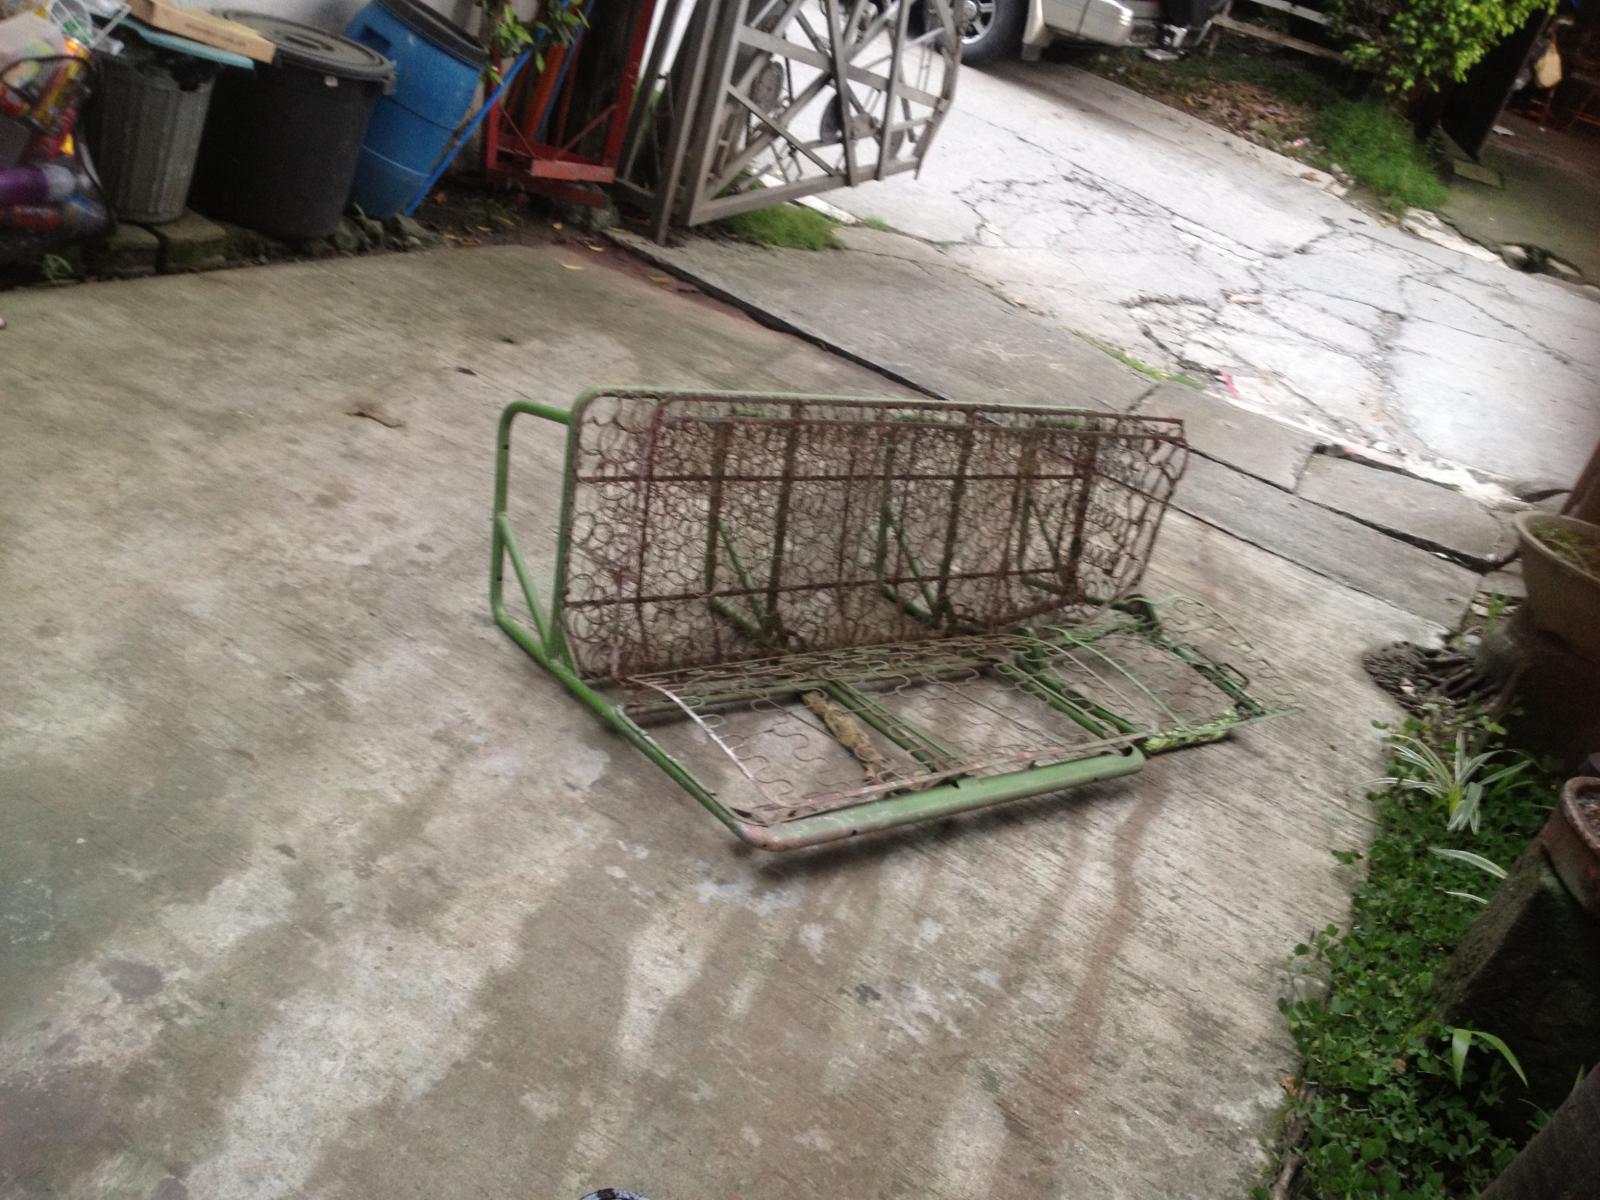
The middle seat needs to the painted black too!
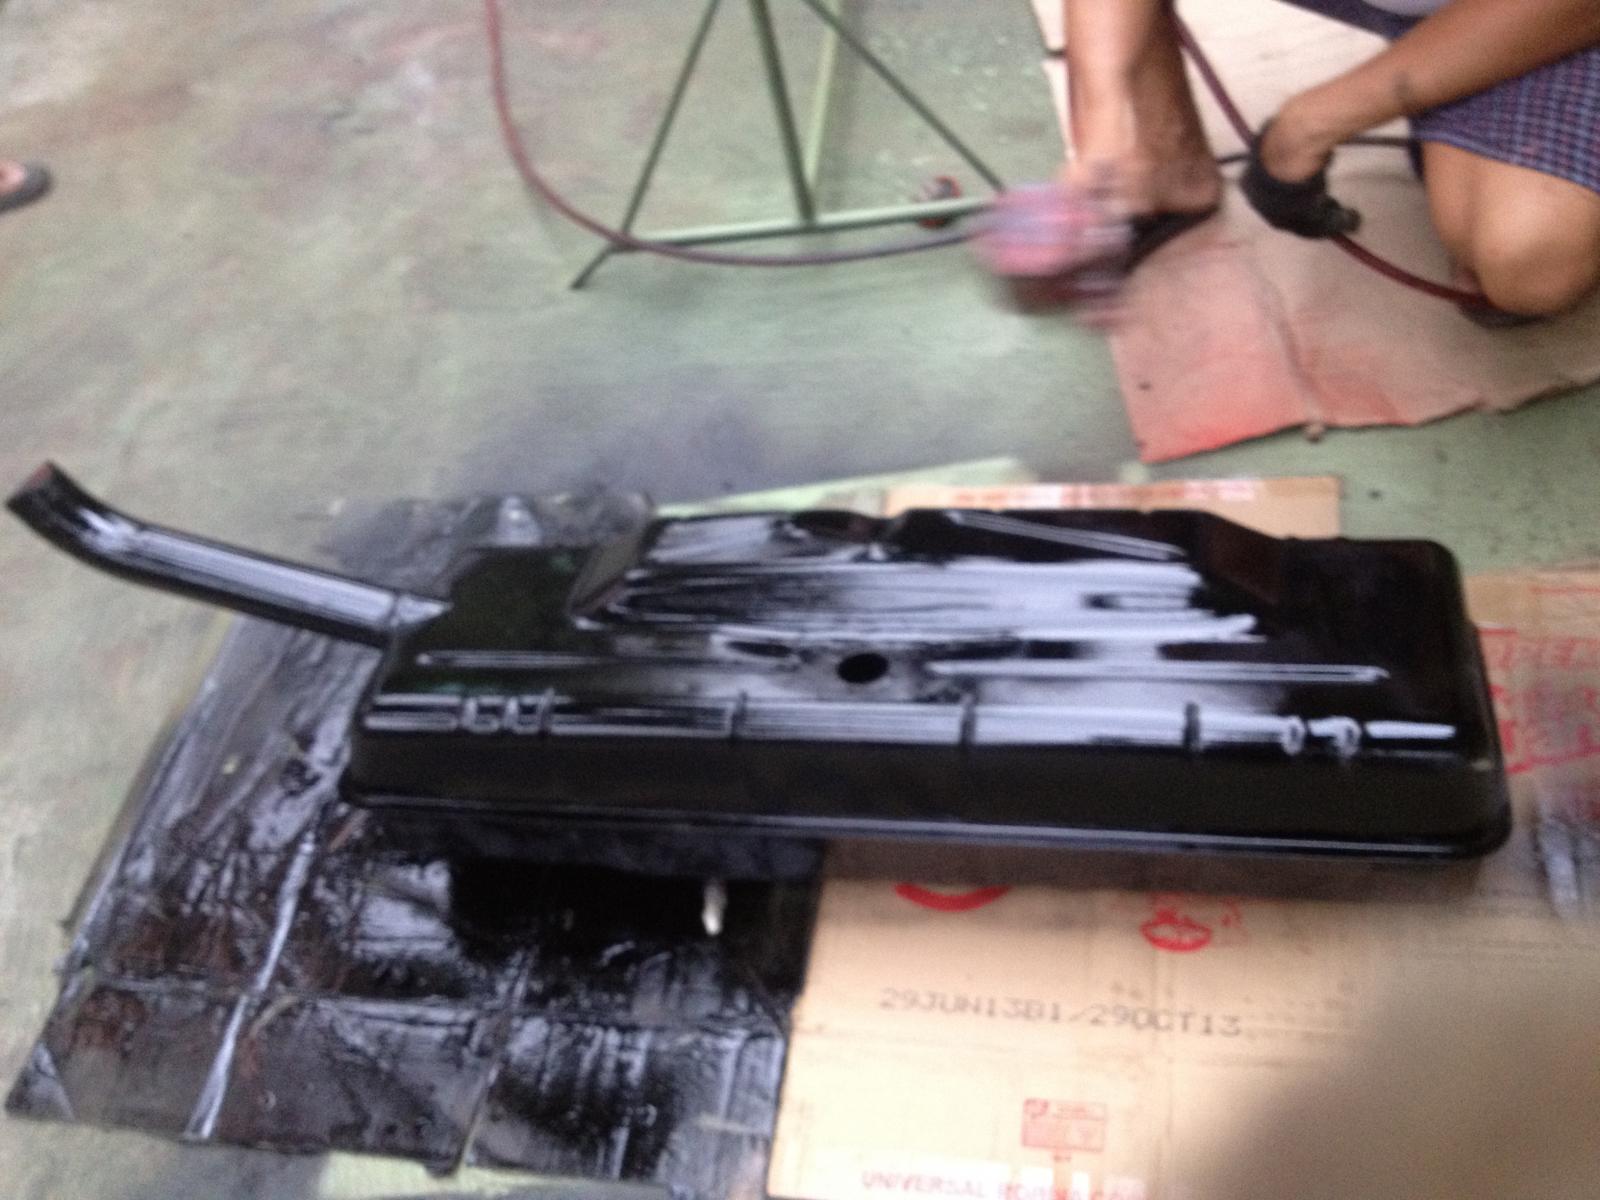
The gas tank was give the attention it deserved too. Although I will paint it color grey this weekend!
This coming weekend will be a busy one for me again.
Thanks.

Of course the chestnut brown had to the covered!

A shot of the side!

Finished one!

Another shot.

I also removed the engine to apply the sealing wax red and paint the engine tin wares! I already painted the engine bay but I forgot to take pics off the finished one. I will post it later.

Doing some final touches on the engine bay!

The other side too!

I applied the primer and the gloss black was already applied. I will post the pics later.

The seats had to the painted too!

This one too!

The middle seat needs to the painted black too!

The gas tank was give the attention it deserved too. Although I will paint it color grey this weekend!
This coming weekend will be a busy one for me again.
Thanks.
dongkg
Registered user
Posts: 90
Joined: Tue Jul 16, 2013 7:58 am
Re: My '67 Split Bus Resto Thread in the Philippines
by dongkg » Mon Oct 07, 2013 10:48 am
Some finishing touches..
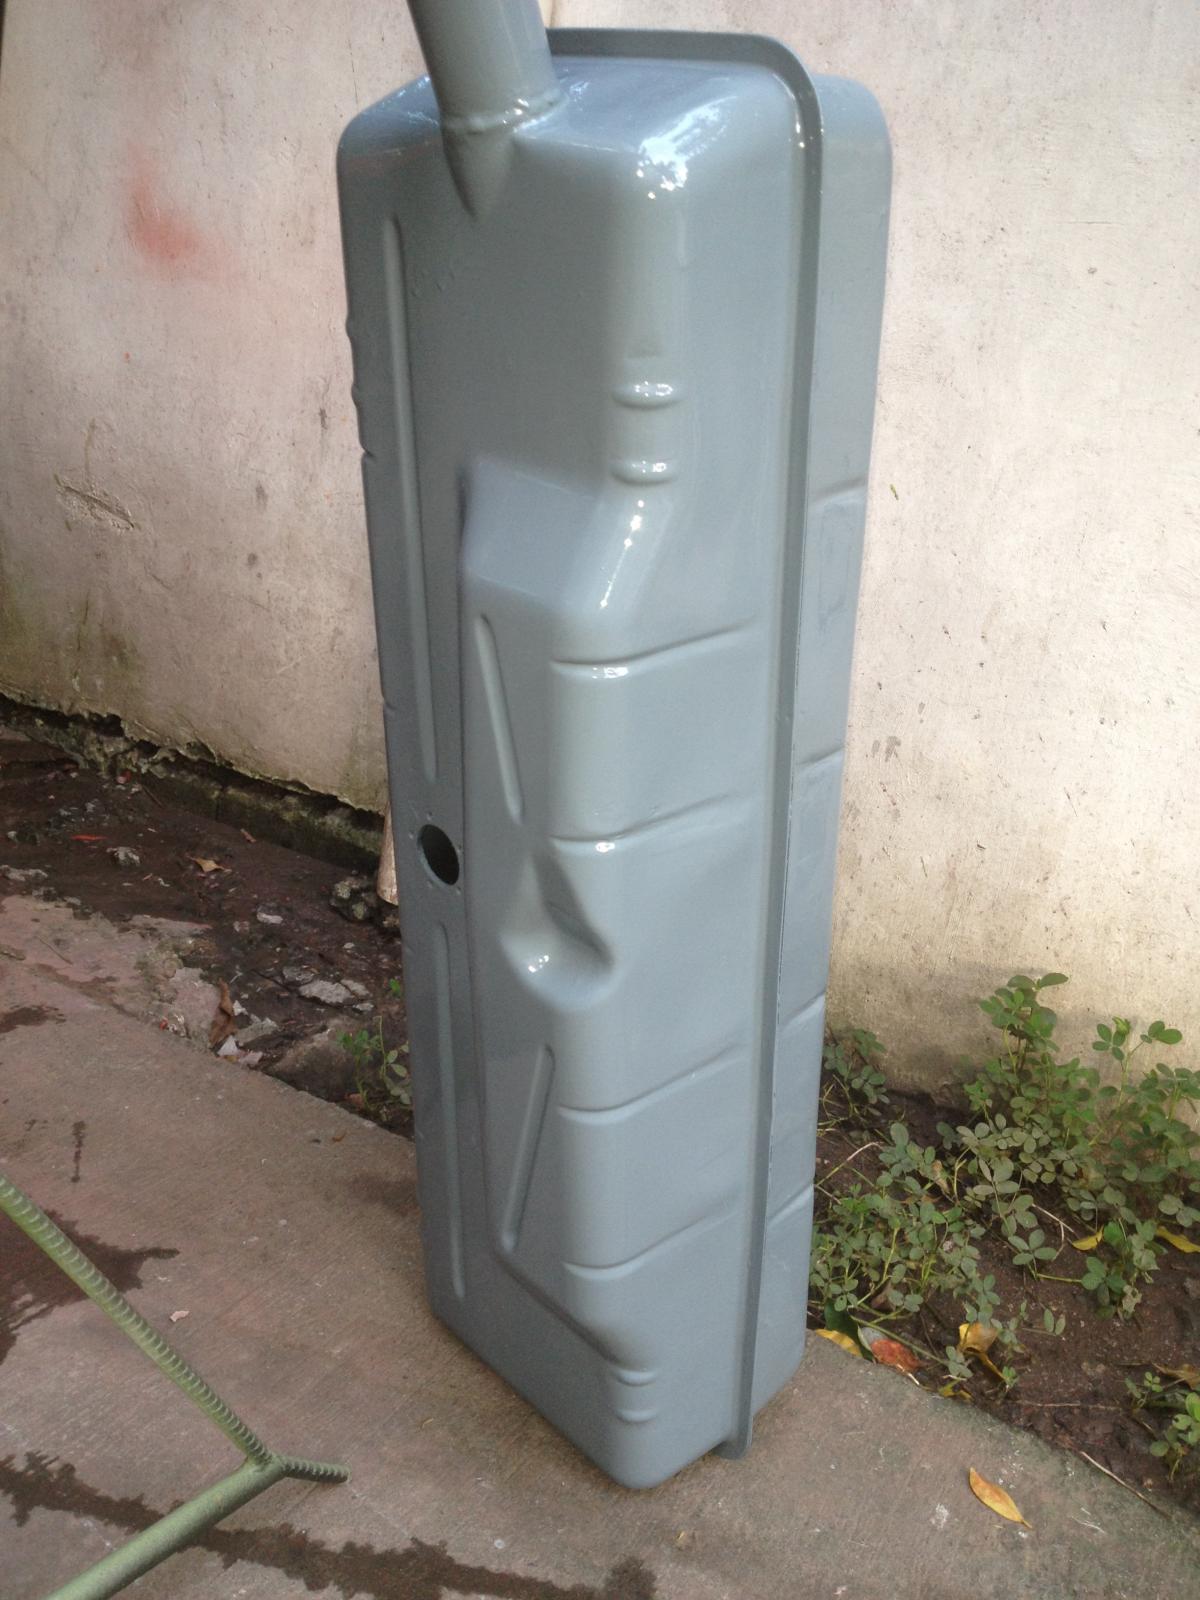
With zozo's help in providing a picture of a gas tank, I painted the same with this grey color.
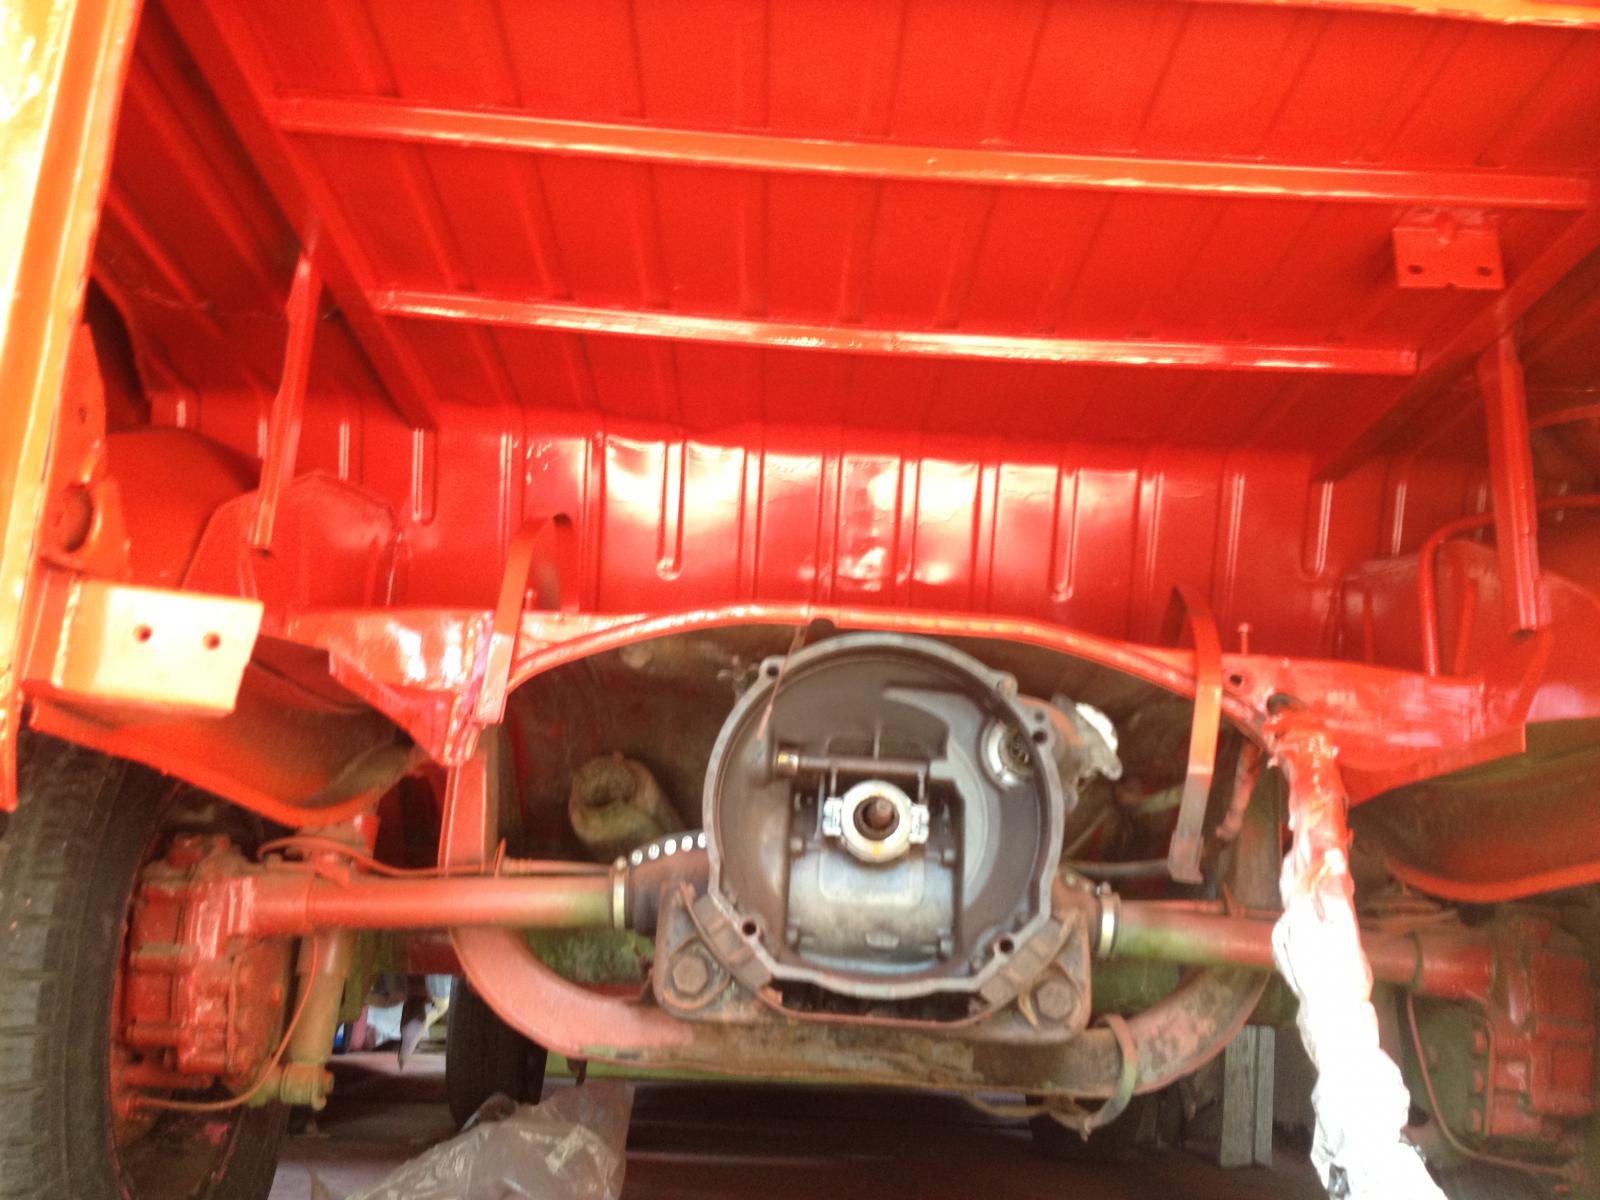
Painted engine bay sans top coat (which I will apply may be on Wednesday)
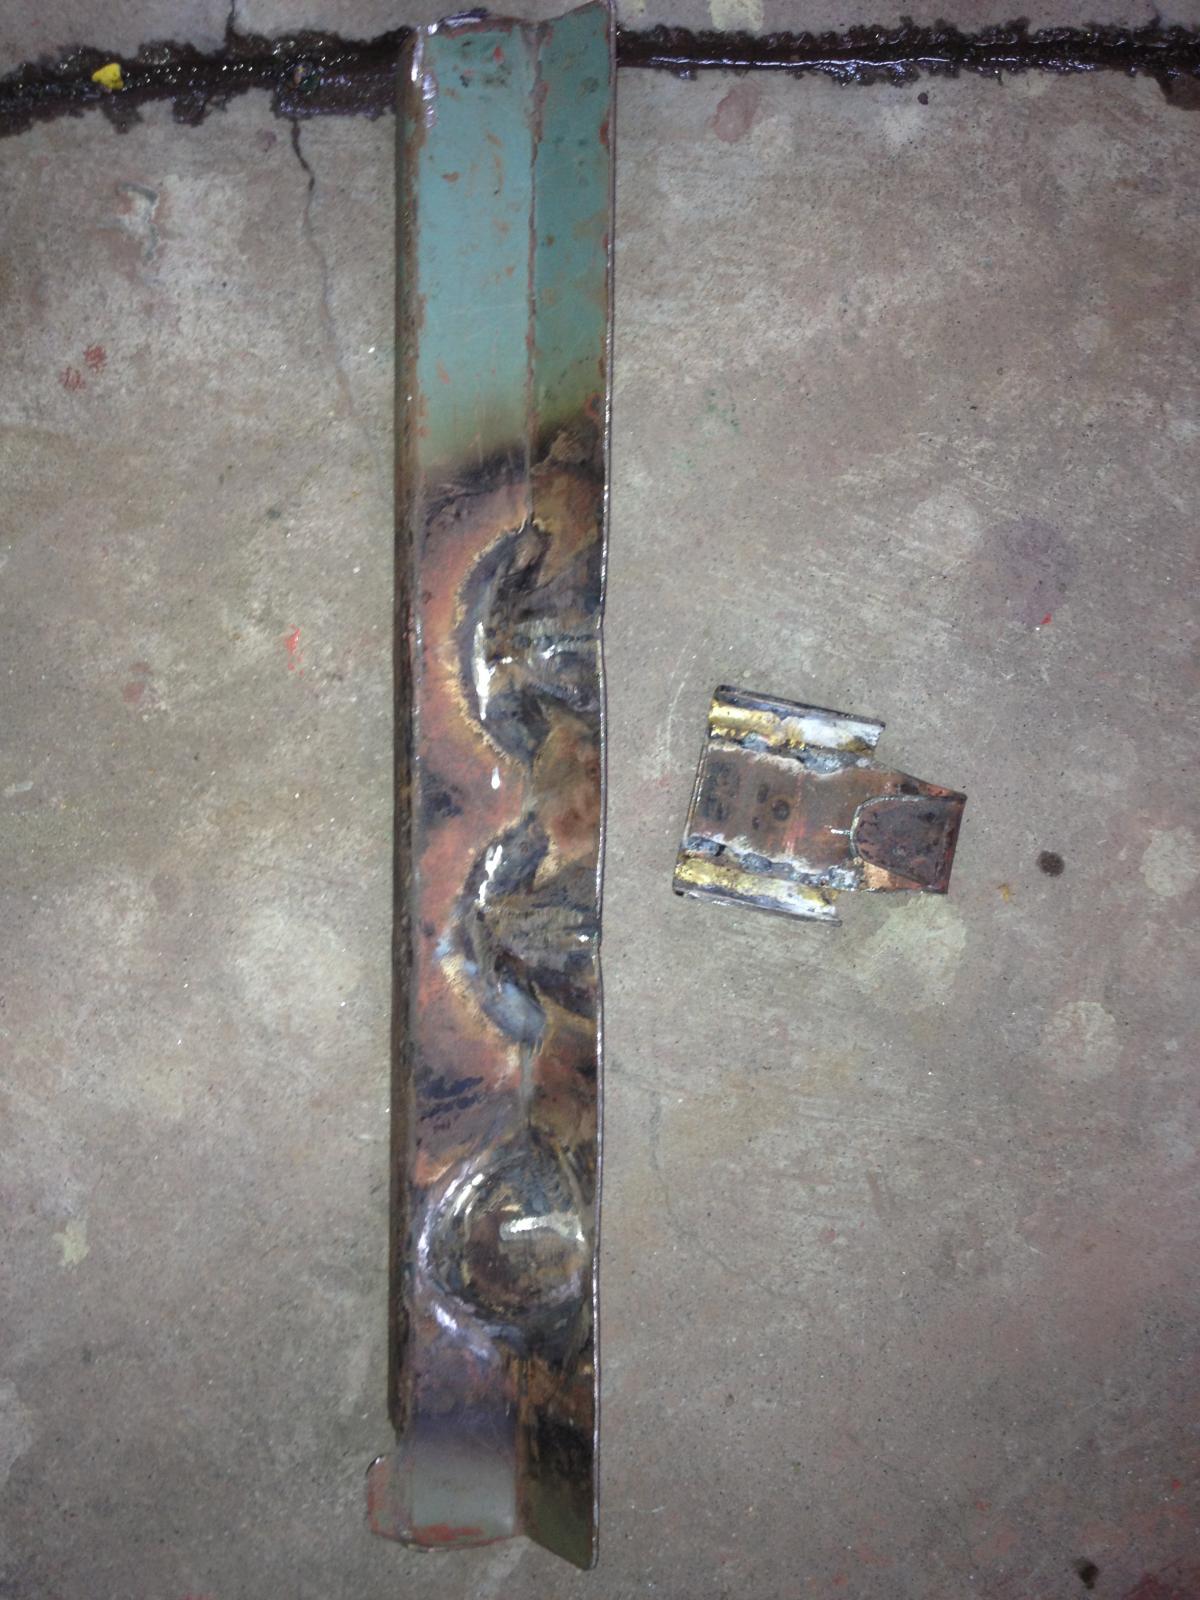
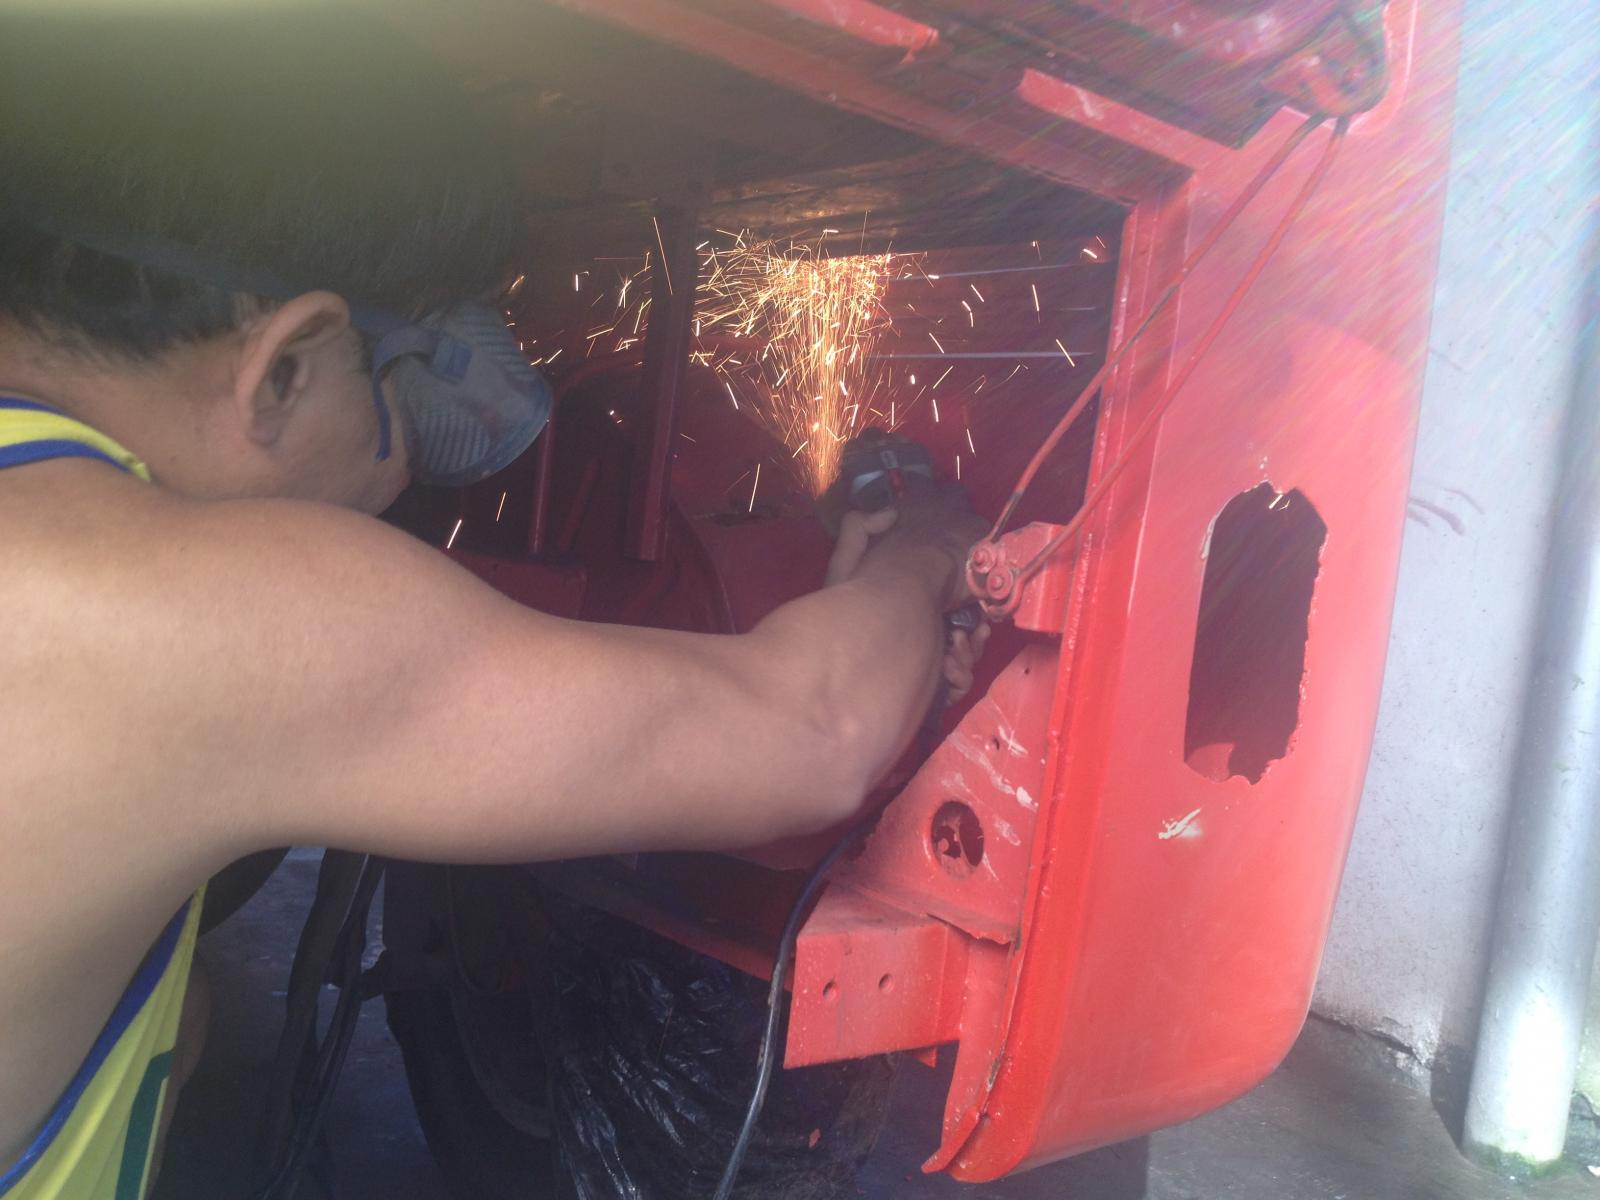
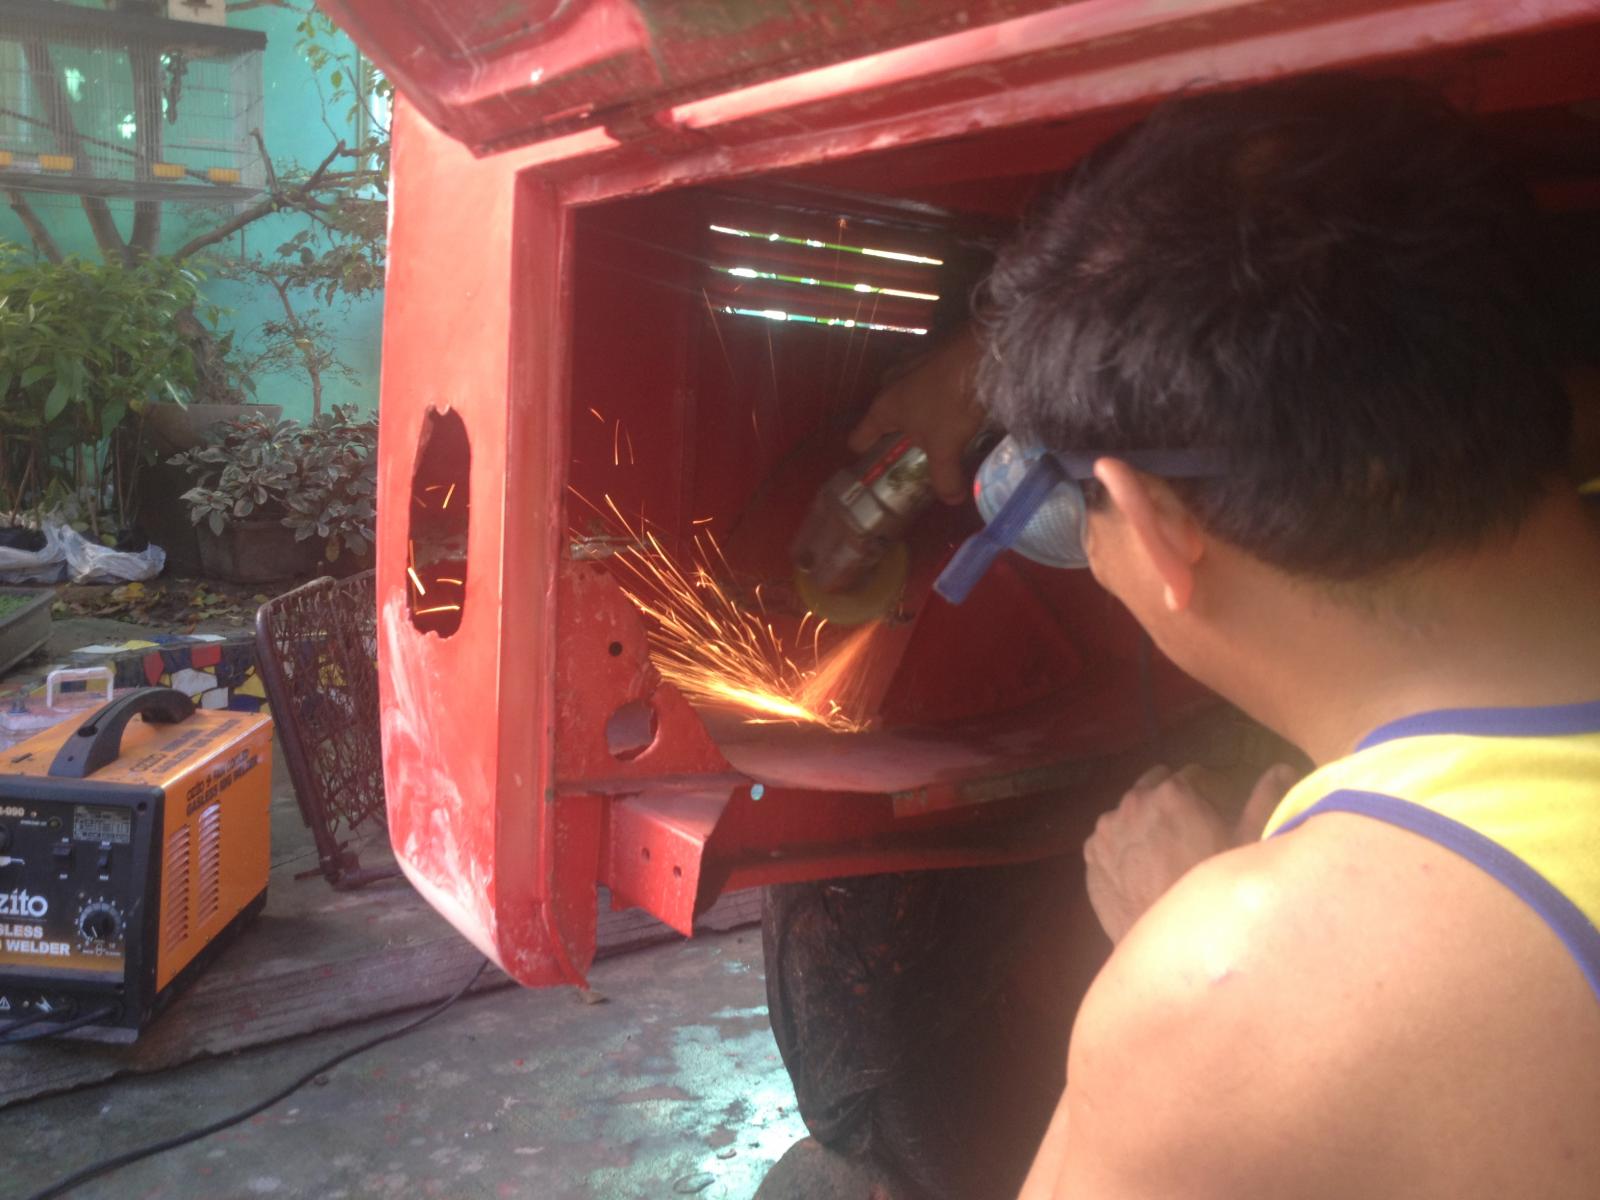
I asked a friend to fabricate me this seat outer railing for the driver side seat and outer latch for the passenger seat.
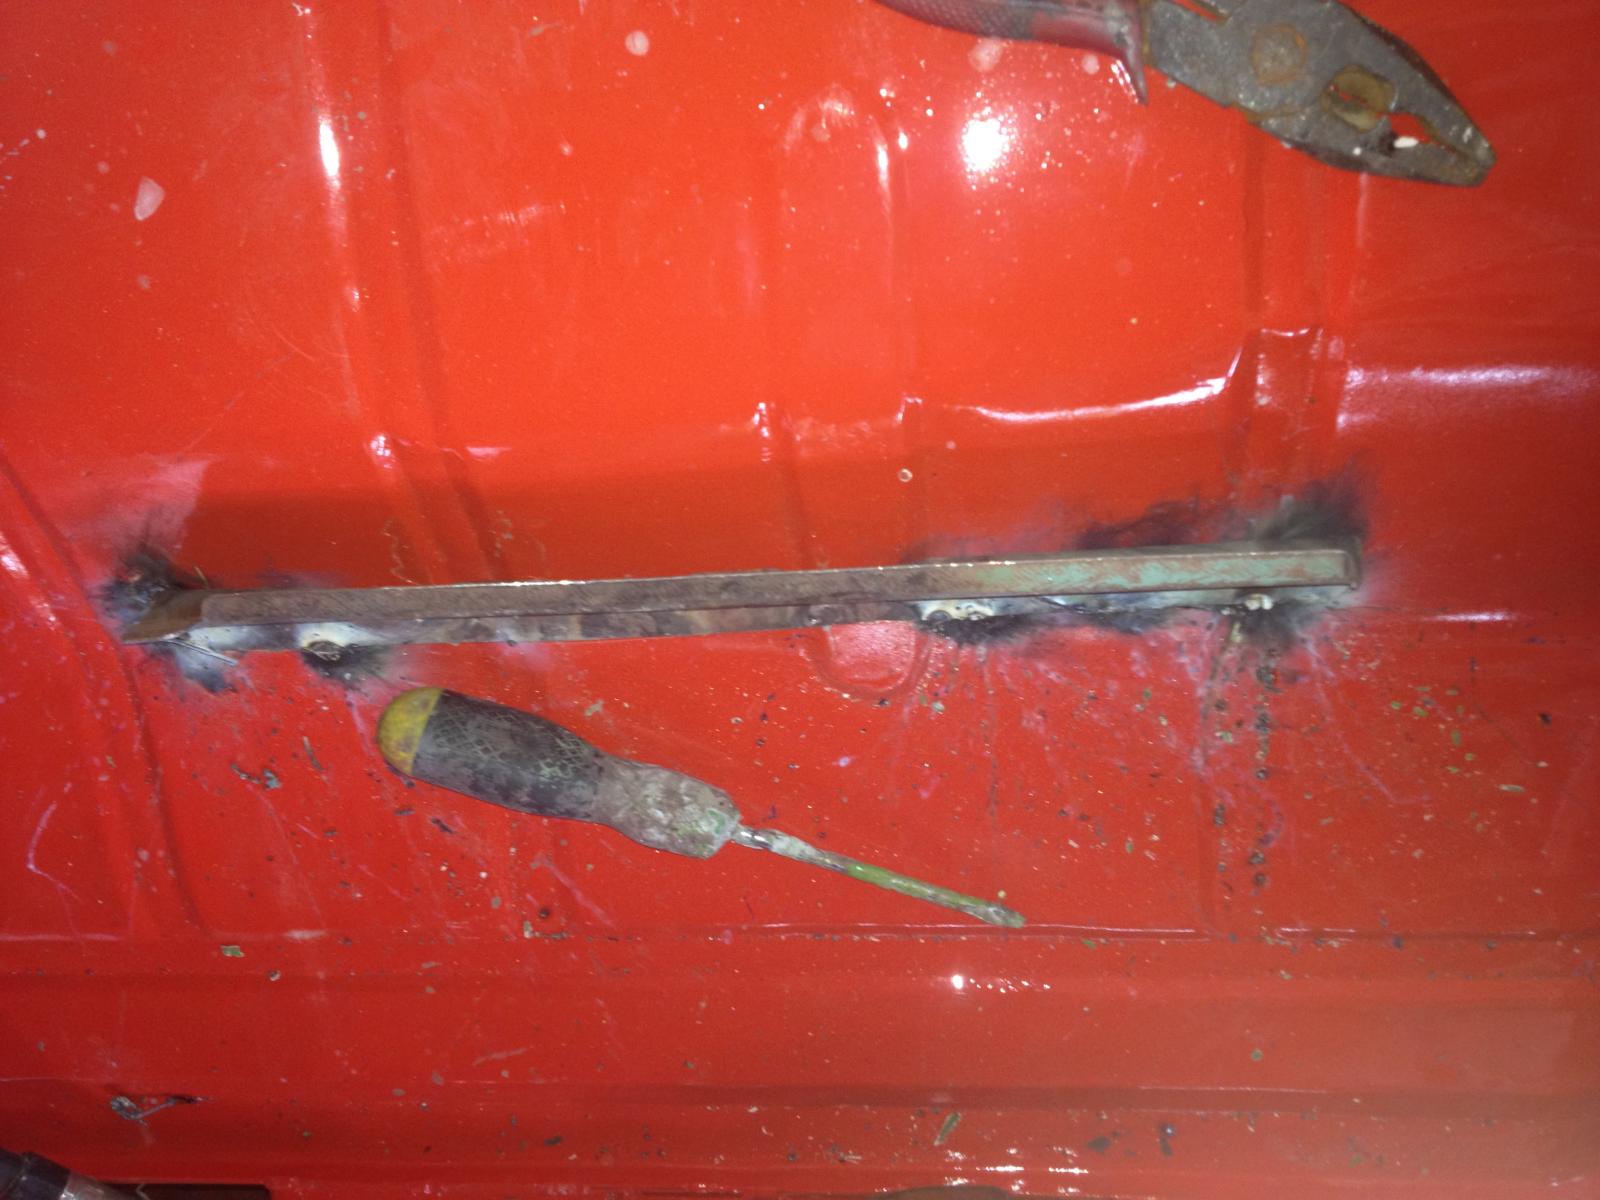
I welded the same last friday.
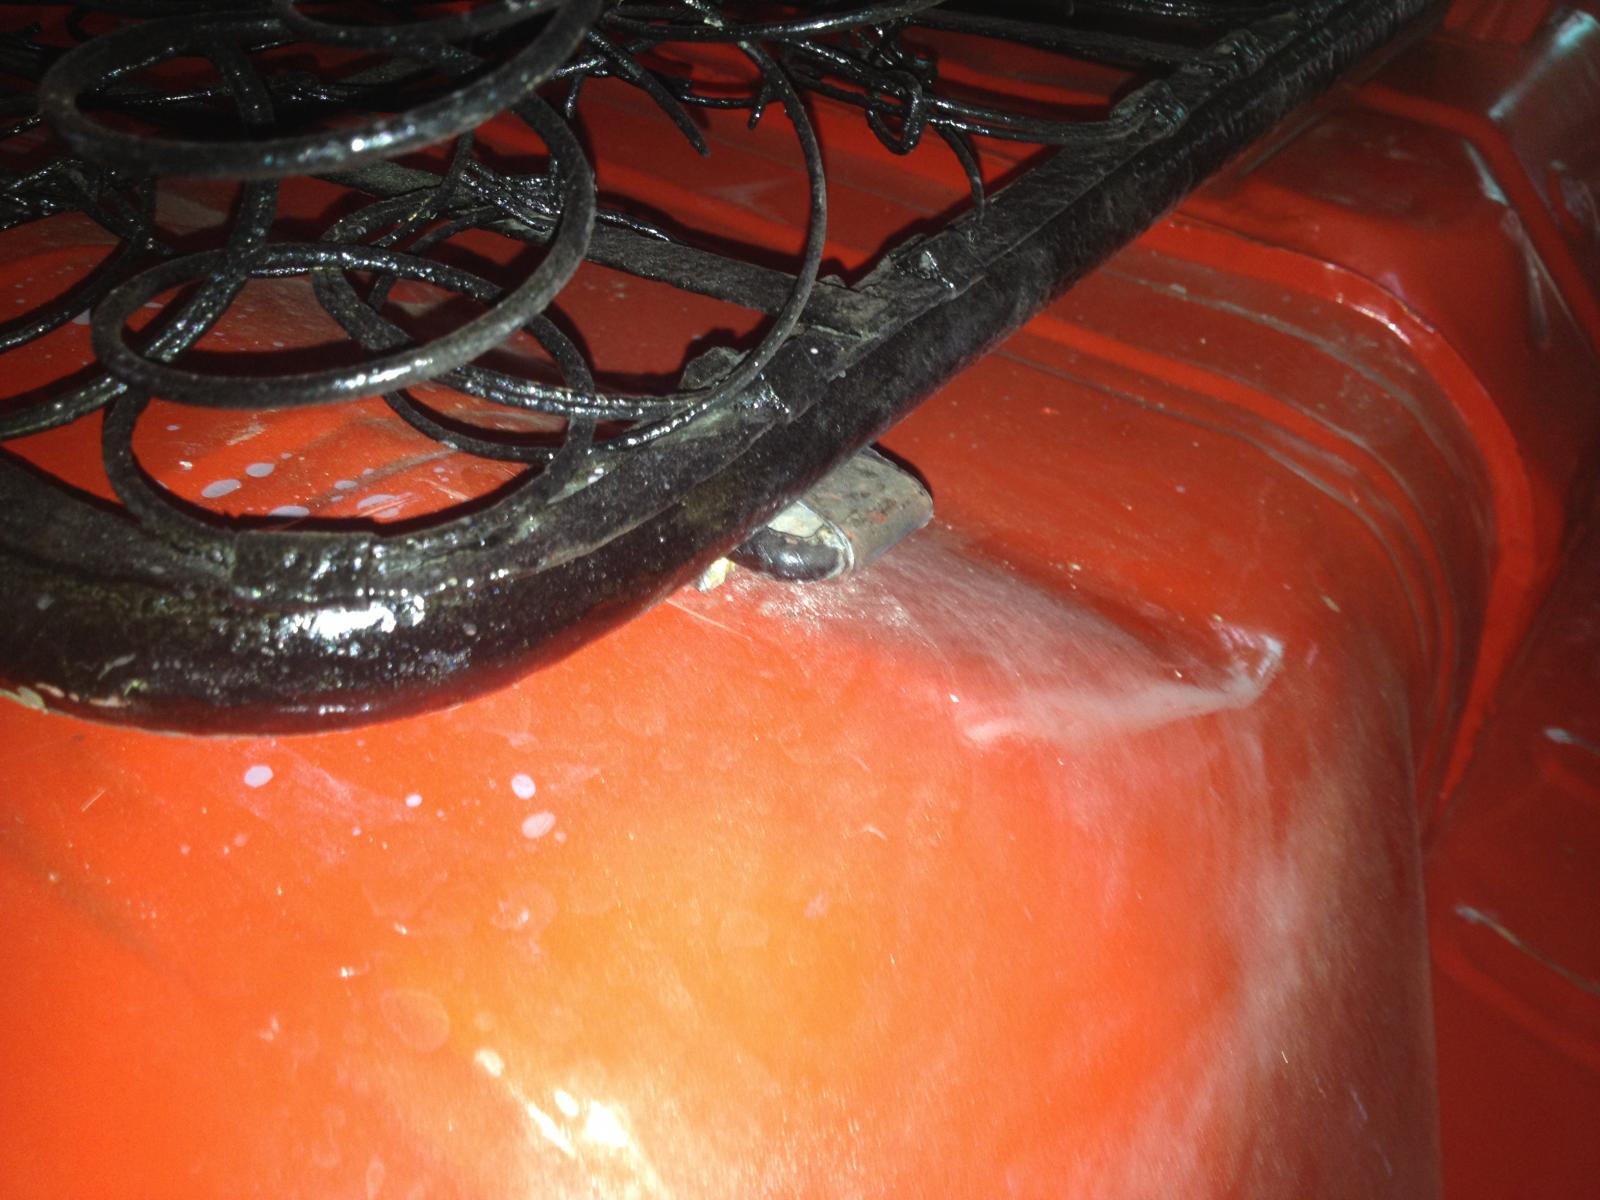
I was not able to weld this one considering that my Mig welder was having some mechanical problems. I hope to remedy the problem soon.
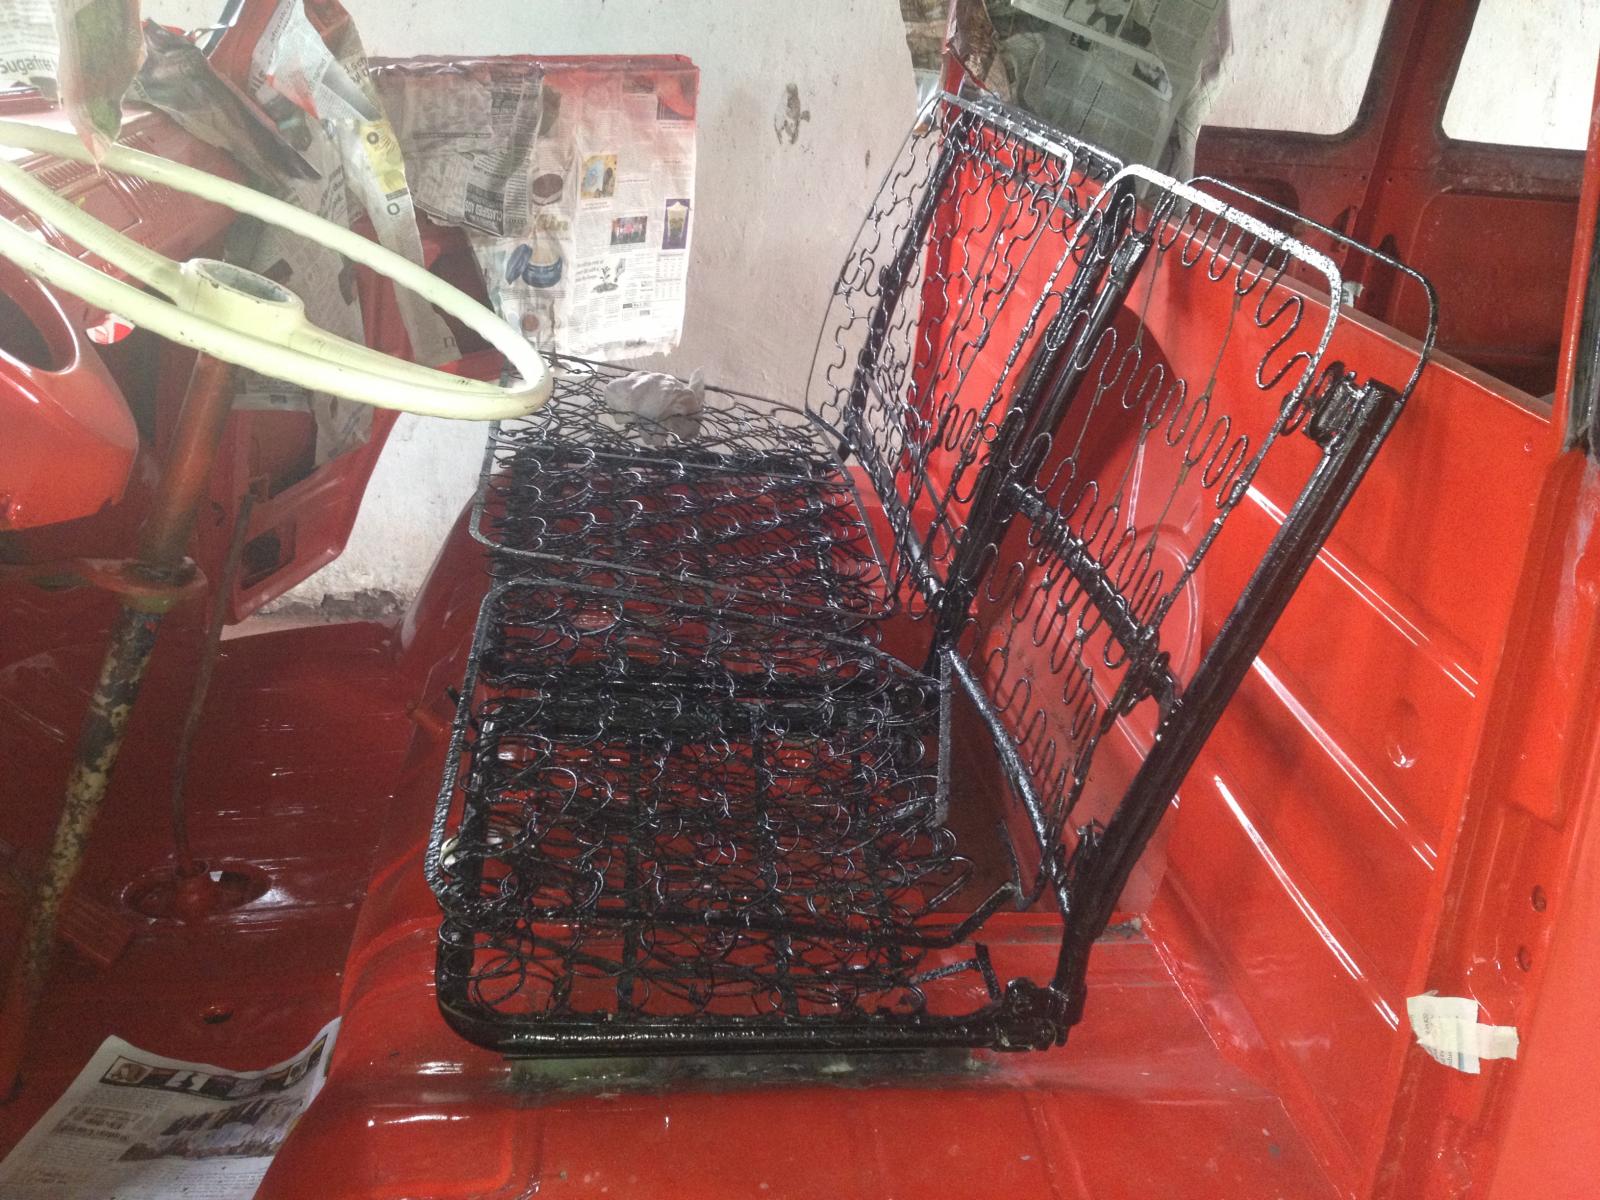
Checking on the alignments.. Cool one!
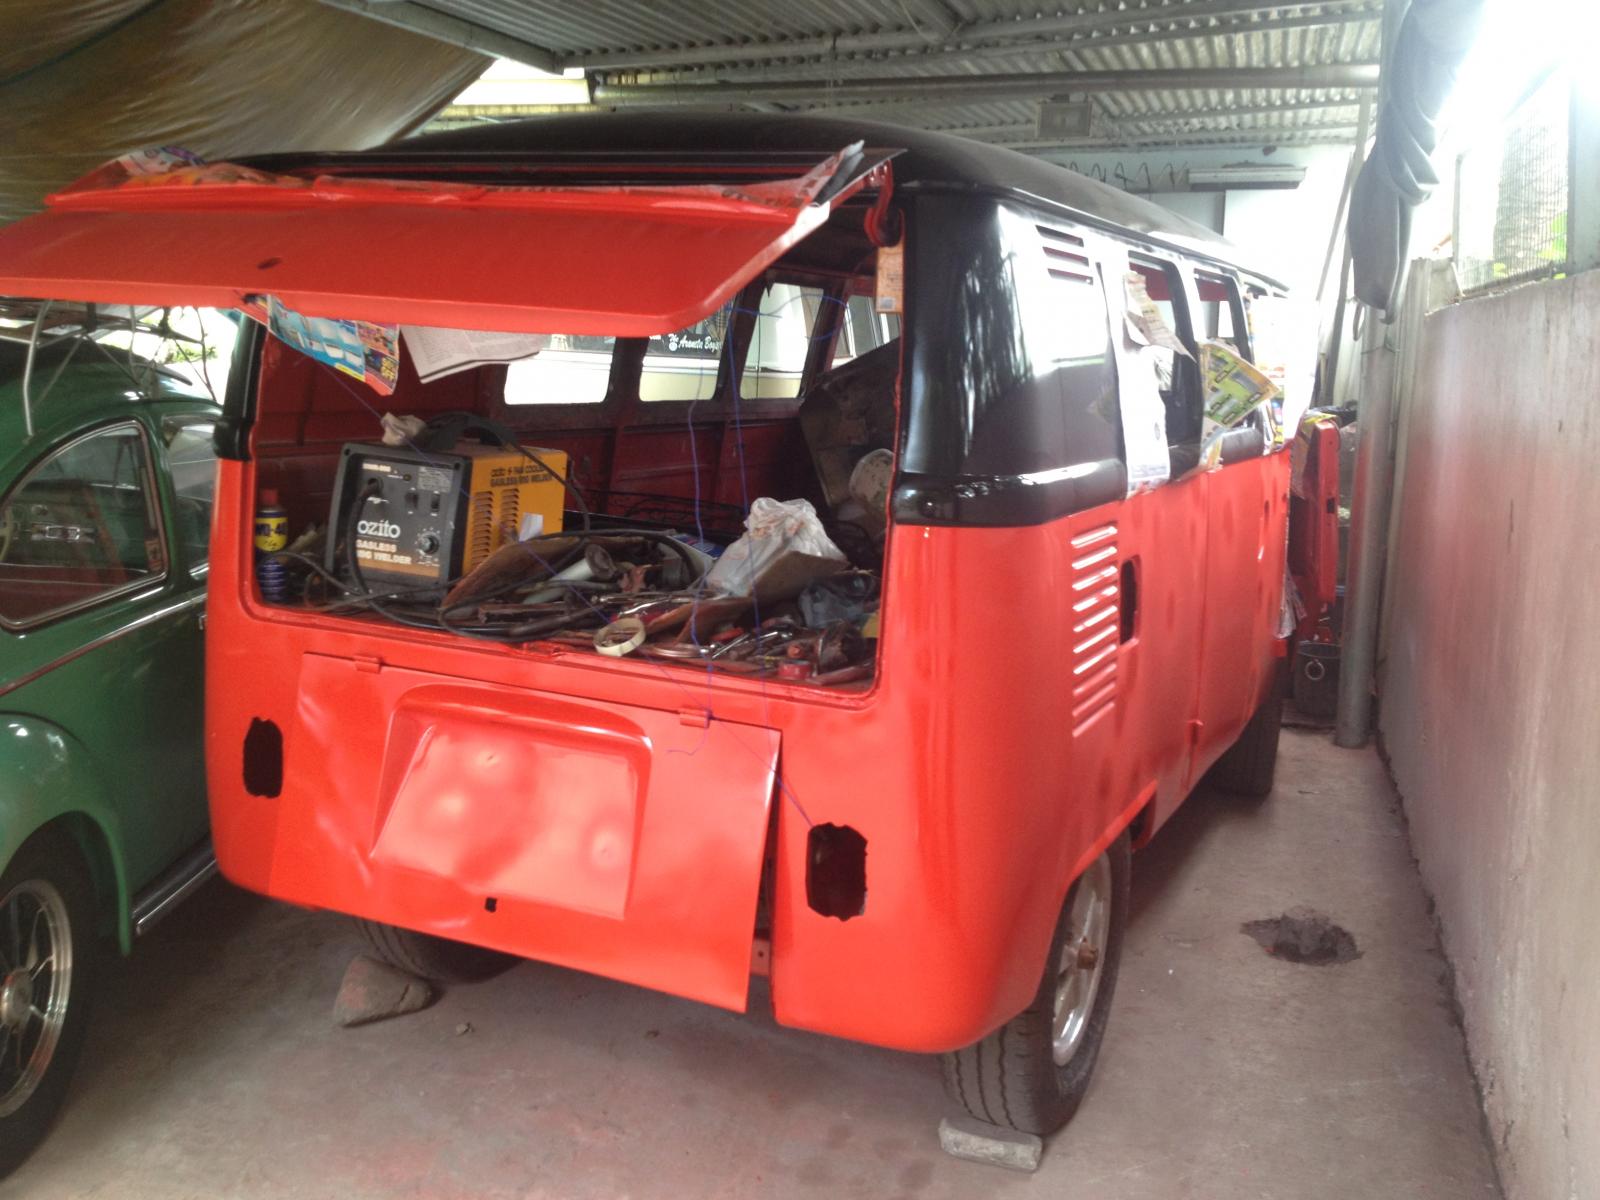
The picture of the split after applying the first top coat.
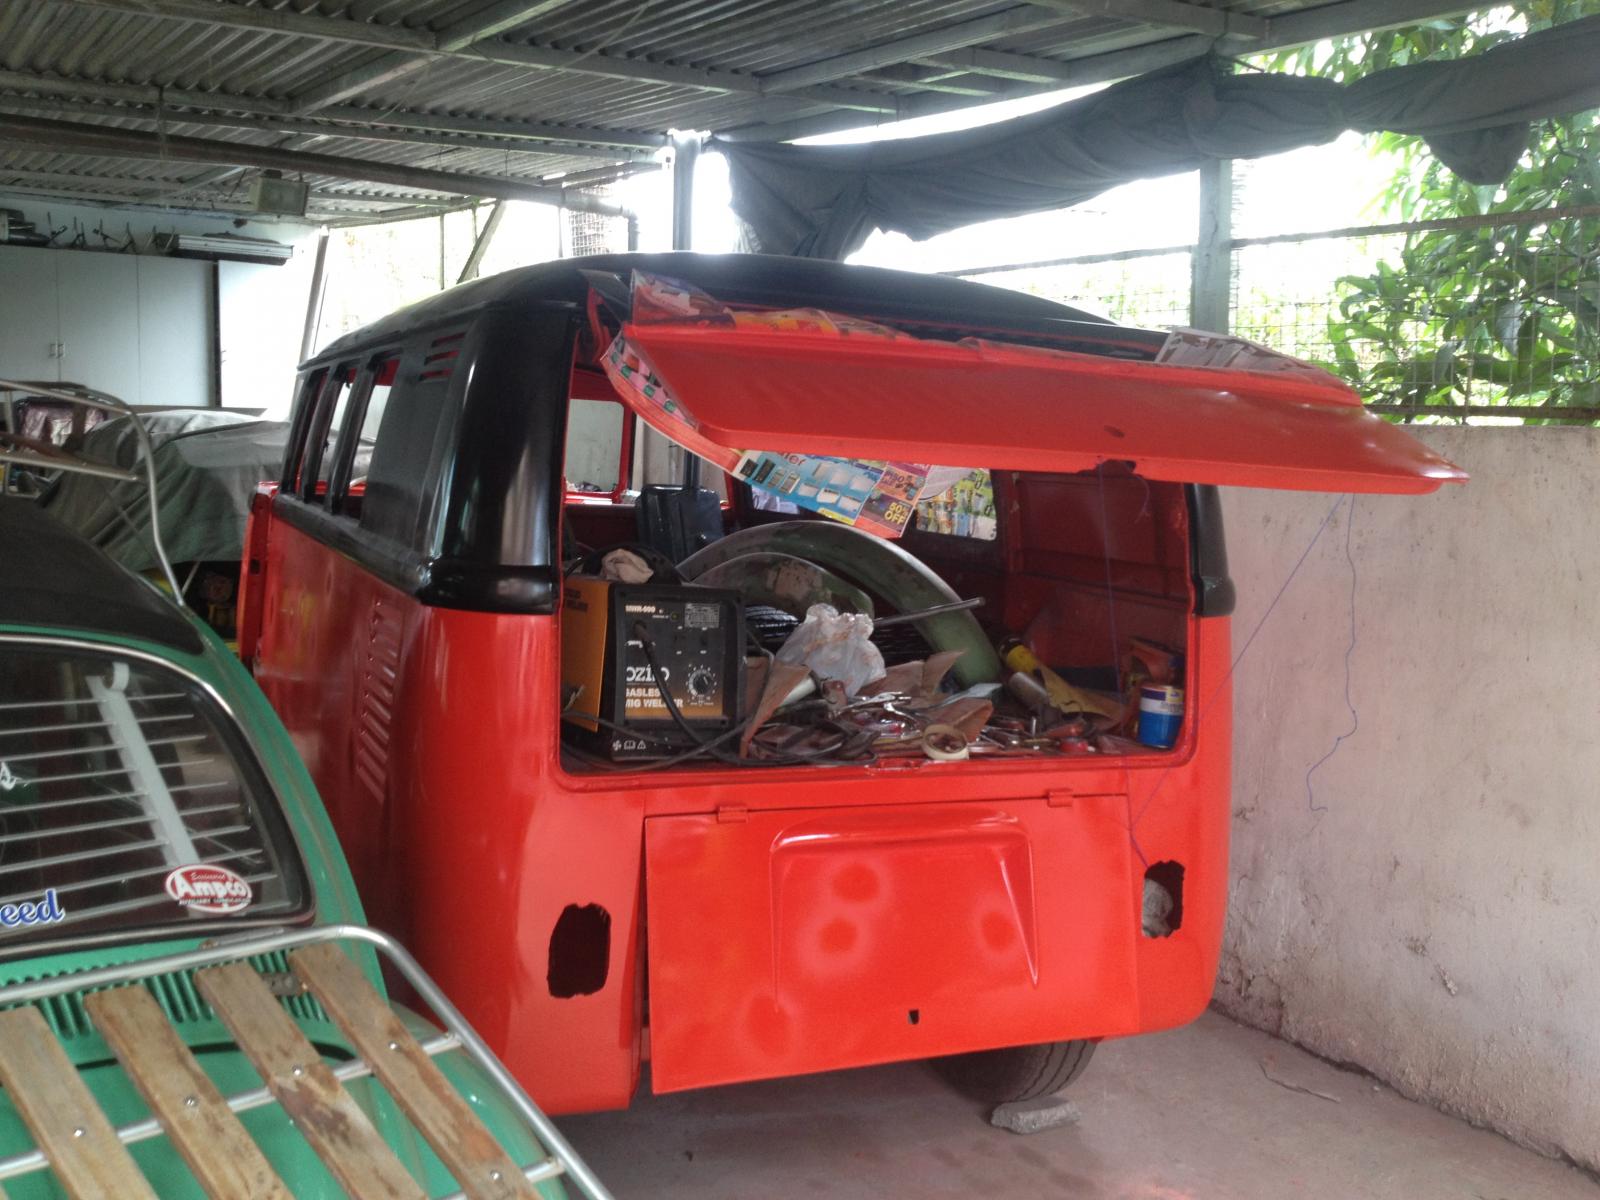
Next week, I will apply the last top coat and thereafter, it will be ready to be buffed for that gloss finish!
Thanks

With zozo's help in providing a picture of a gas tank, I painted the same with this grey color.

Painted engine bay sans top coat (which I will apply may be on Wednesday)

I asked a friend to fabricate me this seat outer railing for the driver side seat and outer latch for the passenger seat.

I welded the same last friday.

I was not able to weld this one considering that my Mig welder was having some mechanical problems. I hope to remedy the problem soon.

Checking on the alignments.. Cool one!

The picture of the split after applying the first top coat.

Next week, I will apply the last top coat and thereafter, it will be ready to be buffed for that gloss finish!
Thanks
dongkg
Registered user
Posts: 90
Joined: Tue Jul 16, 2013 7:58 am
Re: My '67 Split Bus Resto Thread in the Philippines
by dongkg » Thu Oct 10, 2013 4:28 am
I made a customized breather box for the Splitty. I went to a nearby shop who also made the customized exhaust system.
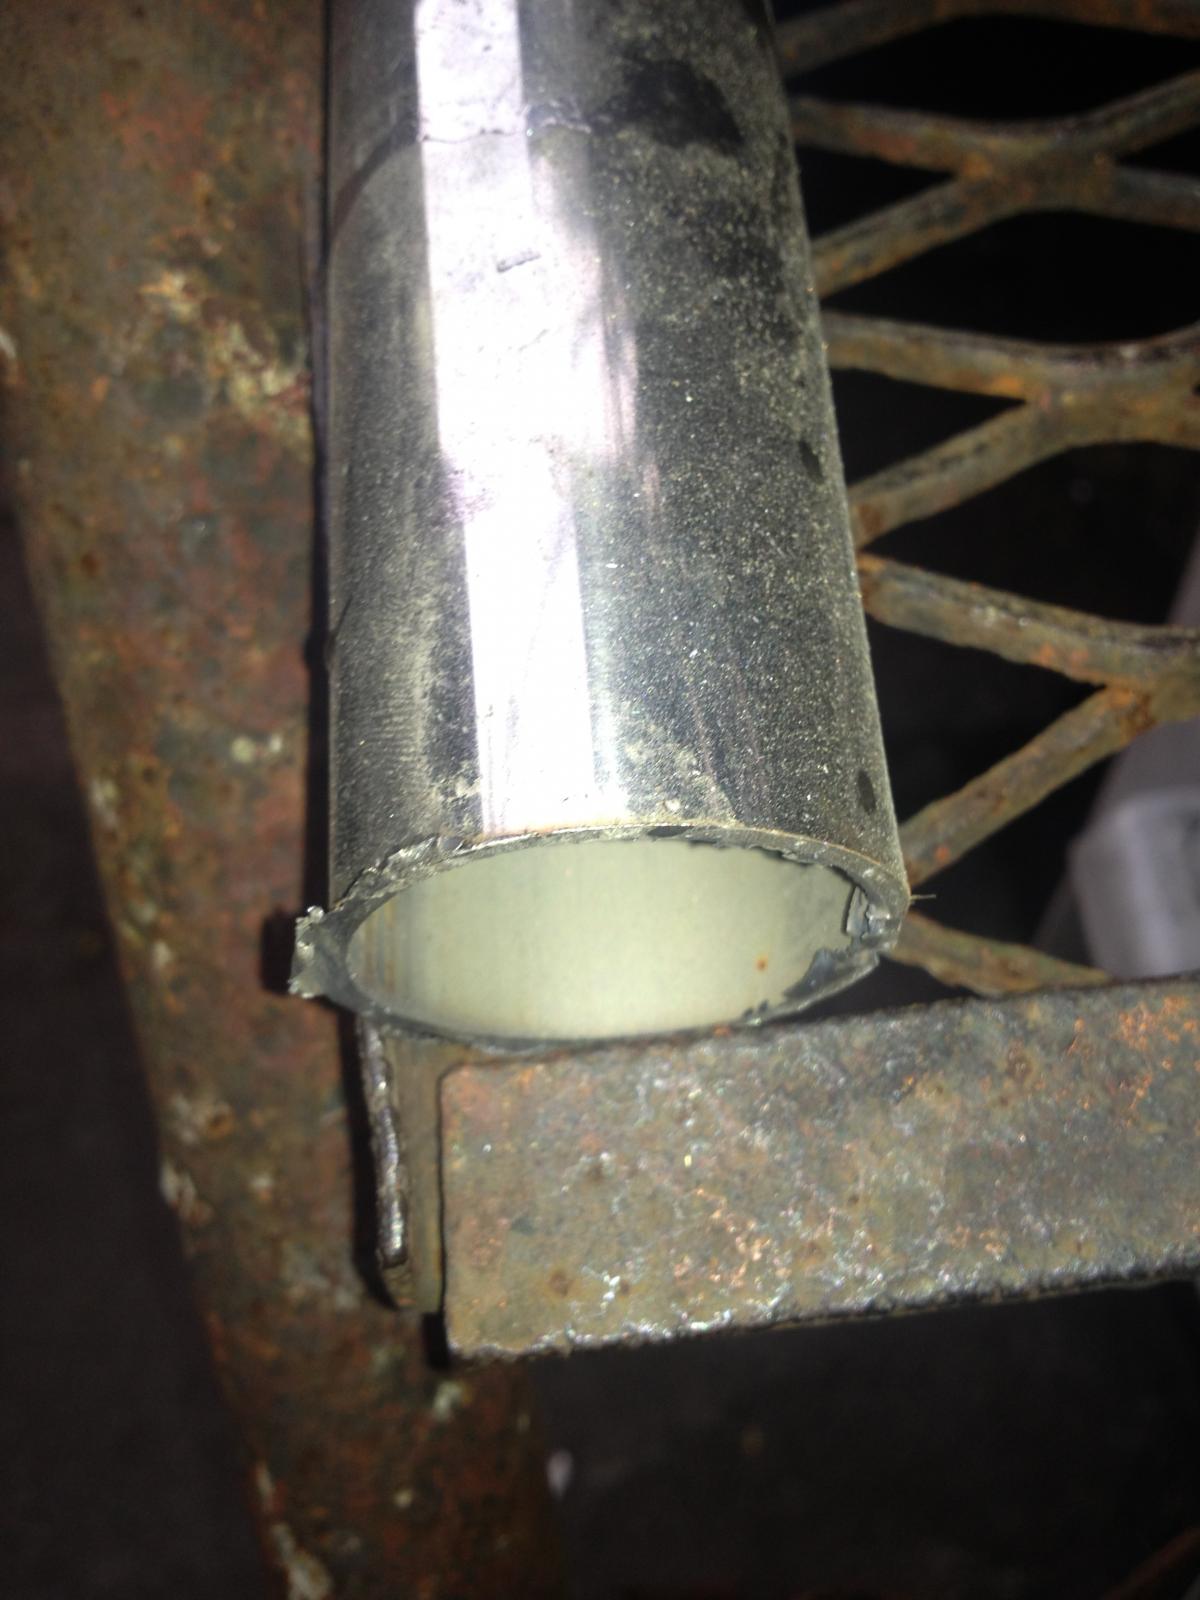
This is the stainless steel tubing. 2 inches in diameter and 2 feet in length.
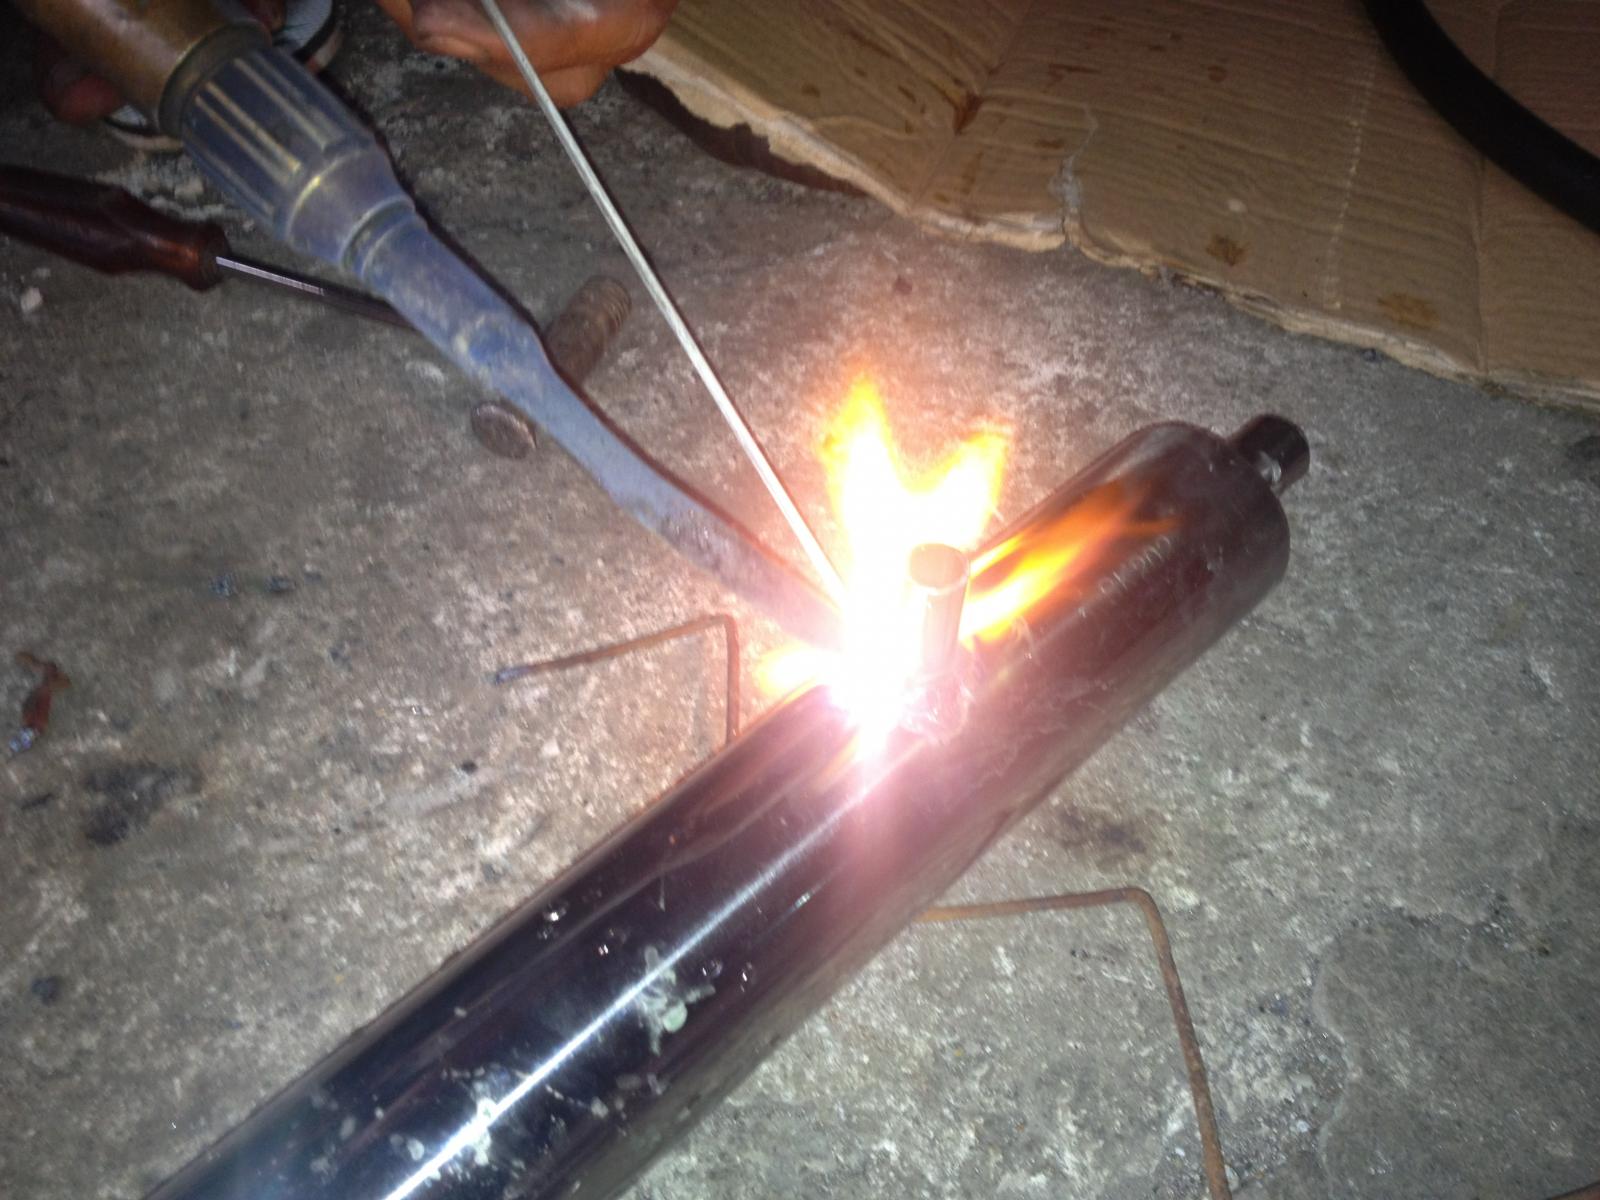
Welding the end tubing (1/2 in size). And the tube for the breather filters.
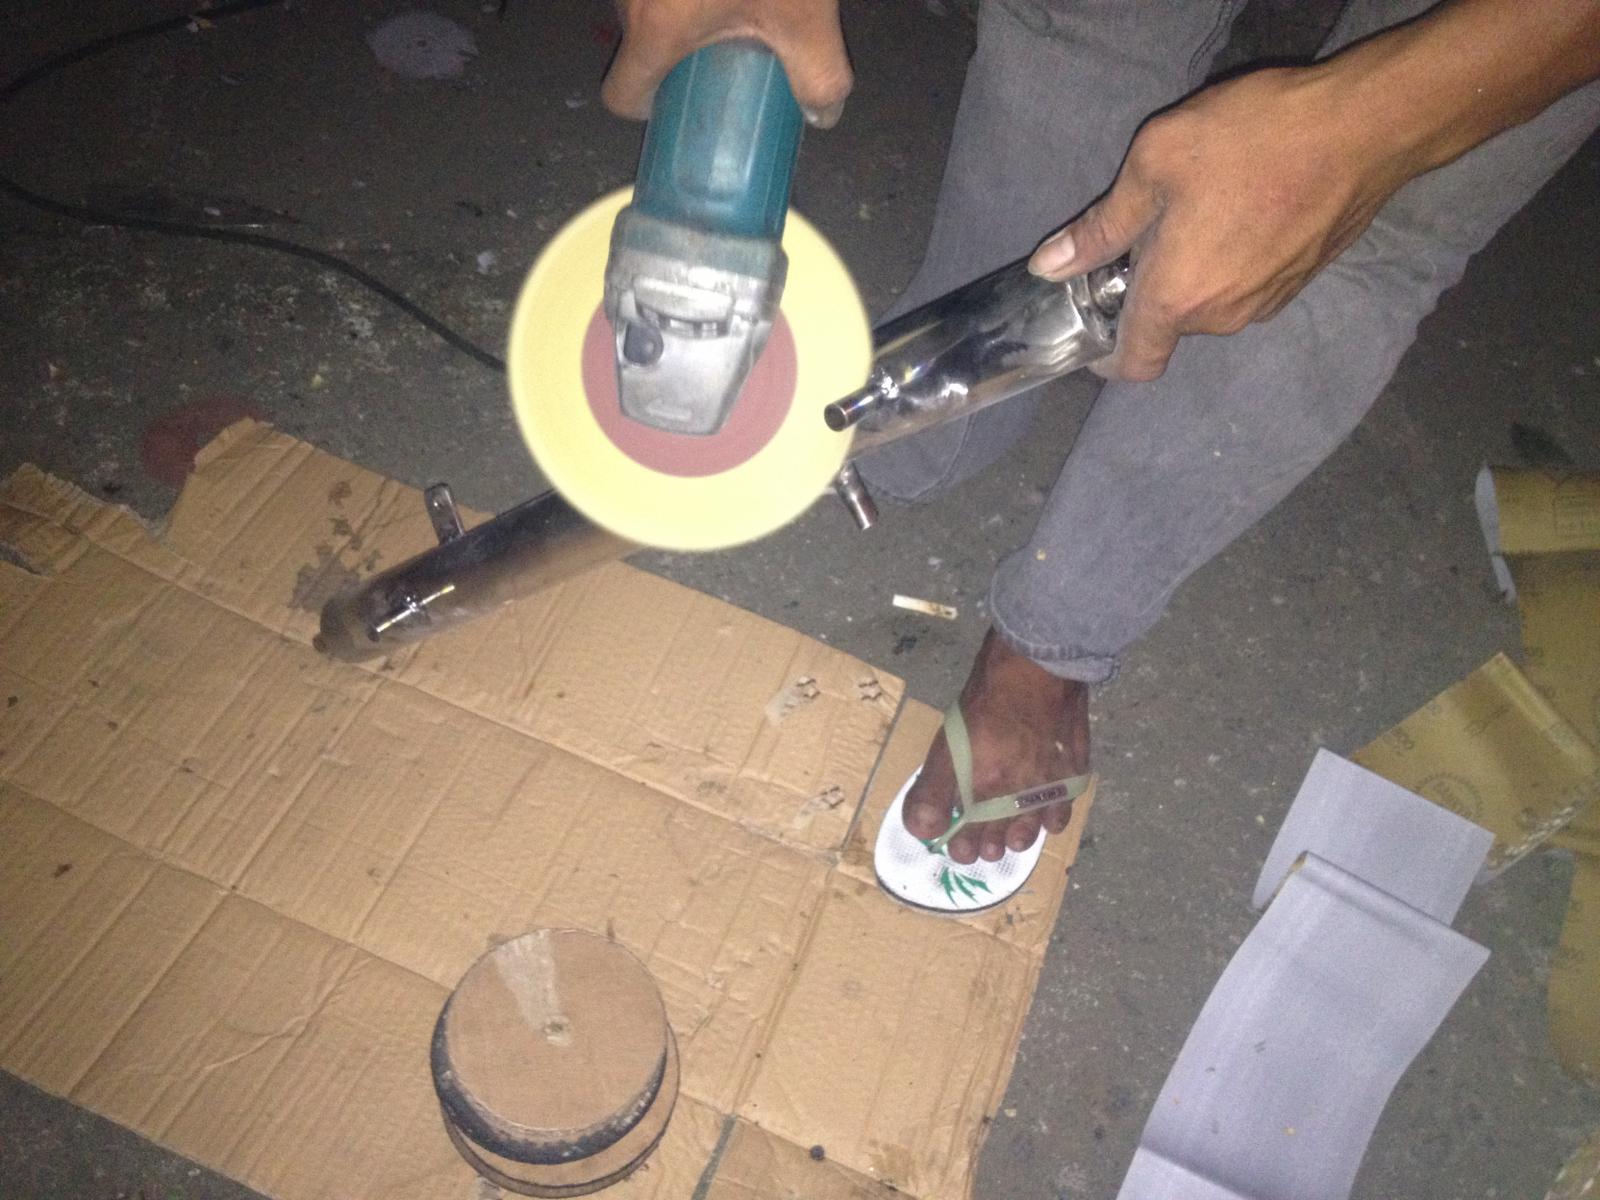
Buffing the stainless steel for that shiny finish.
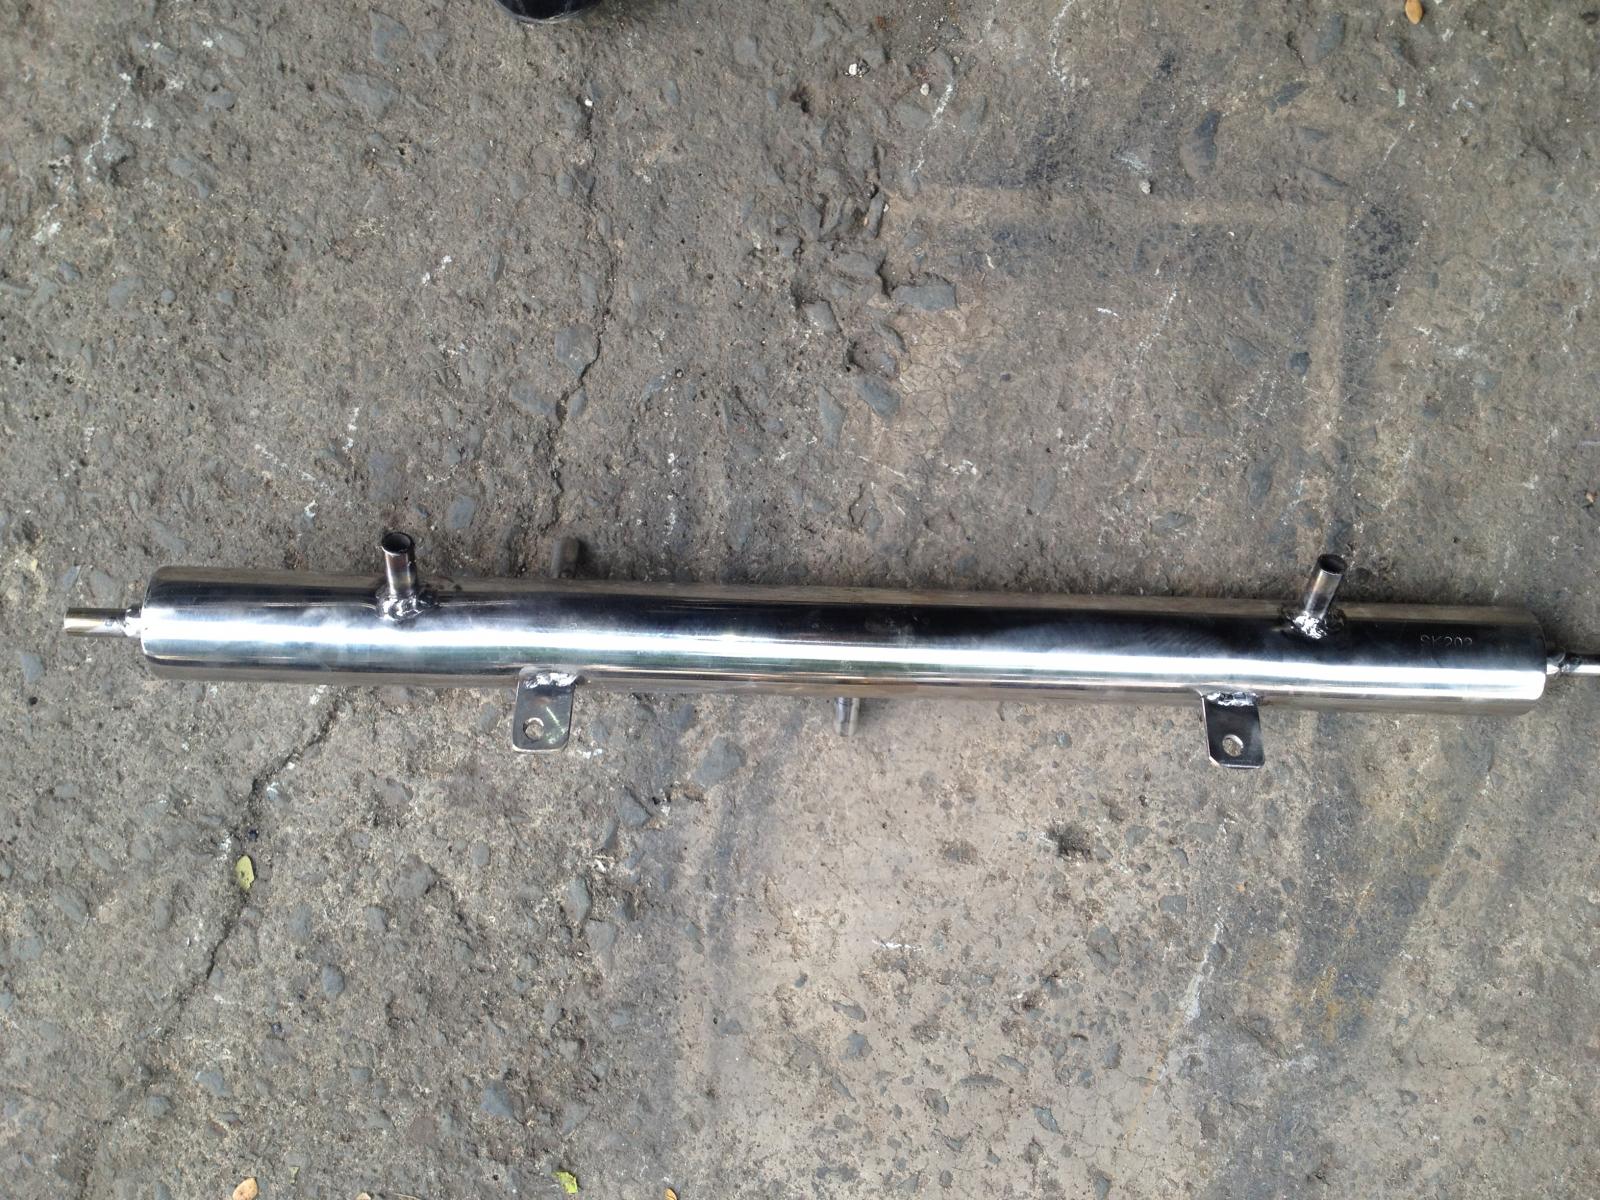
The finished breather box (or cylinder).
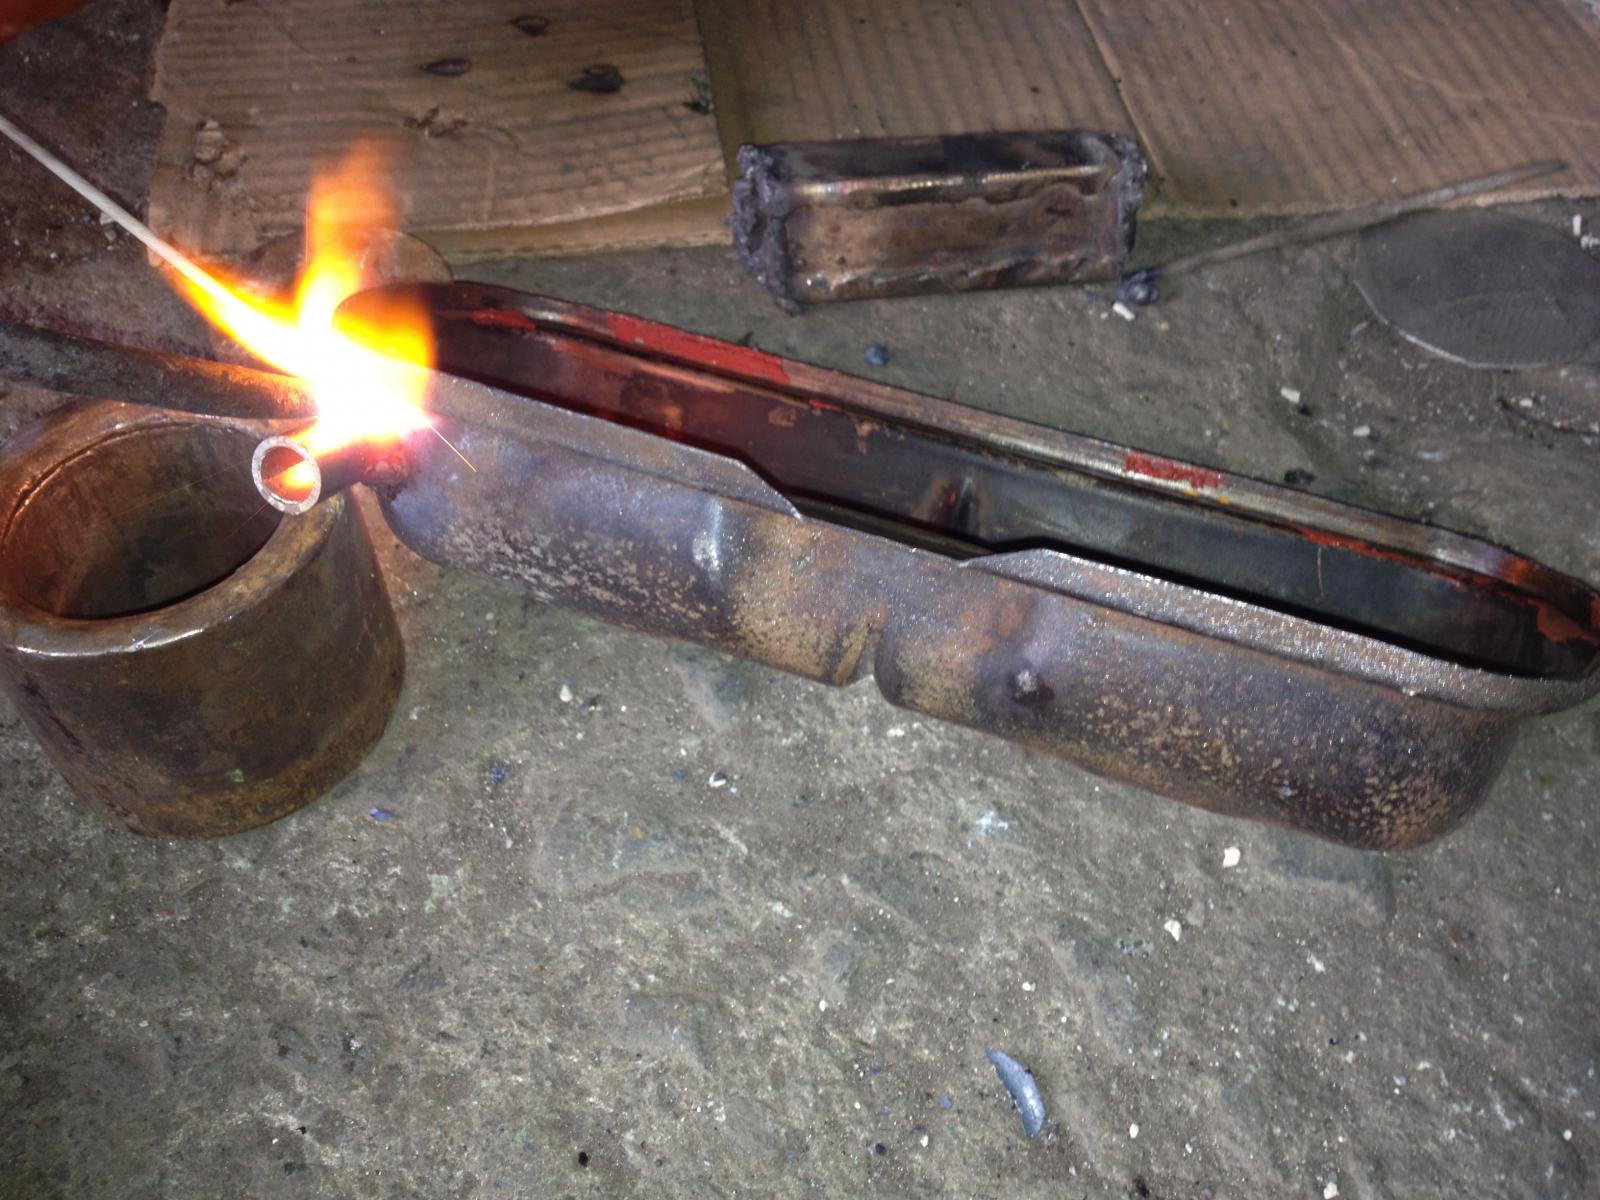
This set-up won't be complete without however adding ths 1/2 tubing on both the valve covers.
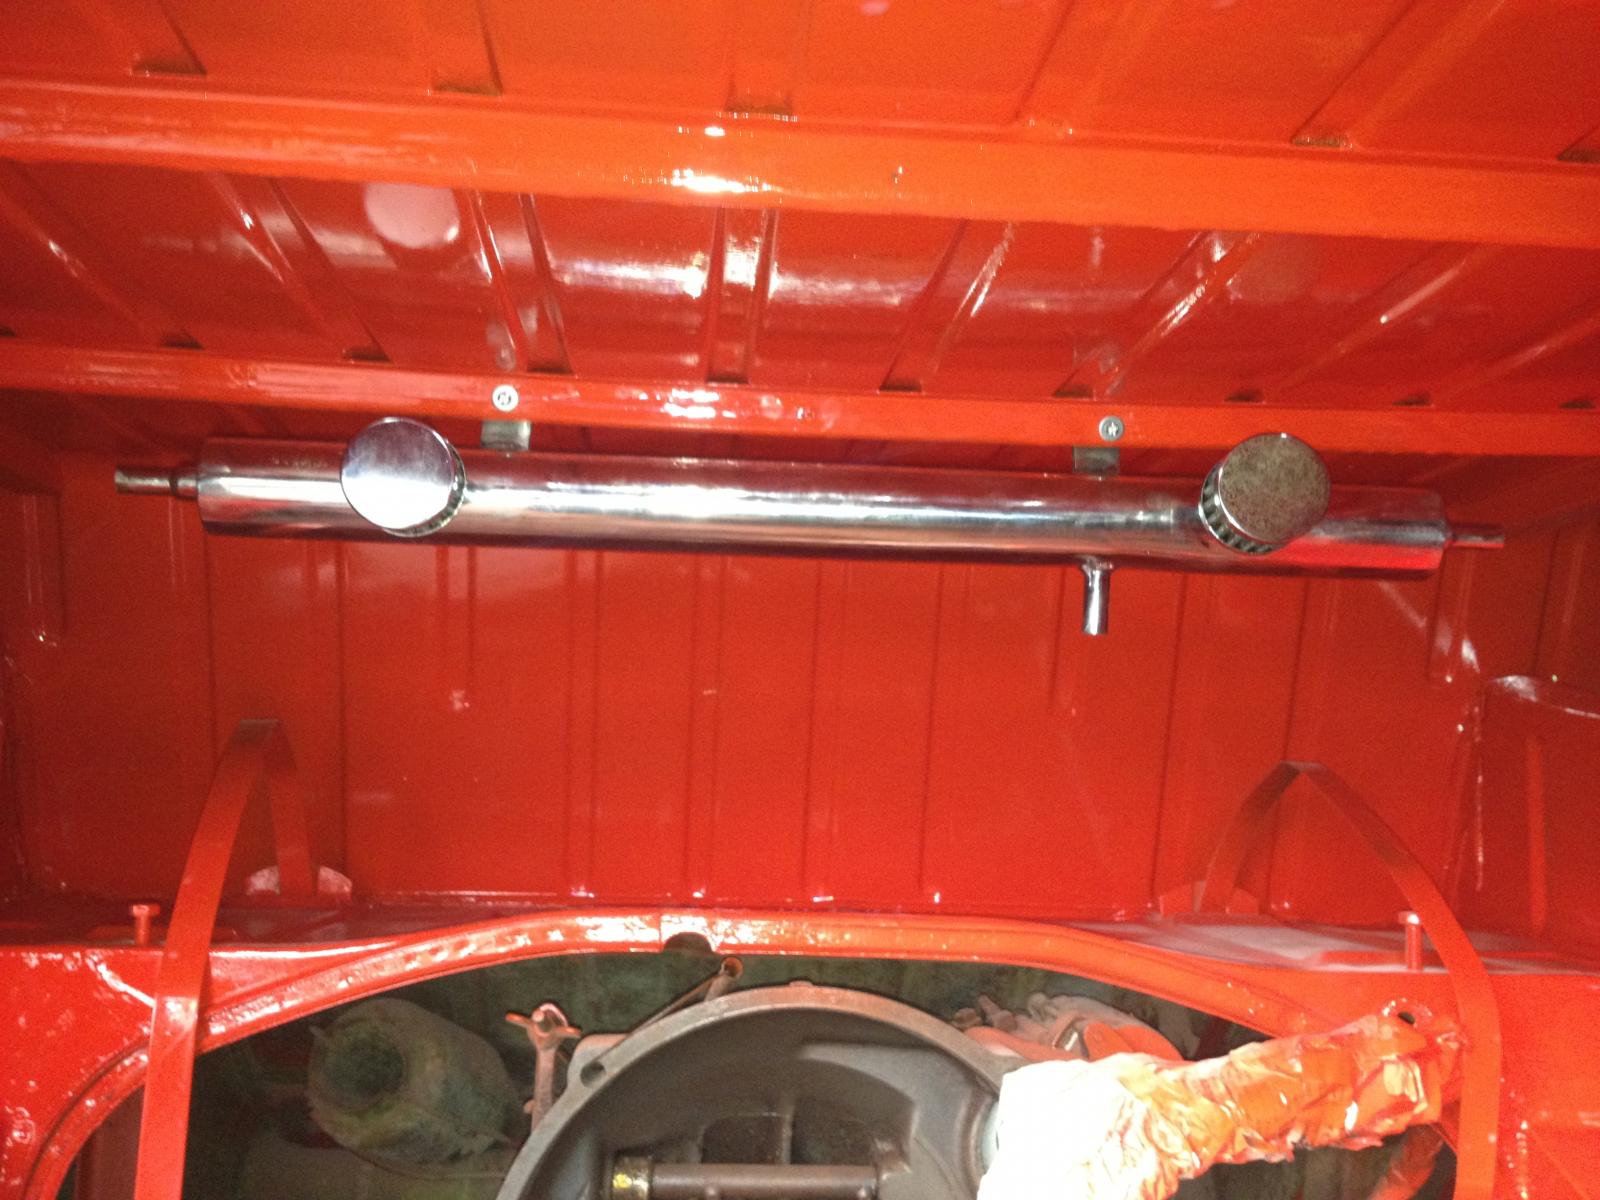
I installed the same this morning (very early before going to court hearing). That is the engine bay after painting the top coat.
I also bought a elbow coper tubing to be installed on the base of the air filter for the curb to suck the heat emanating therefrom. Tomorrow we'll install the engine..
Thanks

This is the stainless steel tubing. 2 inches in diameter and 2 feet in length.

Welding the end tubing (1/2 in size). And the tube for the breather filters.

Buffing the stainless steel for that shiny finish.

The finished breather box (or cylinder).

This set-up won't be complete without however adding ths 1/2 tubing on both the valve covers.

I installed the same this morning (very early before going to court hearing). That is the engine bay after painting the top coat.
I also bought a elbow coper tubing to be installed on the base of the air filter for the curb to suck the heat emanating therefrom. Tomorrow we'll install the engine..
Thanks
dongkg
Registered user
Posts: 90
Joined: Tue Jul 16, 2013 7:58 am
