You are viewing the Split Screen Van Club forum archive.
The forum archive is read-only.Unfortunately in 2021 the Split Screen Van Club forum suffered a ransomware attack and lots of the forum data was lost.
What threads that have been recovered are now searchable on this site. Some threads may be incomplete and some images are still being recovered.
Forum archive search
Forum Archive > Rides and Projects
"OH NO" 66 13 WINDOW DELUXE GROTBOX!!
Re: "OH NO" 66 13 WINDOW DELUXE GROTBOX!!
by dustysplit » Fri Jul 17, 2015 12:07 pm
dustysplit

SSVC Member
Posts: 160
Joined: Fri Jun 21, 2013 8:47 pm
Re: "OH NO" 66 13 WINDOW DELUXE GROTBOX!!
by dustysplit » Sat Jul 18, 2015 3:33 pm
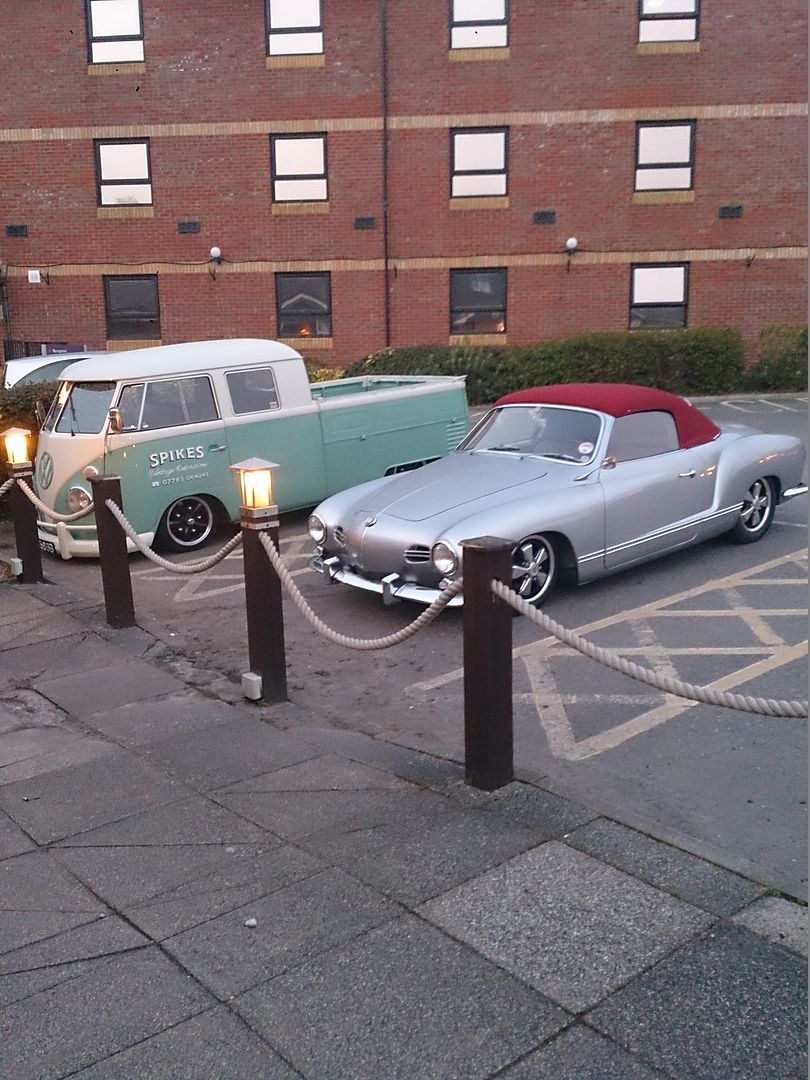
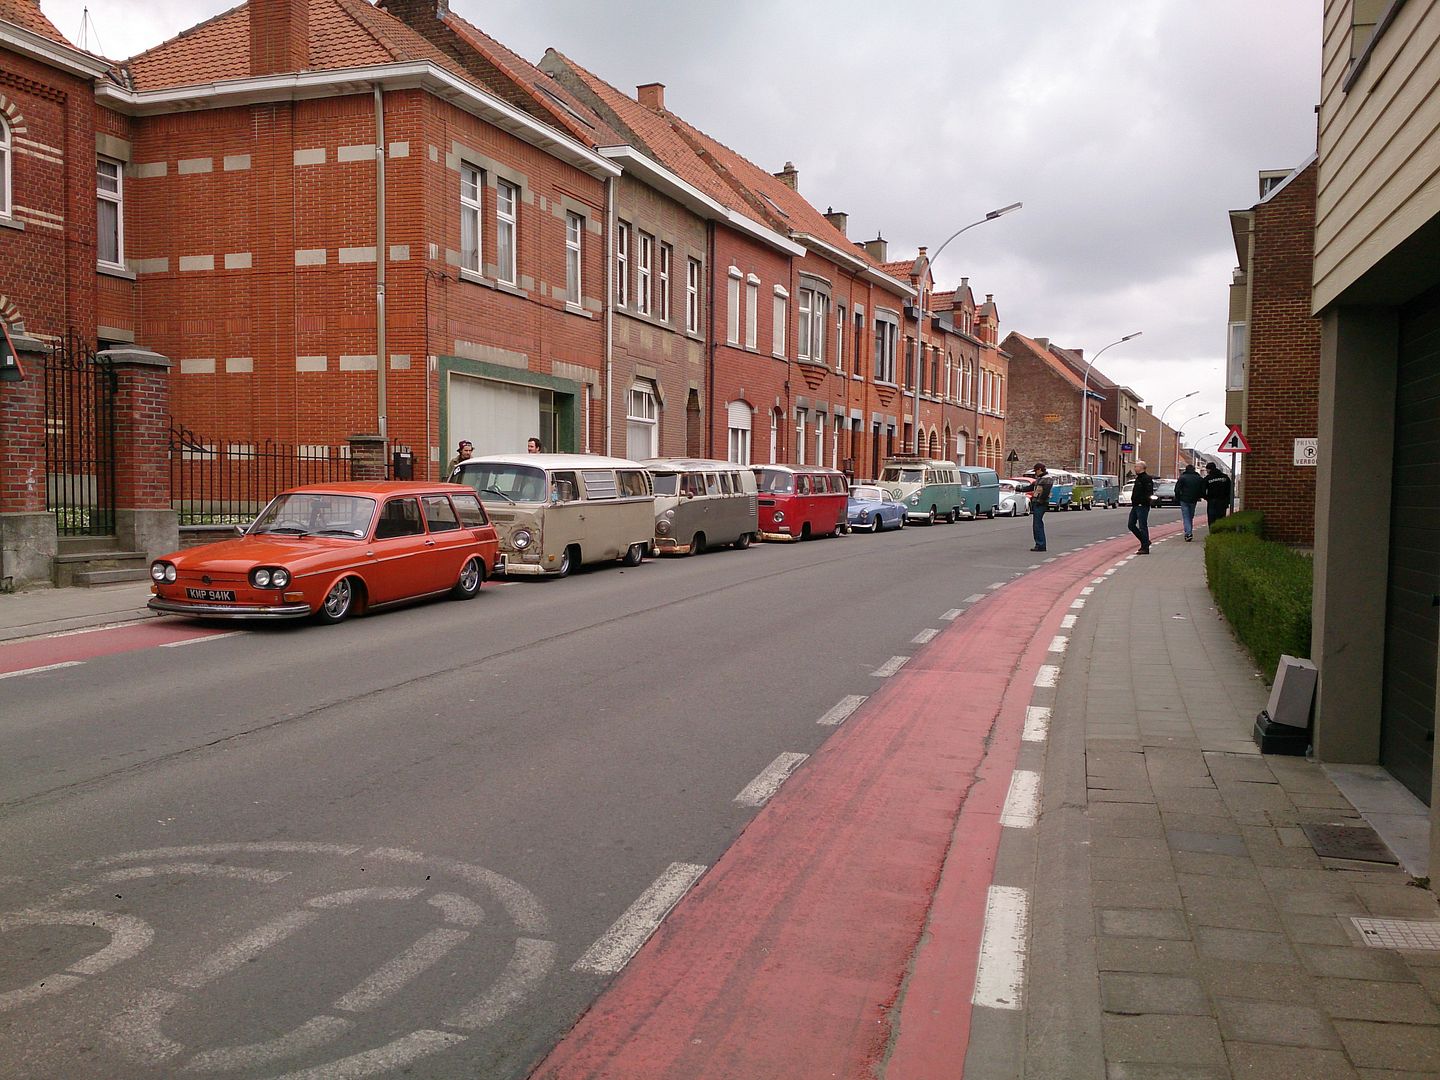
So a little trip to Ninove 2014, first time for us but had a fantastic weekend, over to quick, spent all weekend drinking and not taking many pictures!
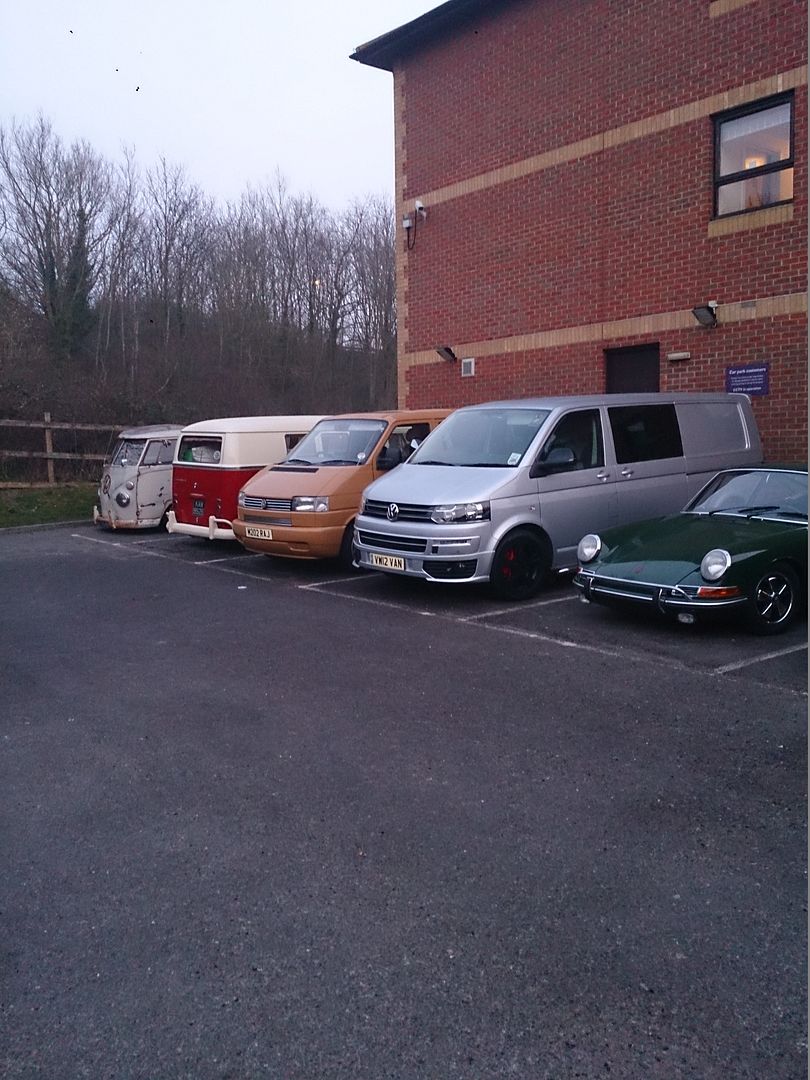
A few from the Premier Inn on the Friday before catching the boat in the morning, sorry but was in the T5!
Guess who I bumped into?
Mr MarkP.
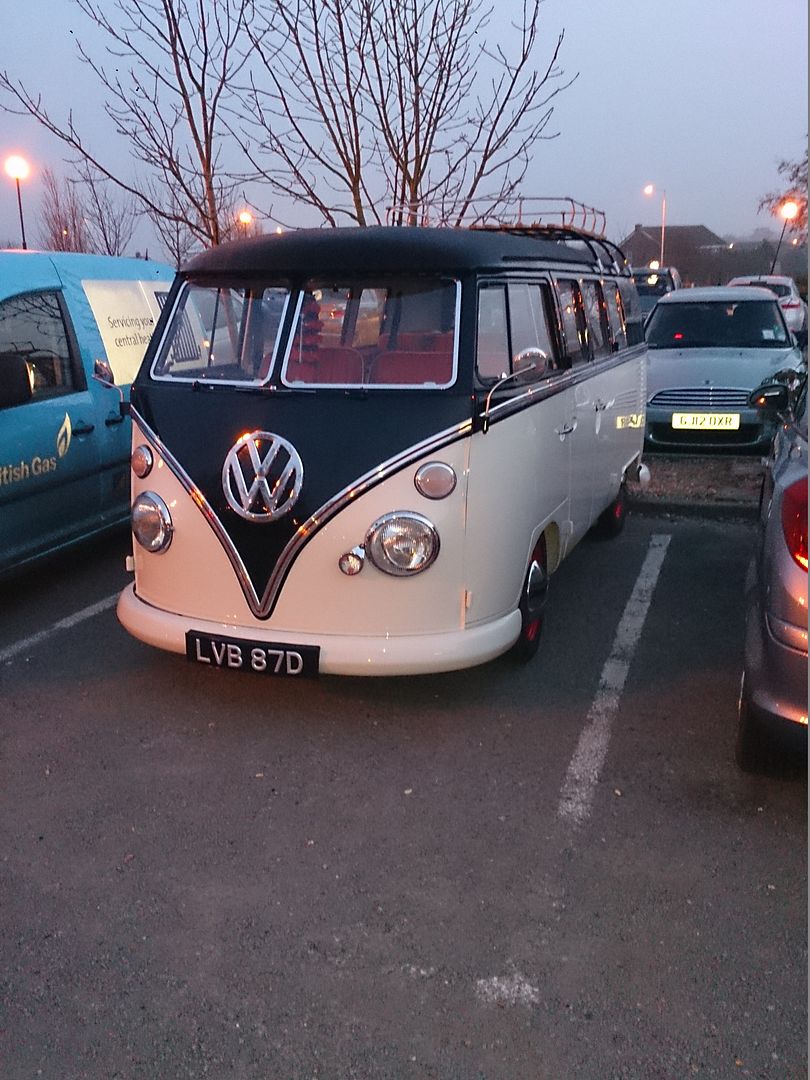
So back to the job in hand, sea blue is one of my favourite colours so after seeing a little of it peeping through in places it was crying out to be uncovered.
The o/s rear panel had been repainted and was a totally different shade of blue, the lacquer had reacted and gone like crazy paving so this just confirmed to me all the none original paint needed to come off!
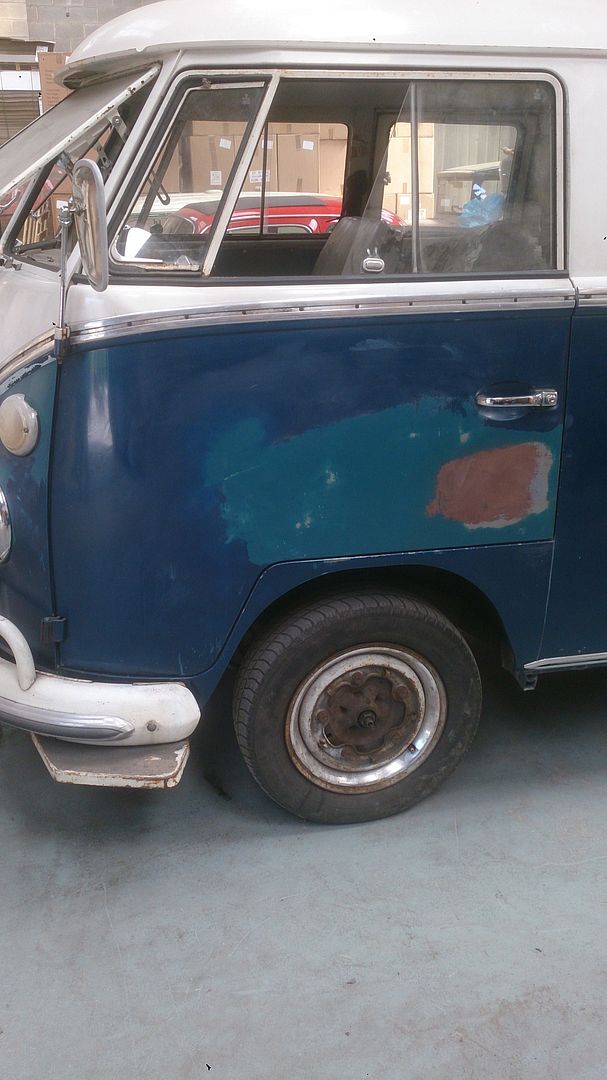
After some research involving using razor blades, paint strippers etc I found the ideal combination, 99.9% acetone and medium wire wool, hard work? Dam yes but isn't as aggressive as some other methods.
A little bit done on the door.
The brakes needed looking at as they felt pretty spongy, a few more remedial tasks including fitting a Buttys throttle kit, new accelerator cable and clutch cable Seabiscuit was ready for MOT time!
The bus wasn't running well but I took it anyway.

Guess what?
A pass with no advisories! Fantastic.
After mot time straight back and try and sort the running issues out, Check the timing and balance the carbs and he was running sweet!
Time to get some miles in!!


A few from the Premier Inn on the Friday before catching the boat in the morning, sorry but was in the T5!
Guess who I bumped into?

Mr MarkP.


So back to the job in hand, sea blue is one of my favourite colours so after seeing a little of it peeping through in places it was crying out to be uncovered.
The o/s rear panel had been repainted and was a totally different shade of blue, the lacquer had reacted and gone like crazy paving so this just confirmed to me all the none original paint needed to come off!
After some research involving using razor blades, paint strippers etc I found the ideal combination, 99.9% acetone and medium wire wool, hard work? Dam yes but isn't as aggressive as some other methods.
A little bit done on the door.

The brakes needed looking at as they felt pretty spongy, a few more remedial tasks including fitting a Buttys throttle kit, new accelerator cable and clutch cable Seabiscuit was ready for MOT time!
The bus wasn't running well but I took it anyway.

Guess what?
A pass with no advisories! Fantastic.
After mot time straight back and try and sort the running issues out, Check the timing and balance the carbs and he was running sweet!
Time to get some miles in!!
dustysplit

SSVC Member
Posts: 160
Joined: Fri Jun 21, 2013 8:47 pm
Re: "OH NO" 66 13 WINDOW DELUXE GROTBOX!!
by dustysplit » Mon Jul 20, 2015 12:27 pm
Hm, a bit more stripped.
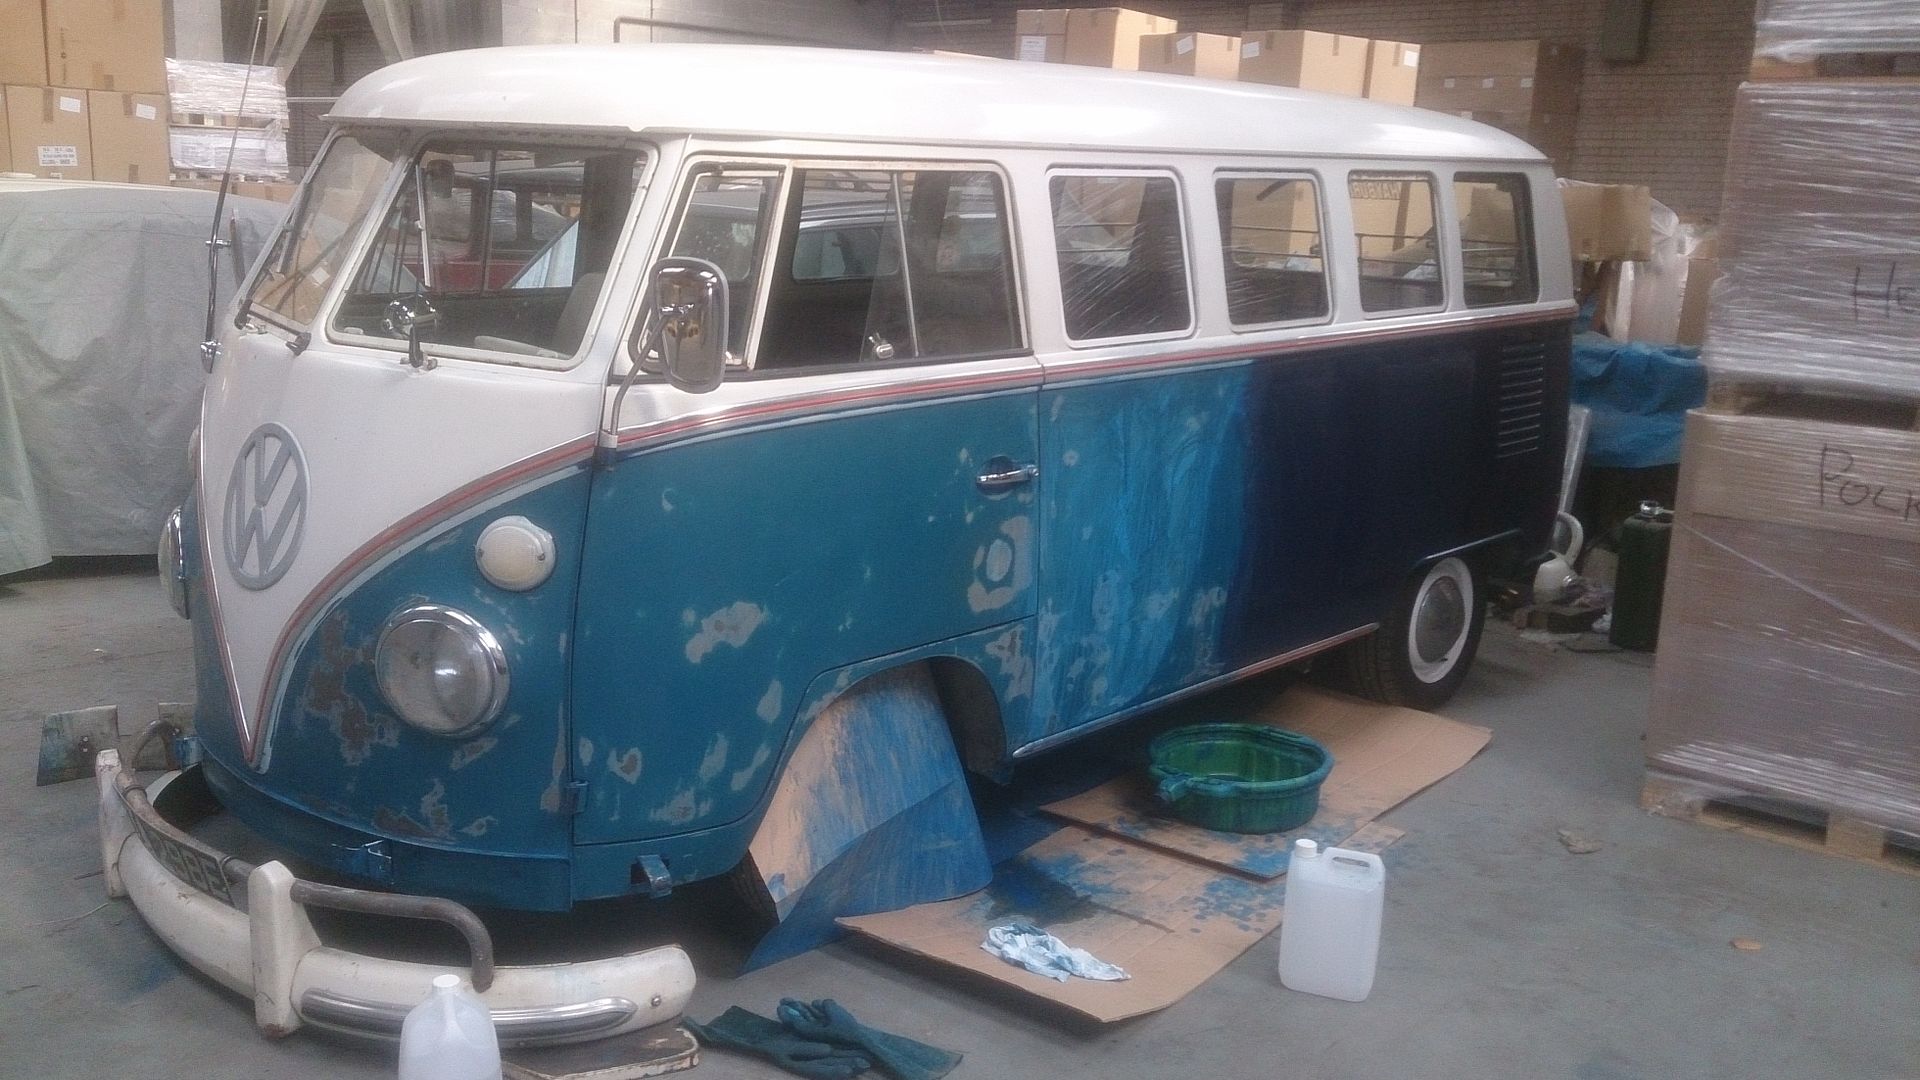
And some more, time consuming this!
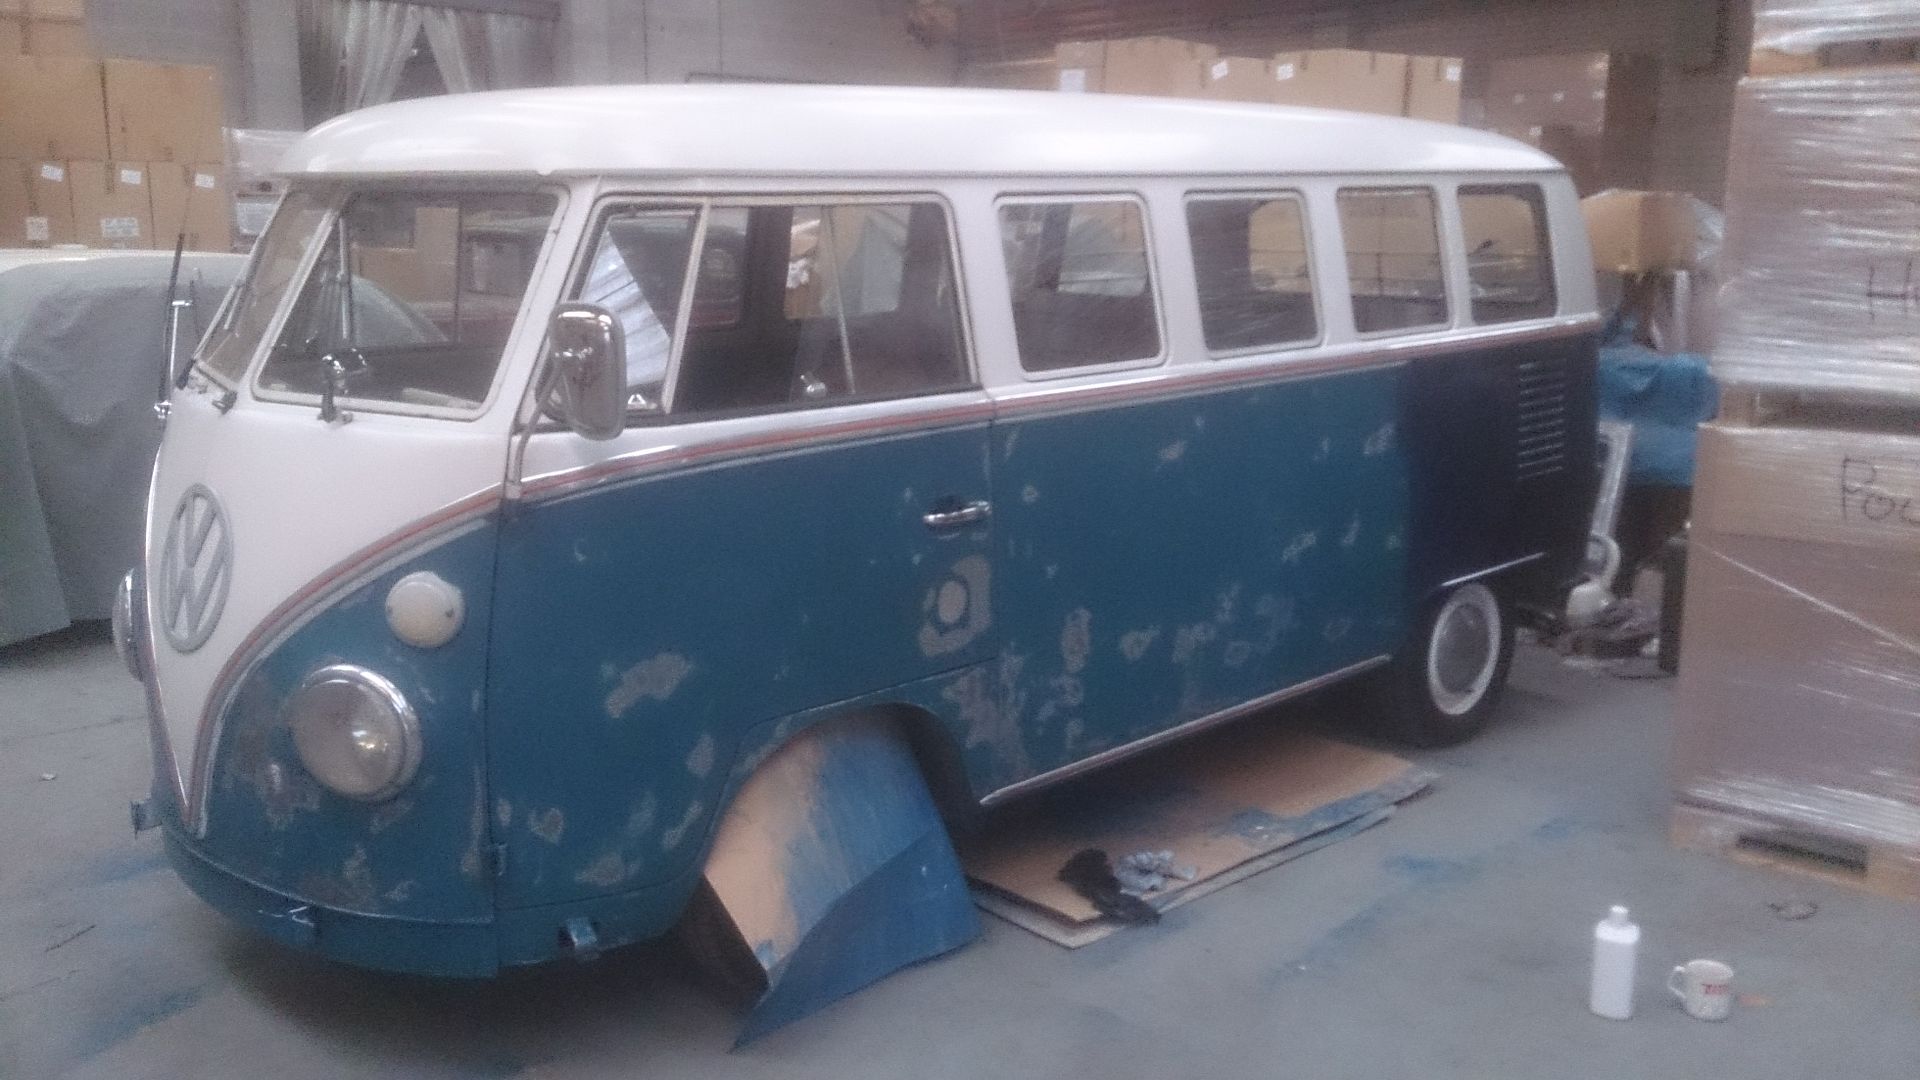
More!
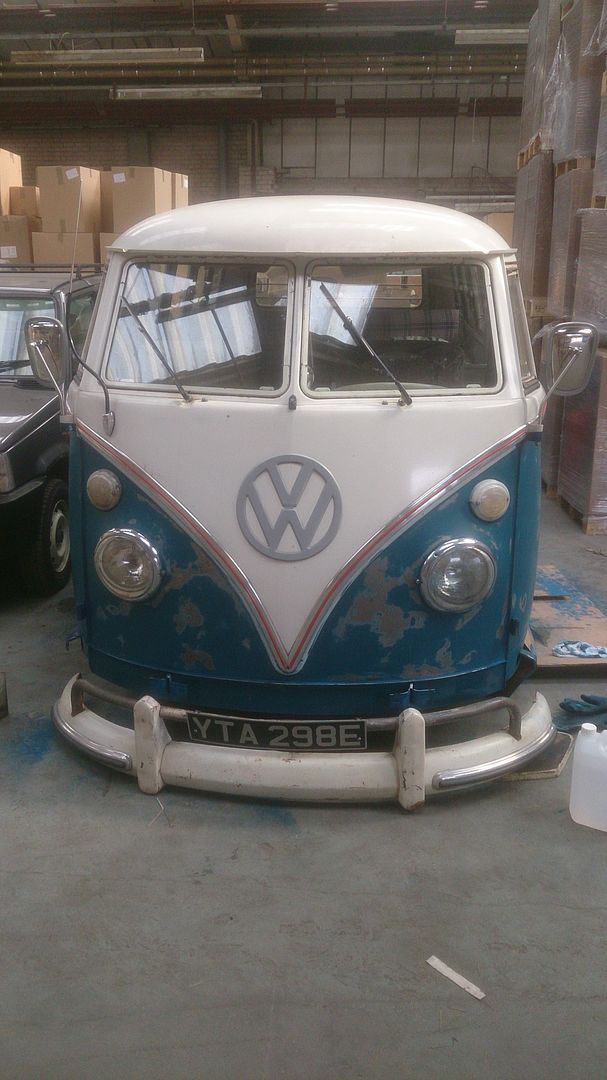
More again.
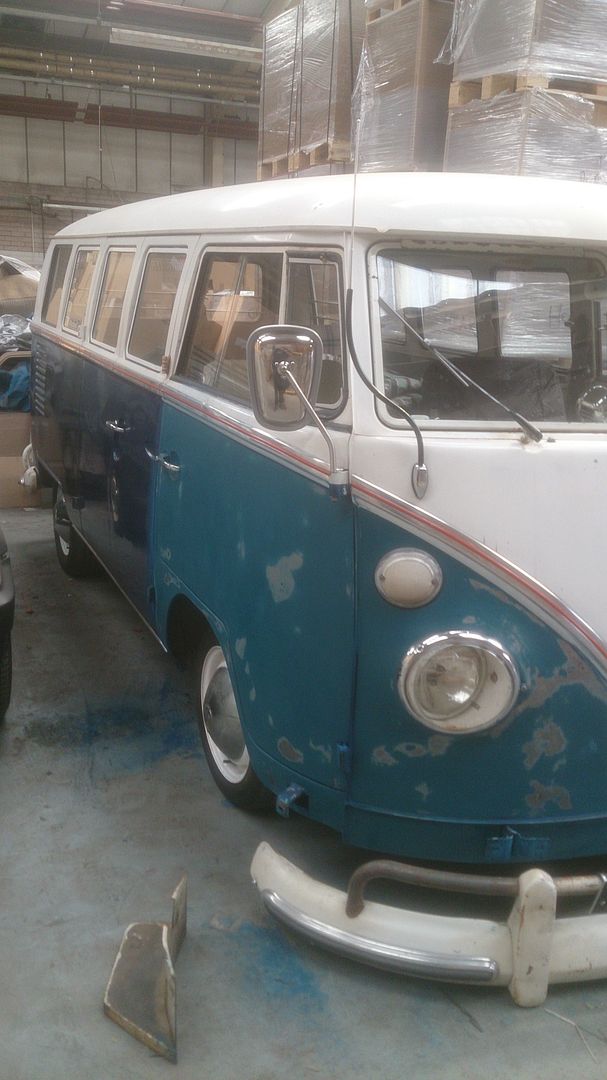
Took these original seats out to make way for a rock and roll bed which I acquired. Yes I am keeping them don't worry
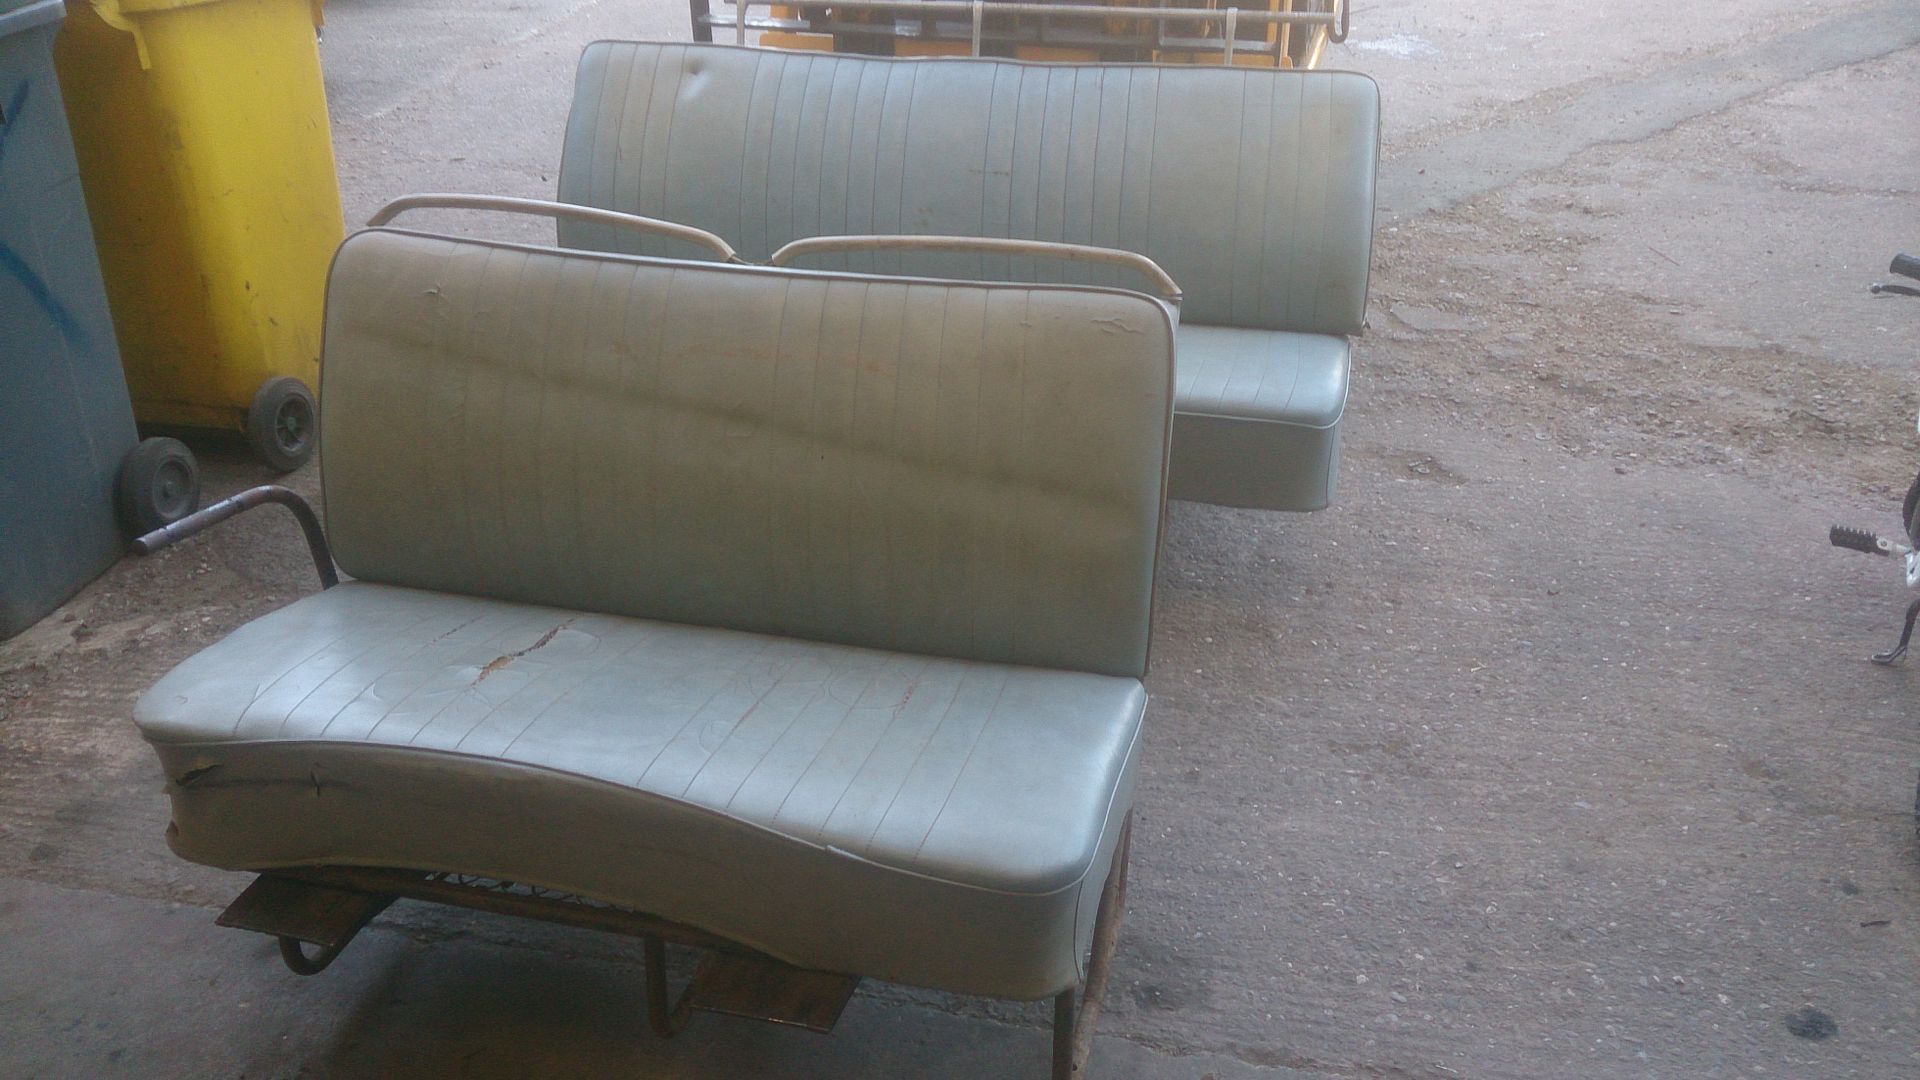
So Alive and Vdubbin at Jimmy's Farm was approaching quickly so had to get something in to sleep on, got no pictures but got the foam cut locally, cut the boards myself, material bought and loosely covered them myself, ooh full width bed to myself!! Will pop pictures up of that soon!!

And some more, time consuming this!

More!

More again.

Took these original seats out to make way for a rock and roll bed which I acquired. Yes I am keeping them don't worry

So Alive and Vdubbin at Jimmy's Farm was approaching quickly so had to get something in to sleep on, got no pictures but got the foam cut locally, cut the boards myself, material bought and loosely covered them myself, ooh full width bed to myself!! Will pop pictures up of that soon!!
dustysplit

SSVC Member
Posts: 160
Joined: Fri Jun 21, 2013 8:47 pm
Re: "OH NO" 66 13 WINDOW DELUXE GROTBOX!!
by dustysplit » Tue Jul 21, 2015 9:35 pm
Jimmy's farm was going to be the furthest Seabiscuit will of travelled so with this 400 mile round trip I made sure everything was good on the unknown 1500sp eBay purchase, it had already done less than 200 miles since new plugs, leads , oil change and tappet adjustment so I was not concerned about these, checked oil level, belt was a bit frayed so changed that.
So a 9 o clock start from home, travelled 40 miles at 50mph, stopped at the services to check all was good which it was.
Hit the M1, off on the A14, thought I will stop at Cambridge services but I remembered how busy it was so travelled a bit further and dam! I could smell rubber and the alternator light was on so off on the slip road and stop
Opened the engine lid and my new belt had snapped, bummer!!
Lucky I had a spare with me so slipped it on, fired the engine up and walked around the back, the belt had flipped in the top pulley but was running twisted and was running right in the bottom pulley, so engine off and put the belt right again, repeat the start up again but the belt did the same. So to cut a long story short I wasn't going to risk the remaining drive to Ipswich so made use of the AA to finish the journey!!
So on arrival at Alive and Vdubbin me and some mates (after cracking a beer open)proceeded to diagnose the problem, the Mr Smith aka the VW guru wanders up, takes one look and says "you got the wrong top pulley on that youth"
So diagnosis complete, I had a dynamo pulley on my alternator
Turns out the belt was sitting low in the top pulley and high in the bottom causing the flipping.
So another mate takes a visit to GSF in Ipswich, one new pulley and a belt, we found a genuine crank pulley in the autojumble, so proceeded to change everything on the Saturday but hit a problem, could we get the crank pulley off? Not a chance! Levers, bars, bit of tapping, no chance, we needed a puller.
The pulley was one of the cheap tin one's and with all the push/pulling was now distorted and damaged beyond use so had to come off.
After a wander around begging anyone for a puller which no one had we had to call on another mate's help, he wasn't coming until the Sunday but had one!
It got fixed on the Sunday morning and I drove the 4 hour trip back without a hitch except for a concerned ear and checking the battery light every 5 seconds!
The McDonald's stop midway was certainly enjoyed especially the interested lady who came across asking me all about Seabiscuit
Laters taters.
dustysplit

SSVC Member
Posts: 160
Joined: Fri Jun 21, 2013 8:47 pm
Re: "OH NO" 66 13 WINDOW DELUXE GROTBOX!!
by dustysplit » Wed Jul 22, 2015 6:06 am
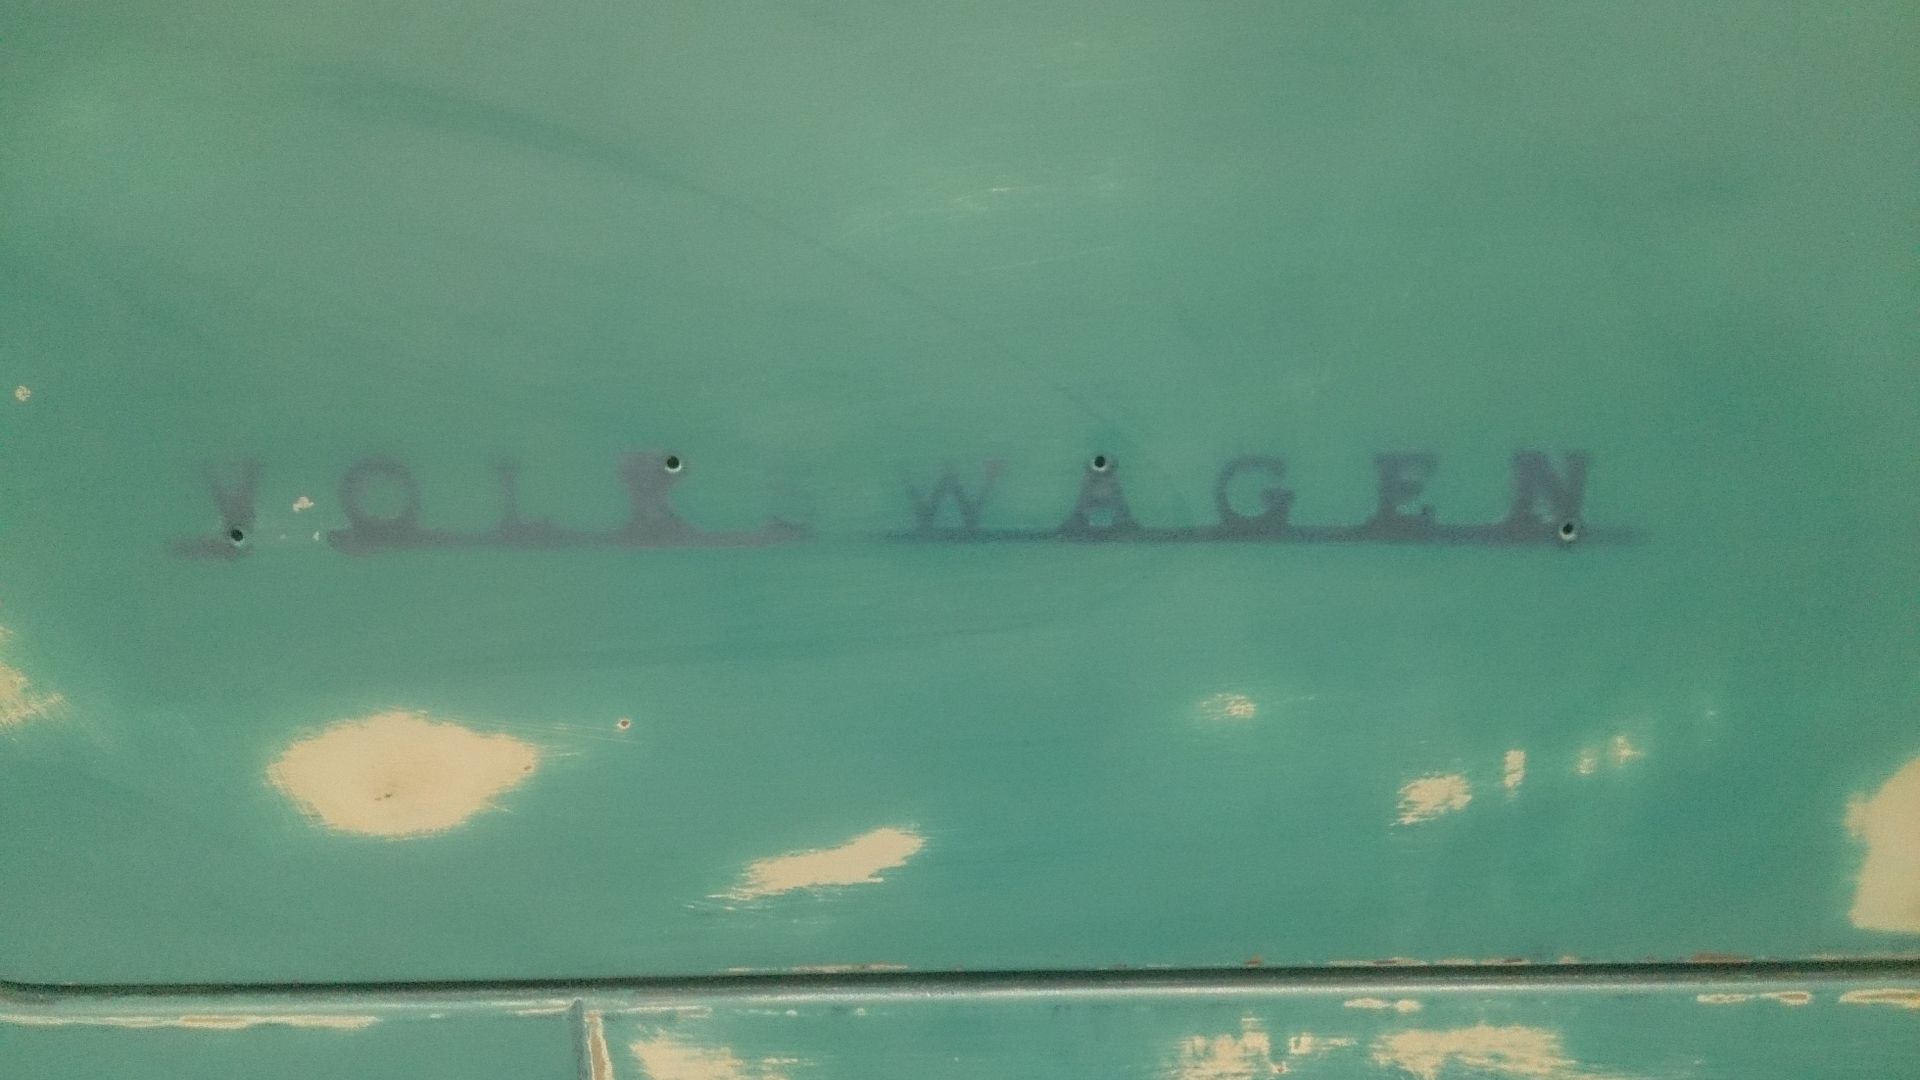
So on with the paint removal, after taking the volkswagen badge off the tailgate so I could do that panel after getting through to the Sea blue I found the crappy metallic paint was tough behind anywhere protected from the sunlight so ended up with this shadow where the badge had come from.
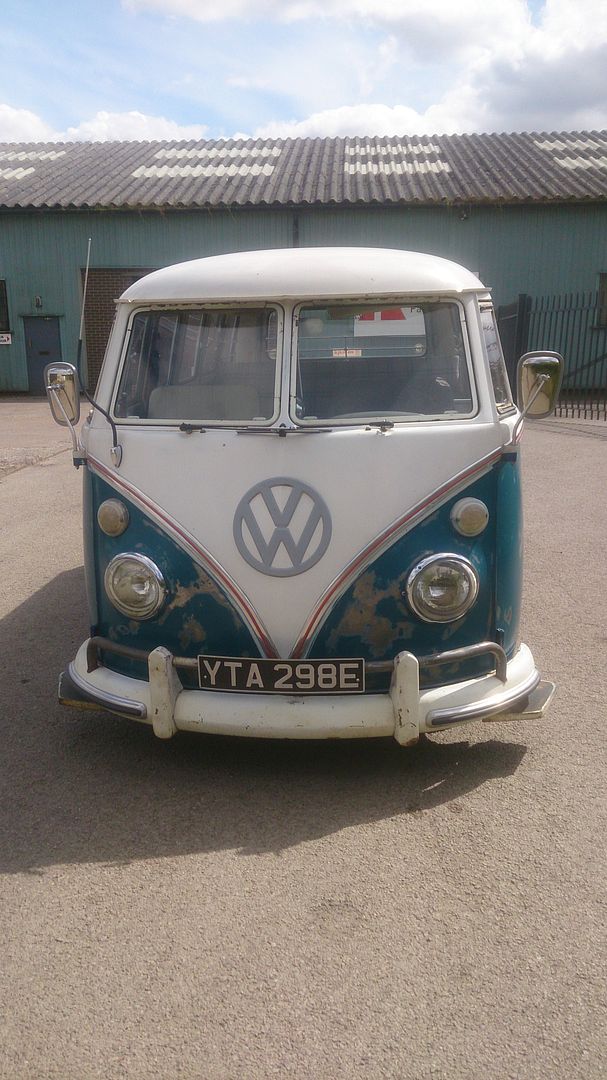
This is how Seabiscuit looks as today.


The rear o/s panel was going to be an issue, I assumed as it had been painted and was a different shade and finish to the rest of the paint work it must of had a repair in the past, so after more work than the rest of Seabiscuit I uncovered filler, so out with the DA, I wanted to know what was hiding under it.
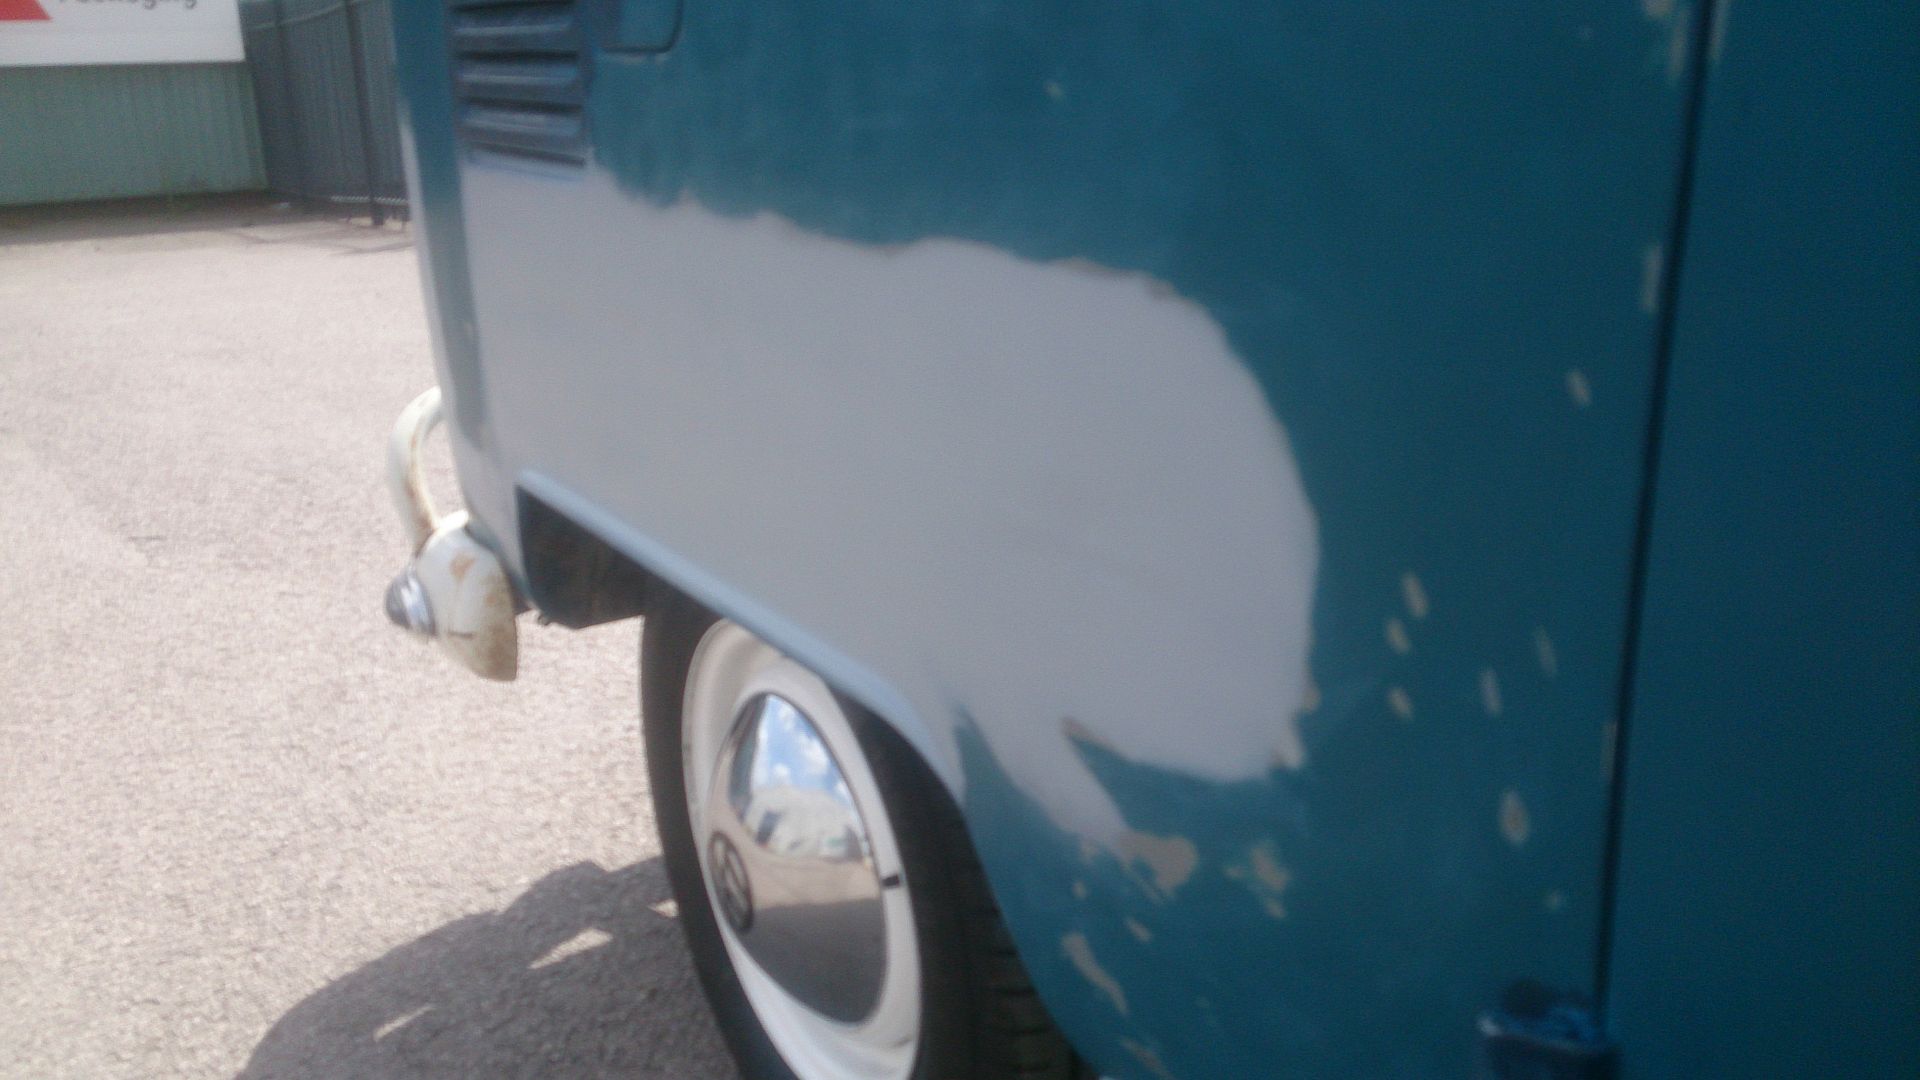
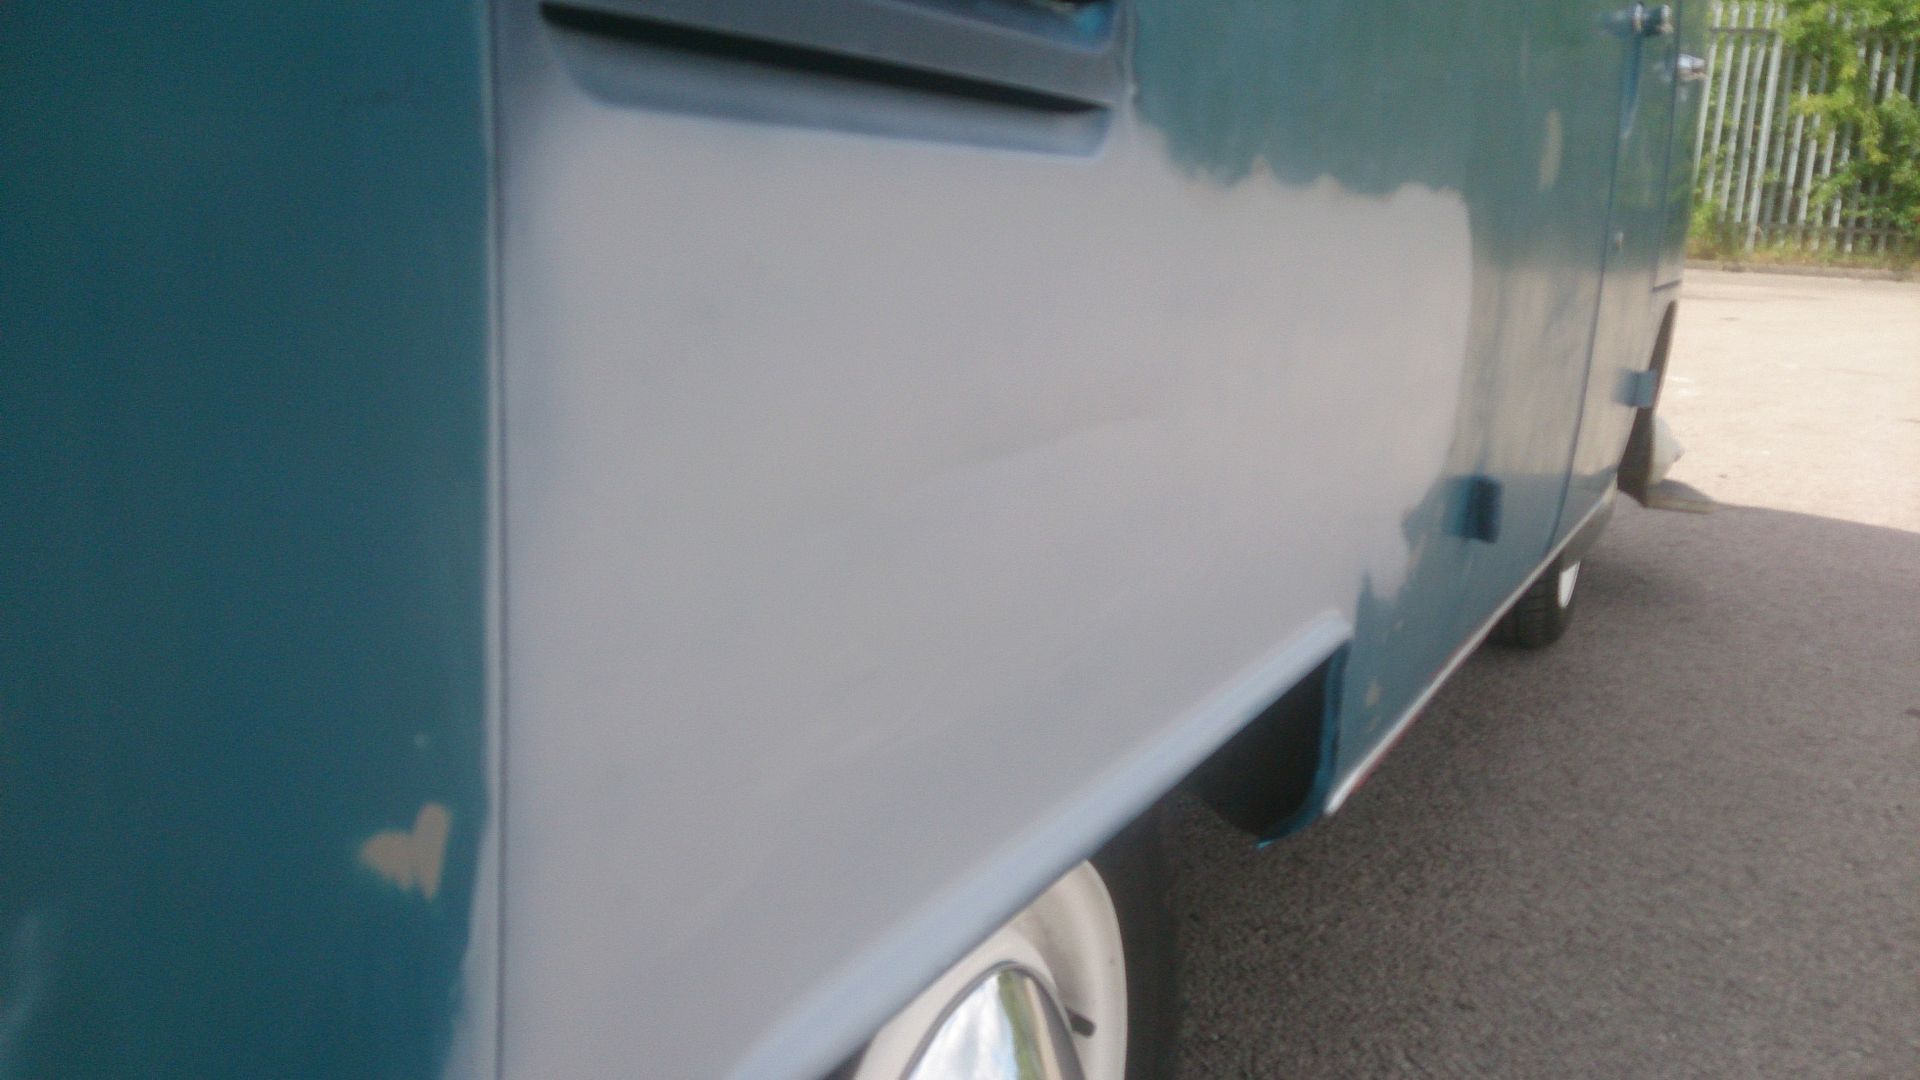
There was damage which had been pulled out which to be fair wasn't to bad a repair but the panel is oil canning, so a quick waft over with some rattle can primer to protect it a little bit, the rear corners had a skim of filler in as well so got this off also, I am going to have some subtle paintwork done on these areas at a later date.


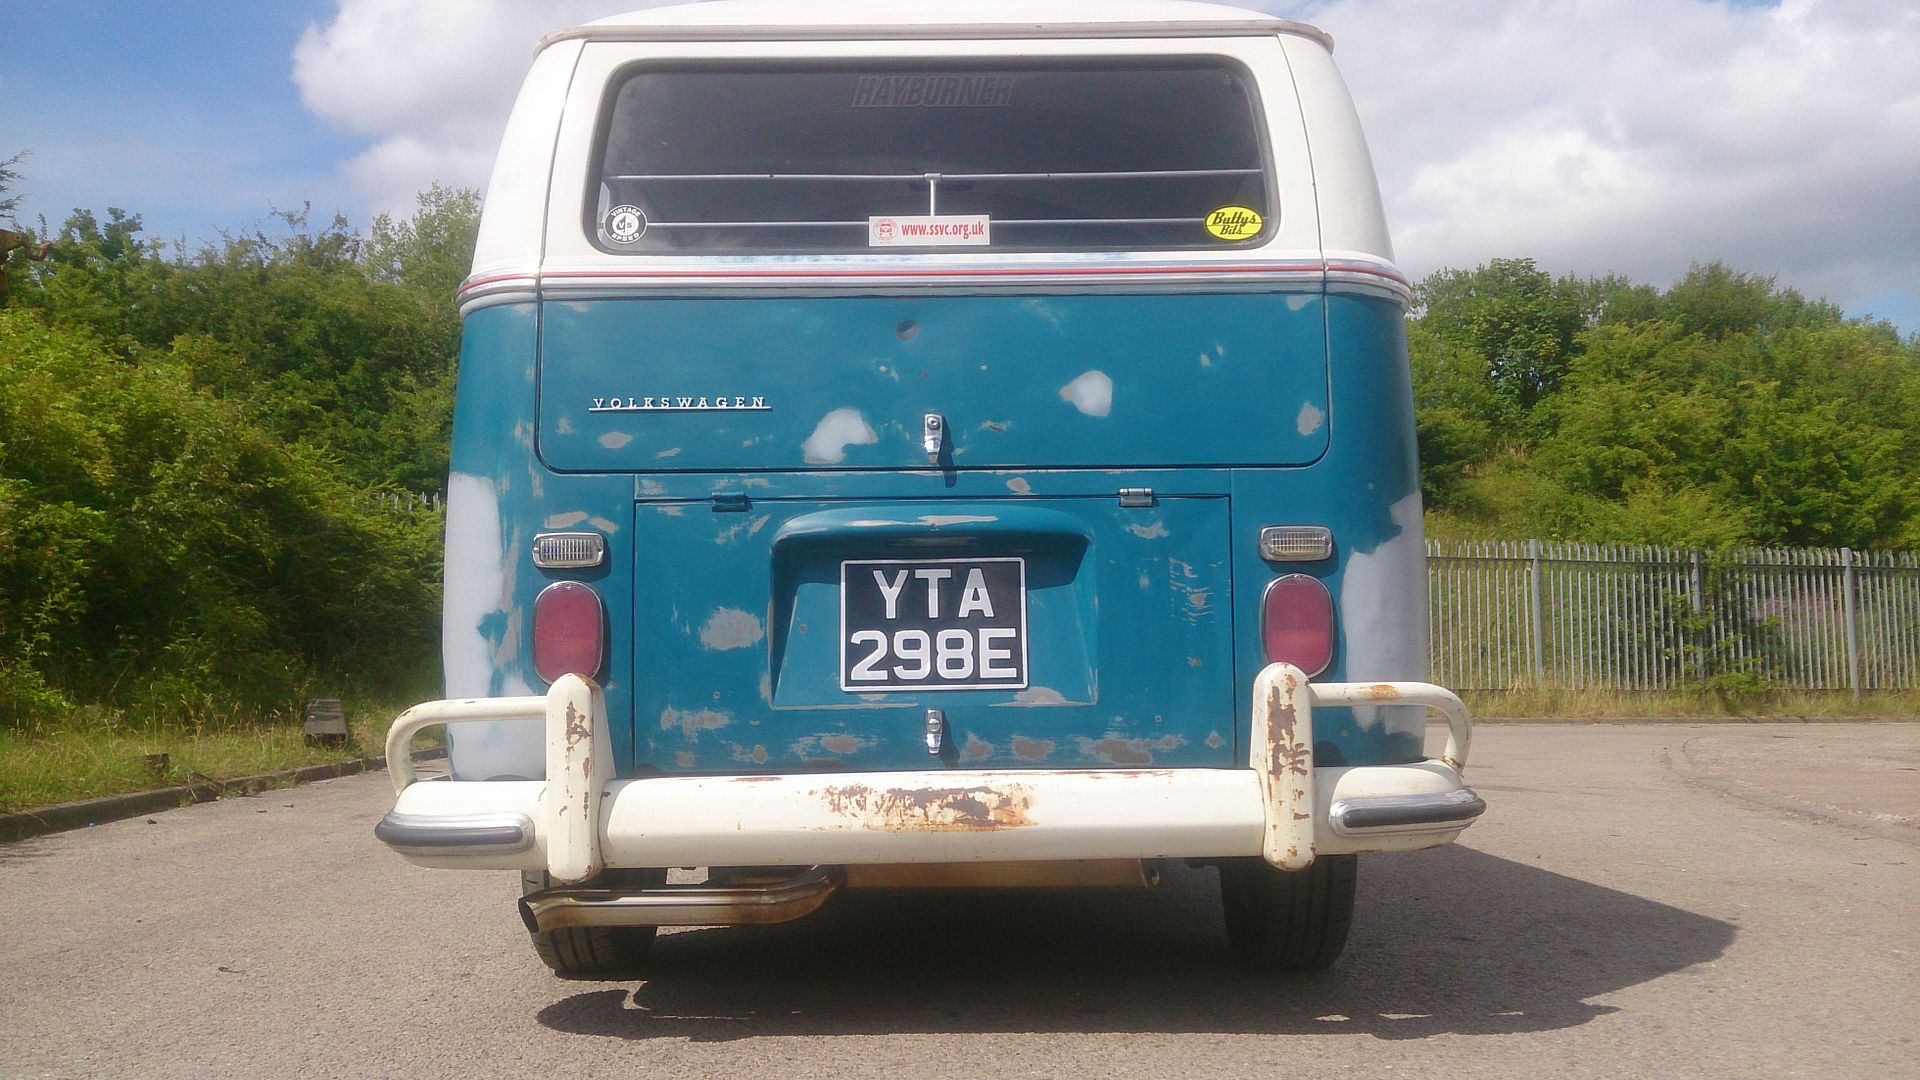

This is how Seabiscuit looks as today.


The rear o/s panel was going to be an issue, I assumed as it had been painted and was a different shade and finish to the rest of the paint work it must of had a repair in the past, so after more work than the rest of Seabiscuit I uncovered filler, so out with the DA, I wanted to know what was hiding under it.


There was damage which had been pulled out which to be fair wasn't to bad a repair but the panel is oil canning, so a quick waft over with some rattle can primer to protect it a little bit, the rear corners had a skim of filler in as well so got this off also, I am going to have some subtle paintwork done on these areas at a later date.


dustysplit

SSVC Member
Posts: 160
Joined: Fri Jun 21, 2013 8:47 pm
Re: "OH NO" 66 13 WINDOW DELUXE GROTBOX!!
by dustysplit » Thu Jul 30, 2015 12:34 pm
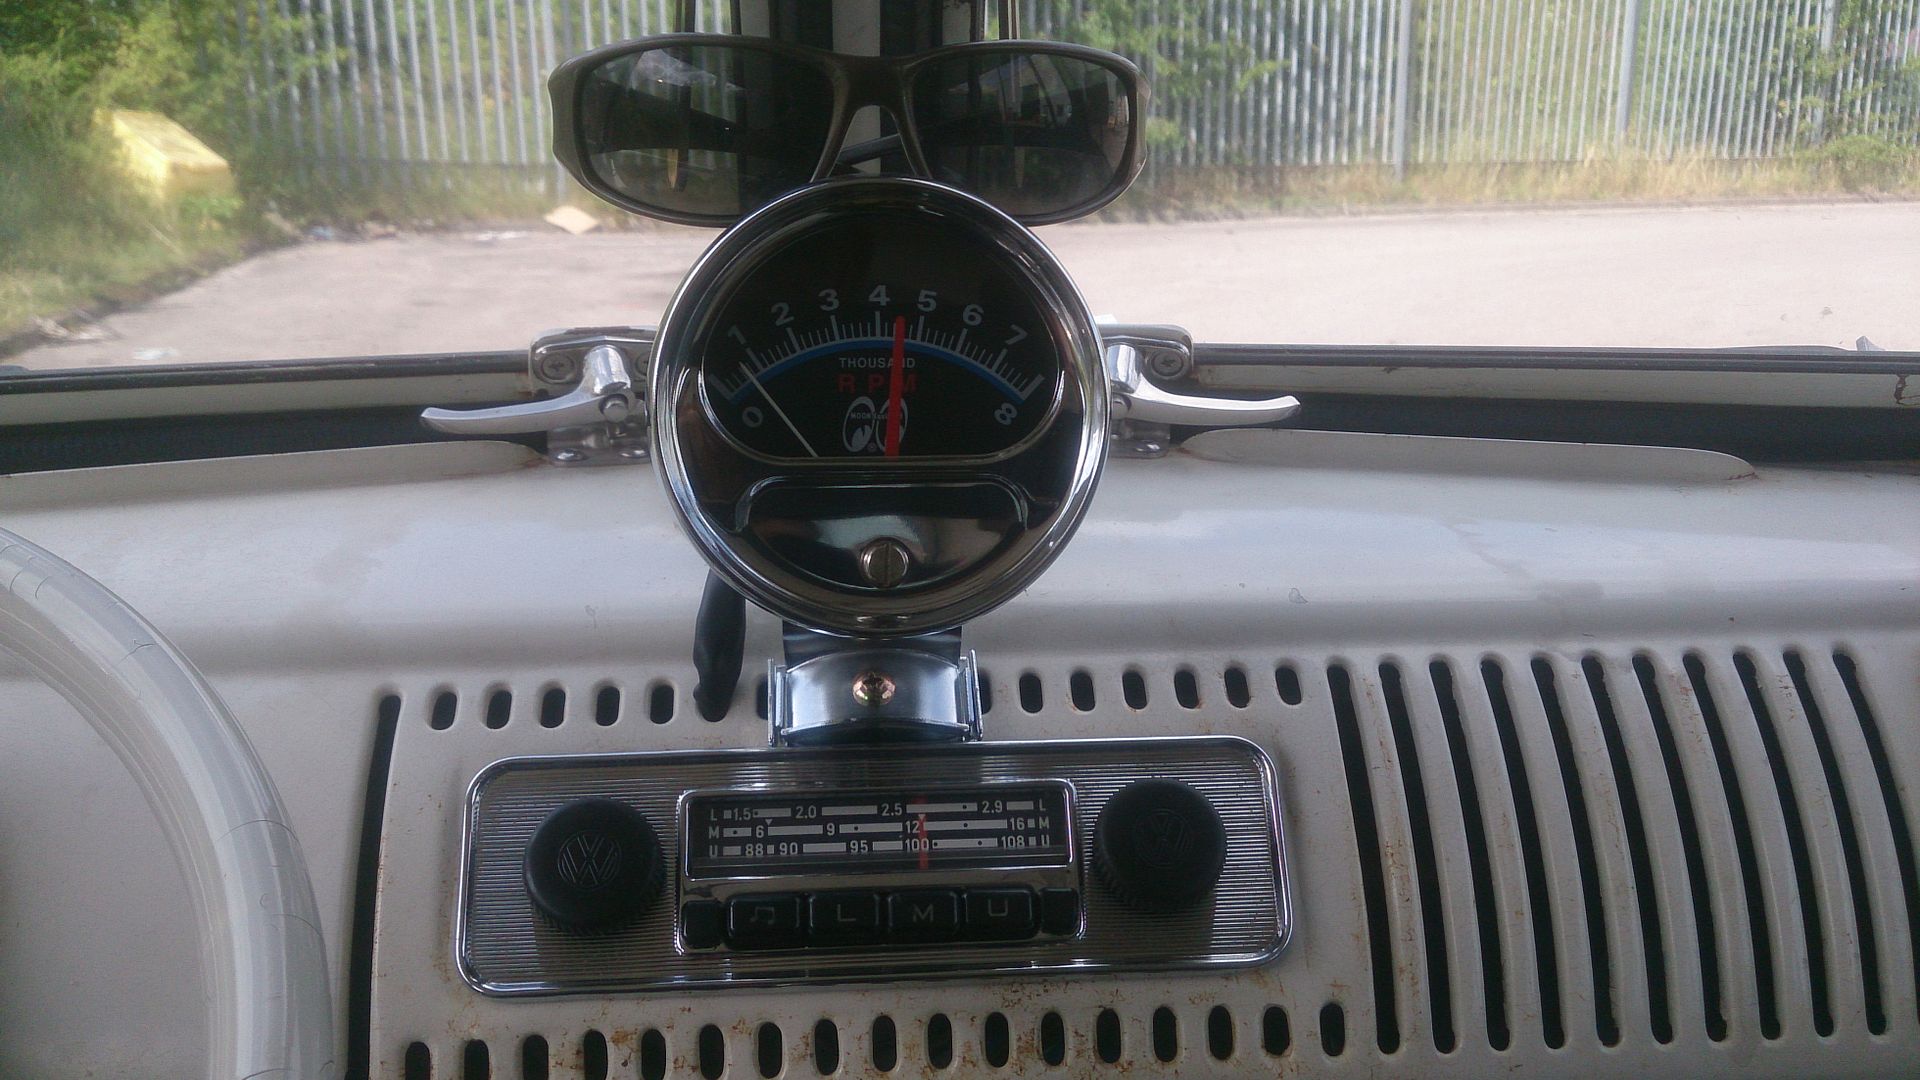
So fed up of looking at the radio hole in the dash so bought a radio off Rich Oakley, nice period VW accessory radio correct fit for my large 67 radio hole, love the radio as it has the VW logo on both knobs, finishes the dash off with the mooneyes rev counter and my oil pressure and temp gauges.
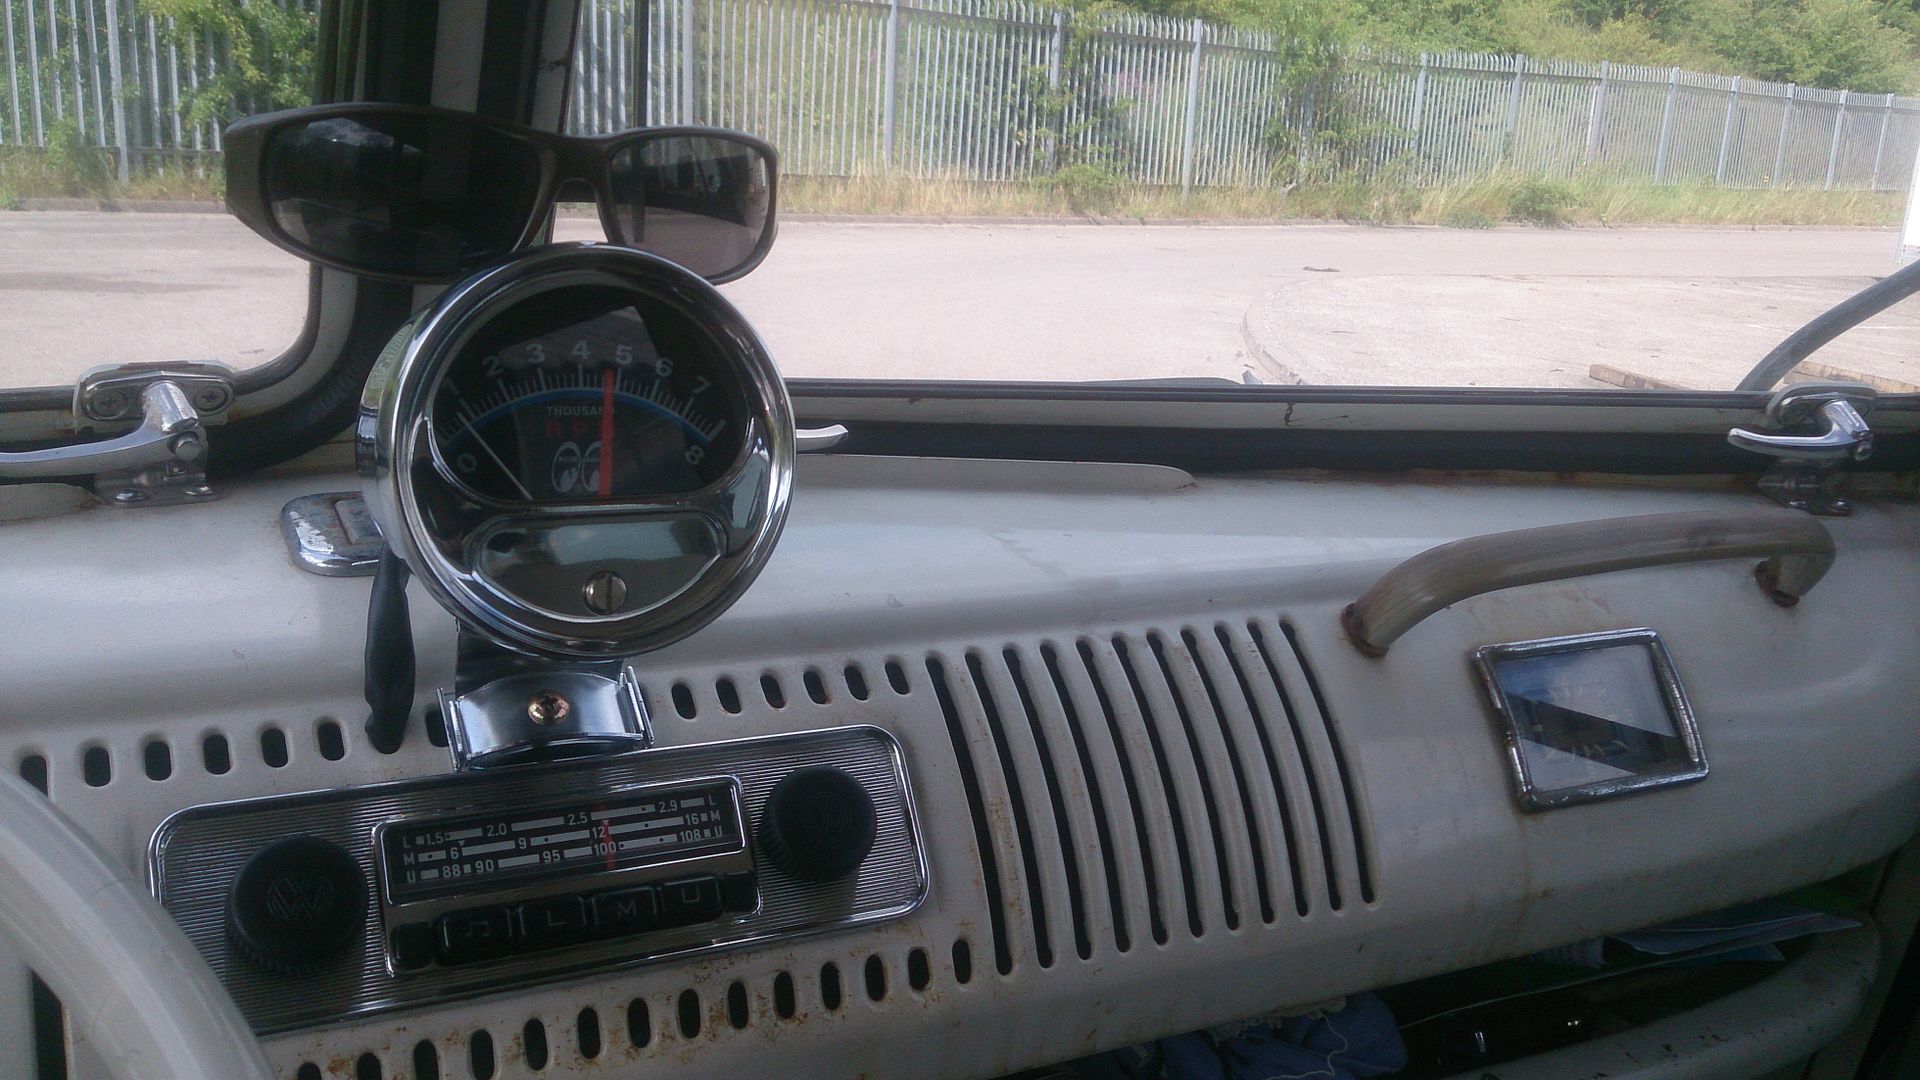
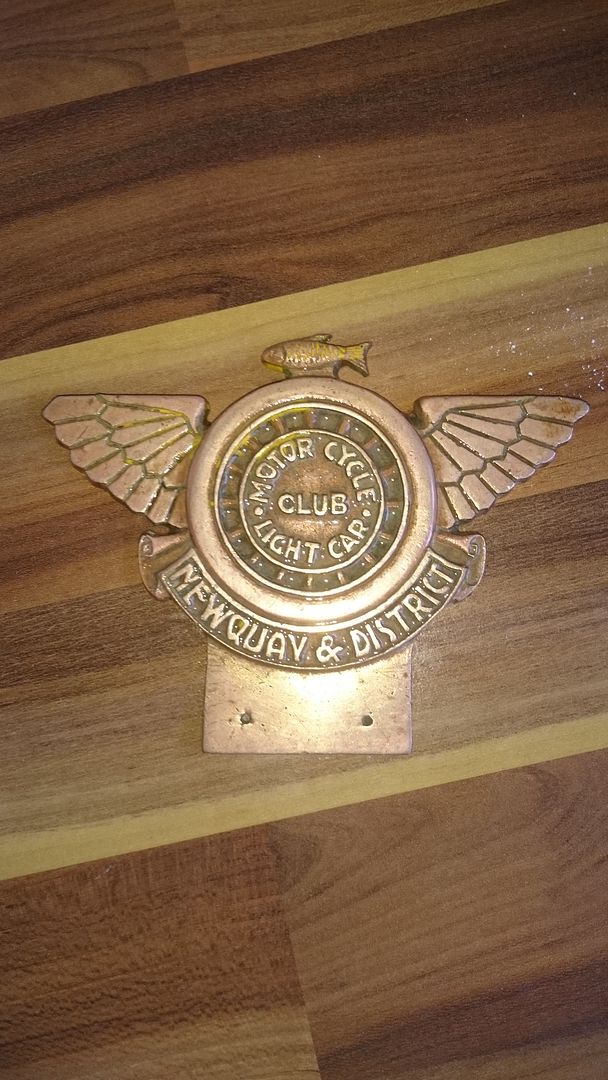
Bought this badge which I love, was a bit mucky, it is solid brass and is actually to early for my bus as this badge was issued by the Newquay and District club circa 1914-1954 but what the heck I like it!!
This is it after a 3 hour soak in some full fat coke.
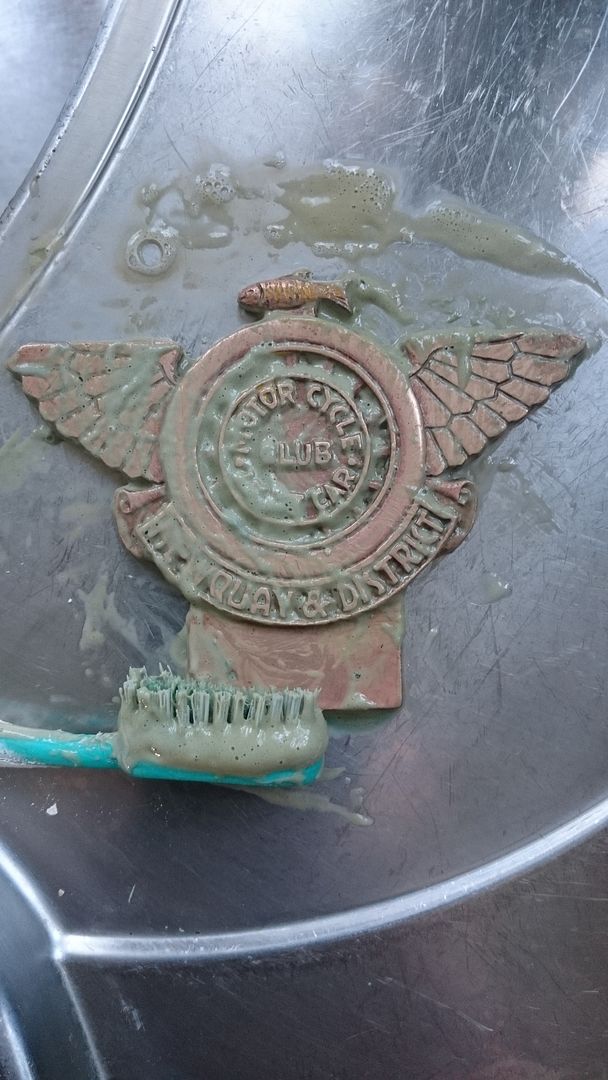
After attacking it with toothpaste and tooth brush!
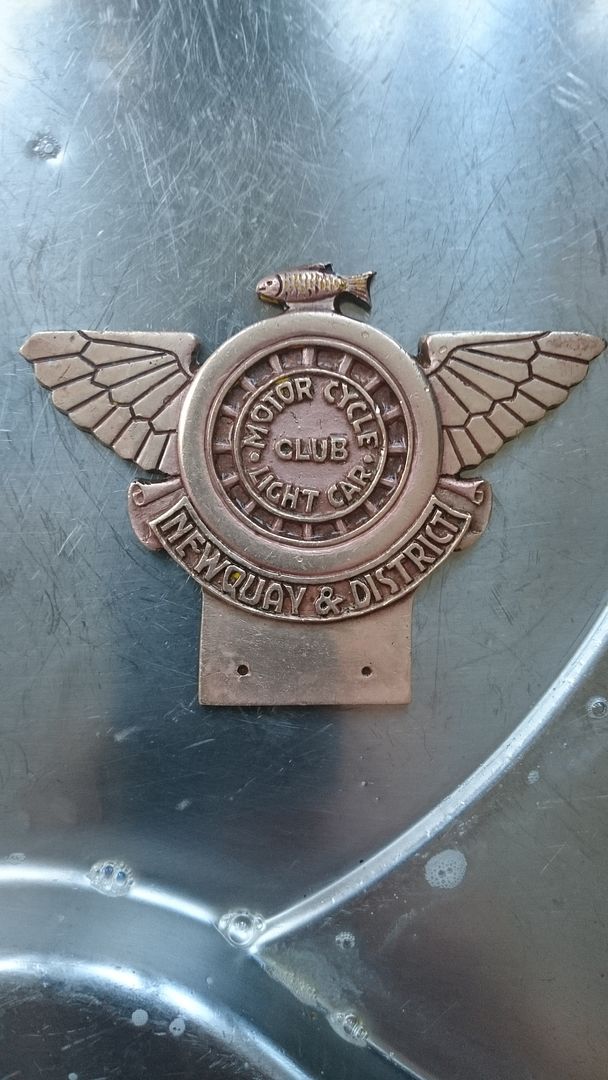
And after a bit of polishing.
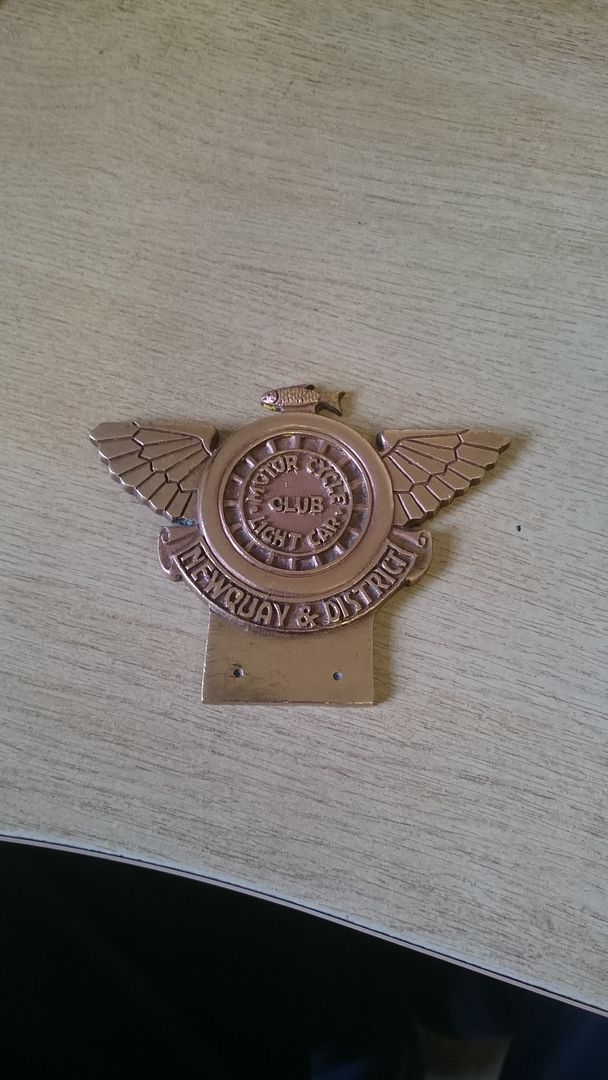
Just need to figure how to fasten it to my rear jail bar! Can't find a picture on the internet anywhere the same, I assume it was painted originally and would like to do it the same, oh well I will keep looking!
Well Seabuiscuit is going away for a few days soon for a bit of interior work, will post pics after, me excited!!


Bought this badge which I love, was a bit mucky, it is solid brass and is actually to early for my bus as this badge was issued by the Newquay and District club circa 1914-1954 but what the heck I like it!!
This is it after a 3 hour soak in some full fat coke.

After attacking it with toothpaste and tooth brush!


And after a bit of polishing.

Just need to figure how to fasten it to my rear jail bar! Can't find a picture on the internet anywhere the same, I assume it was painted originally and would like to do it the same, oh well I will keep looking!
Well Seabuiscuit is going away for a few days soon for a bit of interior work, will post pics after, me excited!!
dustysplit

SSVC Member
Posts: 160
Joined: Fri Jun 21, 2013 8:47 pm
Re: "OH NO" 66 13 WINDOW DELUXE GROTBOX!!
by thesickness » Fri Jul 31, 2015 12:53 am
Love the updates Glen! Alive&Vdubbing at Jimmys is traditionally a weekend of breakdowns, both mechanically and other! Both vof us saw the rear end of a tow truck, I've never seen a man take so many measurments to figure how to get my split on his towing dolly thingmybob! quick exhaust removal and we were on our way. So are you going to start another thread for seabiscuit or is this going to be one confusing double resto thread with some entertainment and festivities thrown in?


thesickness
Registered user
Posts: 459
Joined: Sun Nov 28, 2010 8:30 pm
Re: "OH NO" 66 13 WINDOW DELUXE GROTBOX!!
by dustysplit » Fri Jul 31, 2015 10:01 am
No Si, I will keep it all in one bud at the moment as Seabiscuit isn't actually a resto just modify and improve!! Will we see you at Brighton Breeze?
dustysplit

SSVC Member
Posts: 160
Joined: Fri Jun 21, 2013 8:47 pm
Re: "OH NO" 66 13 WINDOW DELUXE GROTBOX!!
by thesickness » Fri Jul 31, 2015 2:38 pm
Yep we'll be there. Must buy tickets soon
thesickness
Registered user
Posts: 459
Joined: Sun Nov 28, 2010 8:30 pm
Re: "OH NO" 66 13 WINDOW DELUXE GROTBOX!!
by dustysplit » Fri Jul 31, 2015 4:57 pm
thesickness wrote:Yep we'll be there. Must buy tickets soon
Yes you most certainly will bud
dustysplit

SSVC Member
Posts: 160
Joined: Fri Jun 21, 2013 8:47 pm
Re: "OH NO" 66 13 WINDOW DELUXE GROTBOX!!
by dustysplit » Tue Aug 11, 2015 5:12 pm
As Seabiscuit was due to go for some interior work I needed to sort a new floor out, removed the og blue floor mat ( yes I have kept it!) This is what we have.
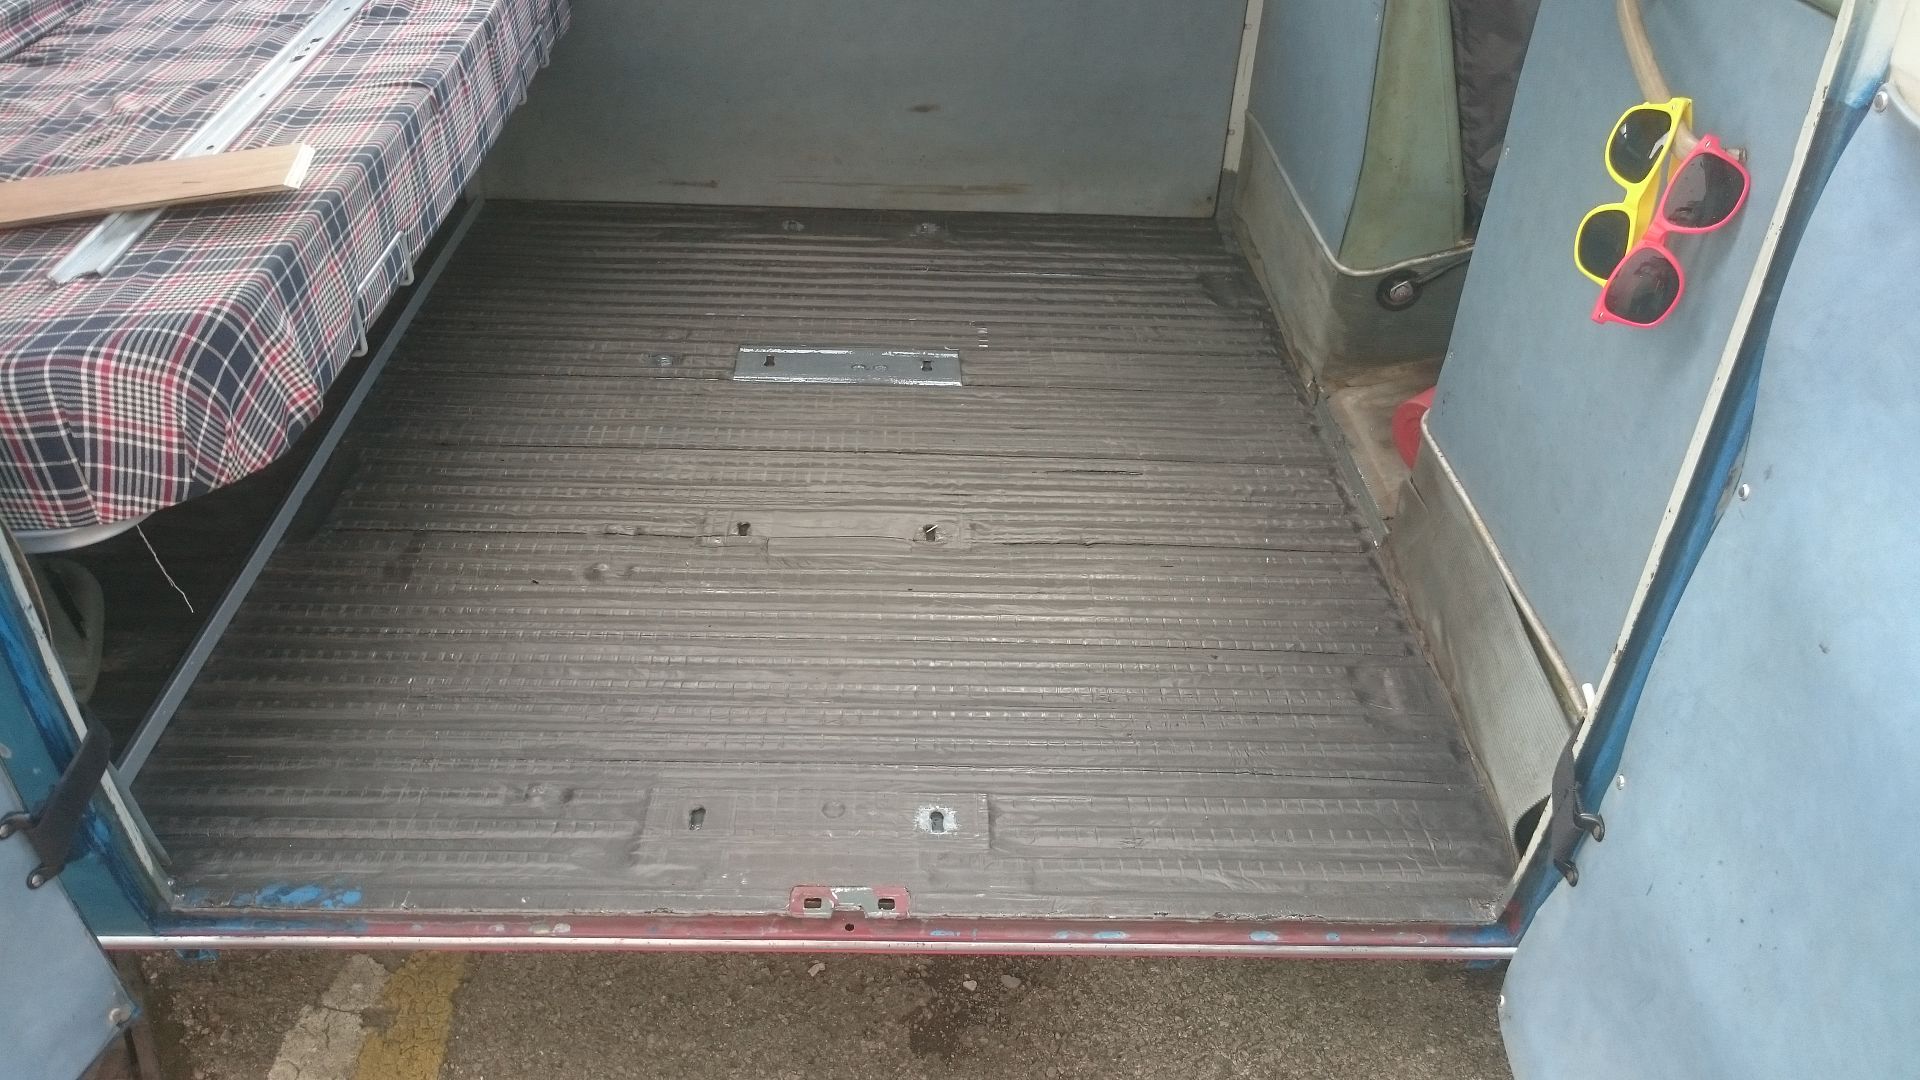
The previous owner had already put the flashing tape on and I wasn't about to start removing it so decided it was staying.
I used some 1.8mm closed cell underlay first, dabbed it down with a bit of tiger seal to hold it in position.
9mm ply floor, only could get hold of 8x4 sheets so the floor has a join on the far side which is a taper join and plenty of pva glue, the floor again is dabbed down on tiger seal.
A bit of weight on it and left for 24 hours.
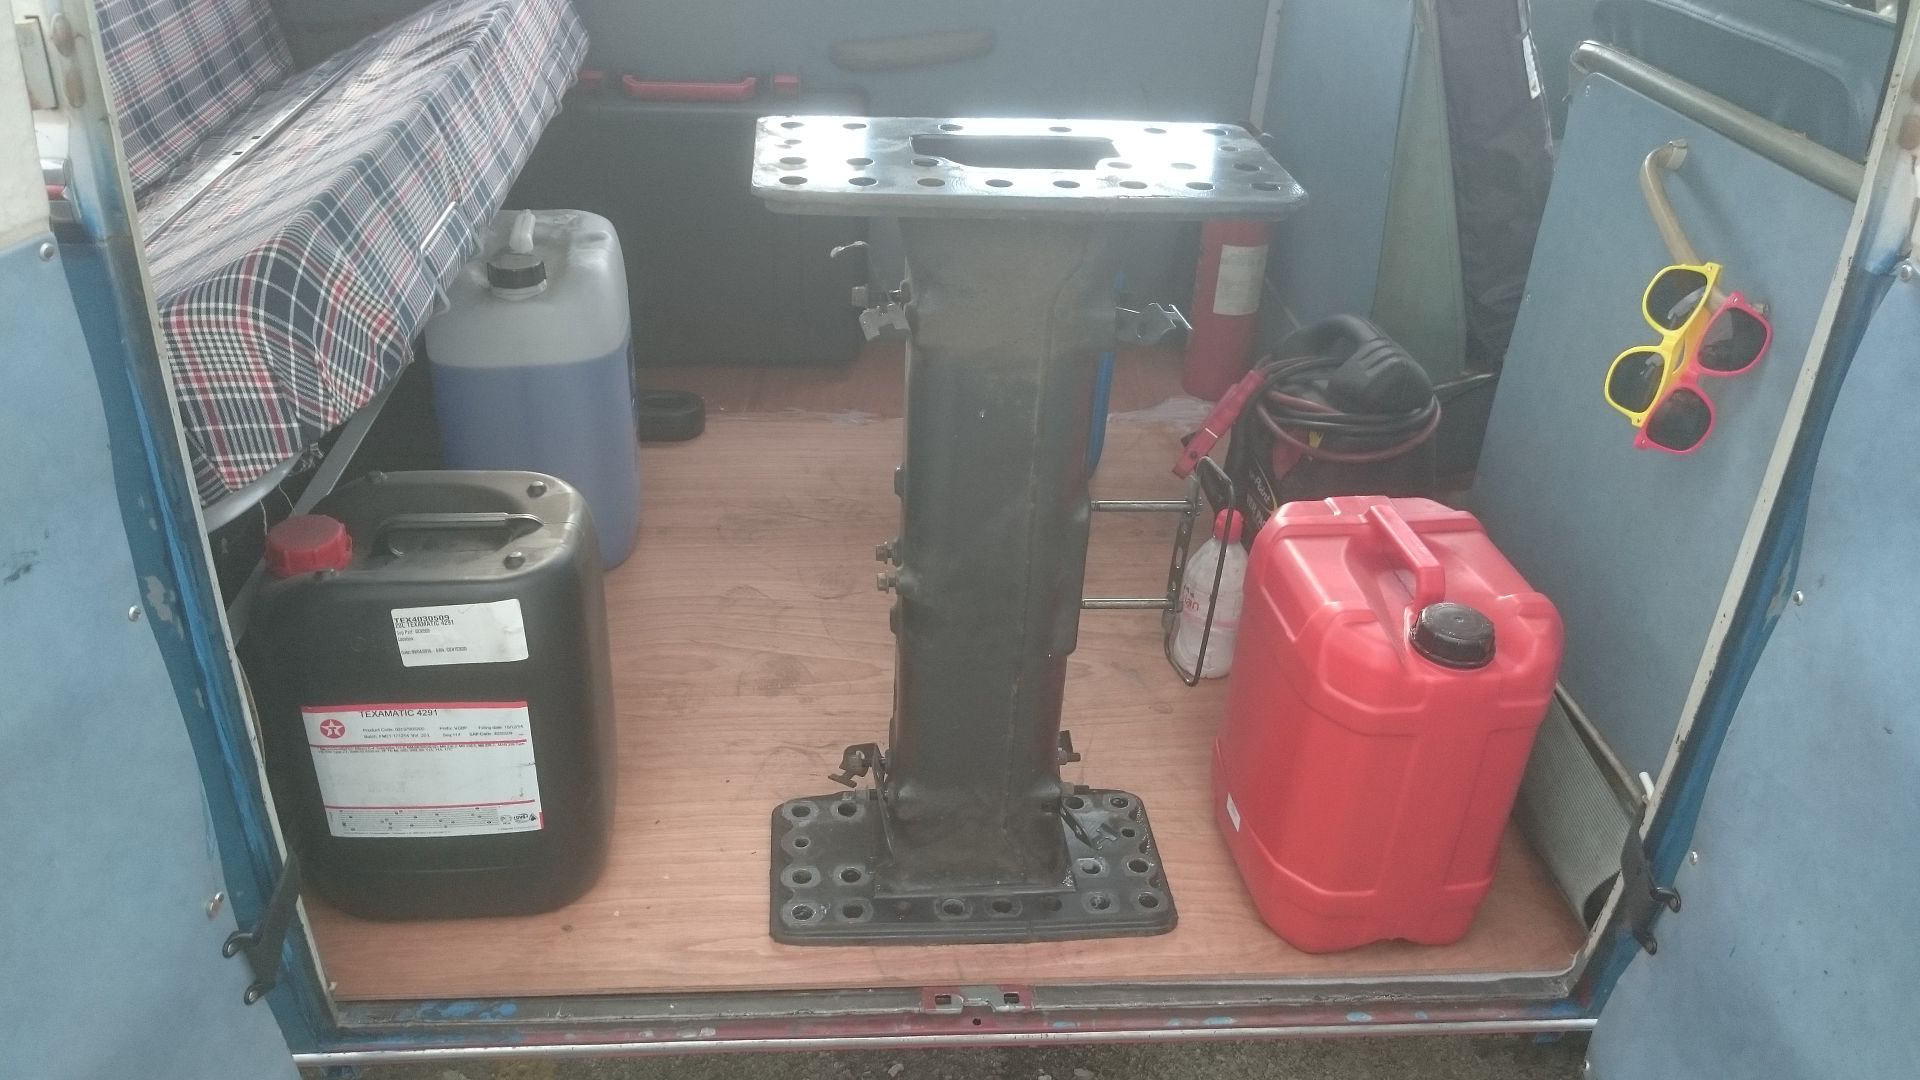
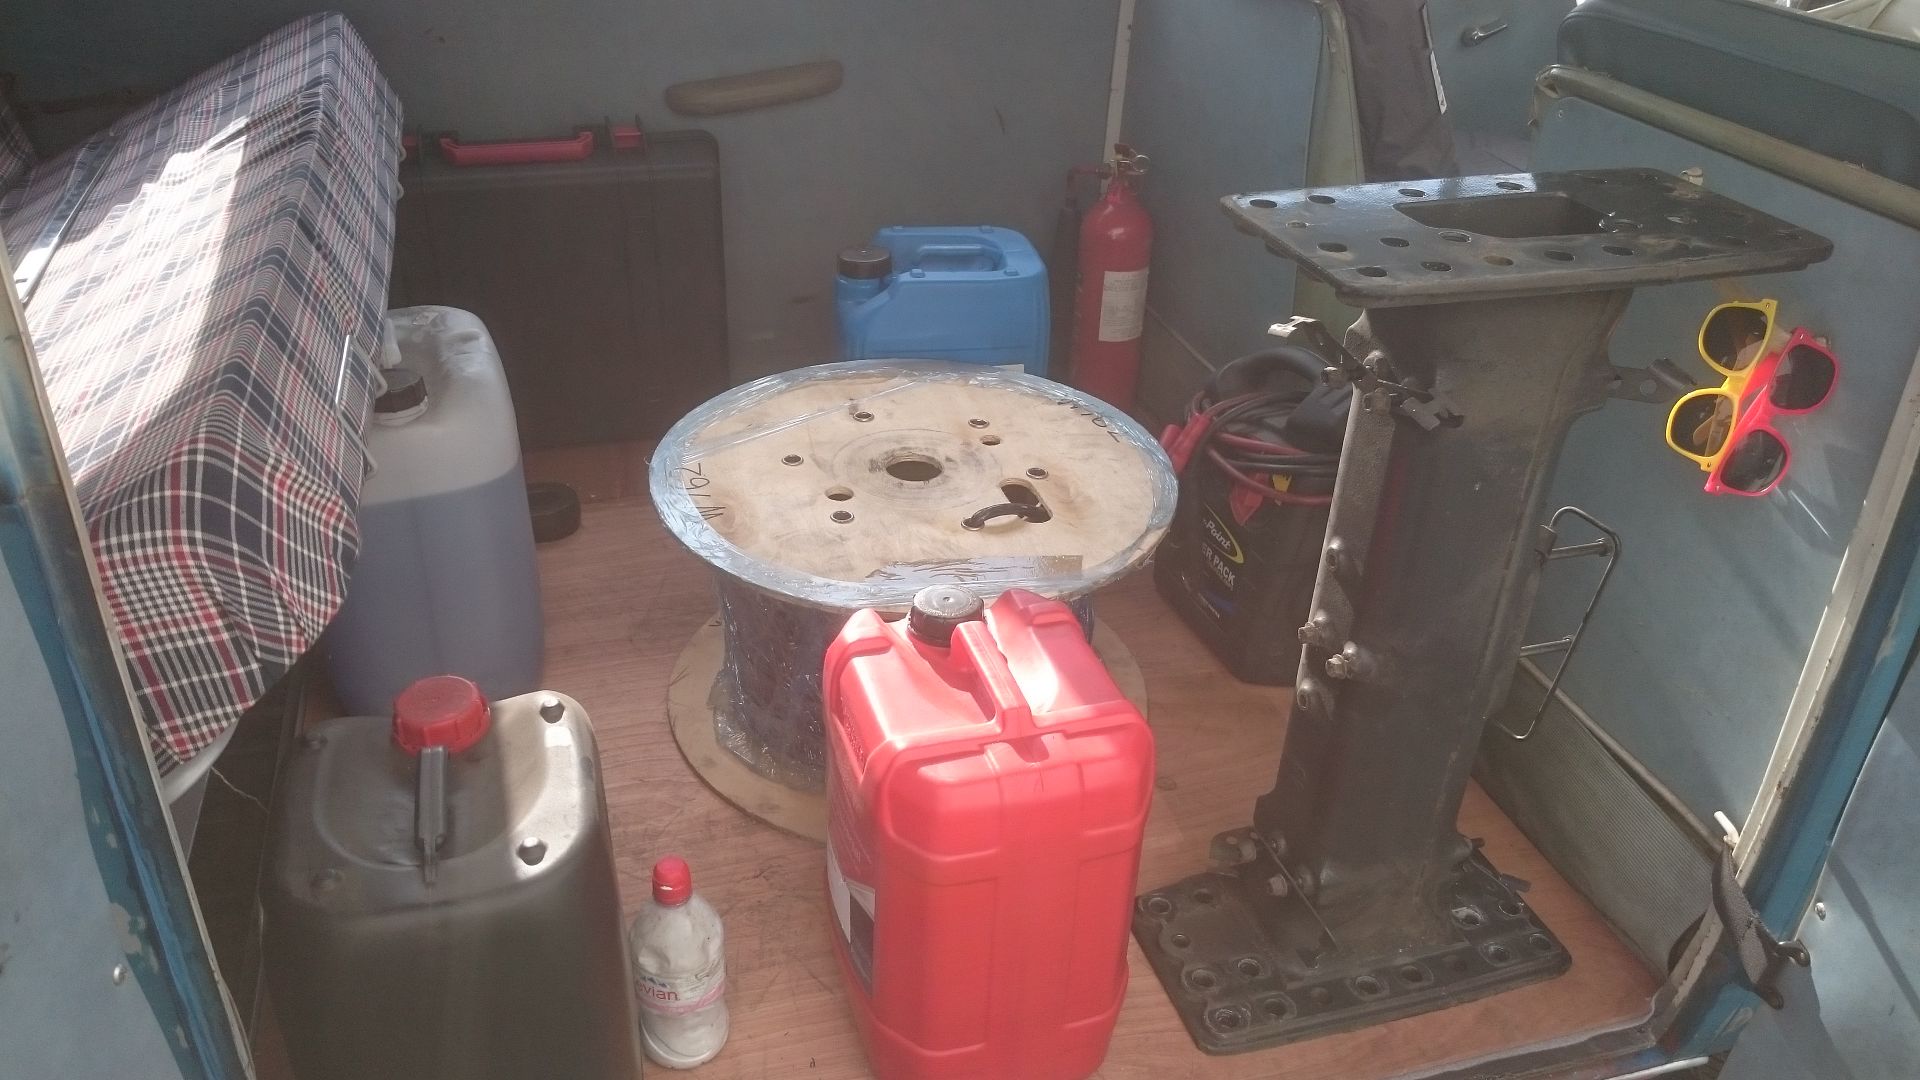
The join was pretty good so a bit of block sanding with 80 grit to make sure the join was spot on.
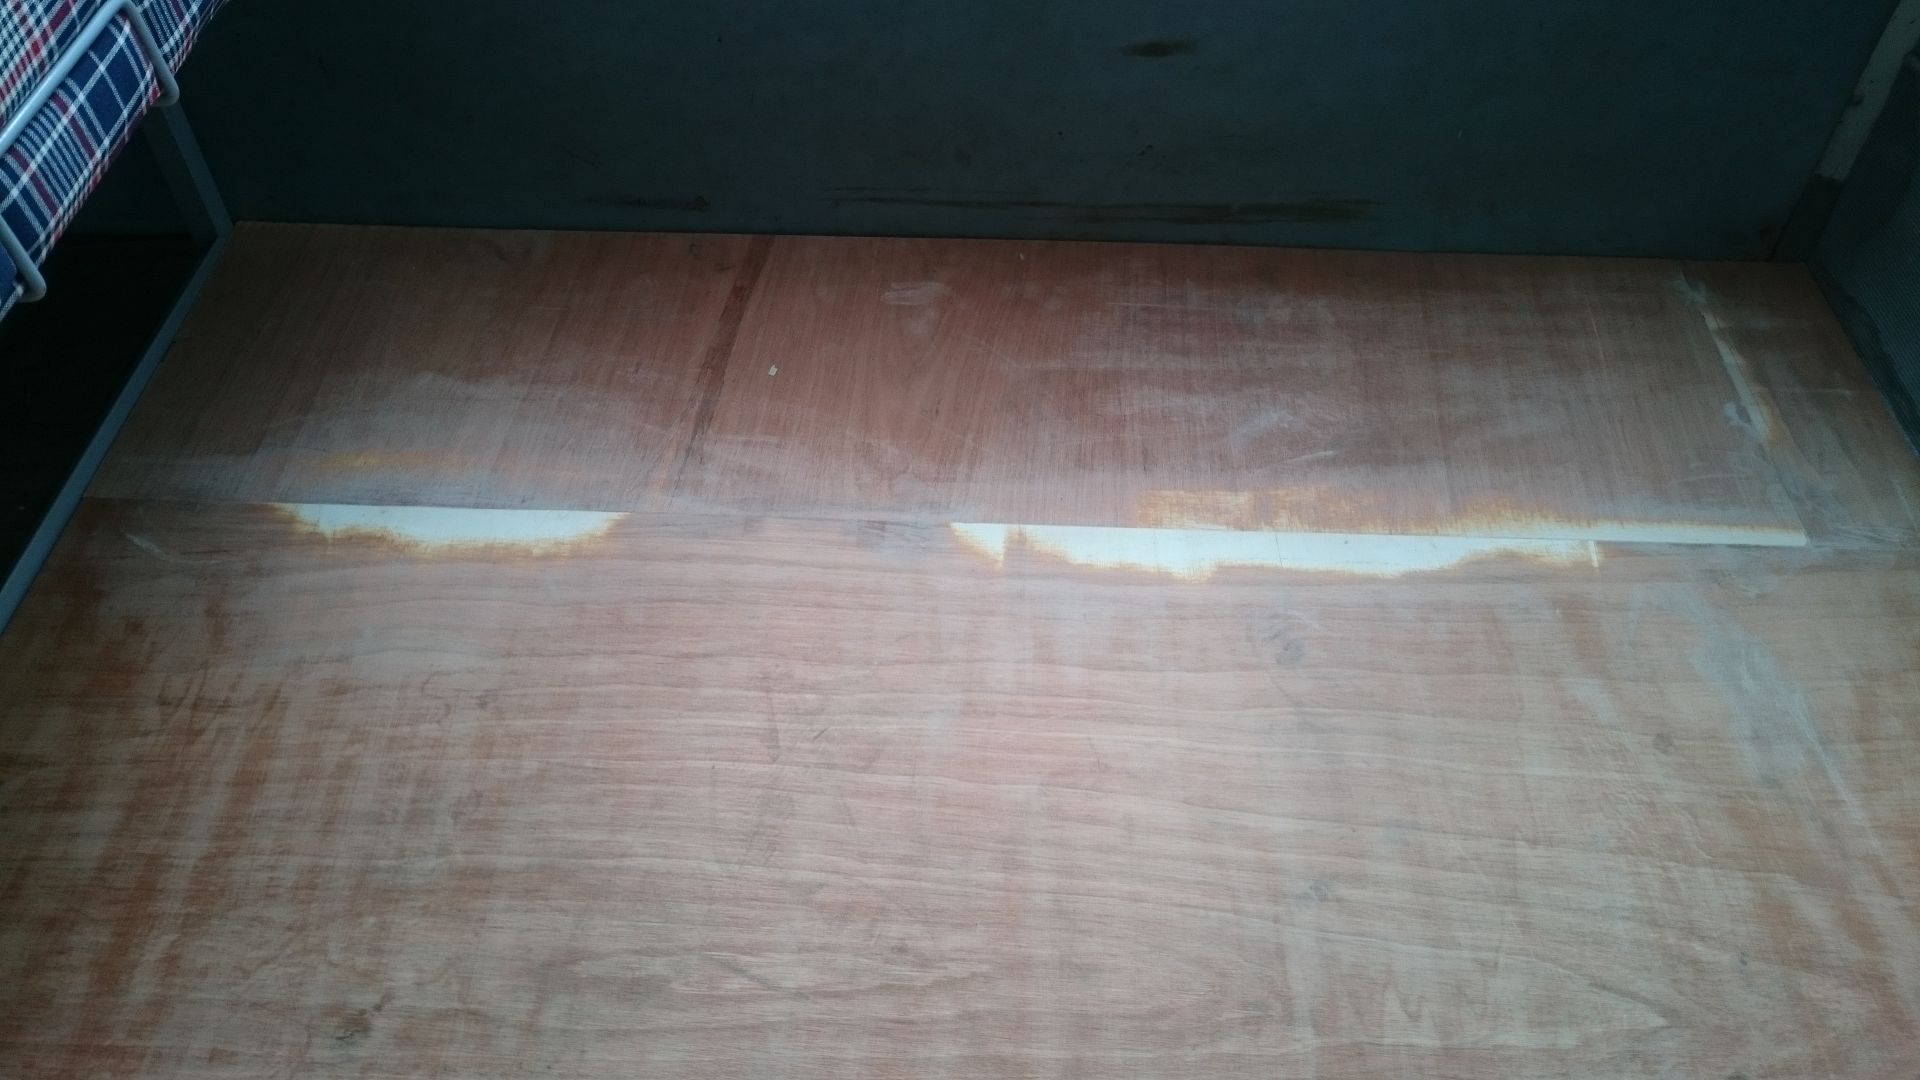
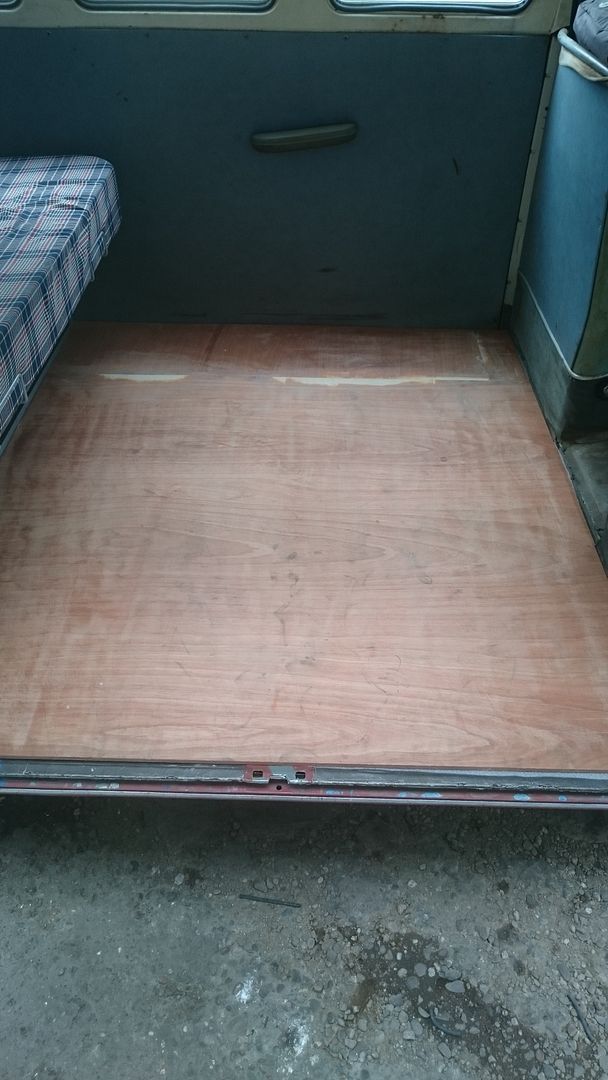
So this is what I chose, the Madmatz kit and went with cool aqua and ice.
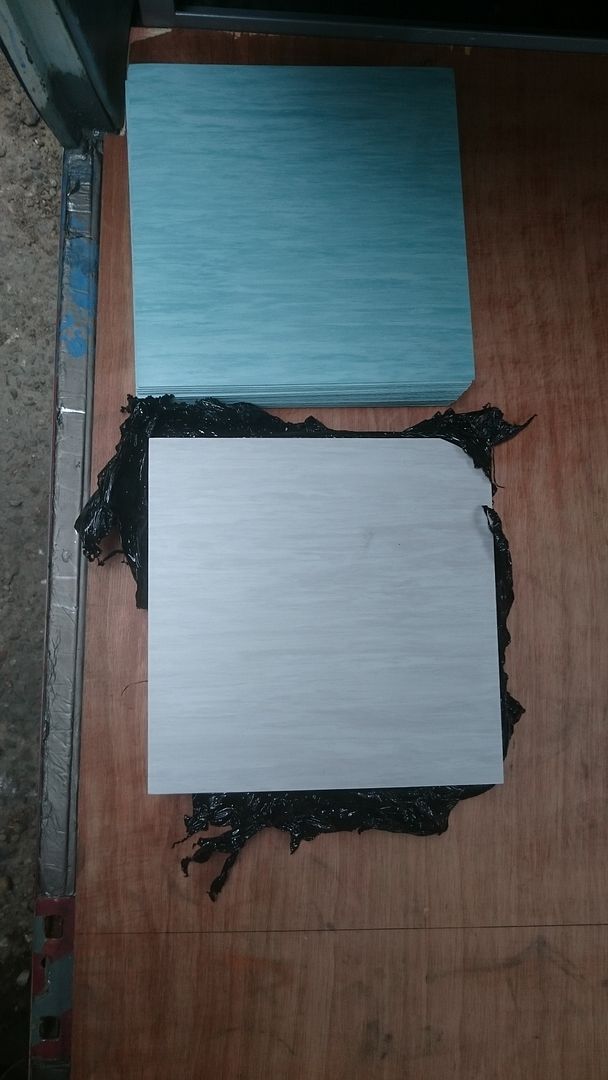
So mark the centre of the 2 longest sides and the cross in the centre of the floor.
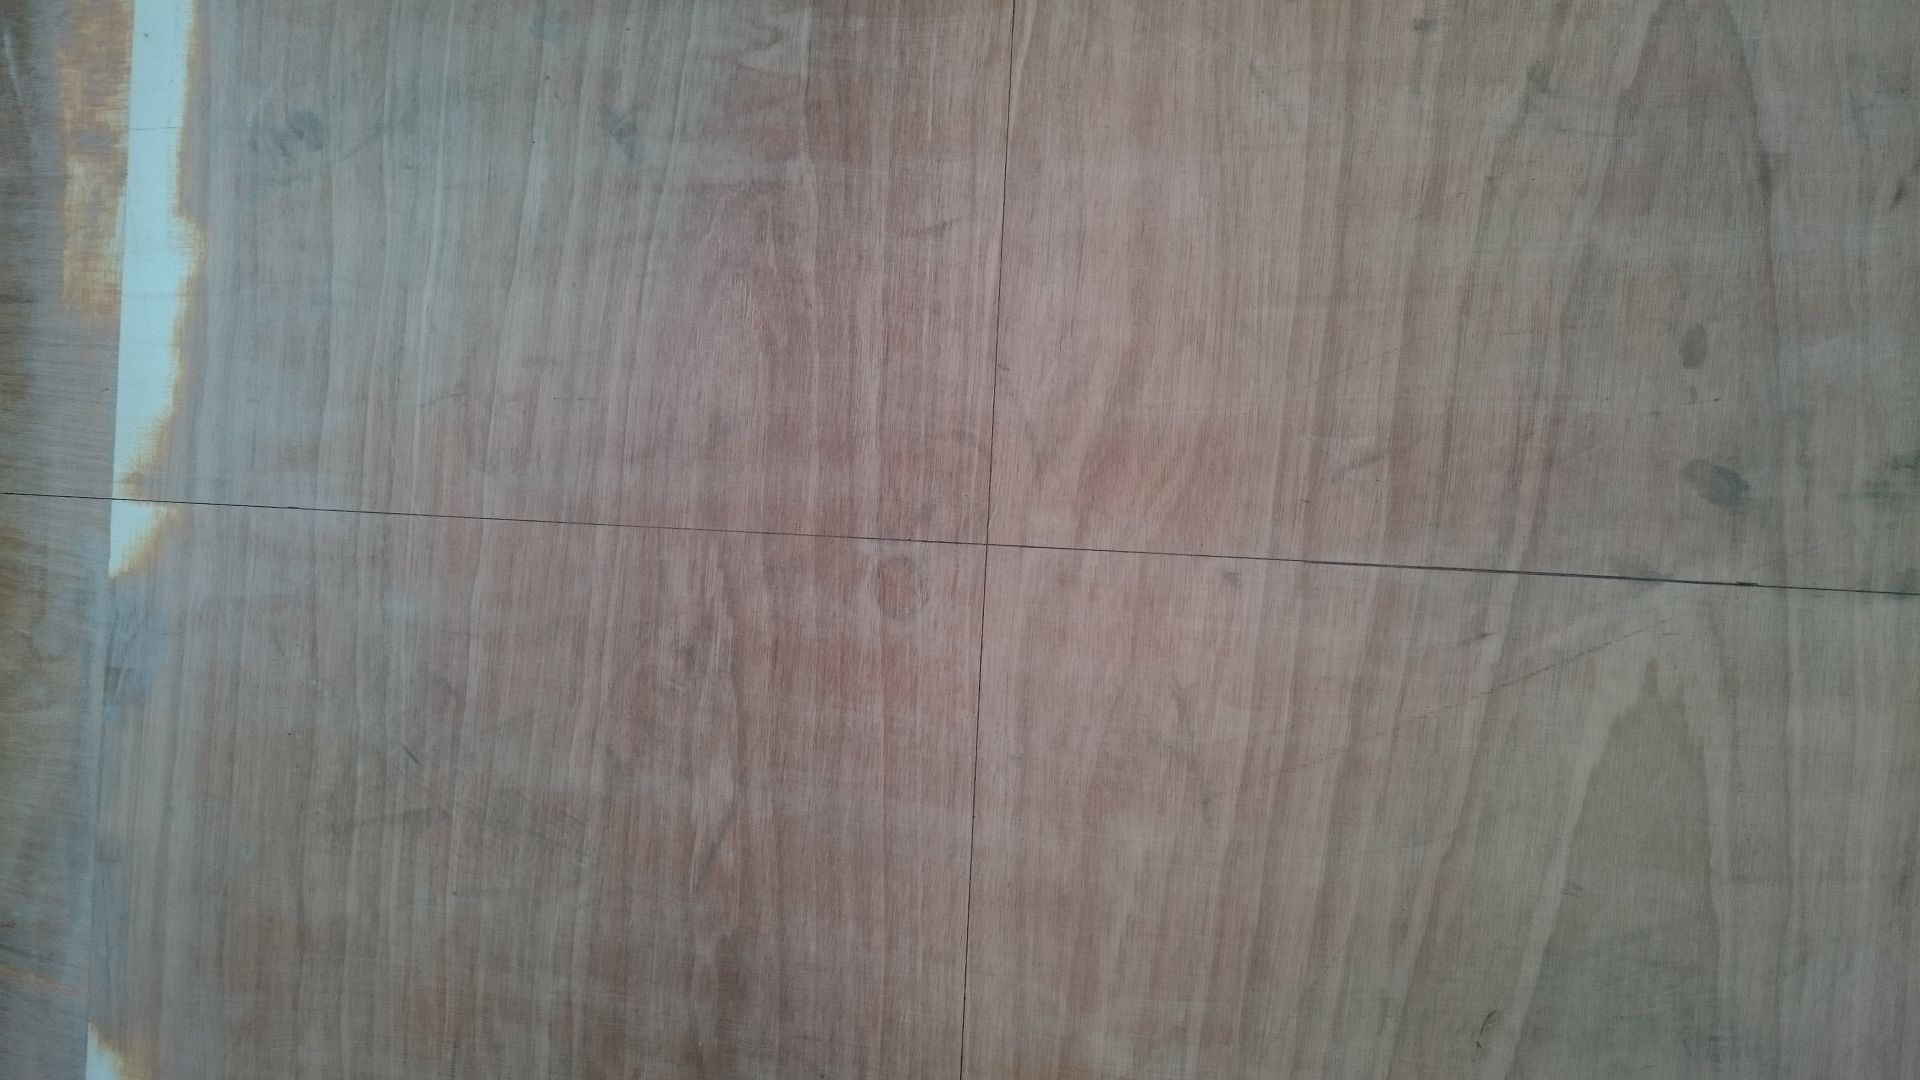
Dry fit first to see if I was happy.
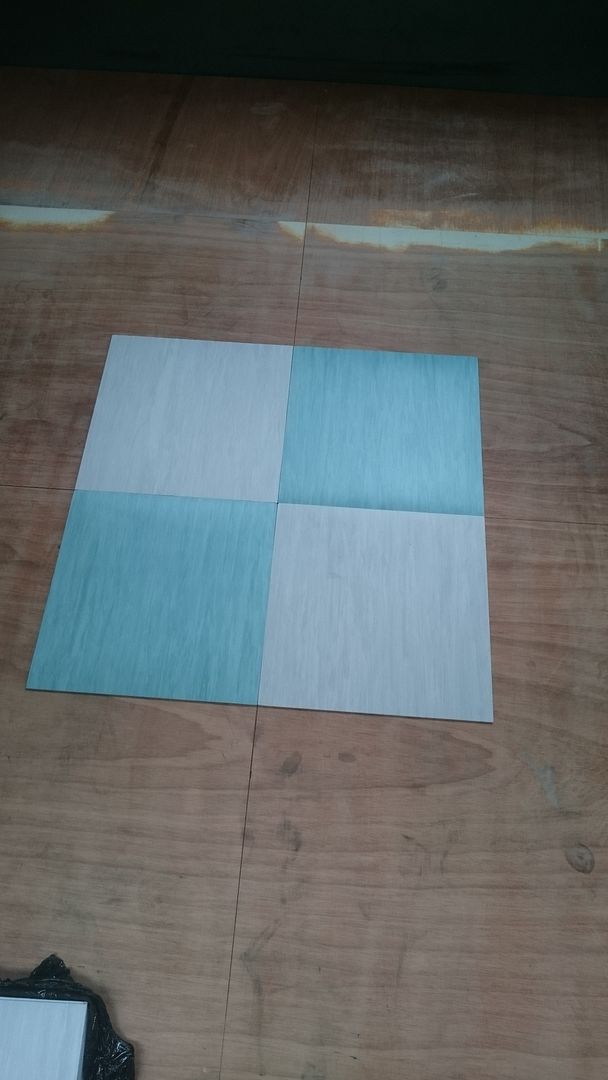
The kit comes with tiles, adhesive, spreader and polish so is pretty good.
Adhesive spread over far side of van, you have to wait for the adhesive to "tack off" which probably was best part of 30 mins and then go!!
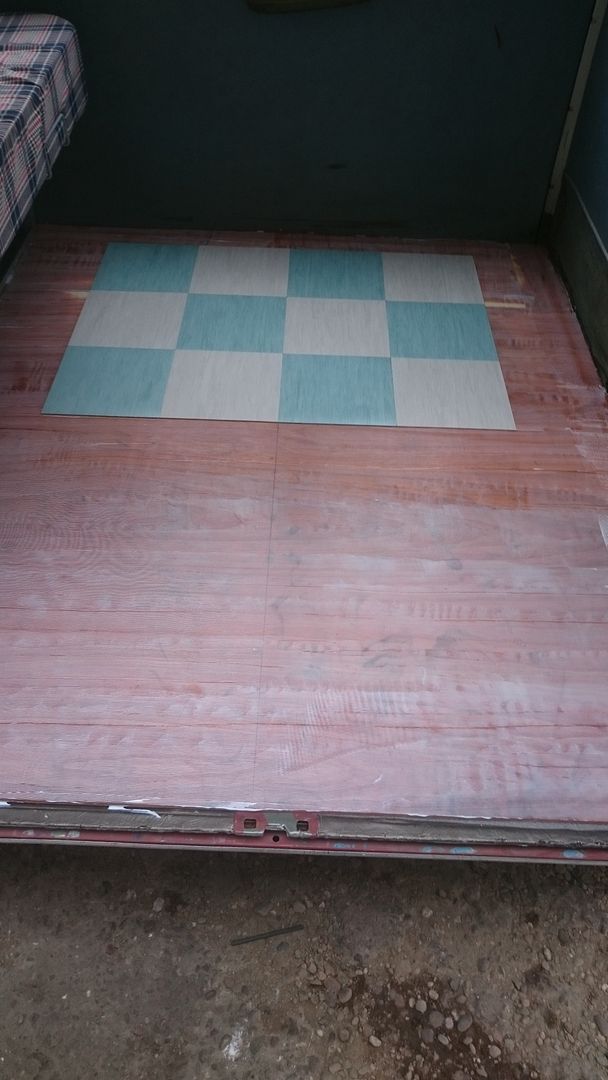
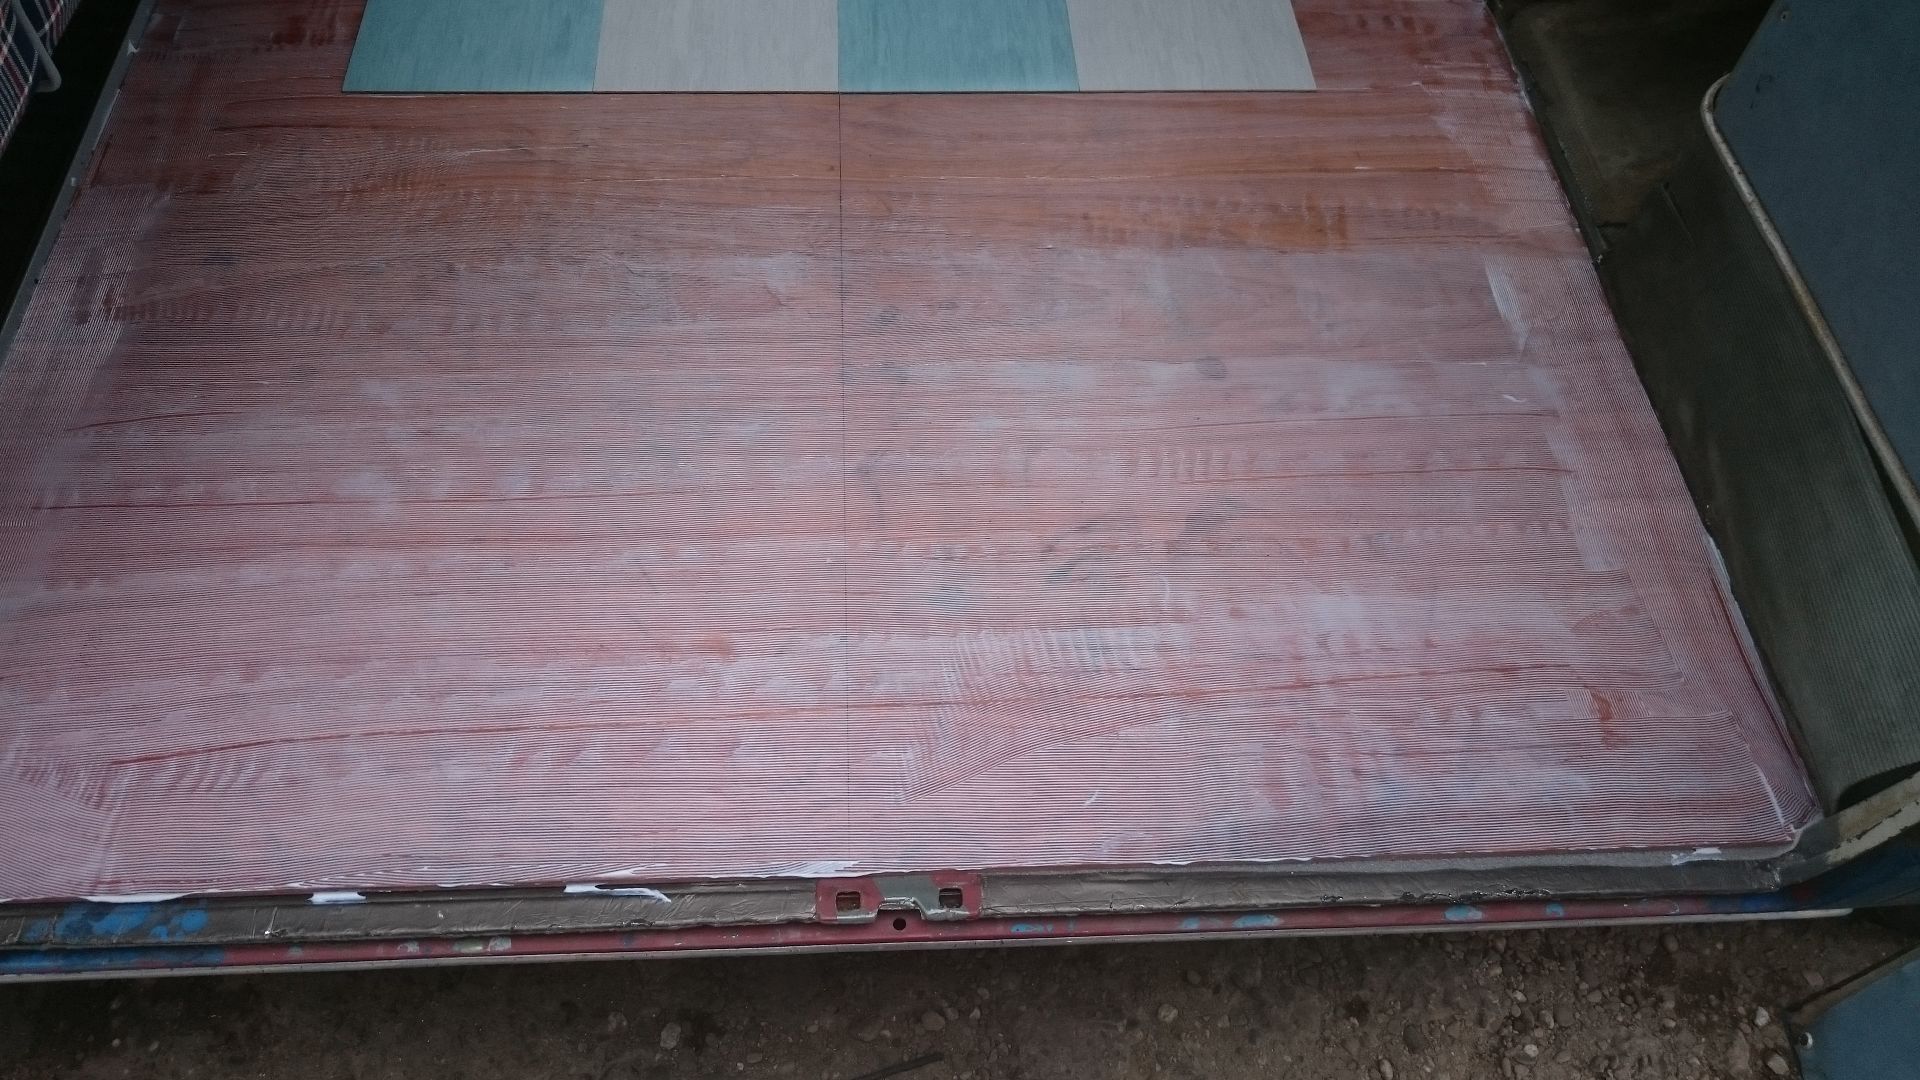
Adhesive spread on the remainder of the floor, wait another 20 or so minutes.
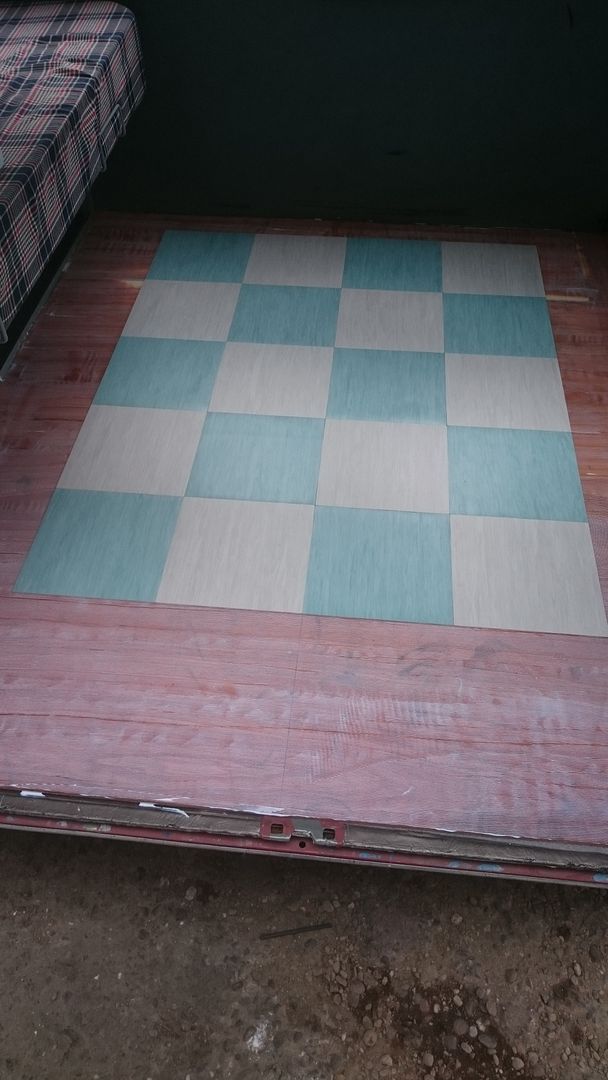
Starting the cutting in around the edges, this is the time consuming bit, measure twice, cut once! The gap was nearly a full tile but not quite!!
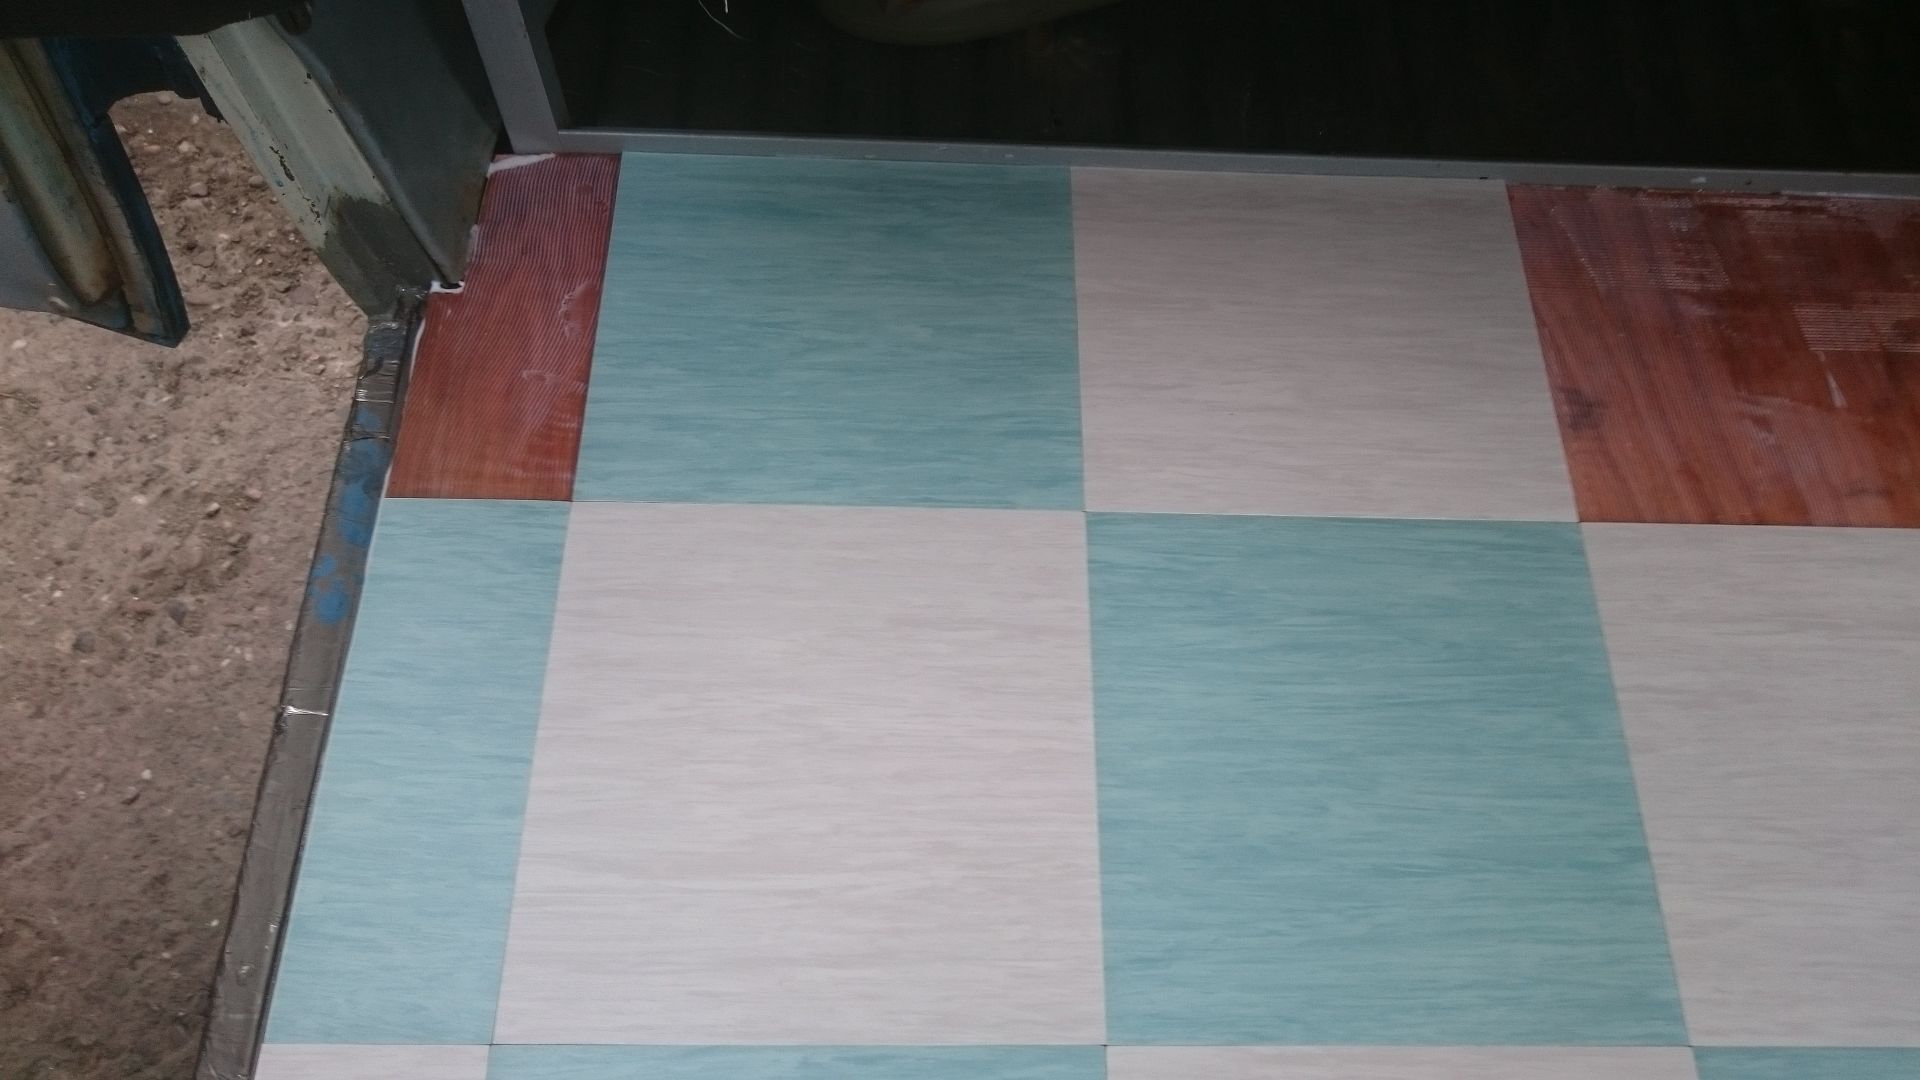
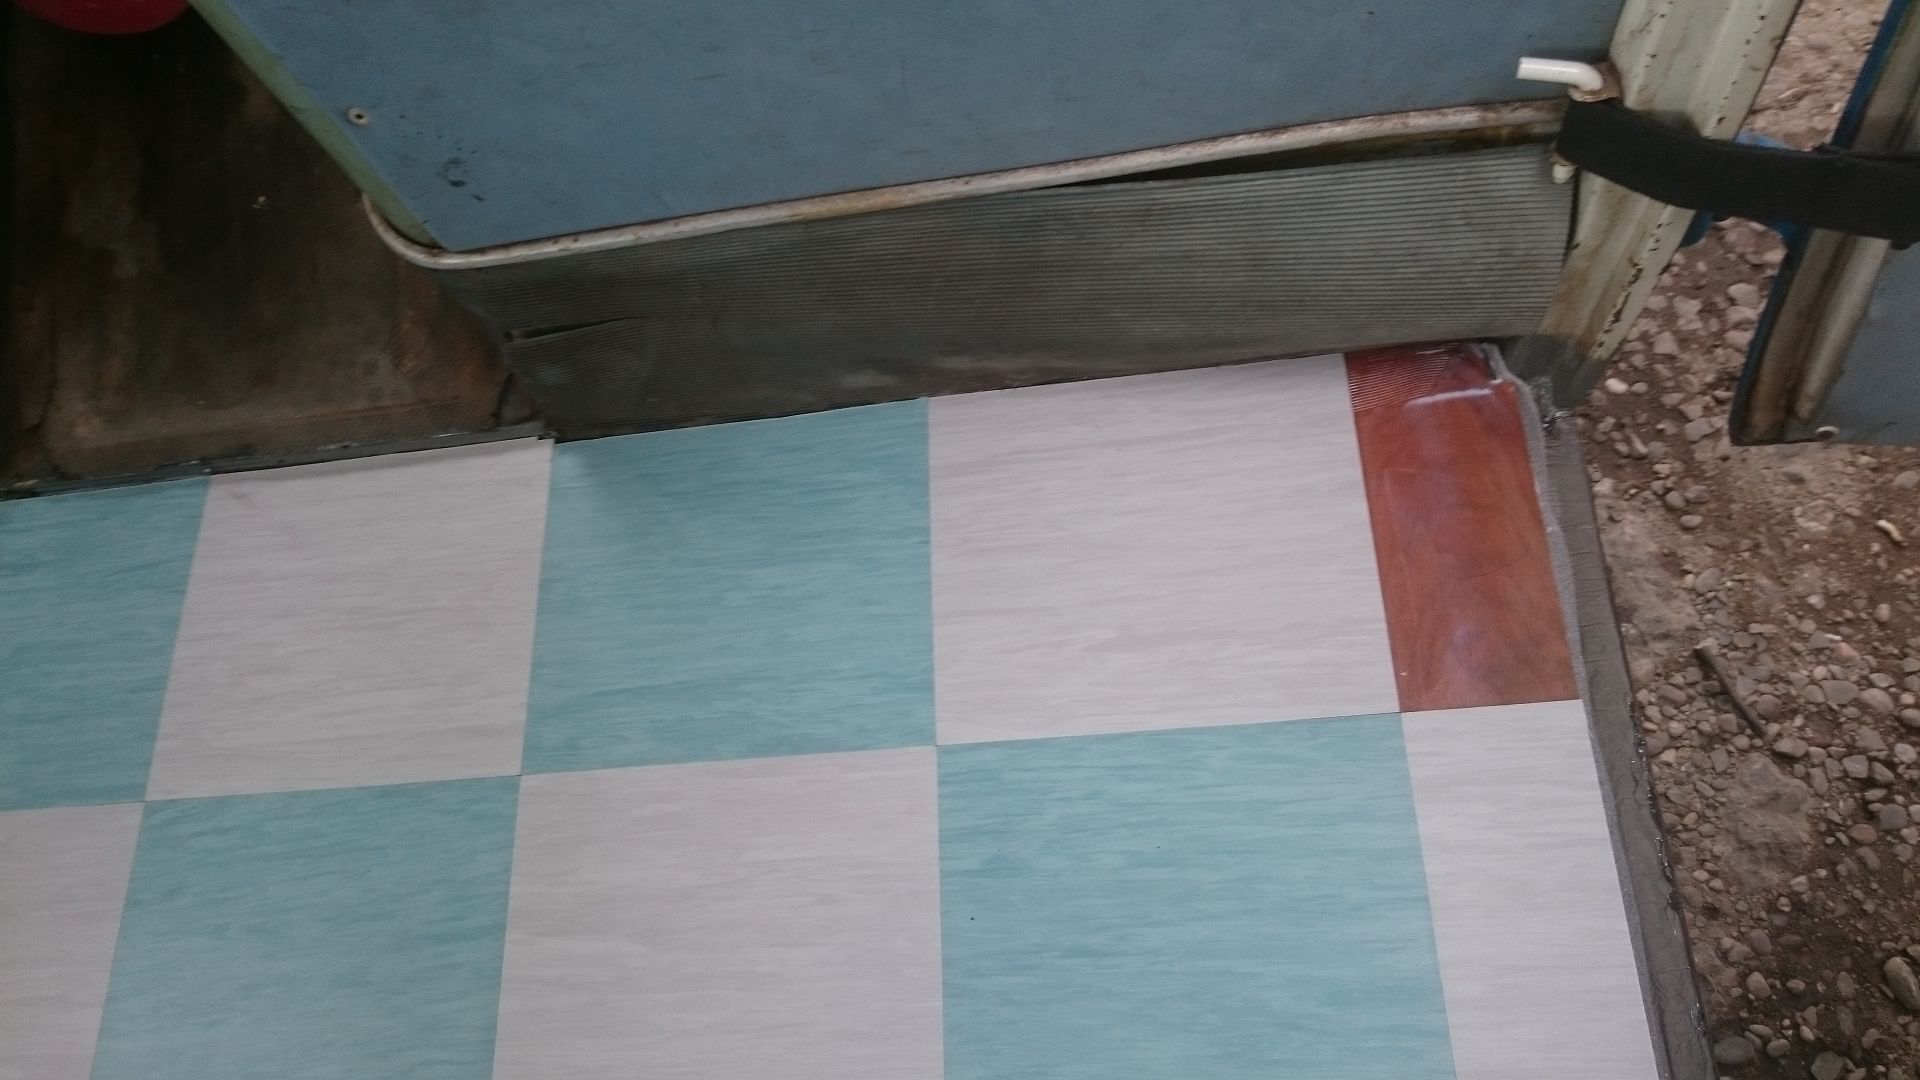
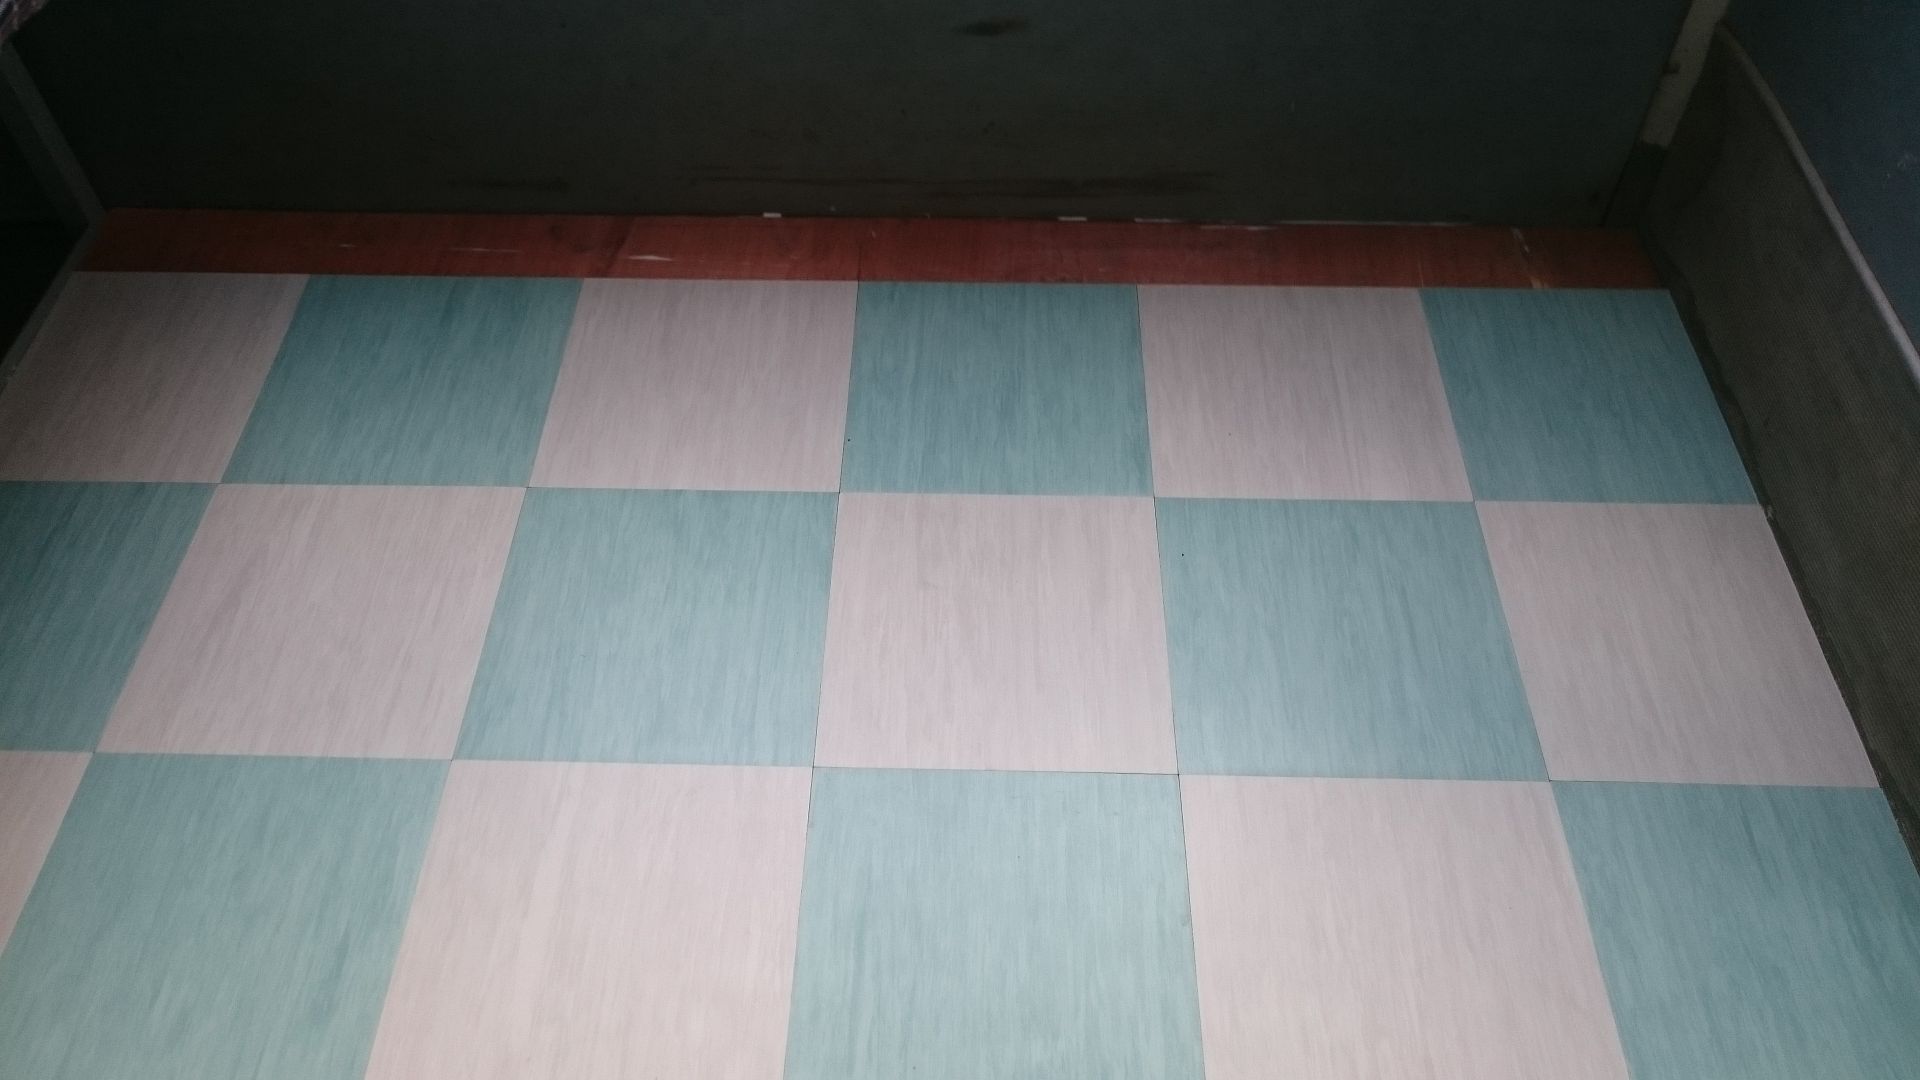
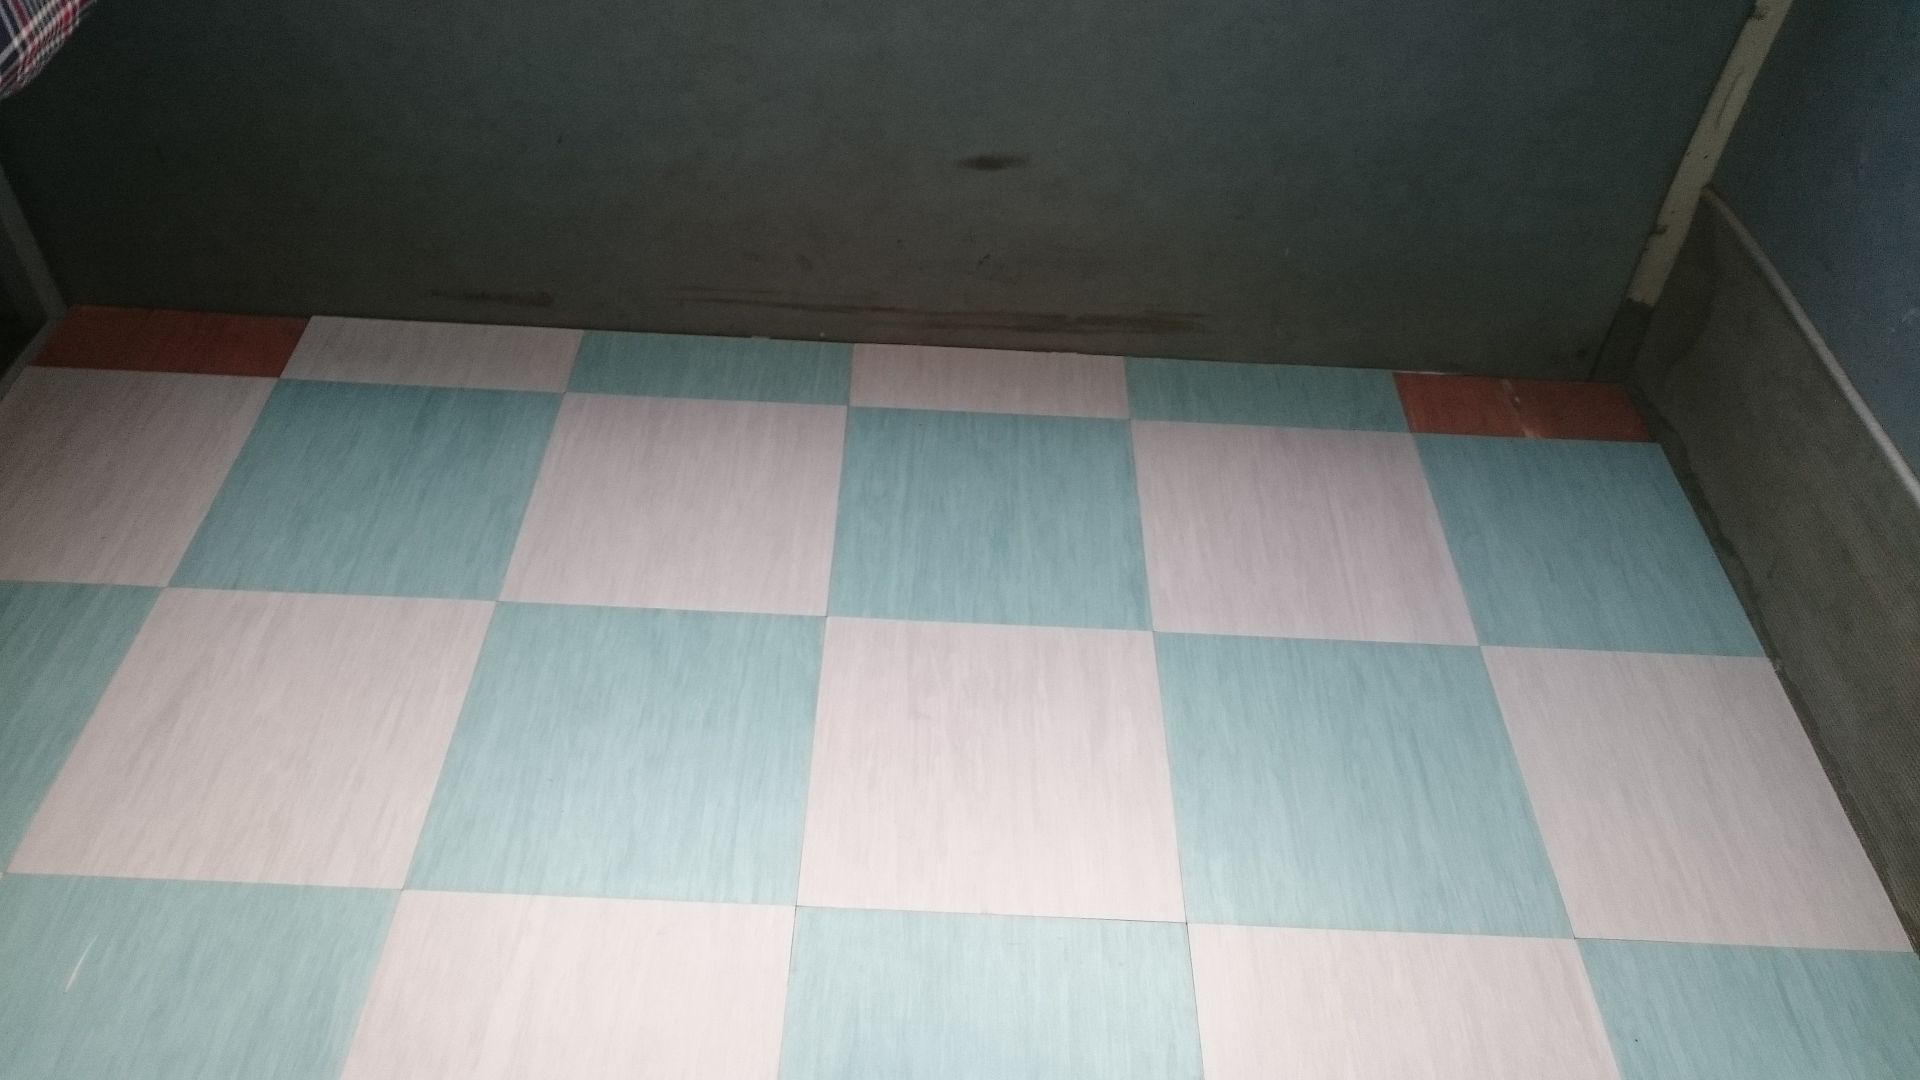
Job done!!
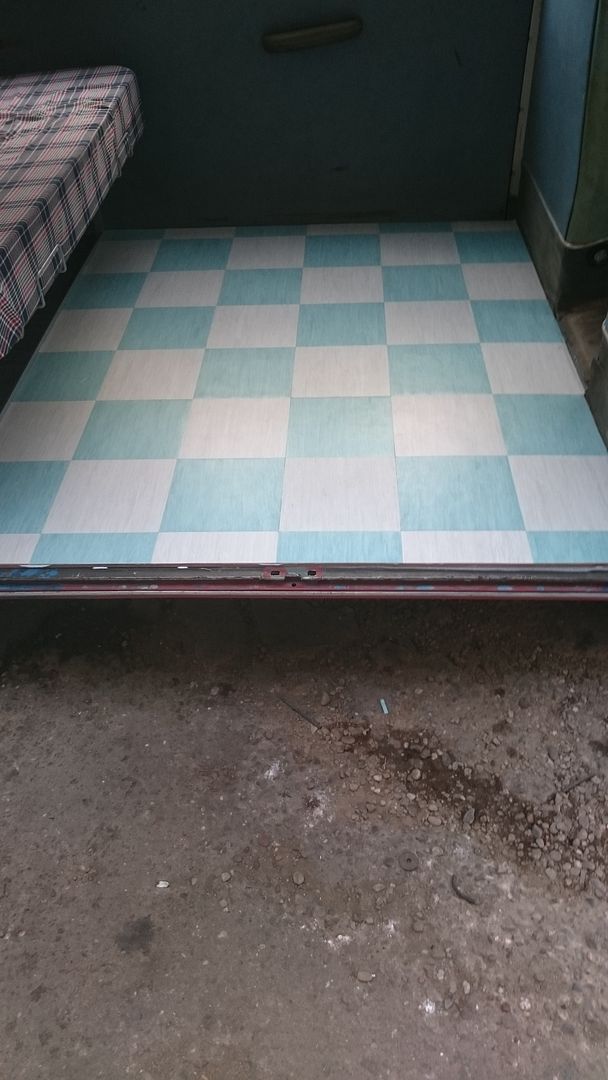
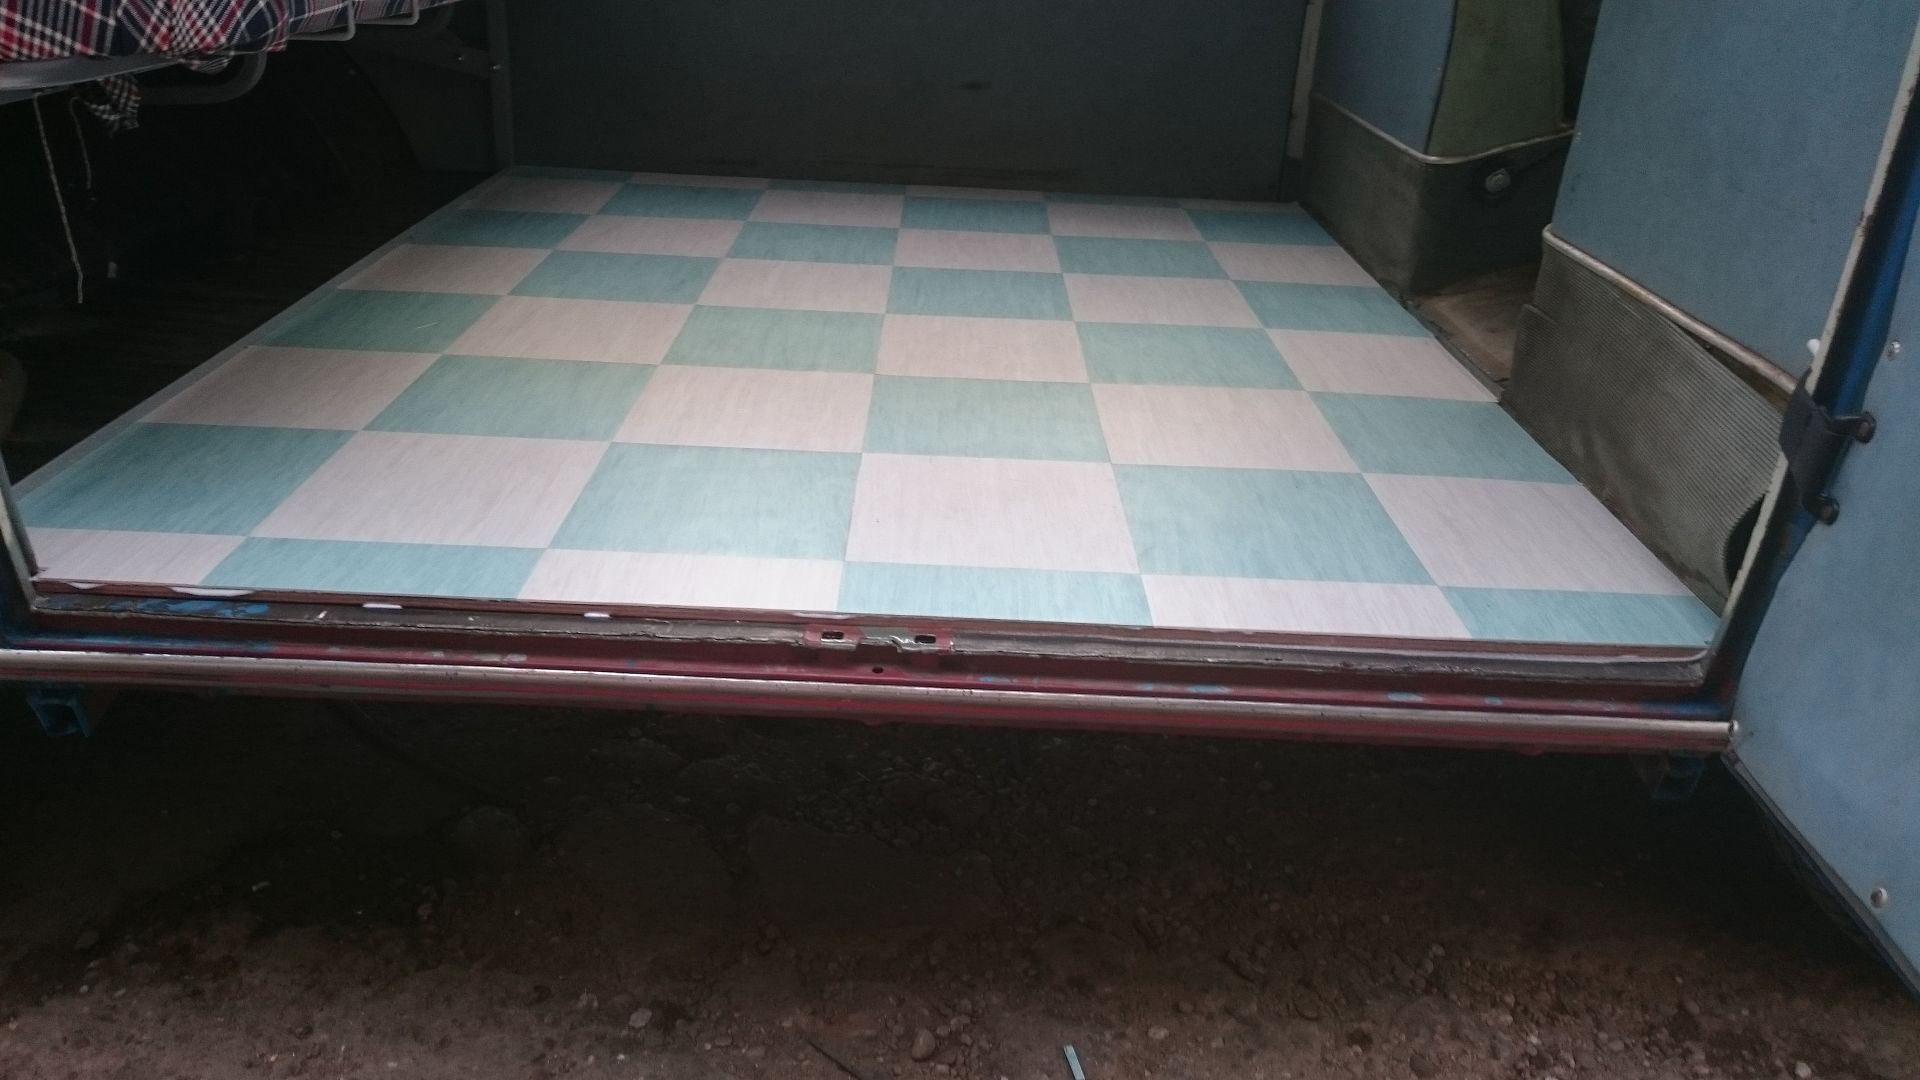
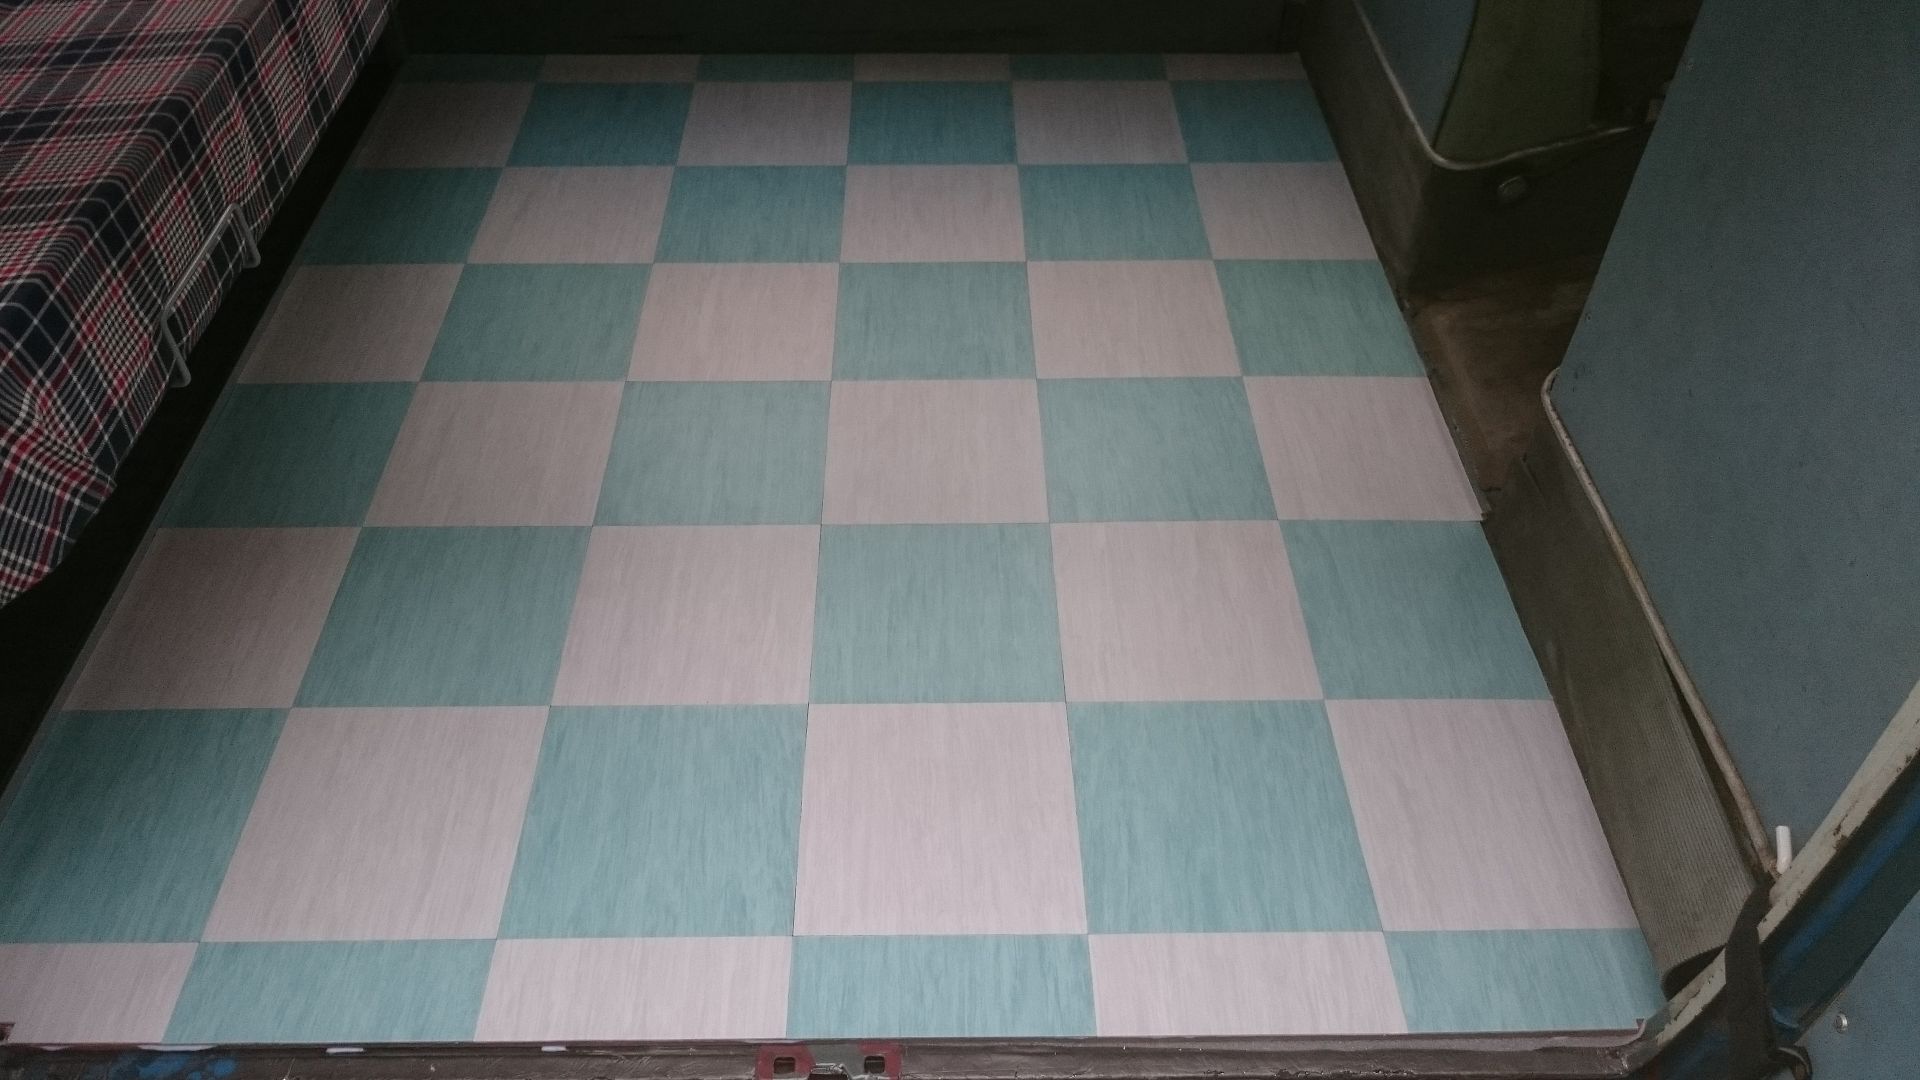
Madmatz recommend 3 coats of diamond polish so I gave it 5 as there is plenty supplied and with the warm weather it dried quick, also fitted the stainless steel door strip which is spot on for the thickness of floor I have, both ends had to be trimmed and also between the door rod holes, drilled an extra hole either end, fitted stainless self tappers which I blagged.
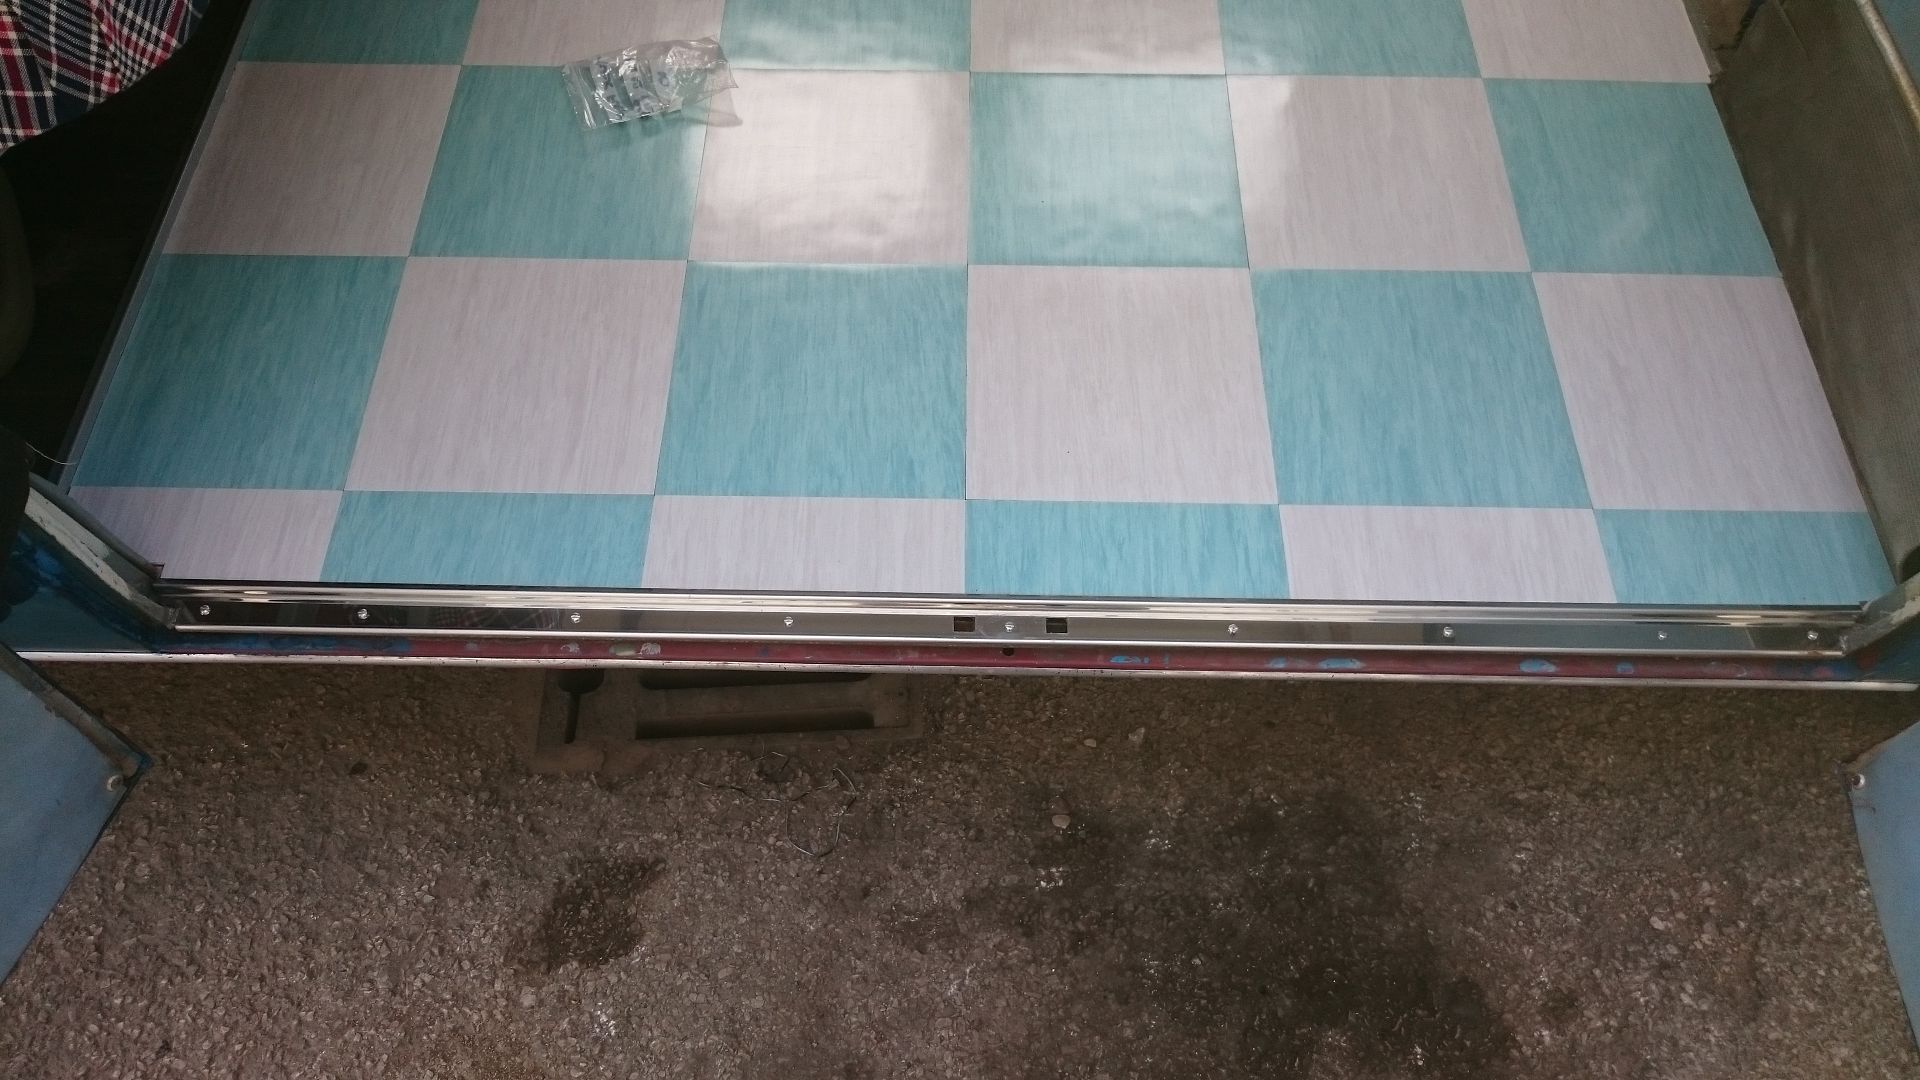
Problem now is my "temporary" rock and roll bed material does not match, oh well, some big things happening with the interior this week and I am away on holiday for a couple of weeks after.


Laters.

The previous owner had already put the flashing tape on and I wasn't about to start removing it so decided it was staying.
I used some 1.8mm closed cell underlay first, dabbed it down with a bit of tiger seal to hold it in position.
9mm ply floor, only could get hold of 8x4 sheets so the floor has a join on the far side which is a taper join and plenty of pva glue, the floor again is dabbed down on tiger seal.
A bit of weight on it and left for 24 hours.


The join was pretty good so a bit of block sanding with 80 grit to make sure the join was spot on.


So this is what I chose, the Madmatz kit and went with cool aqua and ice.

So mark the centre of the 2 longest sides and the cross in the centre of the floor.

Dry fit first to see if I was happy.

The kit comes with tiles, adhesive, spreader and polish so is pretty good.
Adhesive spread over far side of van, you have to wait for the adhesive to "tack off" which probably was best part of 30 mins and then go!!


Adhesive spread on the remainder of the floor, wait another 20 or so minutes.

Starting the cutting in around the edges, this is the time consuming bit, measure twice, cut once! The gap was nearly a full tile but not quite!!


Job done!!


Madmatz recommend 3 coats of diamond polish so I gave it 5 as there is plenty supplied and with the warm weather it dried quick, also fitted the stainless steel door strip which is spot on for the thickness of floor I have, both ends had to be trimmed and also between the door rod holes, drilled an extra hole either end, fitted stainless self tappers which I blagged.

Problem now is my "temporary" rock and roll bed material does not match, oh well, some big things happening with the interior this week and I am away on holiday for a couple of weeks after.

Laters.
dustysplit

SSVC Member
Posts: 160
Joined: Fri Jun 21, 2013 8:47 pm
Re: "OH NO" 66 13 WINDOW DELUXE GROTBOX!!
by dustysplit » Tue Aug 11, 2015 5:37 pm
dustysplit

SSVC Member
Posts: 160
Joined: Fri Jun 21, 2013 8:47 pm
Re: "OH NO" 66 13 WINDOW DELUXE GROTBOX!!
by type21f » Tue Aug 11, 2015 5:54 pm
Excellent...Love the flooring really looks nice!
Great refresh of this lovely bus (Not resto...not pimp...but refresh!)
Lovely...enjoy!
Great refresh of this lovely bus (Not resto...not pimp...but refresh!)
Lovely...enjoy!
type21f

SSVC Member
Posts: 10385
Joined: Tue May 29, 2007 12:55 pm
Re: "OH NO" 66 13 WINDOW DELUXE GROTBOX!!
by dustysplit » Tue Aug 11, 2015 9:25 pm
type21f wrote:Excellent...Love the flooring really looks nice!
Great refresh of this lovely bus (Not resto...not pimp...but refresh!)
Lovely...enjoy!
Thanks bud, use, abuse and love
dustysplit

SSVC Member
Posts: 160
Joined: Fri Jun 21, 2013 8:47 pm
Re: "OH NO" 66 13 WINDOW DELUXE GROTBOX!!
by markp » Tue Mar 08, 2016 10:32 pm
Long time no chat
So you doing Ninove again this year ?? in the split this time ?
X2 buses hu
you posh git
Chat soon
Mark
So you doing Ninove again this year ?? in the split this time ?
X2 buses hu
you posh git
Chat soon
Mark
markp
SSVC Member
Posts: 4690
Joined: Wed Jul 20, 2011 9:56 pm

