You are viewing the Split Screen Van Club forum archive.
The forum archive is read-only.Unfortunately in 2021 the Split Screen Van Club forum suffered a ransomware attack and lots of the forum data was lost.
What threads that have been recovered are now searchable on this site. Some threads may be incomplete and some images are still being recovered.
Forum archive search
My '67 Split Bus Resto Thread in the Philippines
Re: My '67 Split Bus Resto Thread in the Philippines
by dongkg » Mon Oct 14, 2013 5:18 am
Last Friday, we installed the engine and do some make over
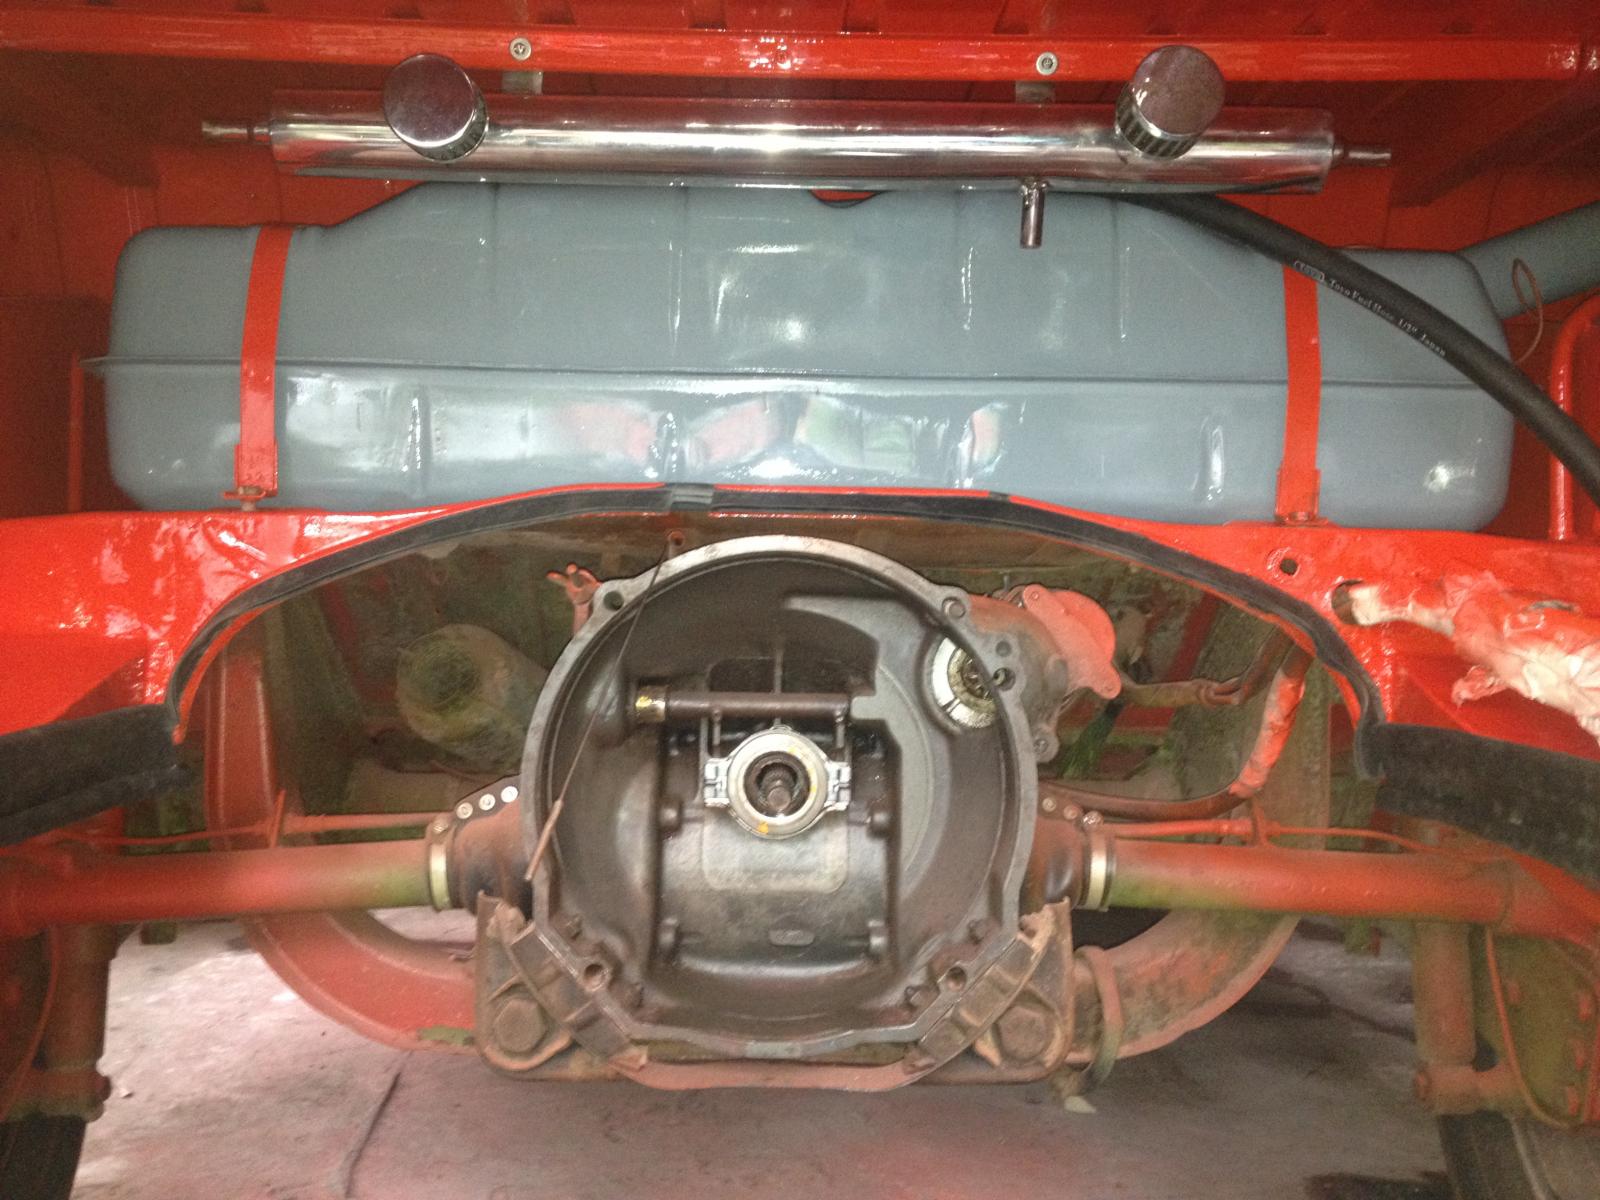
The gas tanks in place.
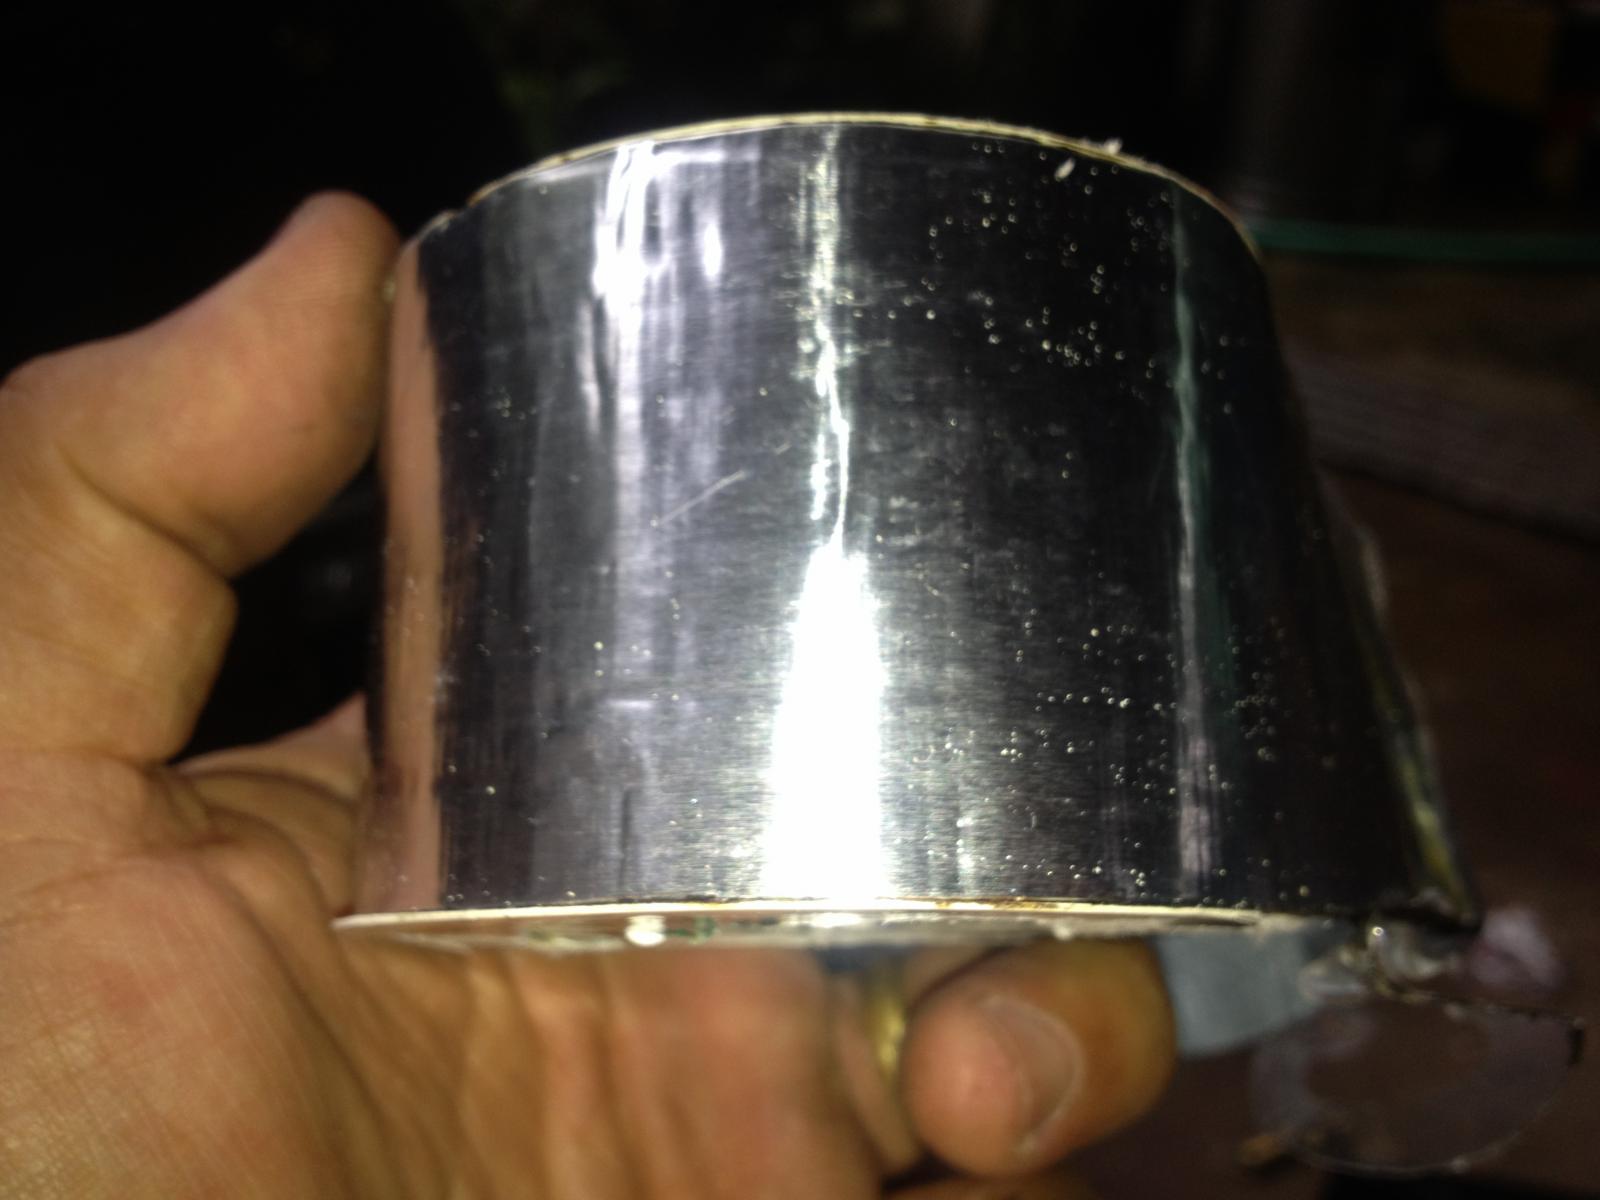
I used this heavy duty heat resistance foil tape to seal the dog house and to eliminate the possible hot air leak.
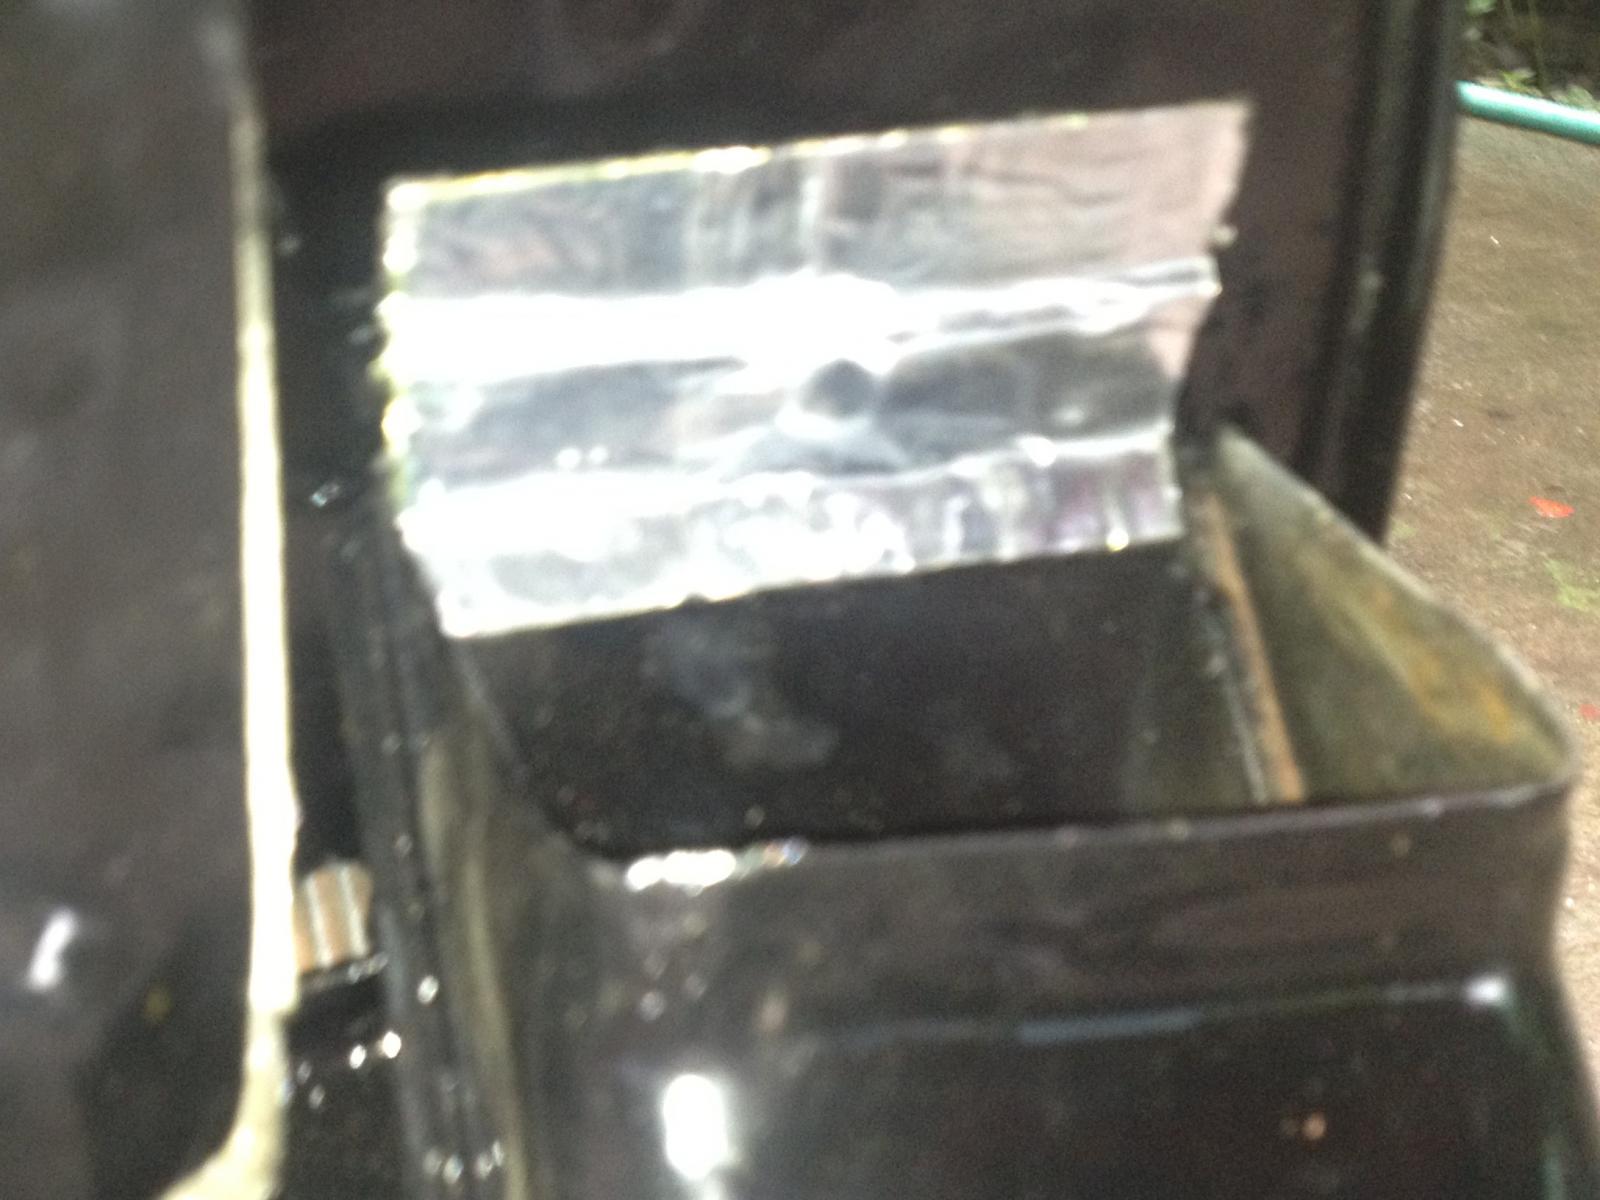
Taping the inner exhaust of the dog house.
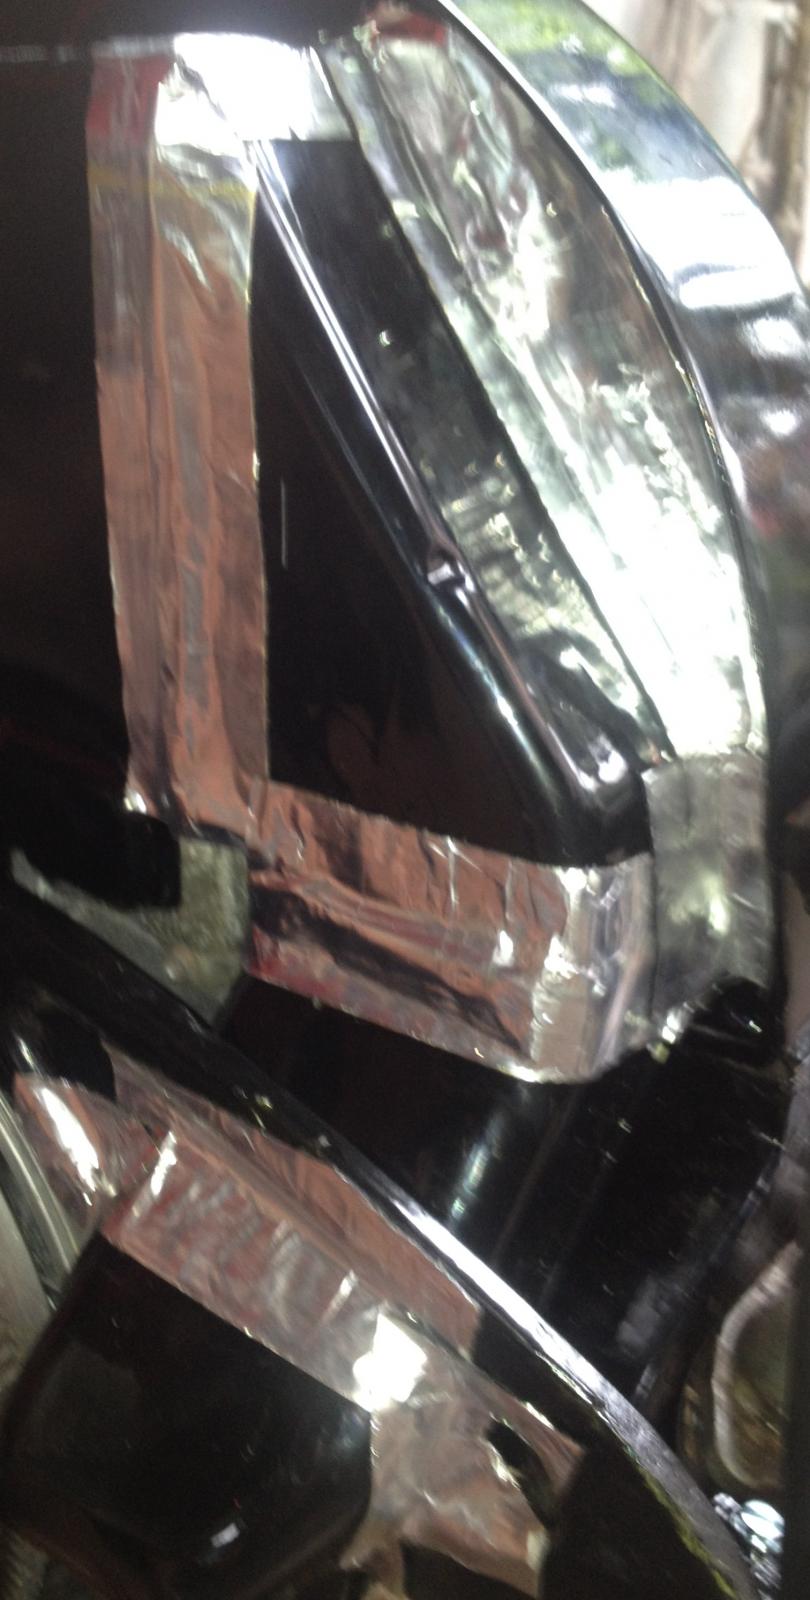
Completely sealed!
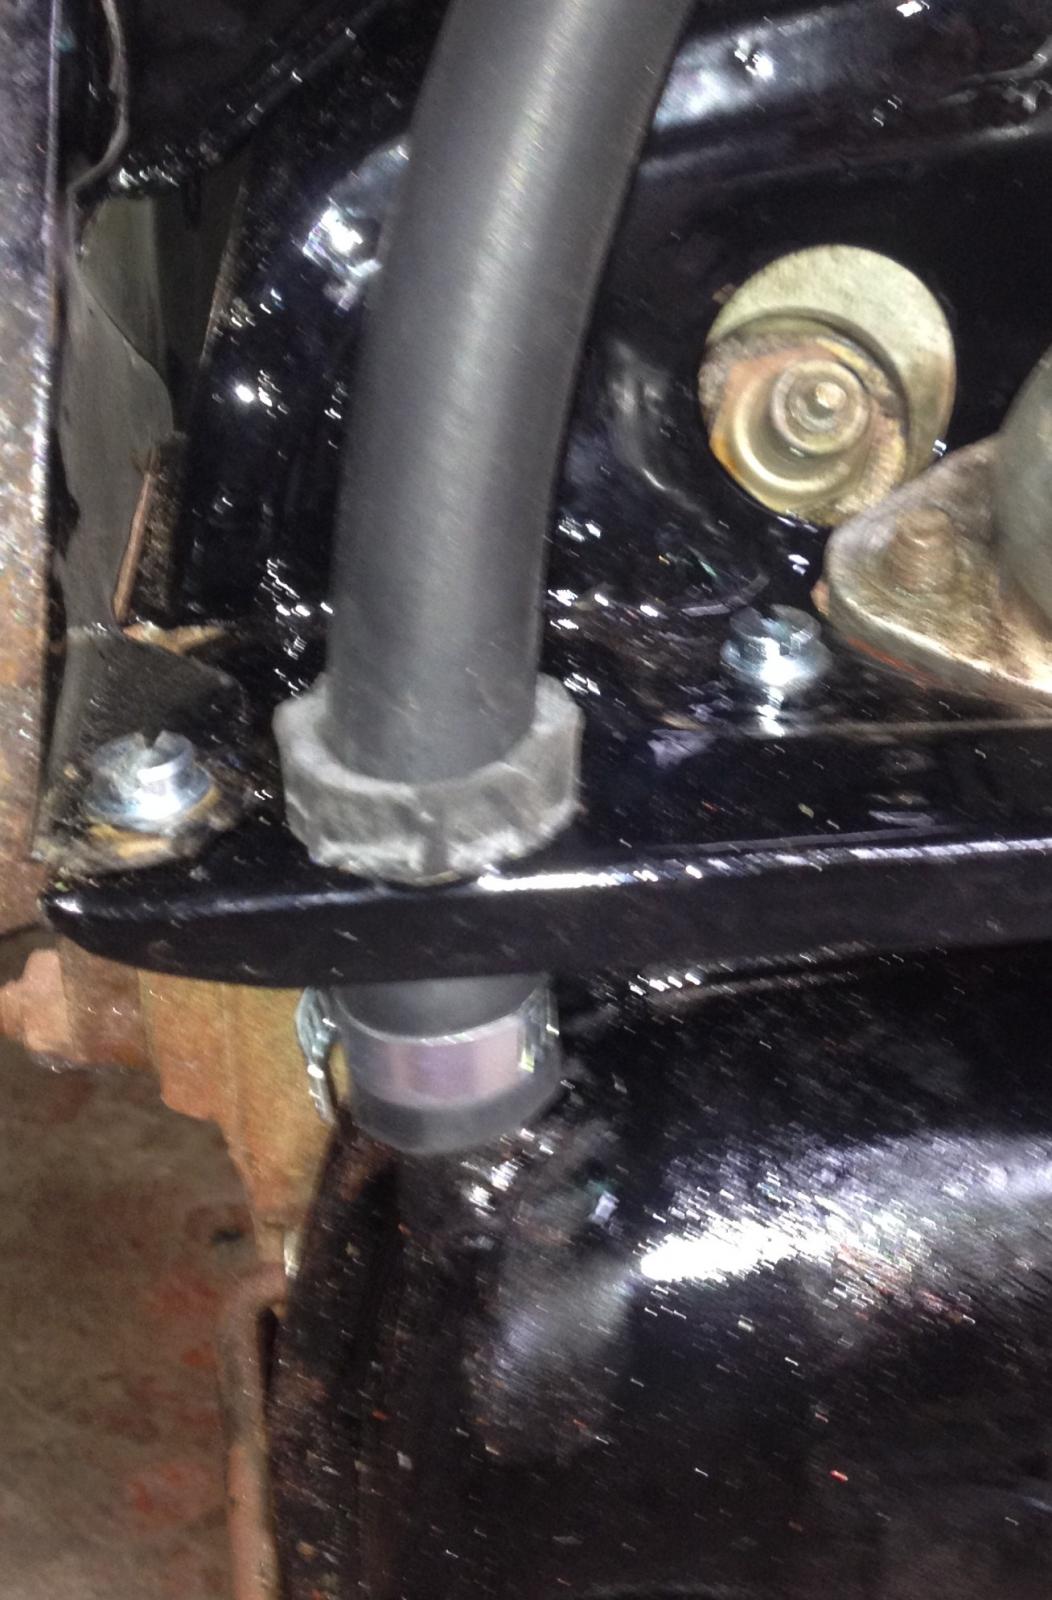
The hose routing to the breather box from the valve over.
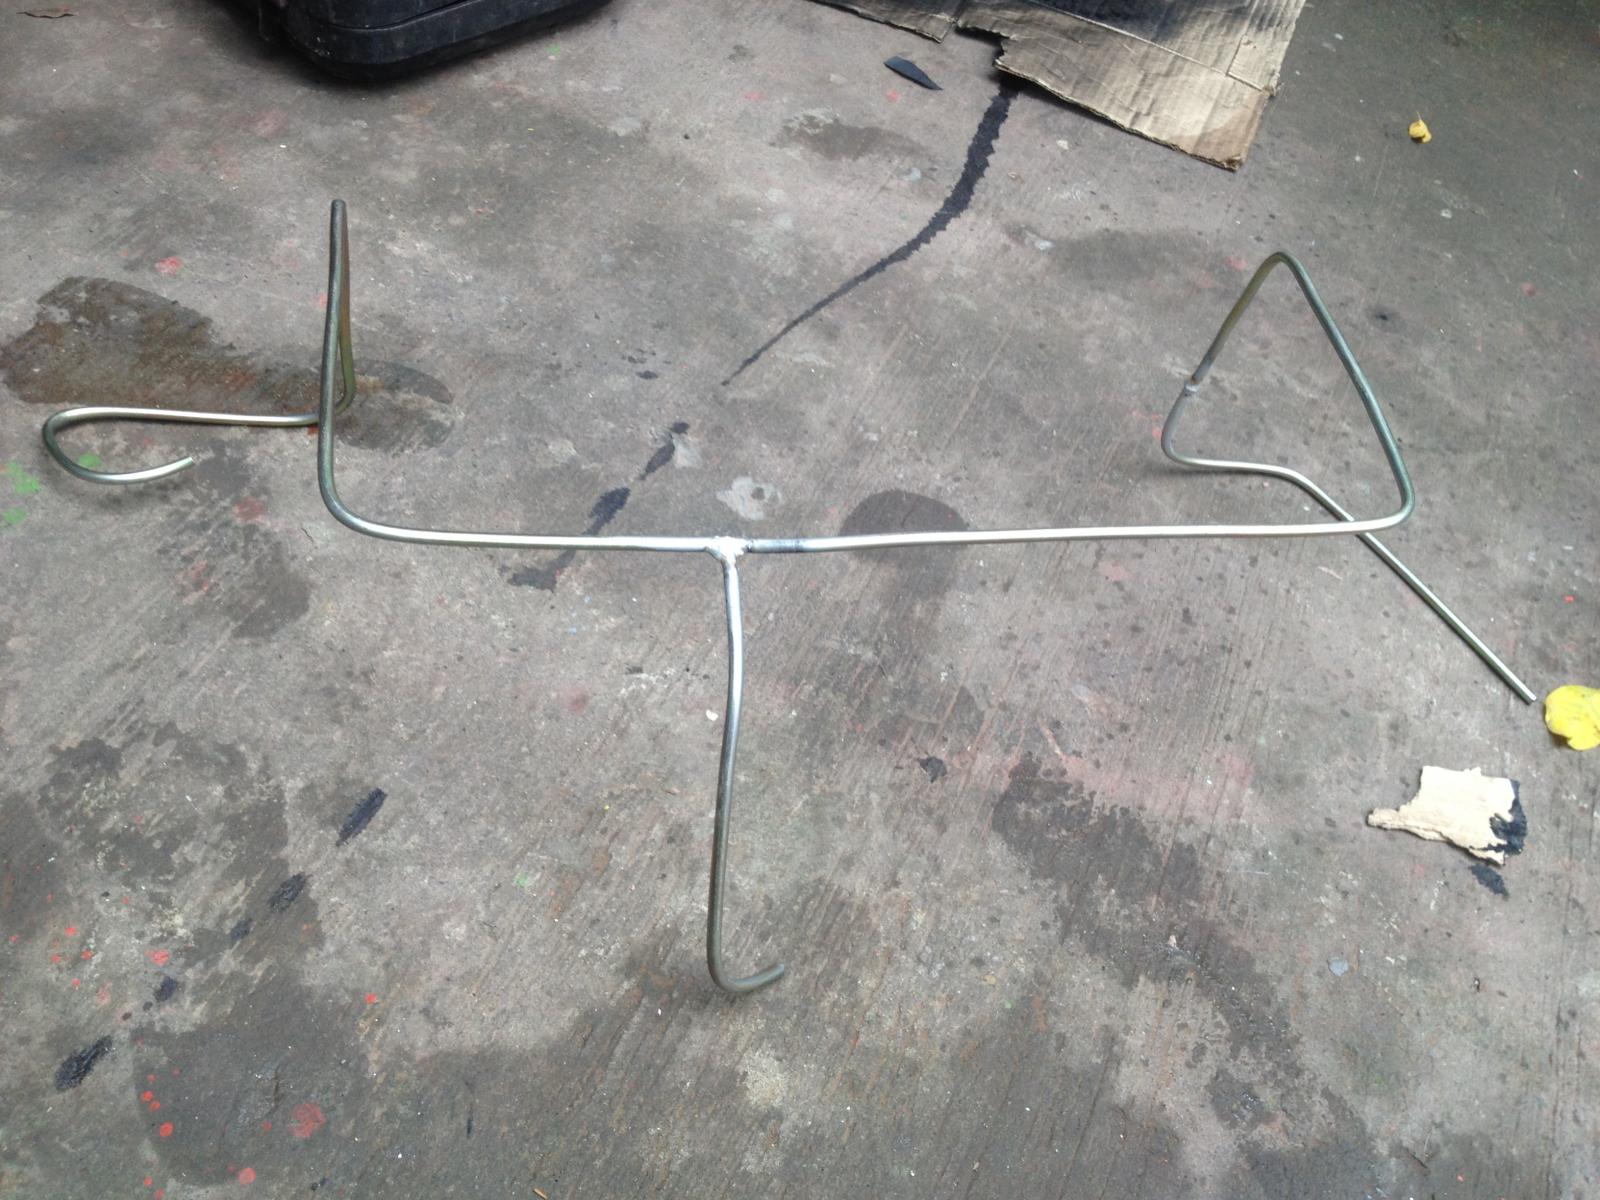
I also bought this fuel tubing and had it welded some where off center for the 34 dells.
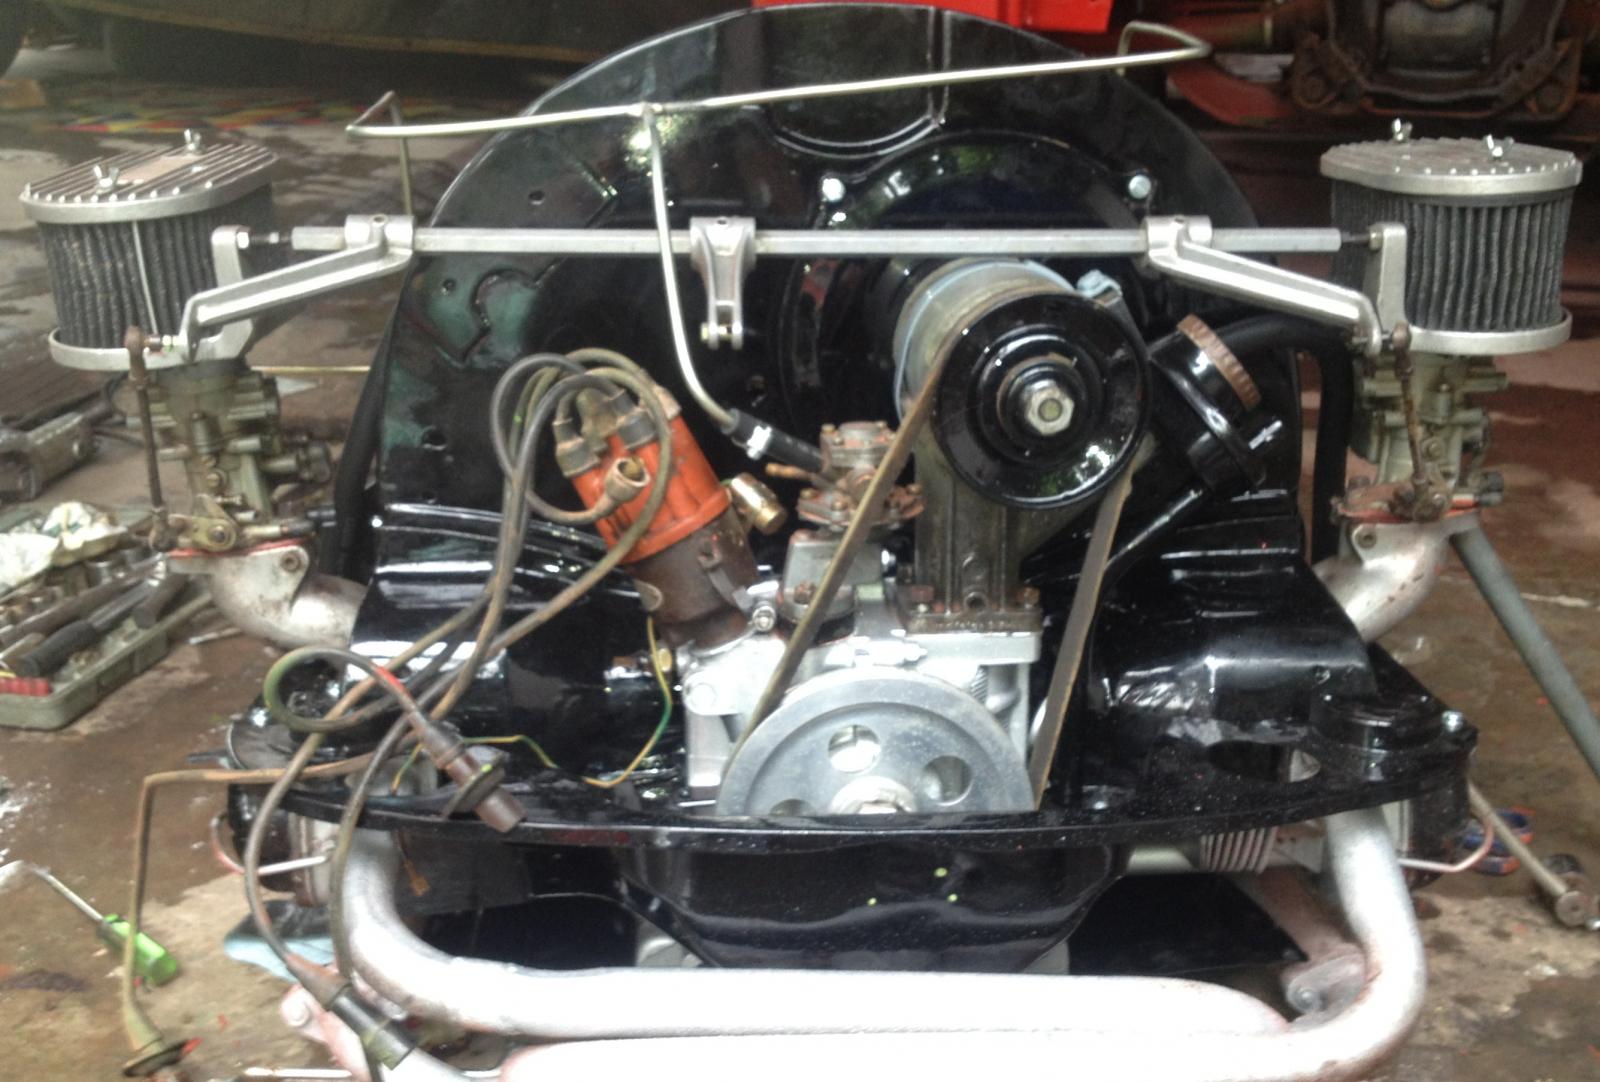
Final checking before installations. I also custom fit the fuel tubing to get that Vintage Speed Theme!
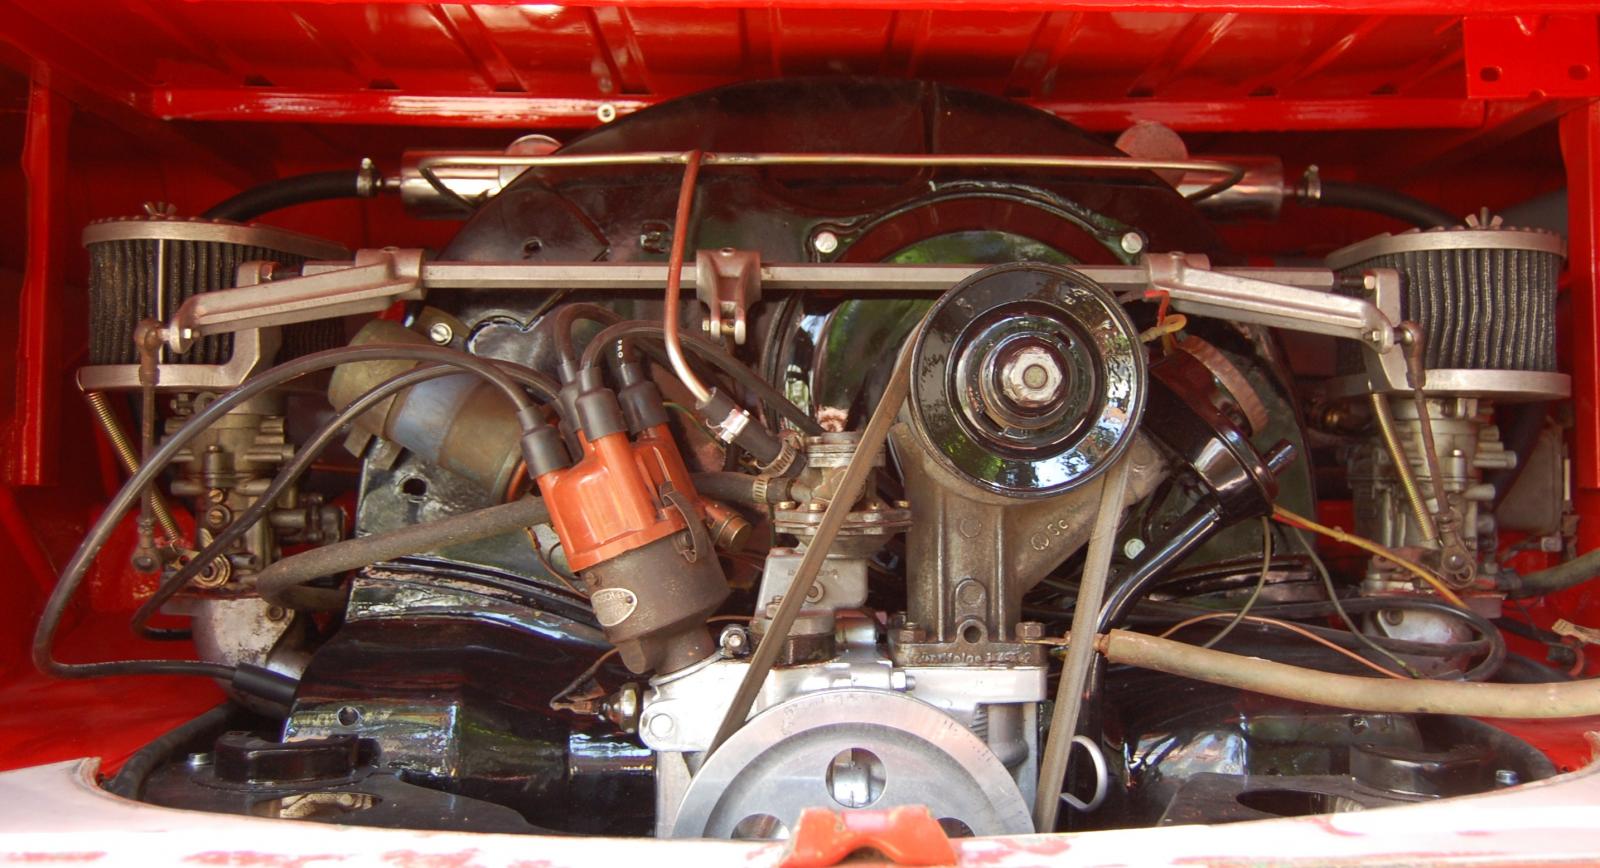
Finally, it runs cool!
FINAL PAINT
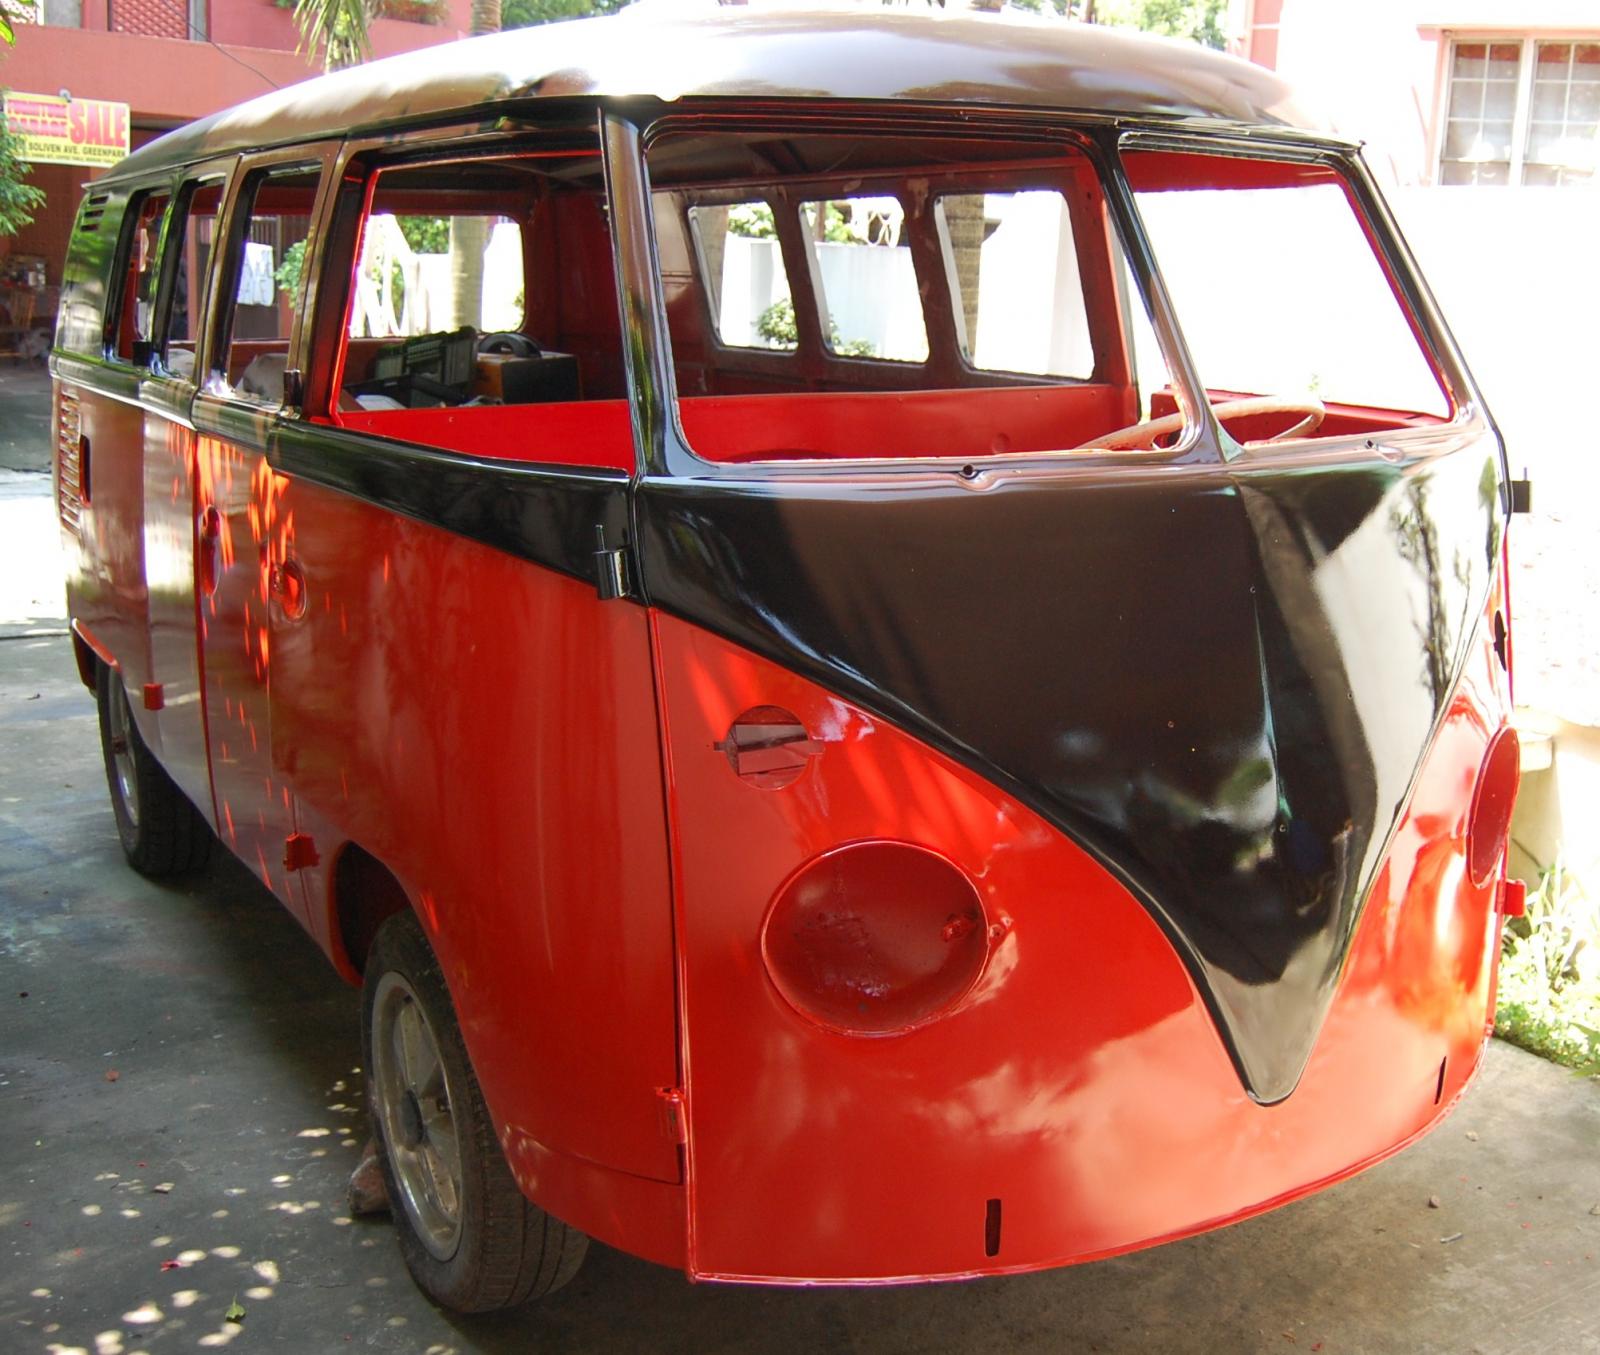
I finally applied the final top coat. I hope to get that desired gloss finish soon.

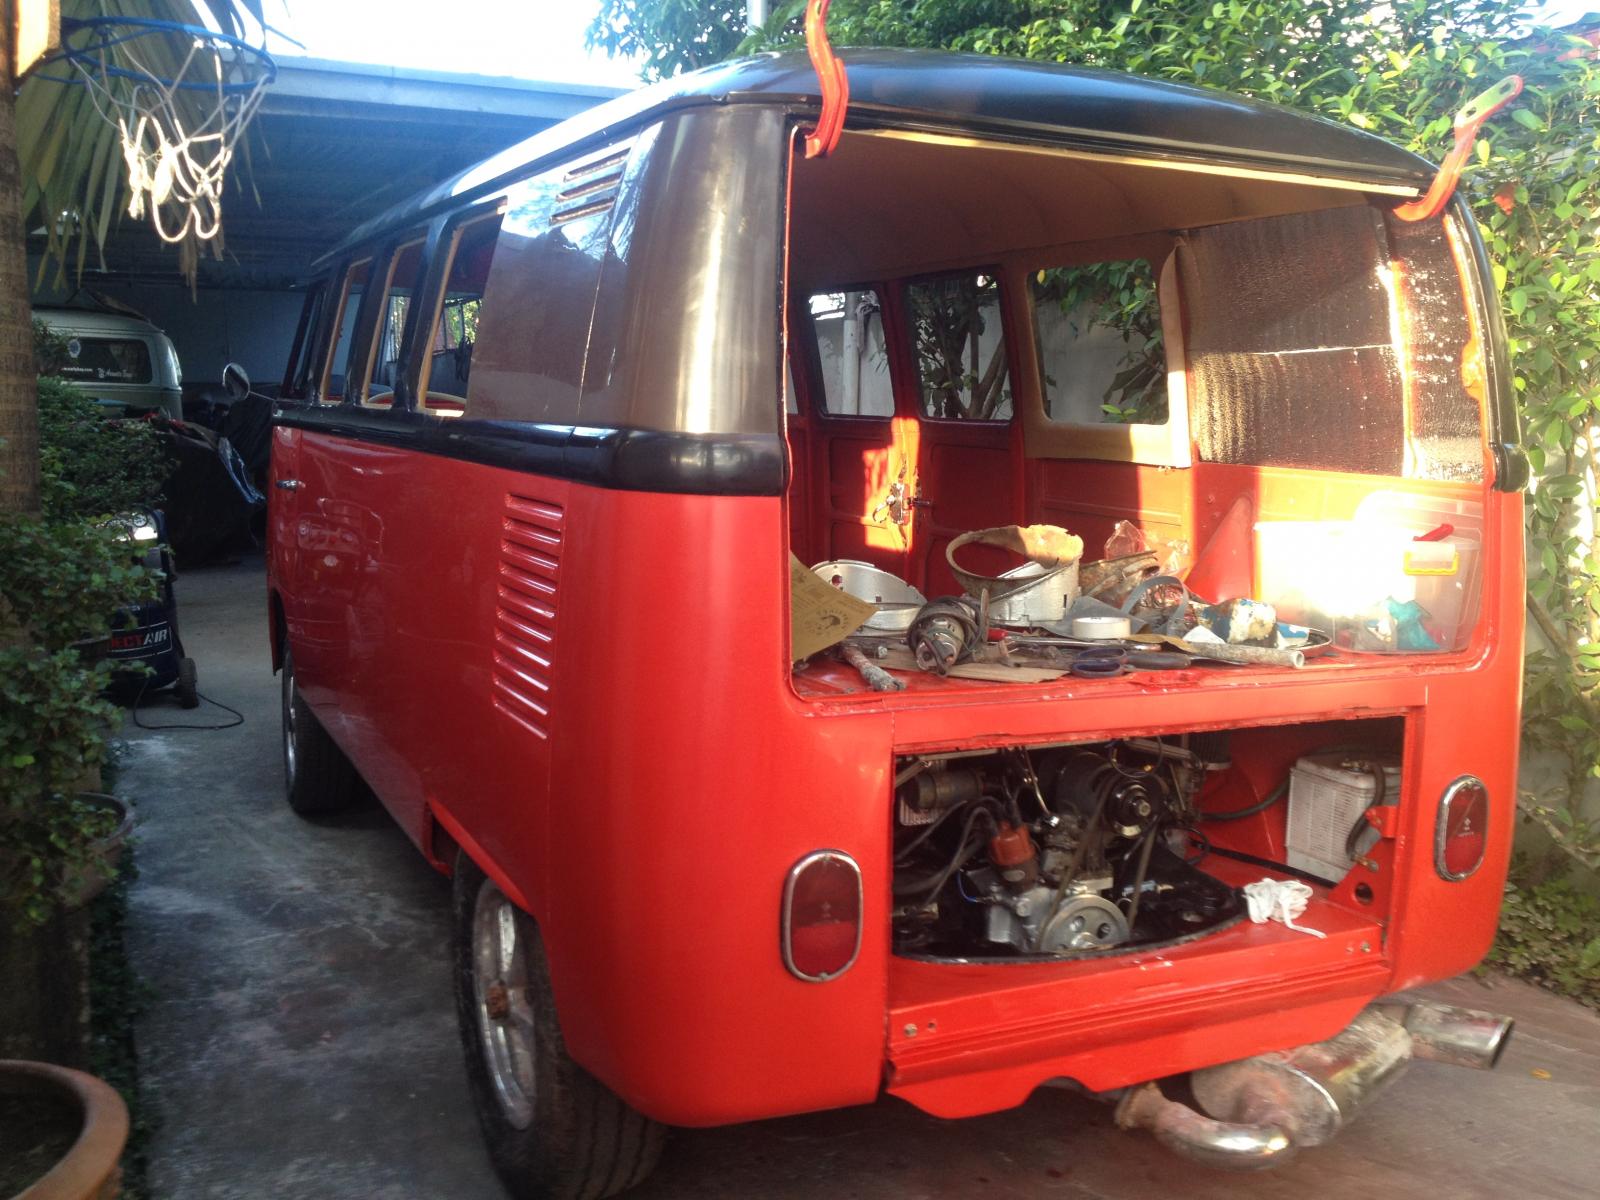
The rear shot!
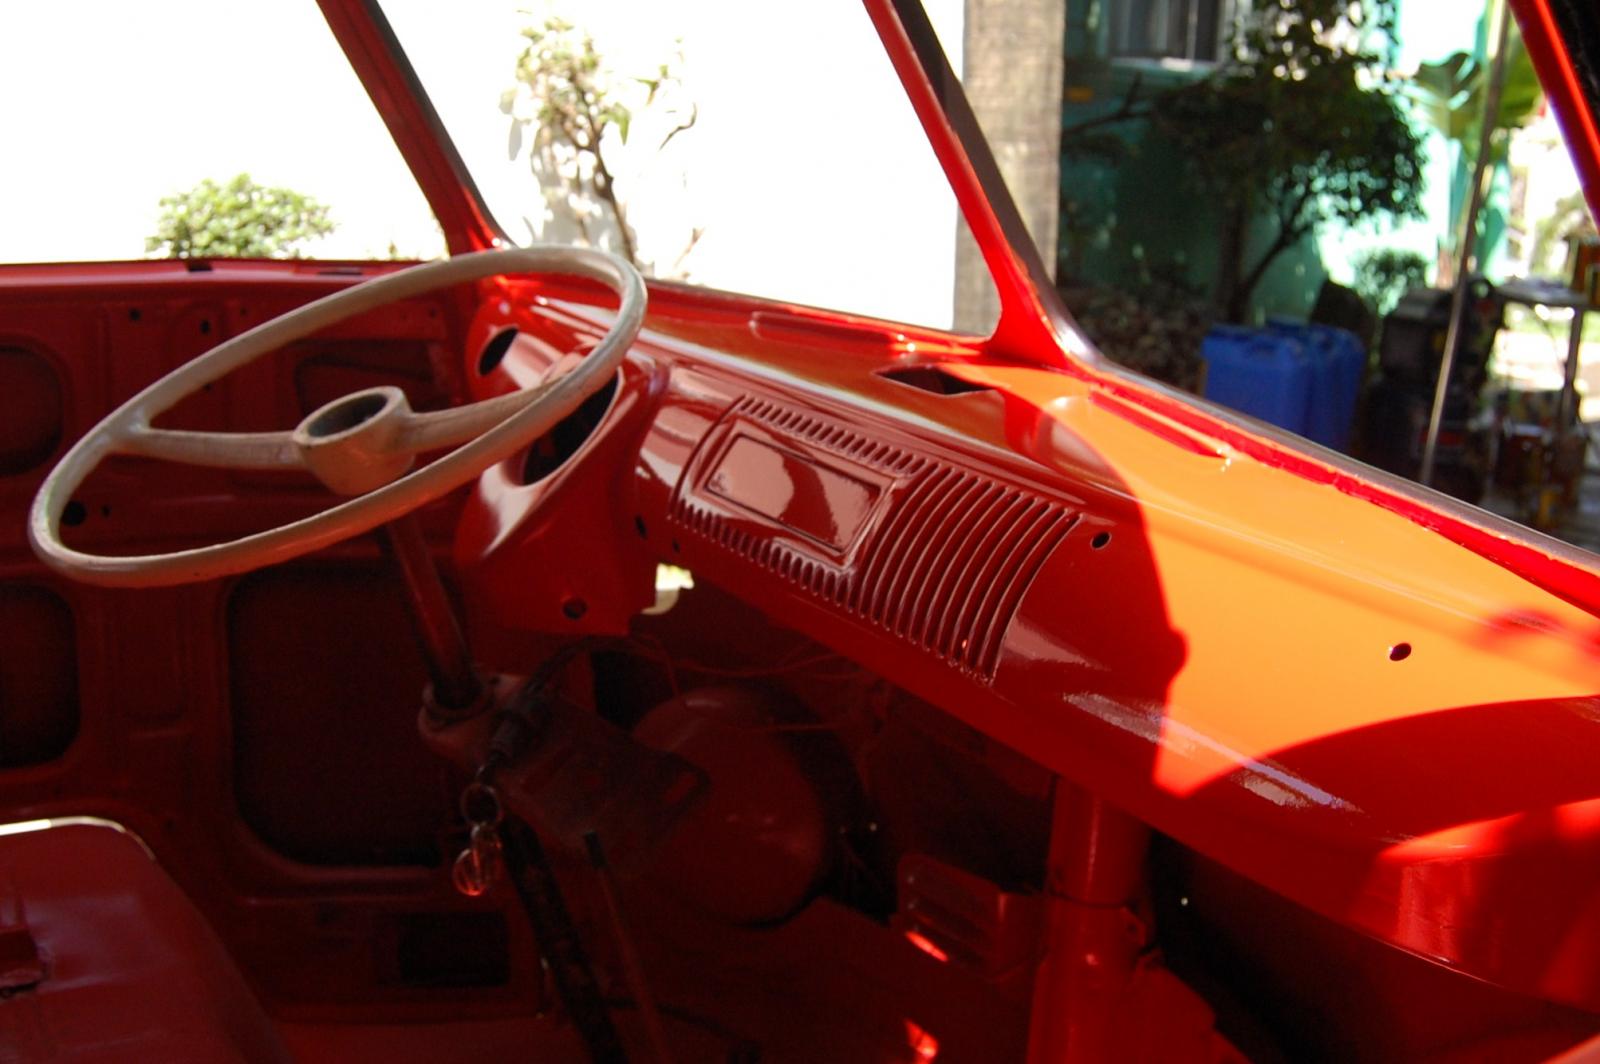
Portion of the interior.
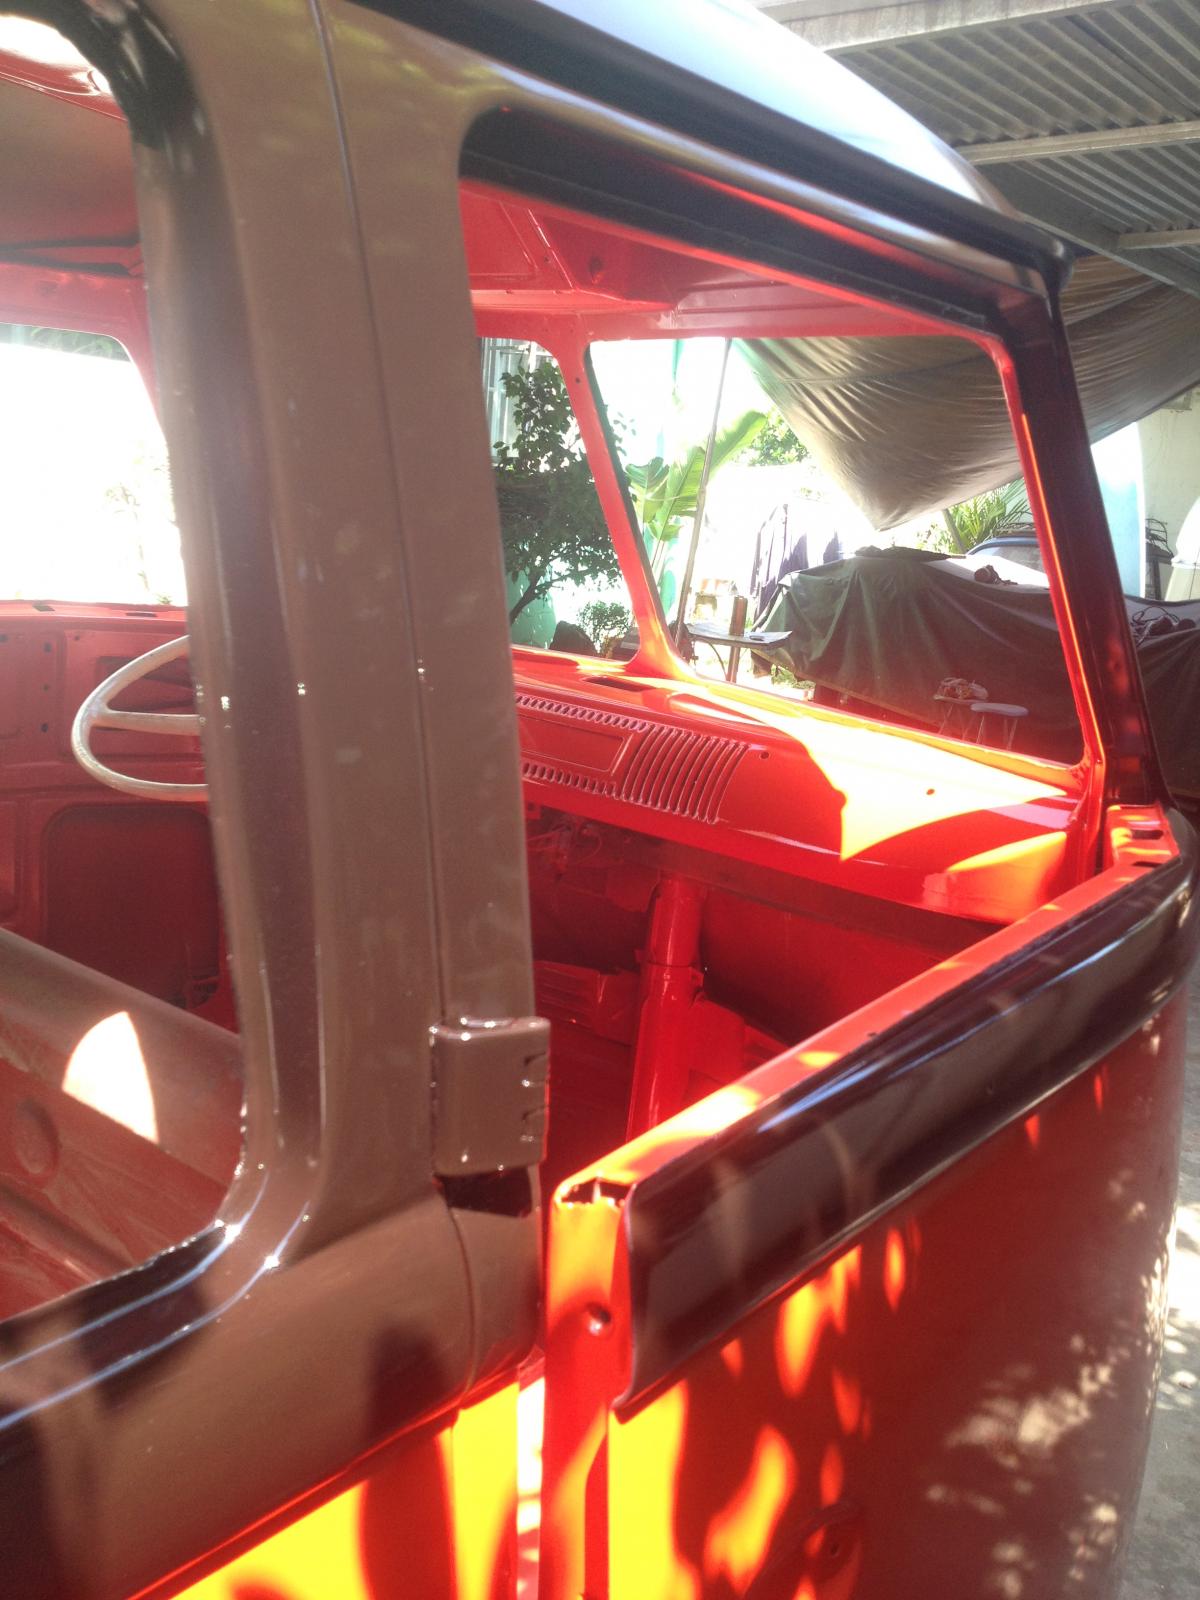
Another angle.
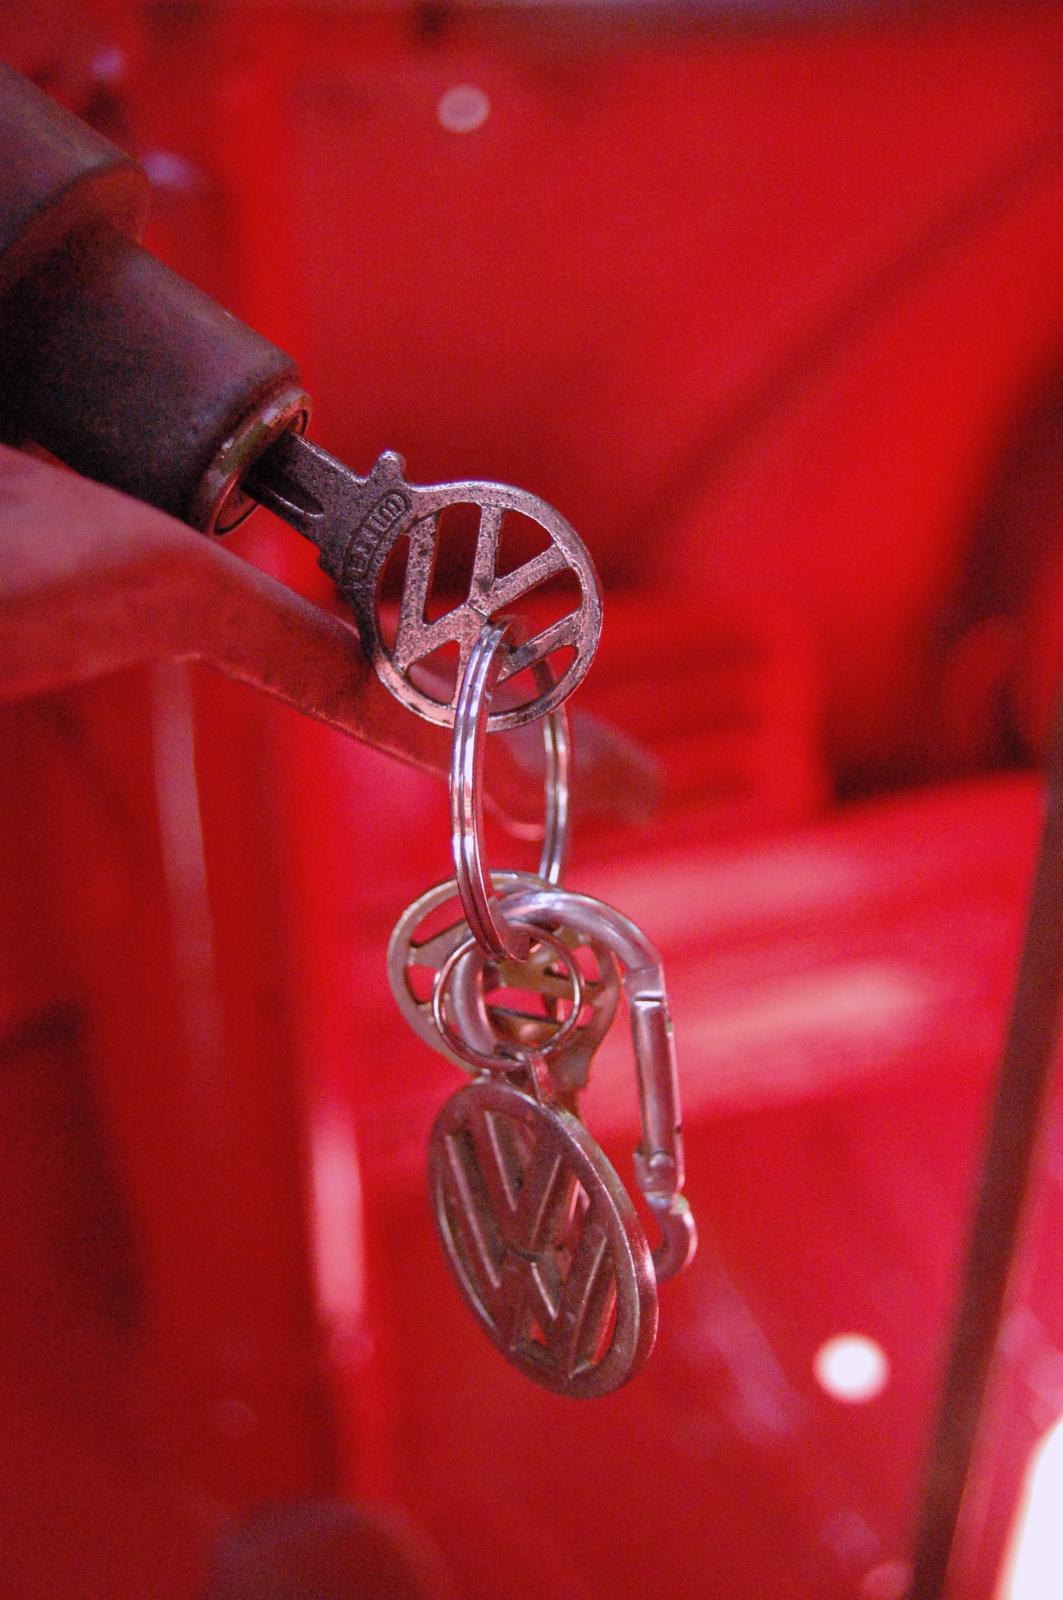
Just toying with the DSLR.

The front.

The gas tanks in place.

I used this heavy duty heat resistance foil tape to seal the dog house and to eliminate the possible hot air leak.

Taping the inner exhaust of the dog house.

Completely sealed!

The hose routing to the breather box from the valve over.

I also bought this fuel tubing and had it welded some where off center for the 34 dells.

Final checking before installations. I also custom fit the fuel tubing to get that Vintage Speed Theme!

Finally, it runs cool!
FINAL PAINT

I finally applied the final top coat. I hope to get that desired gloss finish soon.

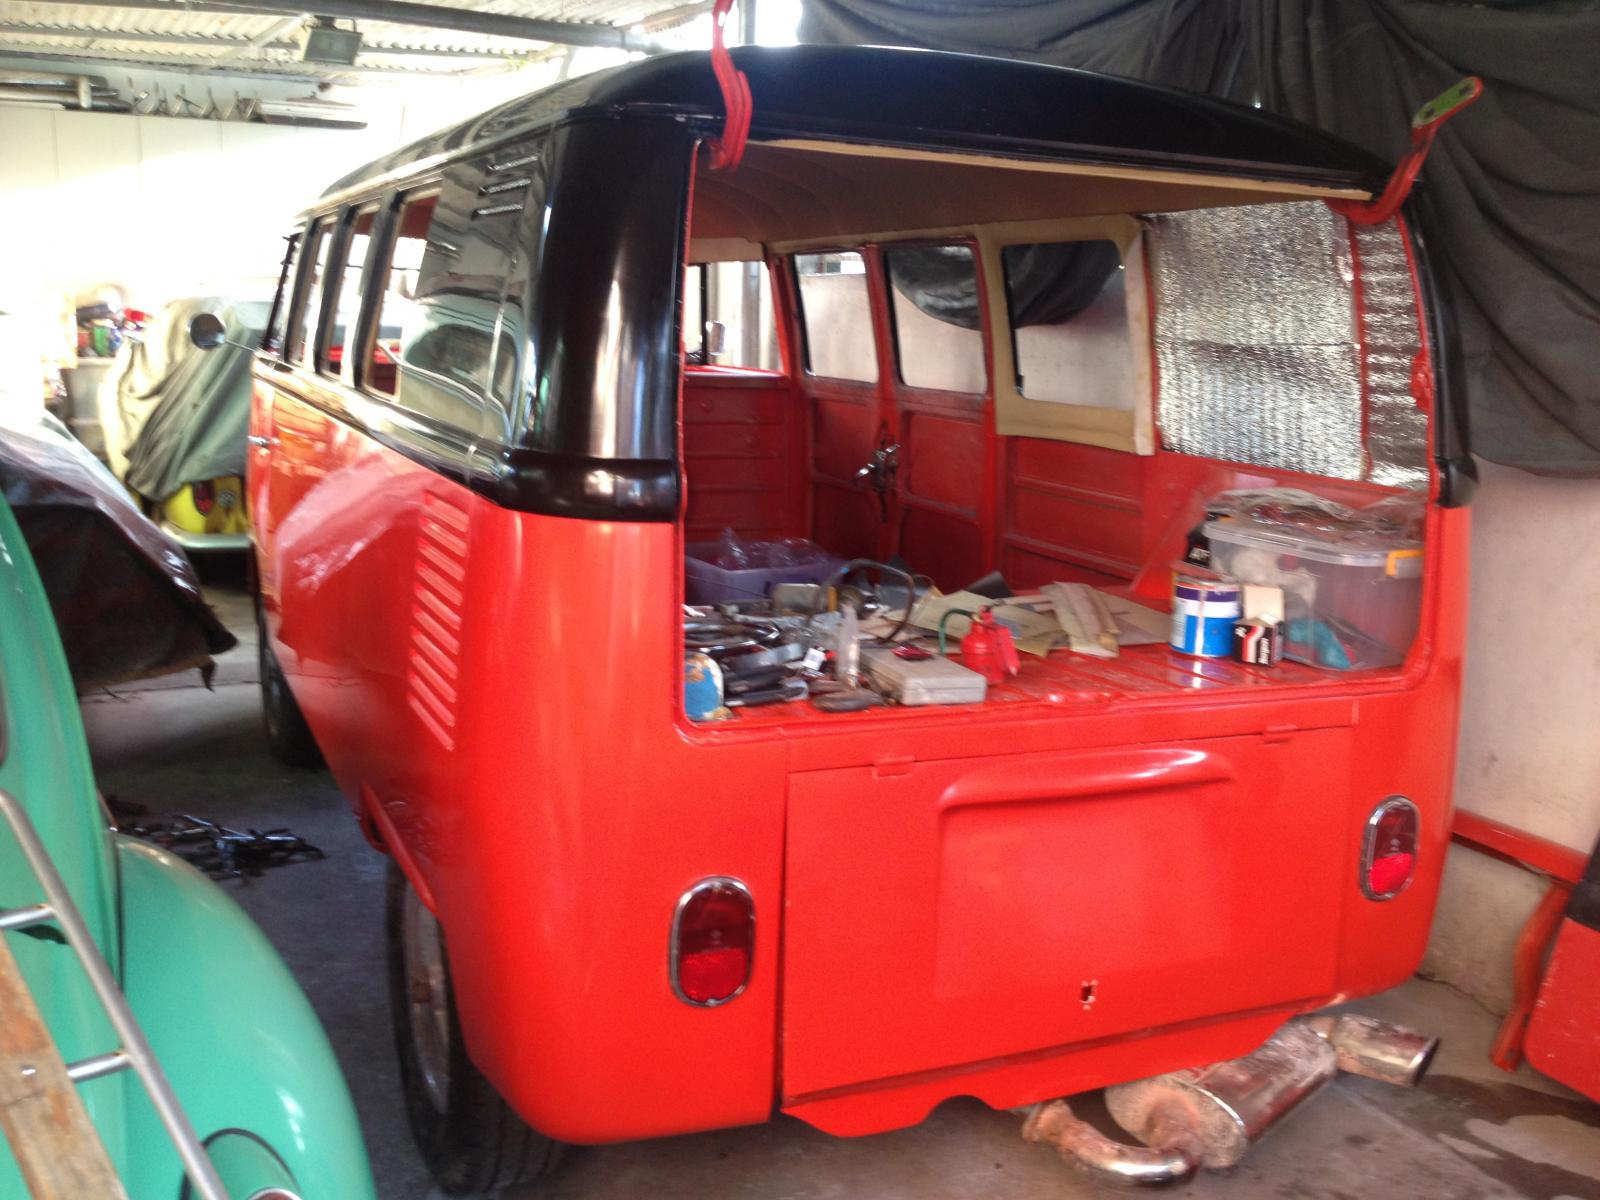
The rear shot!

Portion of the interior.

Another angle.

Just toying with the DSLR.

The front.
dongkg
Registered user
Posts: 90
Joined: Tue Jul 16, 2013 7:58 am
Re: My '67 Split Bus Resto Thread in the Philippines
by dongkg » Wed Oct 30, 2013 11:19 am
I was out on the net for quite a while, although the split bus project was always on my priority list. These are the update:
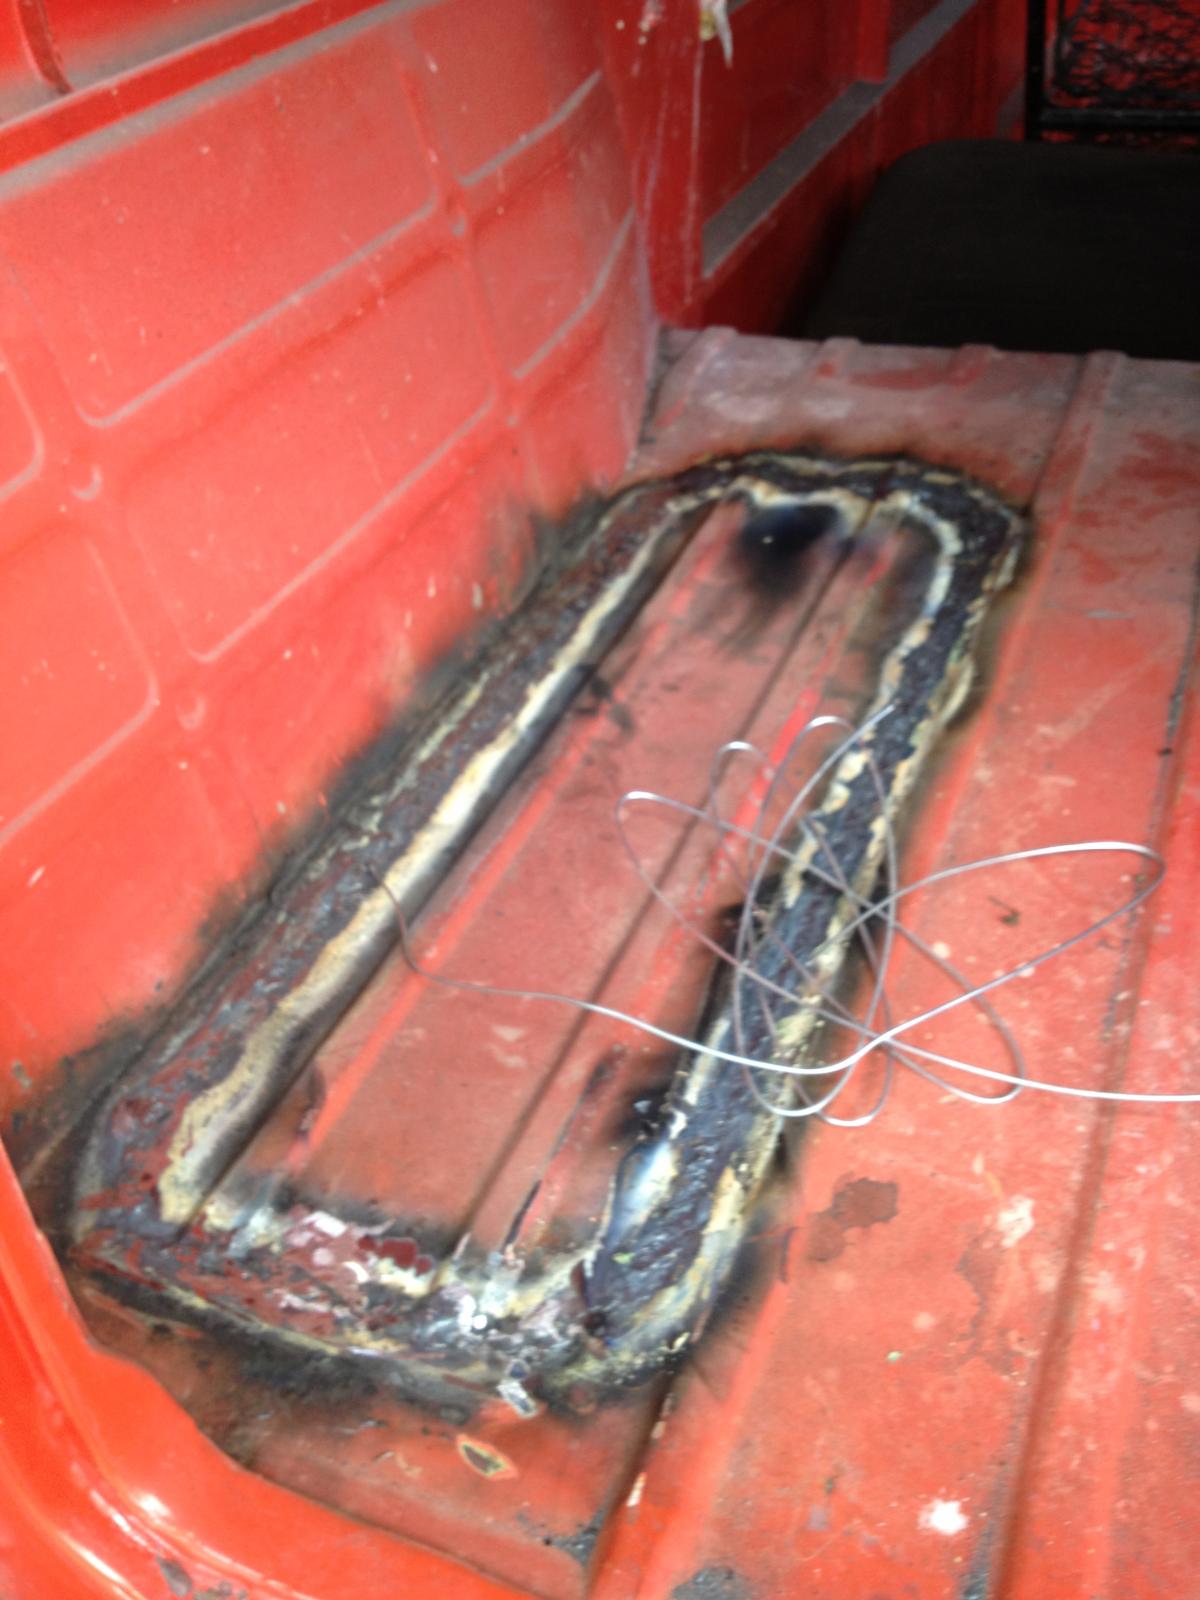
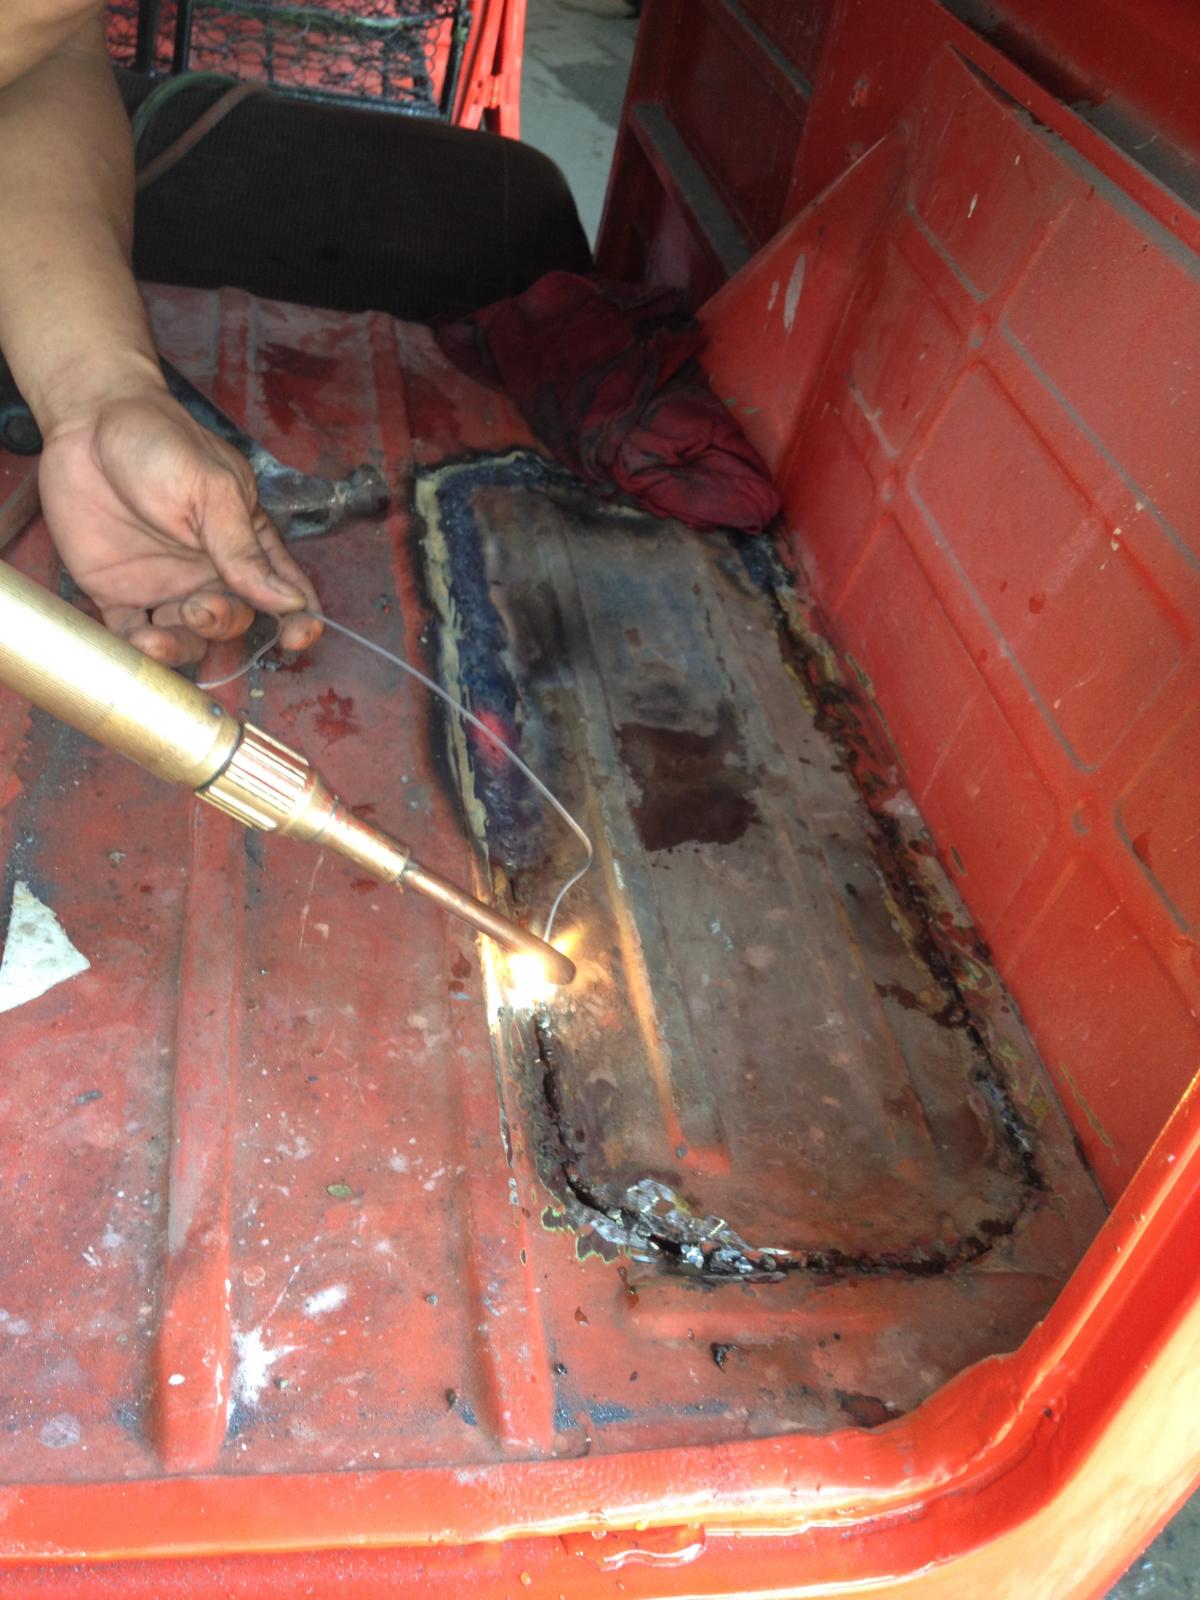
A couple of weeks back, the who unwanted hack job of the PO was finally attended to.
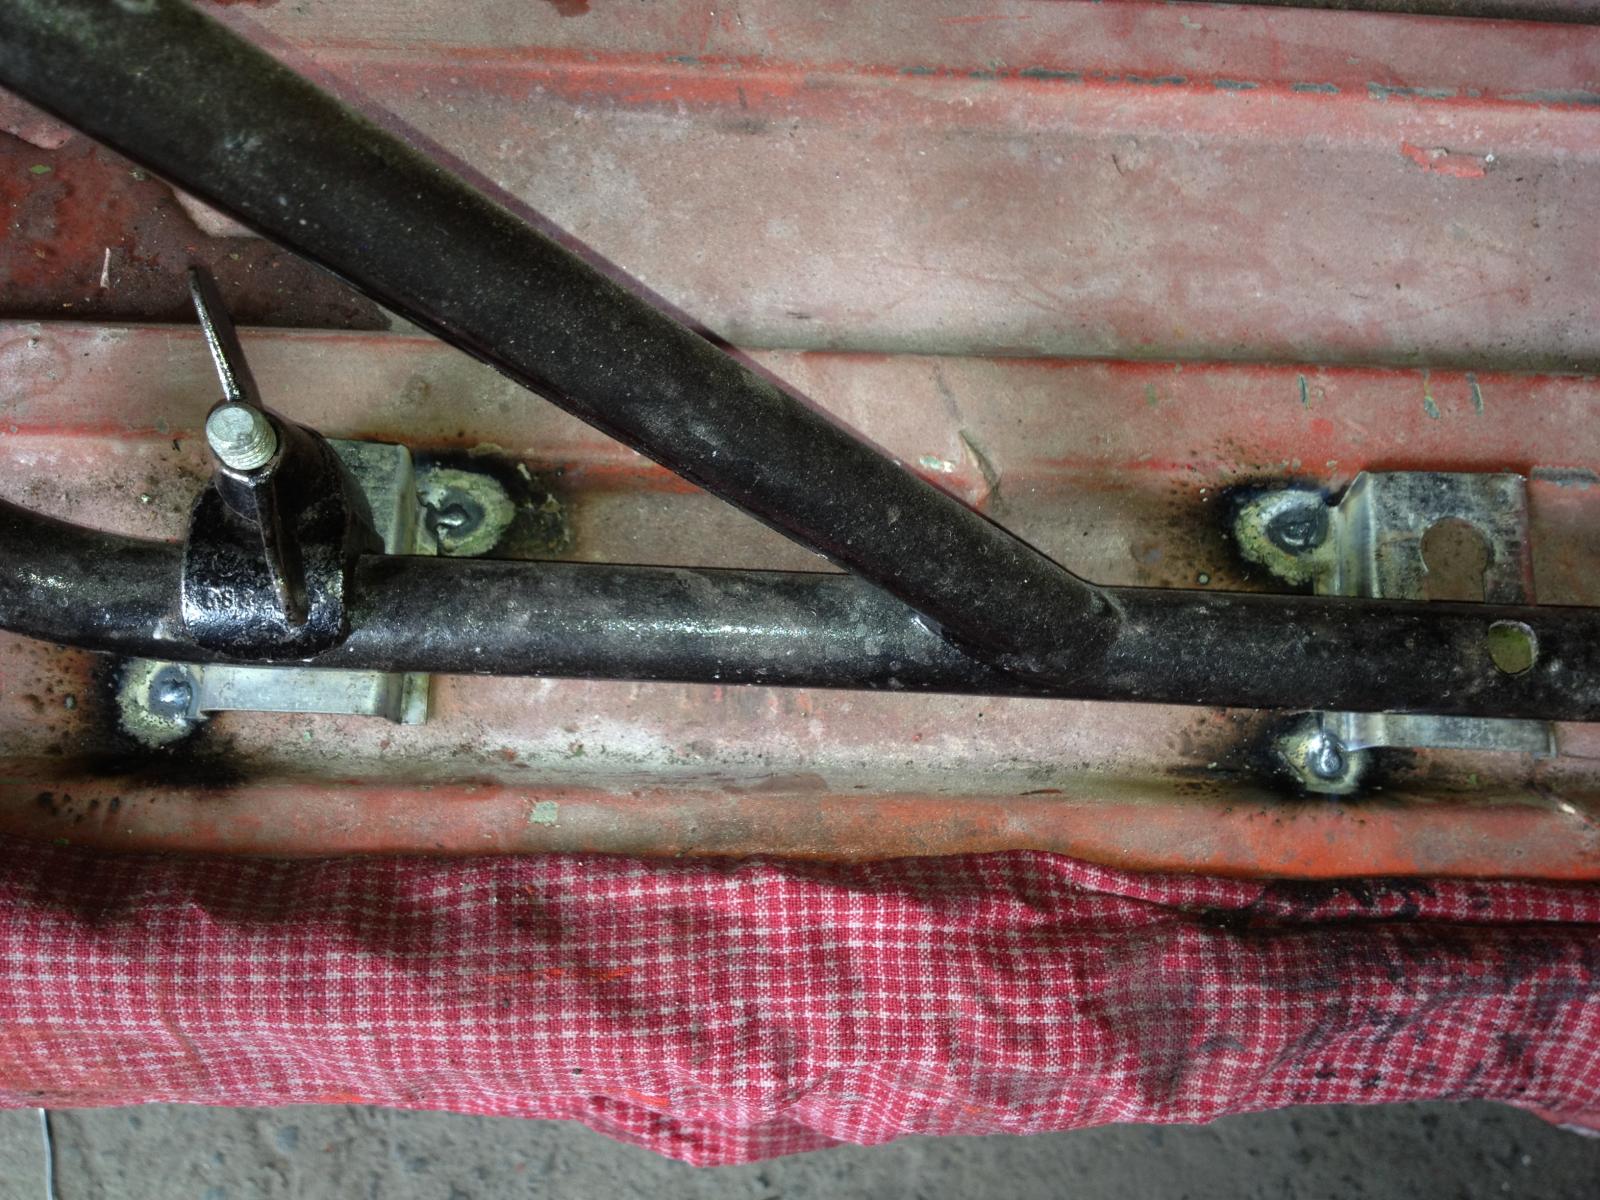
I also caused the bracket of the two seats at the back installed..
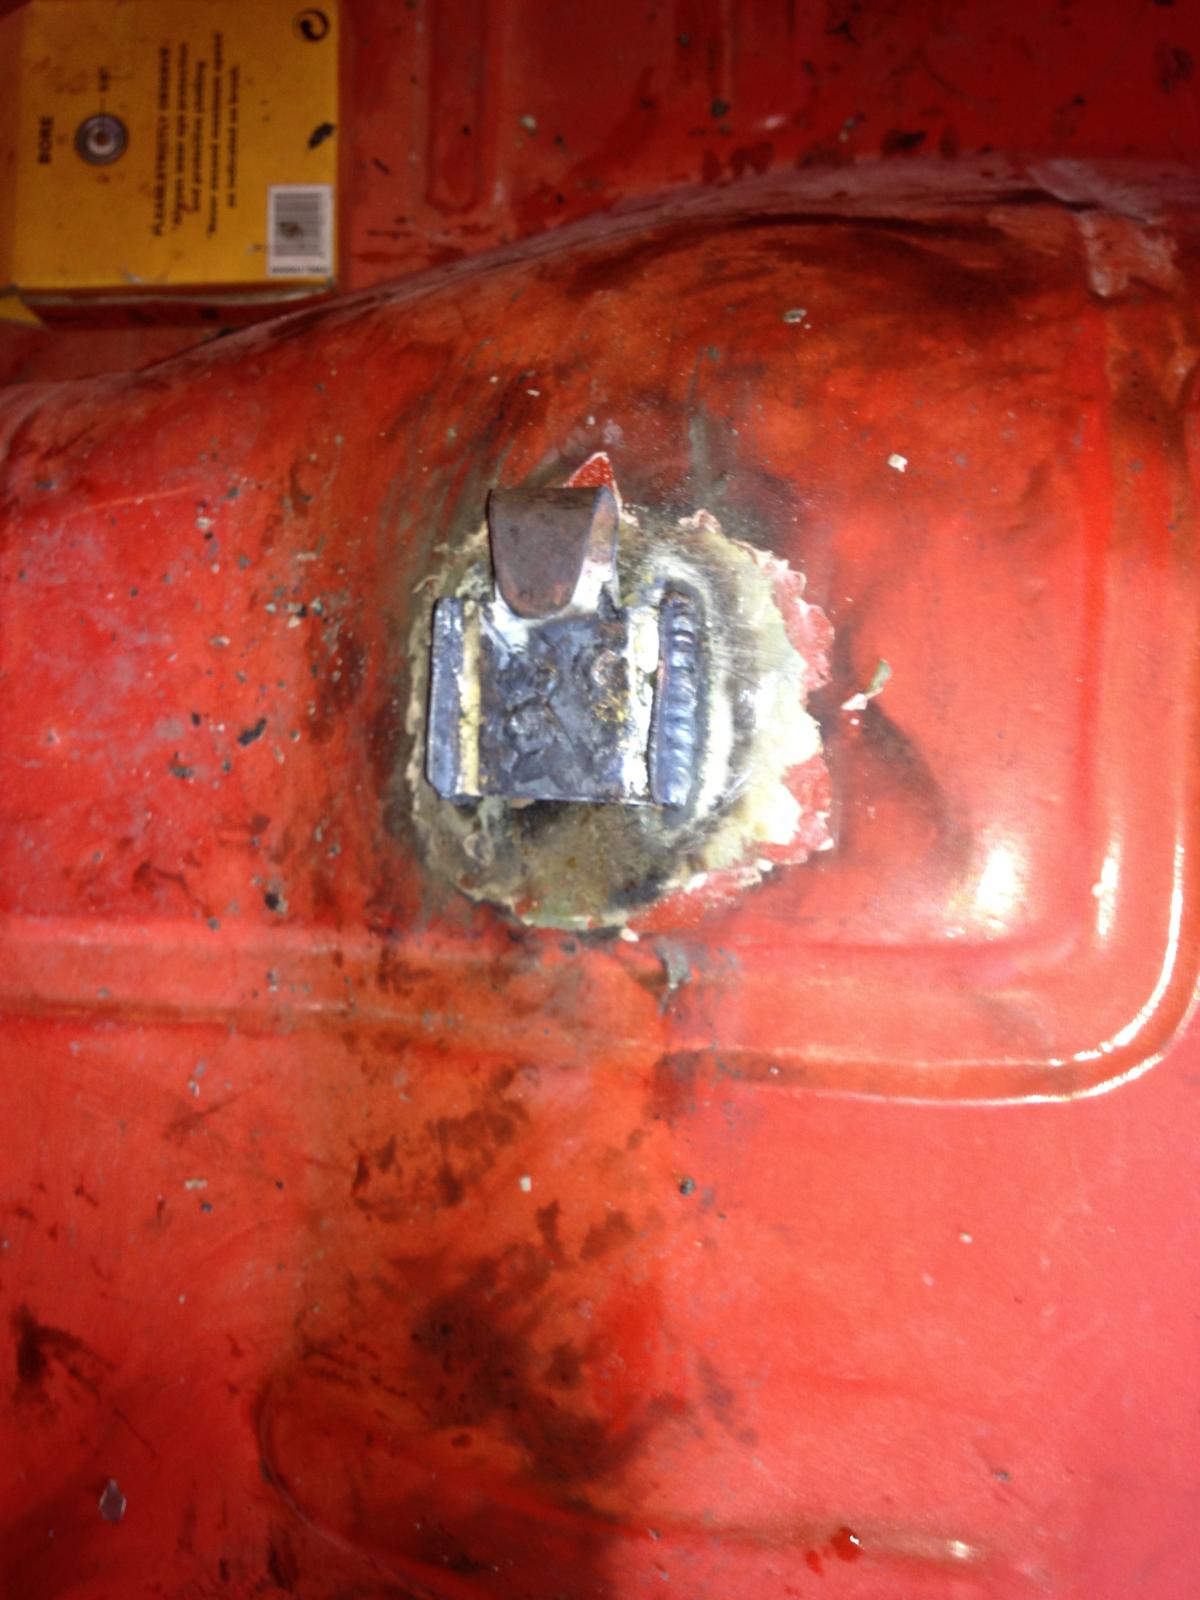
The remaining outer bracket for the passenger seat in front was also installed.
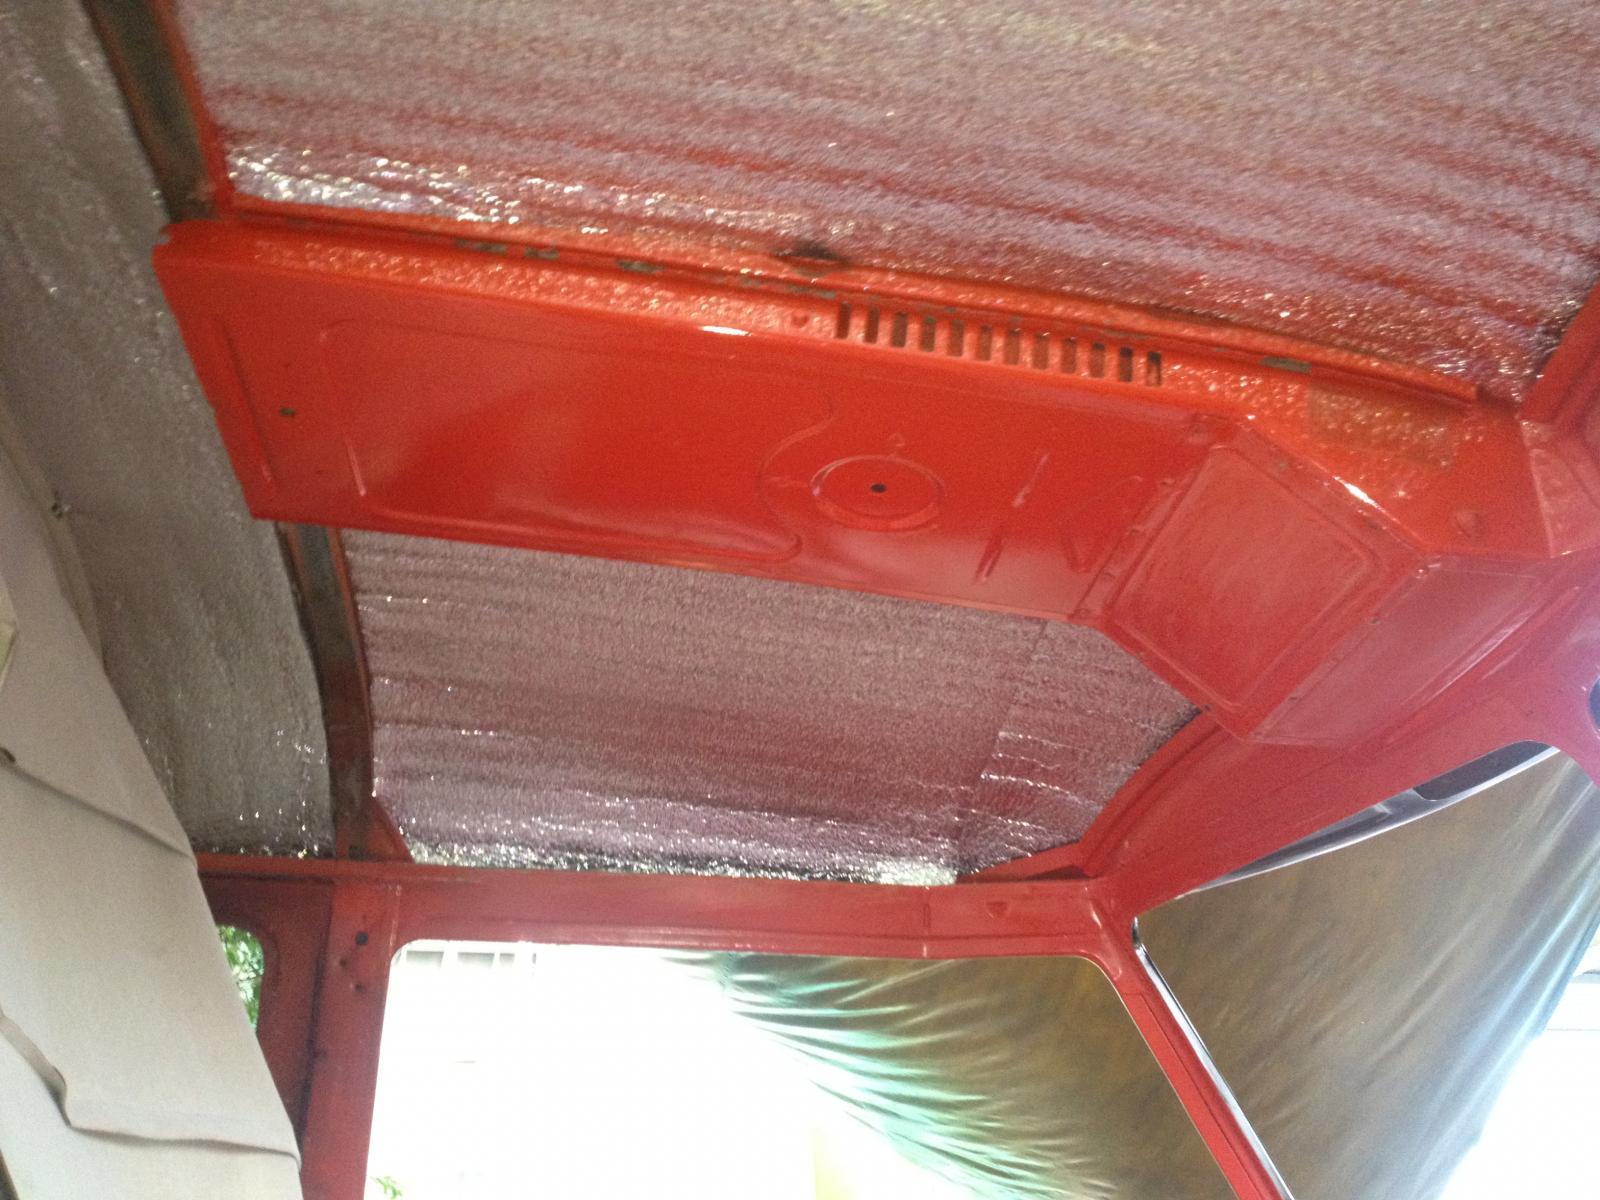
The ceiling was installed too.
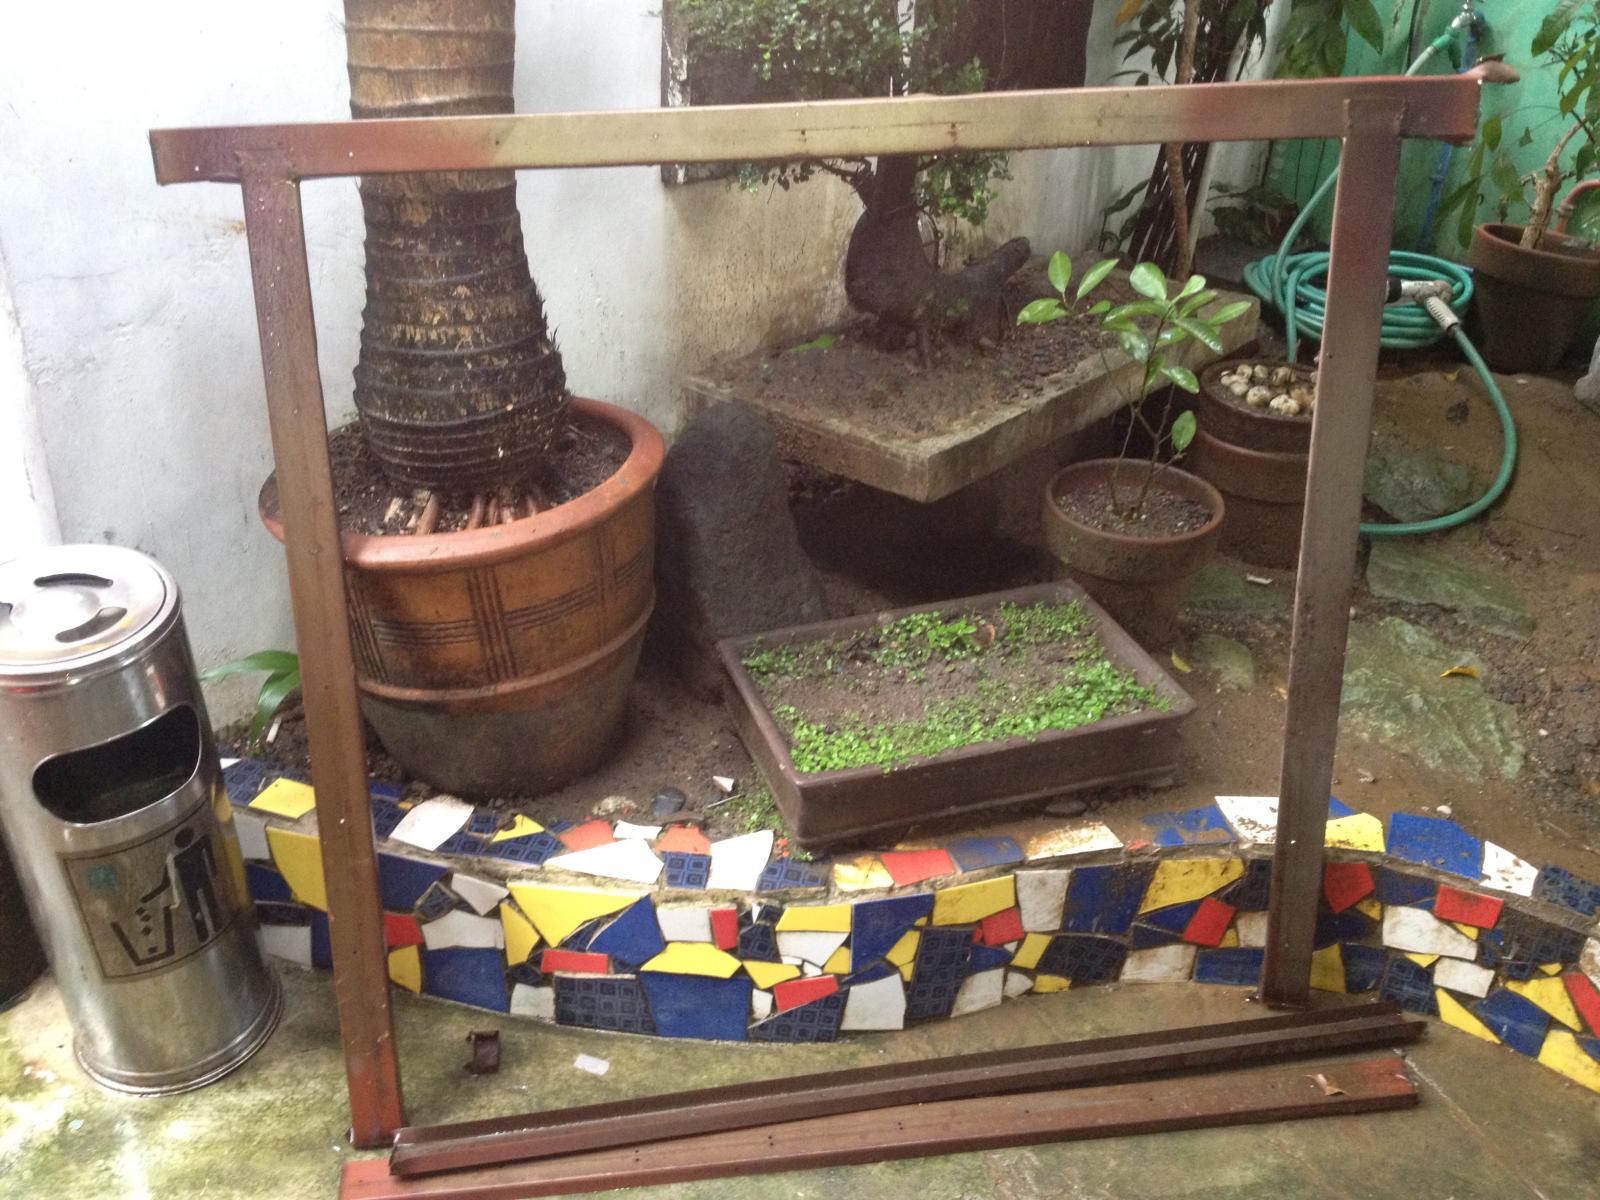
We remove these frames to accommodate the leatherette ceiling.
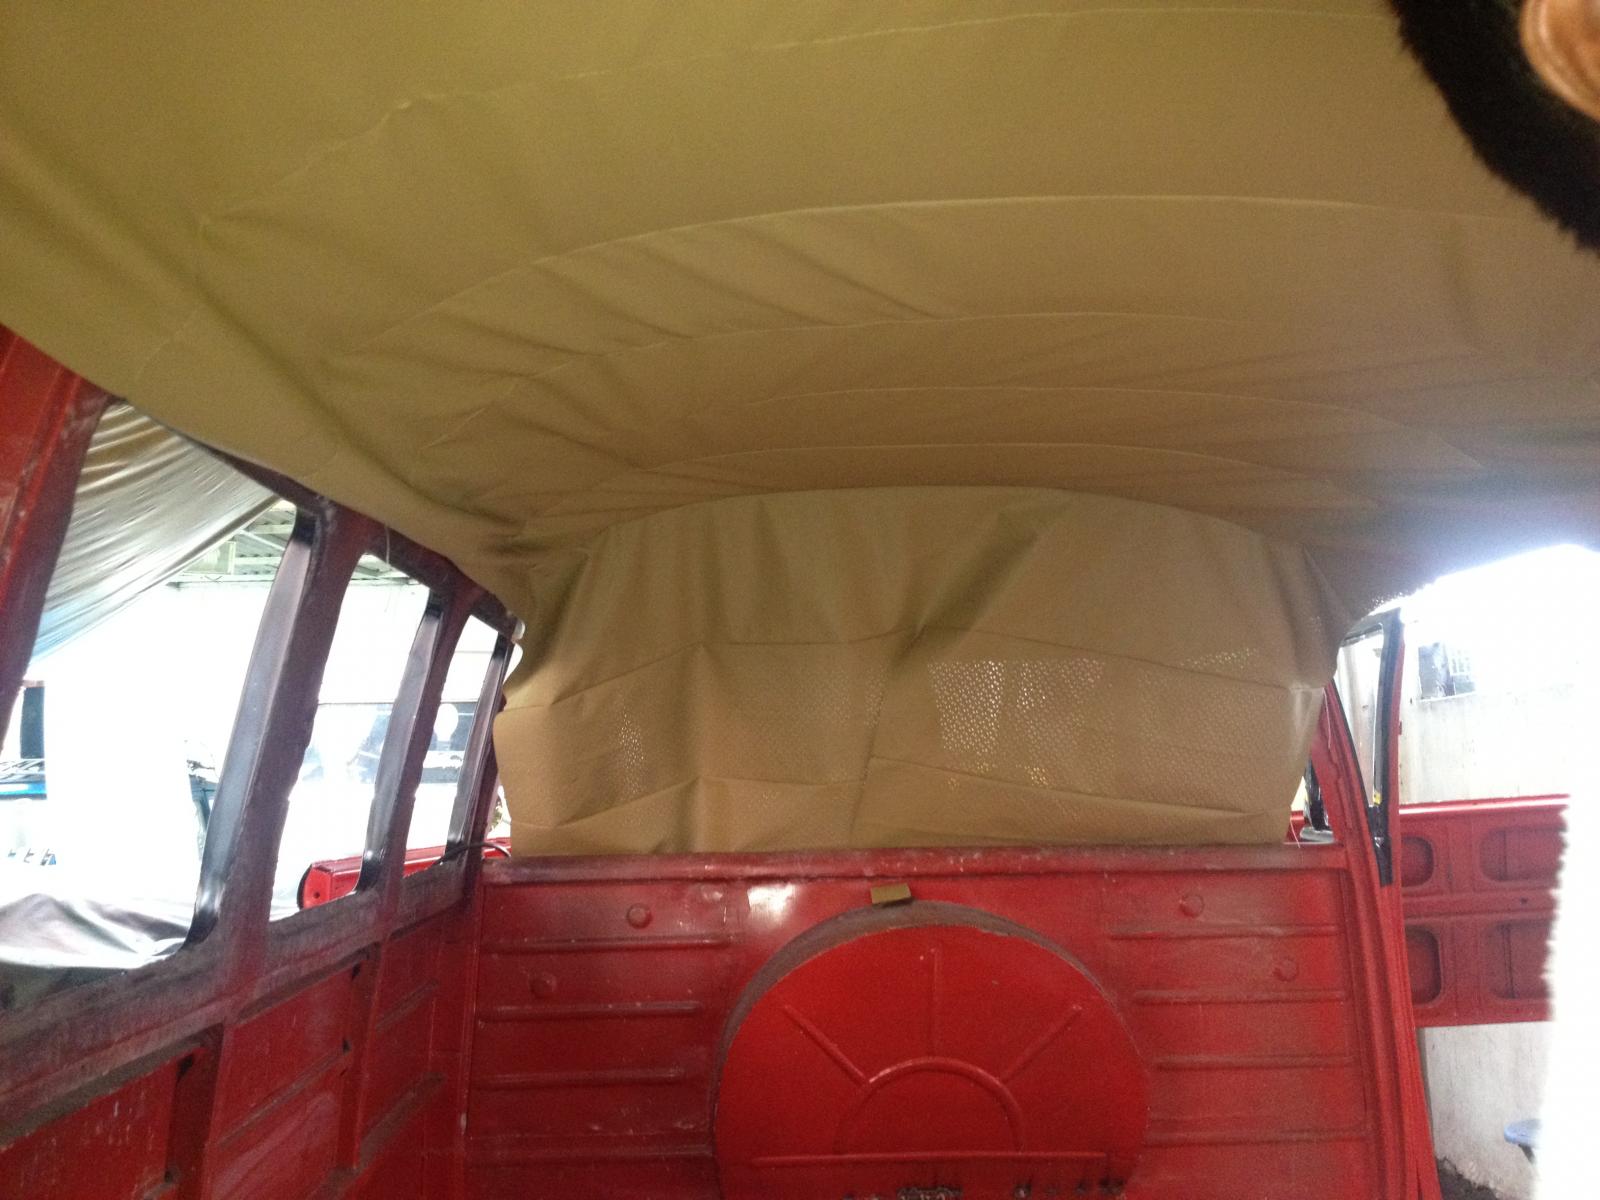
It was a touch time installing the entire ceiling..
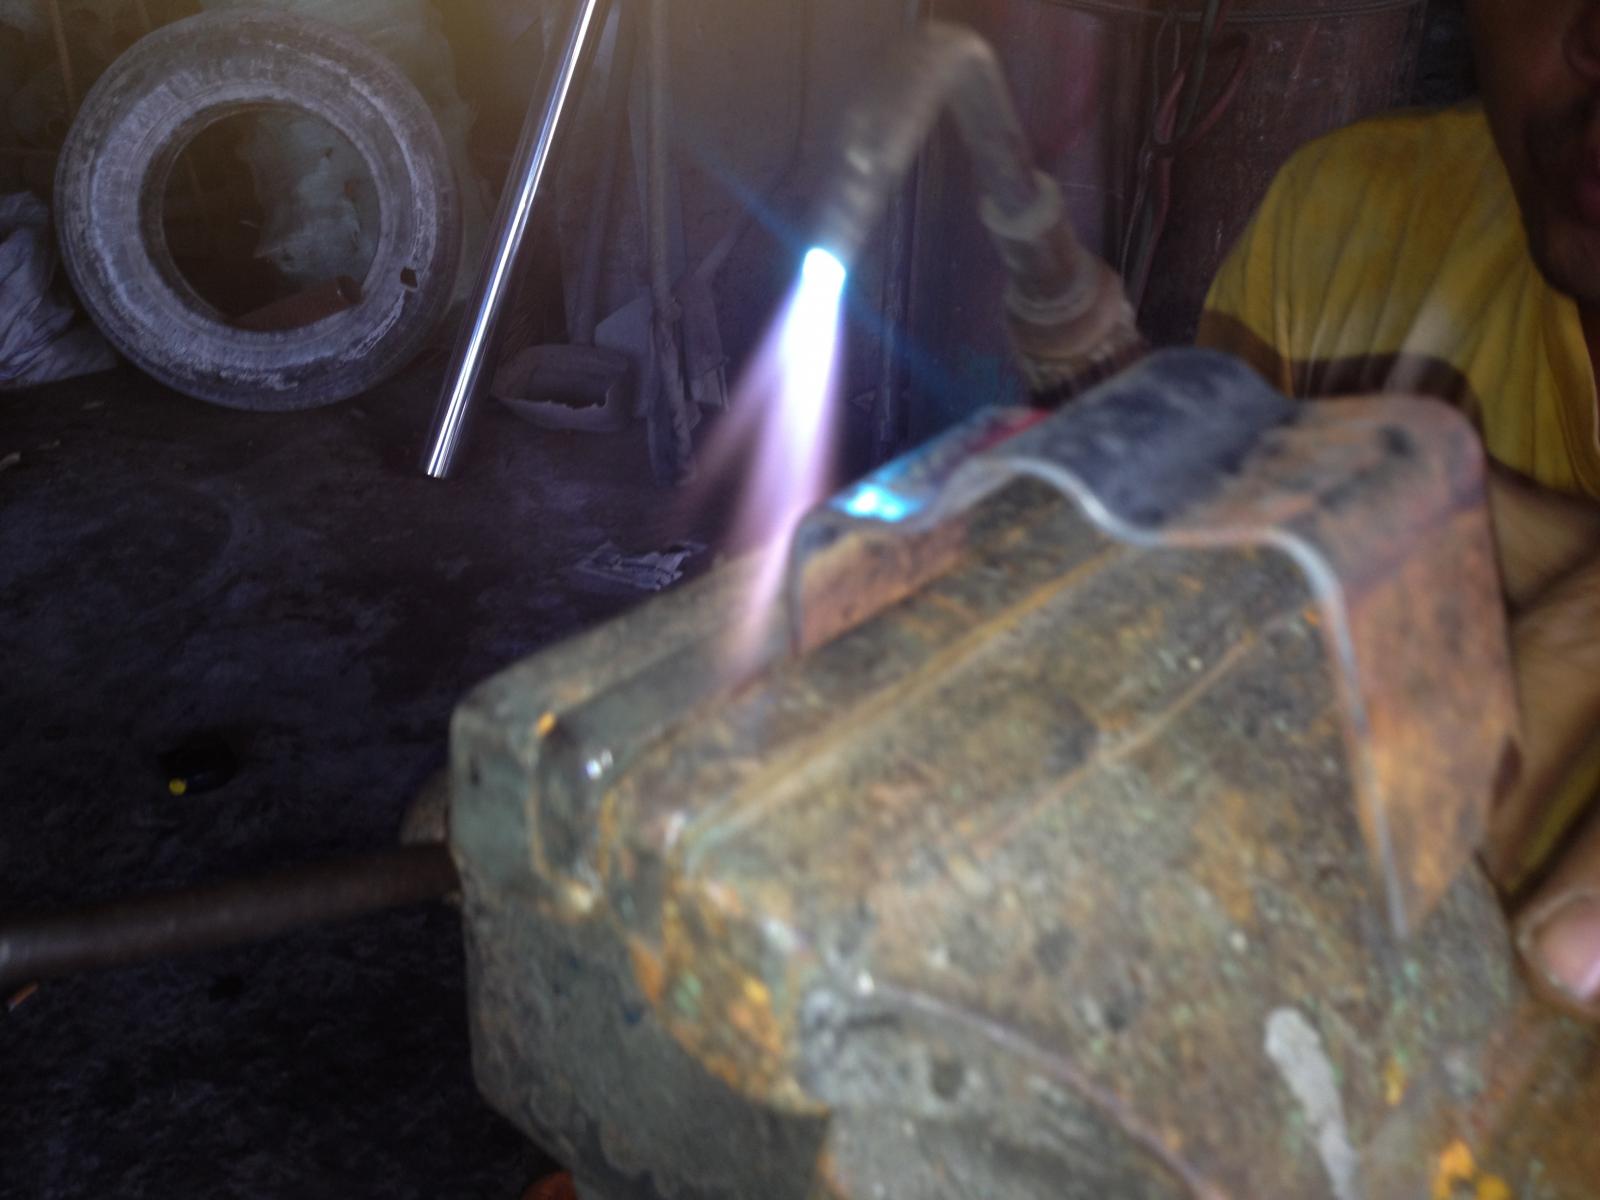
I also ask someone to fab the brackets of the safari windows.
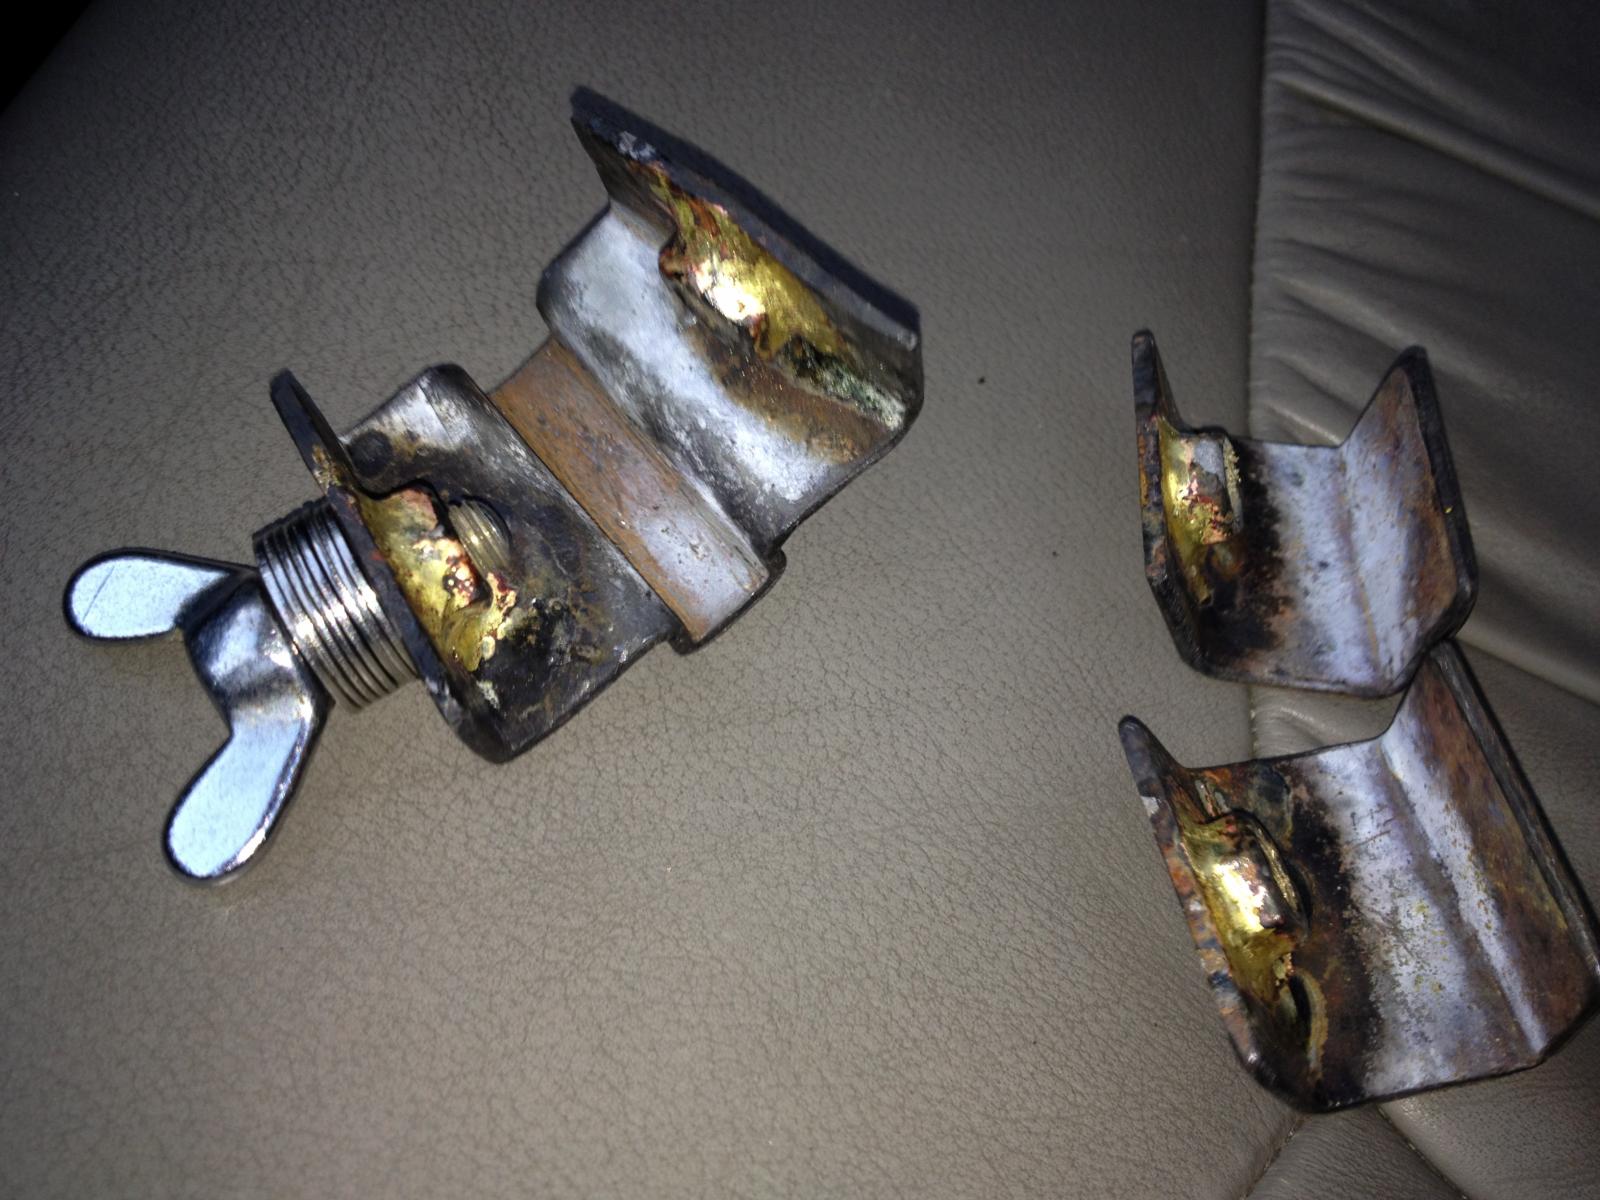
The finished brackets looked pretty cool. But when I fitted the same, I did a lot of adjustments in order to accommodate the stand of the safari windows with ease.
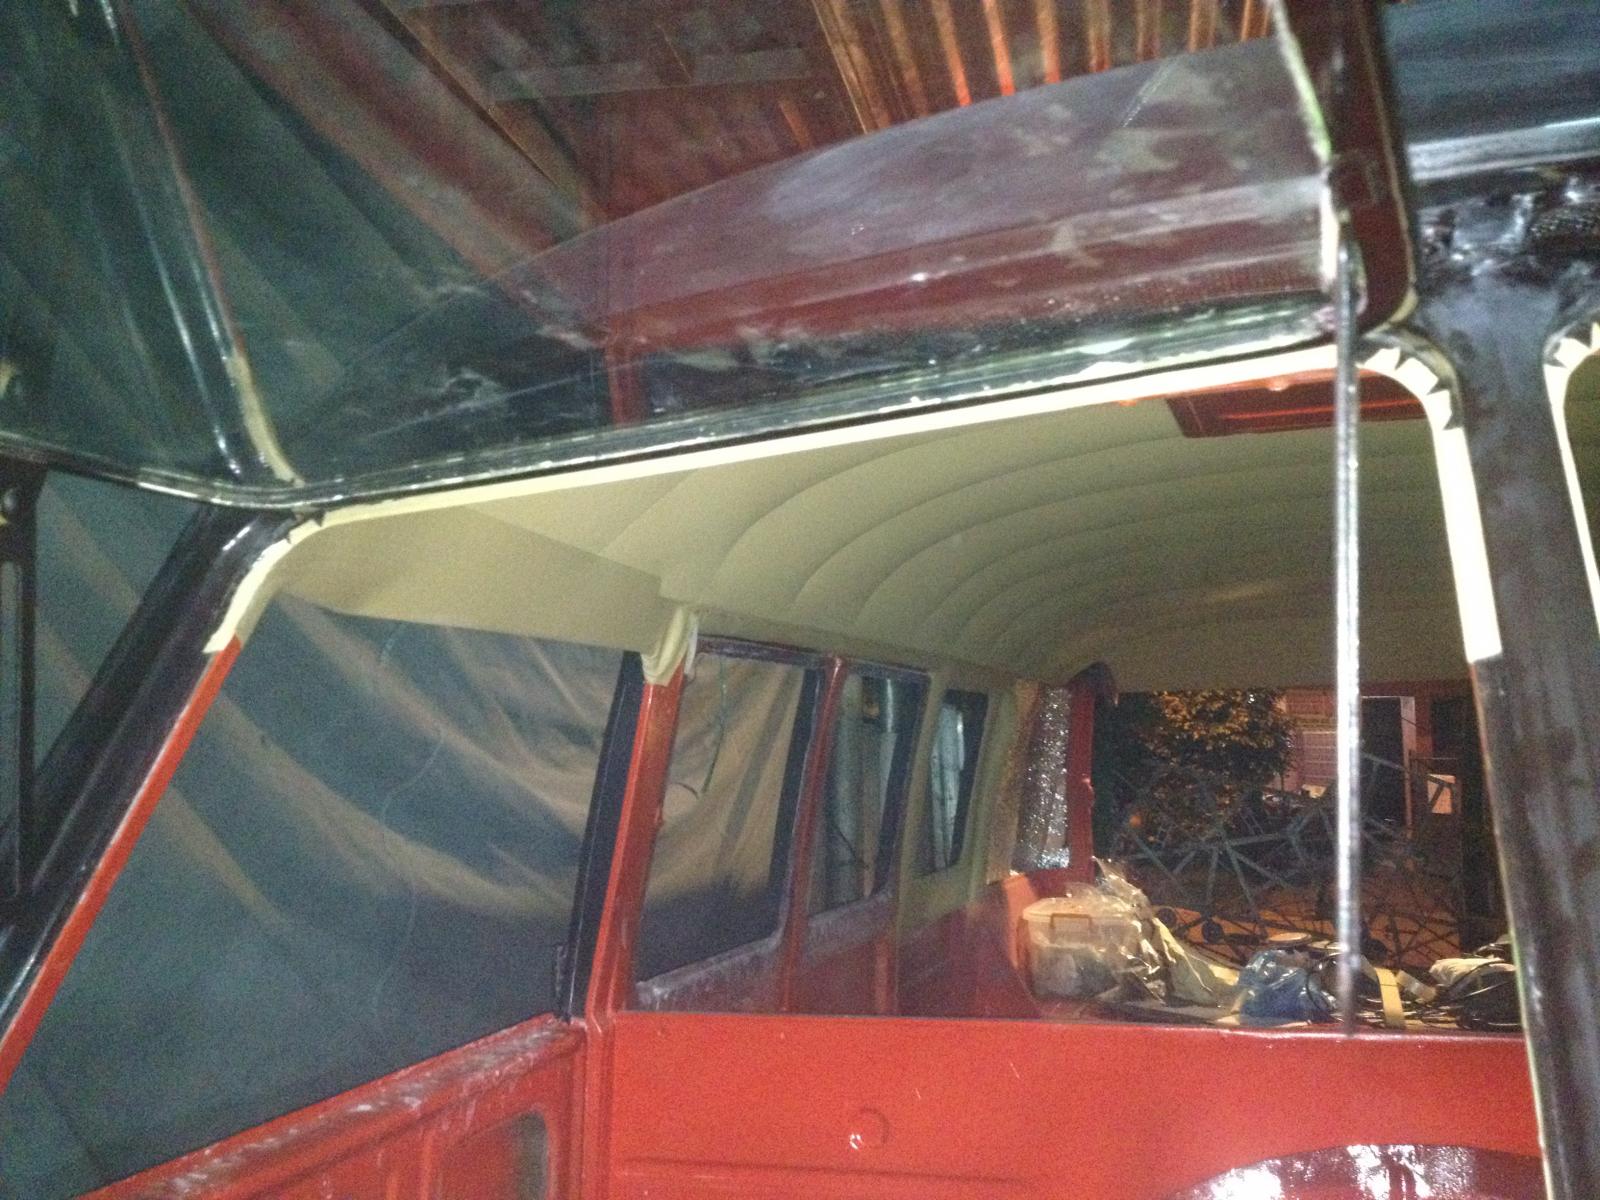
Fitting the safari windows was tough. The alignment had to be precise.
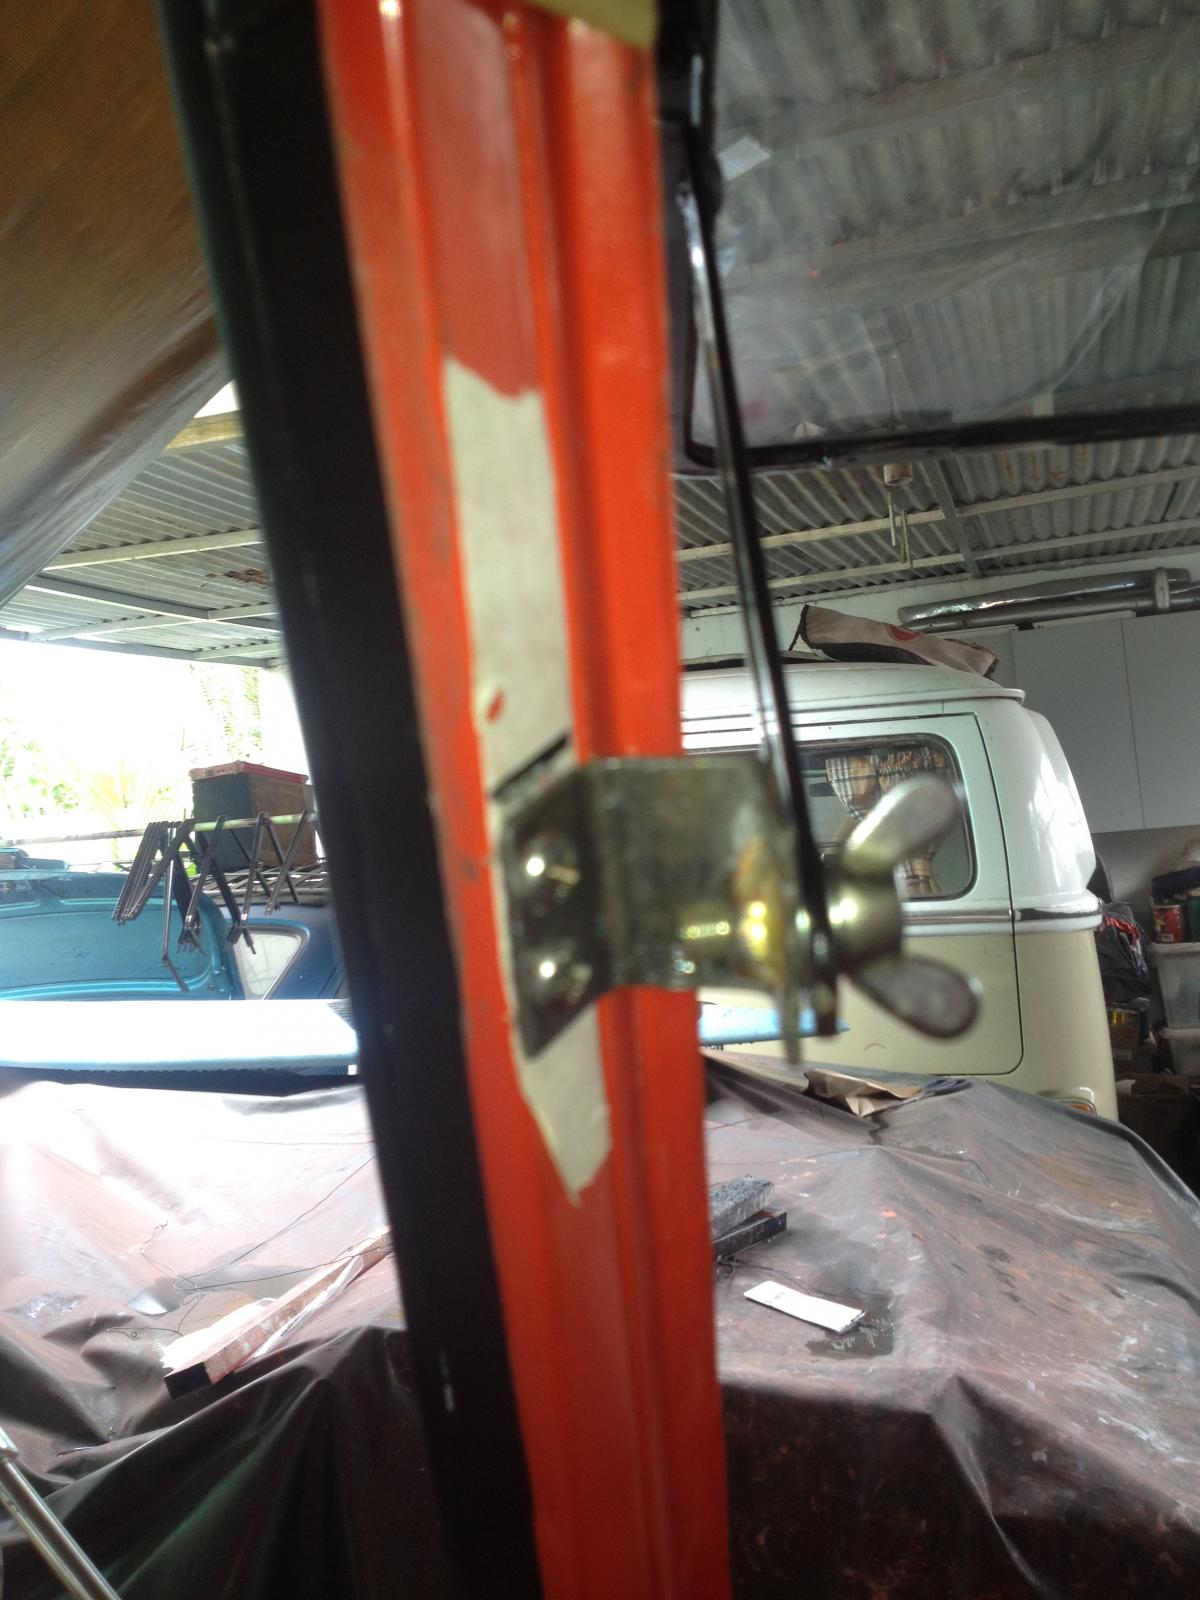
After lots of hammering and adjustments, this bracket look at home now.
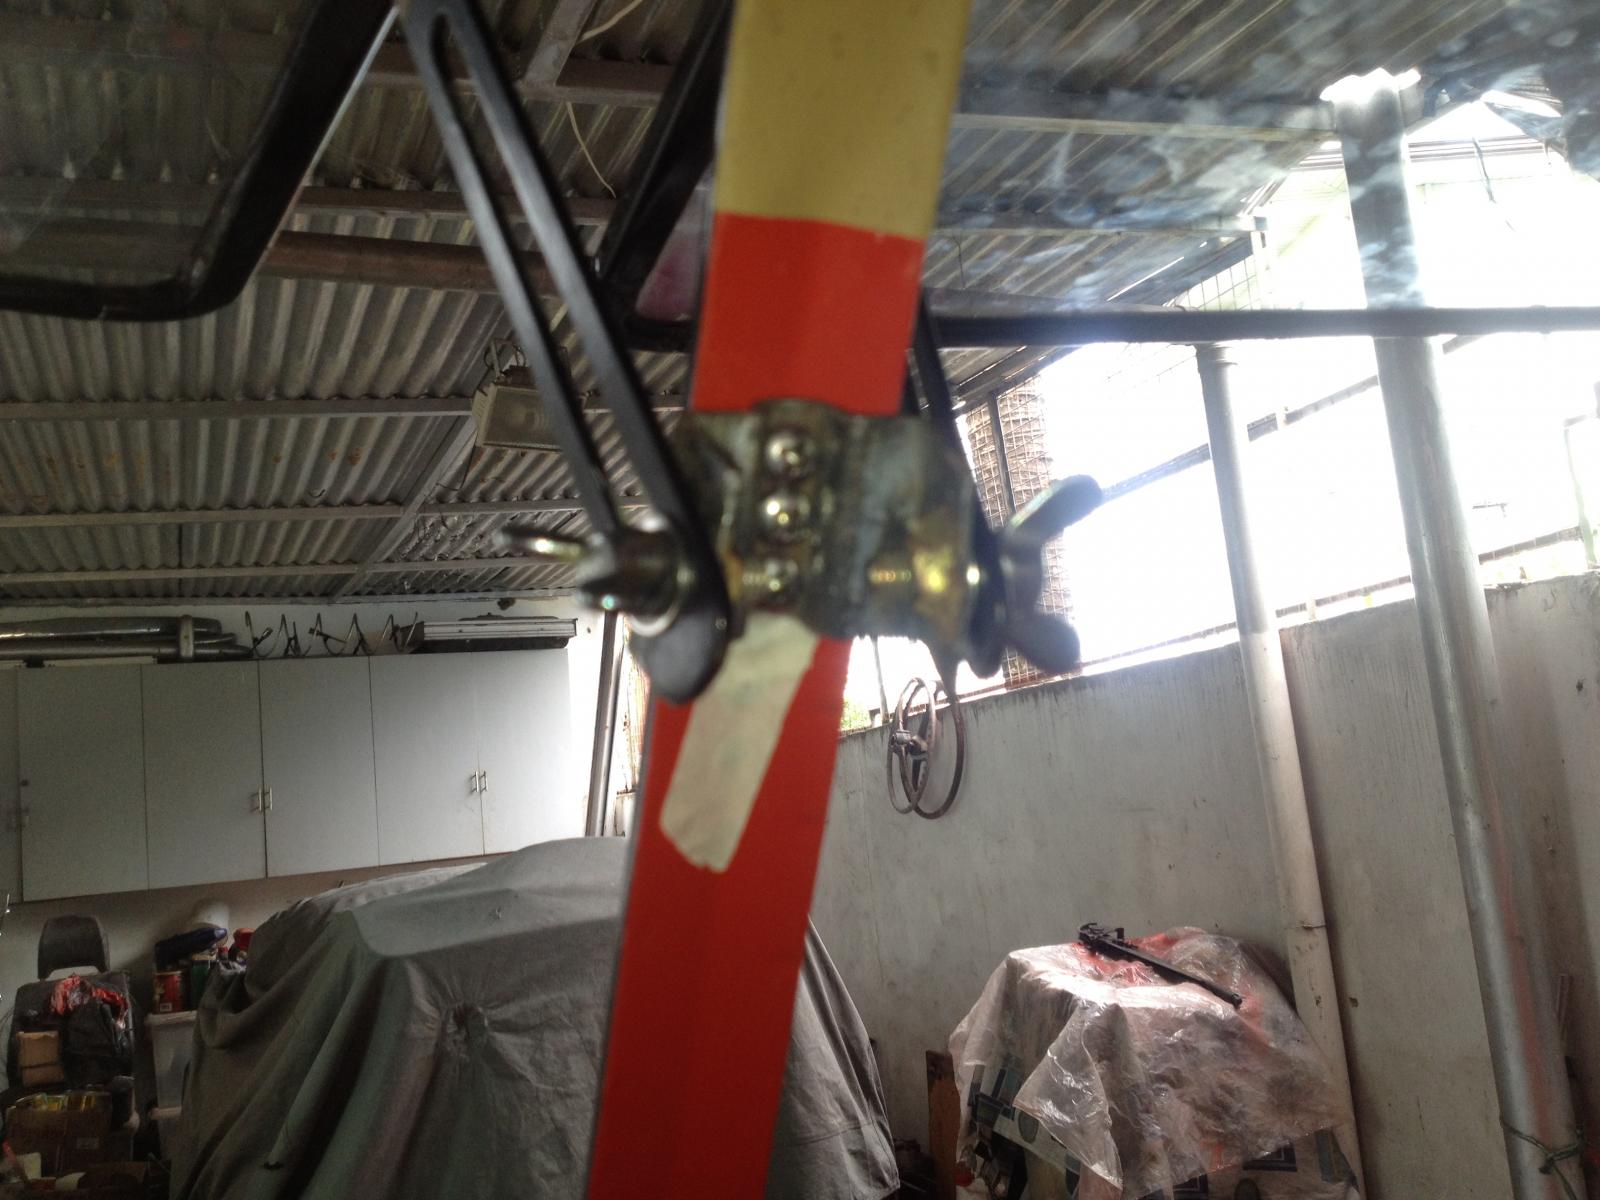
The center bracket also got some hammering routine. It fits cool now.
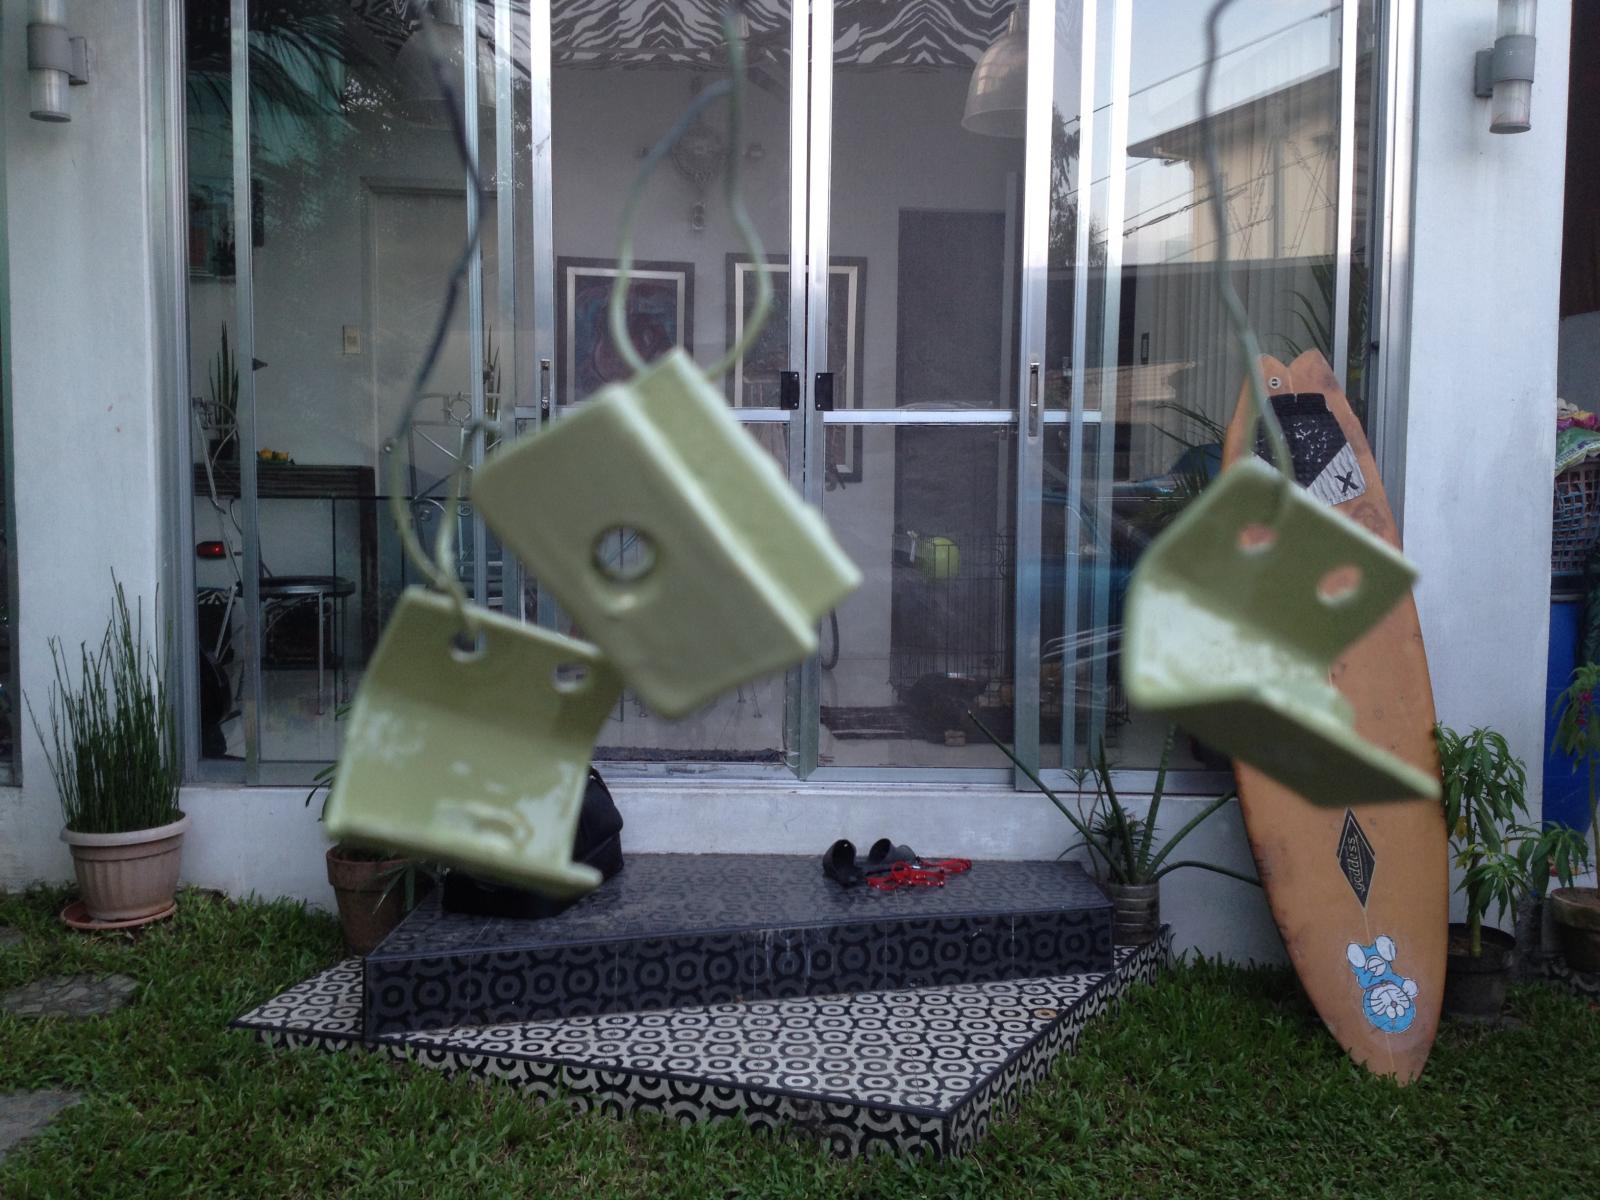
After fitting the brackets, they then deserved to me painted with the primer.
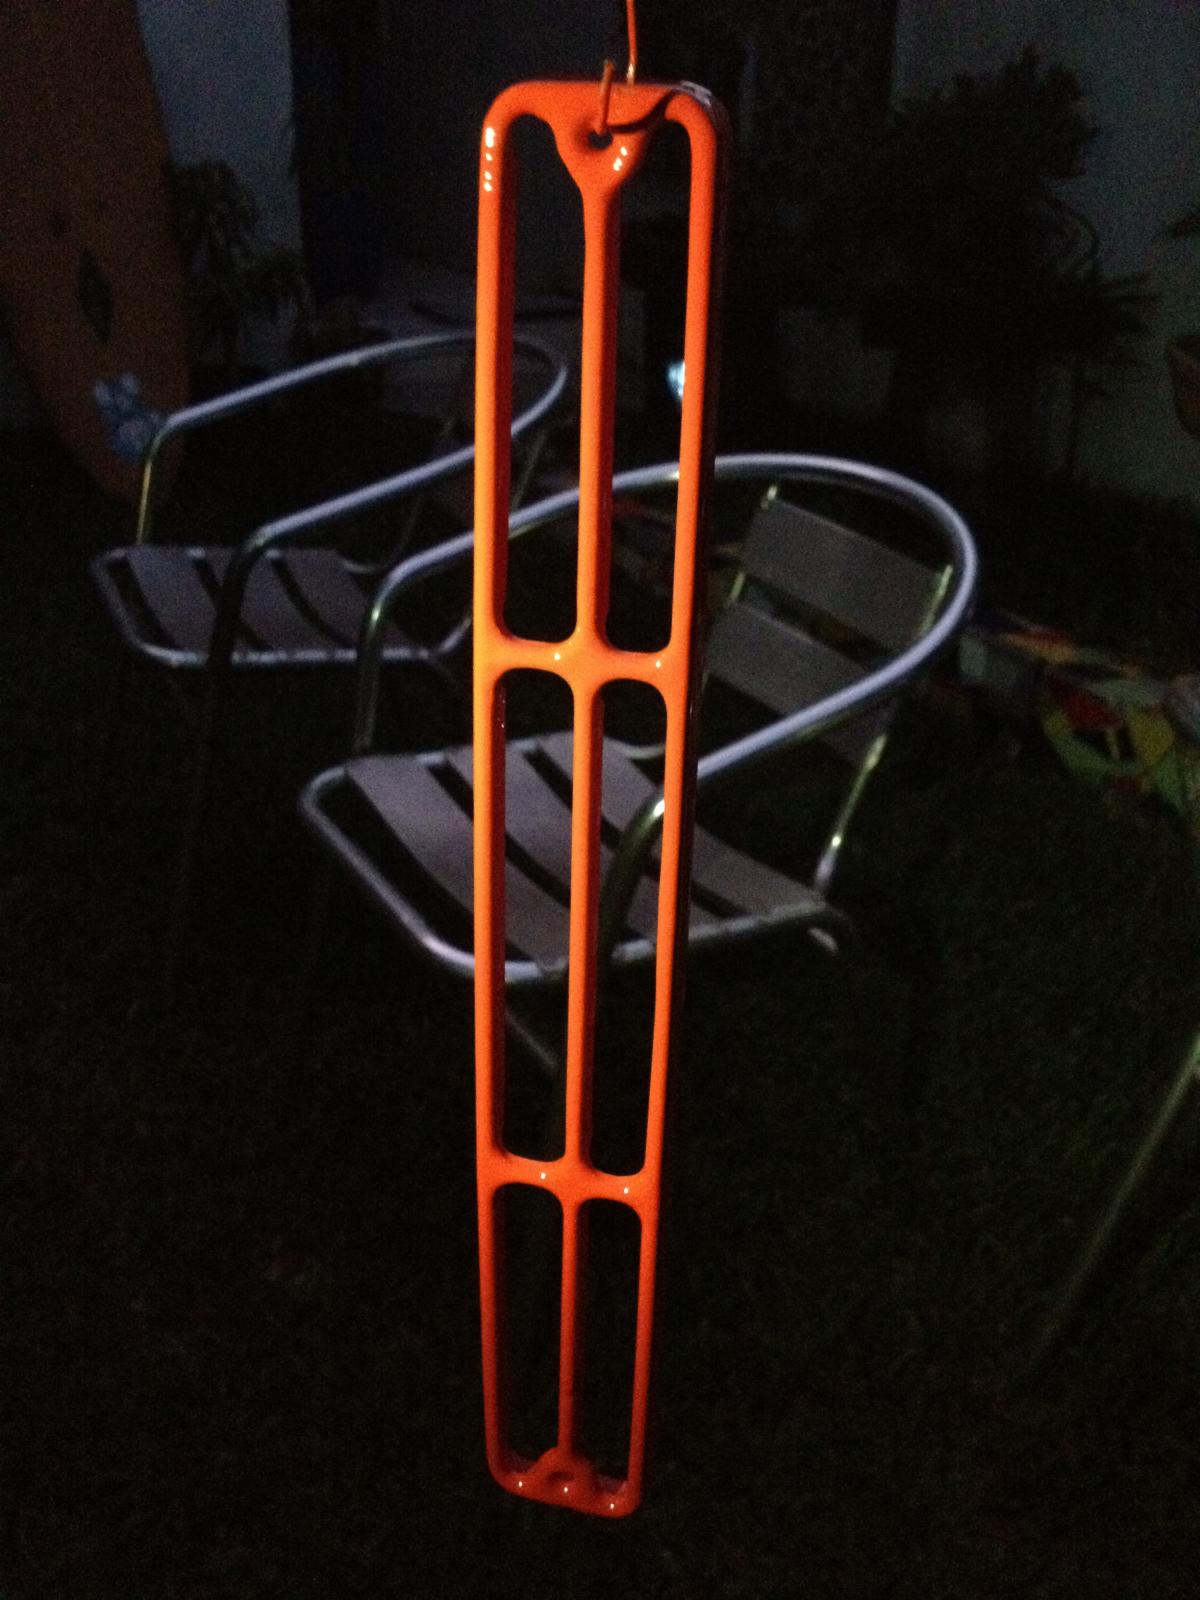
This grills for the over head fresh air had to me painted too.
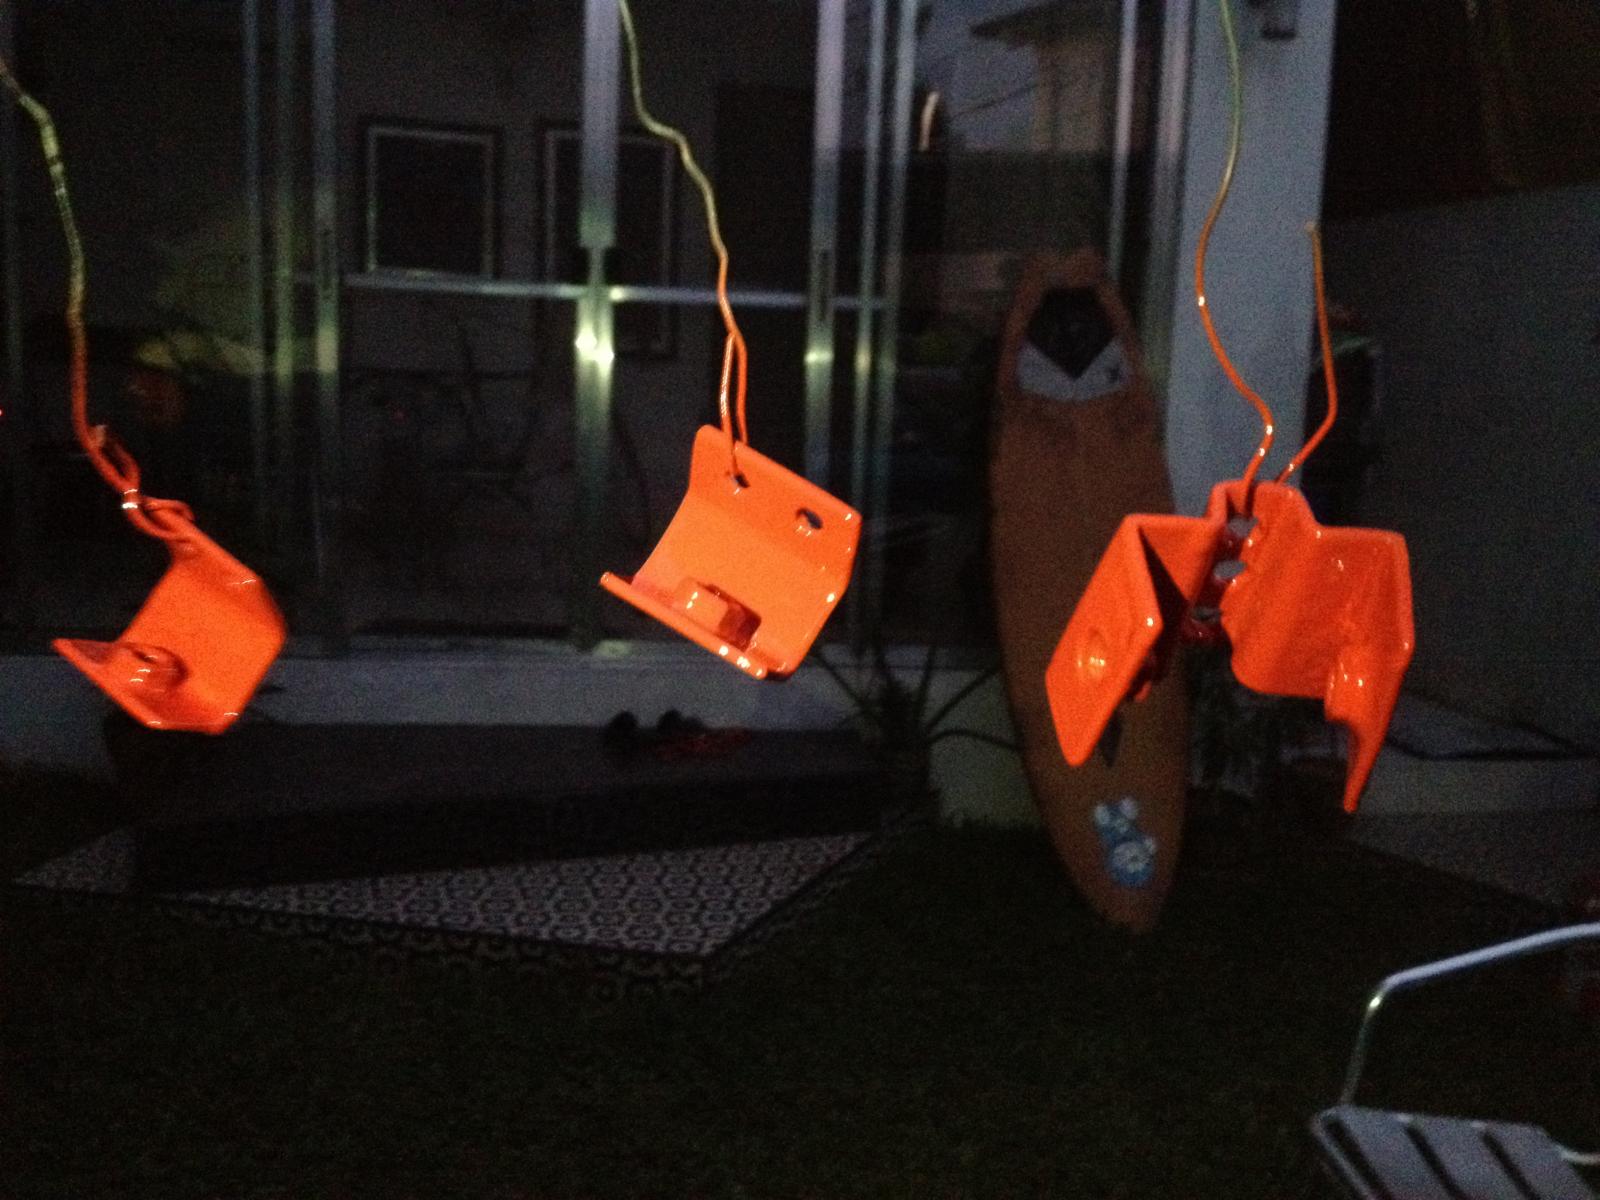
The brackets with the sealing wax read paint.


A couple of weeks back, the who unwanted hack job of the PO was finally attended to.

I also caused the bracket of the two seats at the back installed..

The remaining outer bracket for the passenger seat in front was also installed.

The ceiling was installed too.

We remove these frames to accommodate the leatherette ceiling.

It was a touch time installing the entire ceiling..

I also ask someone to fab the brackets of the safari windows.

The finished brackets looked pretty cool. But when I fitted the same, I did a lot of adjustments in order to accommodate the stand of the safari windows with ease.

Fitting the safari windows was tough. The alignment had to be precise.

After lots of hammering and adjustments, this bracket look at home now.

The center bracket also got some hammering routine. It fits cool now.

After fitting the brackets, they then deserved to me painted with the primer.

This grills for the over head fresh air had to me painted too.

The brackets with the sealing wax read paint.
dongkg
Registered user
Posts: 90
Joined: Tue Jul 16, 2013 7:58 am
Re: My '67 Split Bus Resto Thread in the Philippines
by dongkg » Wed Oct 30, 2013 11:20 am
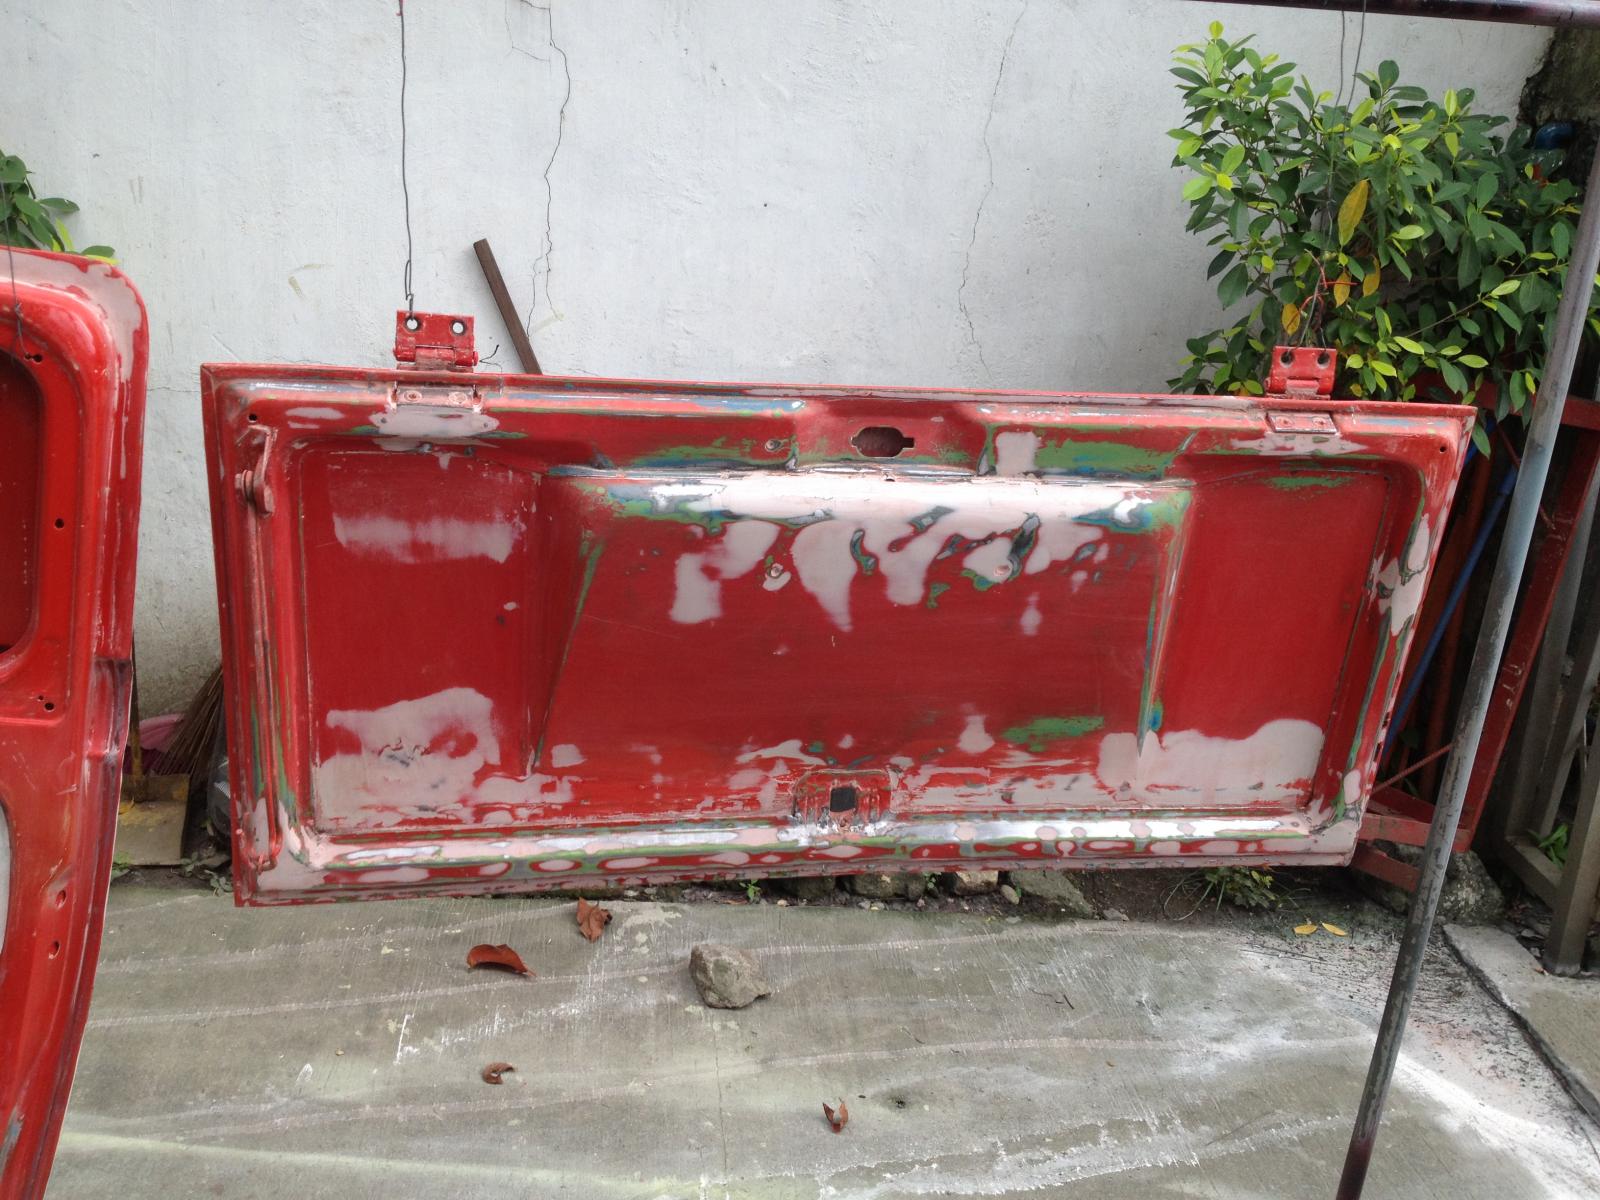
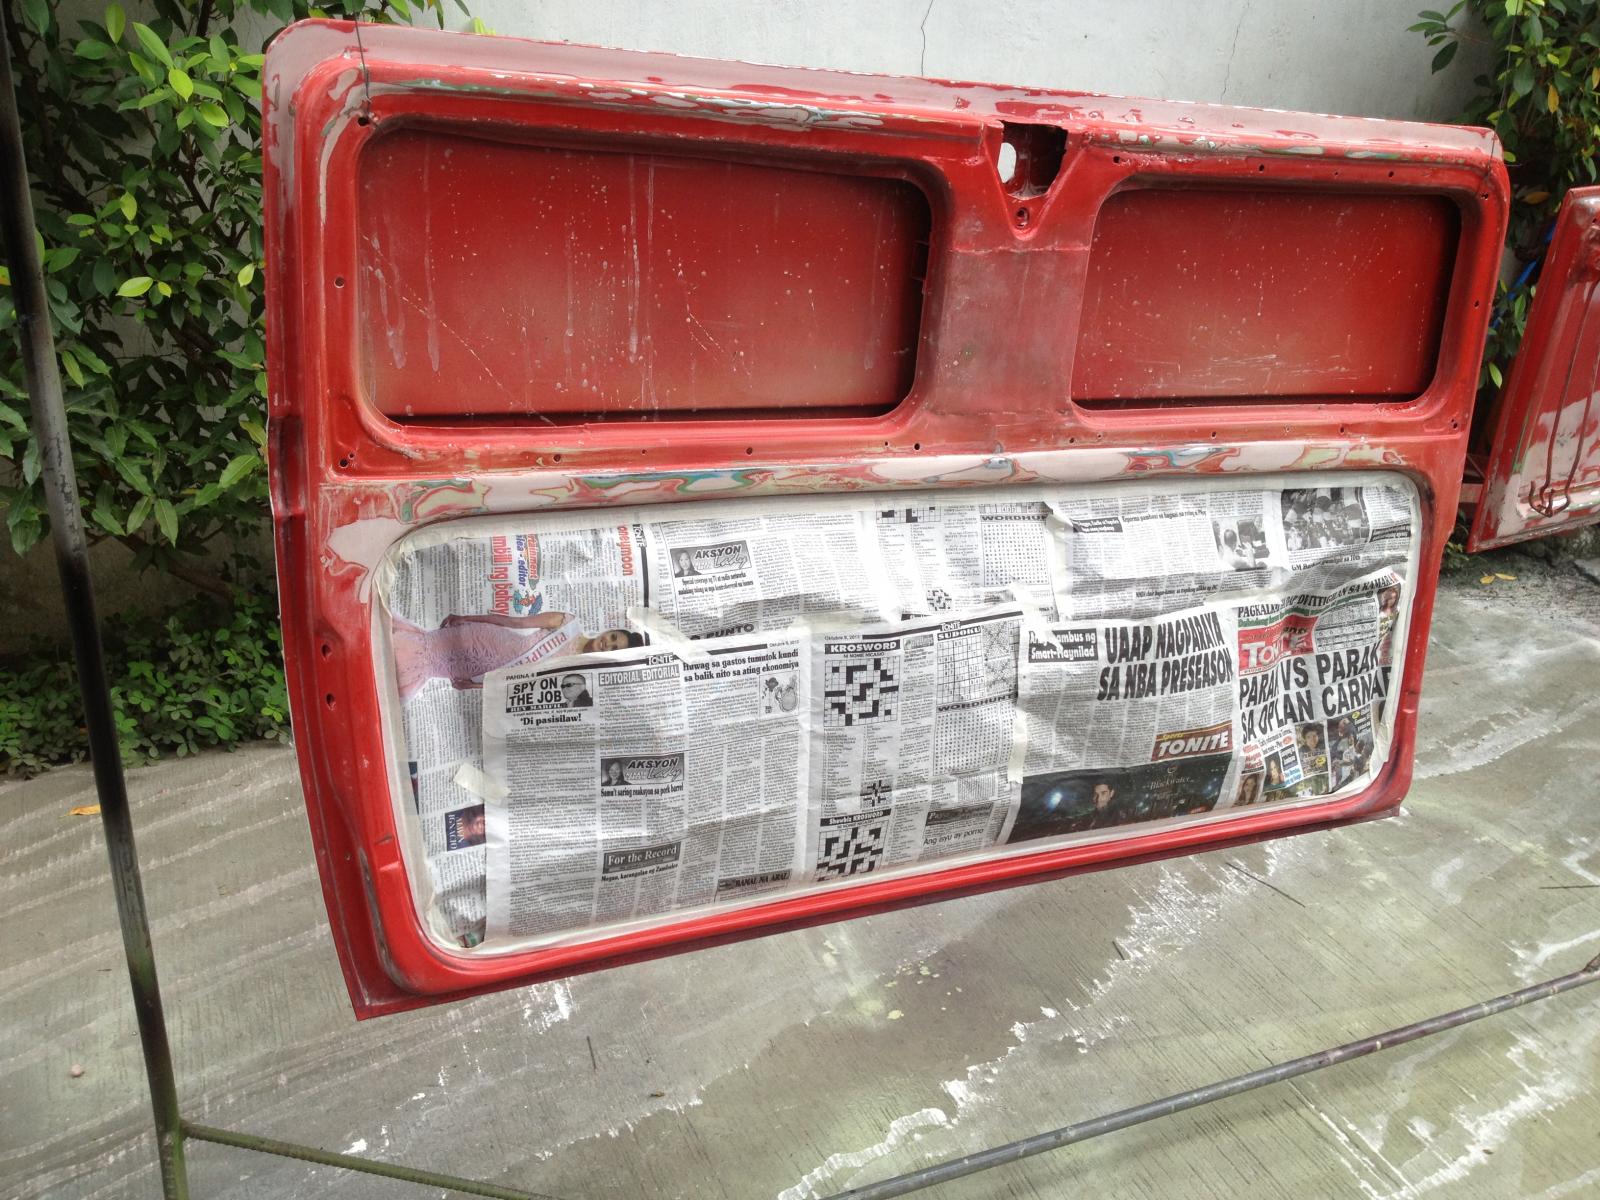
The back of the deck lid and hatch had to me painted too.
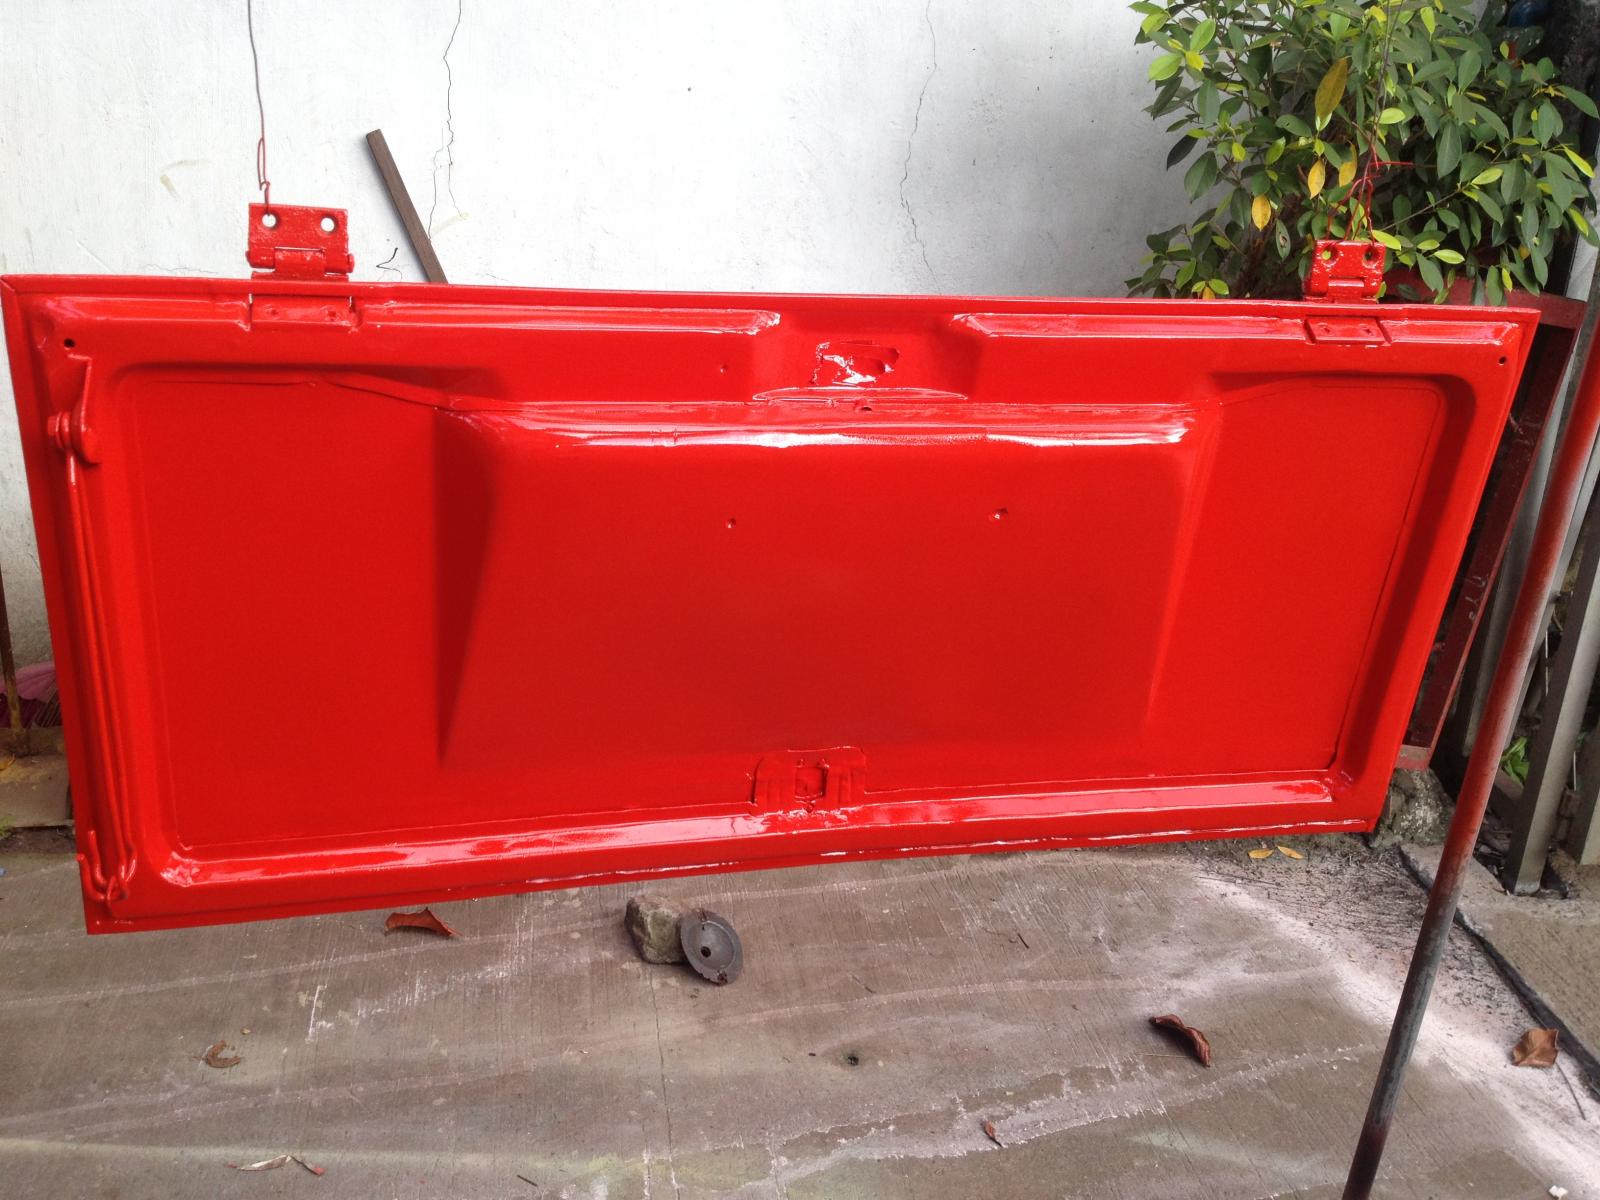
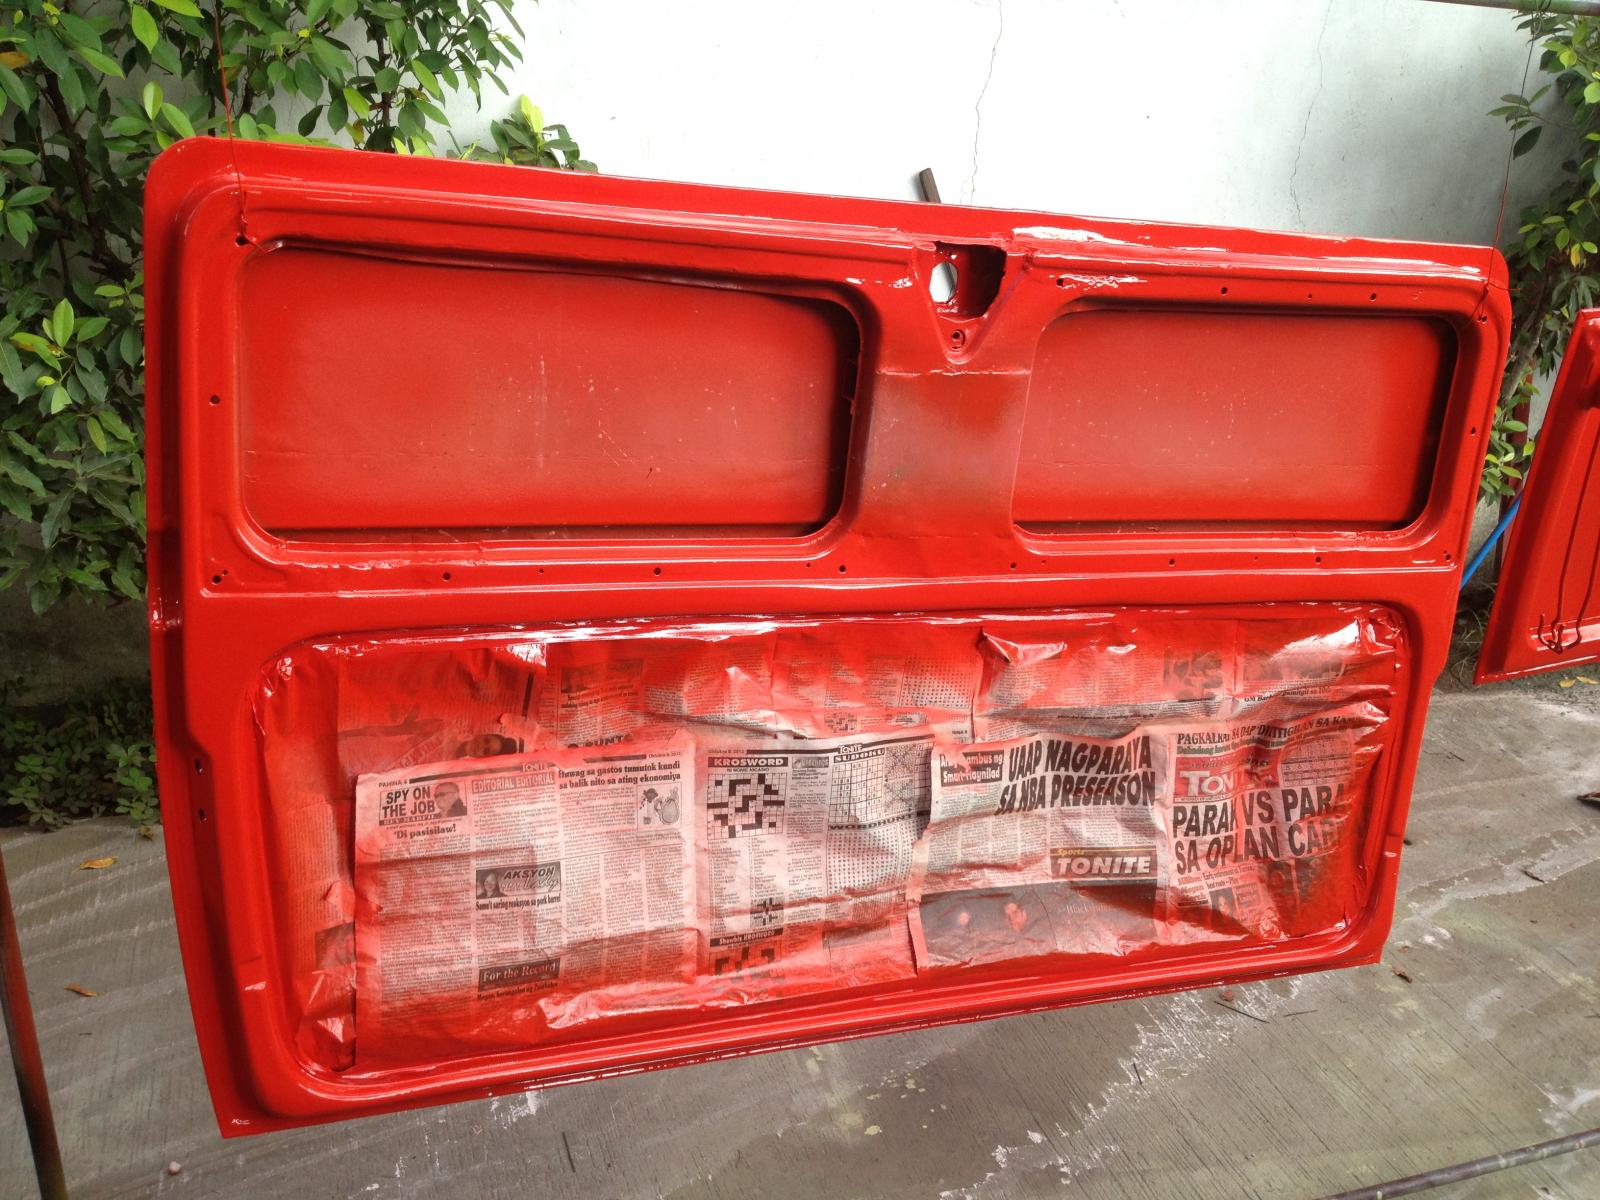
The painted one.
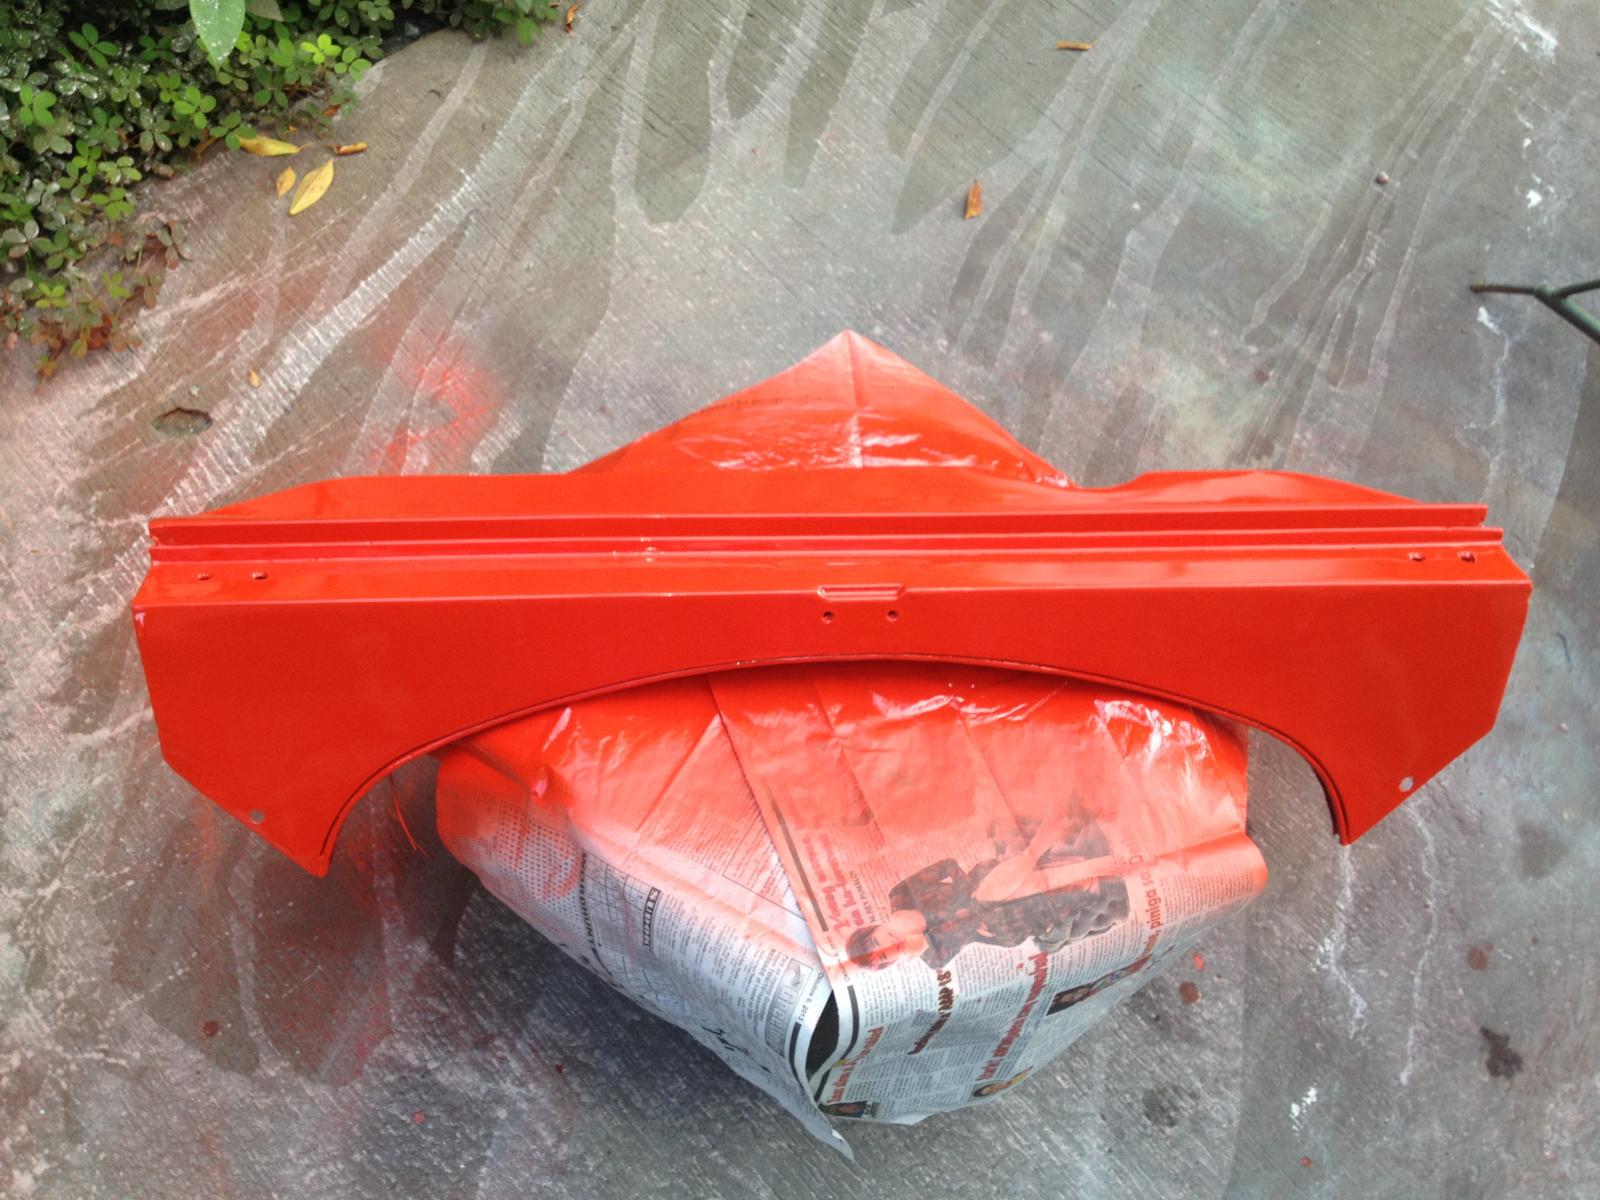
Rear apron got that needed attention too.
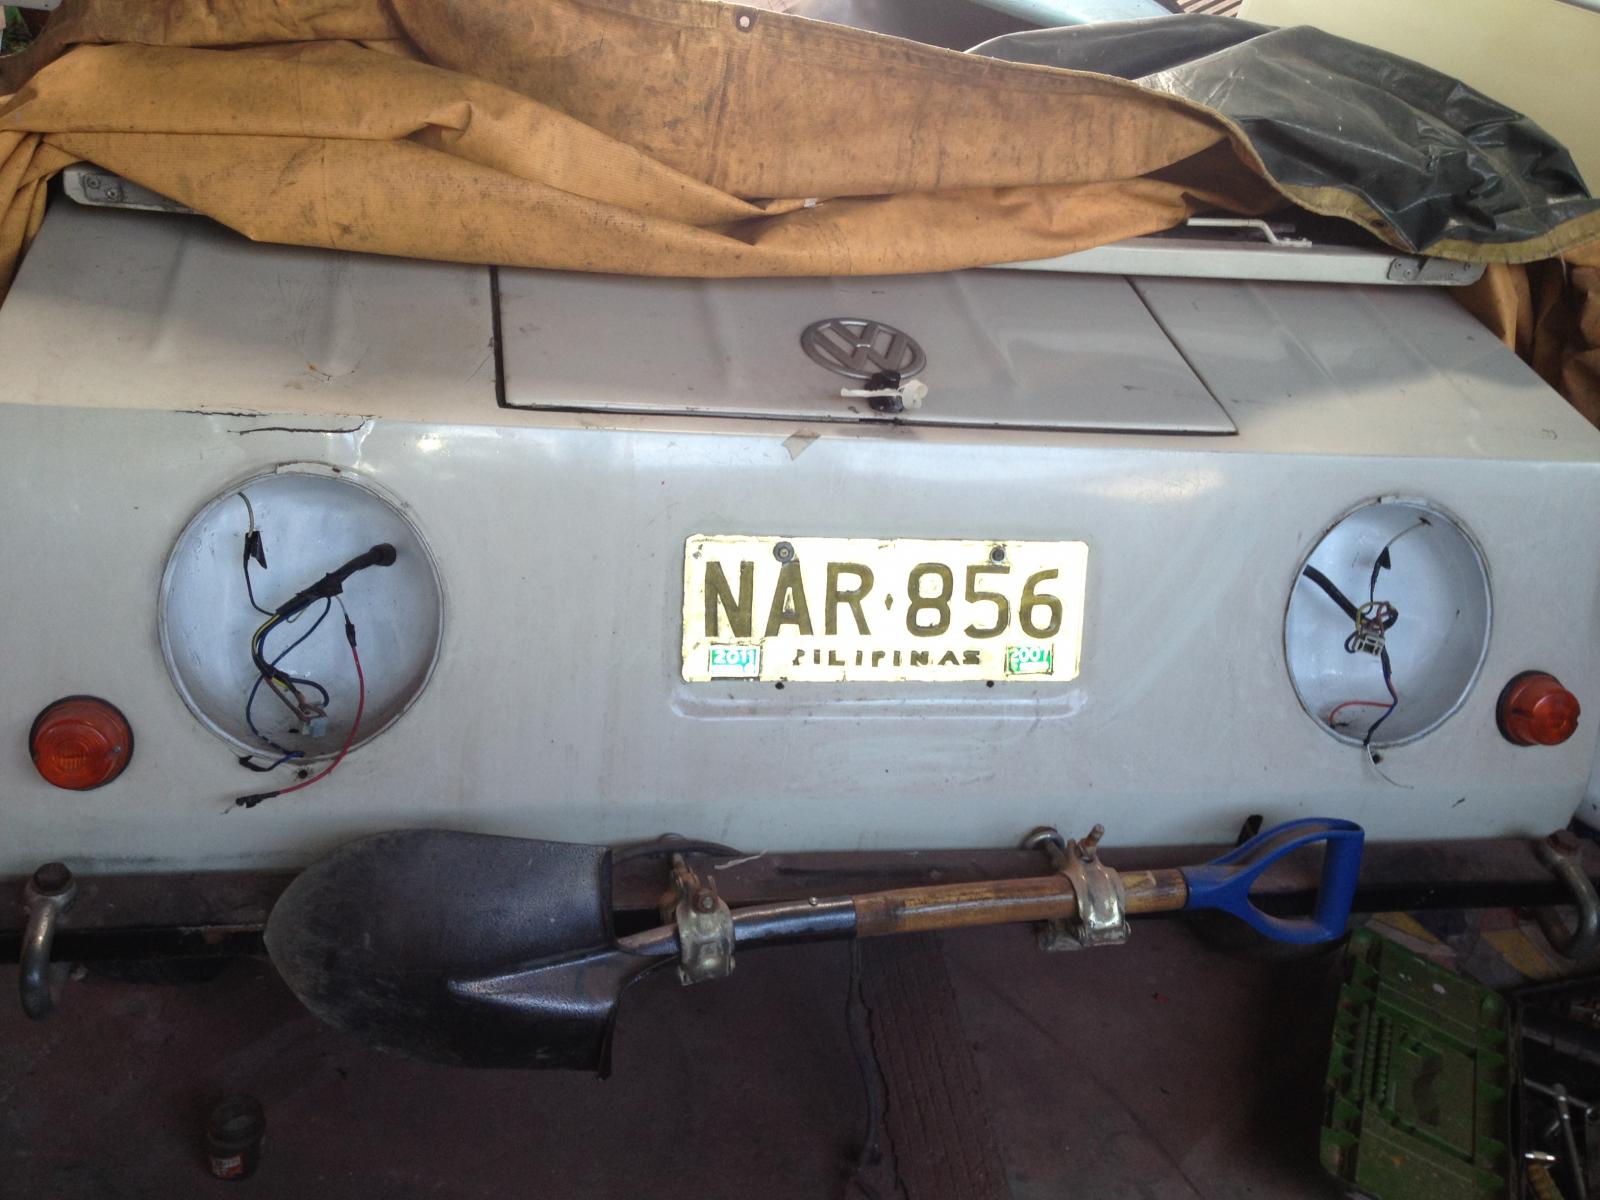
Sorry for this one, but i need the headlights of the country buggy to be cleaned and fitted onto the split bus!
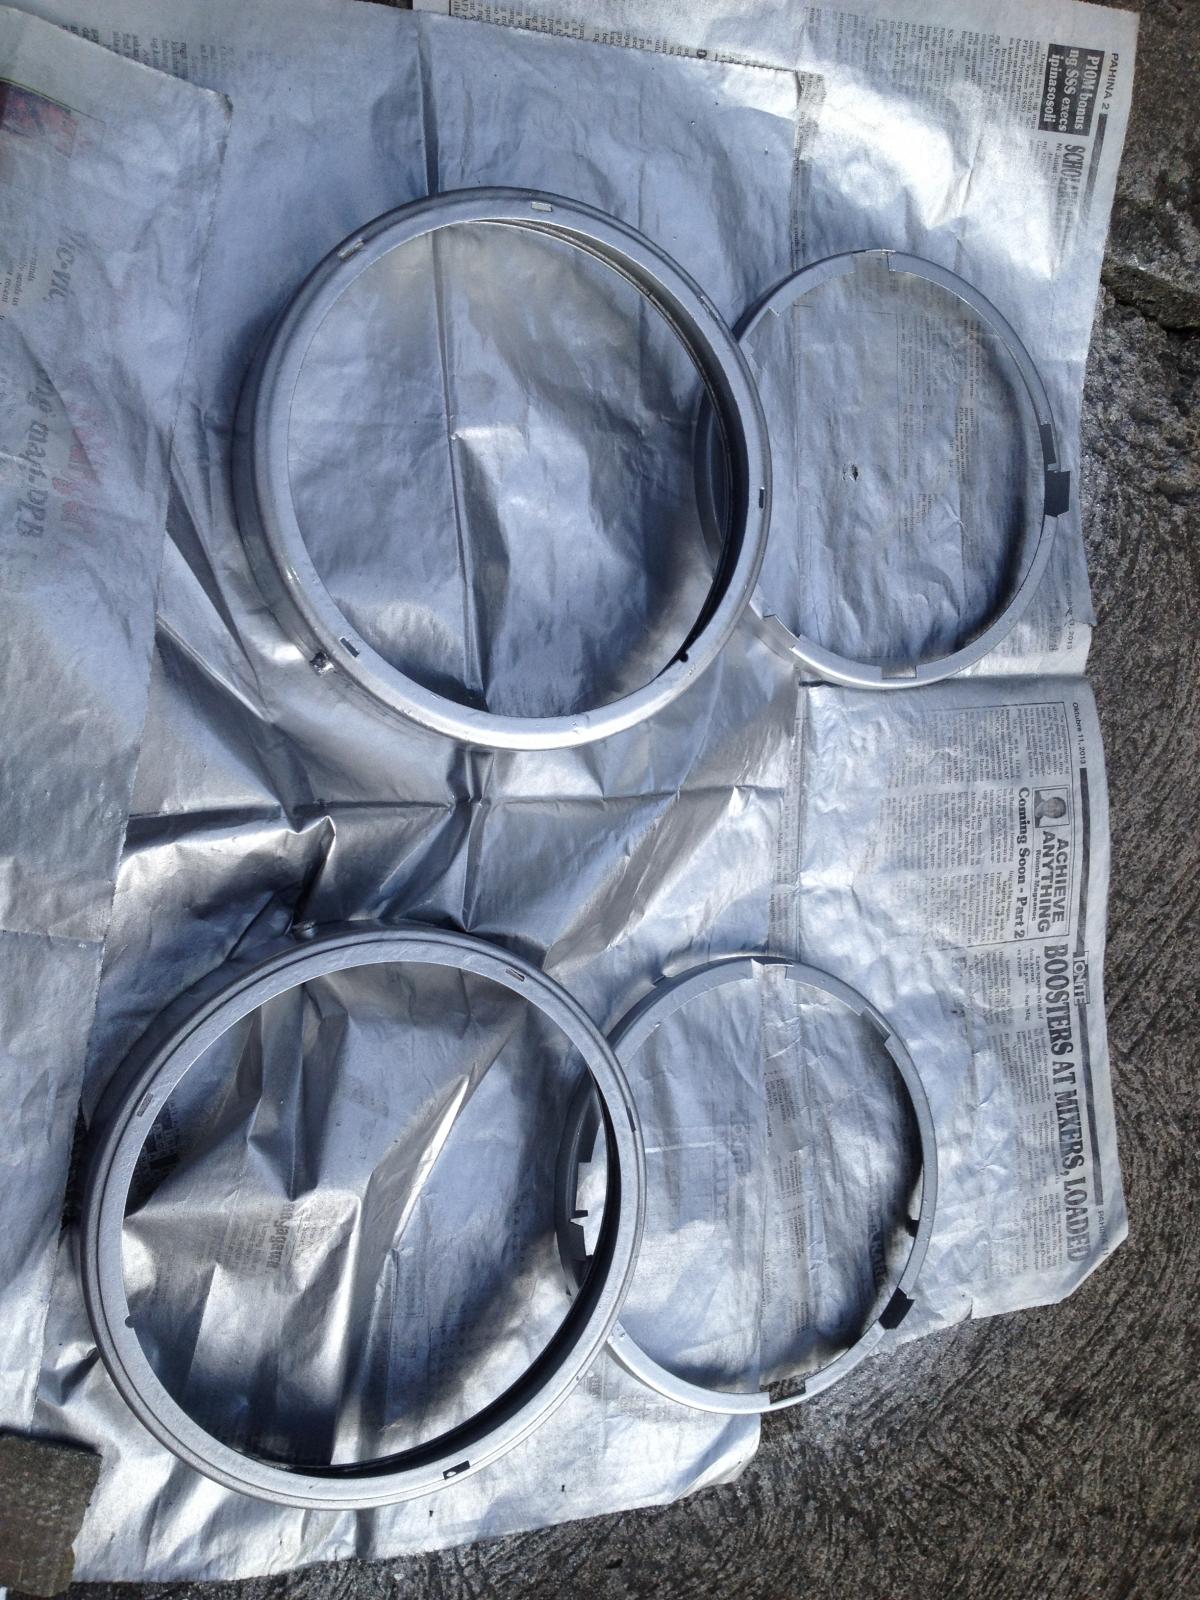
After much clearing and sanding, these headlight assemblies were painted silver
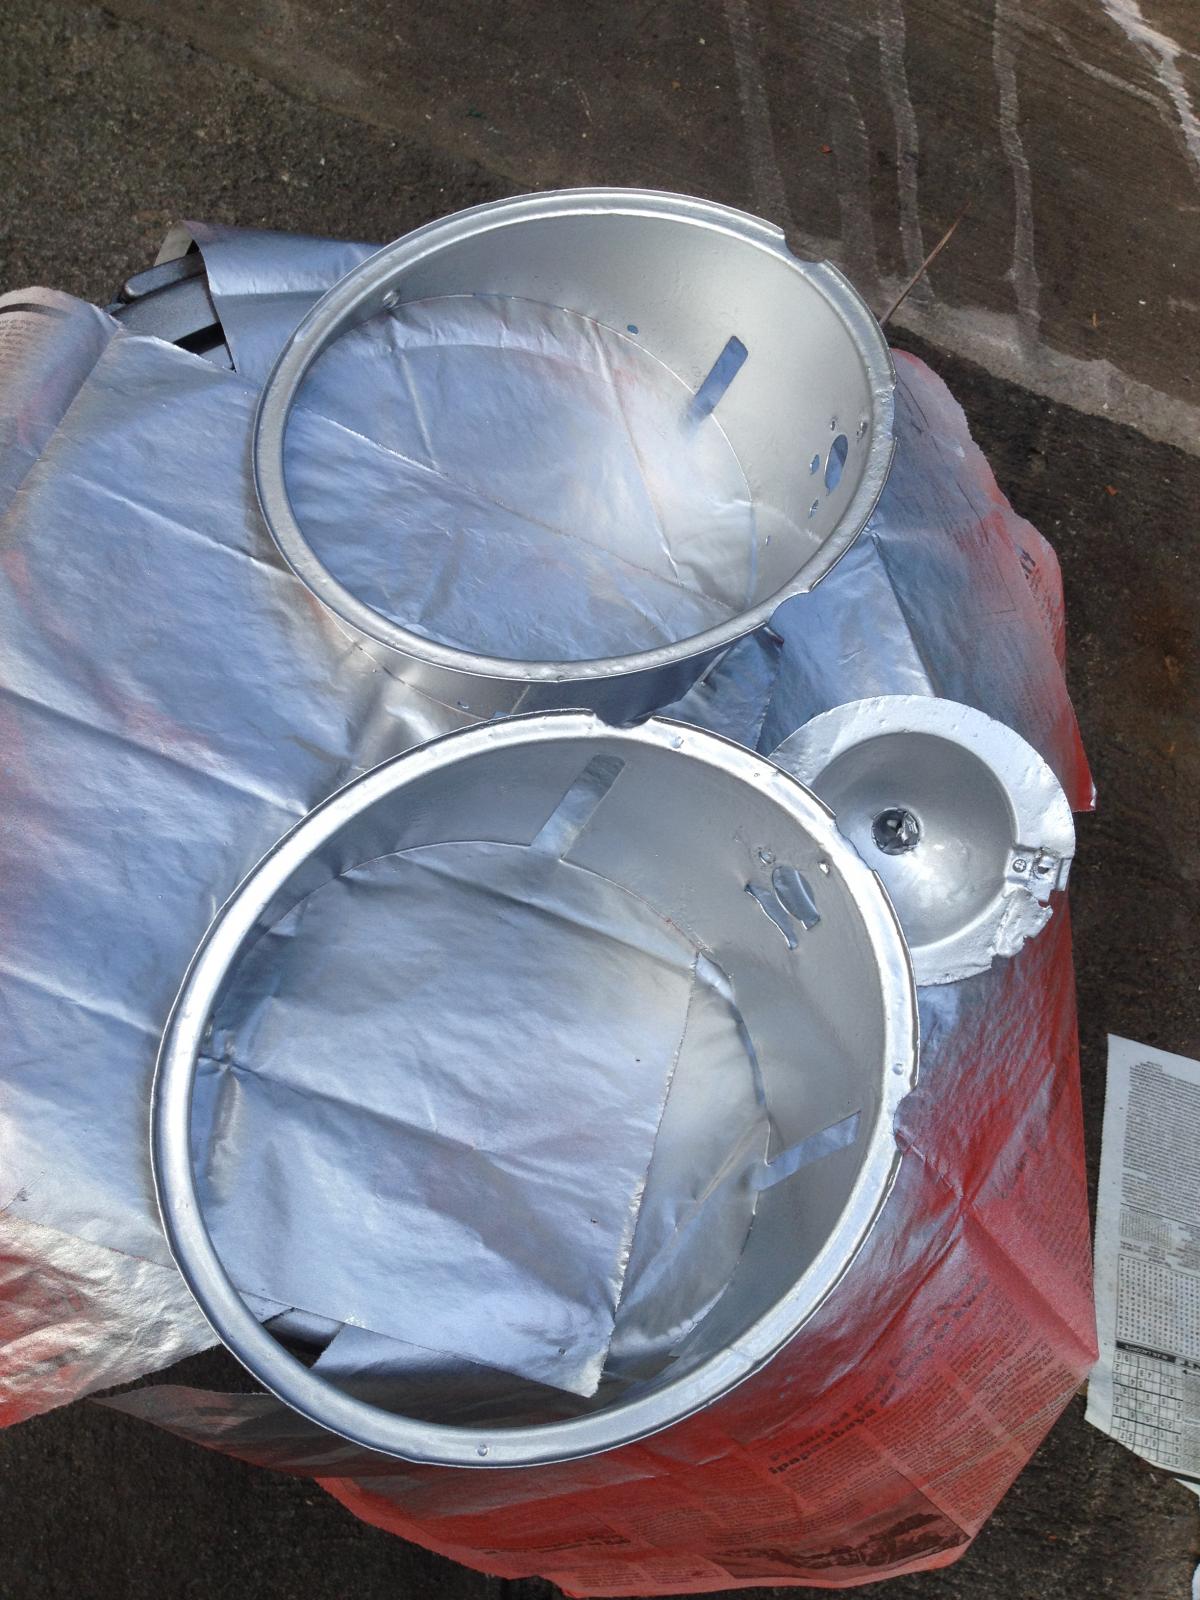
These parts too....
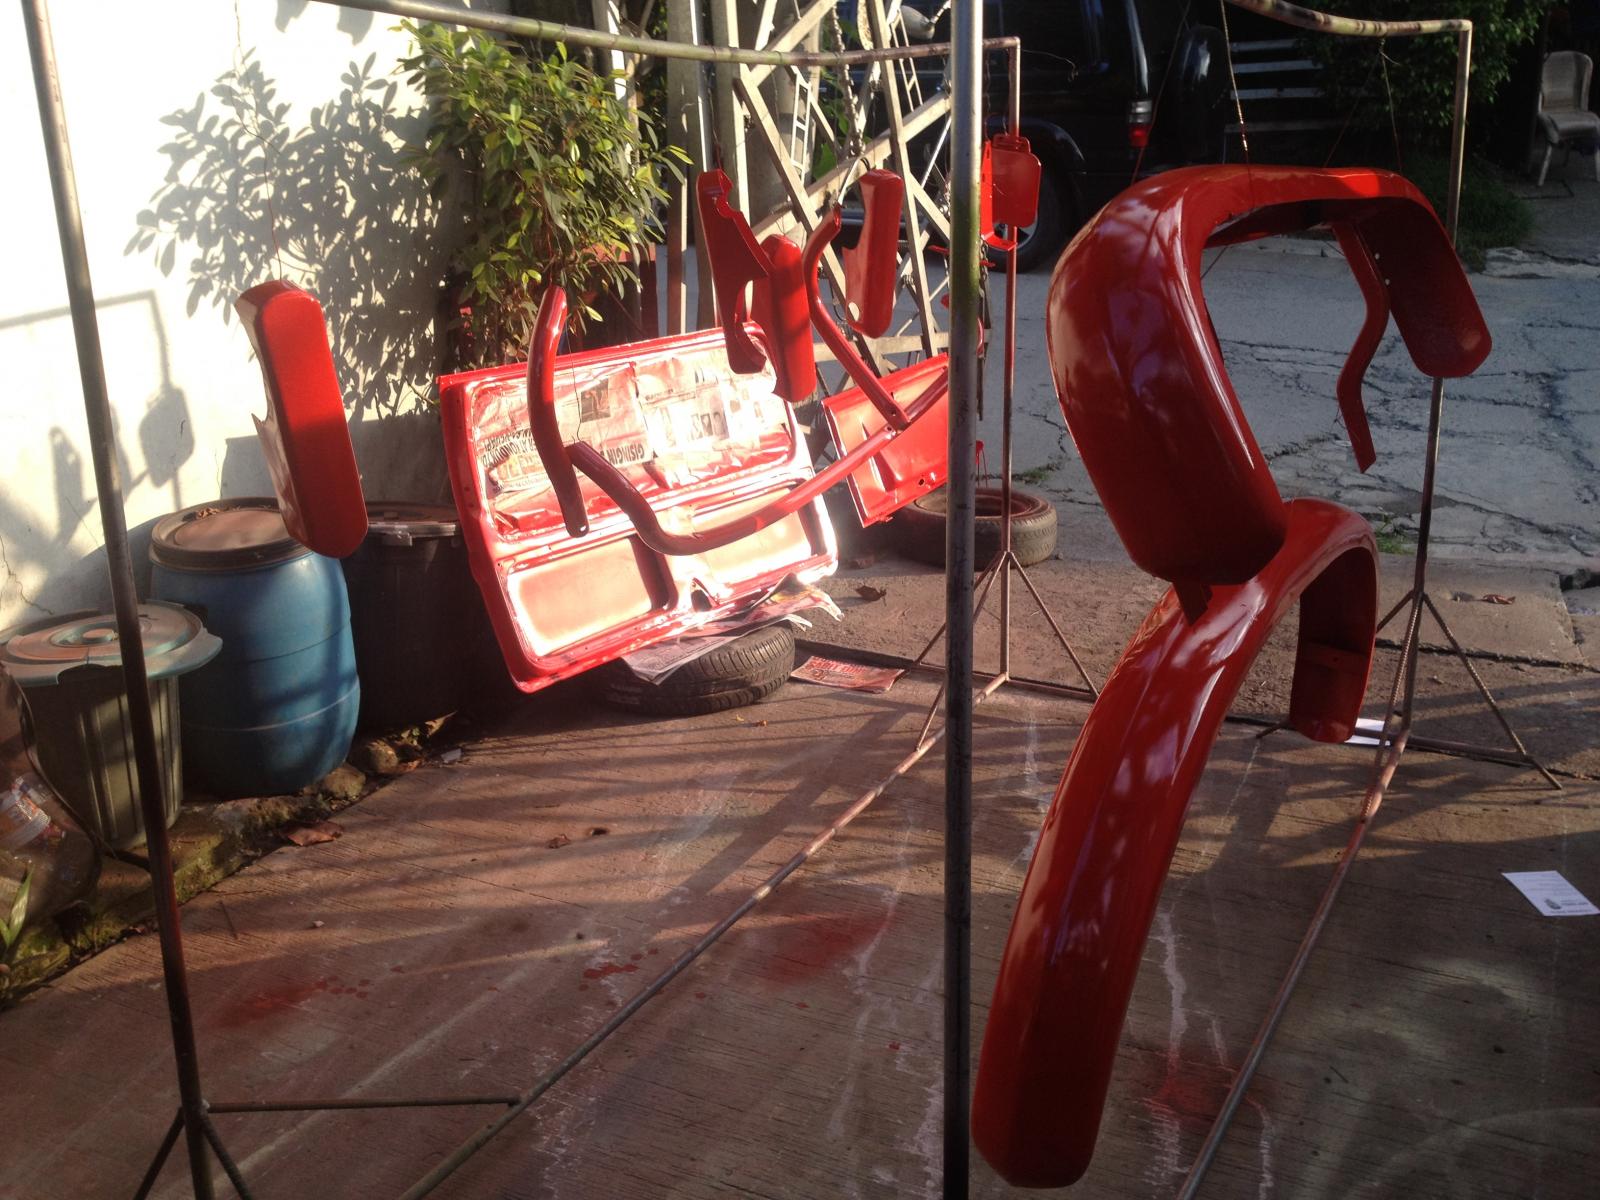
The bumpers too had to get those first coat of the Sealing Wax Red paint.. So much things to me retouched on these.
This project wont be complete without rubbing the colors. This is the one..
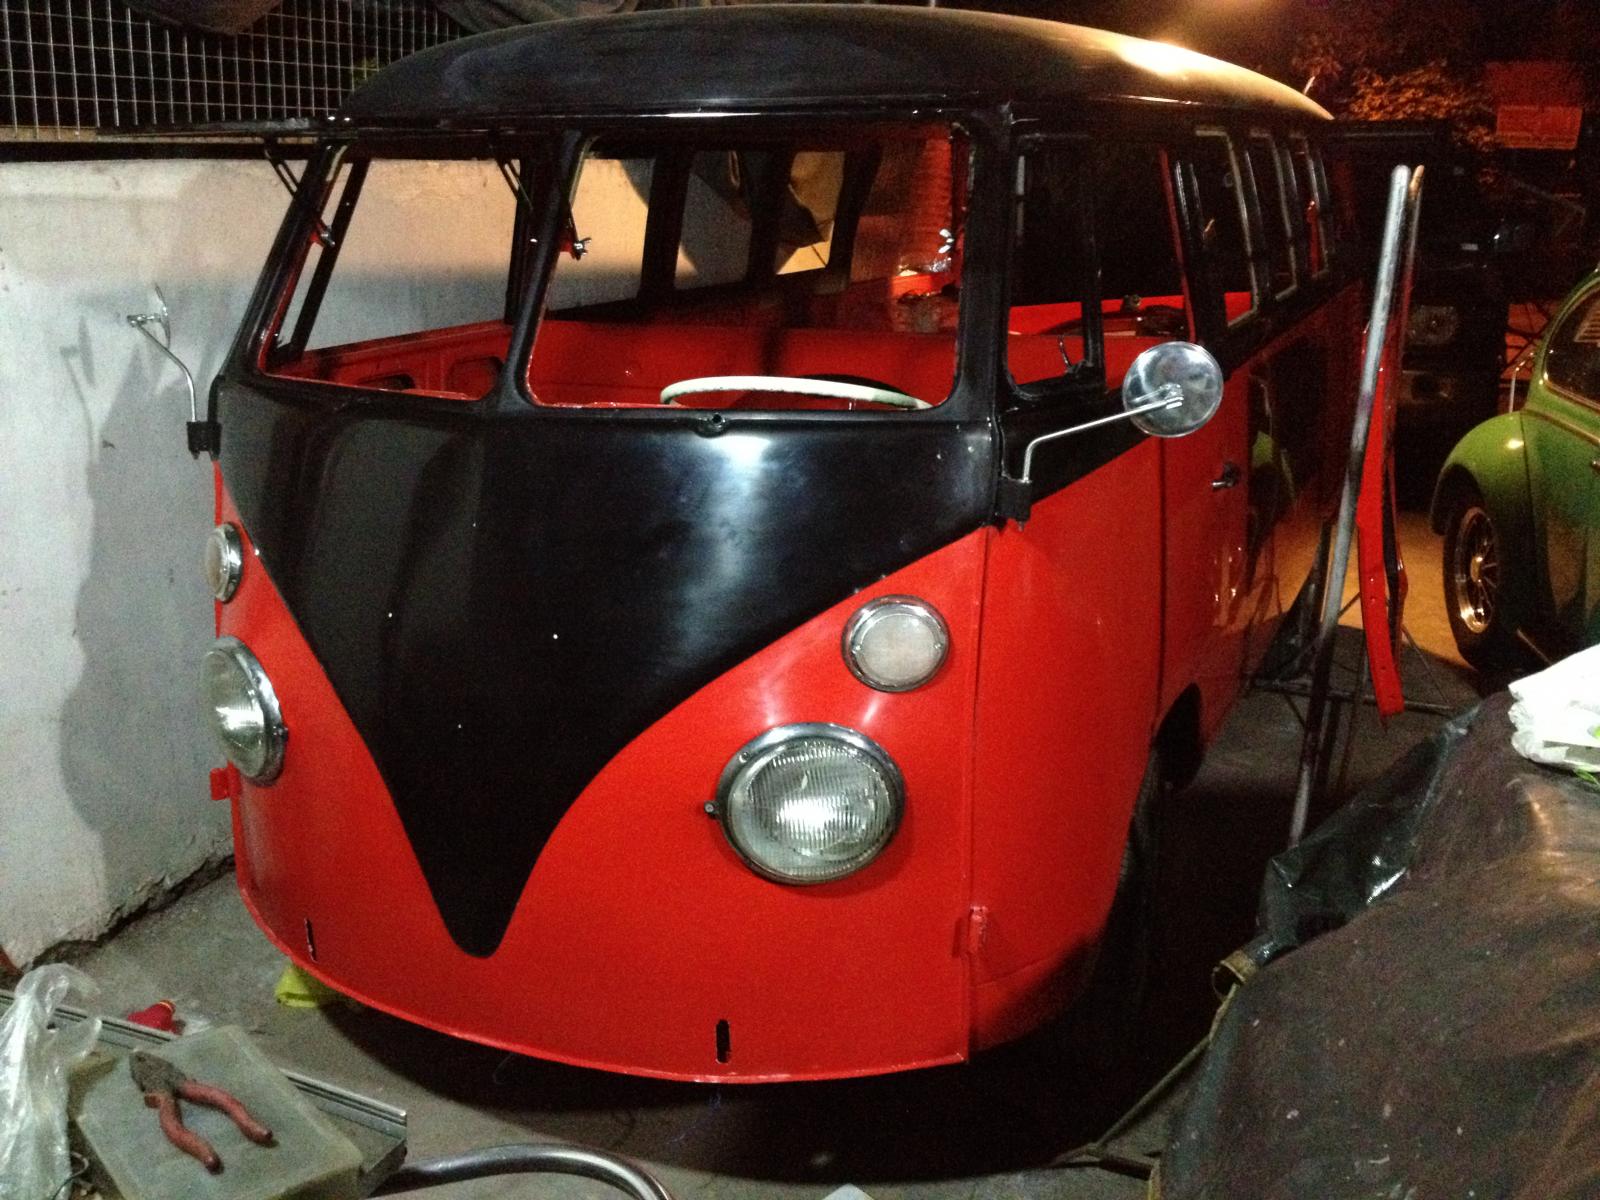
The front ends are pretty complete (I hope so!)
The paint was rubbed to get those gloss finish. No wax on this one..
dongkg
Registered user
Posts: 90
Joined: Tue Jul 16, 2013 7:58 am
Re: My '67 Split Bus Resto Thread in the Philippines
by dongkg » Wed Oct 30, 2013 11:21 am
Yesterday the interior arrived.
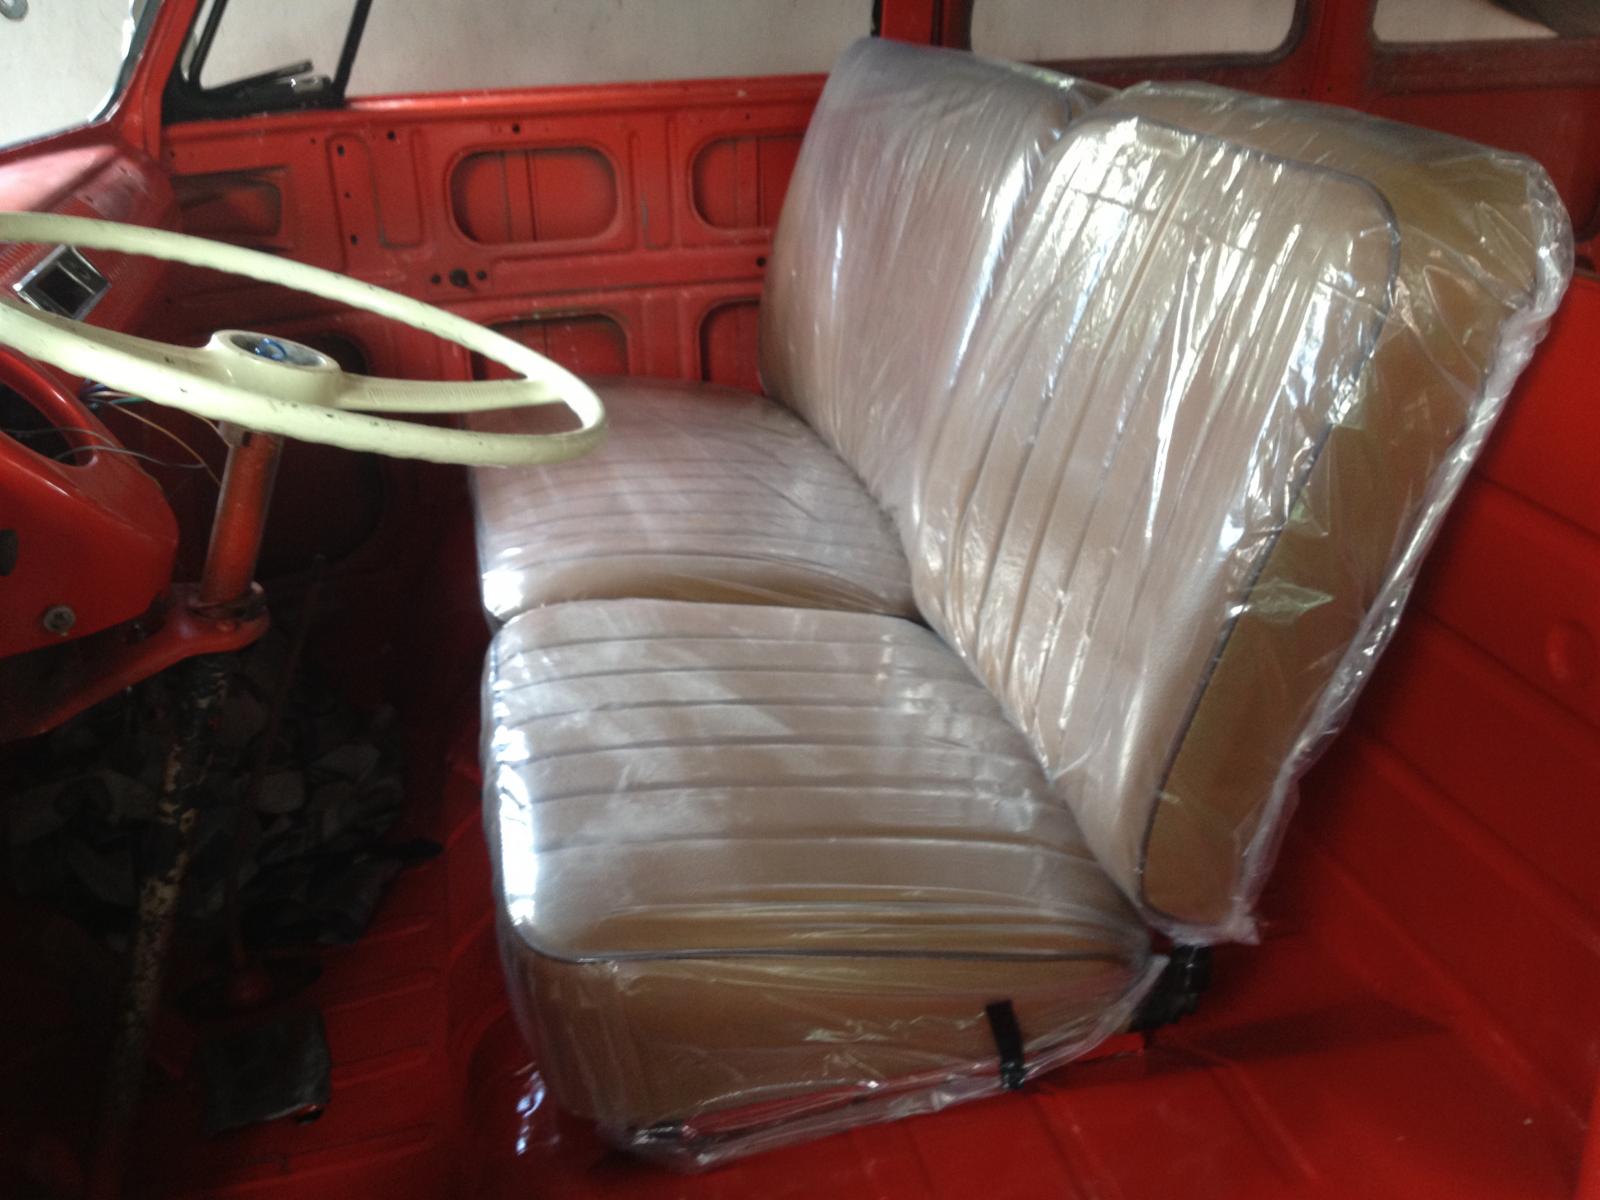
Front seats (Still with plastic cover). I fitted them at once.....
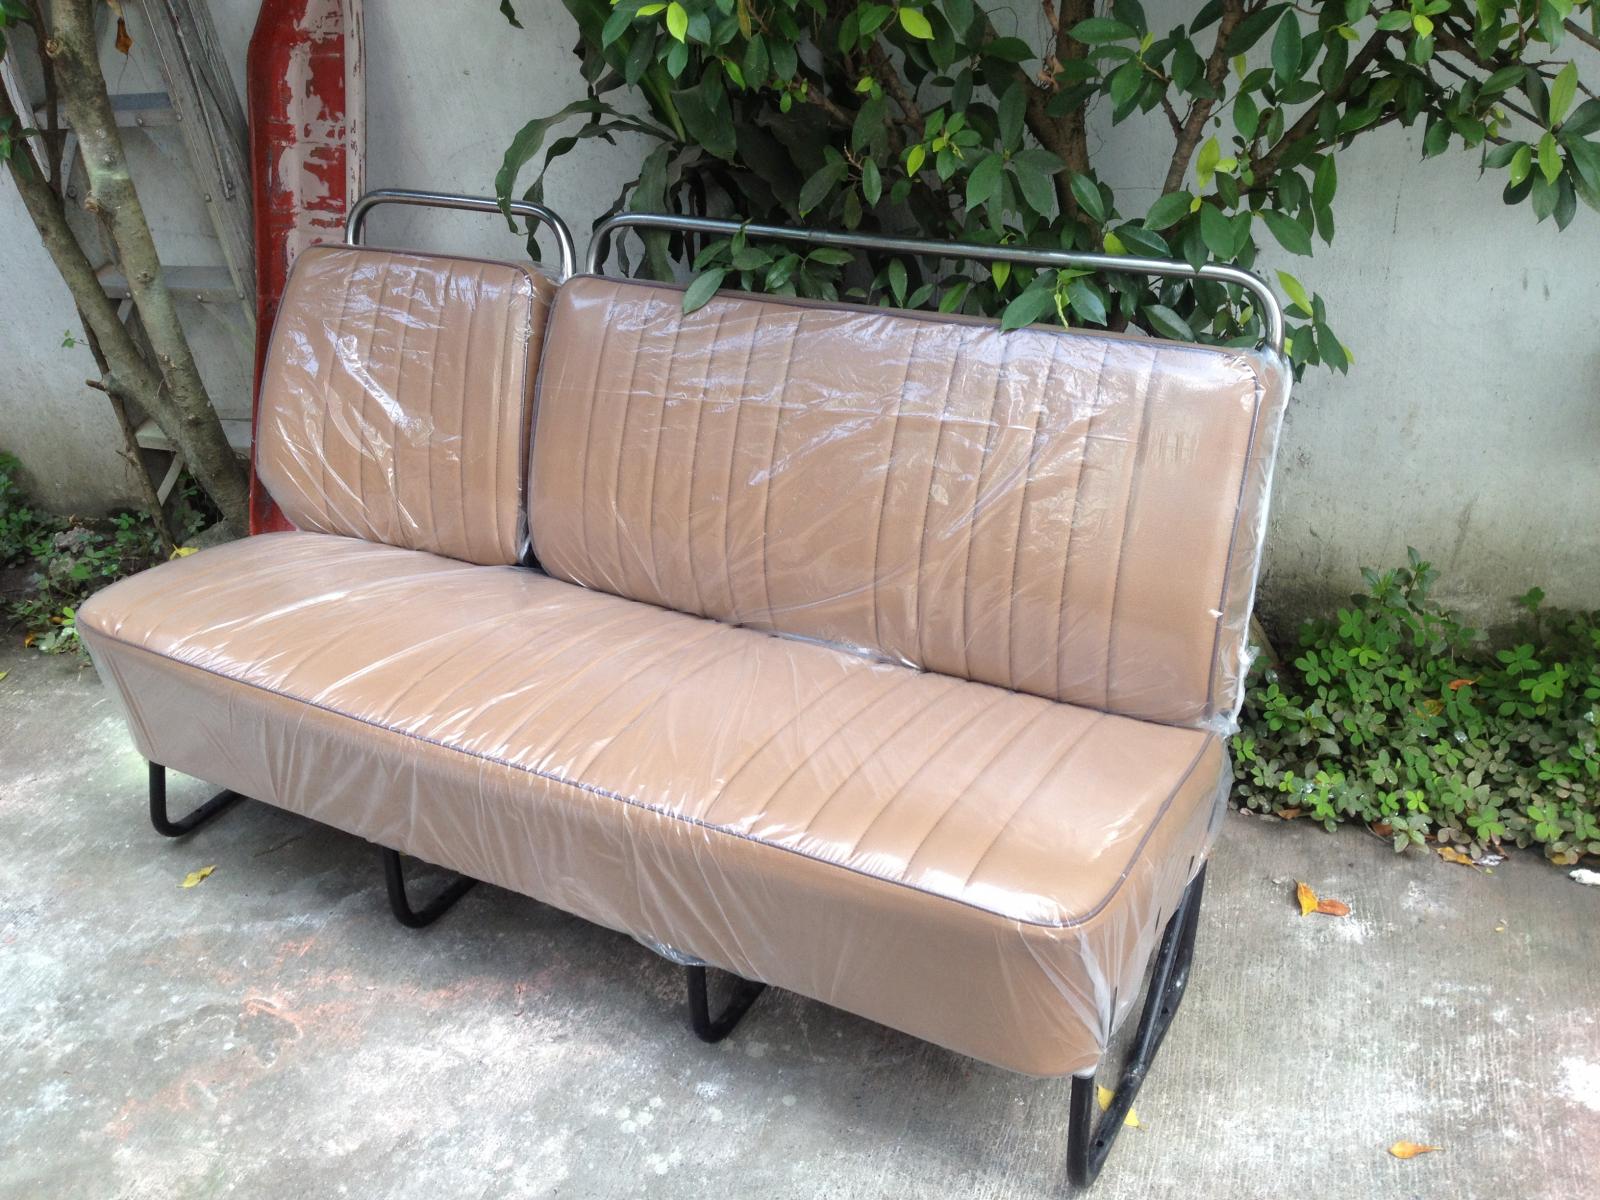
The middle row seat.
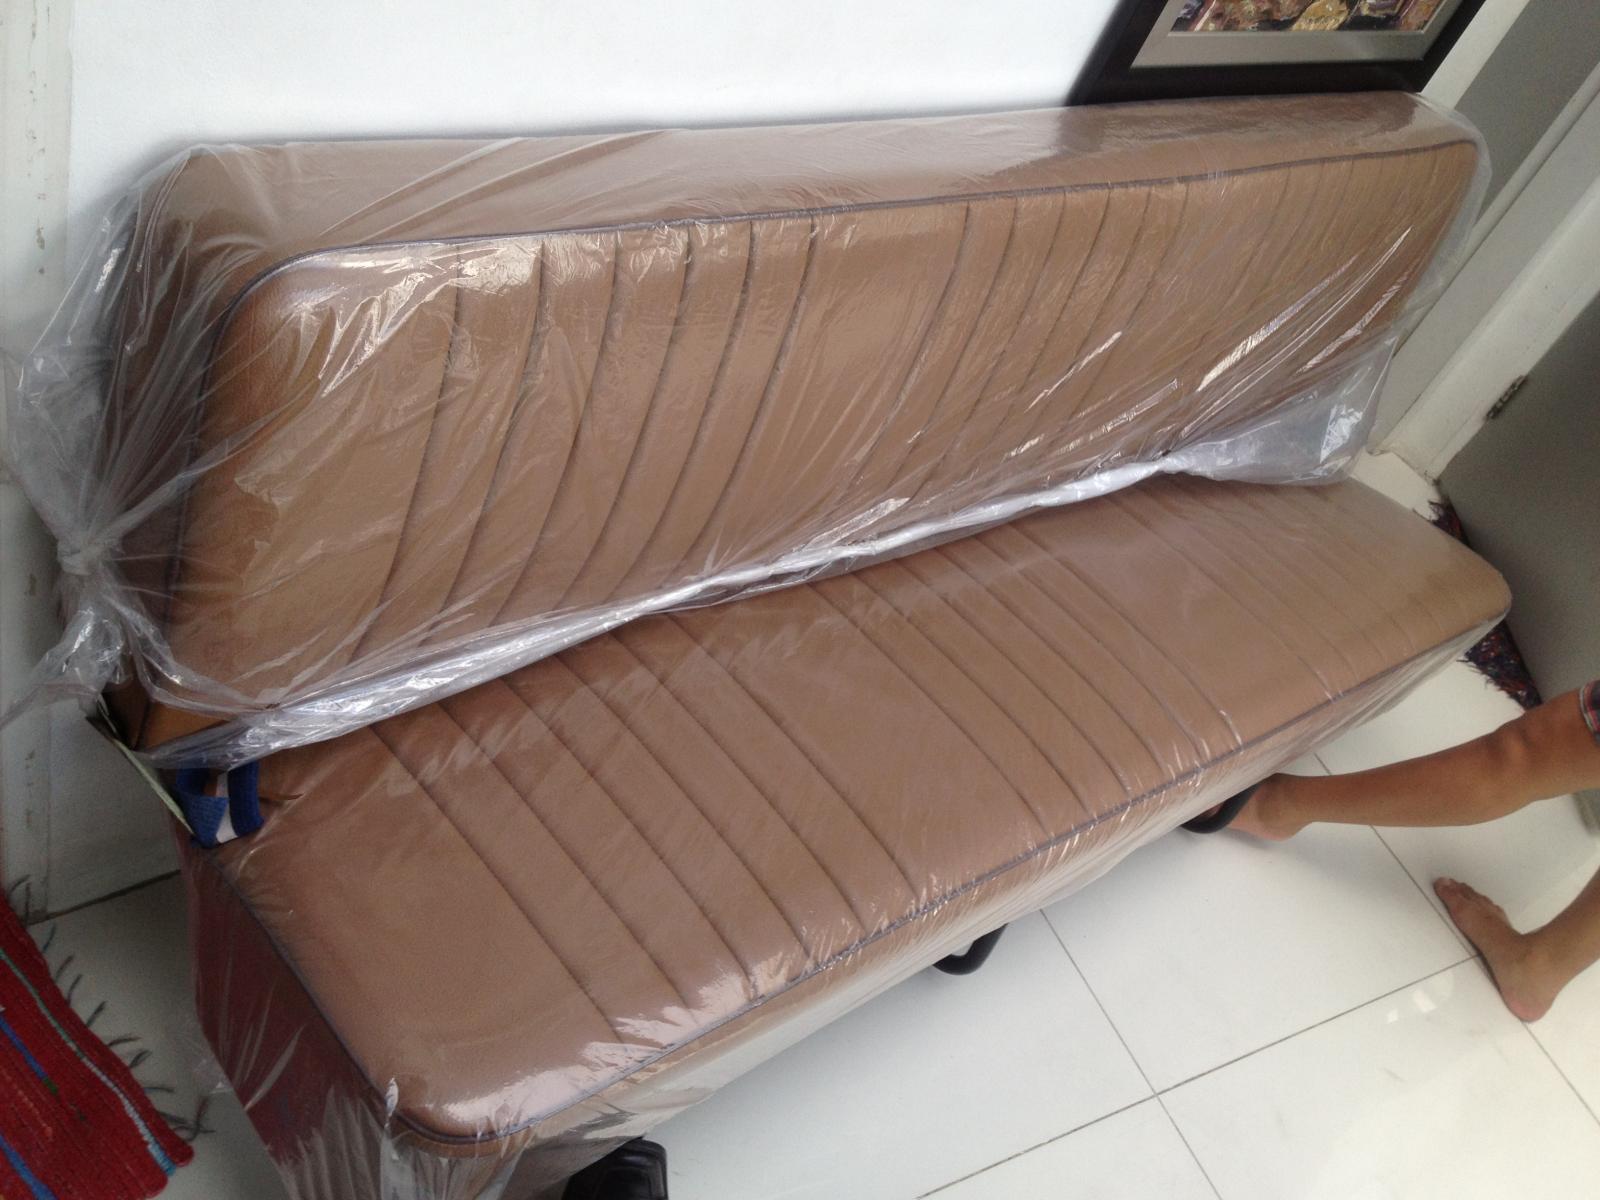
The last row seat. Kept at our dining.
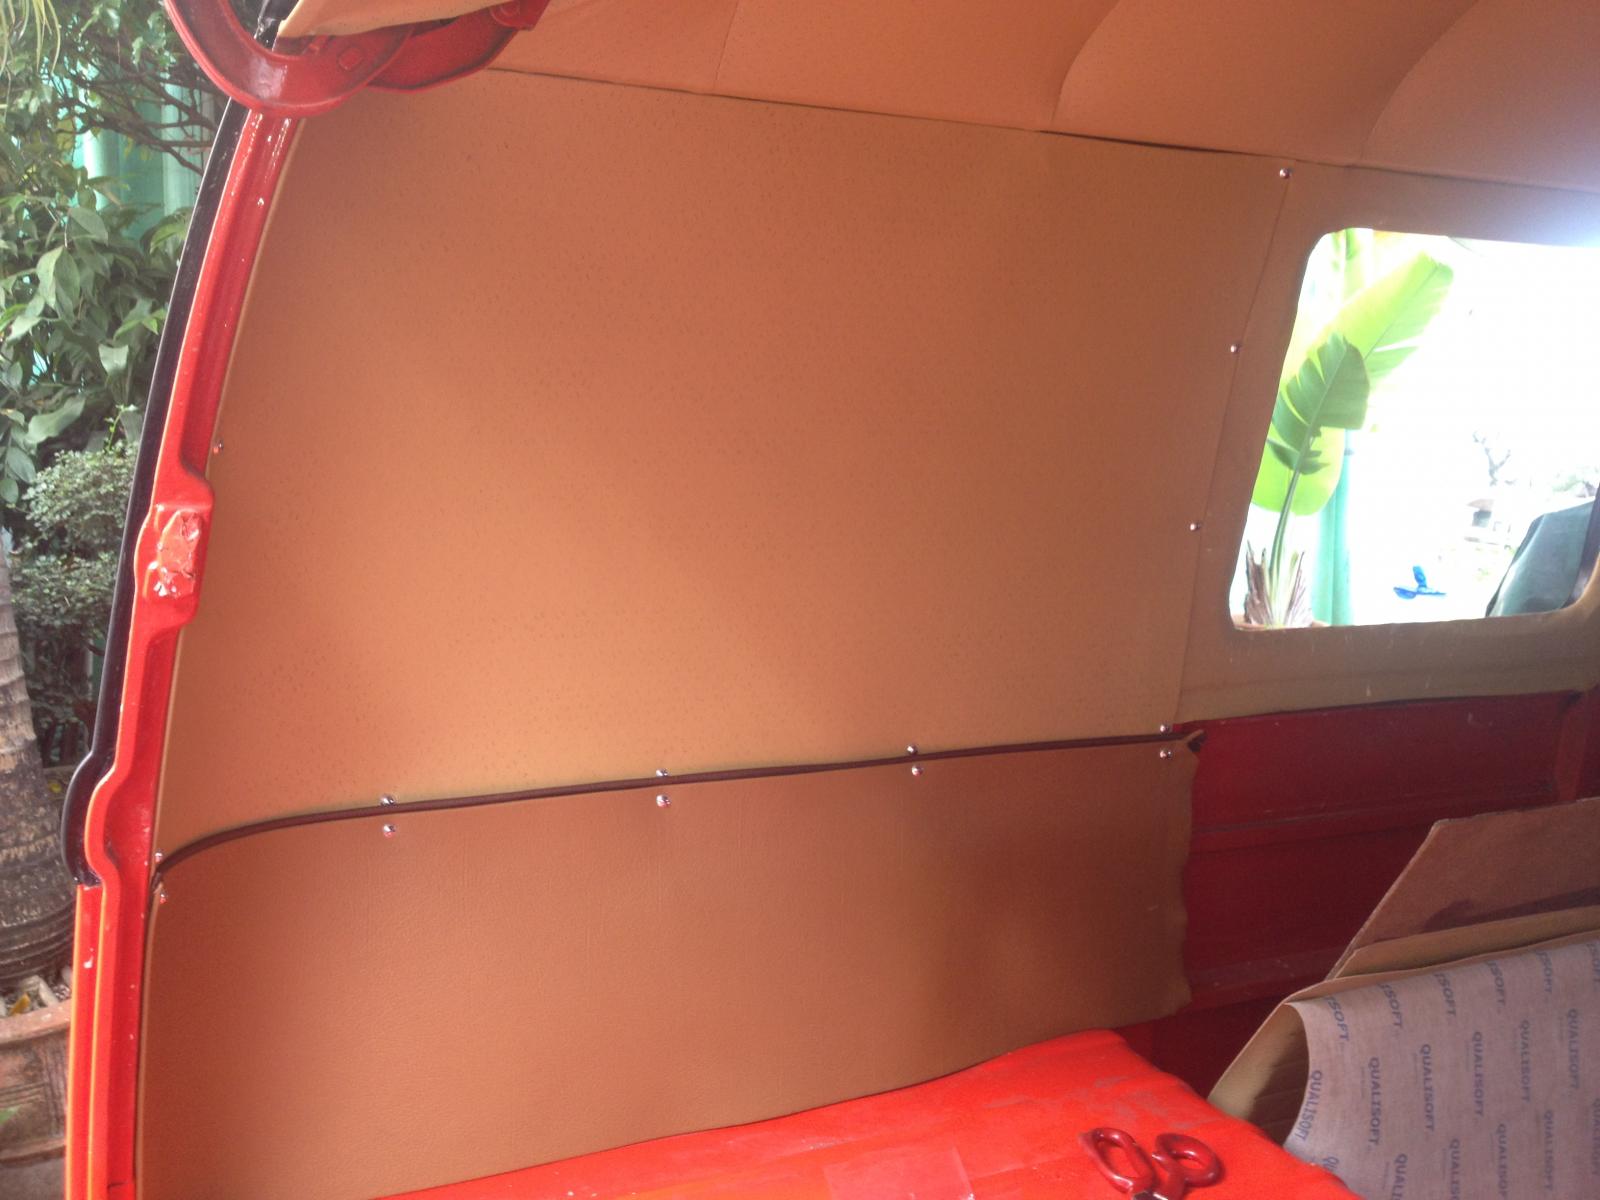
The ceiling/siding on the cargo area.
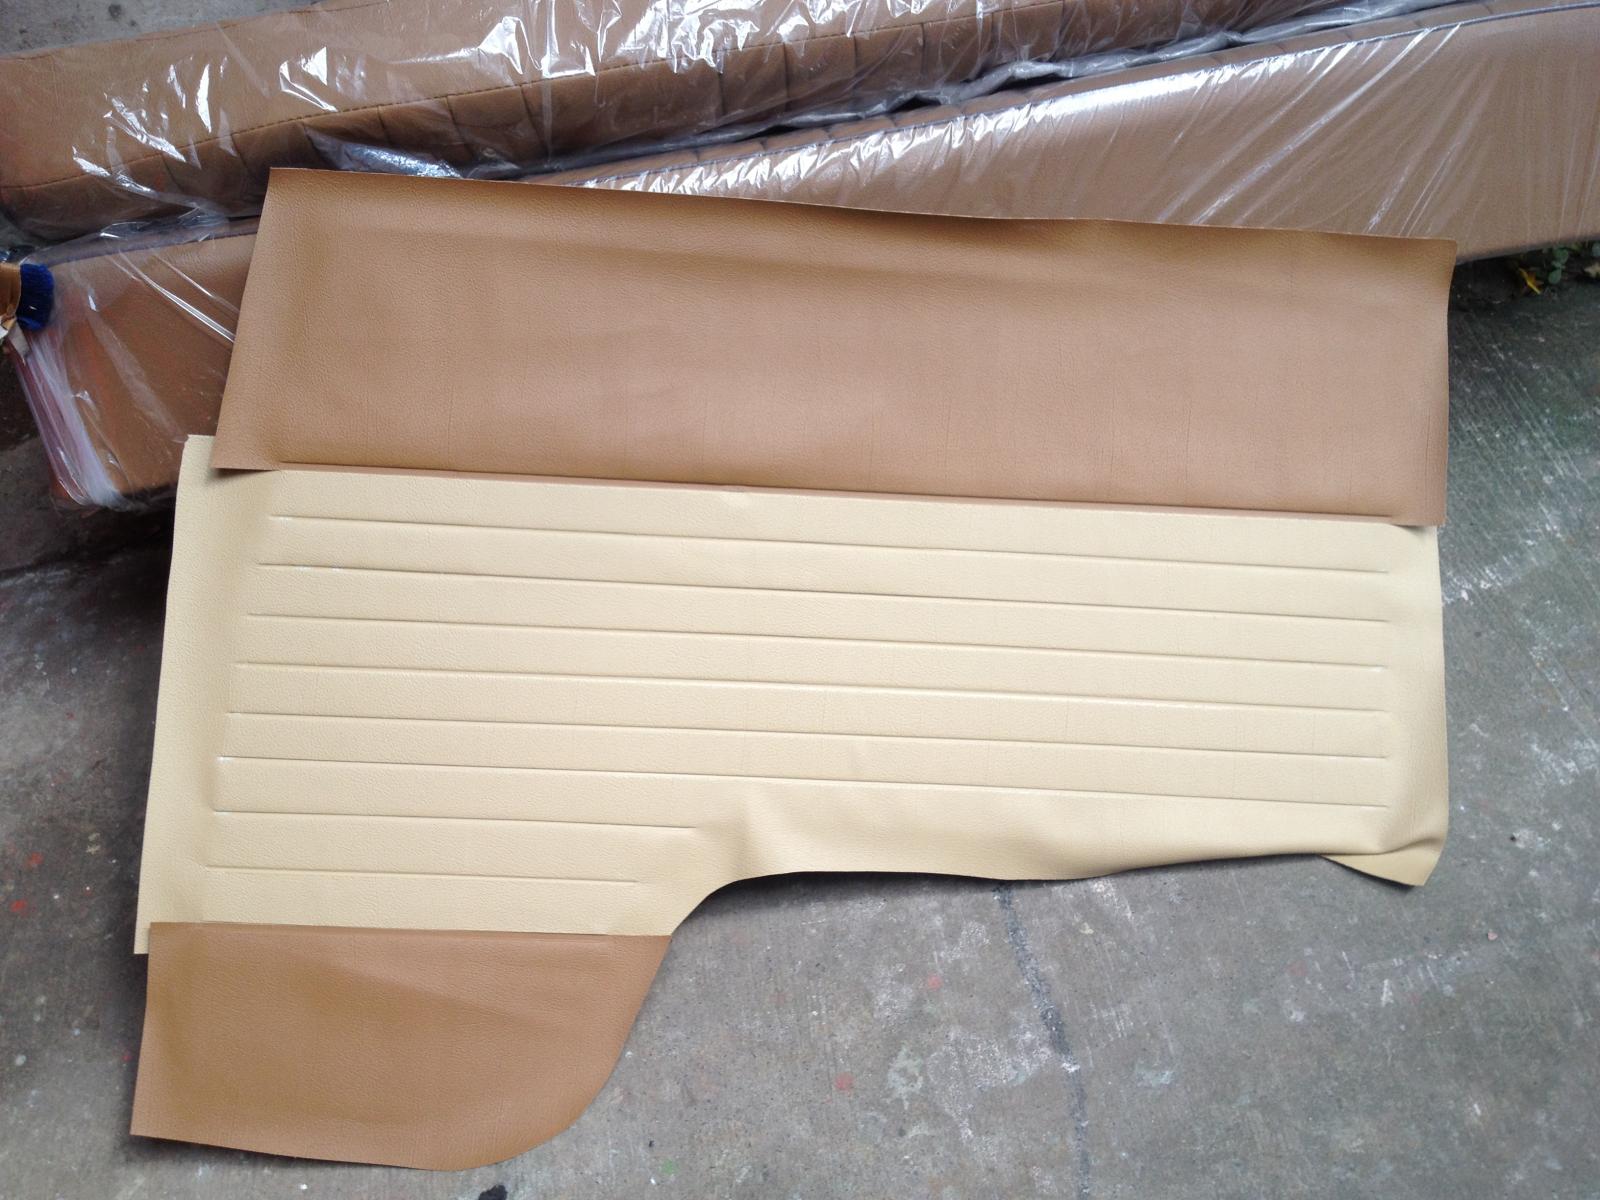
The sidings will be fitted on the bus before finishing so that it will look custom fit.
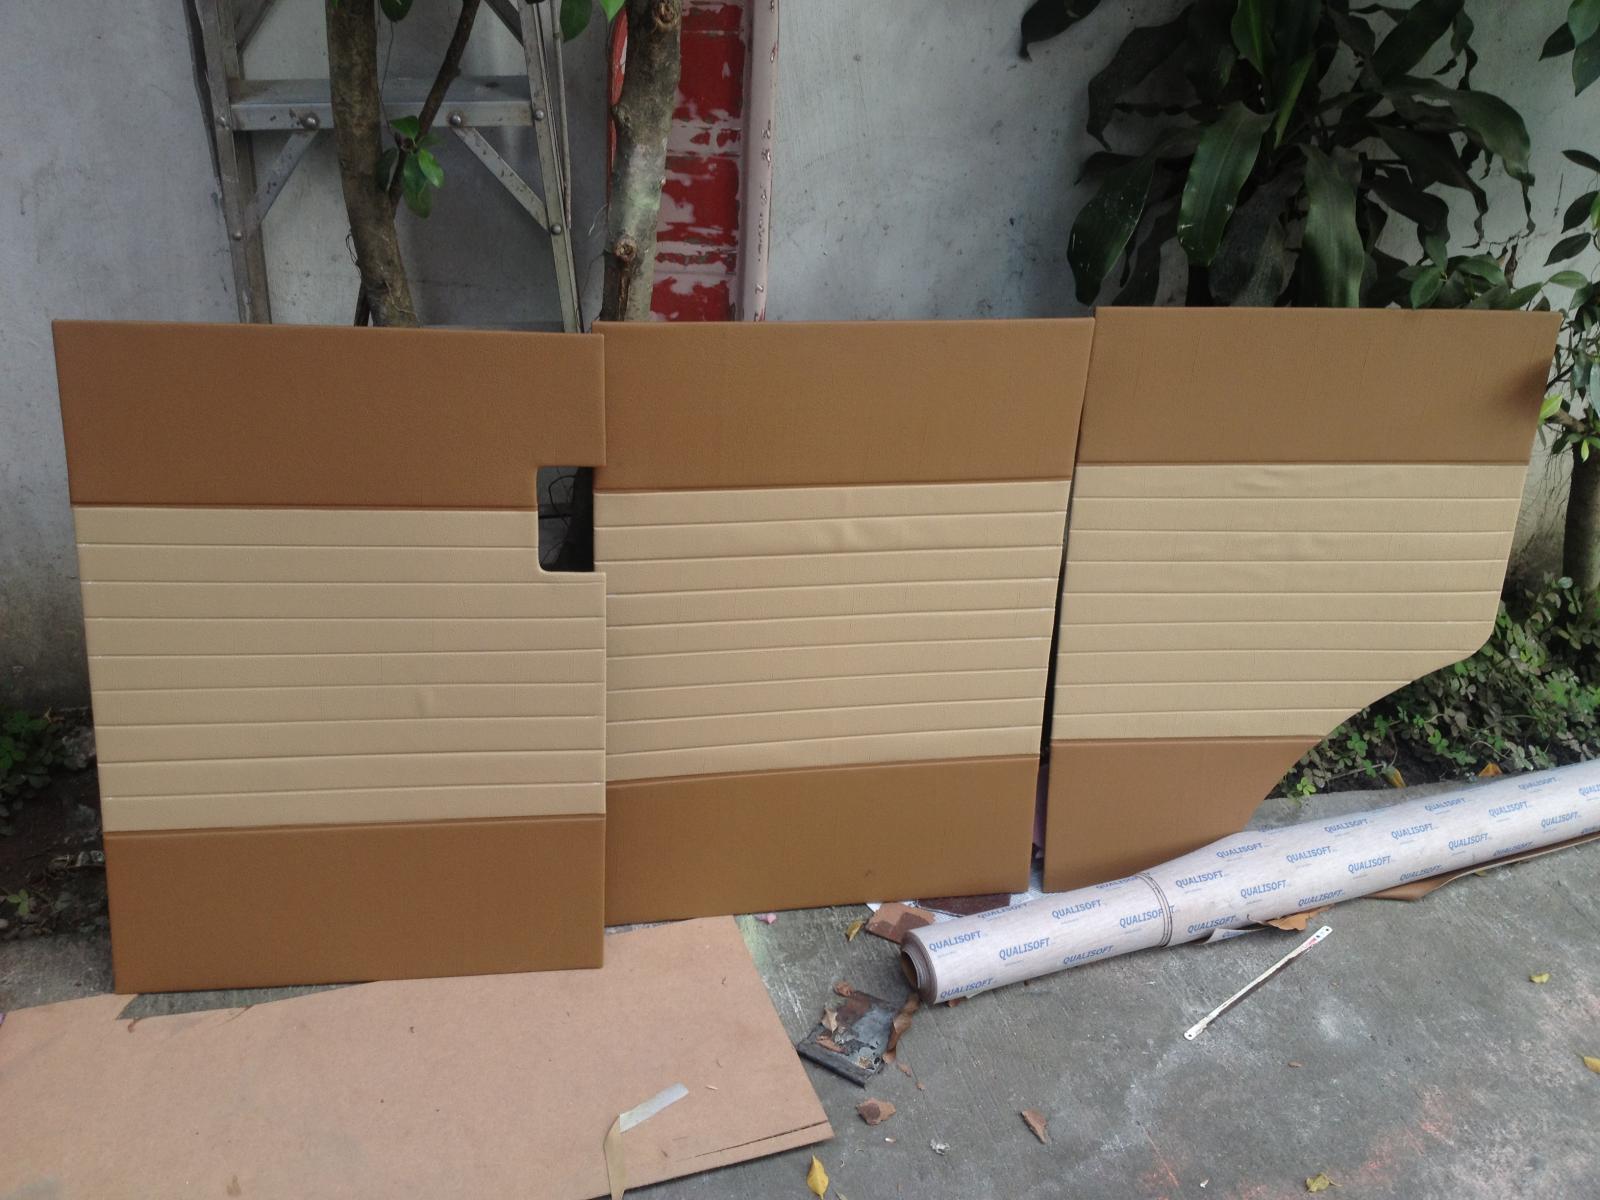
After these sidings were fitted accordingly, they were finished.
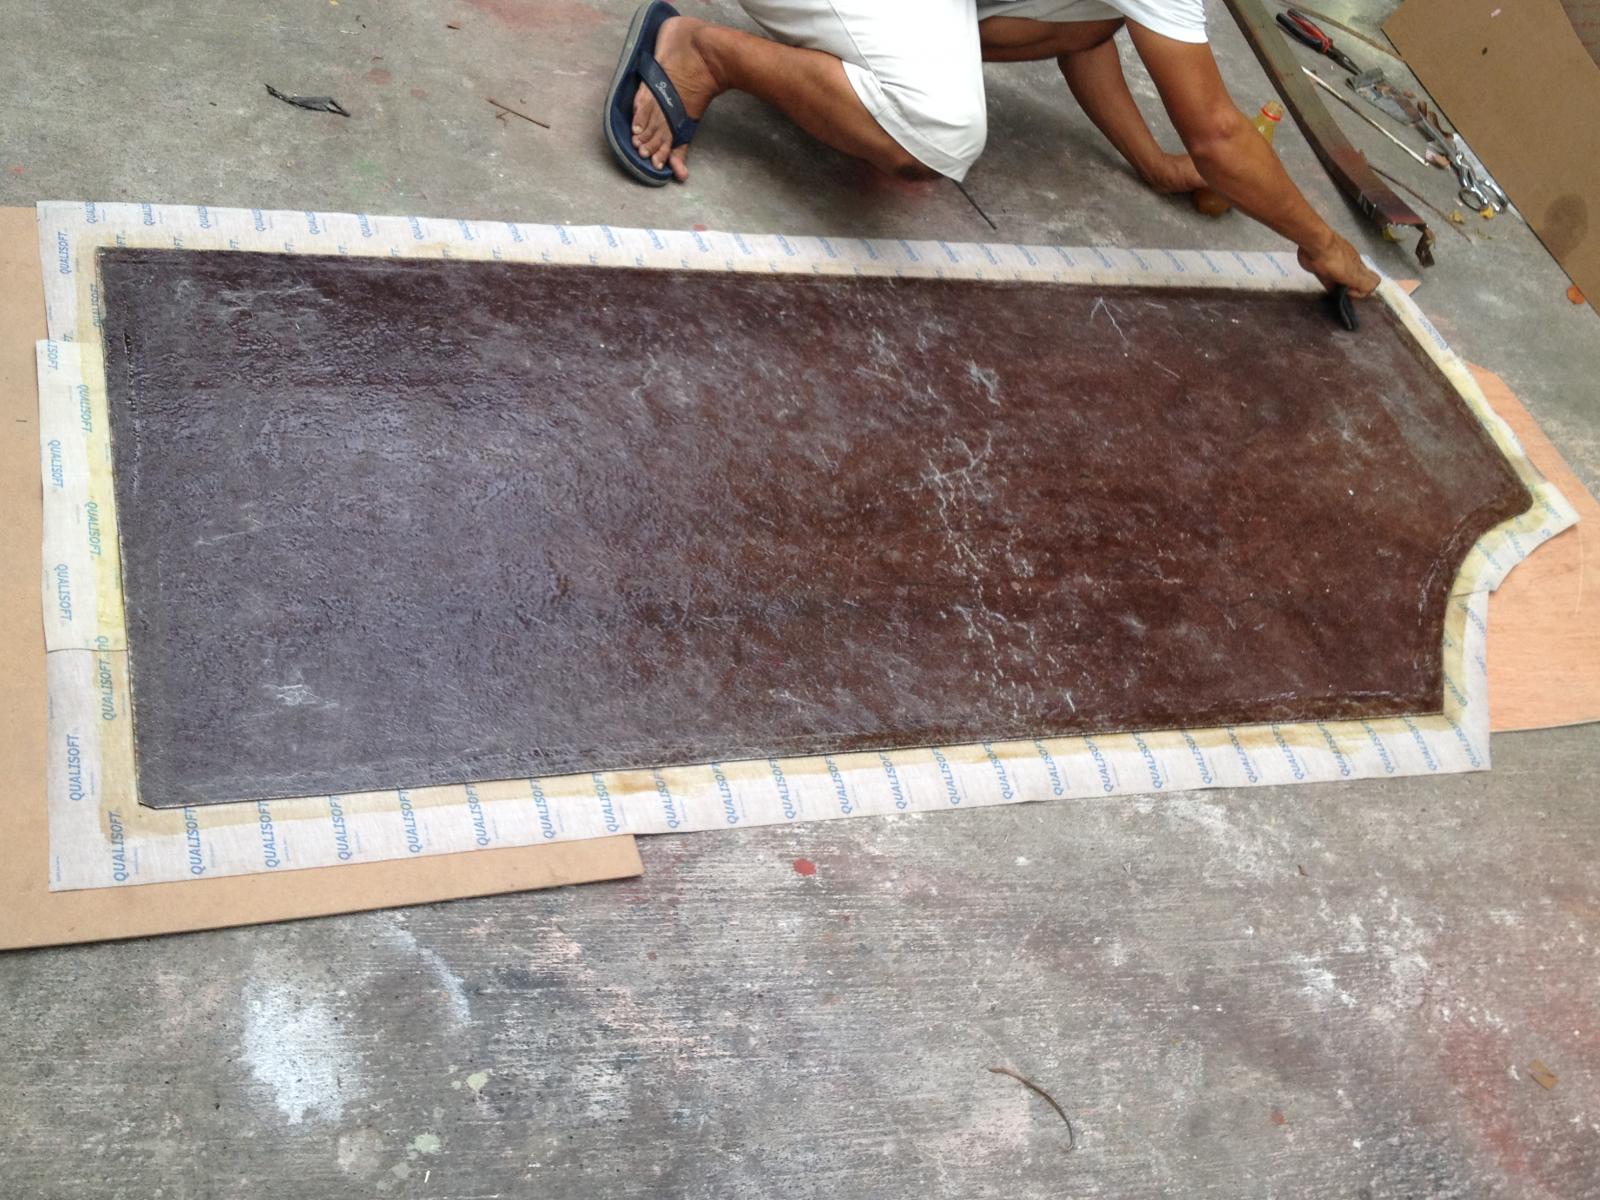
After countless fittings and adjustments, finally, the edges were being glued.

The lock tight came in handy!
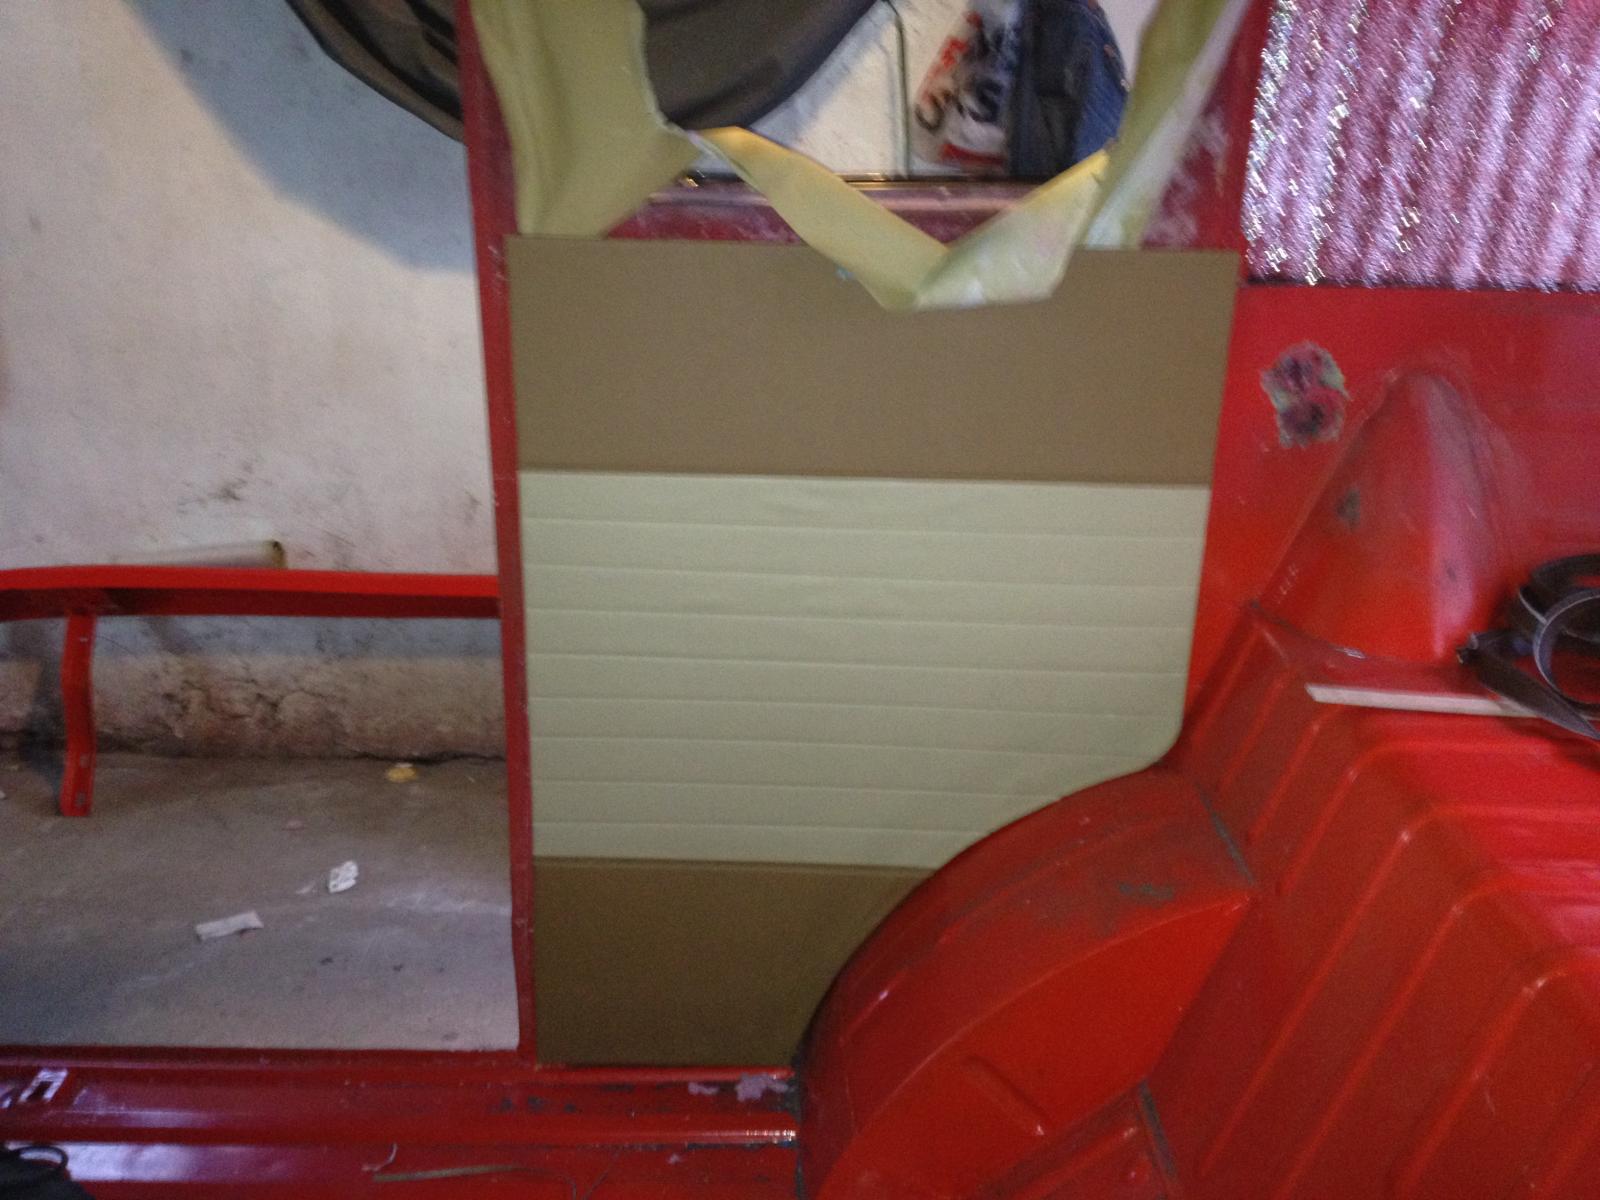
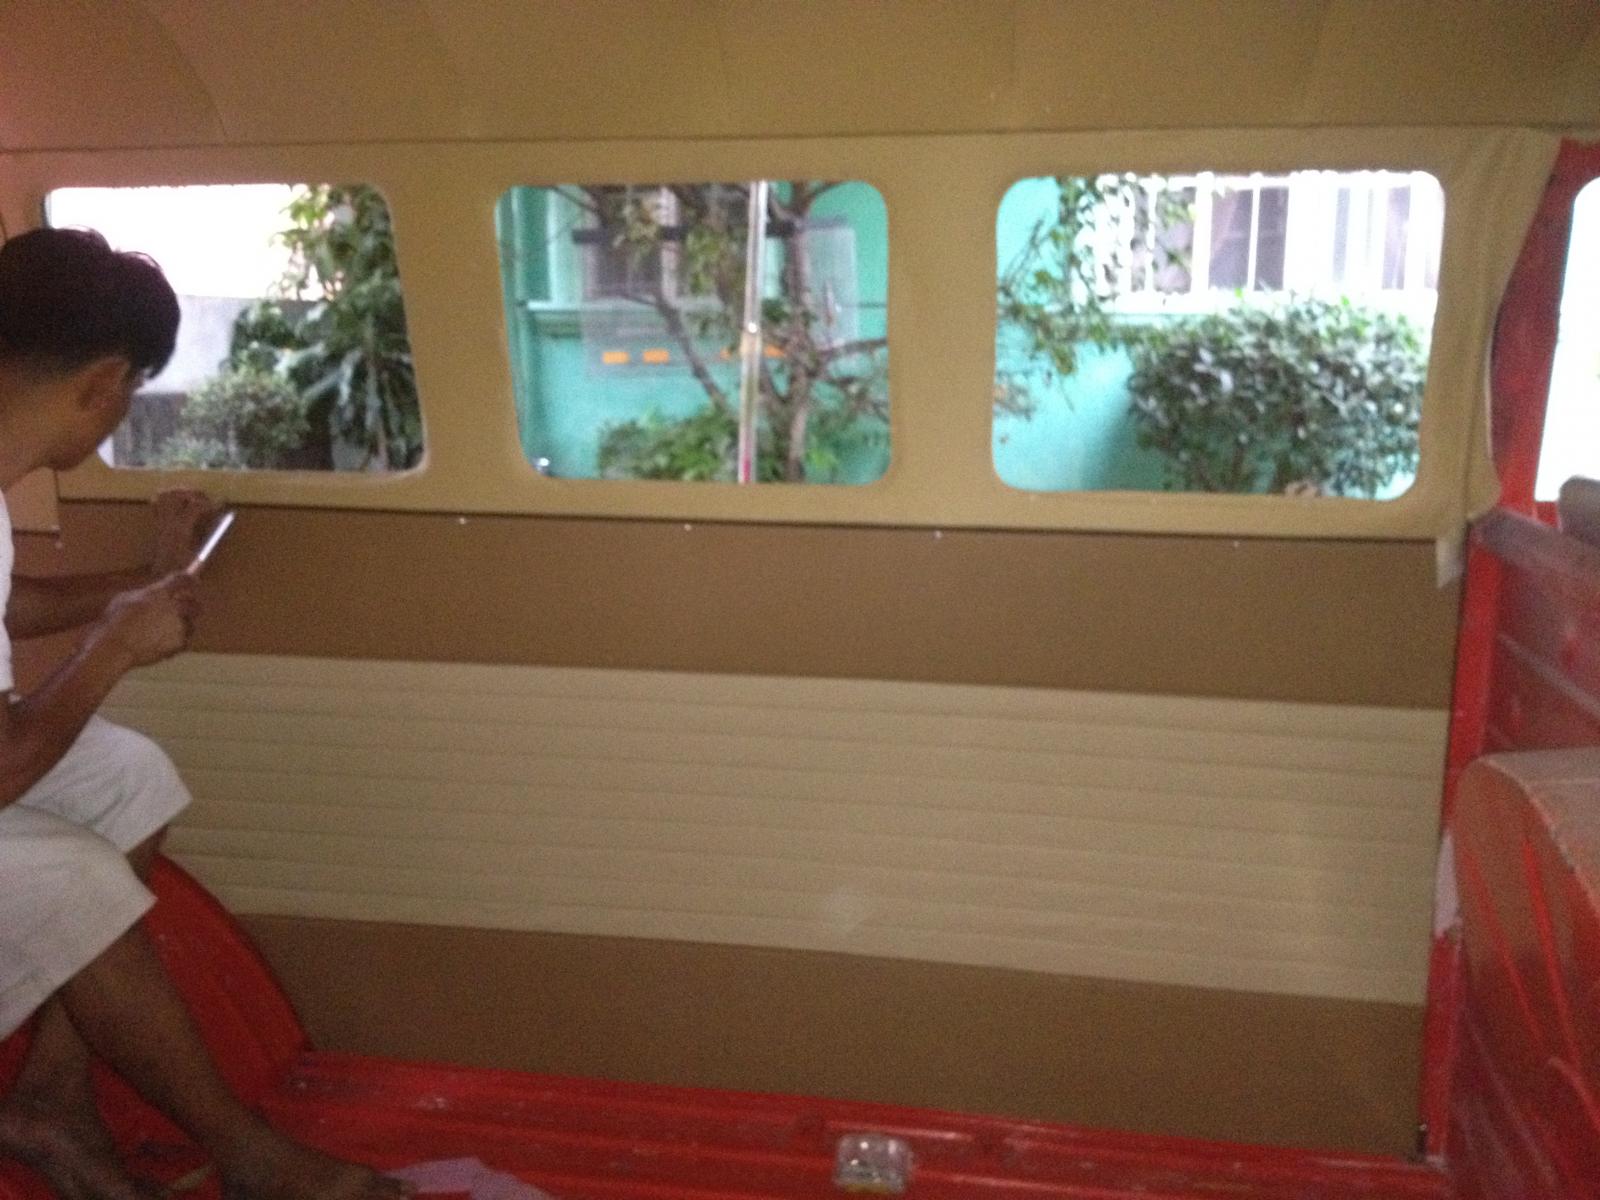
The long siding is finally fitted!
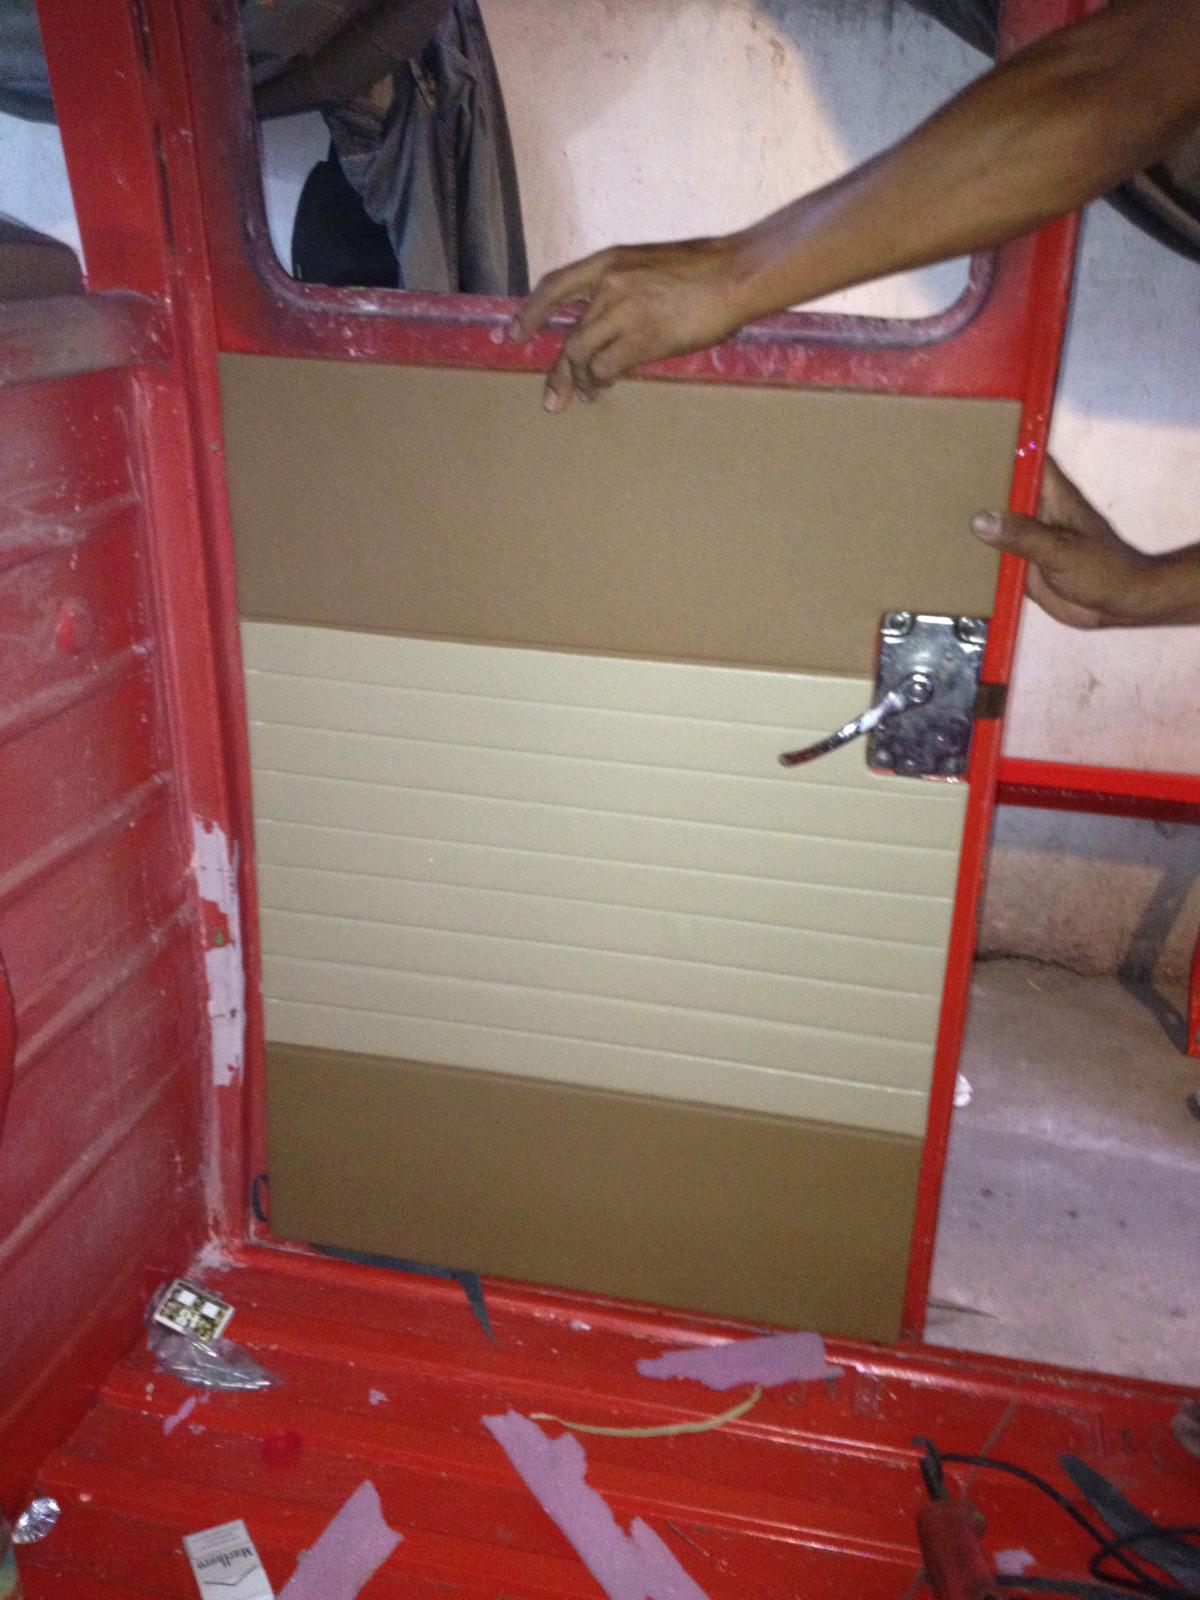
Fitting the siding of the cargo door
Hopefully, by tomorrow, there will be lots of portions to be finished.

Front seats (Still with plastic cover). I fitted them at once.....

The middle row seat.

The last row seat. Kept at our dining.

The ceiling/siding on the cargo area.

The sidings will be fitted on the bus before finishing so that it will look custom fit.

After these sidings were fitted accordingly, they were finished.

After countless fittings and adjustments, finally, the edges were being glued.

The lock tight came in handy!


The long siding is finally fitted!

Fitting the siding of the cargo door
Hopefully, by tomorrow, there will be lots of portions to be finished.
dongkg
Registered user
Posts: 90
Joined: Tue Jul 16, 2013 7:58 am
Re: My '67 Split Bus Resto Thread in the Philippines
by wicker » Thu Oct 31, 2013 10:04 pm
Love that interior.
Are they heat seamed "stripes" on the cream middle section?? If so how did you do it?? (if you dont mind sharing your secrets)
Keep up the good work dude.
Eric.
Are they heat seamed "stripes" on the cream middle section?? If so how did you do it?? (if you dont mind sharing your secrets)
Keep up the good work dude.
Eric.
wicker
Registered user
Posts: 1316
Joined: Tue Oct 17, 2006 11:23 pm
Re: My '67 Split Bus Resto Thread in the Philippines
by dongkg » Wed Nov 13, 2013 5:01 am
wicker wrote:Love that interior.
Are they heat seamed "stripes" on the cream middle section?? If so how did you do it?? (if you dont mind sharing your secrets)
Keep up the good work dude.
Eric.
Thanks buddy.
Of course, everything is an open book. It was done using the pressing machine made by the upholsterer. it turned out cool.
Thanks,
Dong
dongkg
Registered user
Posts: 90
Joined: Tue Jul 16, 2013 7:58 am
Re: My '67 Split Bus Resto Thread in the Philippines
by dongkg » Wed Nov 13, 2013 5:04 am
Note: These pics where taken about a week ago or so.
That weekend we covered many areas. These are the pictures:
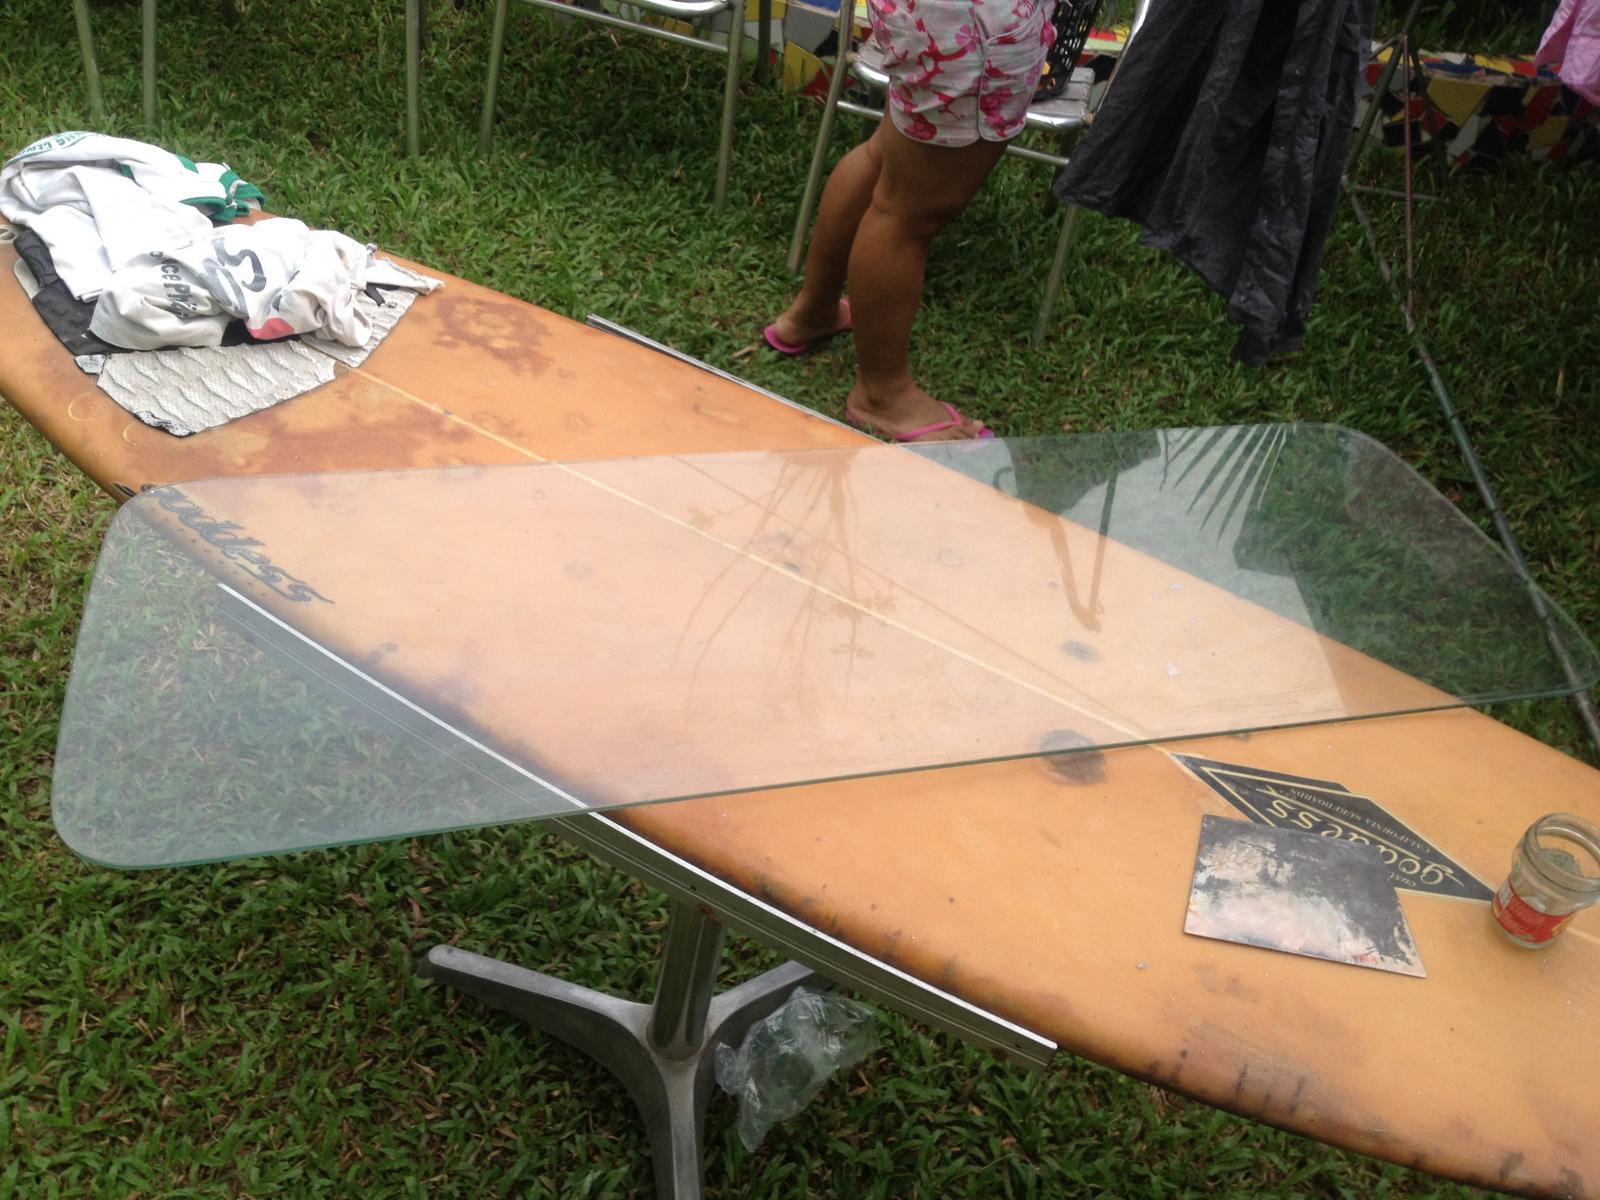
I cleraned this rear hatch window. Looked like it was kept for ages.
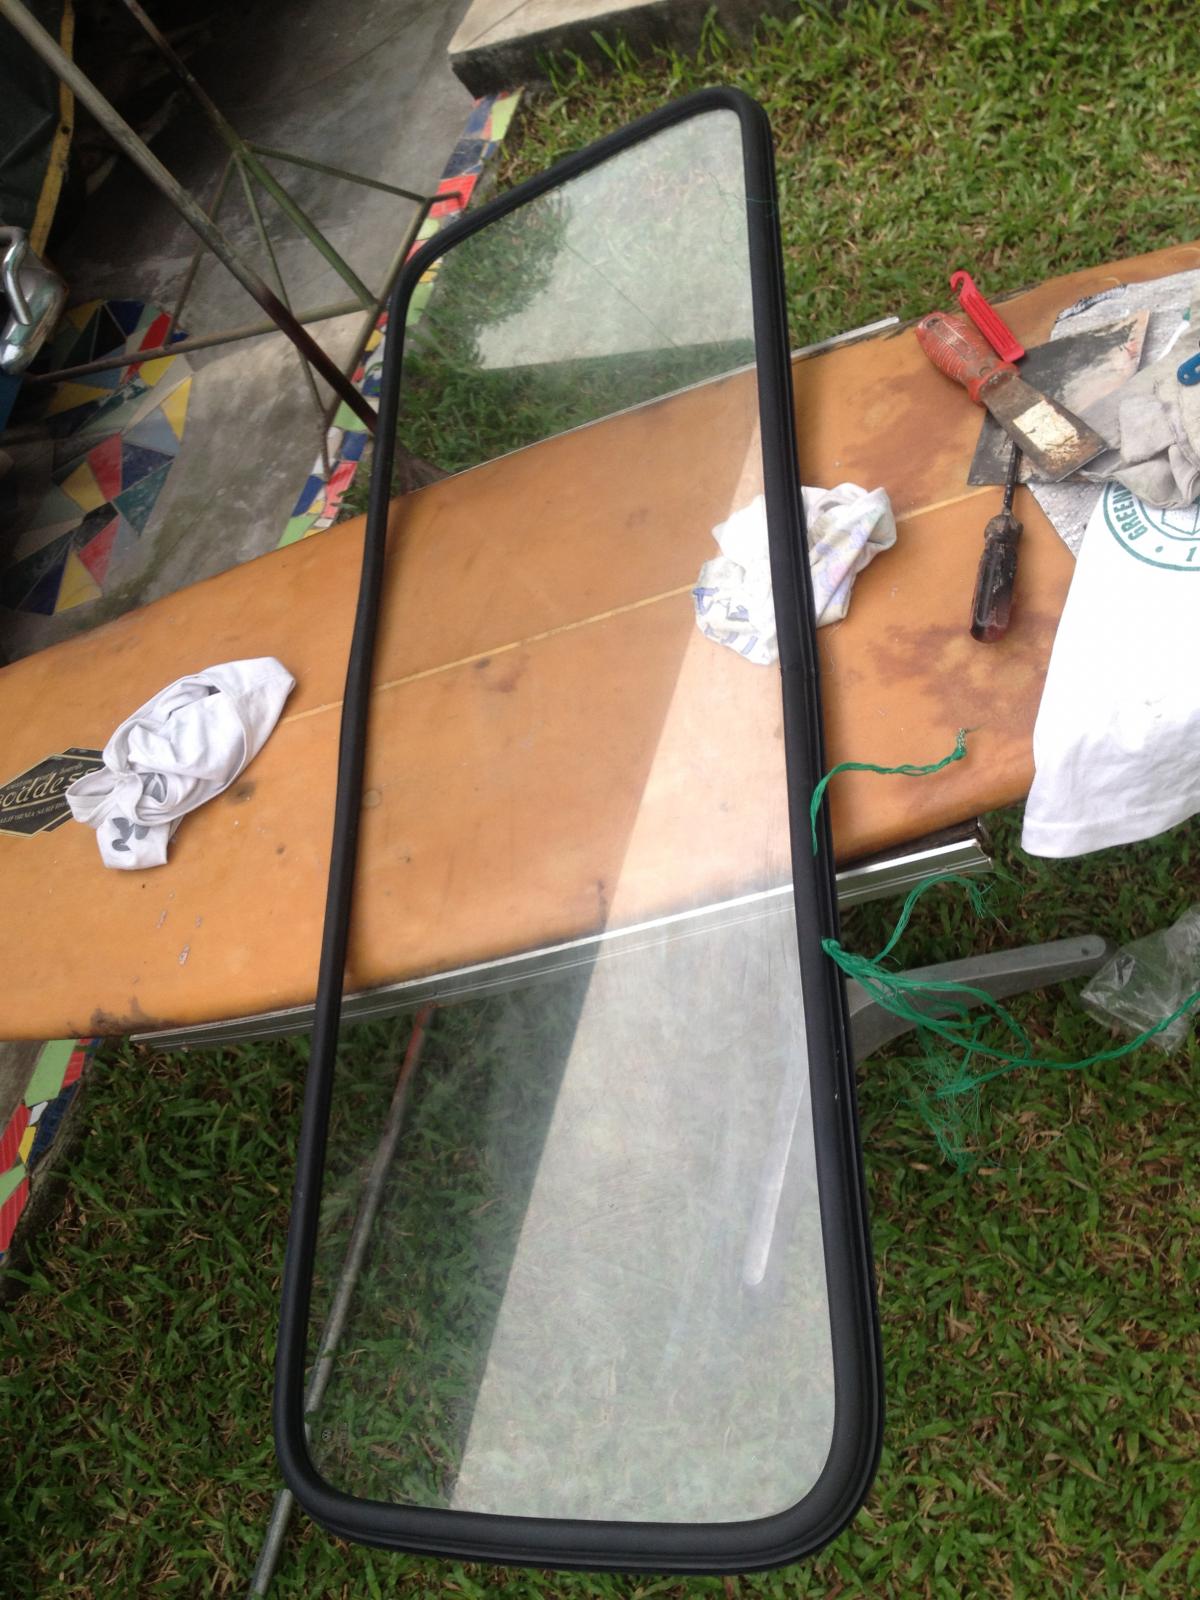
Since the rubber was new, fitting it was like a breeze.
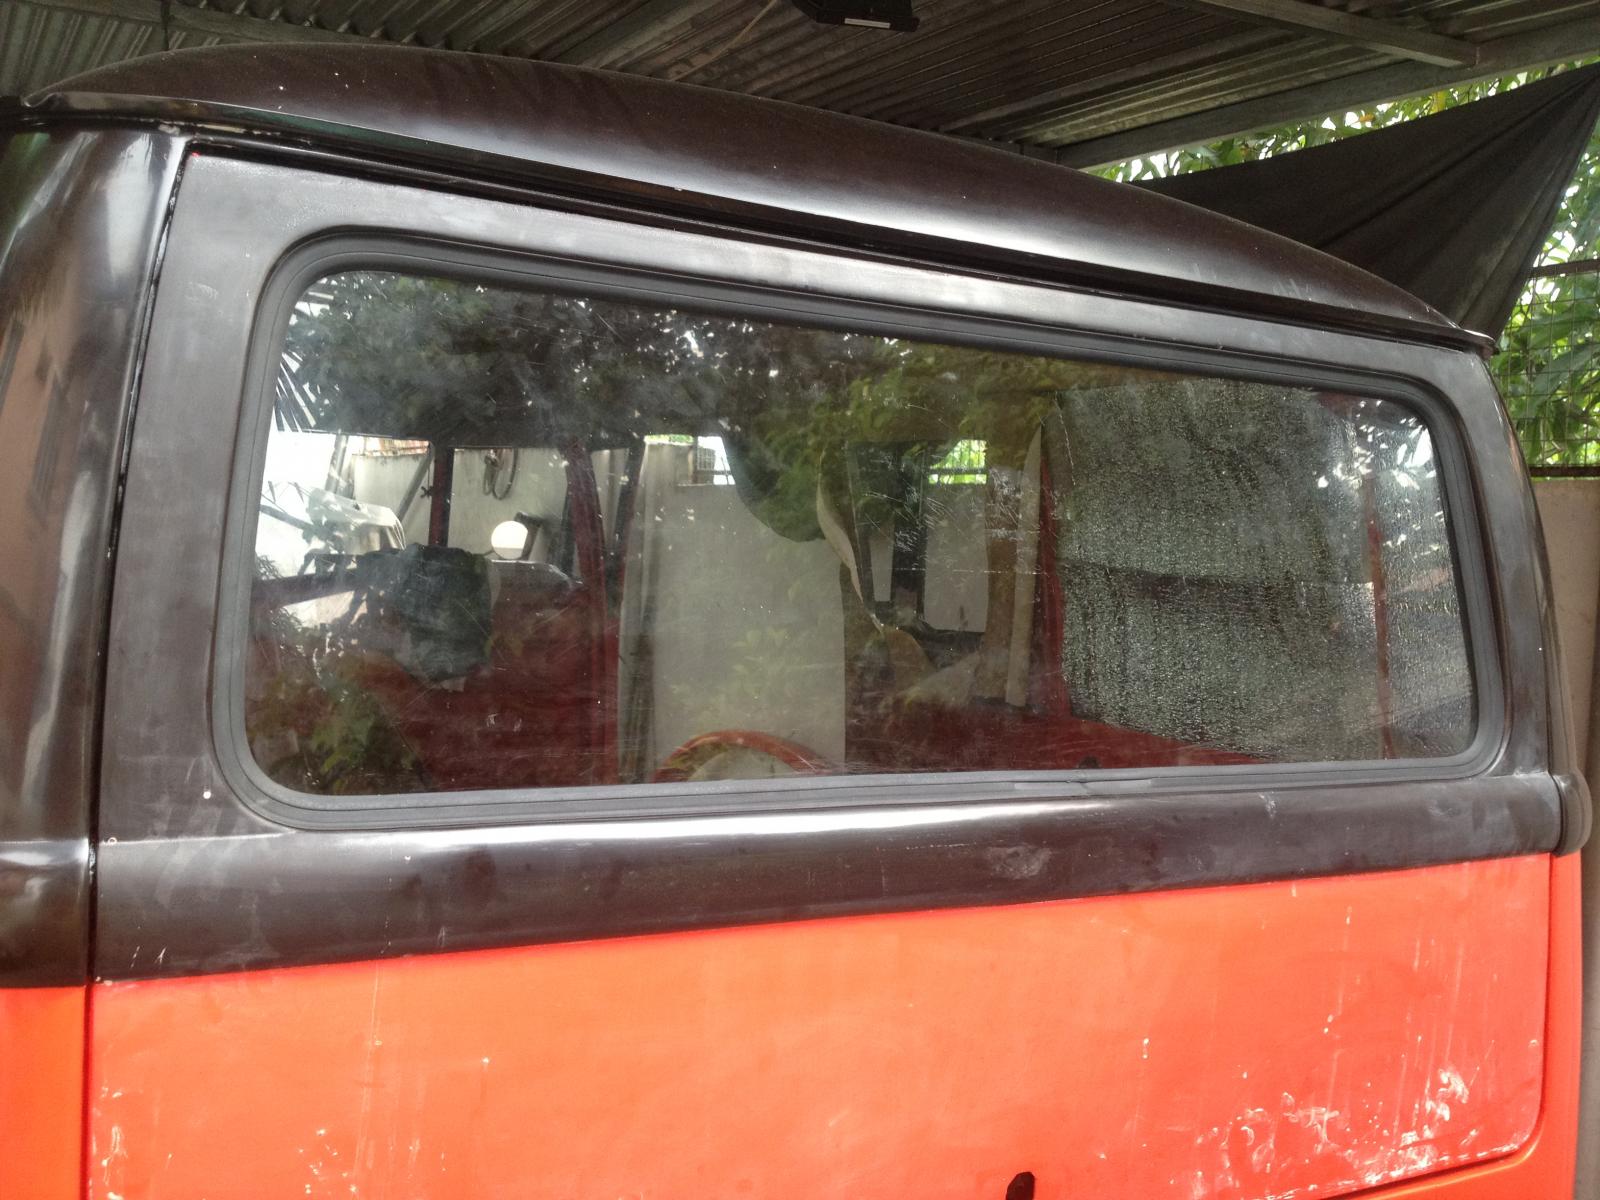
Pulling the string was an easy task too.
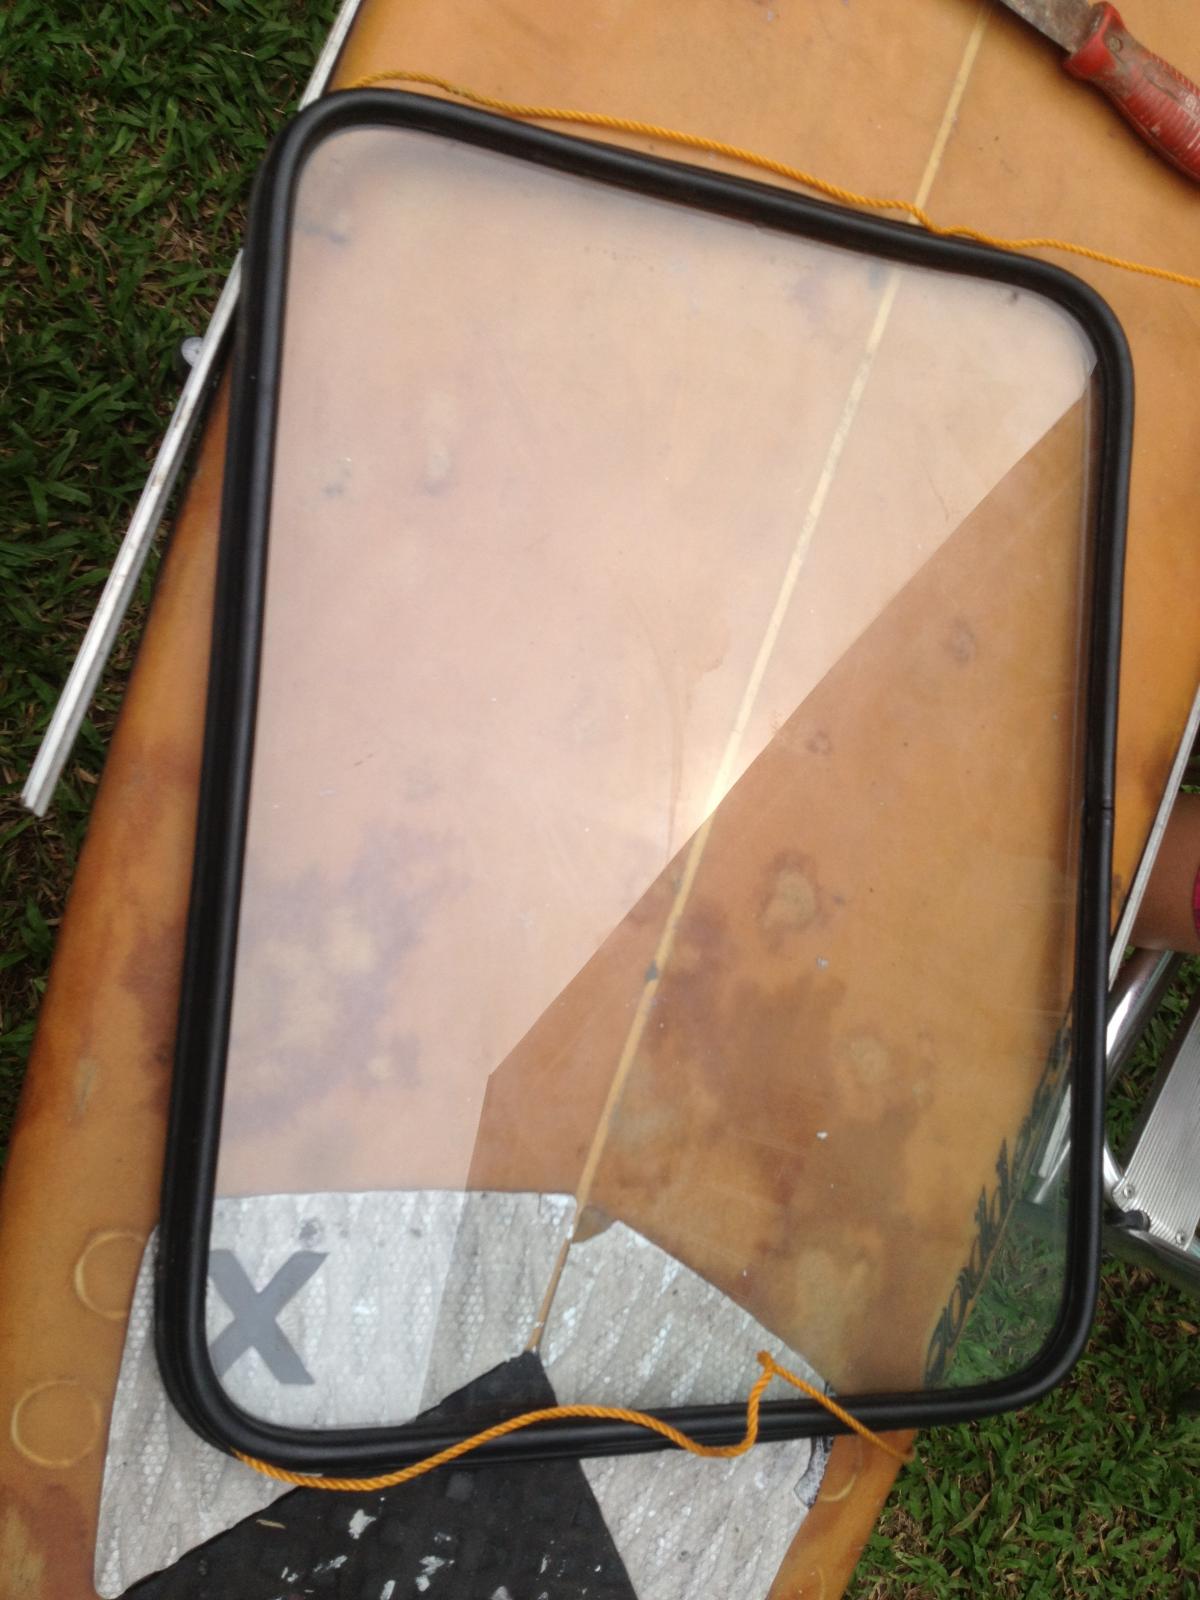
This one was tough. The rubber was NOS and therefore, it was dry and without flex. I fitted it several time, but it did not go in.
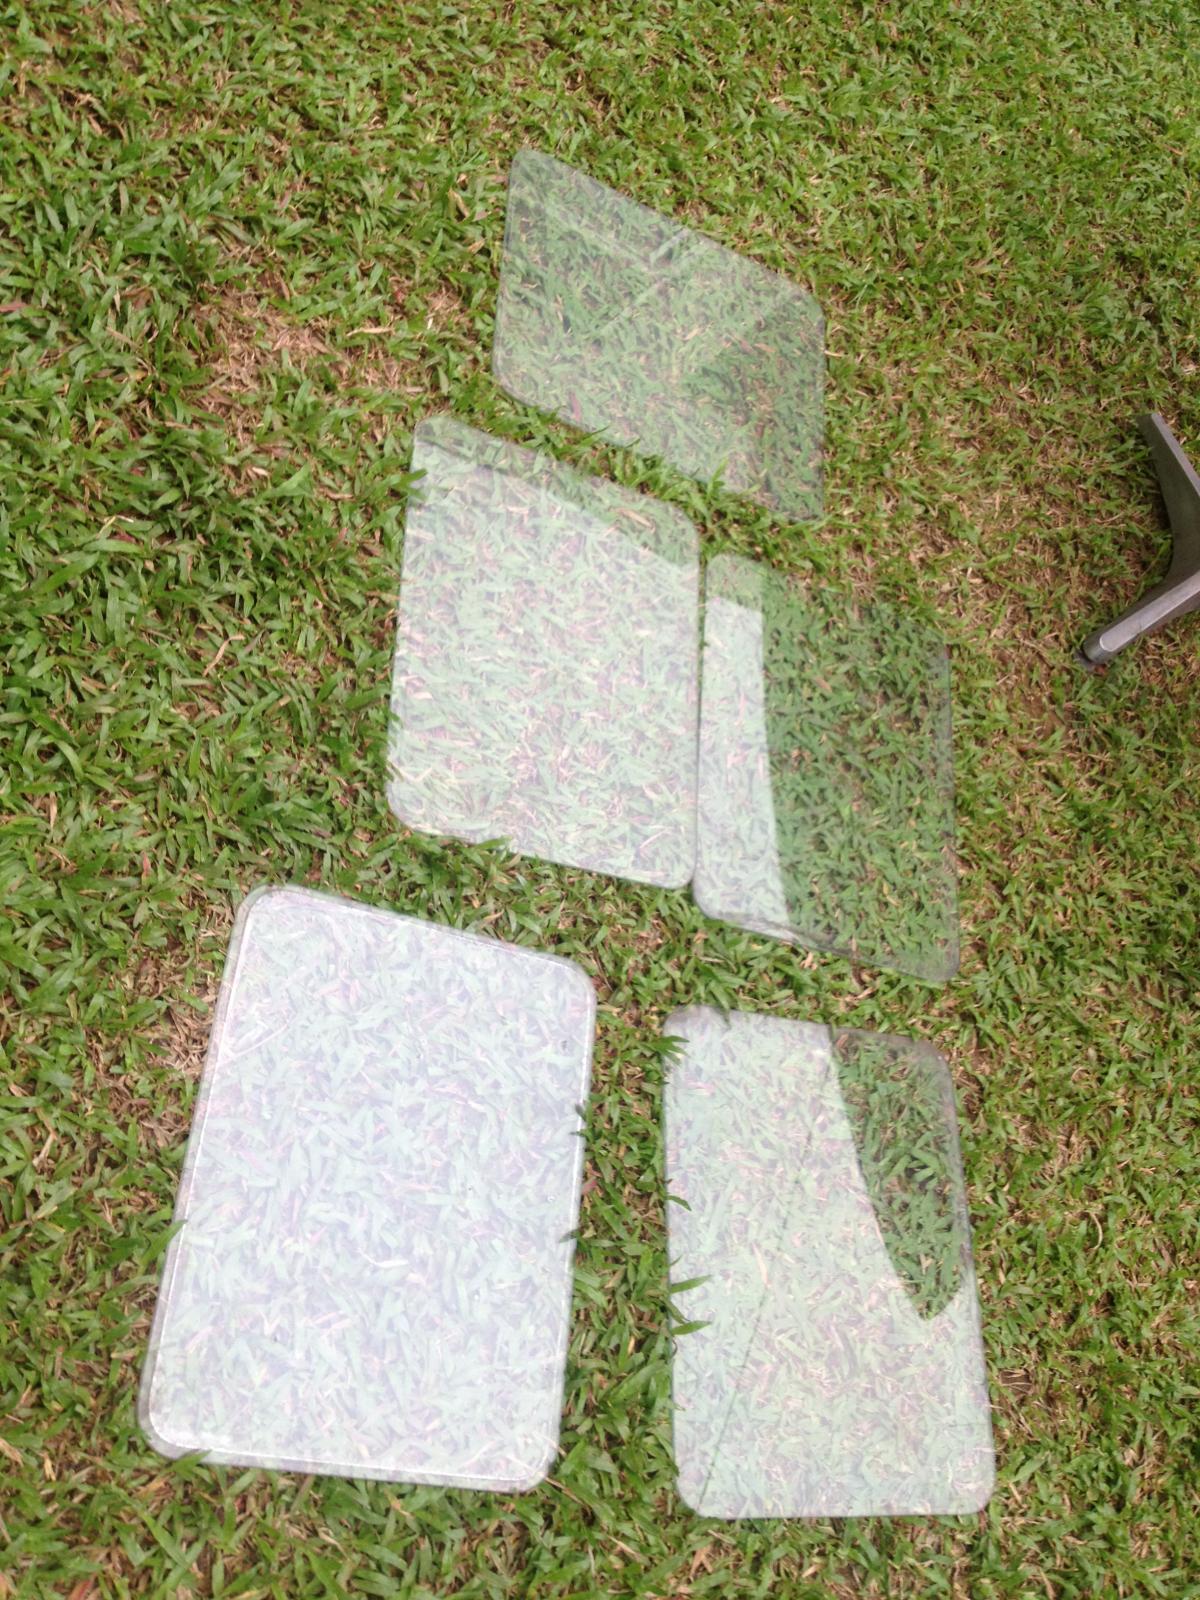
I also cleaned these windows from ages of dusts and dirts.
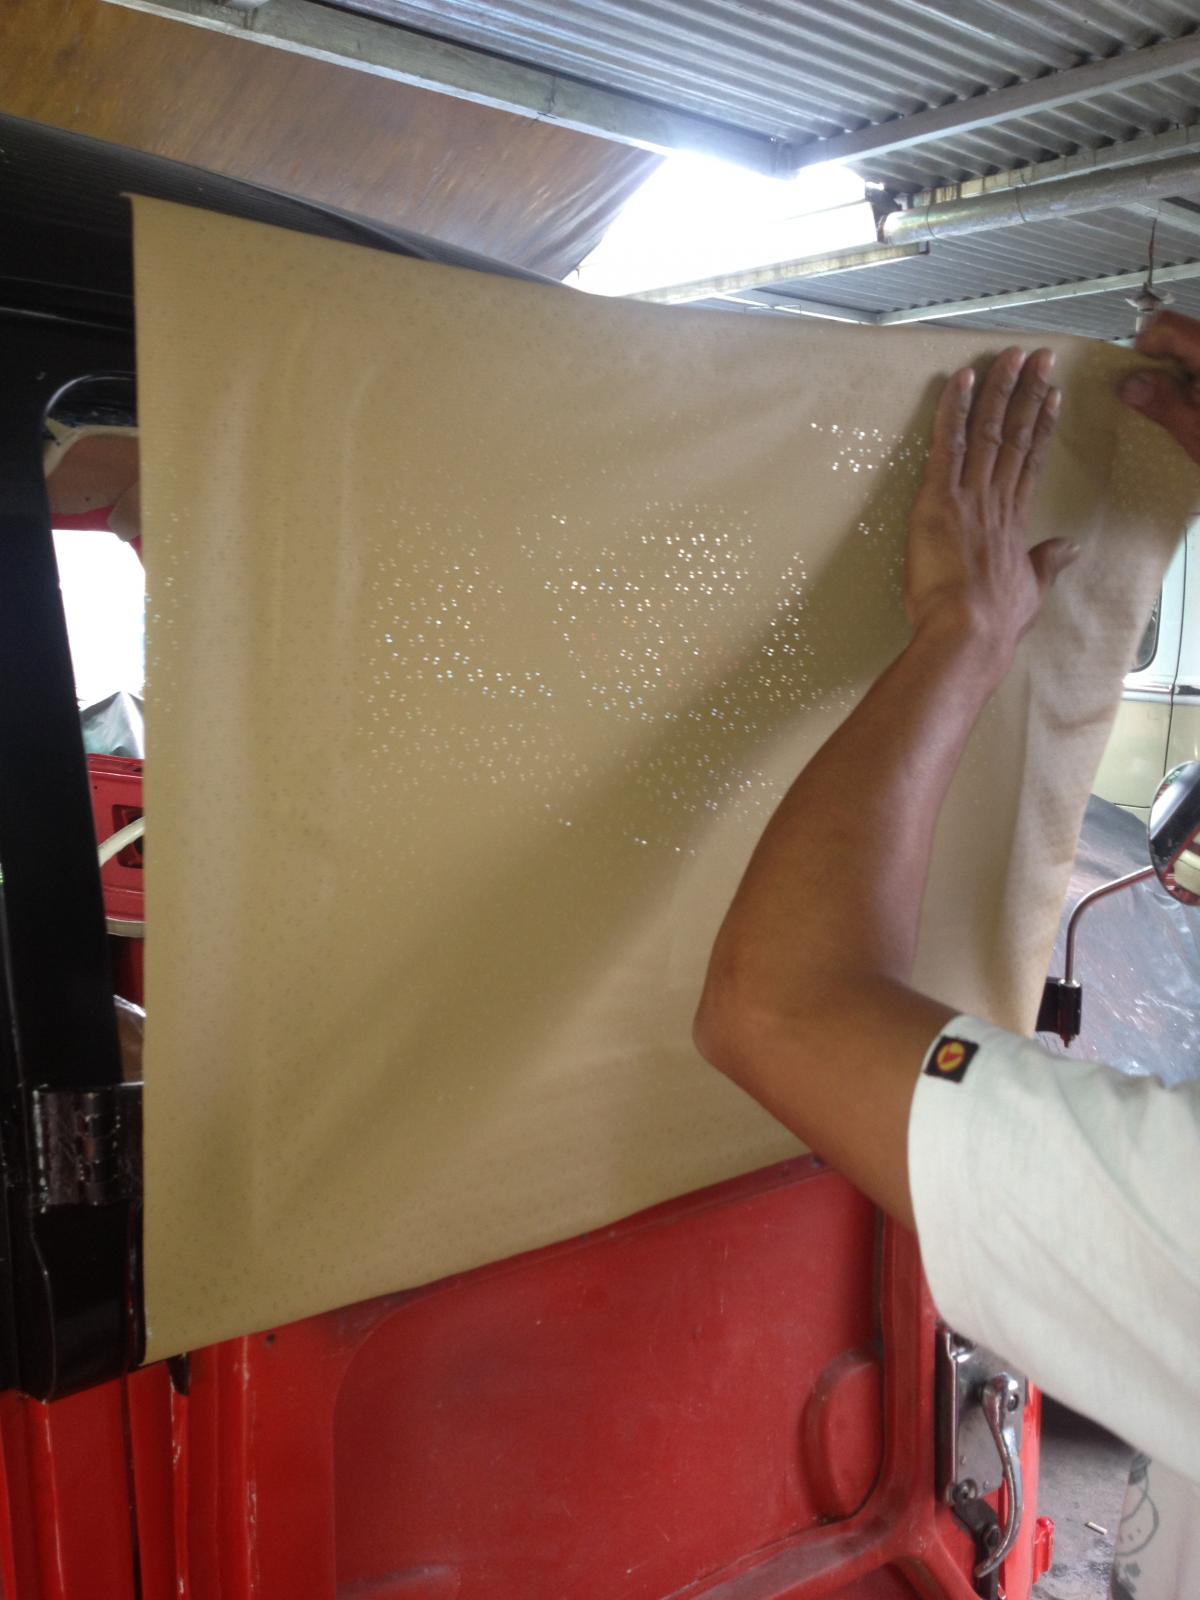
ther installer of the upholster was doing with ease....
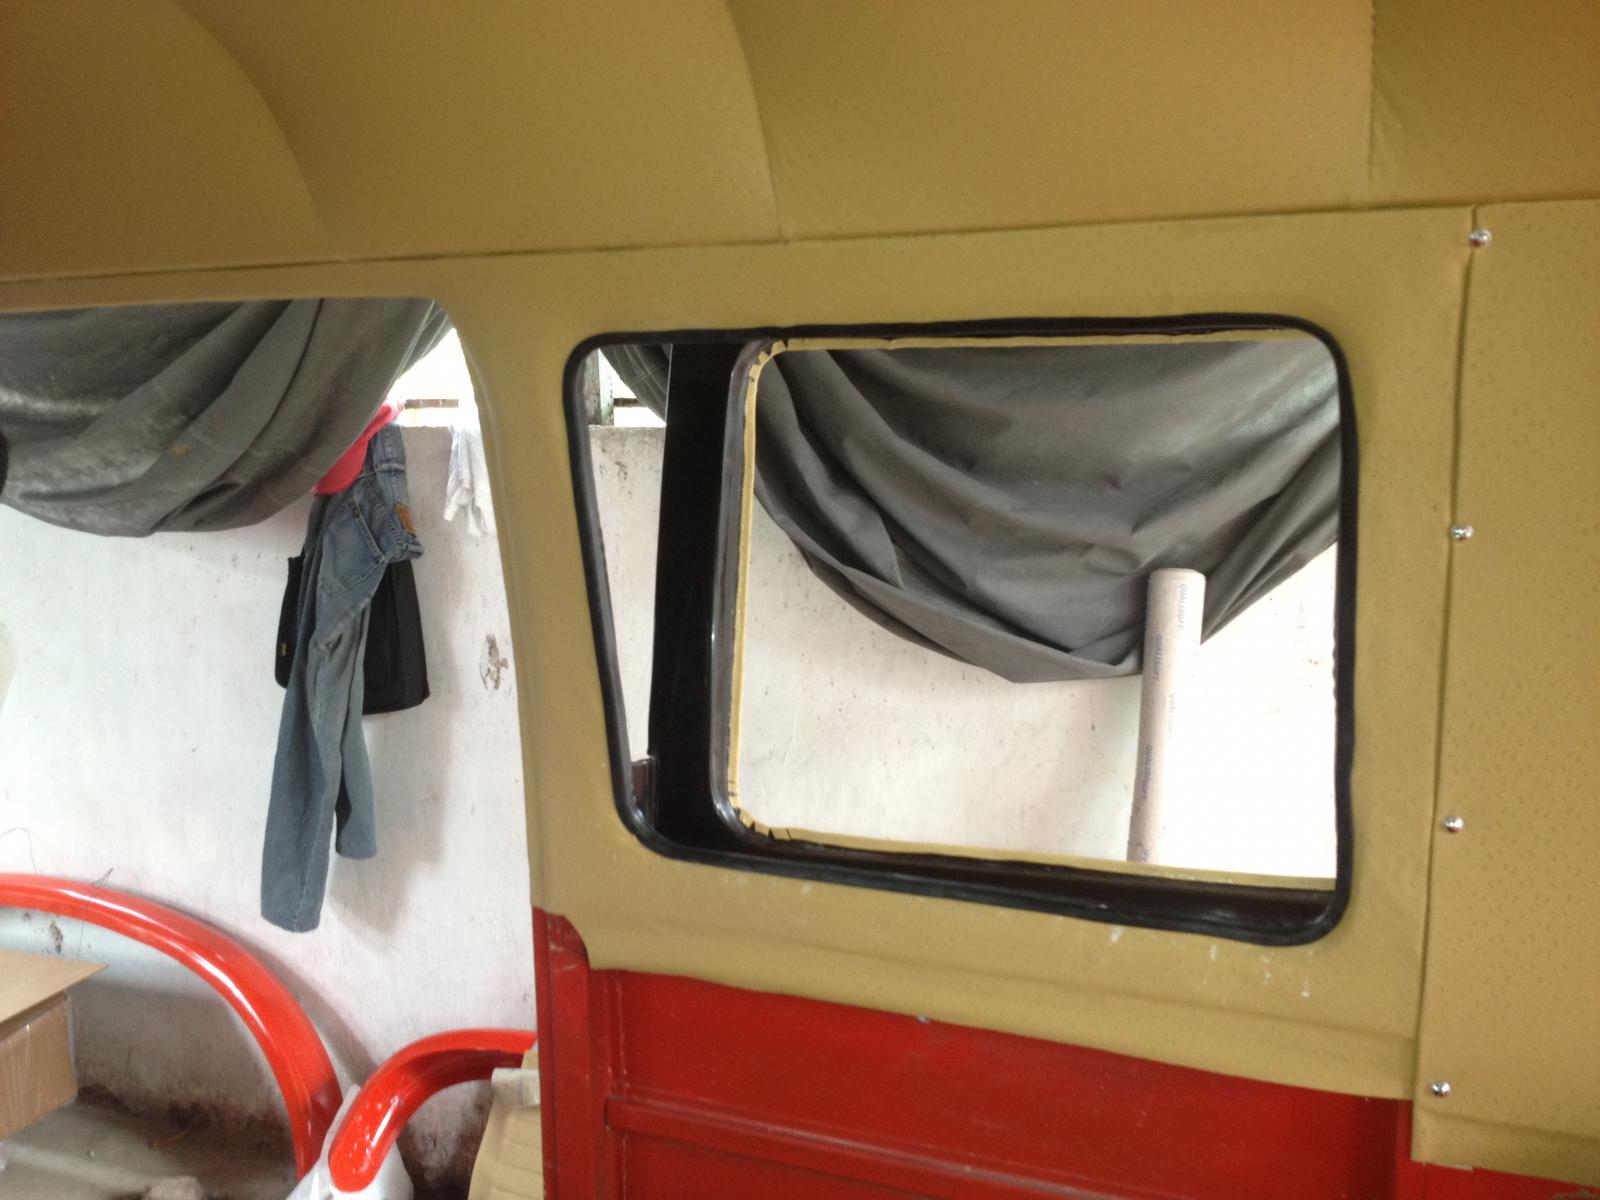
I also tested fit the inner weather strip rubber.
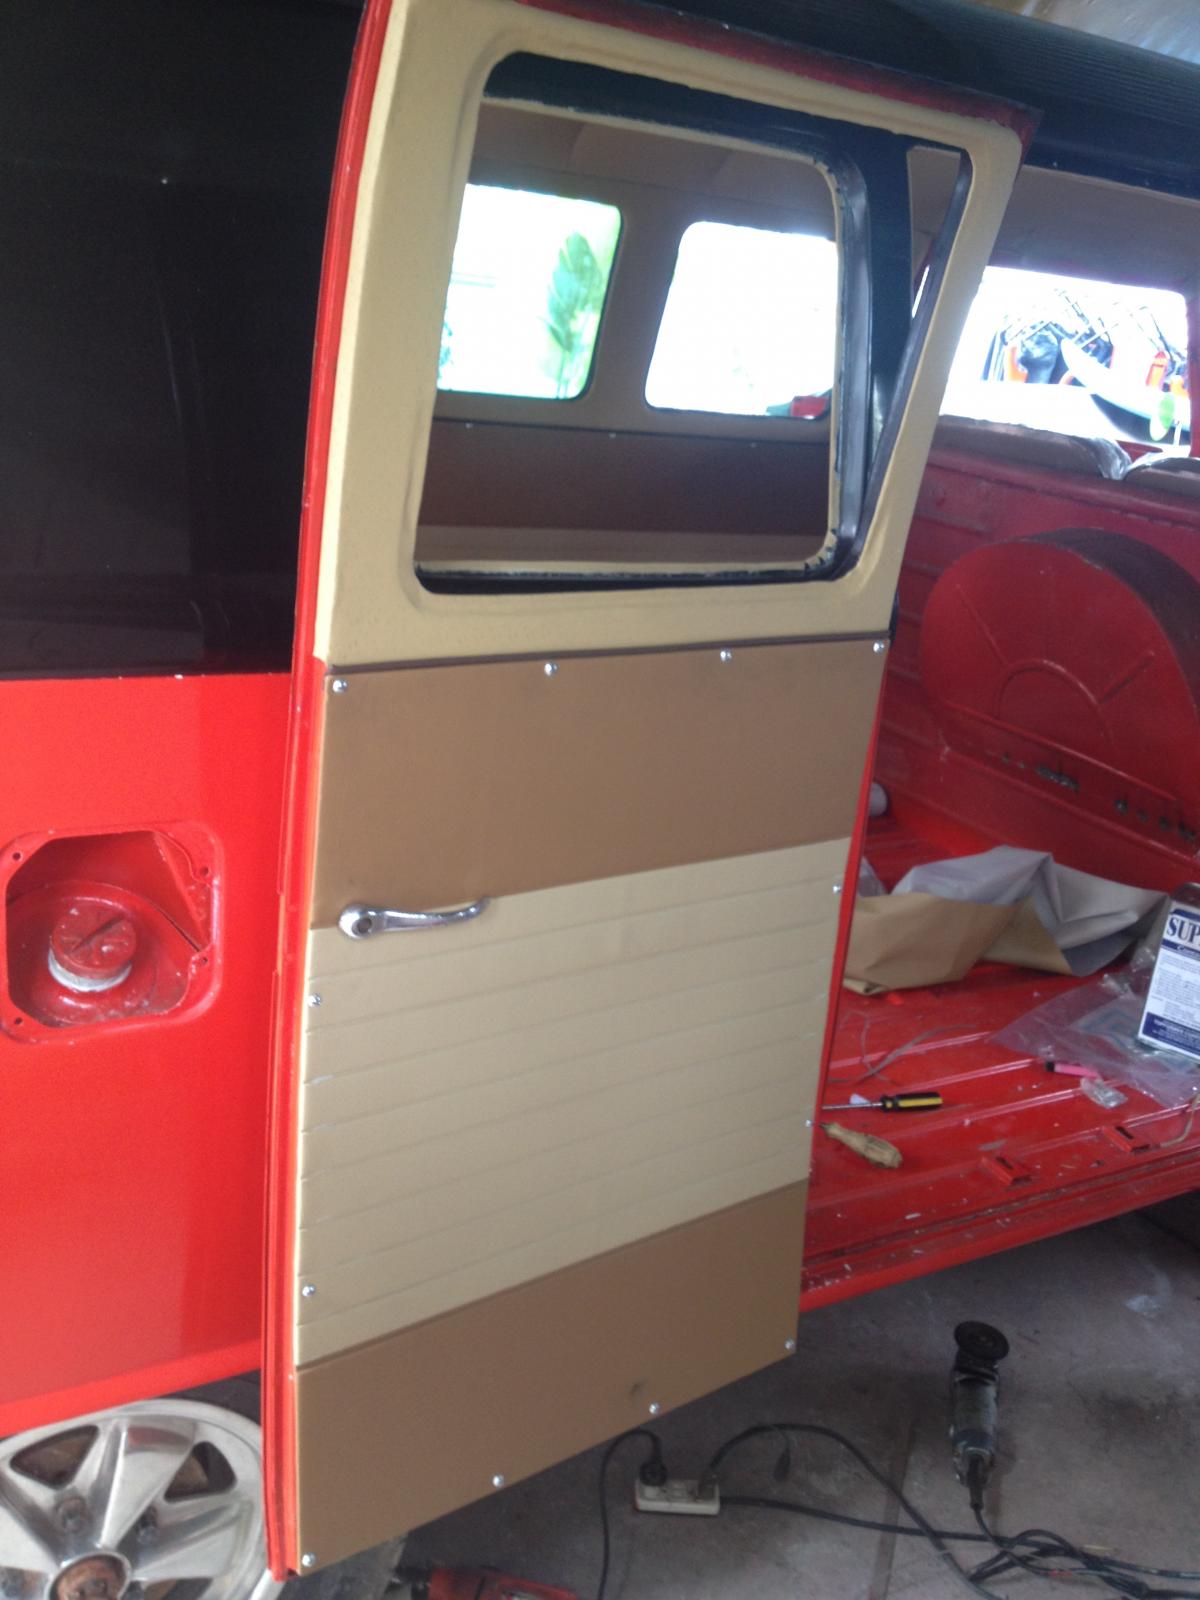
Finished one cargo door.
That weekend we covered many areas. These are the pictures:

I cleraned this rear hatch window. Looked like it was kept for ages.

Since the rubber was new, fitting it was like a breeze.

Pulling the string was an easy task too.

This one was tough. The rubber was NOS and therefore, it was dry and without flex. I fitted it several time, but it did not go in.

I also cleaned these windows from ages of dusts and dirts.

ther installer of the upholster was doing with ease....

I also tested fit the inner weather strip rubber.

Finished one cargo door.
dongkg
Registered user
Posts: 90
Joined: Tue Jul 16, 2013 7:58 am
Re: My '67 Split Bus Resto Thread in the Philippines
by dongkg » Wed Nov 13, 2013 5:04 am
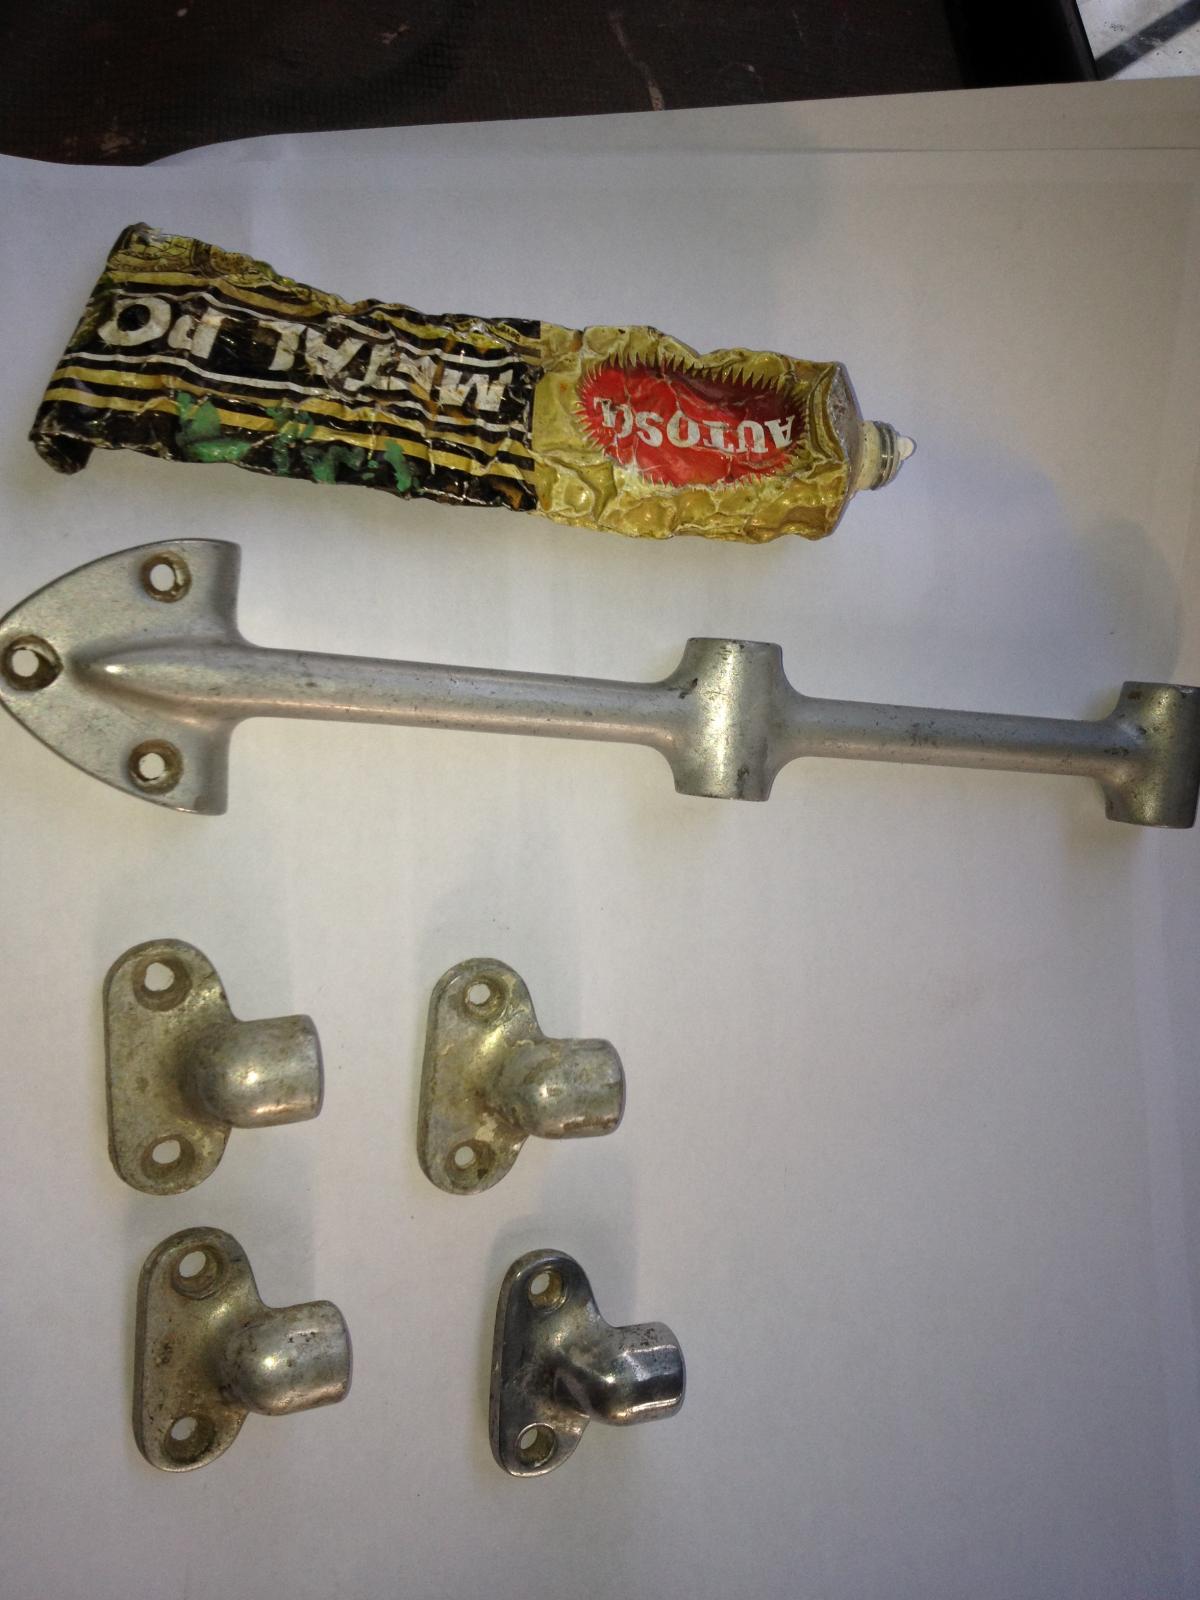
The jair bars were dull so thes had to be polished.
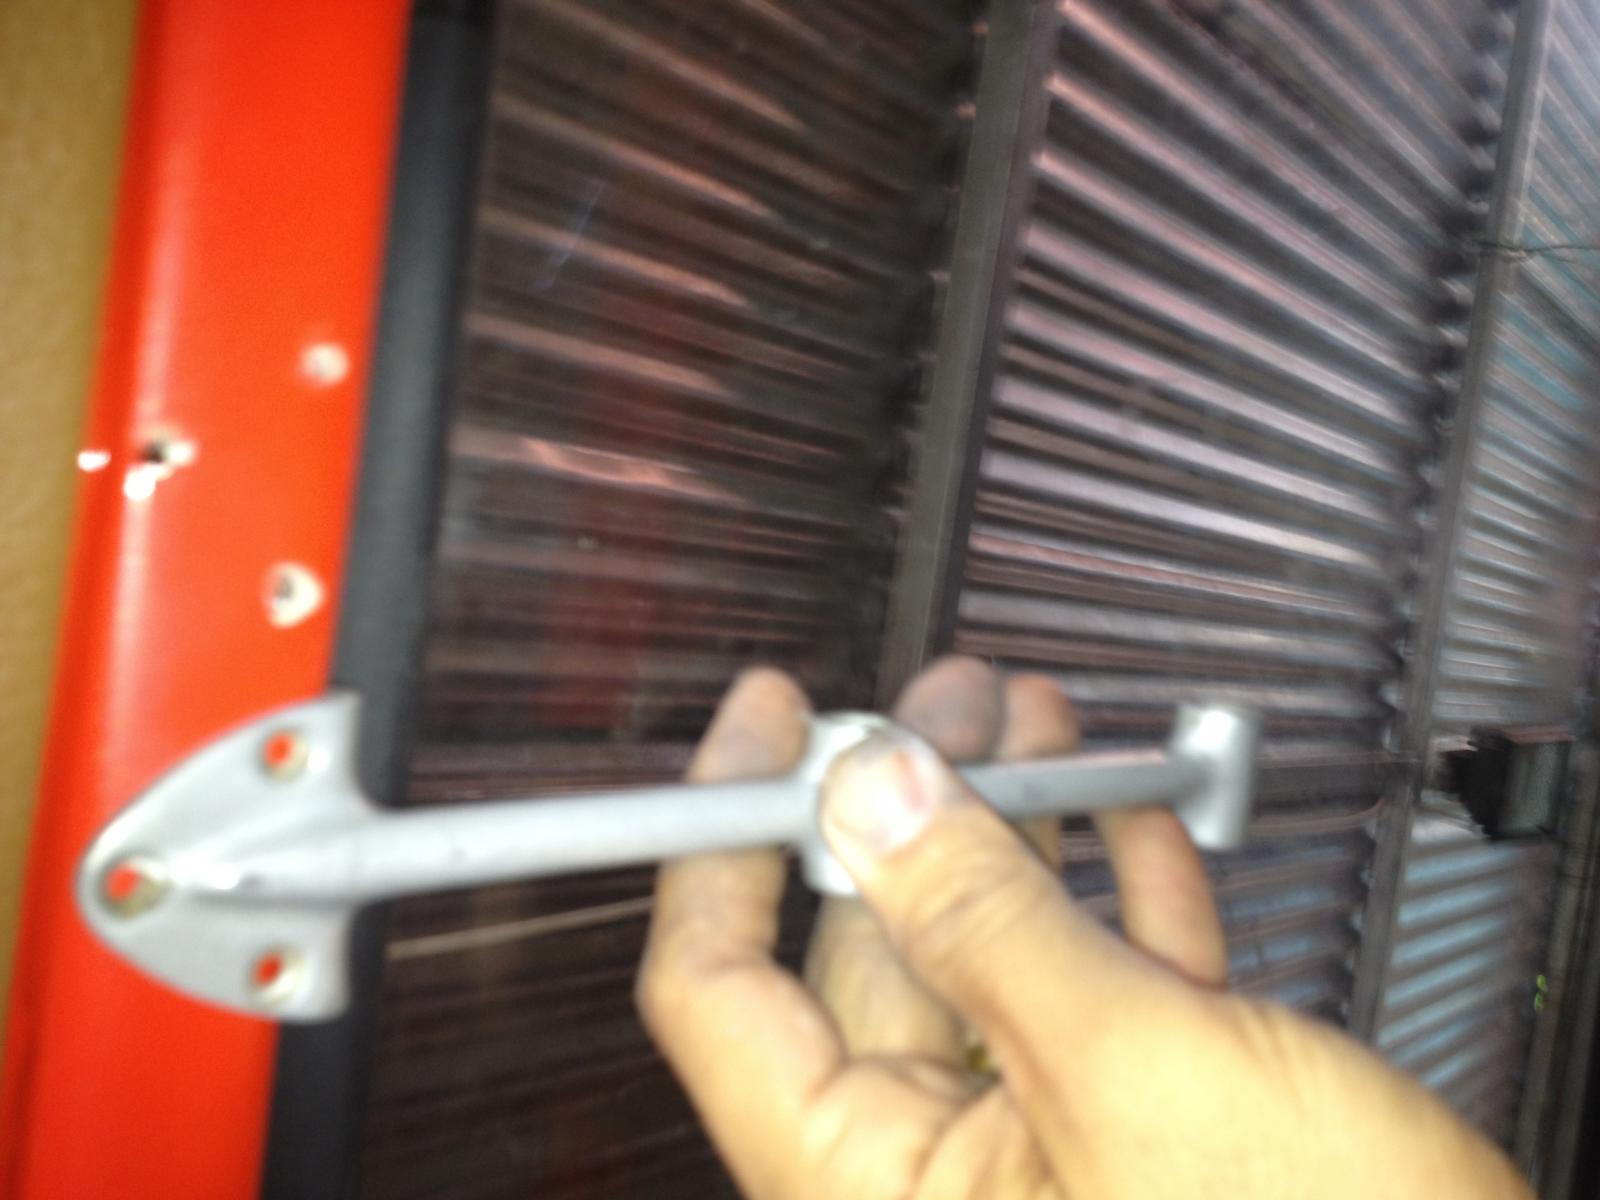
Ifitted the center bracket.
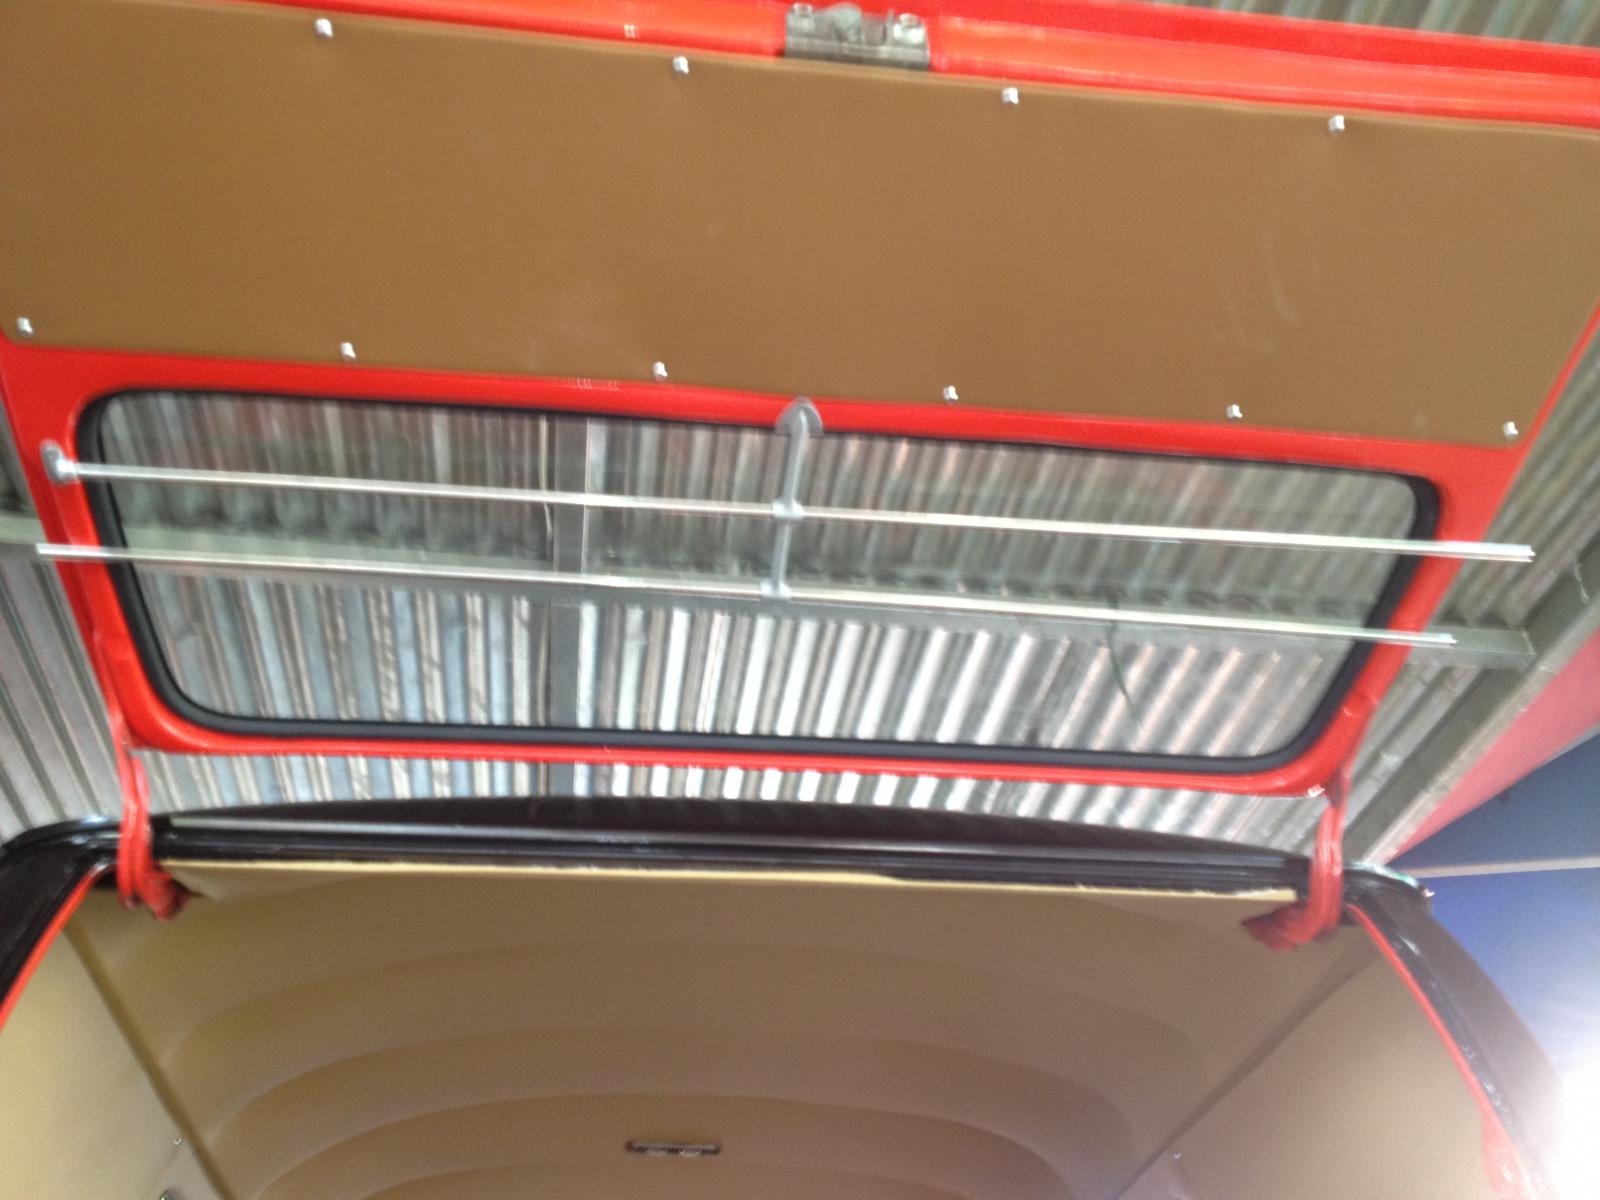
I had bought stainless tubes and had it cut to custom fit.
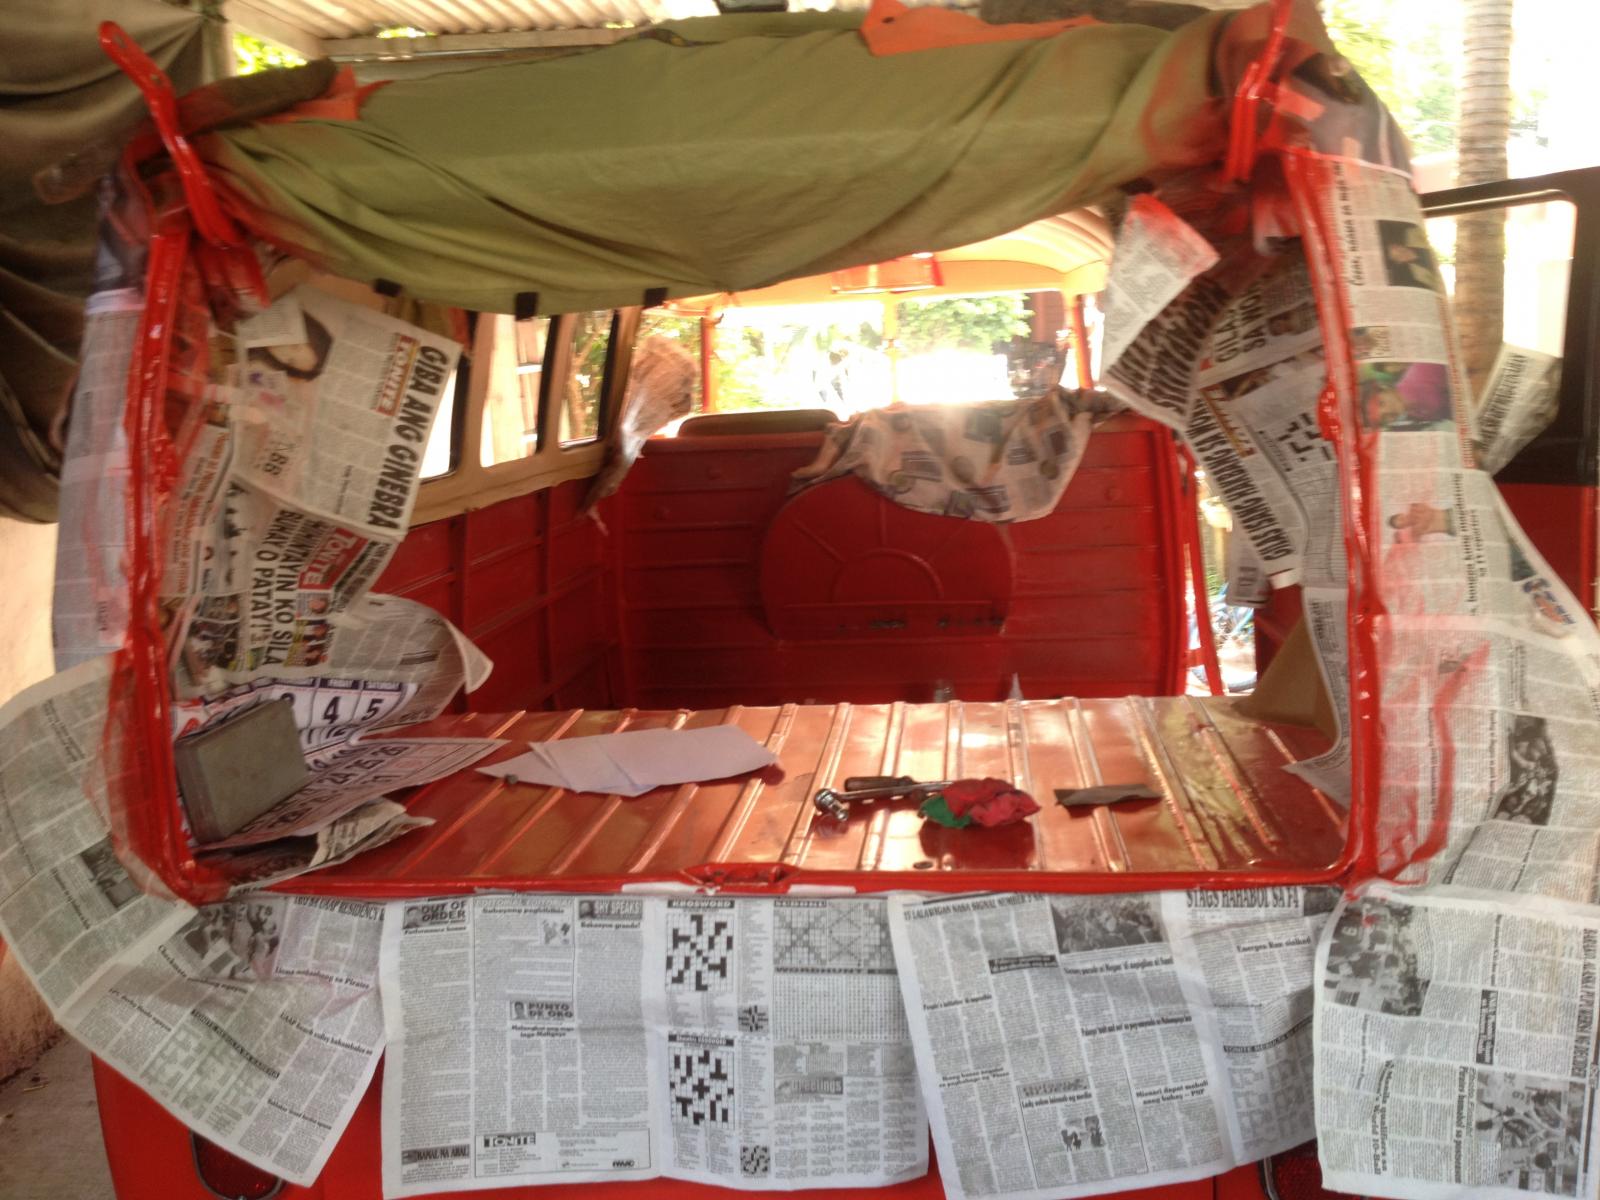
I also paited some inner posts so that I will look freash and new.
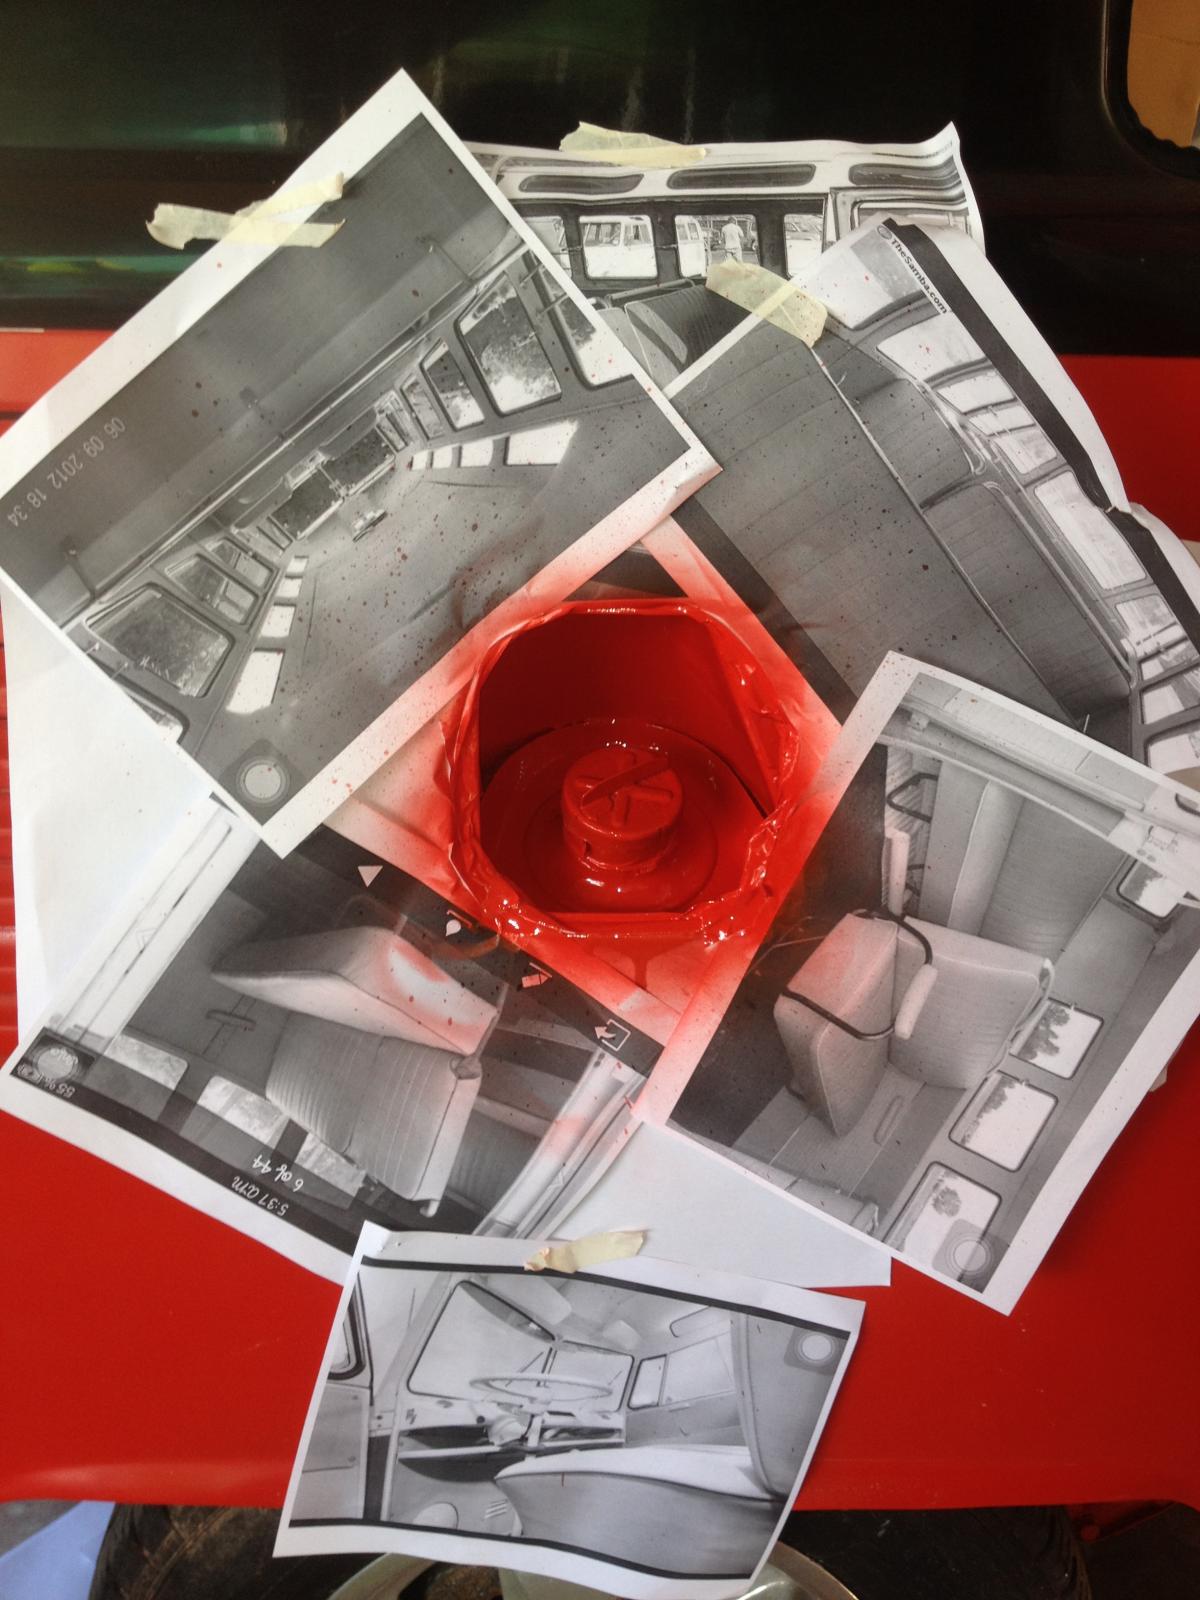
I had paint this one too.
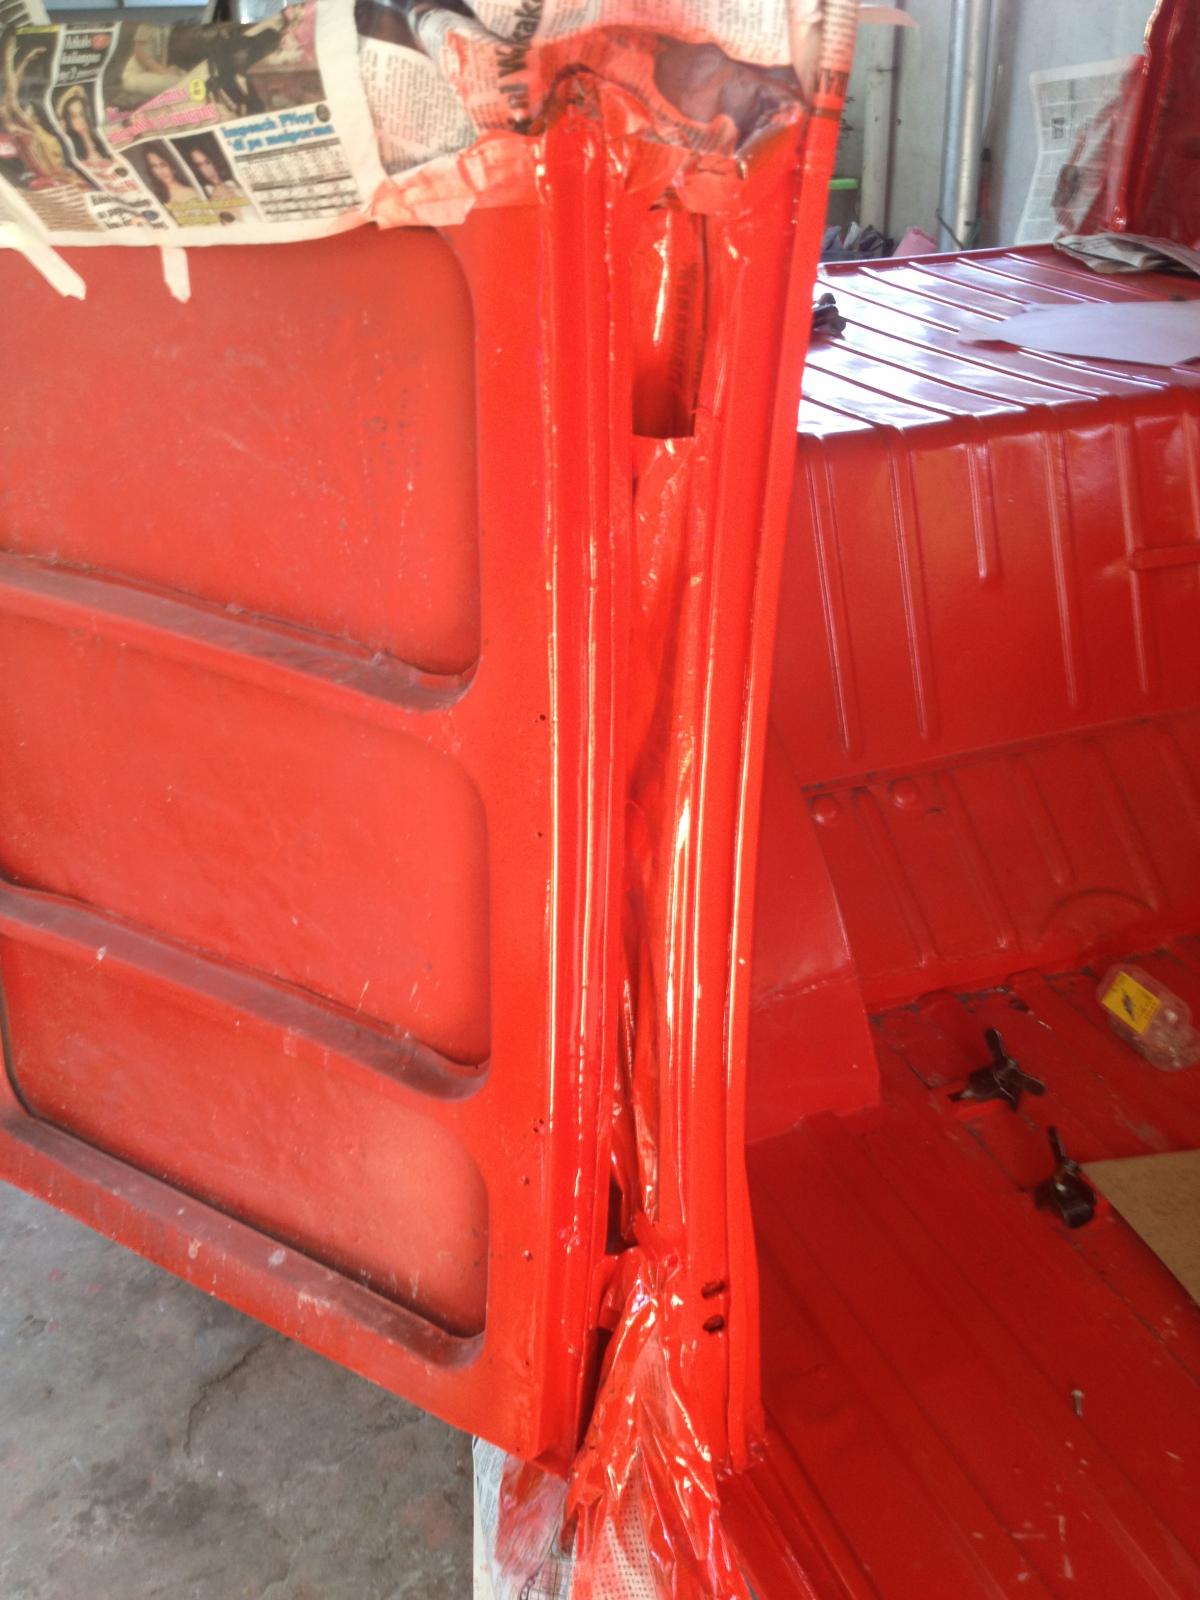
This one too.
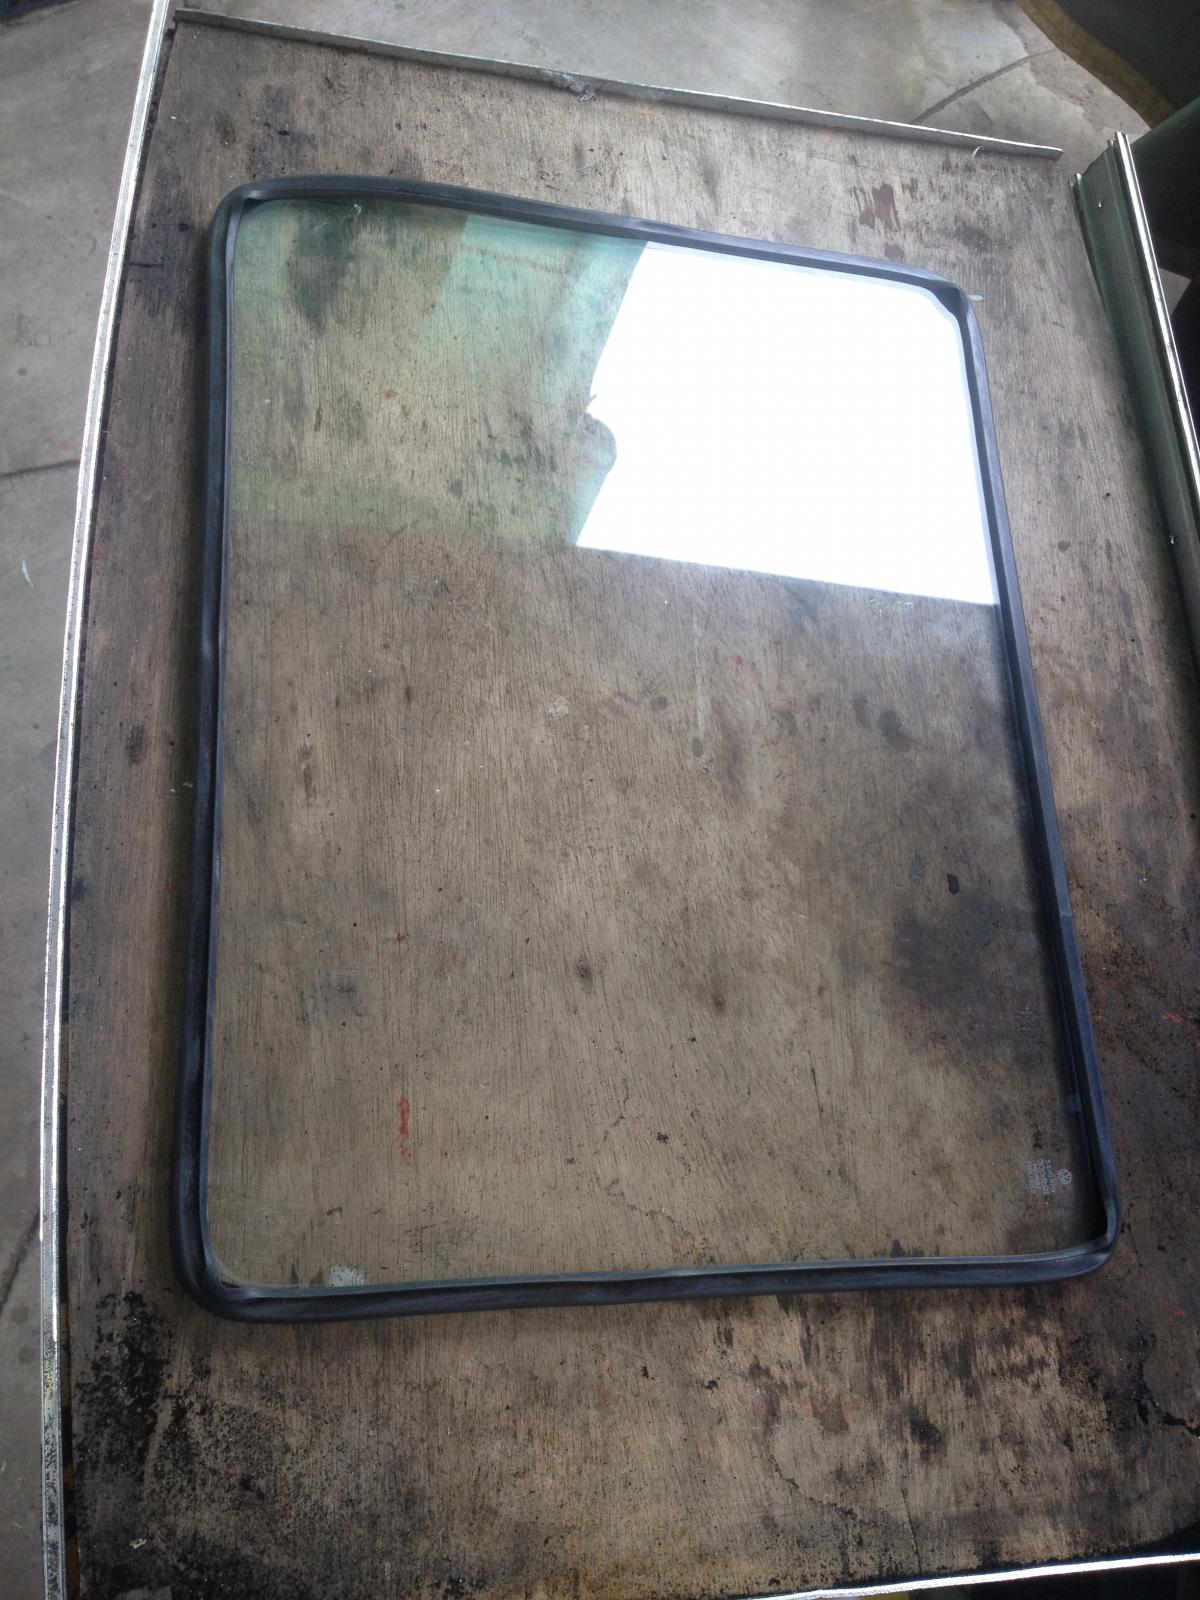
Fitting the inner rubber of the popout window.
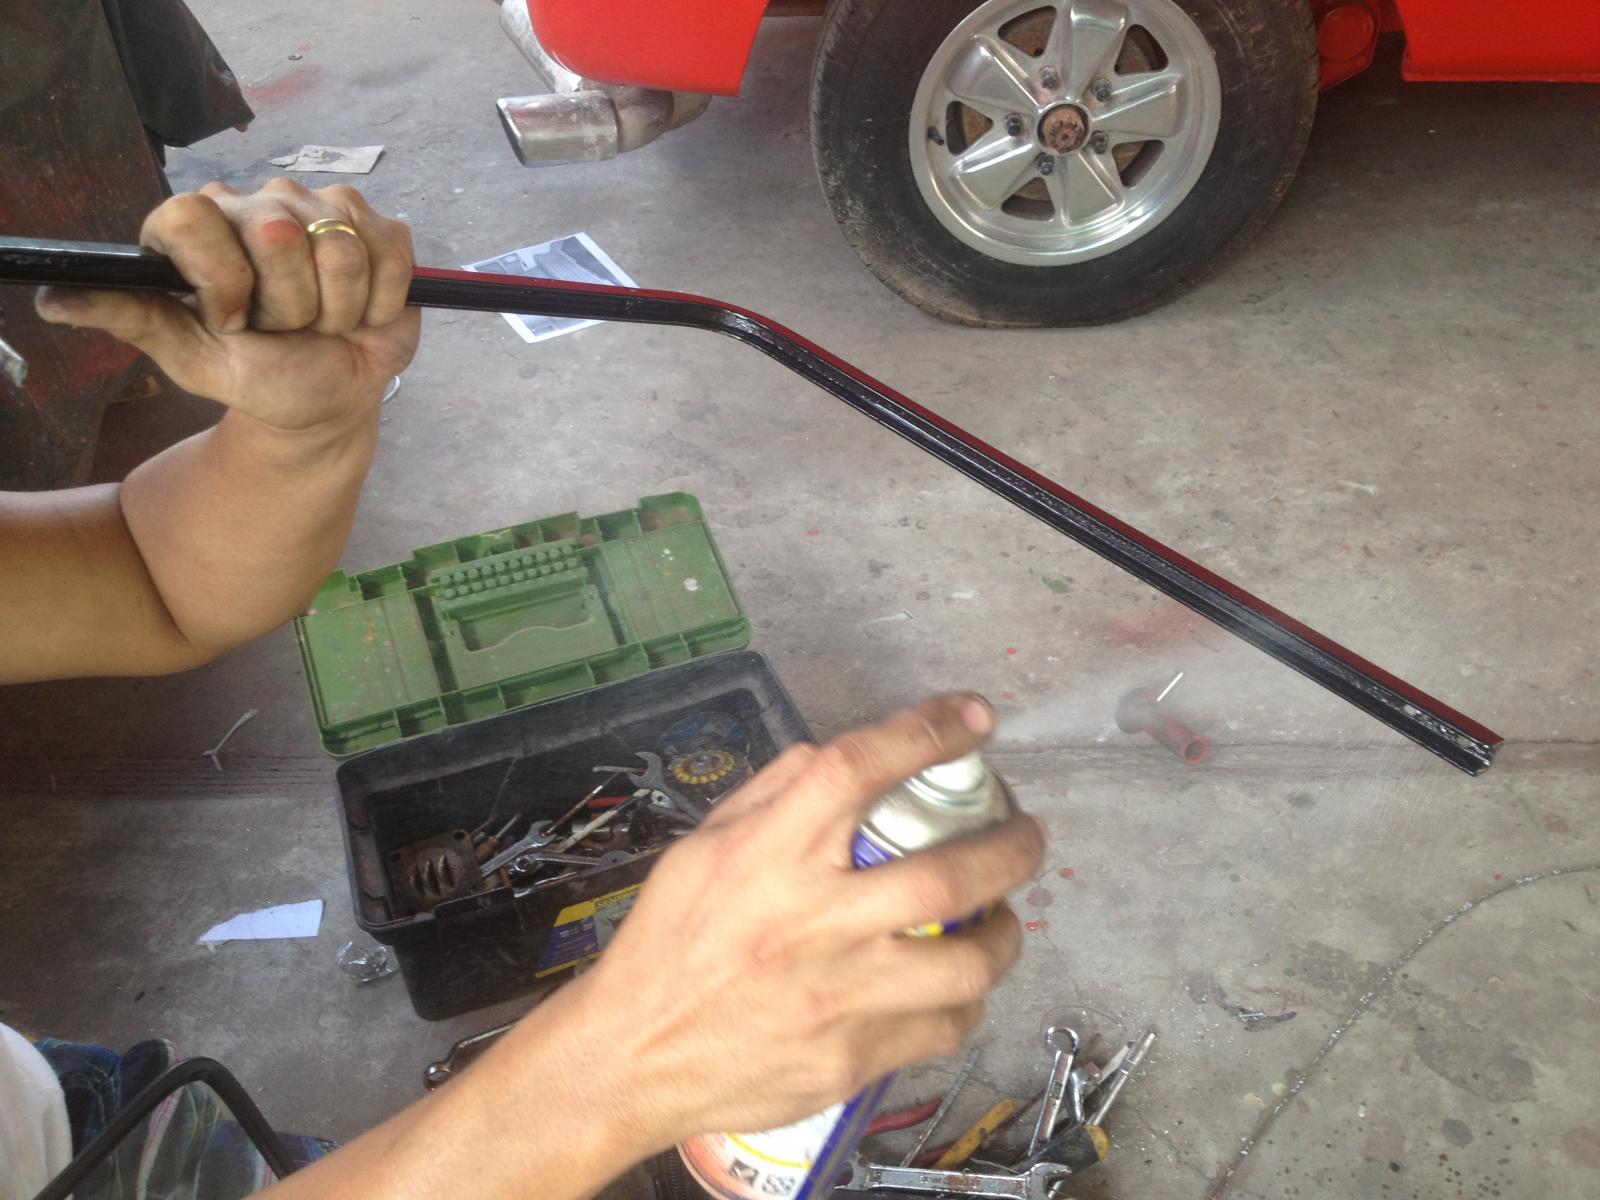
I used DW-40 for the "j" frame to be fit easily, and it worked.
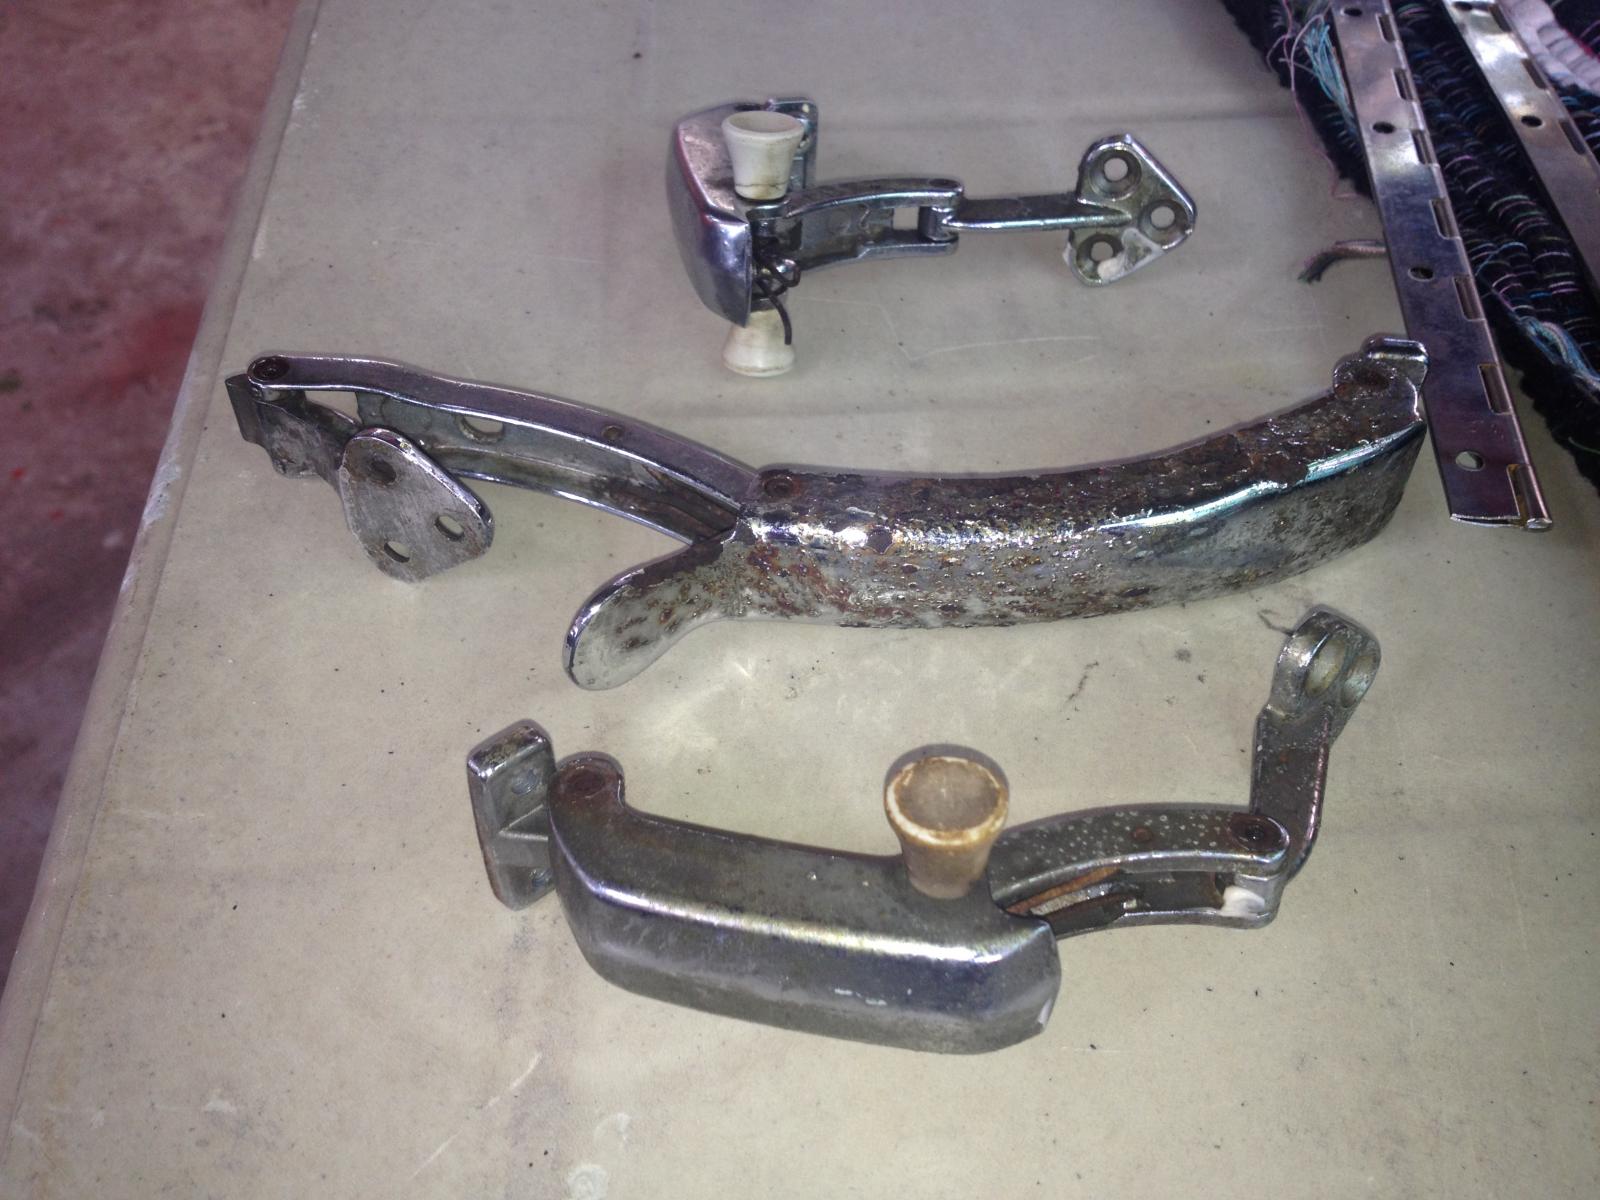
The window laches had to be washed, cleaned and polsihed too. Unfortunately, they are already old and dull!
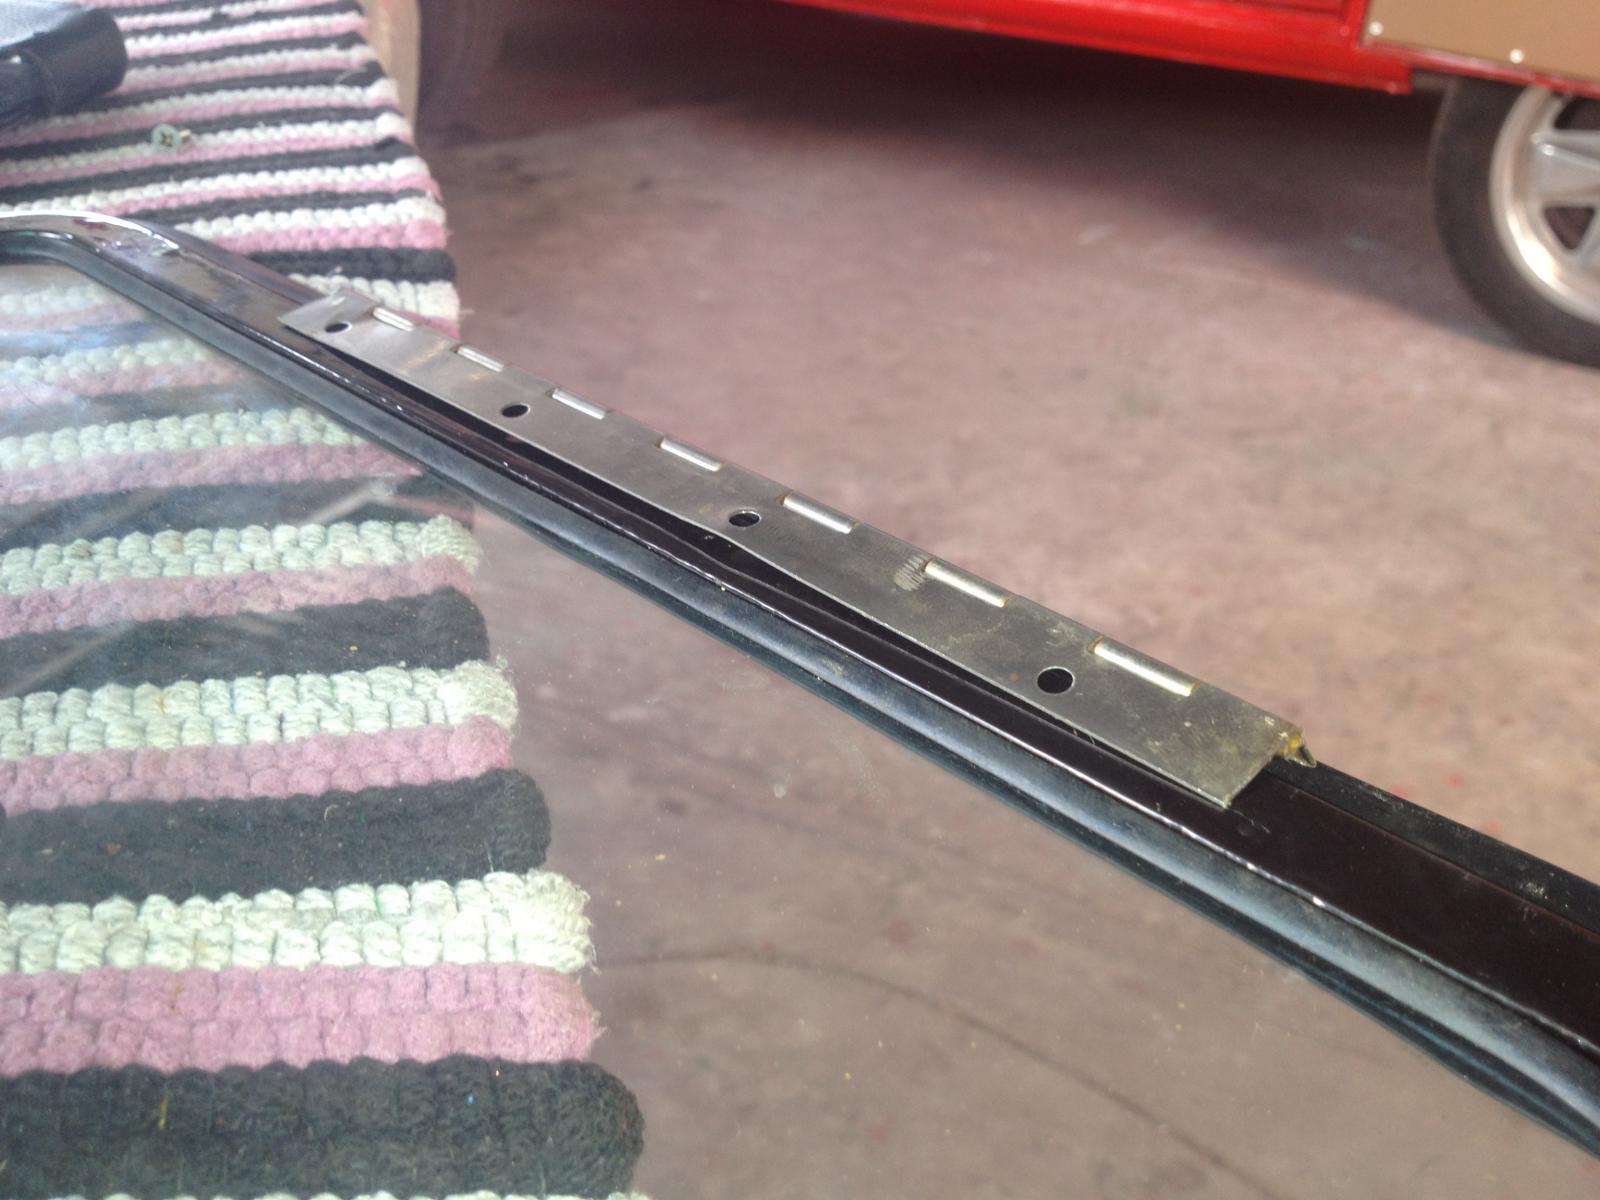
The hinges had to be aligned too.
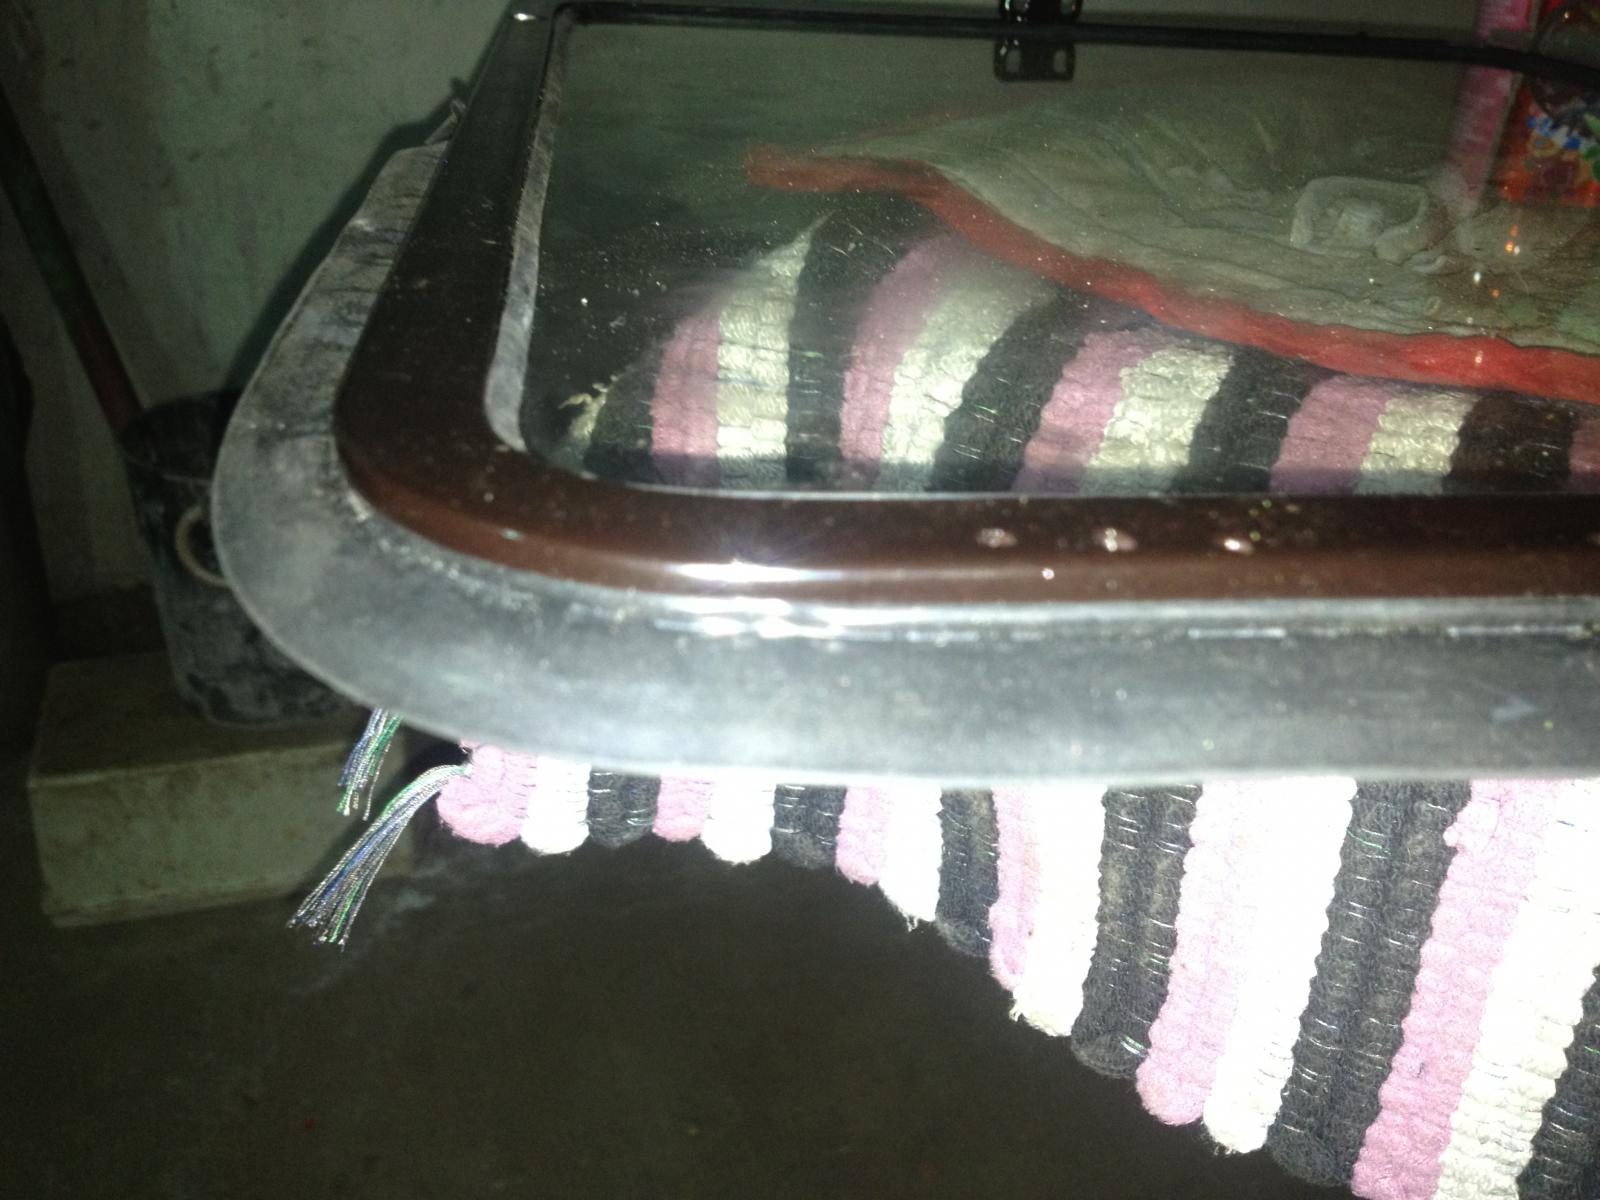
The outer rubber was finally into its place.
dongkg
Registered user
Posts: 90
Joined: Tue Jul 16, 2013 7:58 am
Re: My '67 Split Bus Resto Thread in the Philippines
by dongkg » Wed Nov 13, 2013 5:05 am
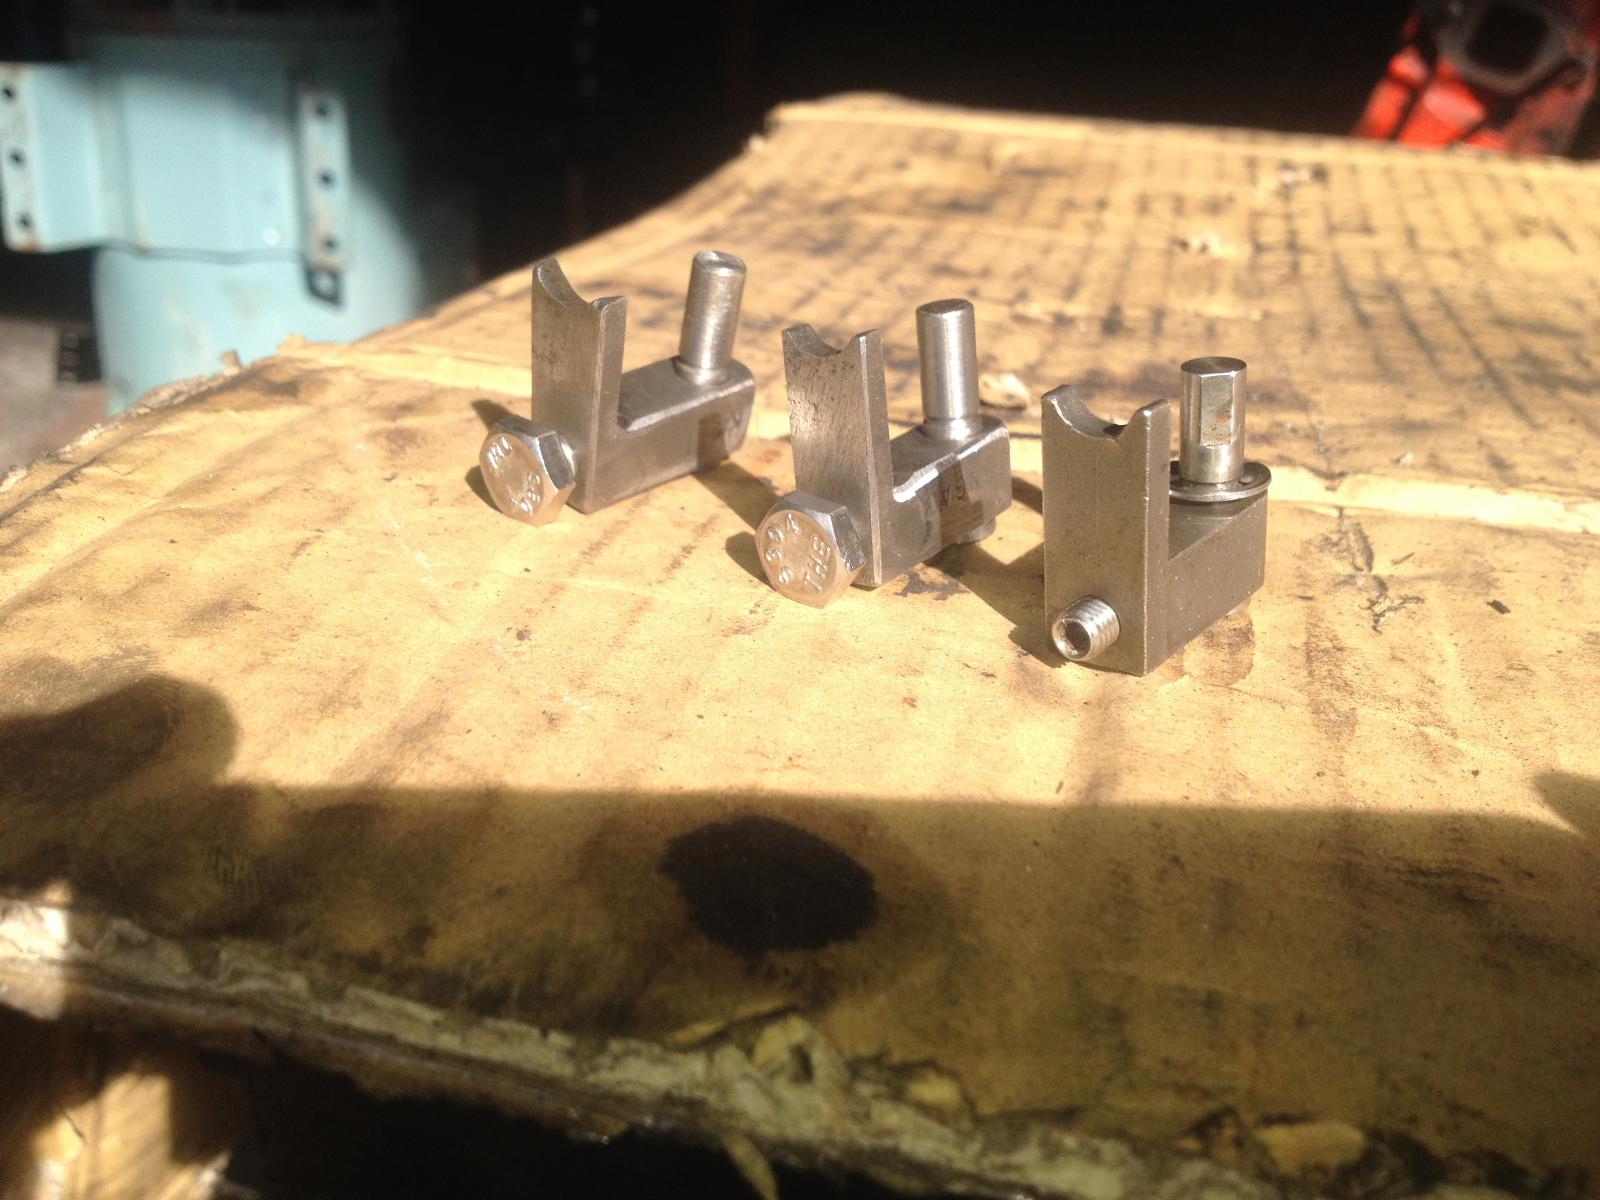
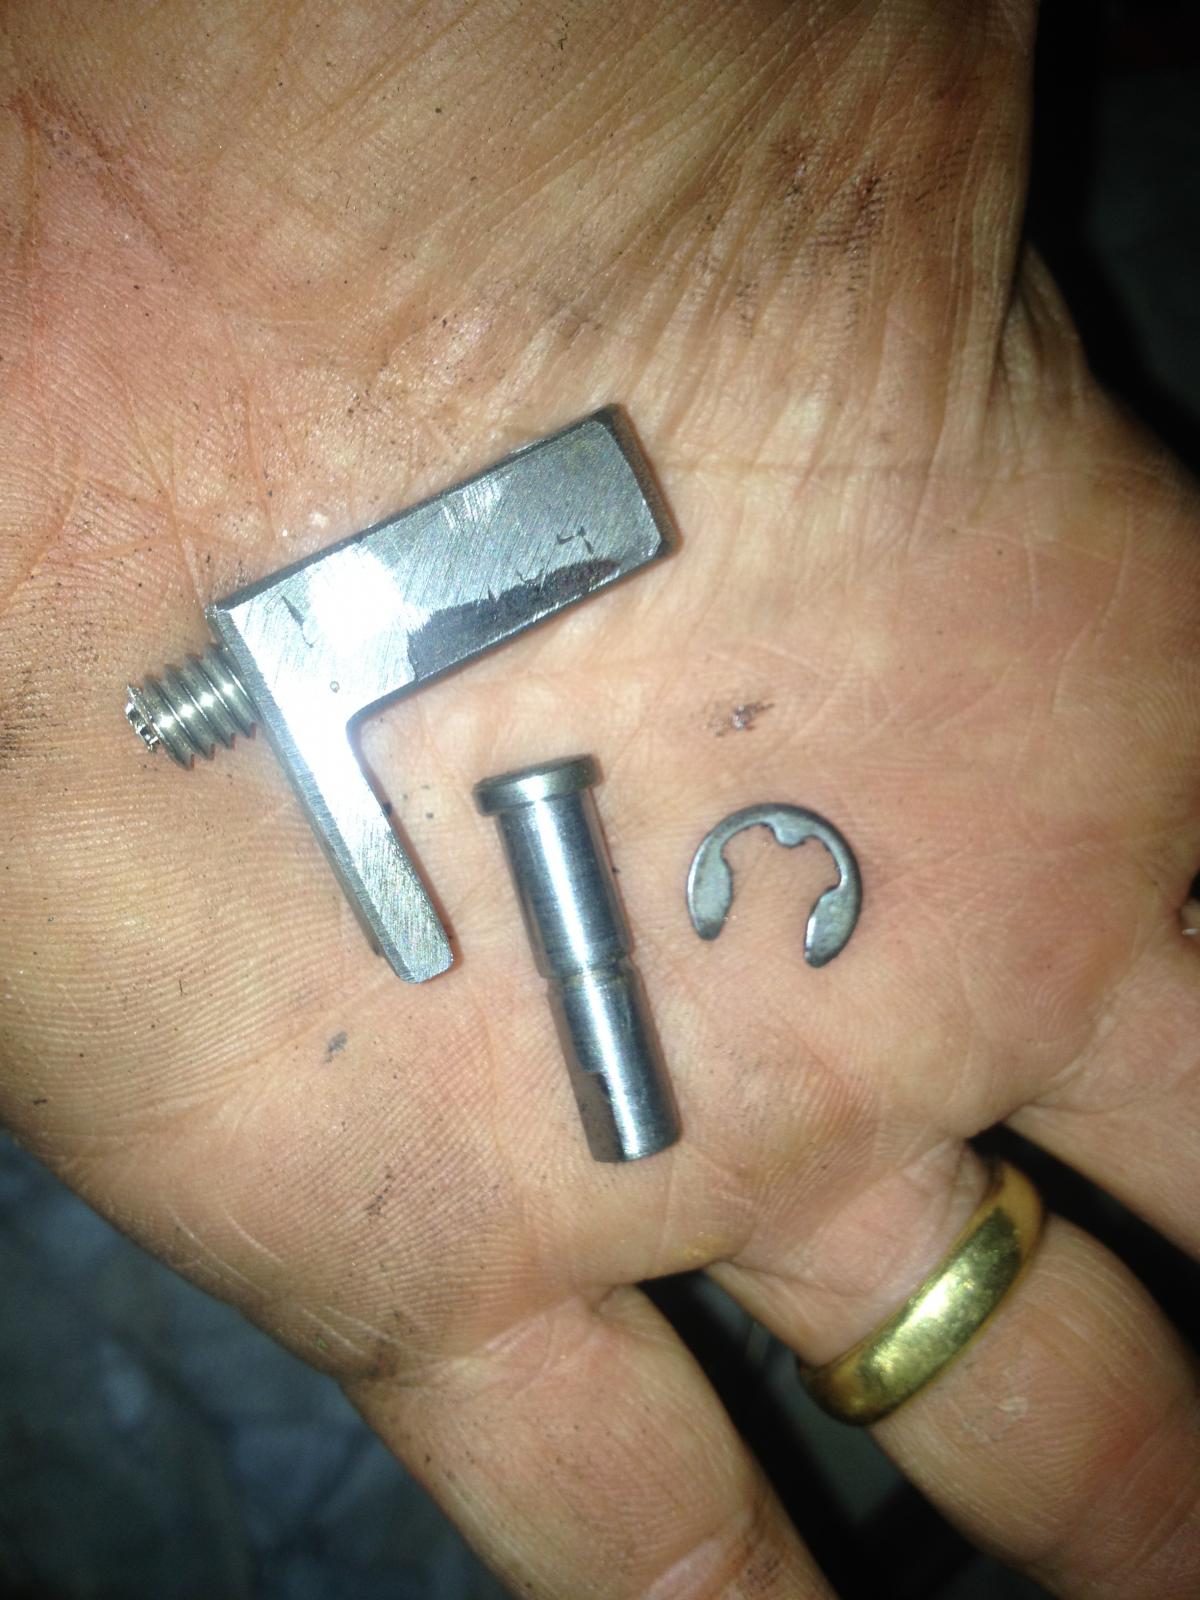
I also brought one repro pivot for the wiper to the machine shop to have it copied.
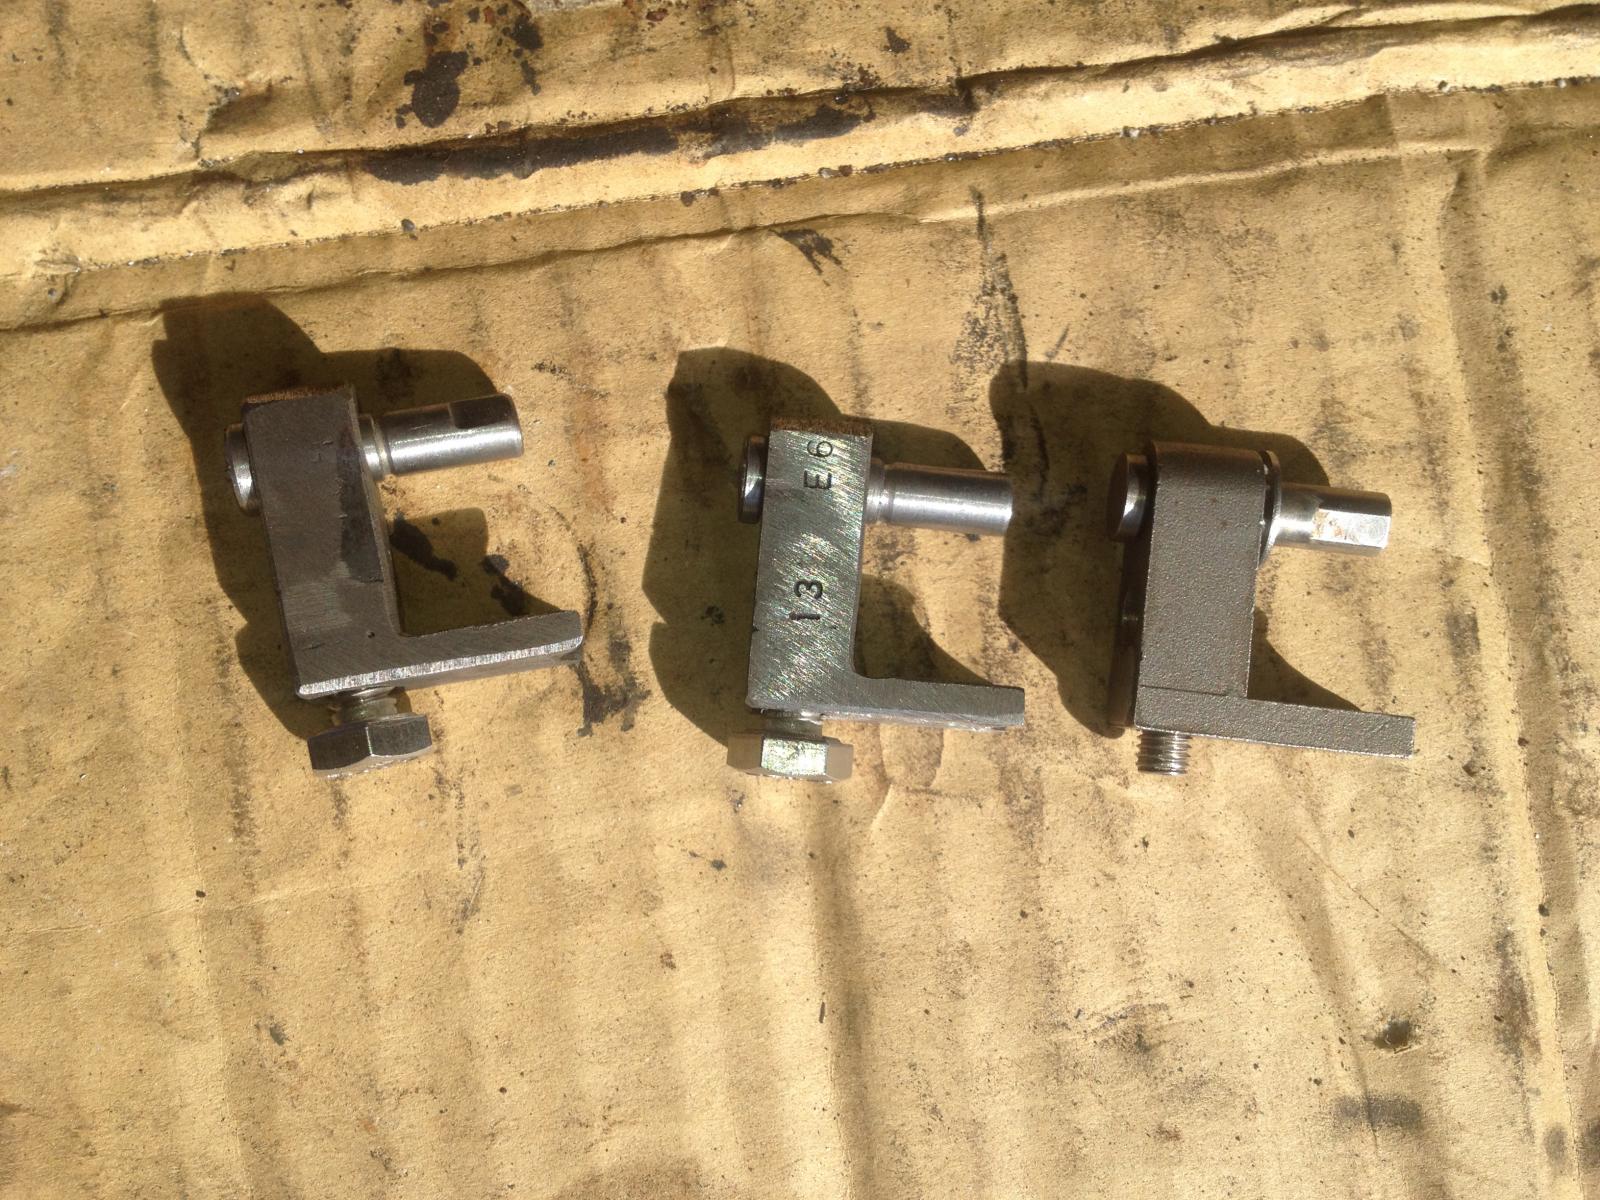
The one on the left is the repro and the two on the right are the machined shop product.
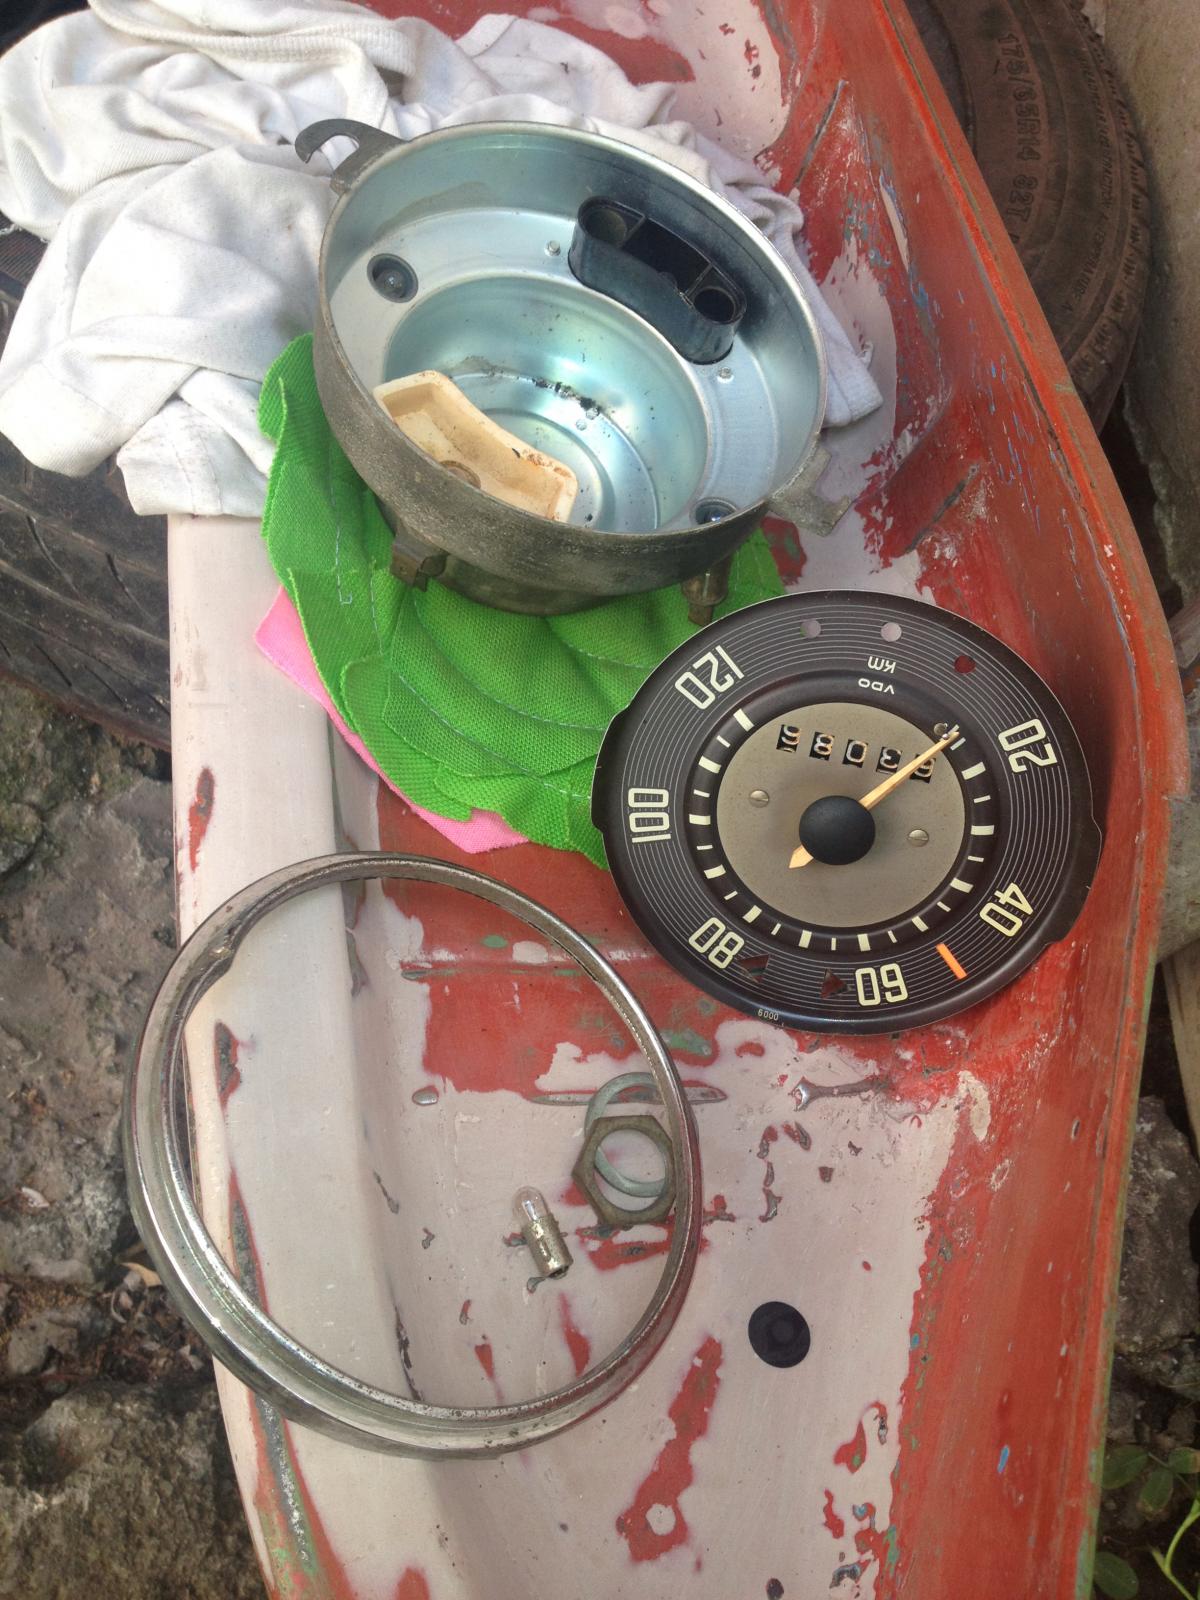
I also cleaned the speedometer.
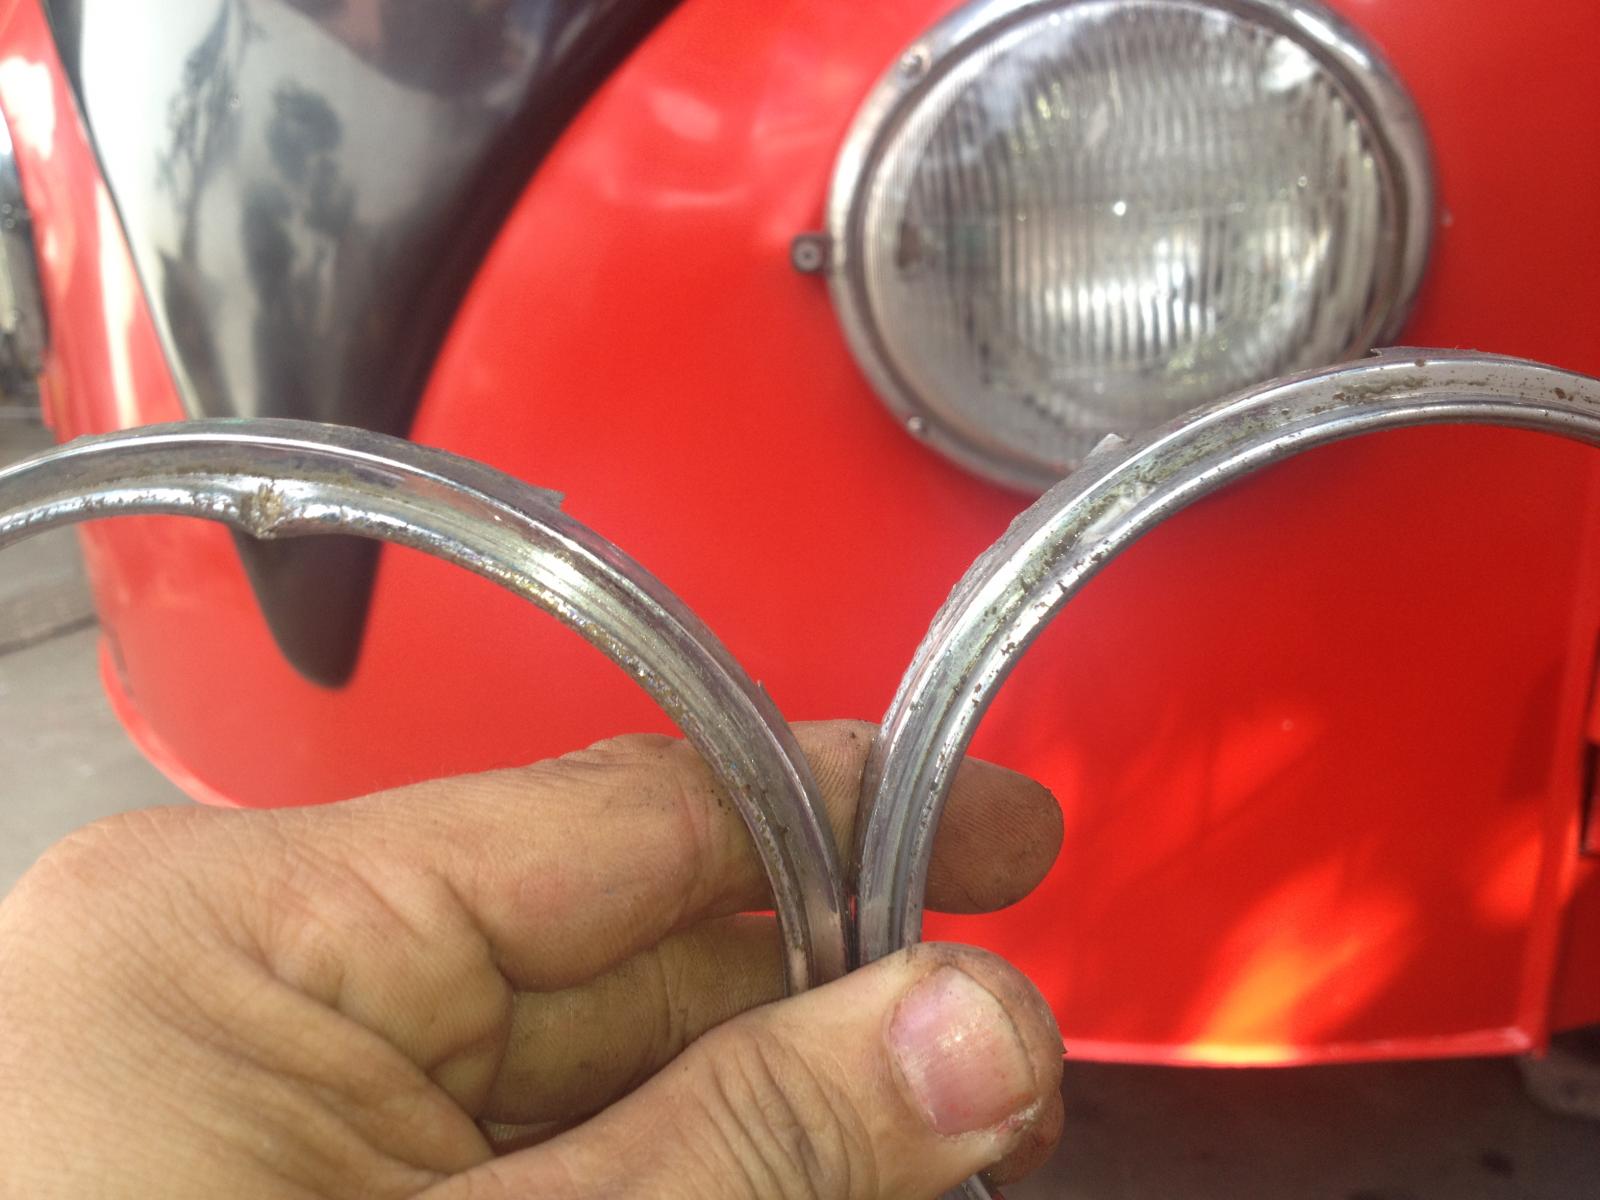
The one on the left was the one onthe bus and the one on the righjt is my spare. I used the latter.
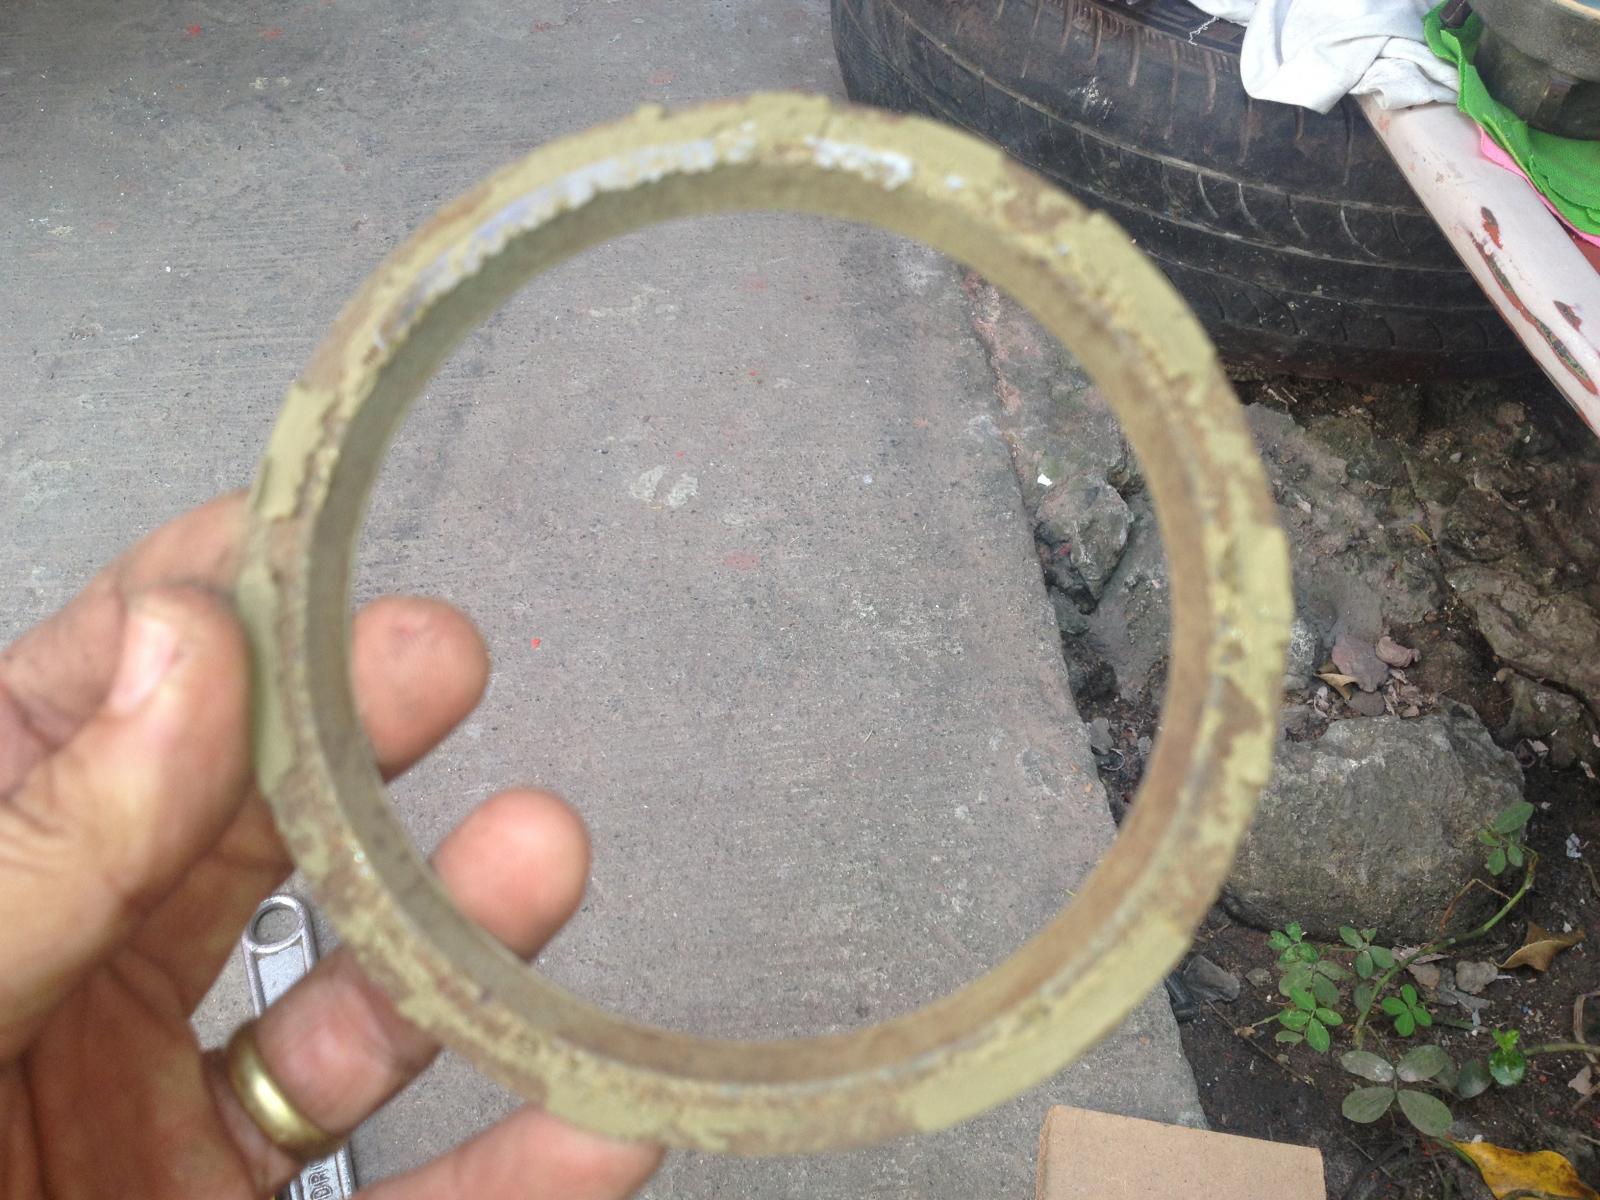
This one ahd to be cleaned and painted too.
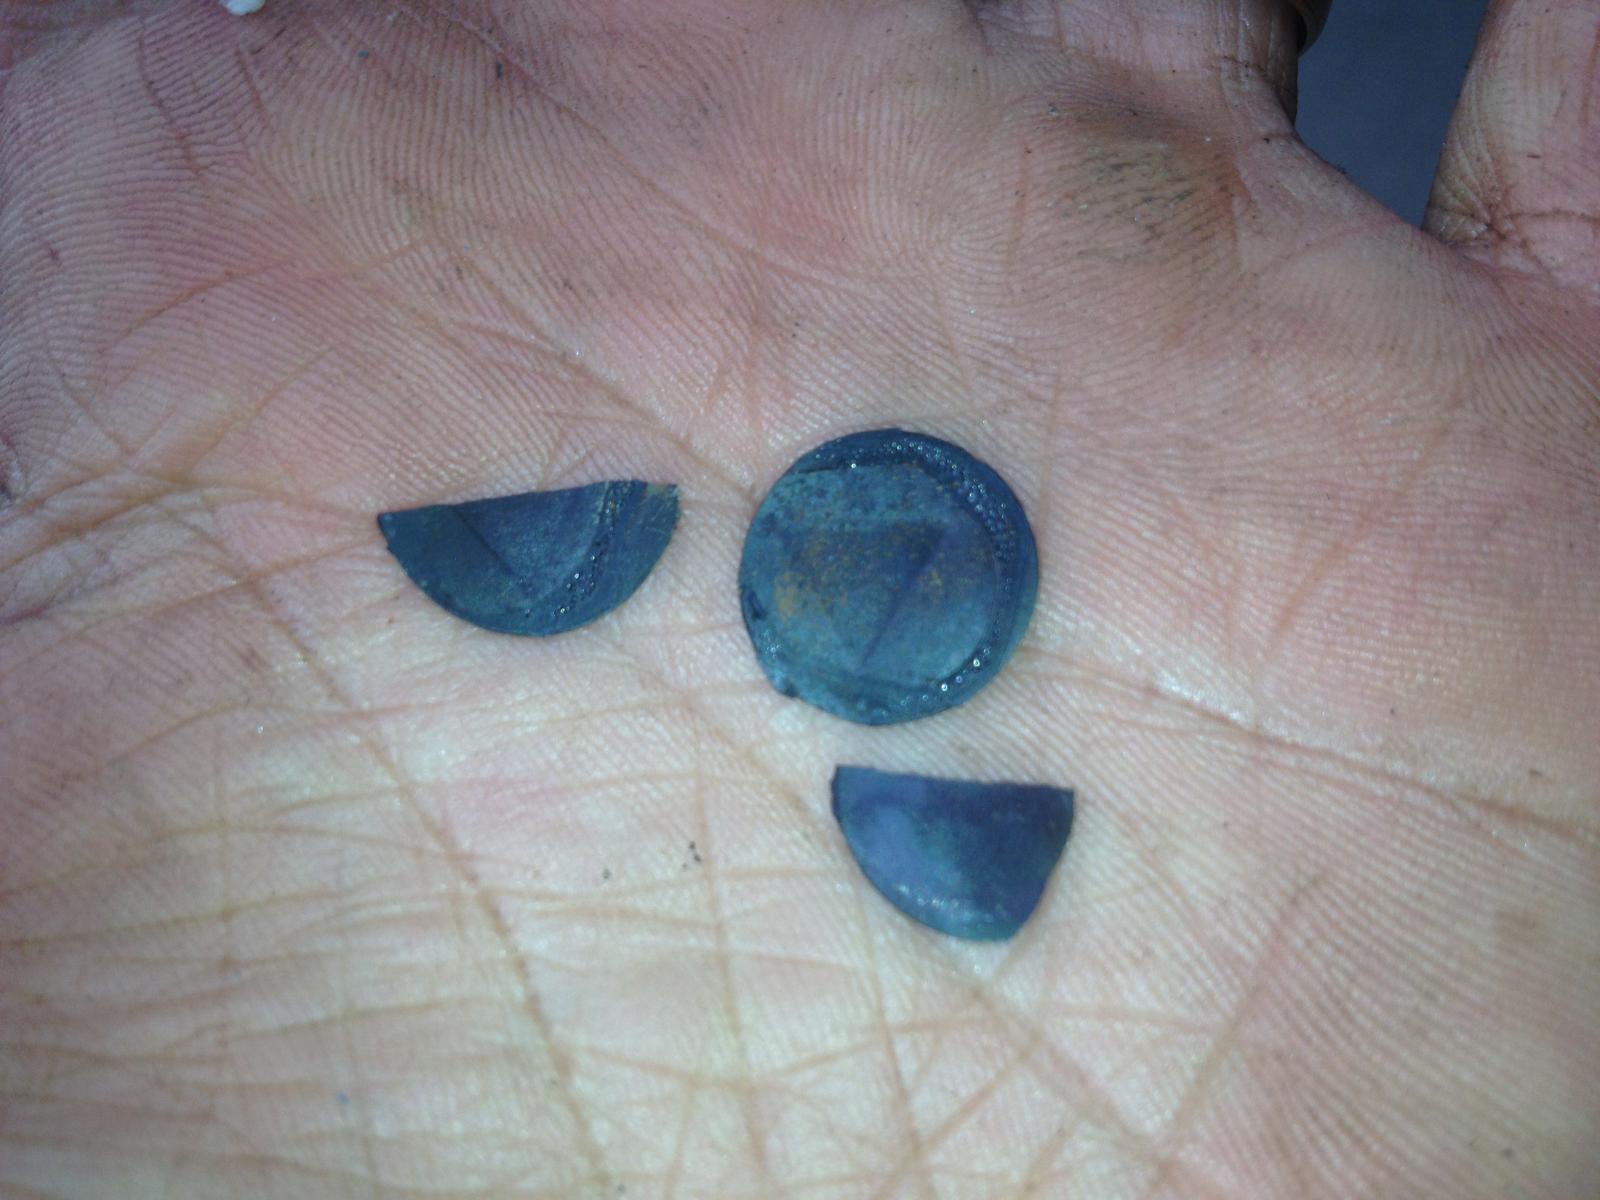
These plastic had to be replaced too with available colored plactic.
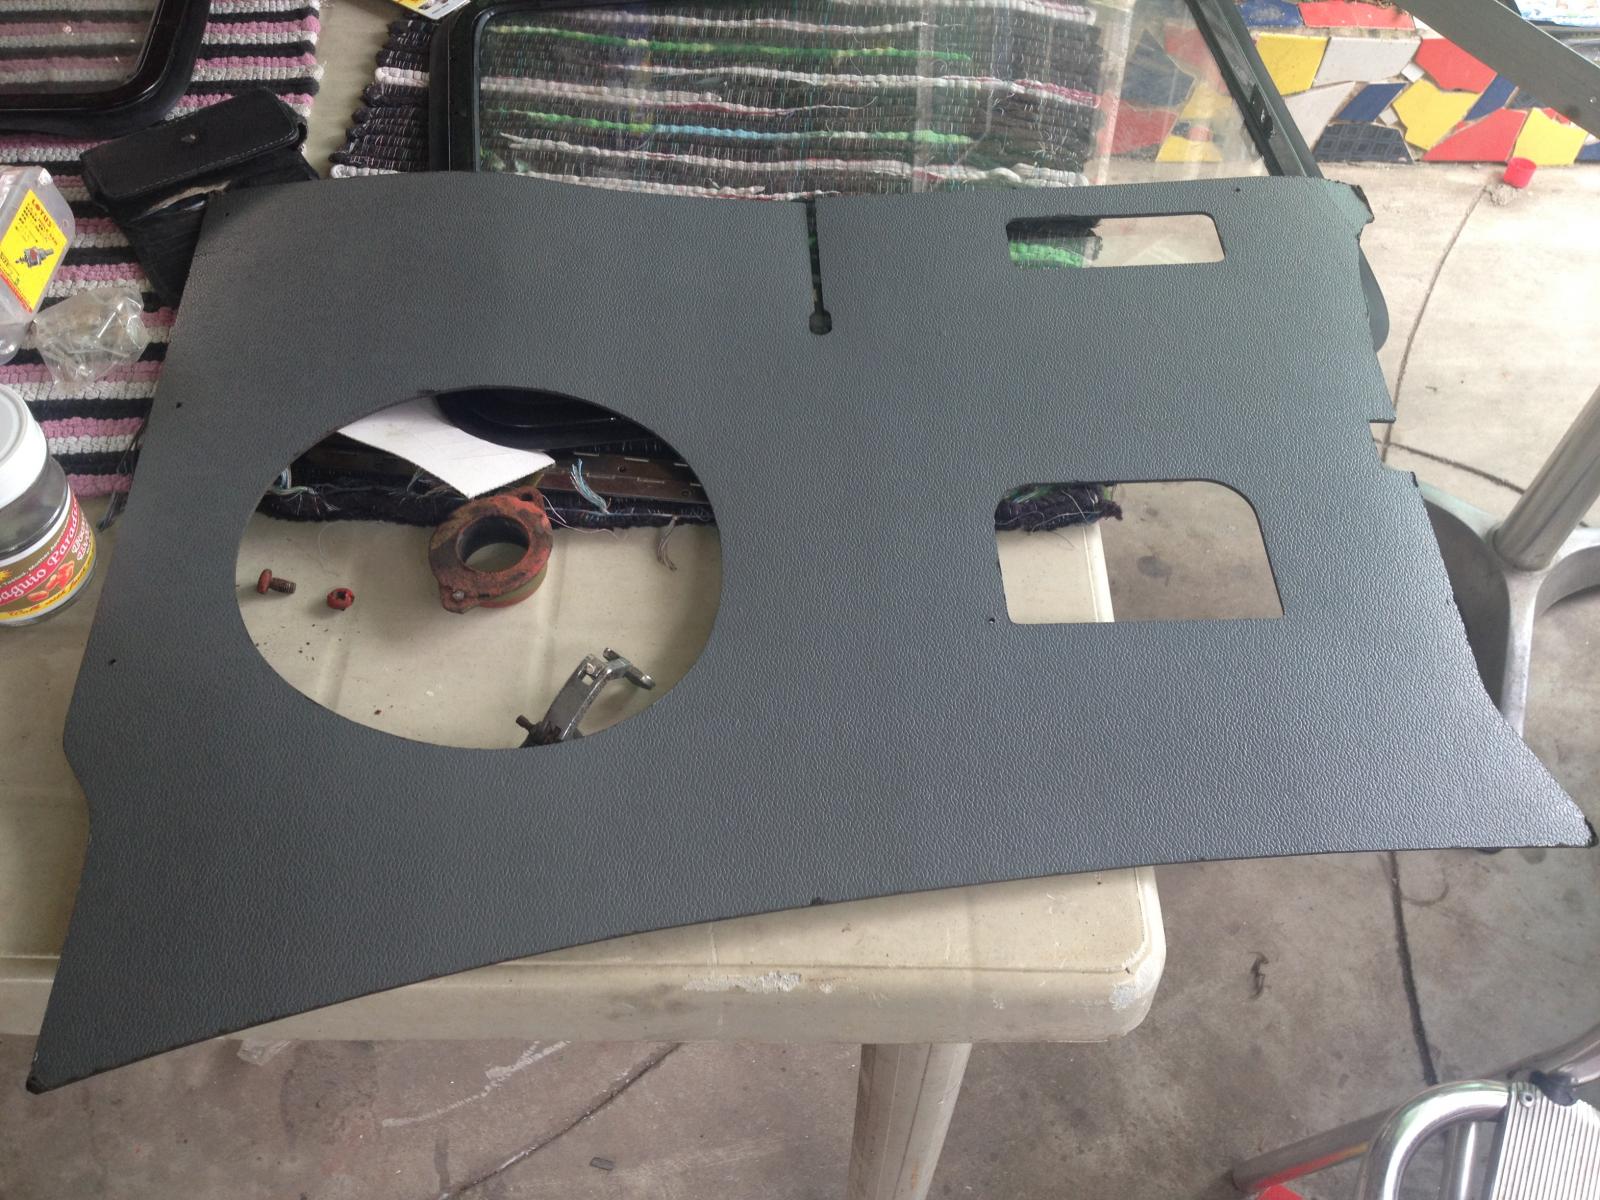
I have this NOS front kick panel, but i did not use it and I like to keet it NOS......
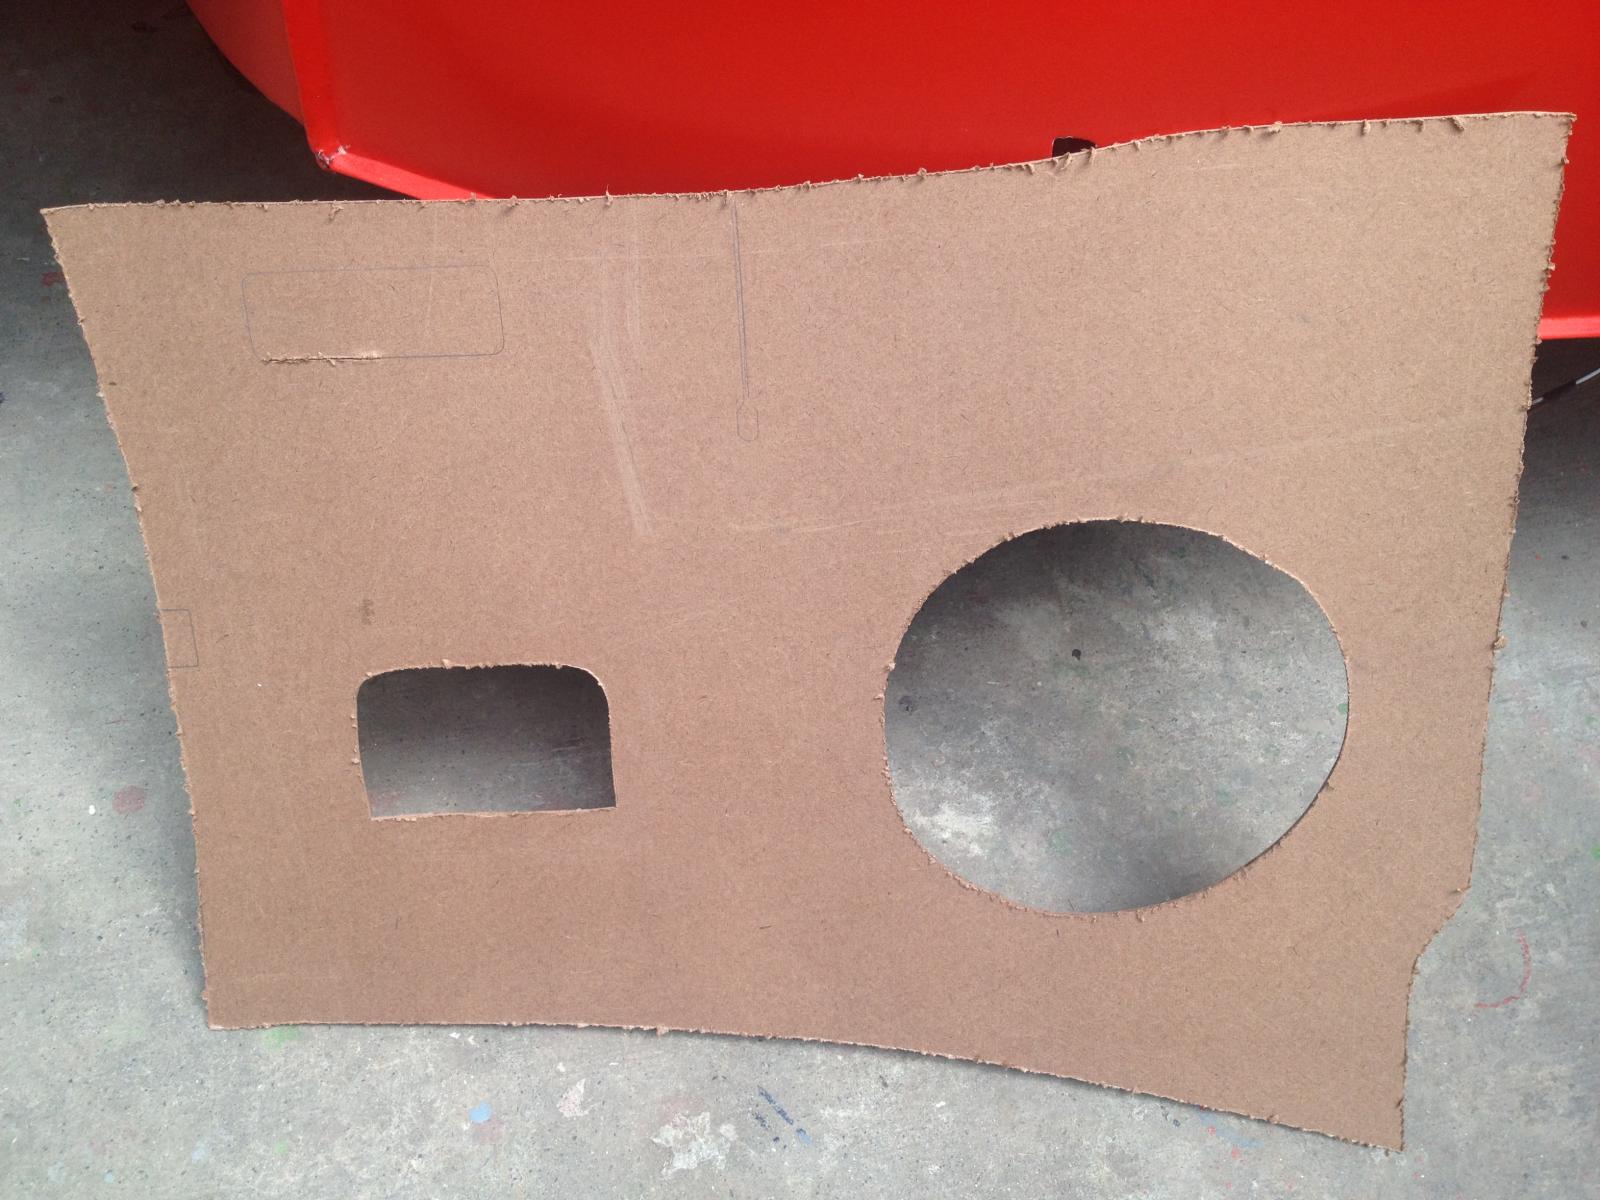
........... so I asked the installer to trace it and make and new one.
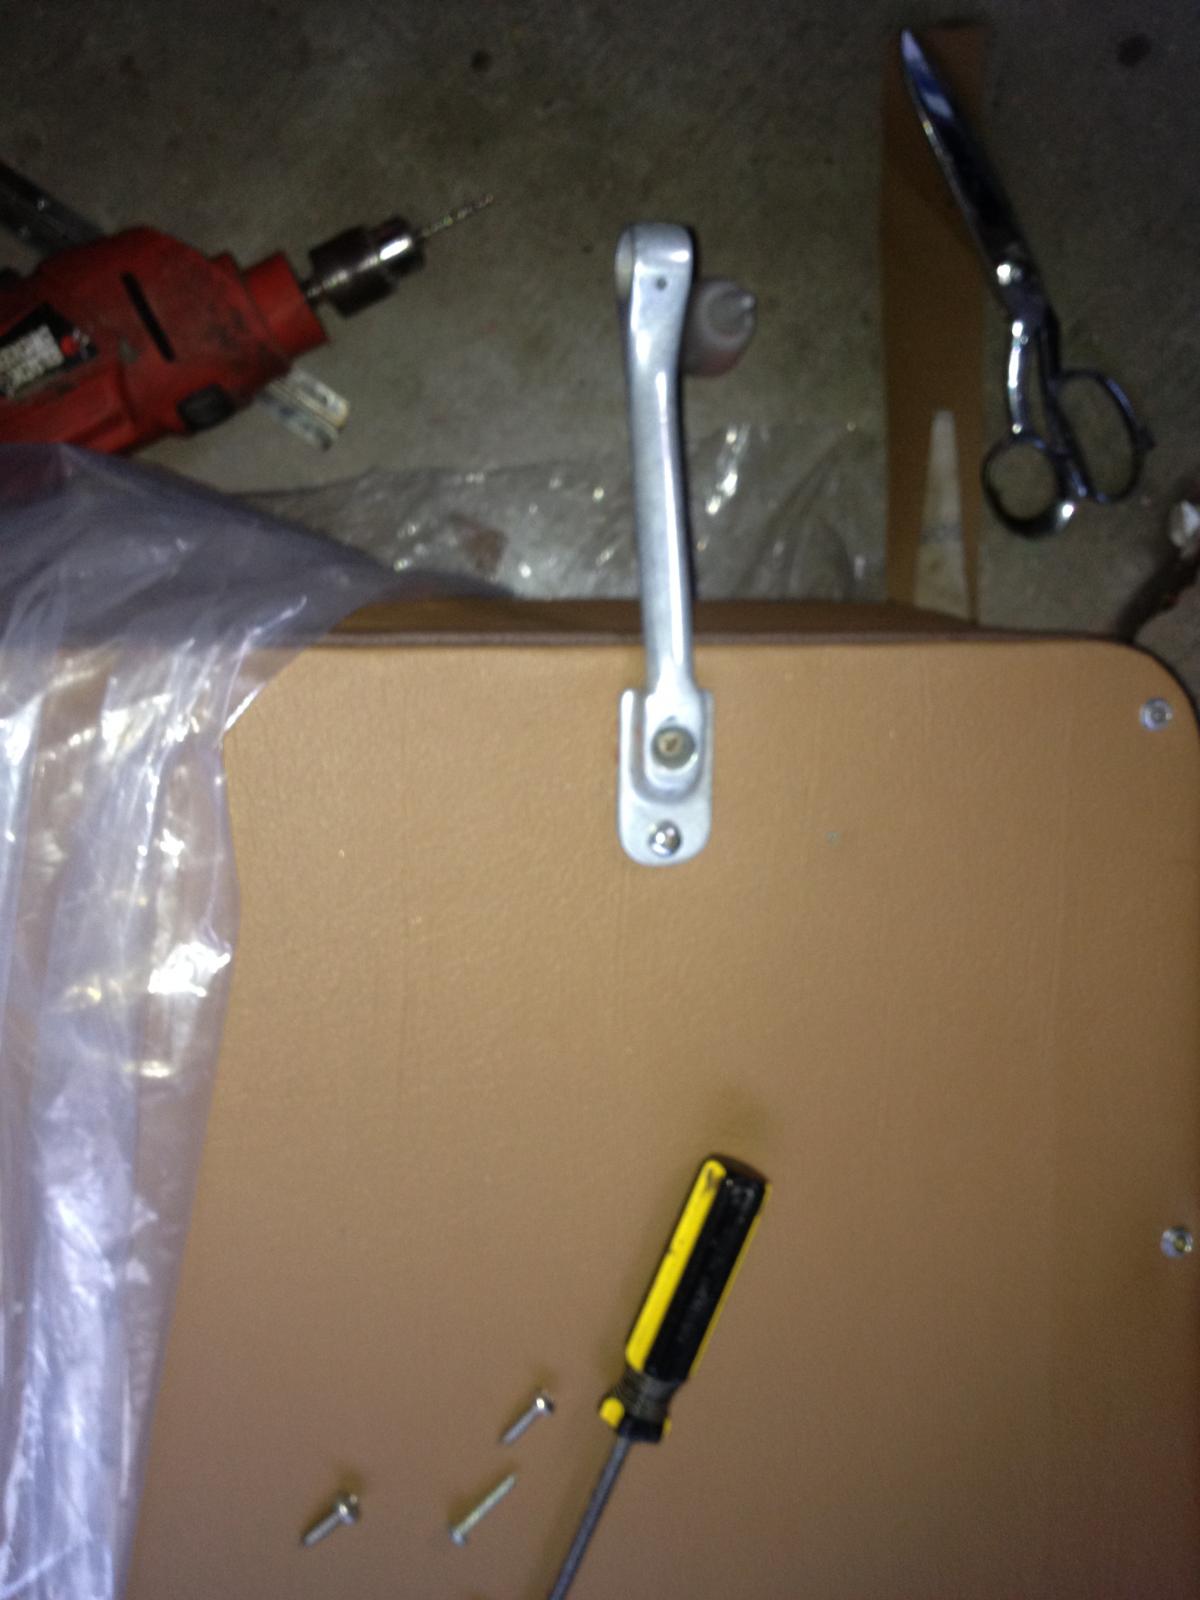
The jail bars had to be there to get that vintage look.
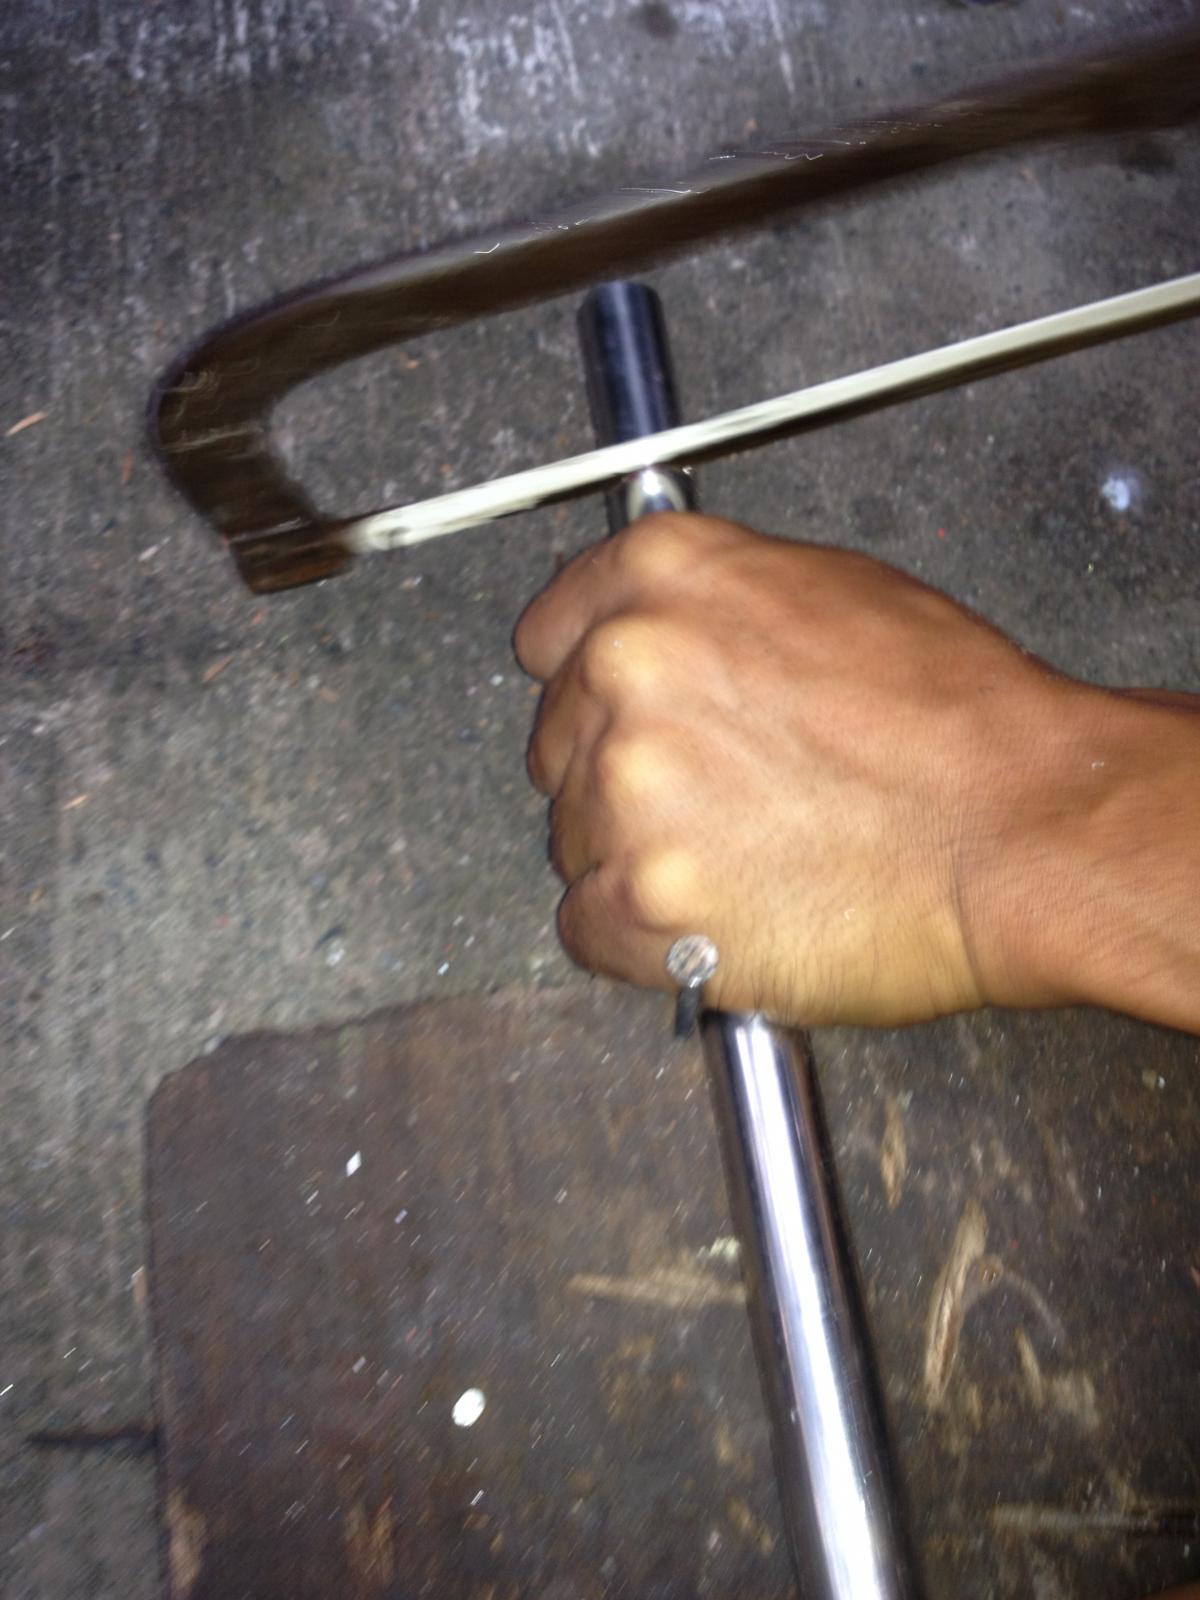
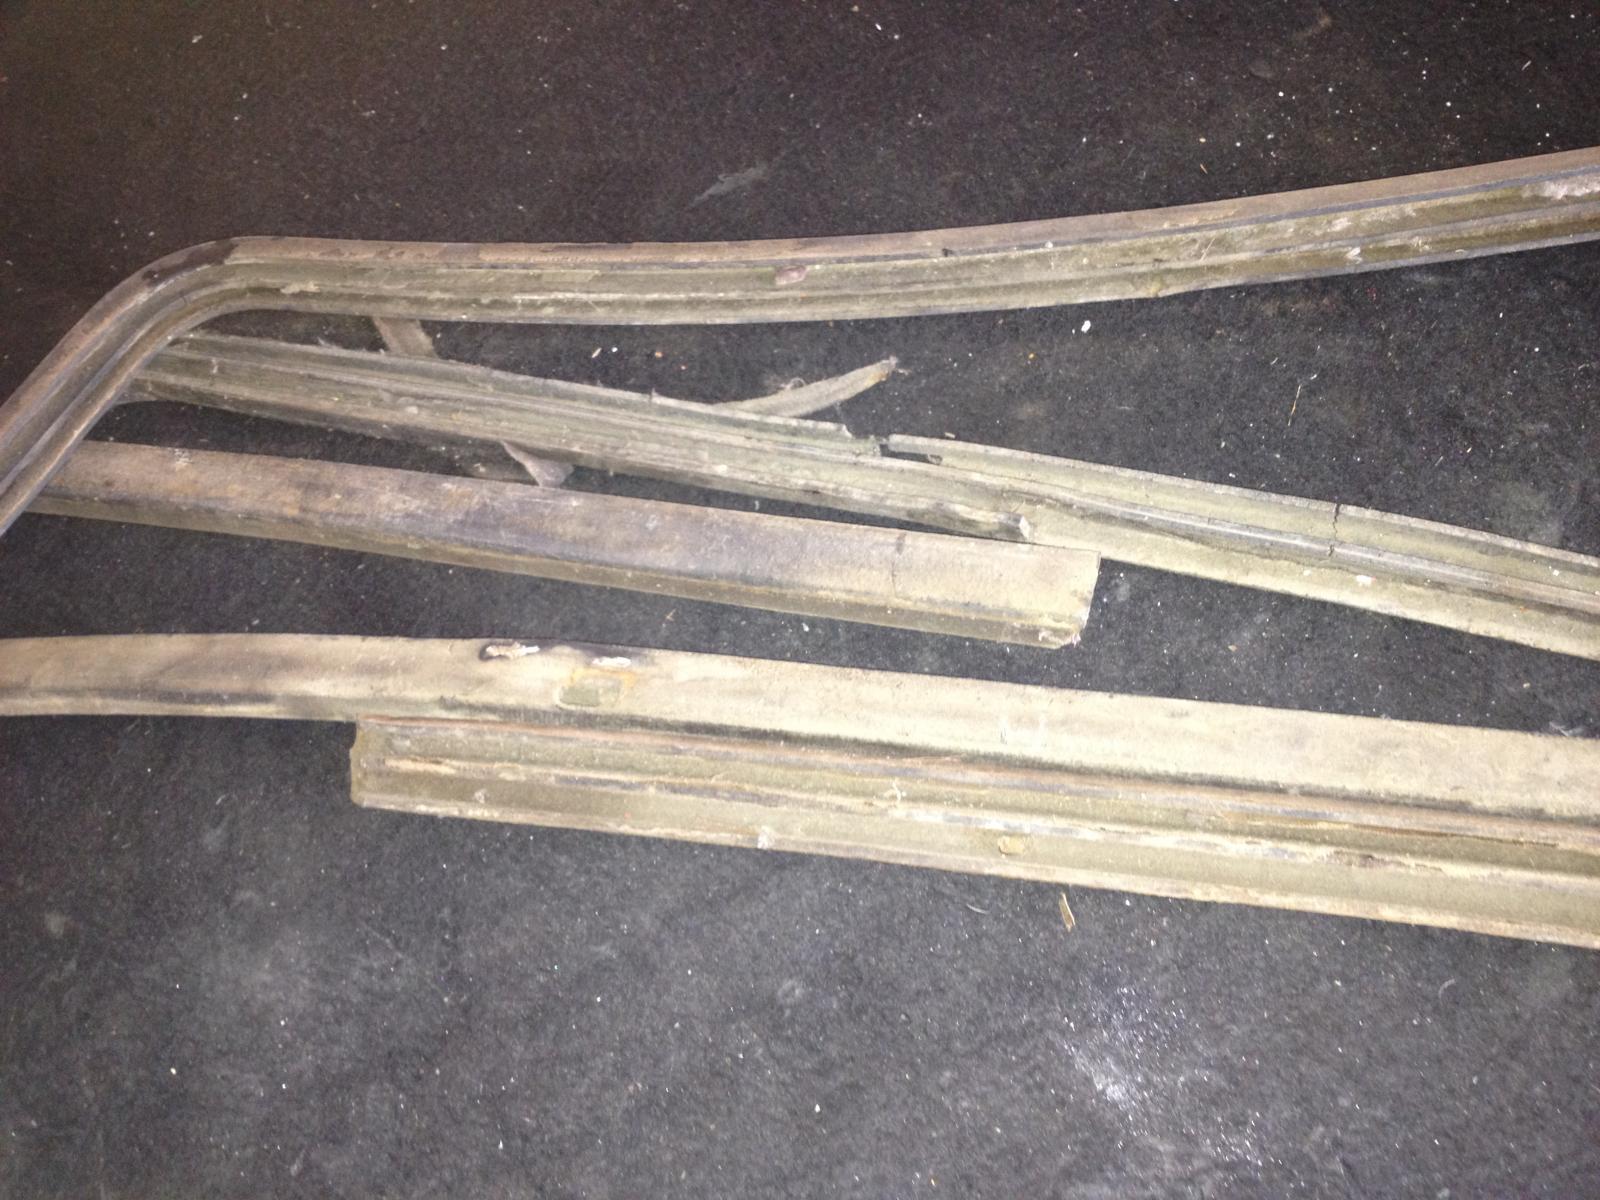
The rubber channel for thes sliding window are worn out already.
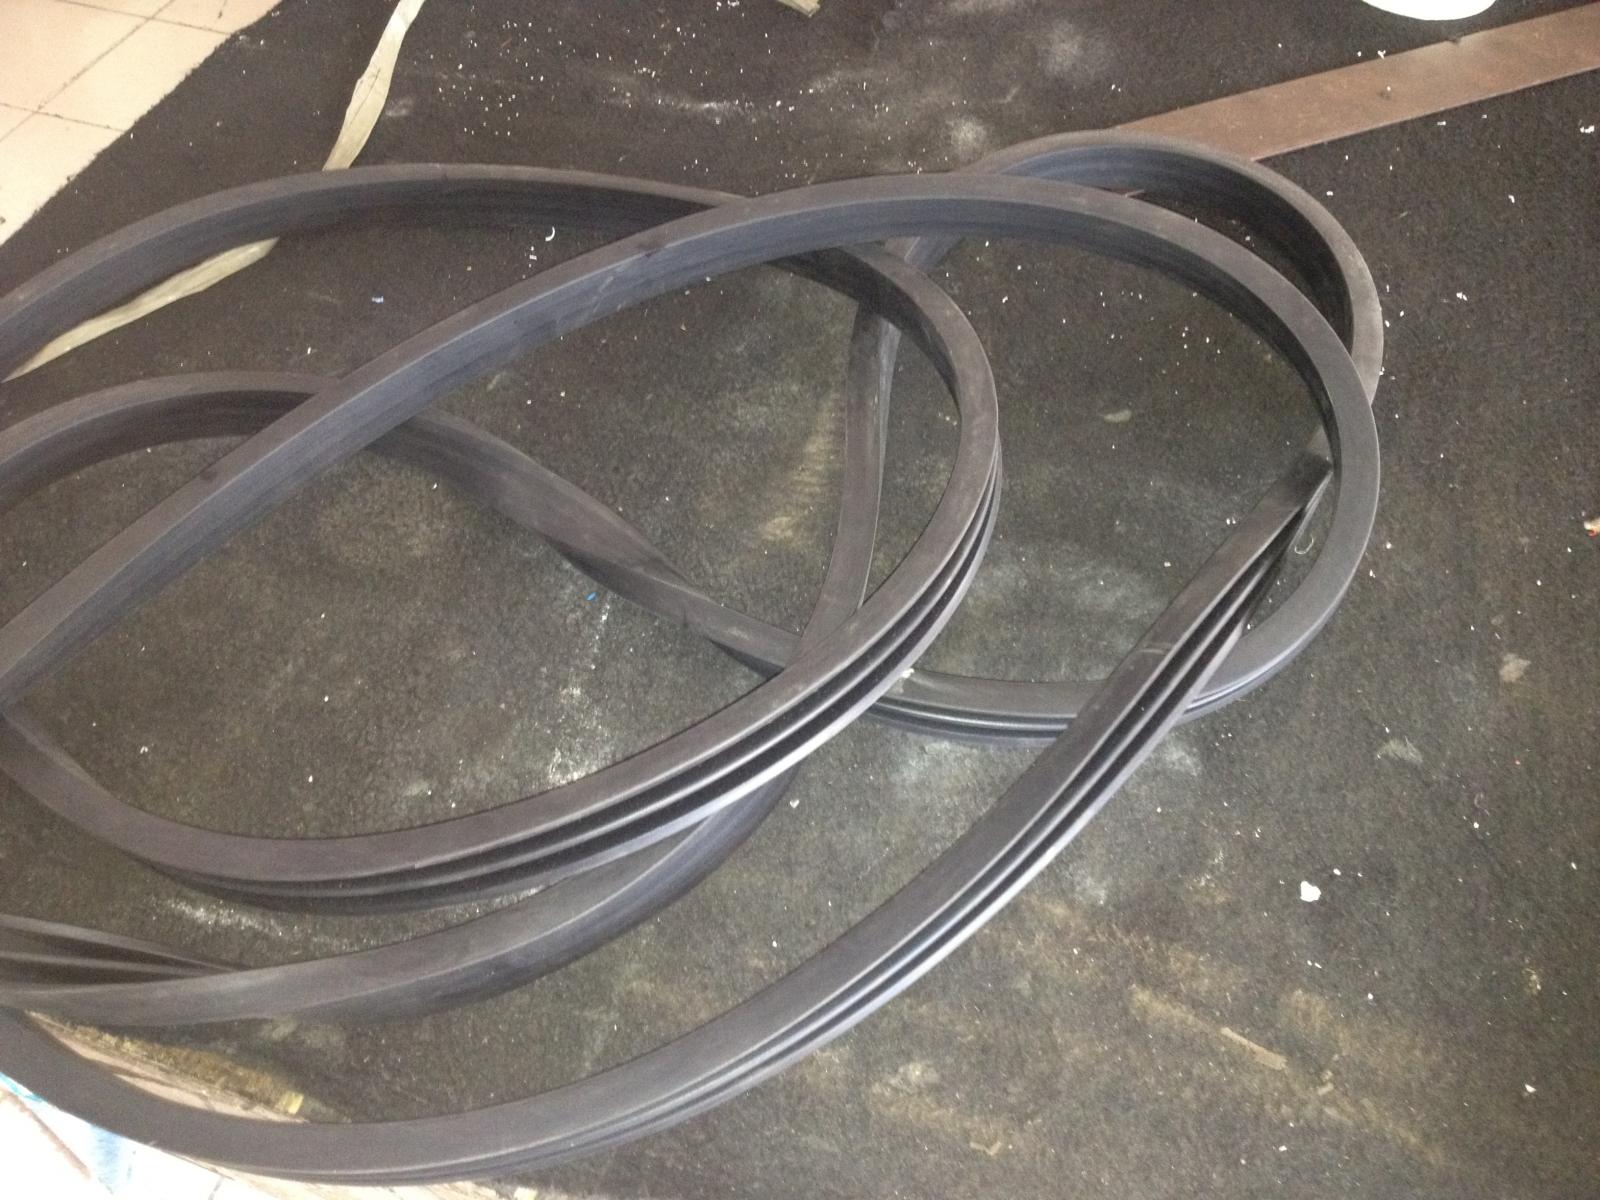
I will use this new bubber channels for the sliding windows to be fitted anytime this week, or this weekend..

The one on the left is the repro and the two on the right are the machined shop product.


I also cleaned the speedometer.

The one on the left was the one onthe bus and the one on the righjt is my spare. I used the latter.

This one ahd to be cleaned and painted too.

These plastic had to be replaced too with available colored plactic.

I have this NOS front kick panel, but i did not use it and I like to keet it NOS......

........... so I asked the installer to trace it and make and new one.

The jail bars had to be there to get that vintage look.


The rubber channel for thes sliding window are worn out already.

I will use this new bubber channels for the sliding windows to be fitted anytime this week, or this weekend..
dongkg
Registered user
Posts: 90
Joined: Tue Jul 16, 2013 7:58 am
Re: My '67 Split Bus Resto Thread in the Philippines
by dongkg » Wed Nov 13, 2013 5:06 am
I also brought one repro pivot for the wiper to the machine shop to have it copied.

The one on the left is the repro and the two on the right are the machined shop product.


I also cleaned the speedometer.

The one on the left was the one onthe bus and the one on the righjt is my spare. I used the latter.

This one ahd to be cleaned and painted too.

These plastic had to be replaced too with available colored plactic.

I have this NOS front kick panel, but i did not use it and I like to keet it NOS......

........... so I asked the installer to trace it and make and new one.

The jail bars had to be there to get that vintage look.


The rubber channel for thes sliding window are worn out already.

I will use this new bubber channels for the sliding windows to be fitted anytime this week, or this weekend..

The one on the left is the repro and the two on the right are the machined shop product.


I also cleaned the speedometer.

The one on the left was the one onthe bus and the one on the righjt is my spare. I used the latter.

This one ahd to be cleaned and painted too.

These plastic had to be replaced too with available colored plactic.

I have this NOS front kick panel, but i did not use it and I like to keet it NOS......

........... so I asked the installer to trace it and make and new one.

The jail bars had to be there to get that vintage look.


The rubber channel for thes sliding window are worn out already.

I will use this new bubber channels for the sliding windows to be fitted anytime this week, or this weekend..
dongkg
Registered user
Posts: 90
Joined: Tue Jul 16, 2013 7:58 am
Re: My '67 Split Bus Resto Thread in the Philippines
by dongkg » Wed Nov 13, 2013 5:06 am
I forget to post this one which I accomplished about amonth ago.
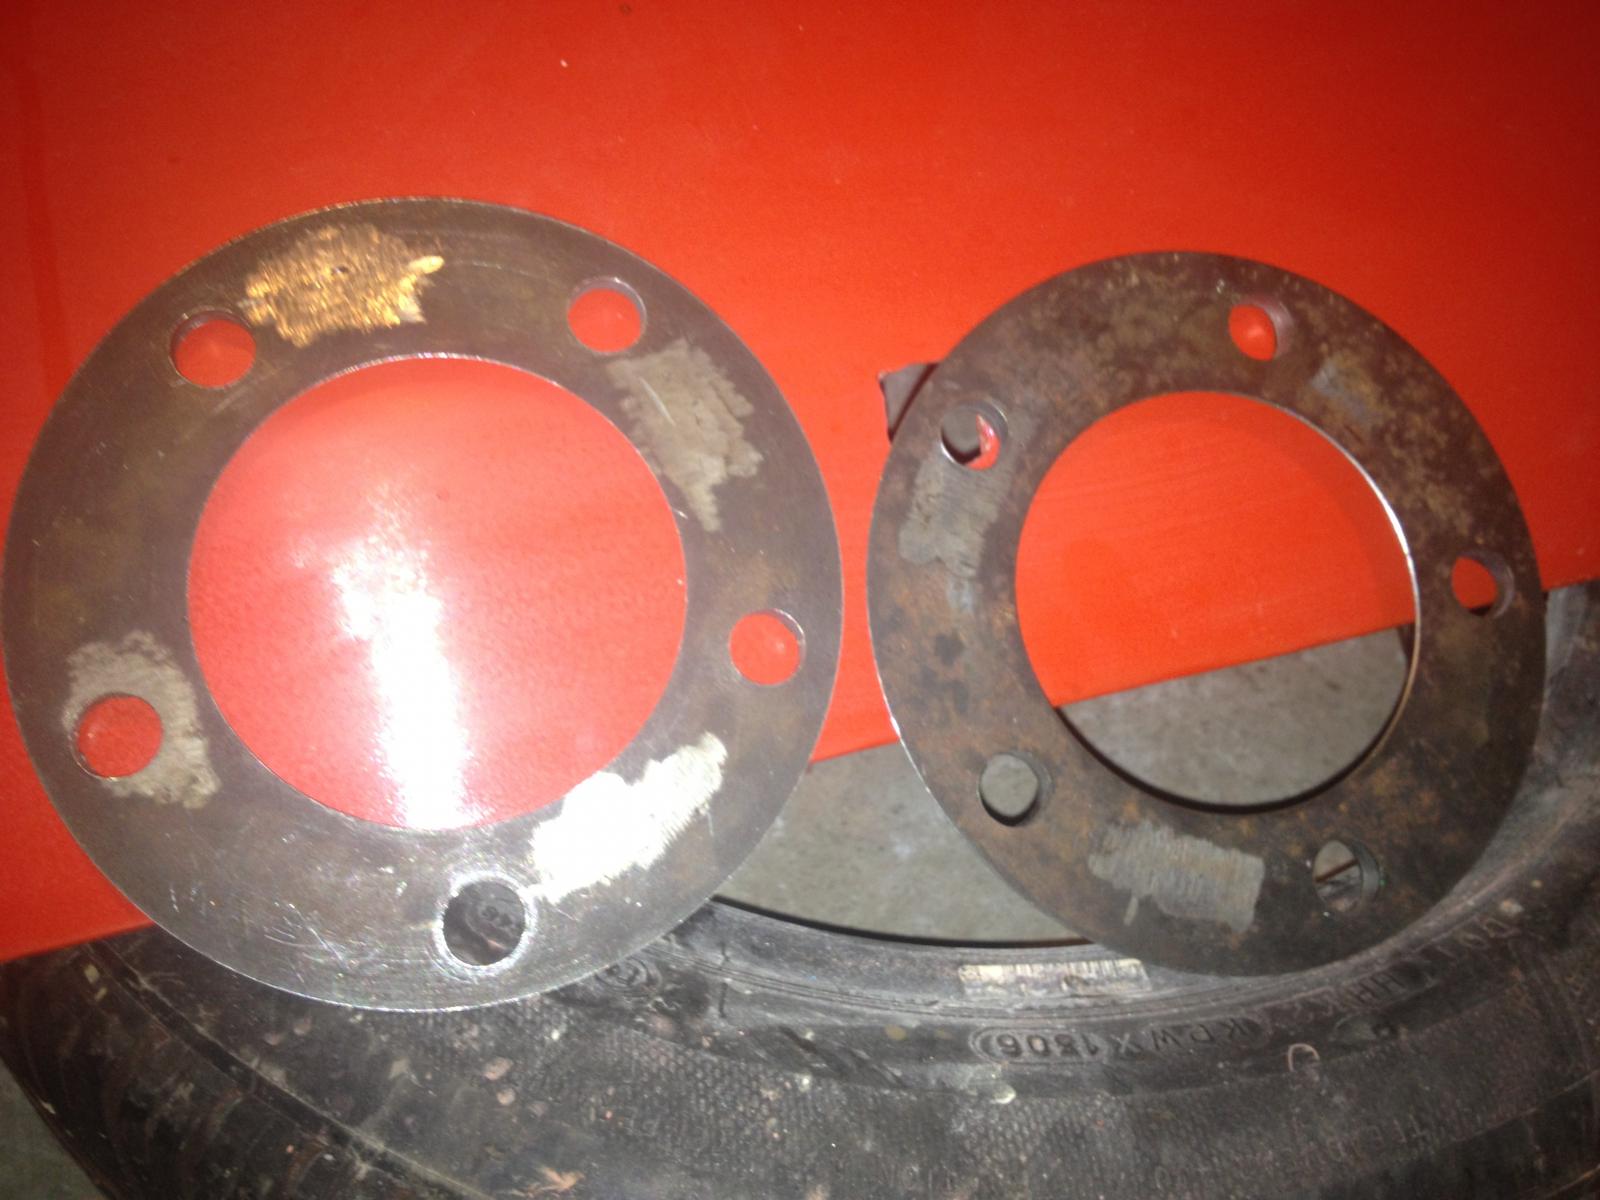
I asked the machine shop to fabricate the spaces for the front drums.
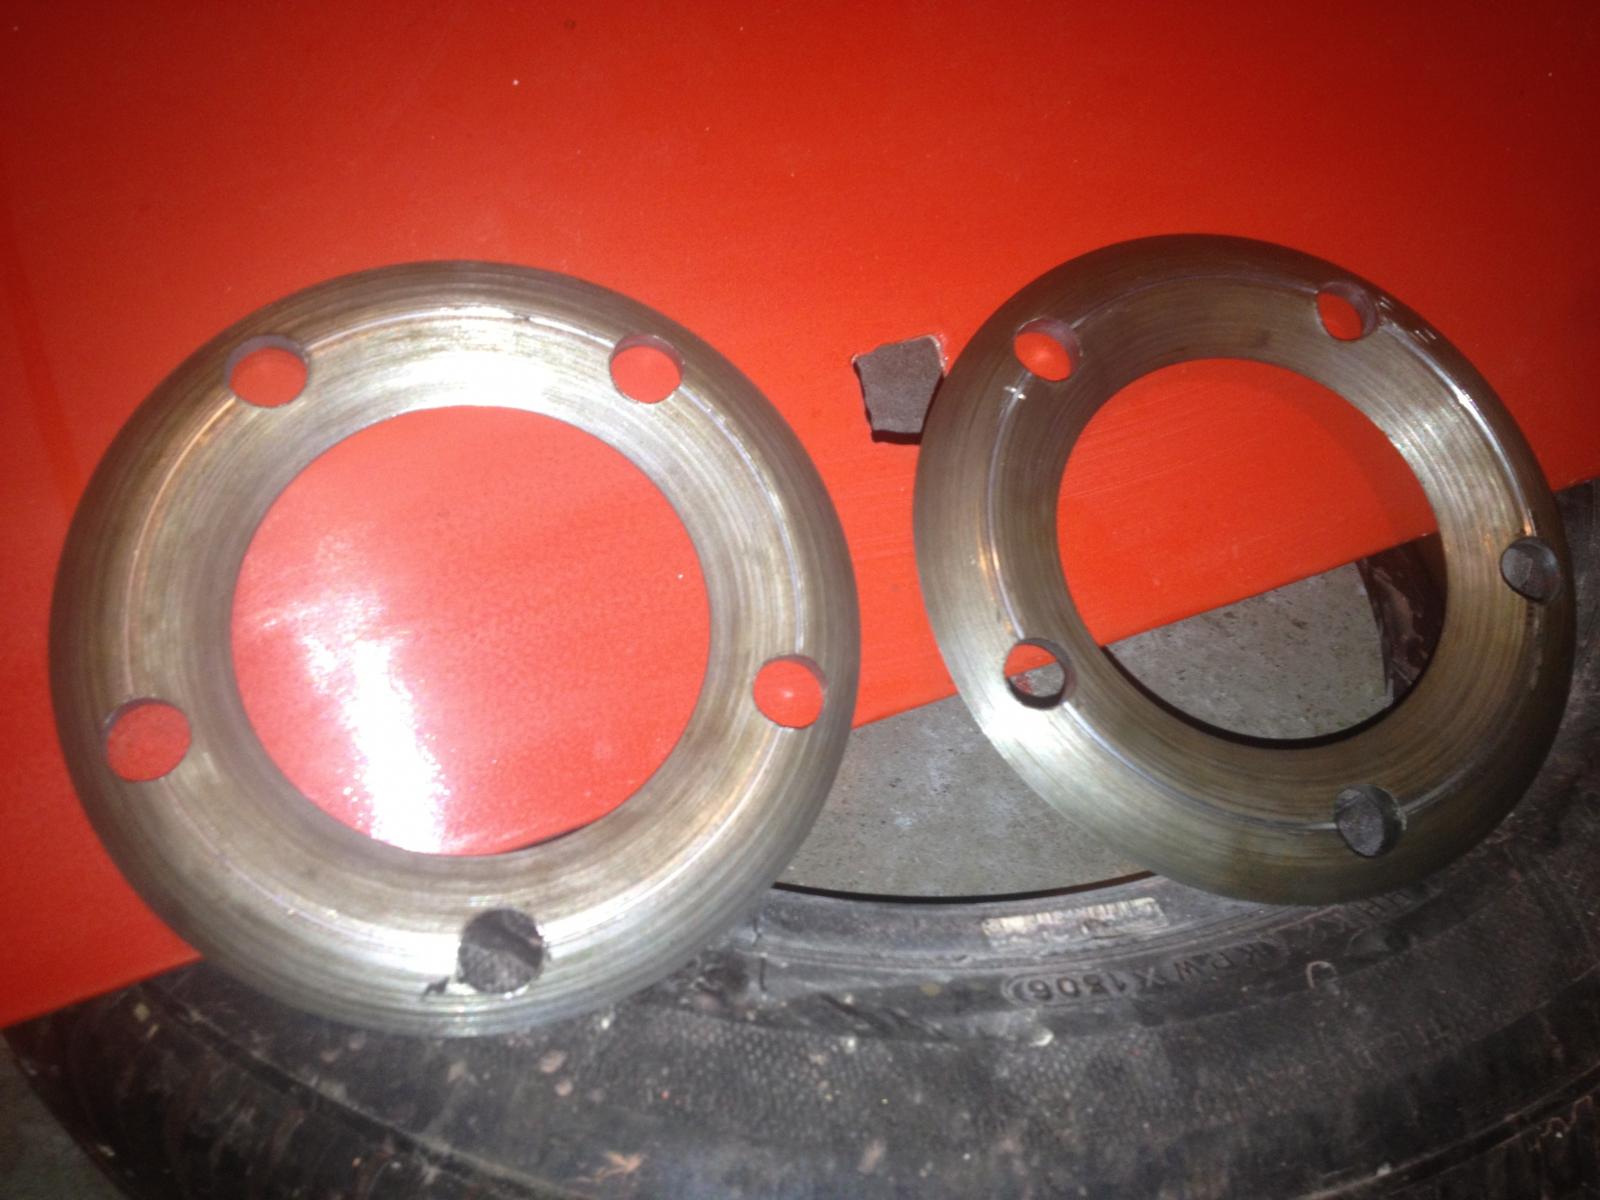
This one fits okay for me.
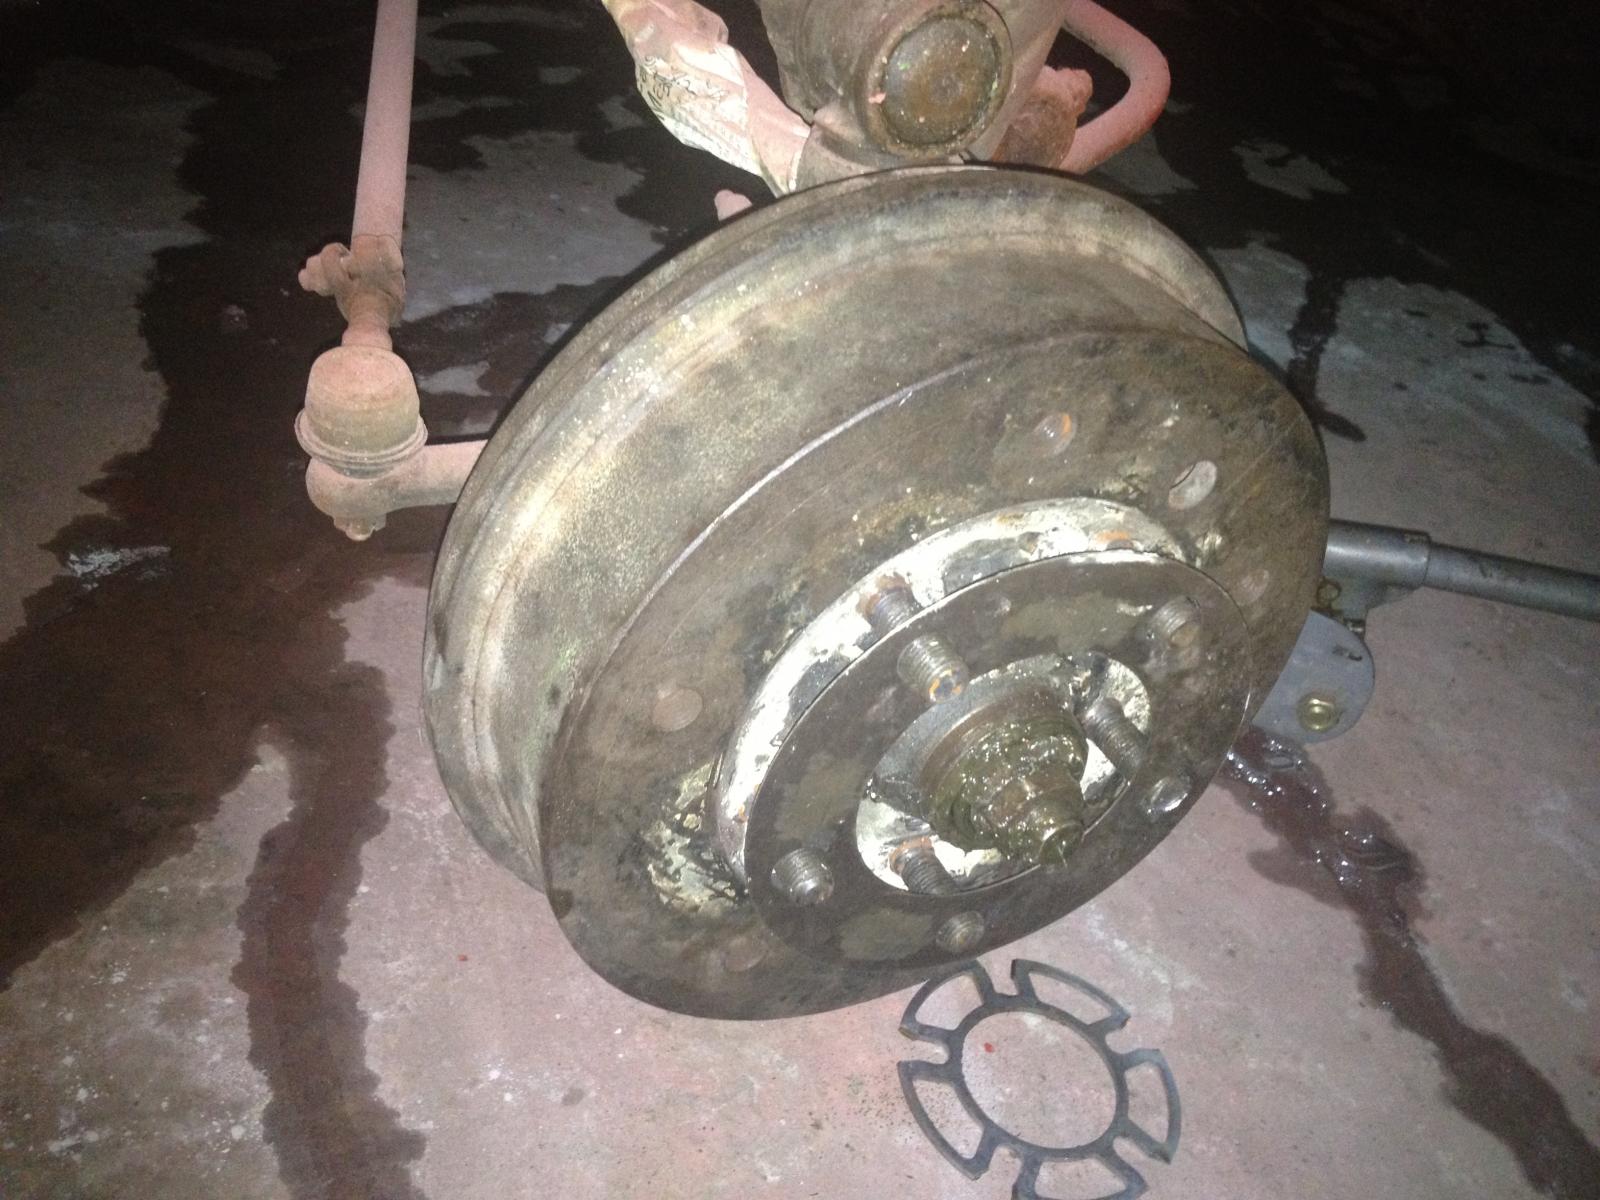
Being fitted.
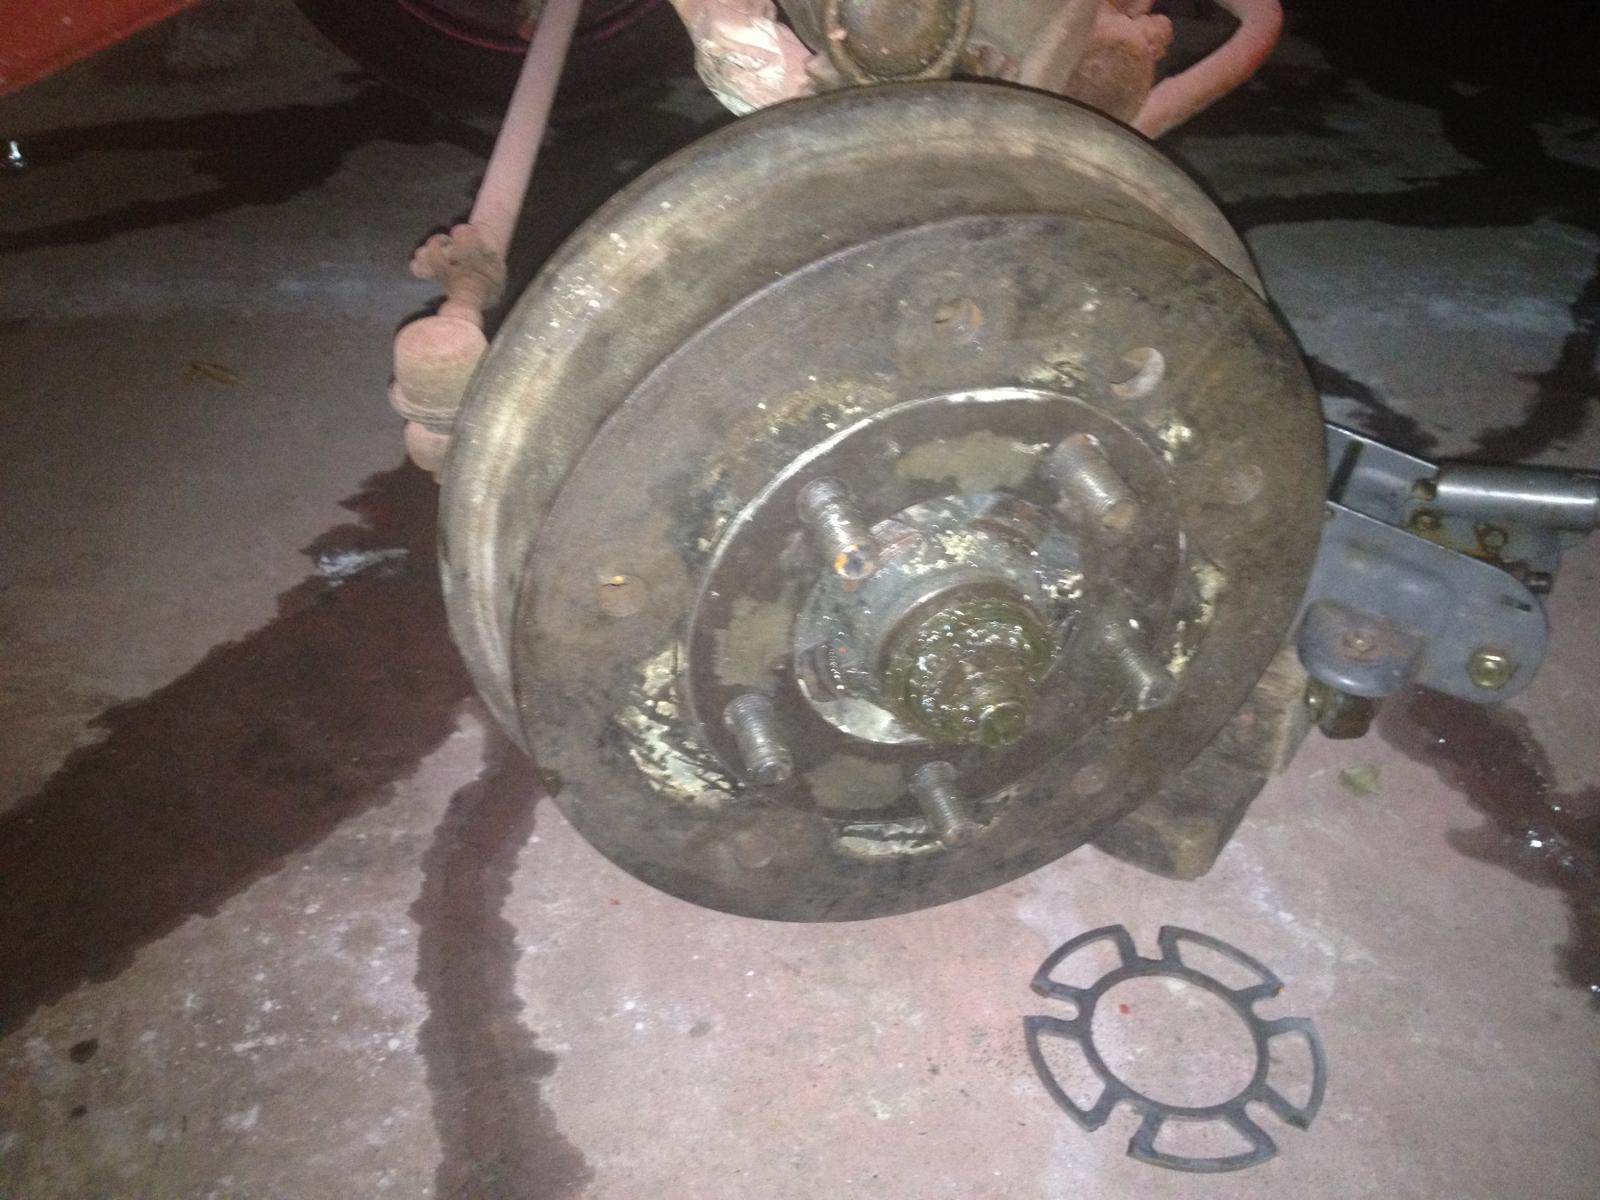
Nothing is better than being safe on the road with this one.

I asked the machine shop to fabricate the spaces for the front drums.

This one fits okay for me.

Being fitted.

Nothing is better than being safe on the road with this one.
dongkg
Registered user
Posts: 90
Joined: Tue Jul 16, 2013 7:58 am
Re: My '67 Split Bus Resto Thread in the Philippines
by dongkg » Wed Nov 13, 2013 5:07 am
I guess using my DSLR will give justice to the Split bus. So these are a few pictures taken using my DSLR... better quality.
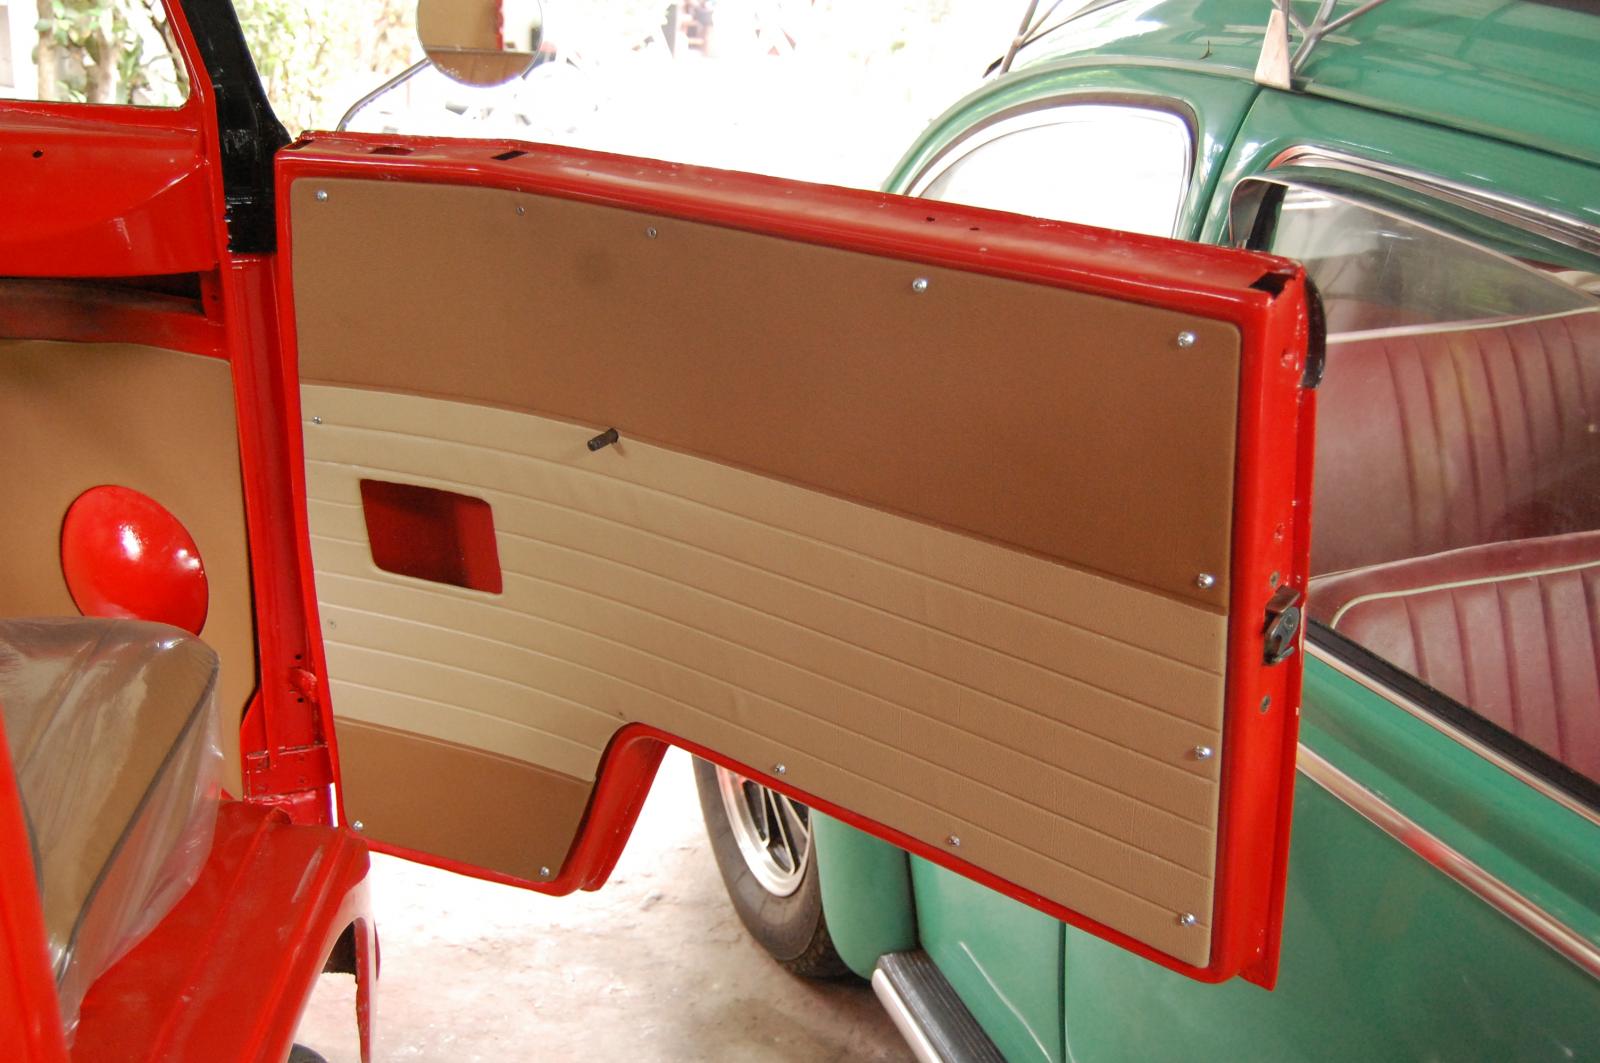
The pocket is not yet finished.
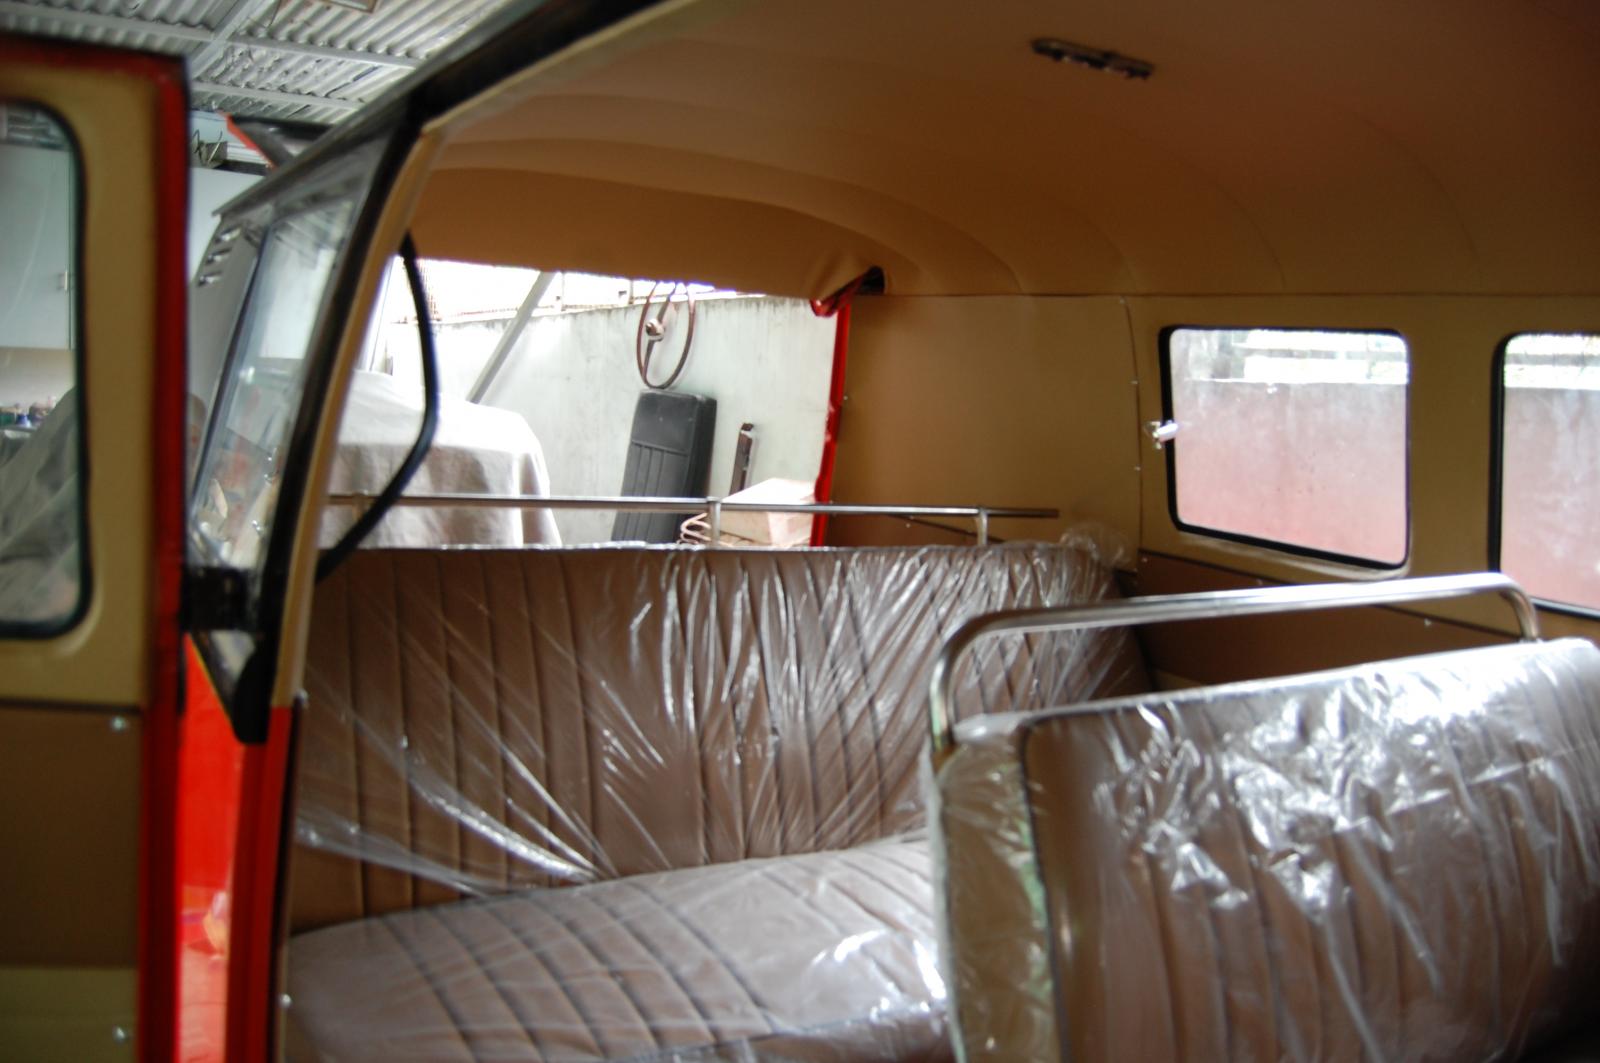
The seats look pretty neat.
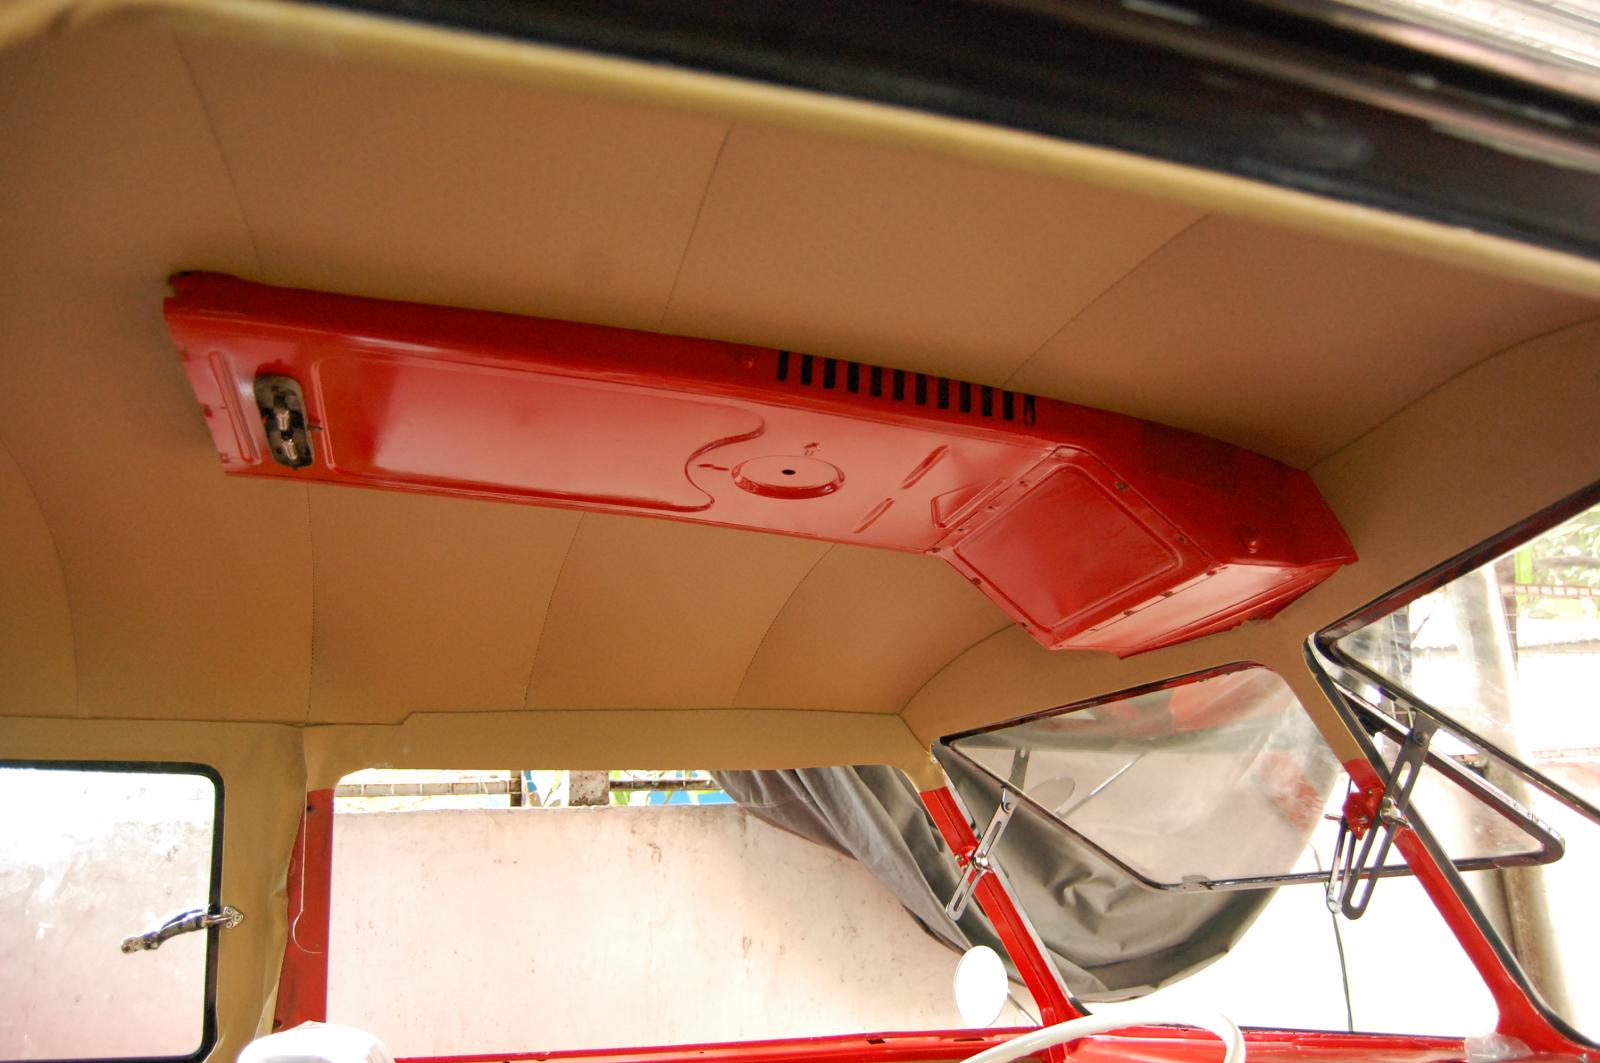
The front ceiling is finsihed except that window post.
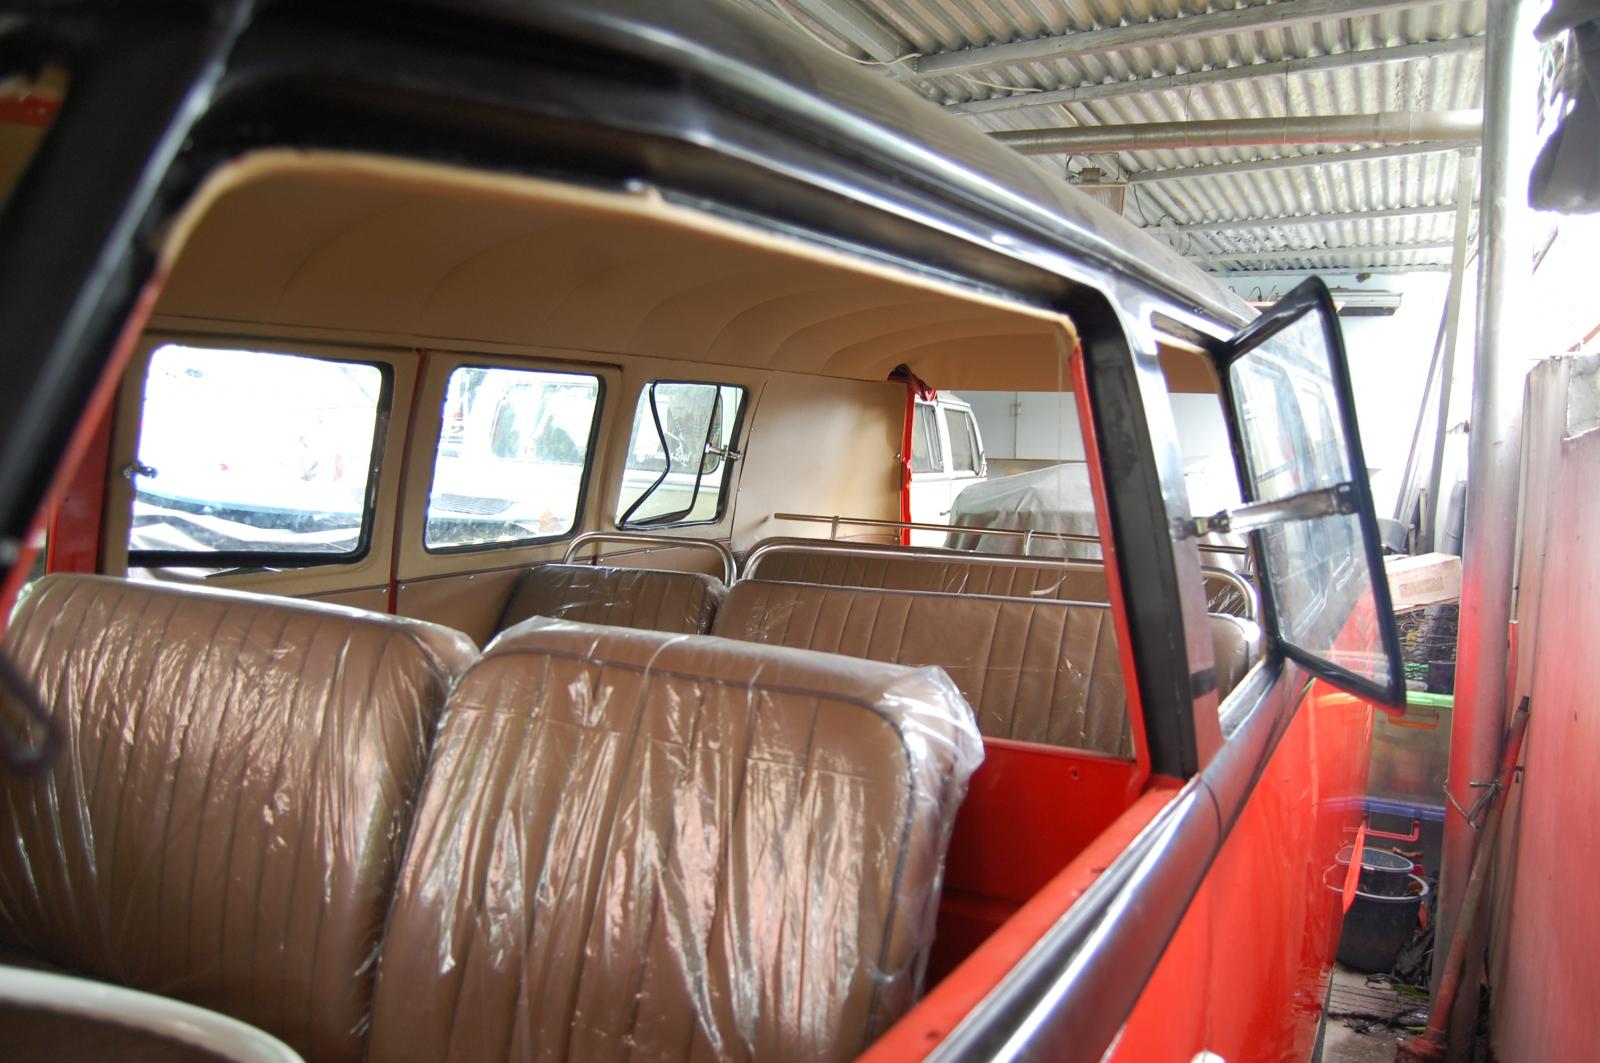
Another shot.
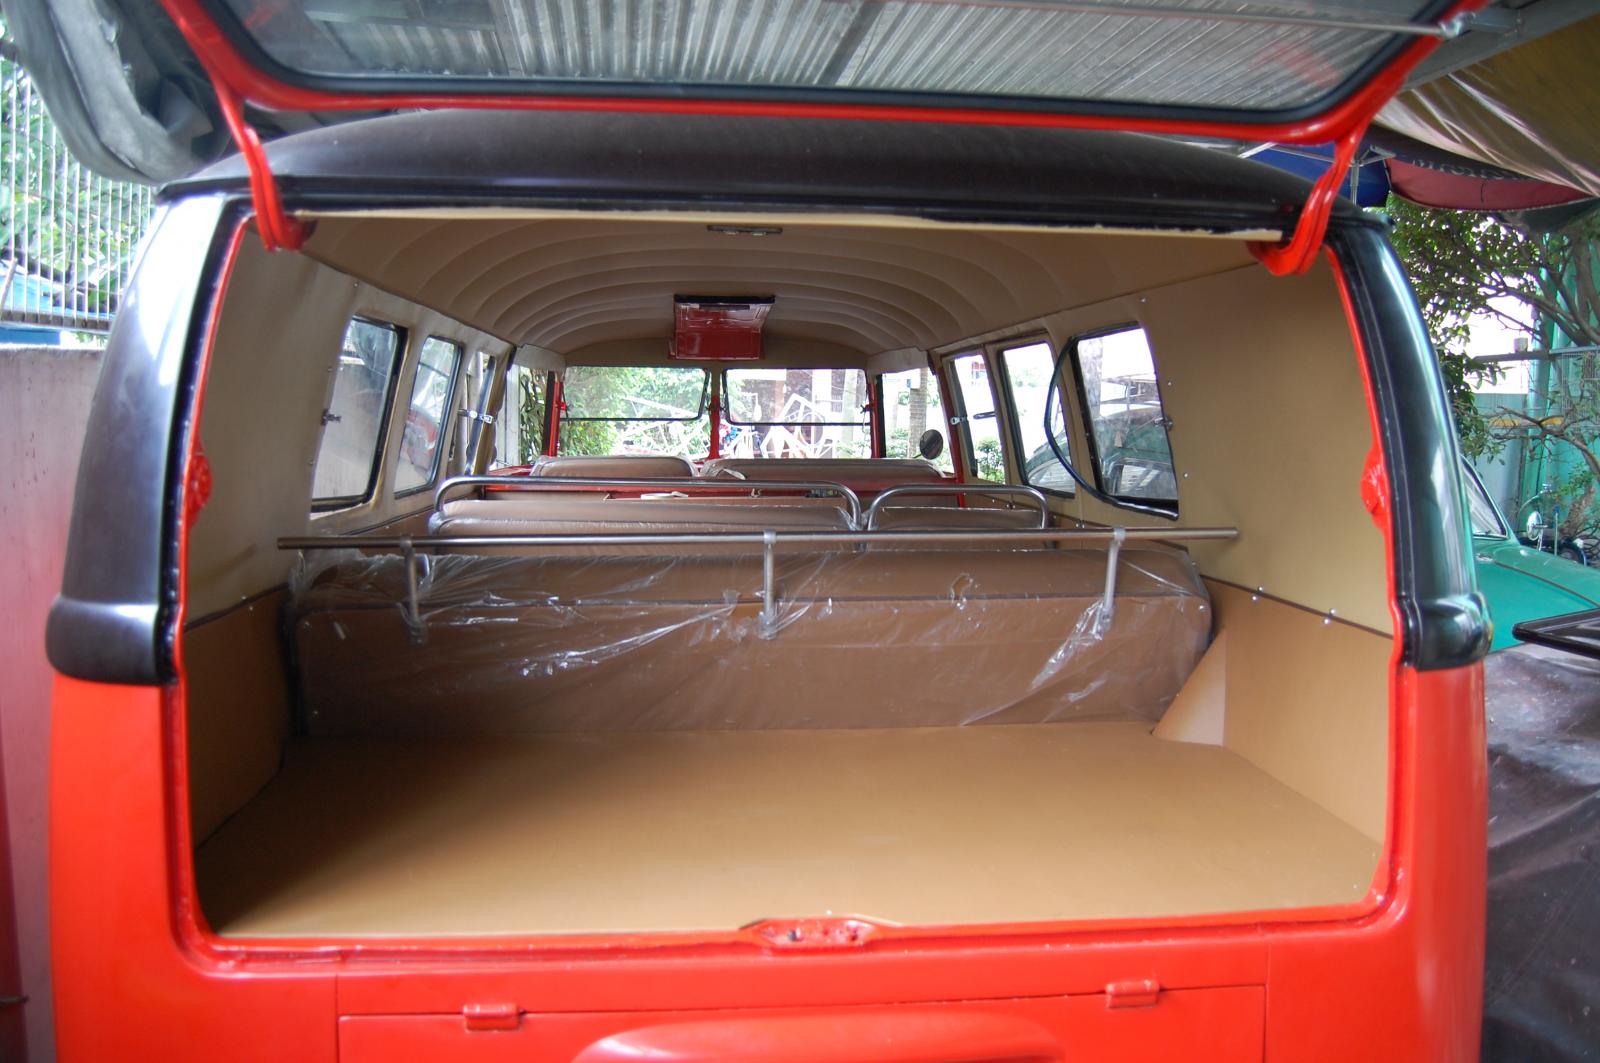
A view from the rear through the hatch.
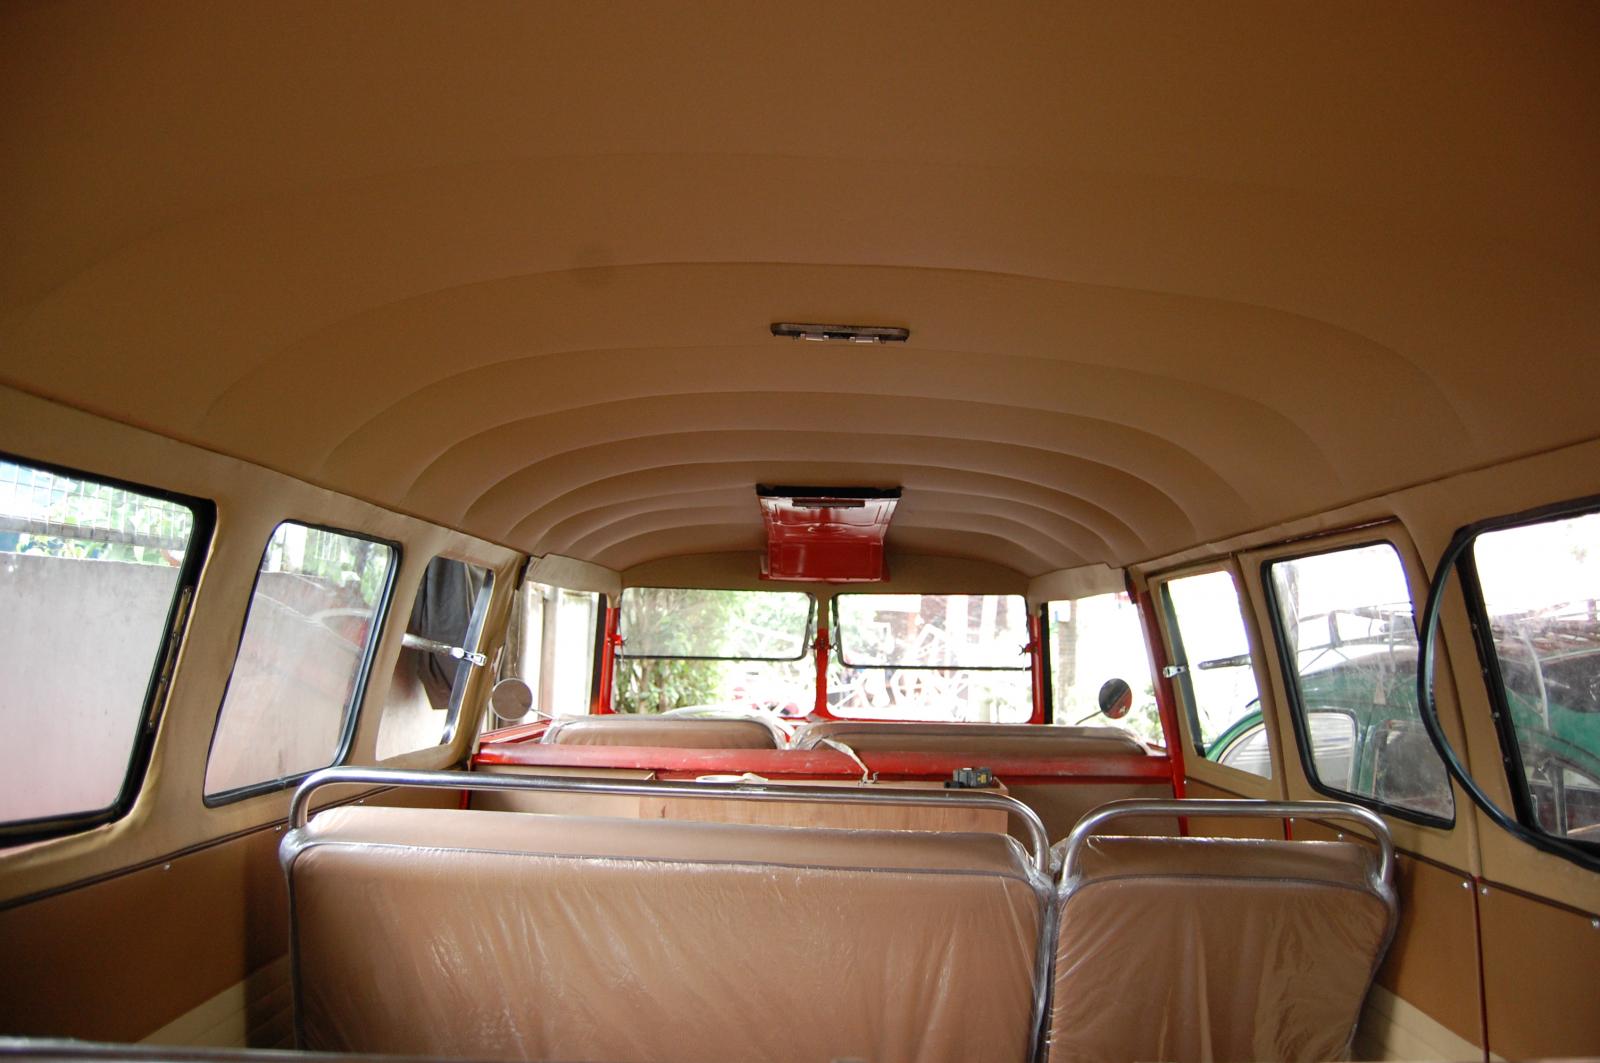
The ceilign turned out okay for me.
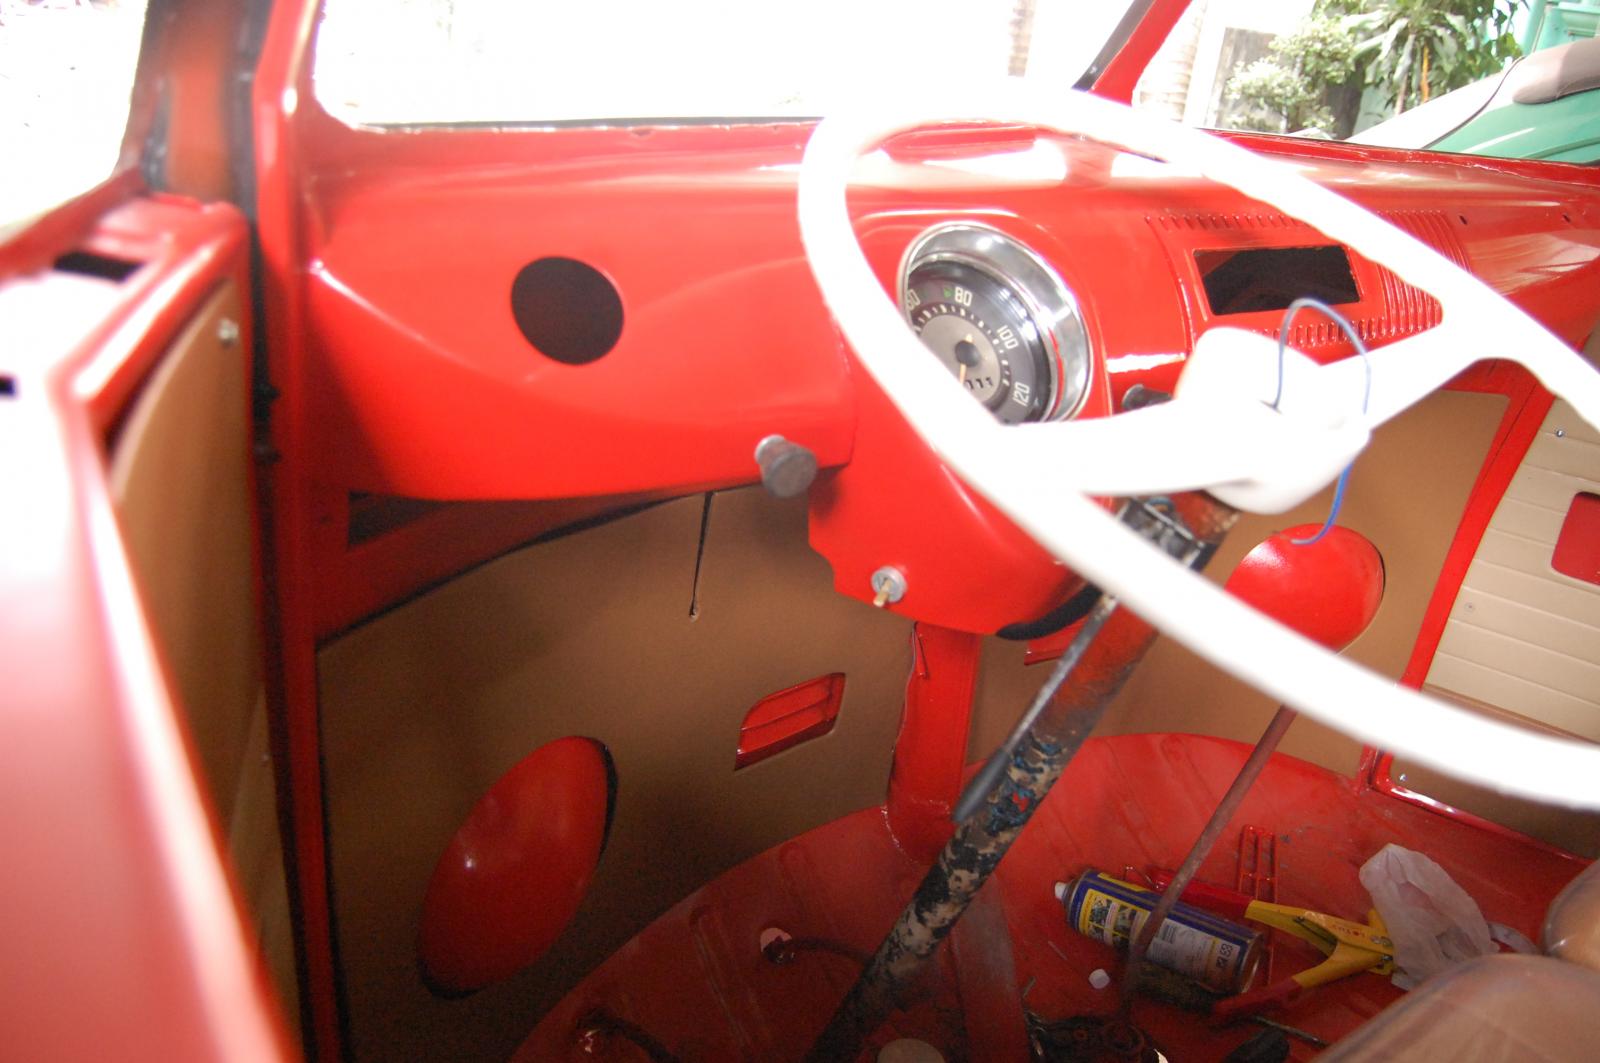
the dashboard. So may things to be fixed yet.
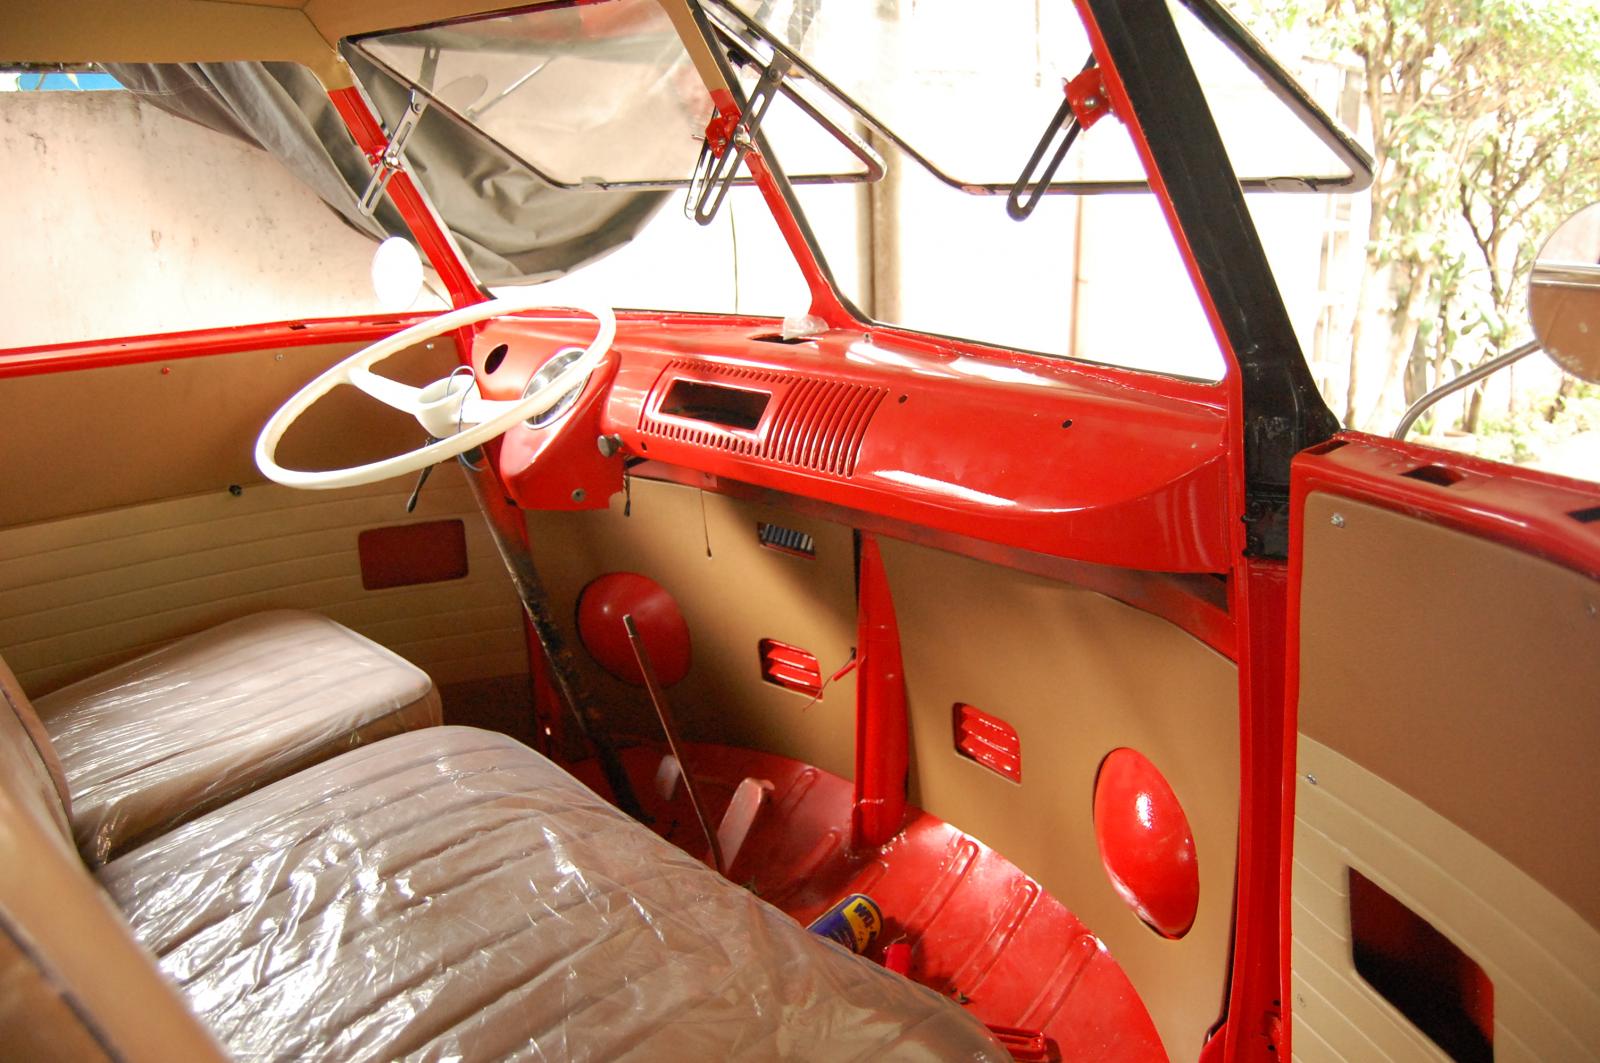
A better shot or the cab area.
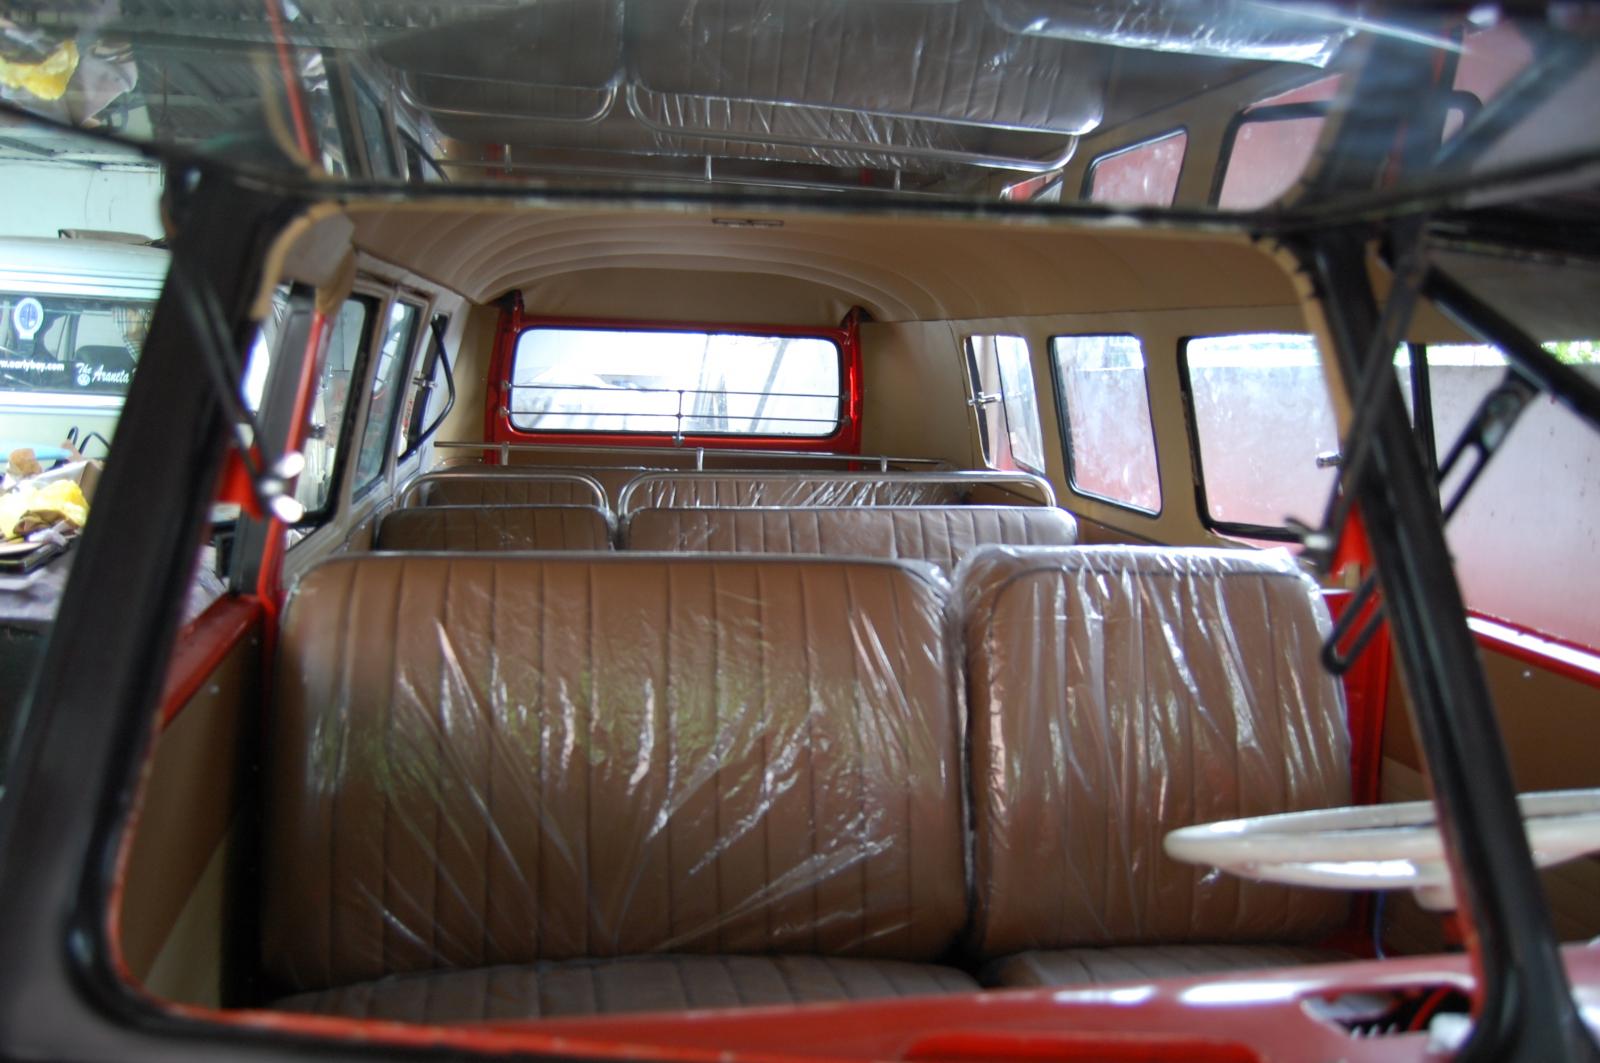
A veiw up front through the safari window.

The rear of the spare tire area is not yet finished.
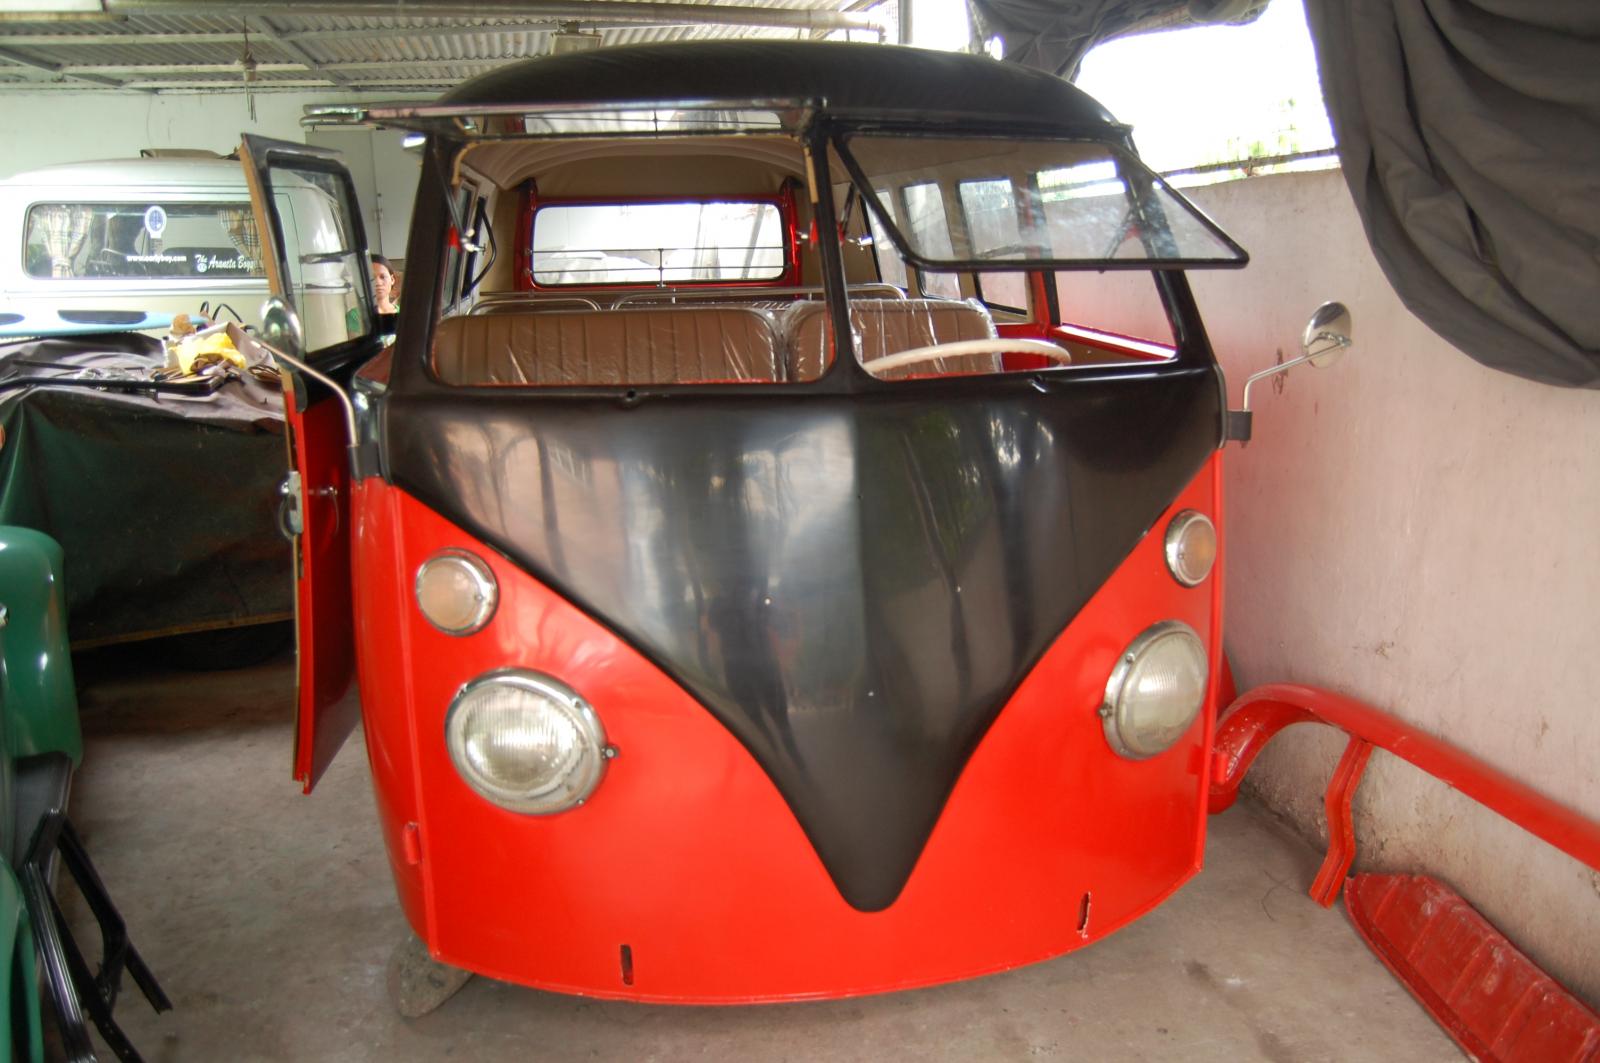
The front.
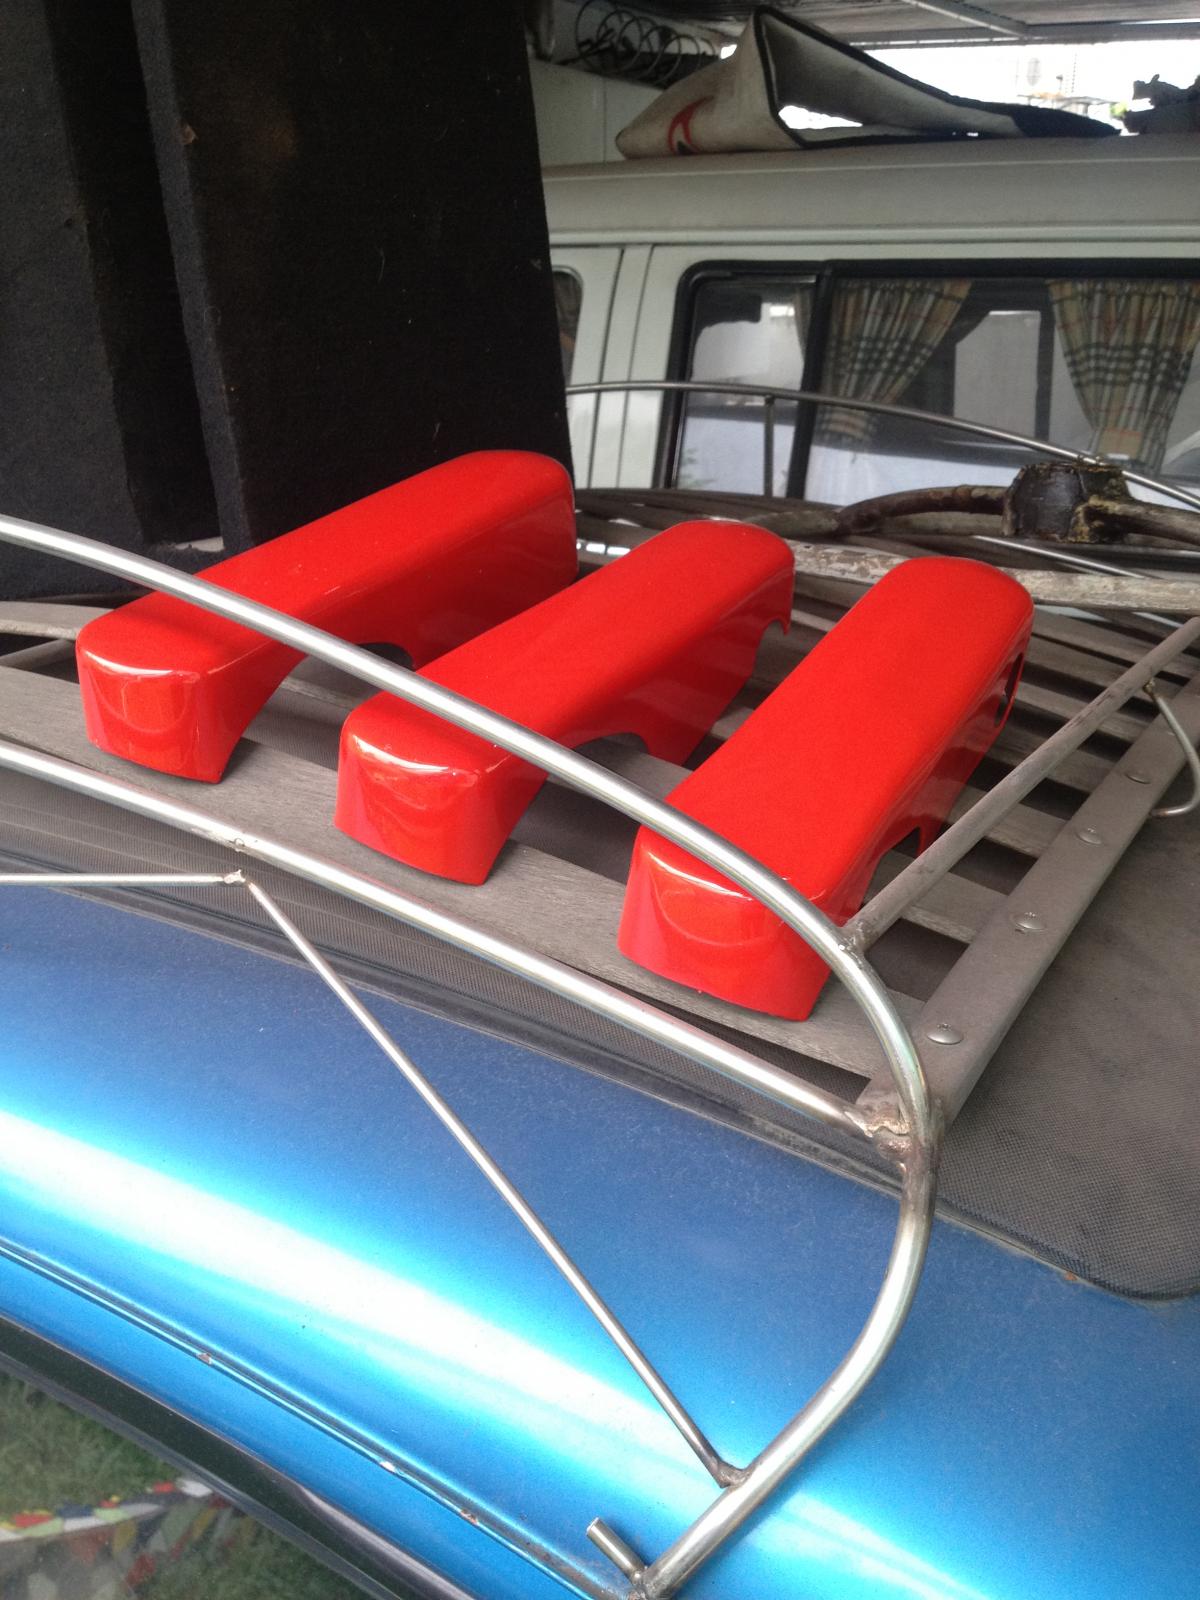
Hope to finish the bumpers soon..
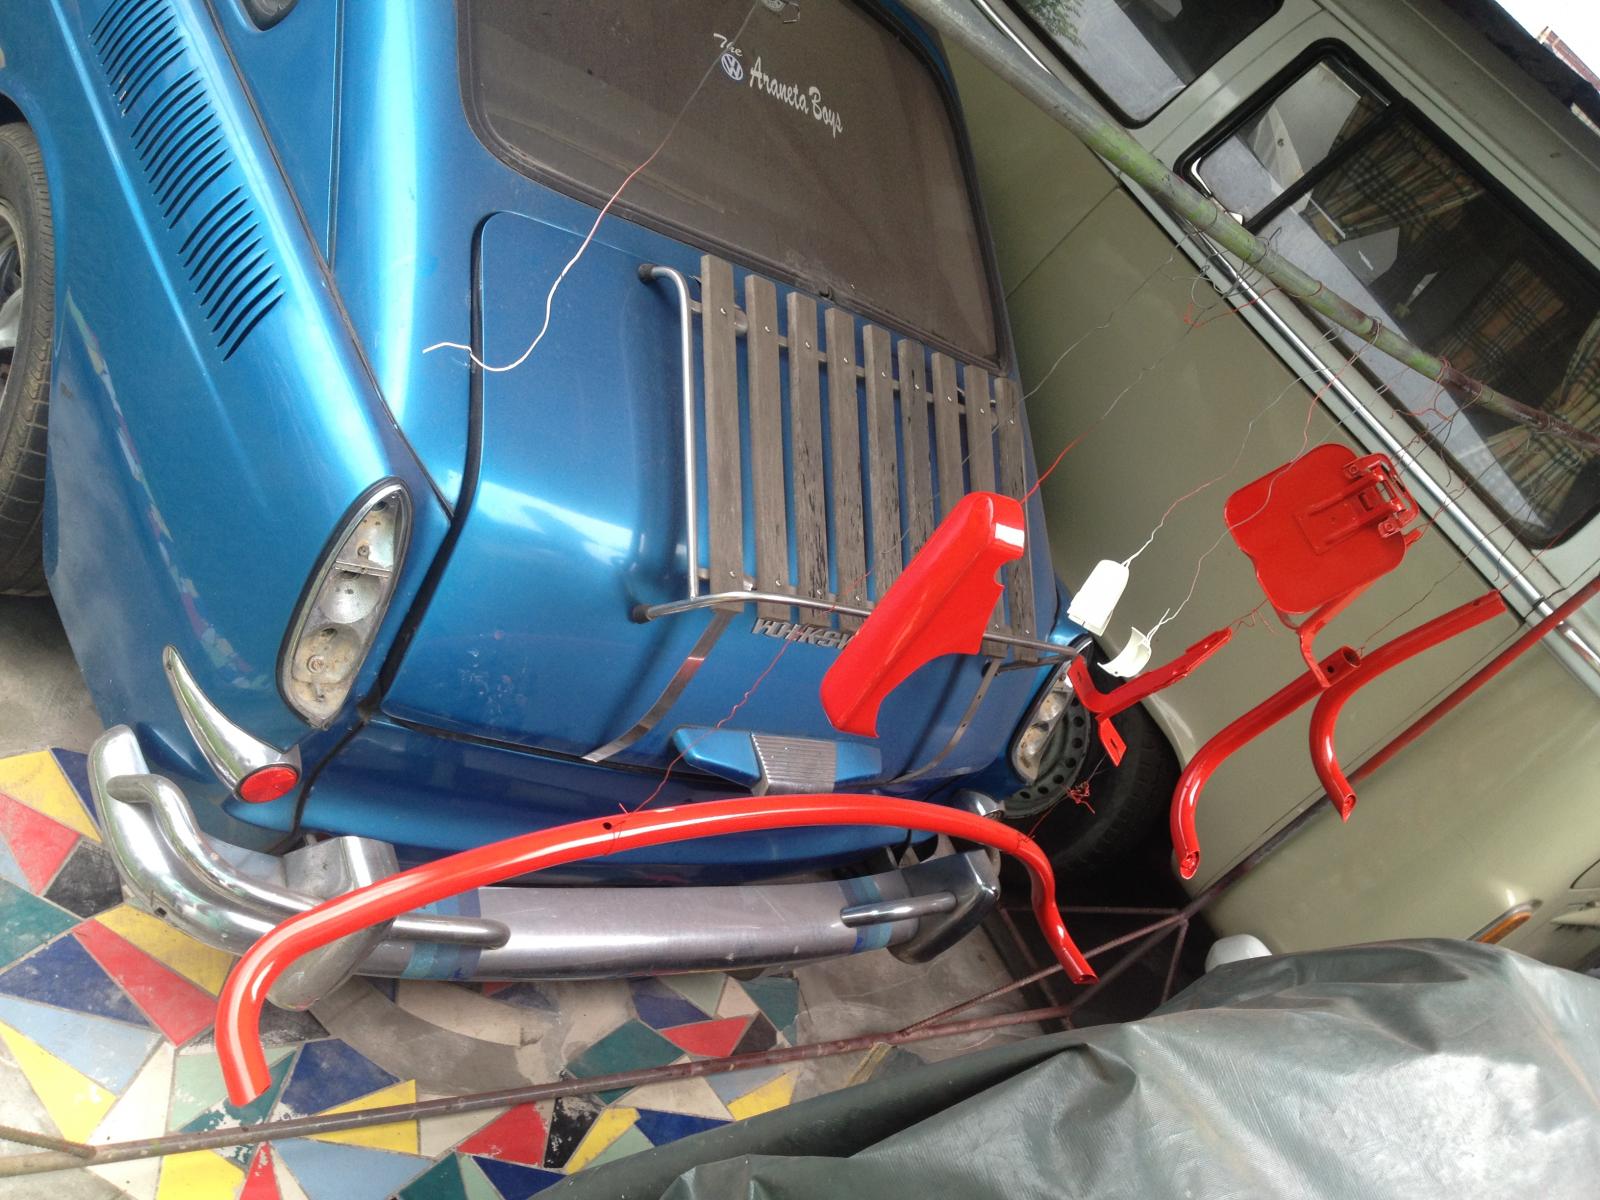
This too.
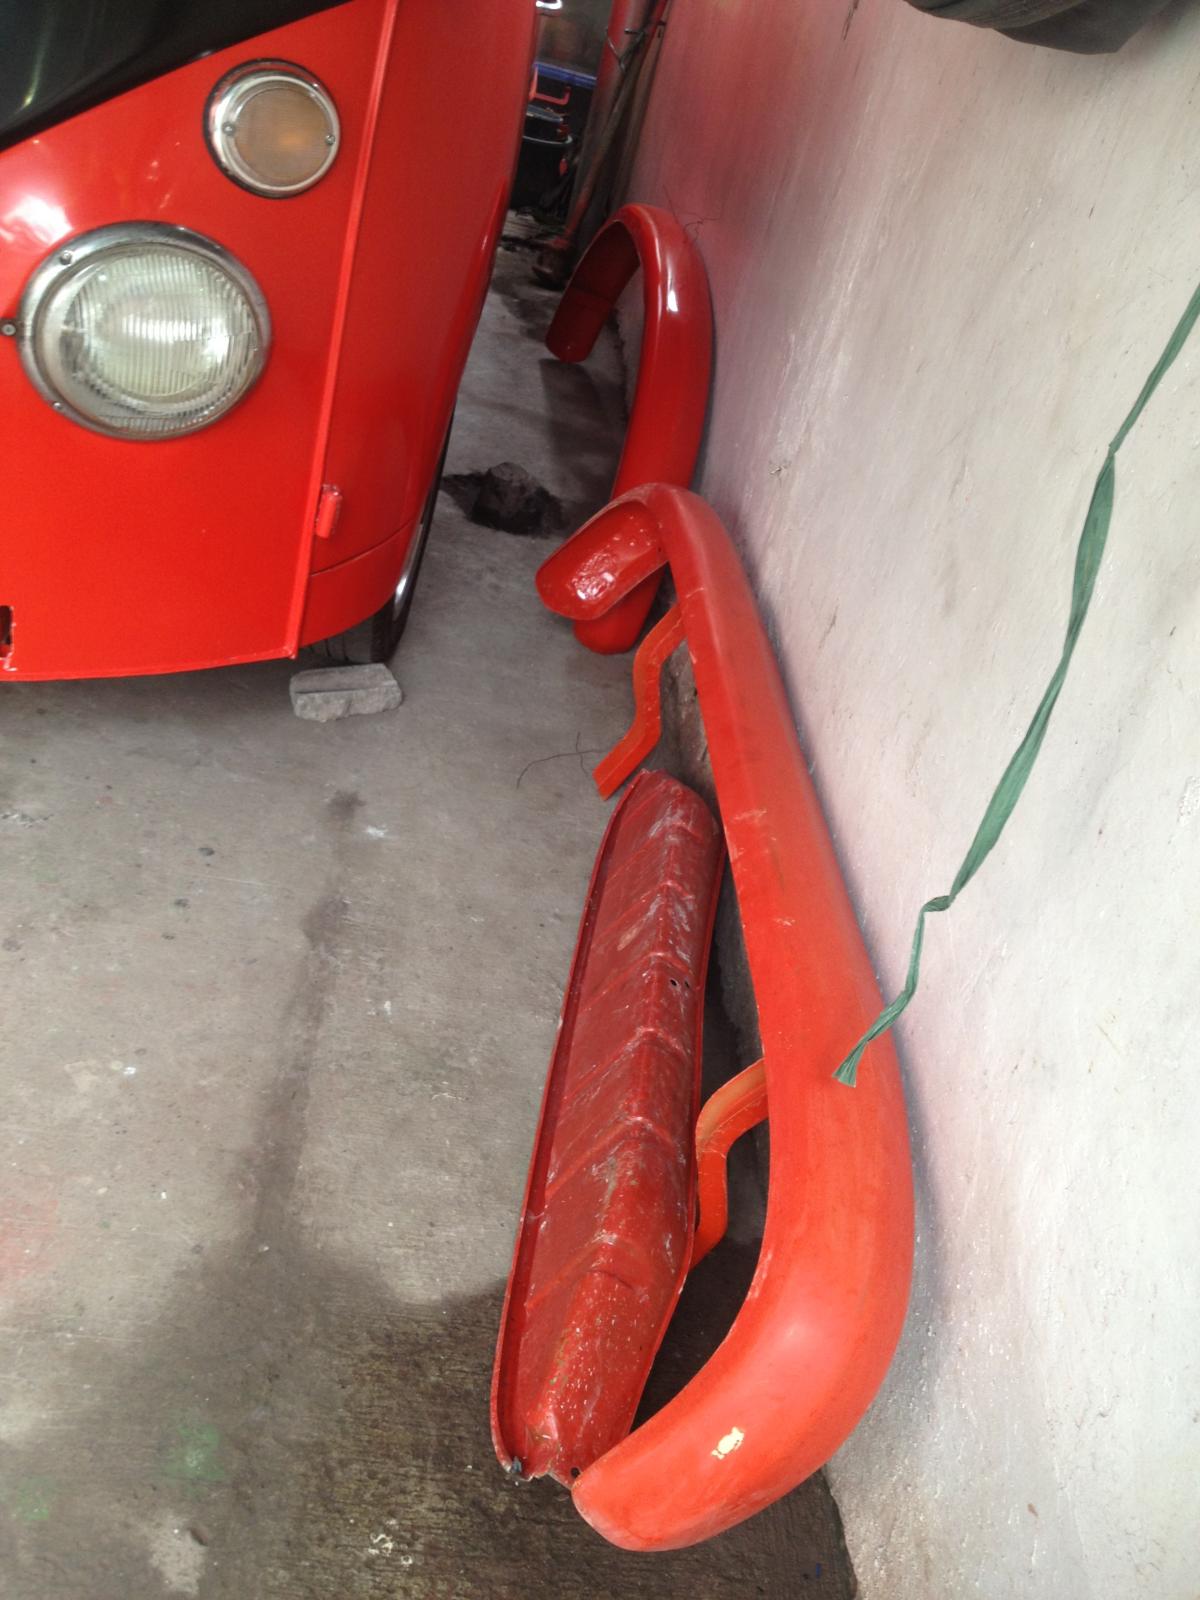
These need attention too...
Thanks a lot.
Dong.

The pocket is not yet finished.

The seats look pretty neat.

The front ceiling is finsihed except that window post.

Another shot.

A view from the rear through the hatch.

The ceilign turned out okay for me.

the dashboard. So may things to be fixed yet.

A better shot or the cab area.

A veiw up front through the safari window.

The rear of the spare tire area is not yet finished.

The front.

Hope to finish the bumpers soon..

This too.

These need attention too...
Thanks a lot.
Dong.
dongkg
Registered user
Posts: 90
Joined: Tue Jul 16, 2013 7:58 am
Re: My '67 Split Bus Resto Thread in the Philippines
by dongkg » Wed Nov 13, 2013 5:16 am
I joined a VW Show last Saturday and I won BEST IN CUSTOM
Although everyone at the show are saddened due to what happened to the Visayas Region due to the Yolanda Typhoon, the show had to push trough as scheduled. I joined the VW Show with a heavy heart because there are so many Filipinos that are suffering now.
(Note: I will post other pics later and the pics of the final touches I haven't had much time to post)
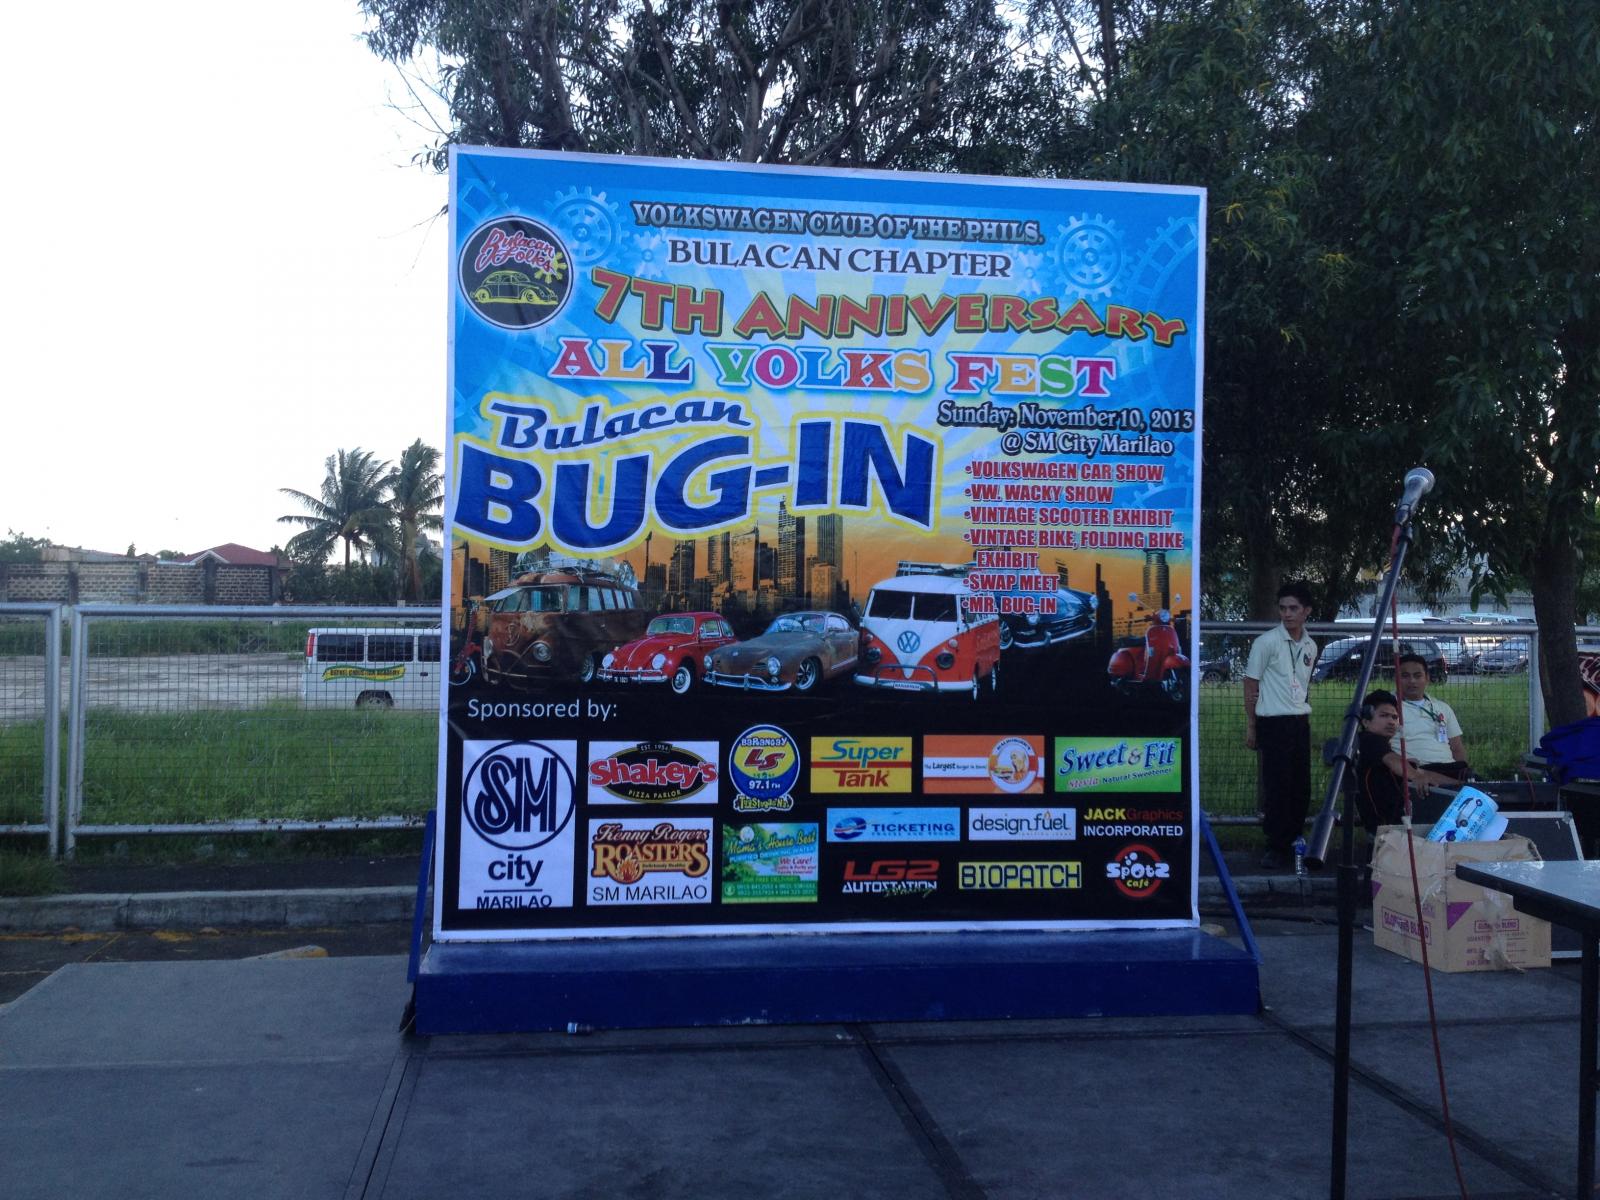
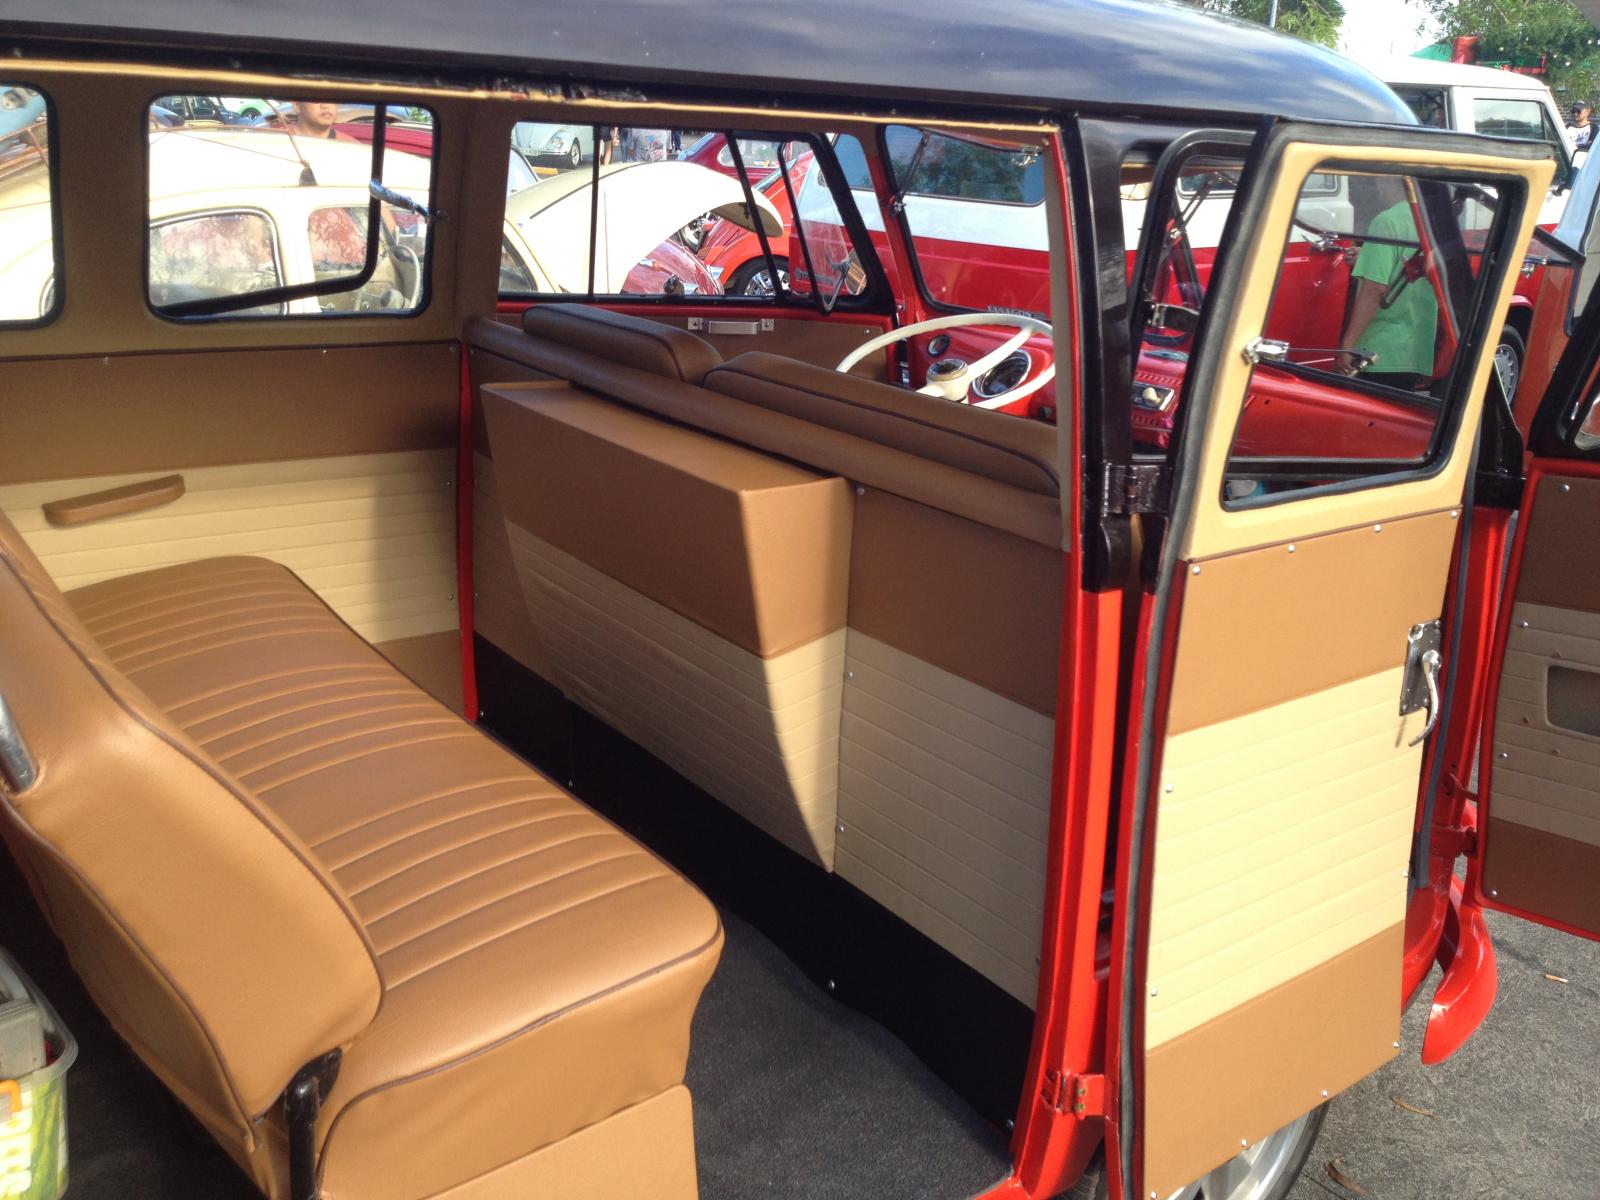
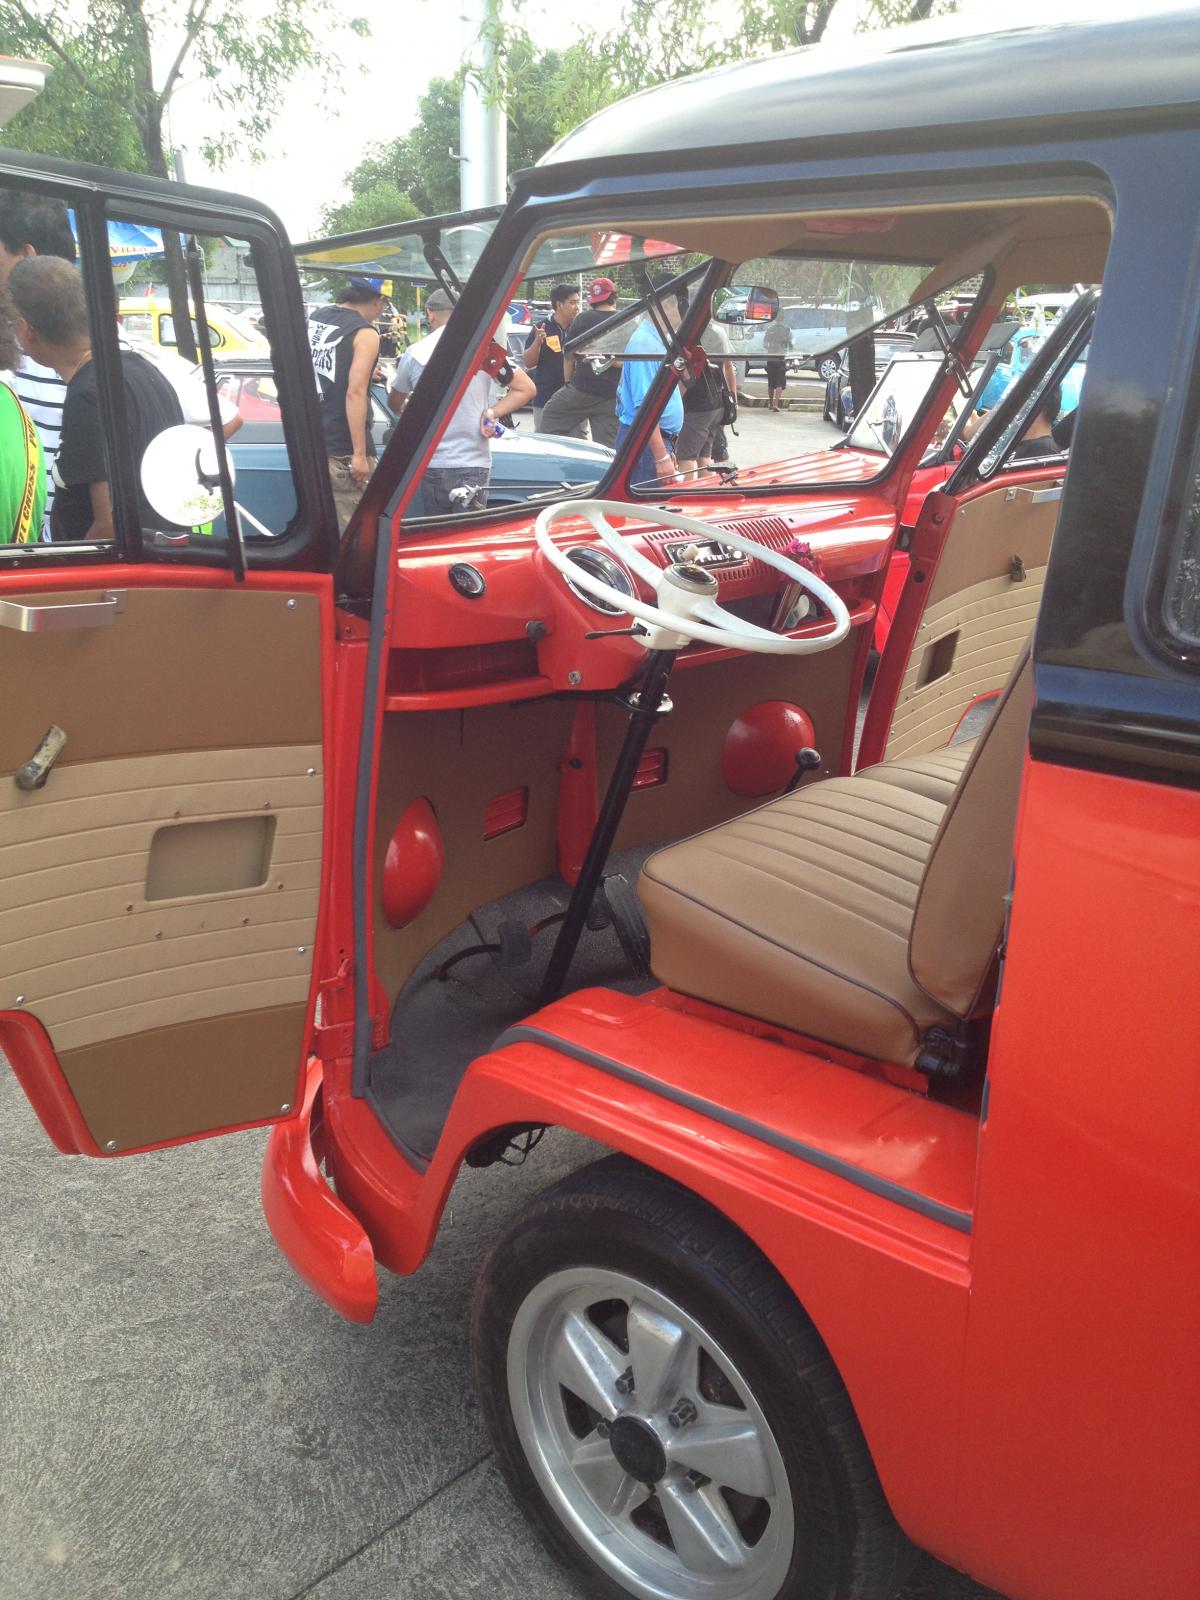
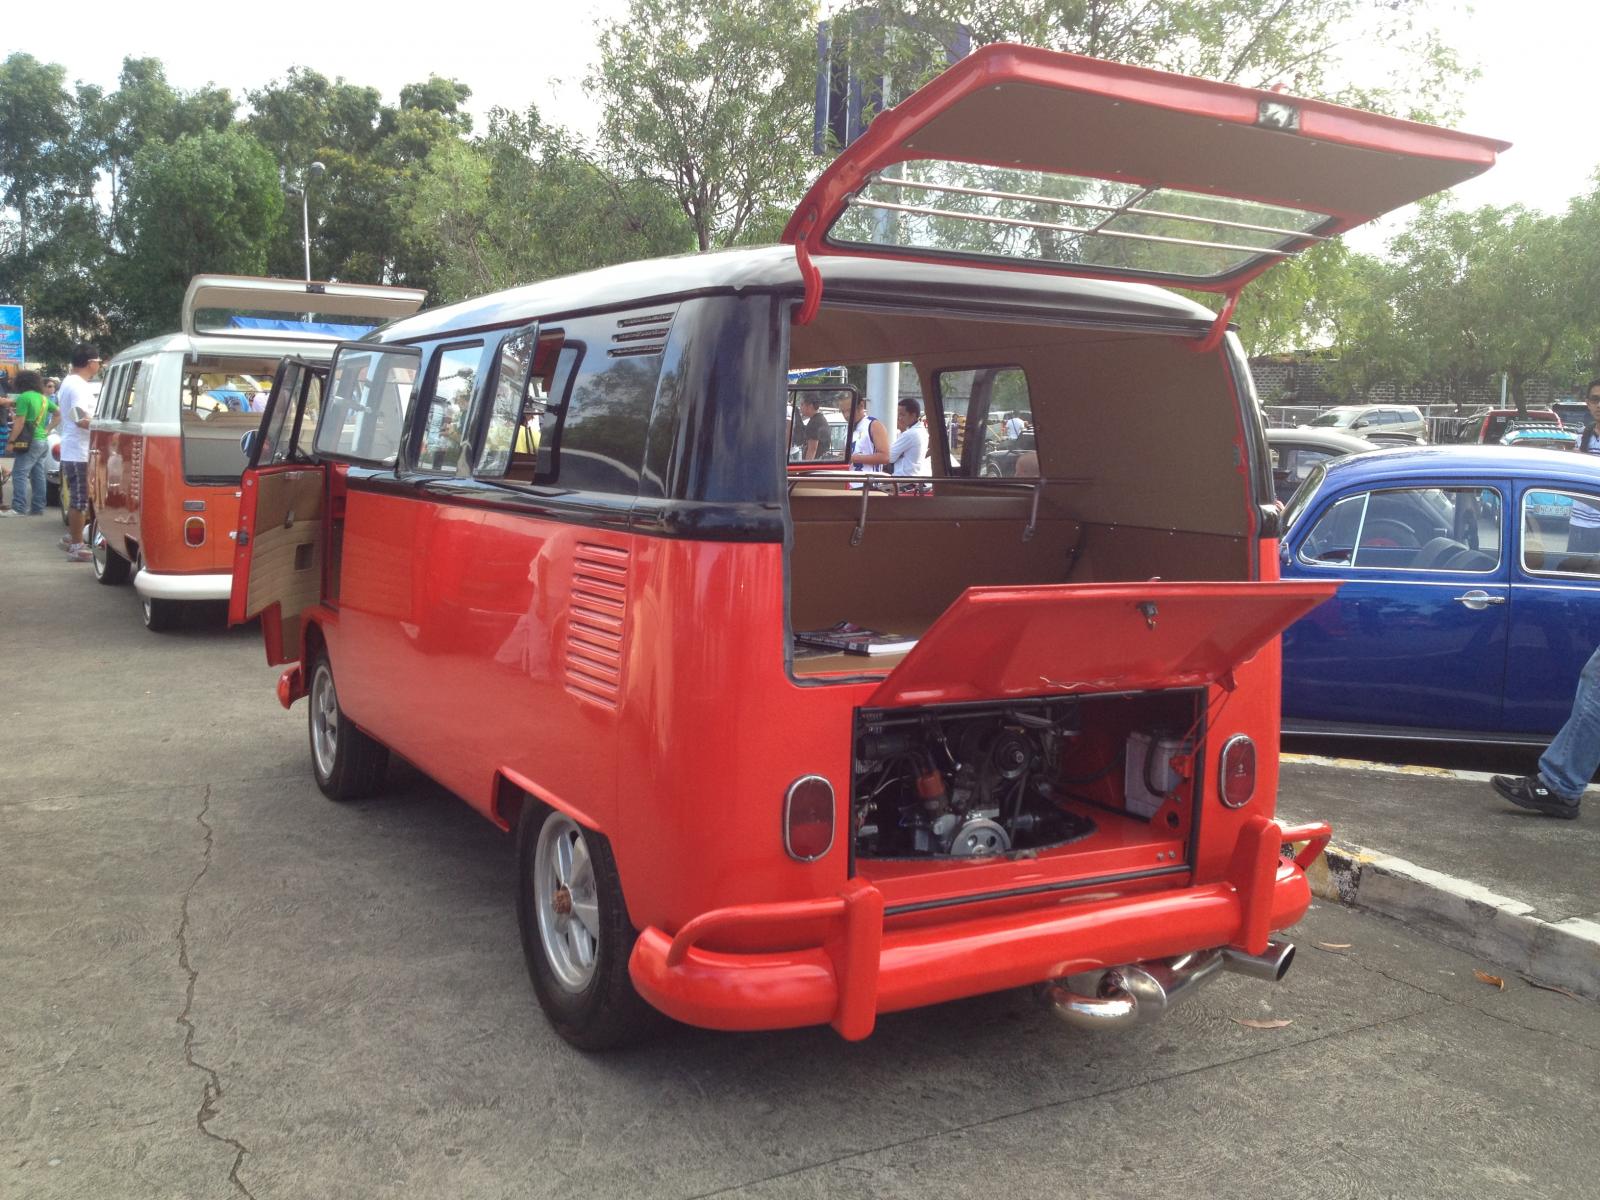
thanks,
Dong
Although everyone at the show are saddened due to what happened to the Visayas Region due to the Yolanda Typhoon, the show had to push trough as scheduled. I joined the VW Show with a heavy heart because there are so many Filipinos that are suffering now.
(Note: I will post other pics later and the pics of the final touches I haven't had much time to post)


thanks,
Dong
dongkg
Registered user
Posts: 90
Joined: Tue Jul 16, 2013 7:58 am
Re: My '67 Split Bus Resto Thread in the Philippines
by wicker » Wed Nov 13, 2013 7:26 pm
dongkg wrote:wicker wrote:Love that interior.
Are they heat seamed "stripes" on the cream middle section?? If so how did you do it?? (if you dont mind sharing your secrets)
Keep up the good work dude.
Eric.
Thanks buddy.
Of course, everything is an open book. It was done using the pressing machine made by the upholsterer. it turned out cool.
Thanks,
Dong
Hi Dong, good to see you back on here.
First off my thoughts go out to all Philippines families who lost their lives or loved ones, and to the many people who's lives where devastated after the Typhoon that hit your country. Such sad times
Bus is looking great mate and i must say again i LOVE how the interior turned out.........classic.
Do you have any pics of how the seams where done or any pics of the pressing machine that you upholsterer has?? would love to try it out.
Regards,
Eric.
wicker
Registered user
Posts: 1316
Joined: Tue Oct 17, 2006 11:23 pm
Re: My '67 Split Bus Resto Thread in the Philippines
by dongkg » Wed Nov 27, 2013 10:36 am
thanks so much buddy. We are now in the road to recovery. I will ask my installer some pictures on how it is being done. Thanks buddy!wicker wrote:dongkg wrote:wicker wrote:Love that interior.
Are they heat seamed "stripes" on the cream middle section?? If so how did you do it?? (if you dont mind sharing your secrets)
Keep up the good work dude.
Eric.
Thanks buddy.
Of course, everything is an open book. It was done using the pressing machine made by the upholsterer. it turned out cool.
Thanks,
Dong
Hi Dong, good to see you back on here.
First off my thoughts go out to all Philippines families who lost their lives or loved ones, and to the many people who's lives where devastated after the Typhoon that hit your country. Such sad times
Bus is looking great mate and i must say again i LOVE how the interior turned out.........classic.
Do you have any pics of how the seams where done or any pics of the pressing machine that you upholsterer has?? would love to try it out.
Regards,
Eric.
dongkg
Registered user
Posts: 90
Joined: Tue Jul 16, 2013 7:58 am
