You are viewing the Split Screen Van Club forum archive.
The forum archive is read-only.Unfortunately in 2021 the Split Screen Van Club forum suffered a ransomware attack and lots of the forum data was lost.
What threads that have been recovered are now searchable on this site. Some threads may be incomplete and some images are still being recovered.
Forum archive search
Re: My '67 Split Bus Resto Thread in the Philippines
by dongkg » Wed Nov 27, 2013 10:40 am
These pcitures were taken prior to the VW Show.
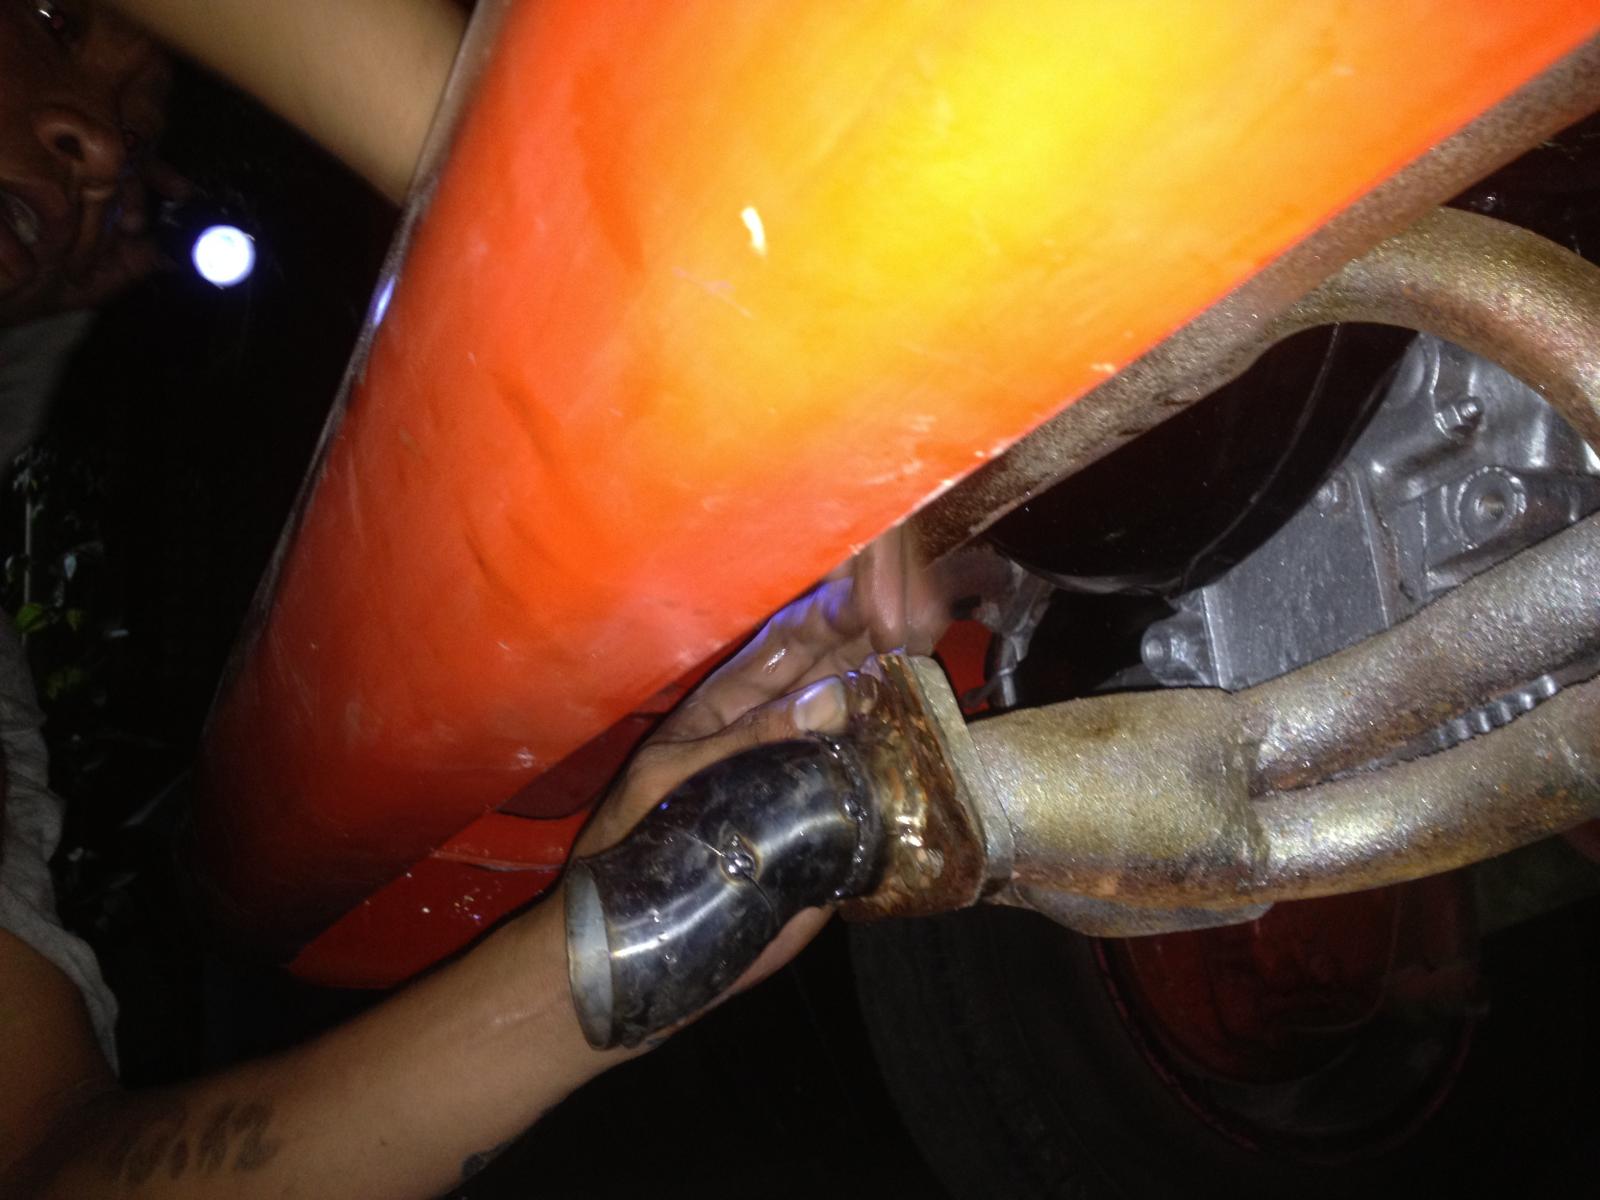
About three days before the show, I brought the Split to the one whgo installed the muffler and had it modified so that the rear bumper would fit in.
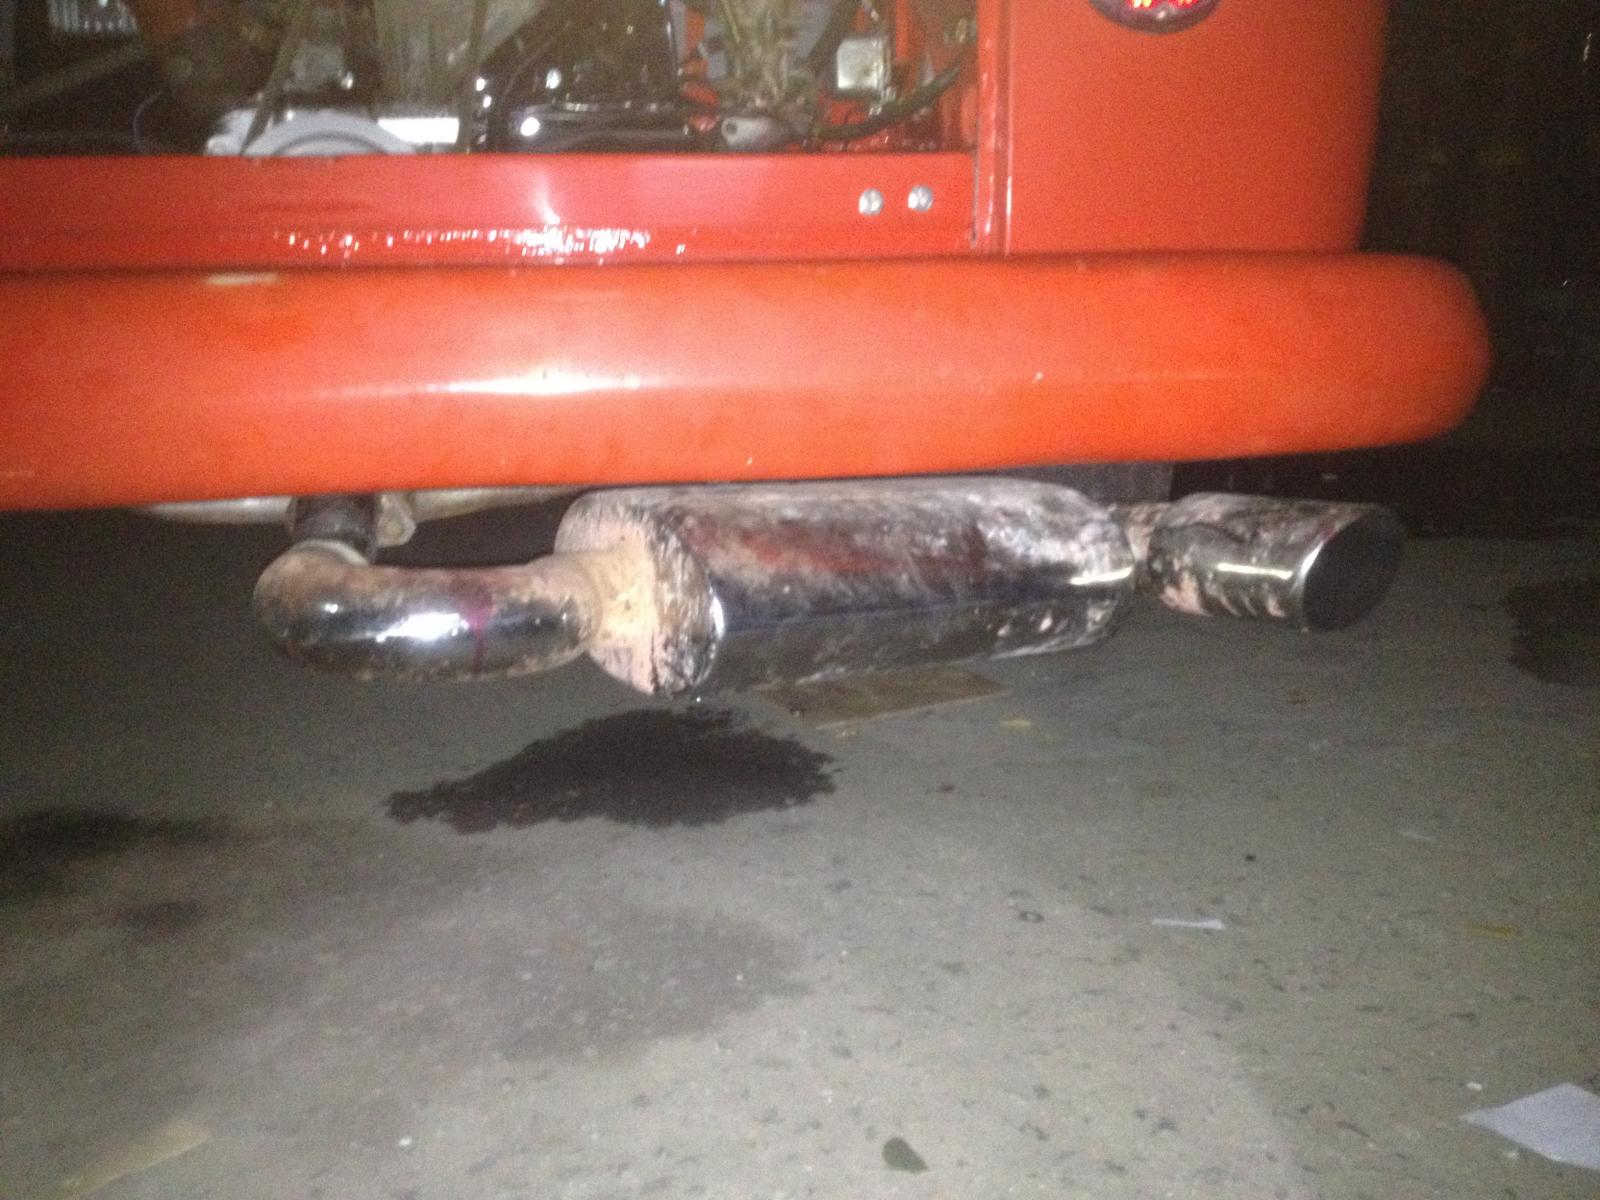
After the muffler was modified.
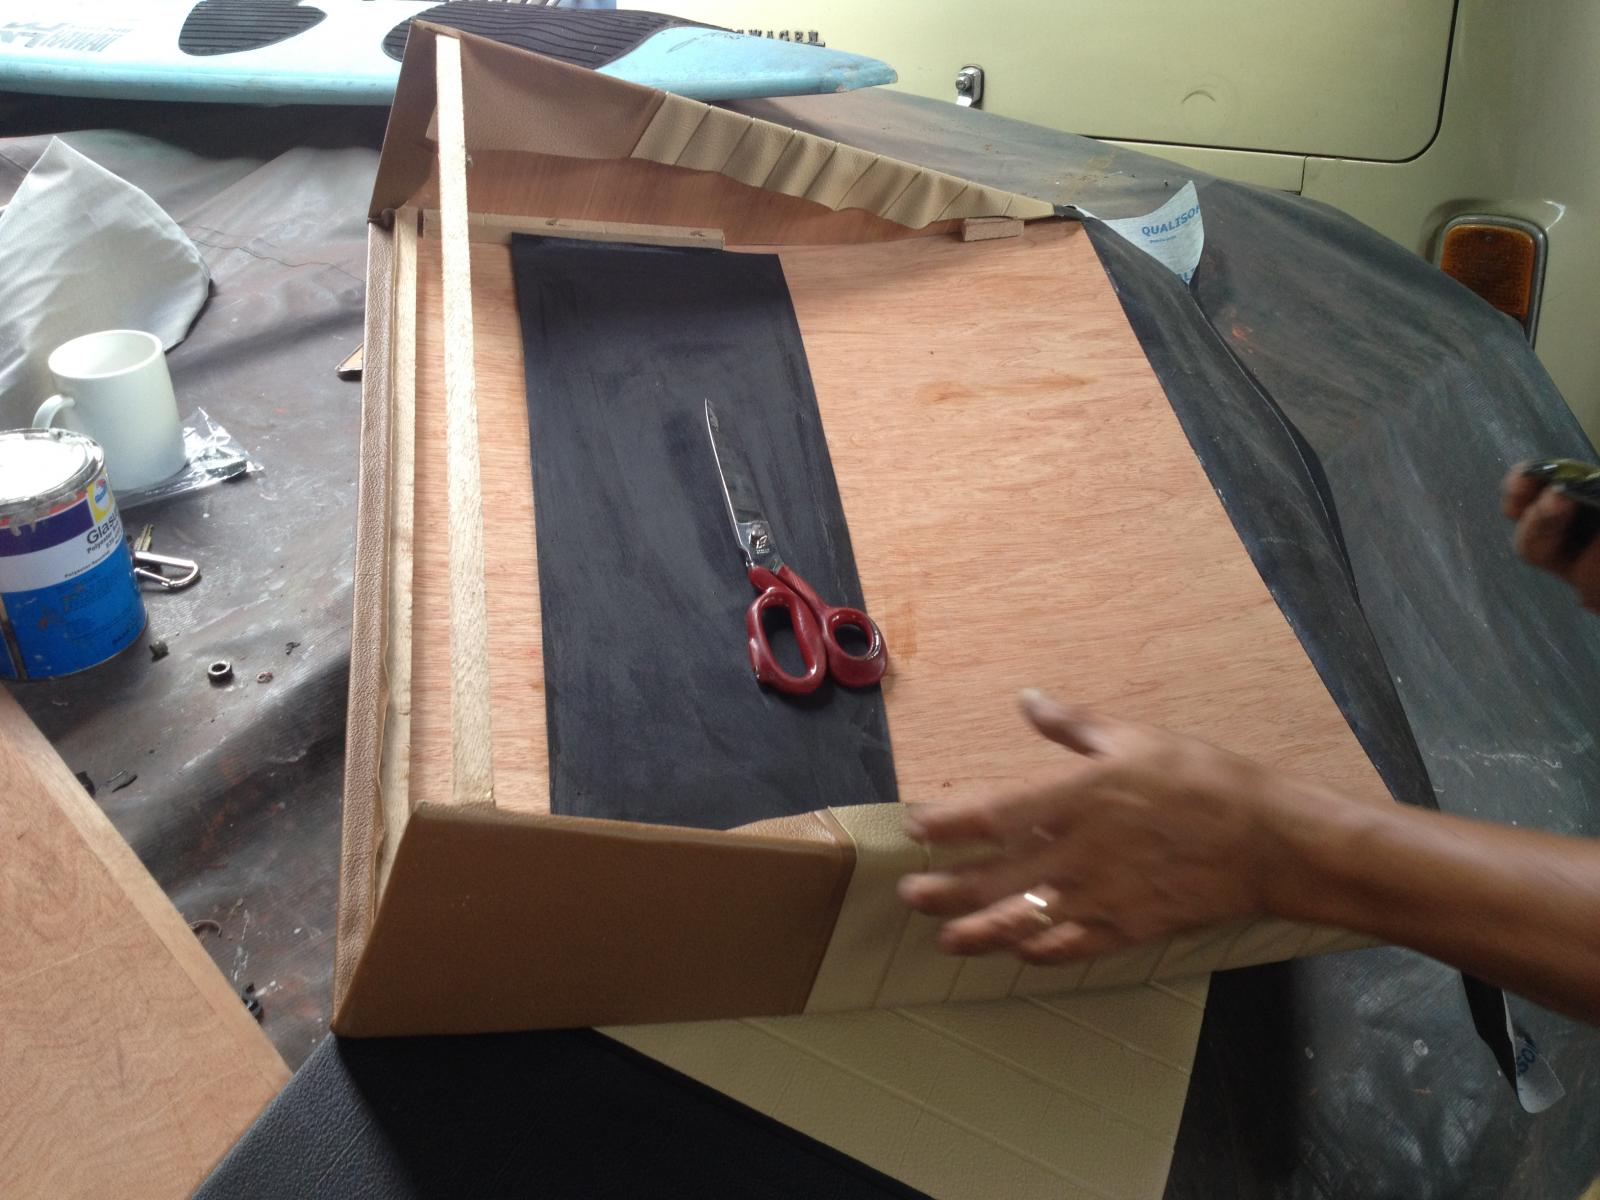
On 9 November, Saturday, we finished the upholstery.
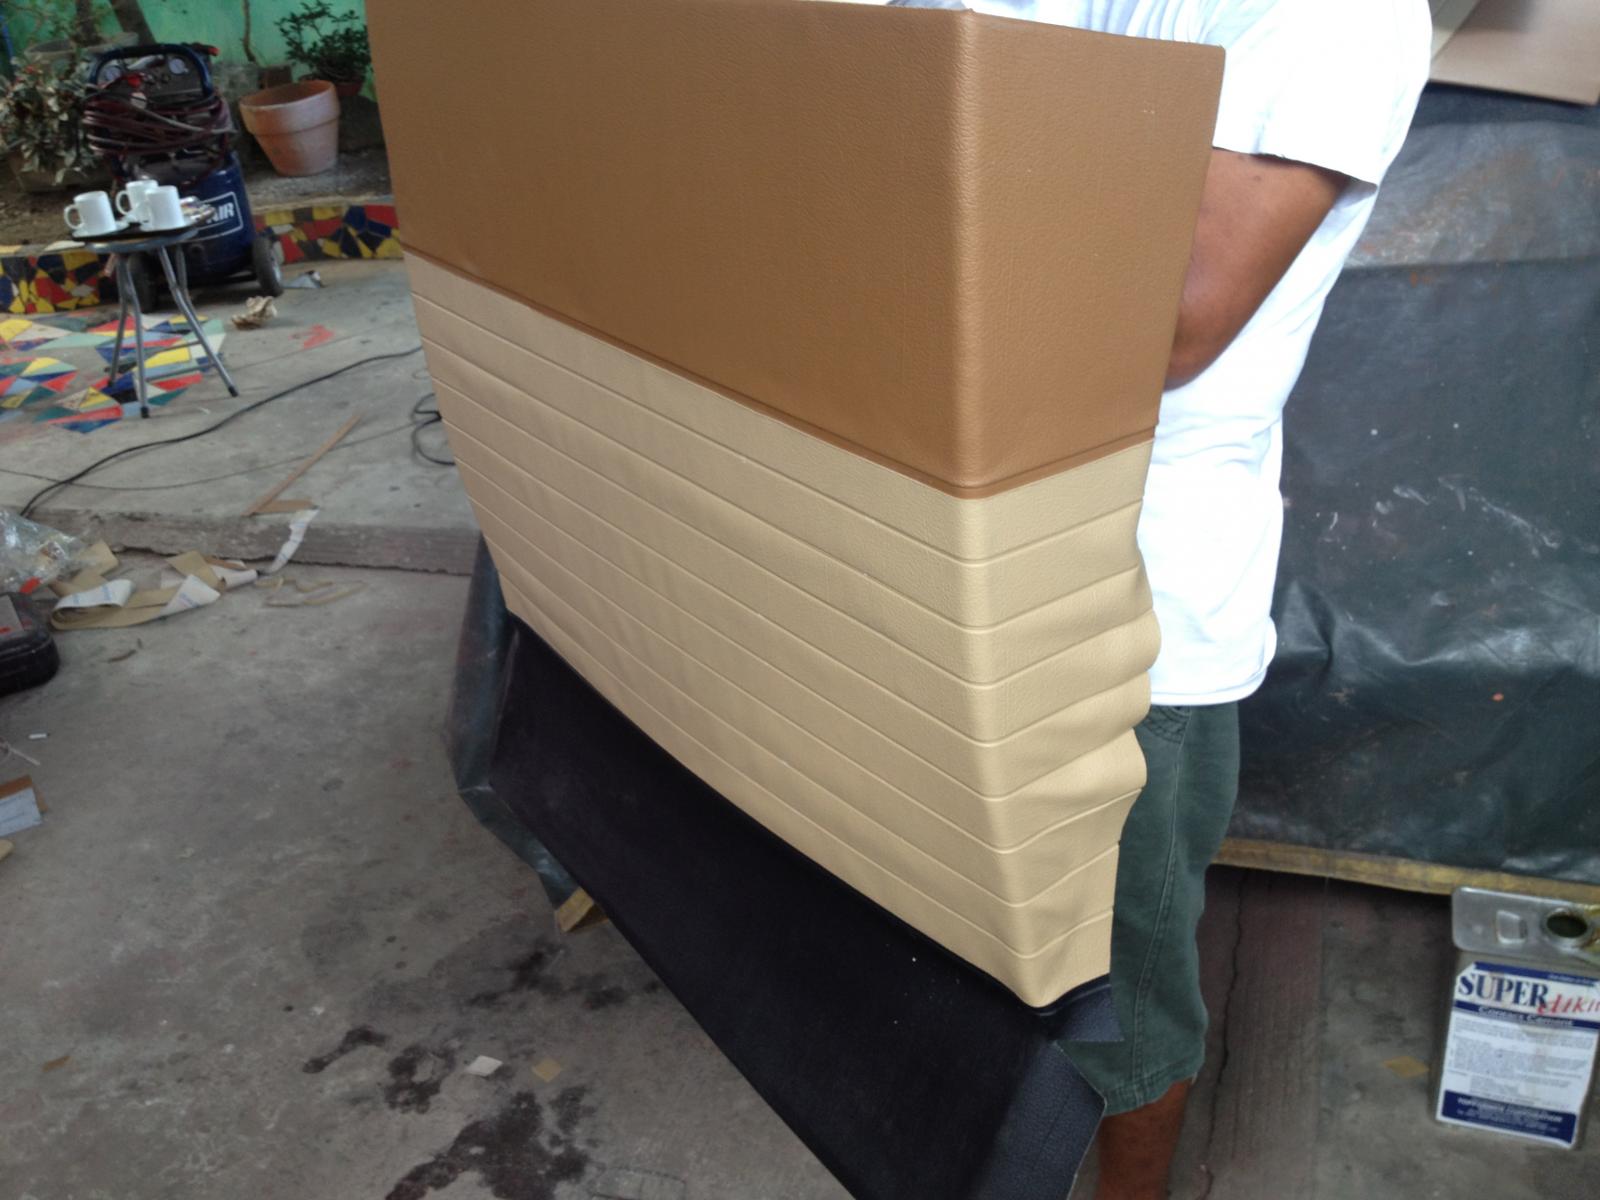
The siding for the rear portion of the spare tire.

Chcecking for allignments and other fitments for better custom fit.
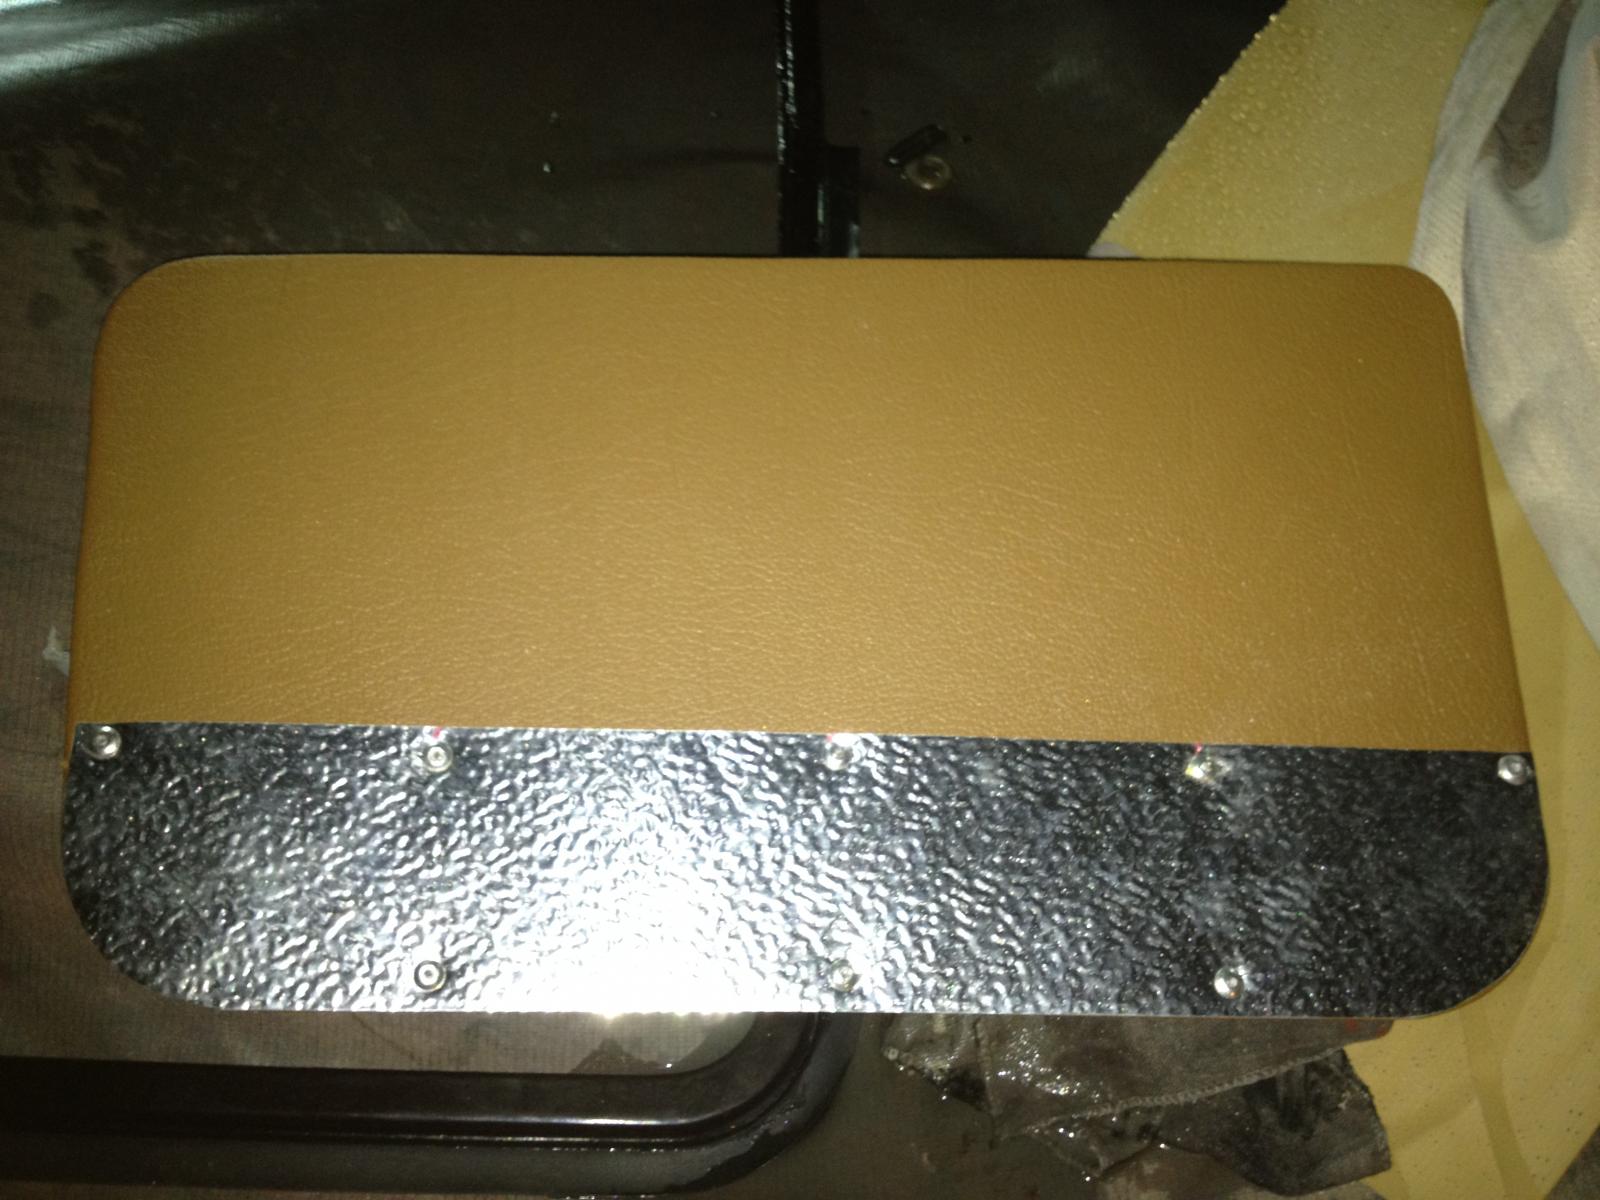
We also made this one copied from available pictures, especiually @ TheSamba.
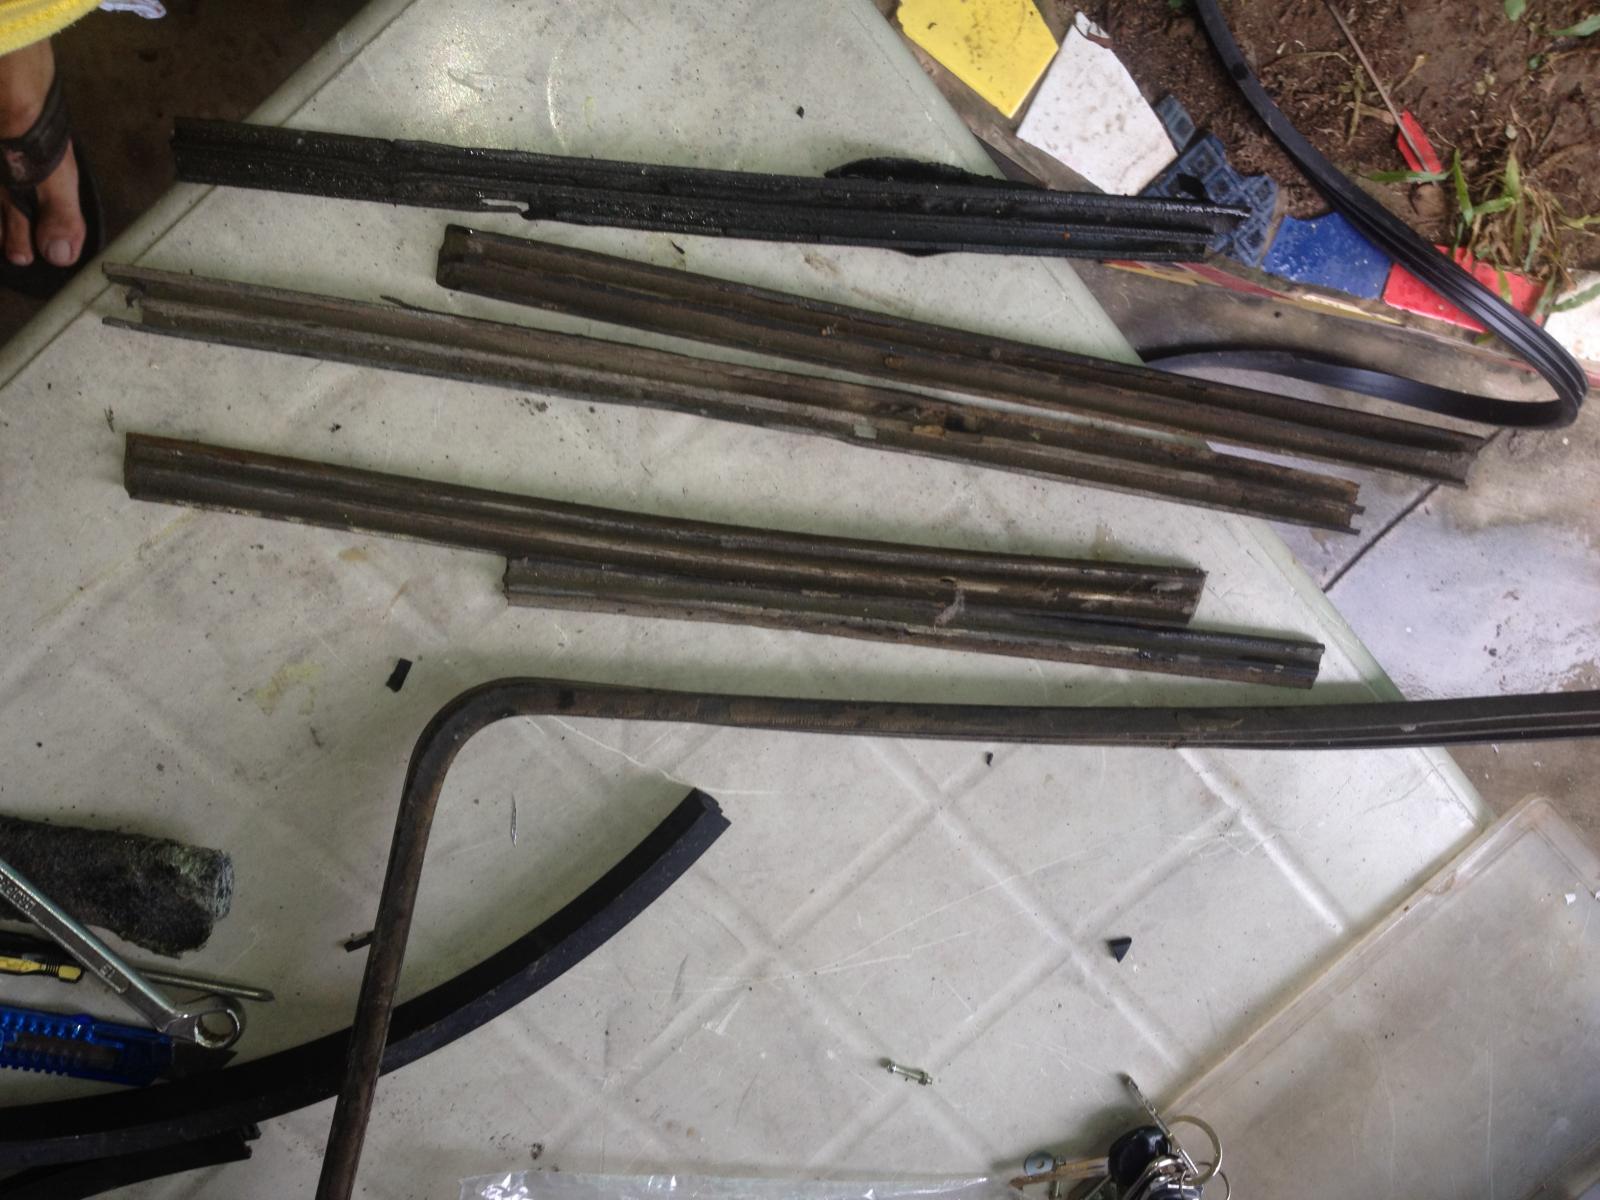
These siding channels are already worn out and old and needed to the replaced.
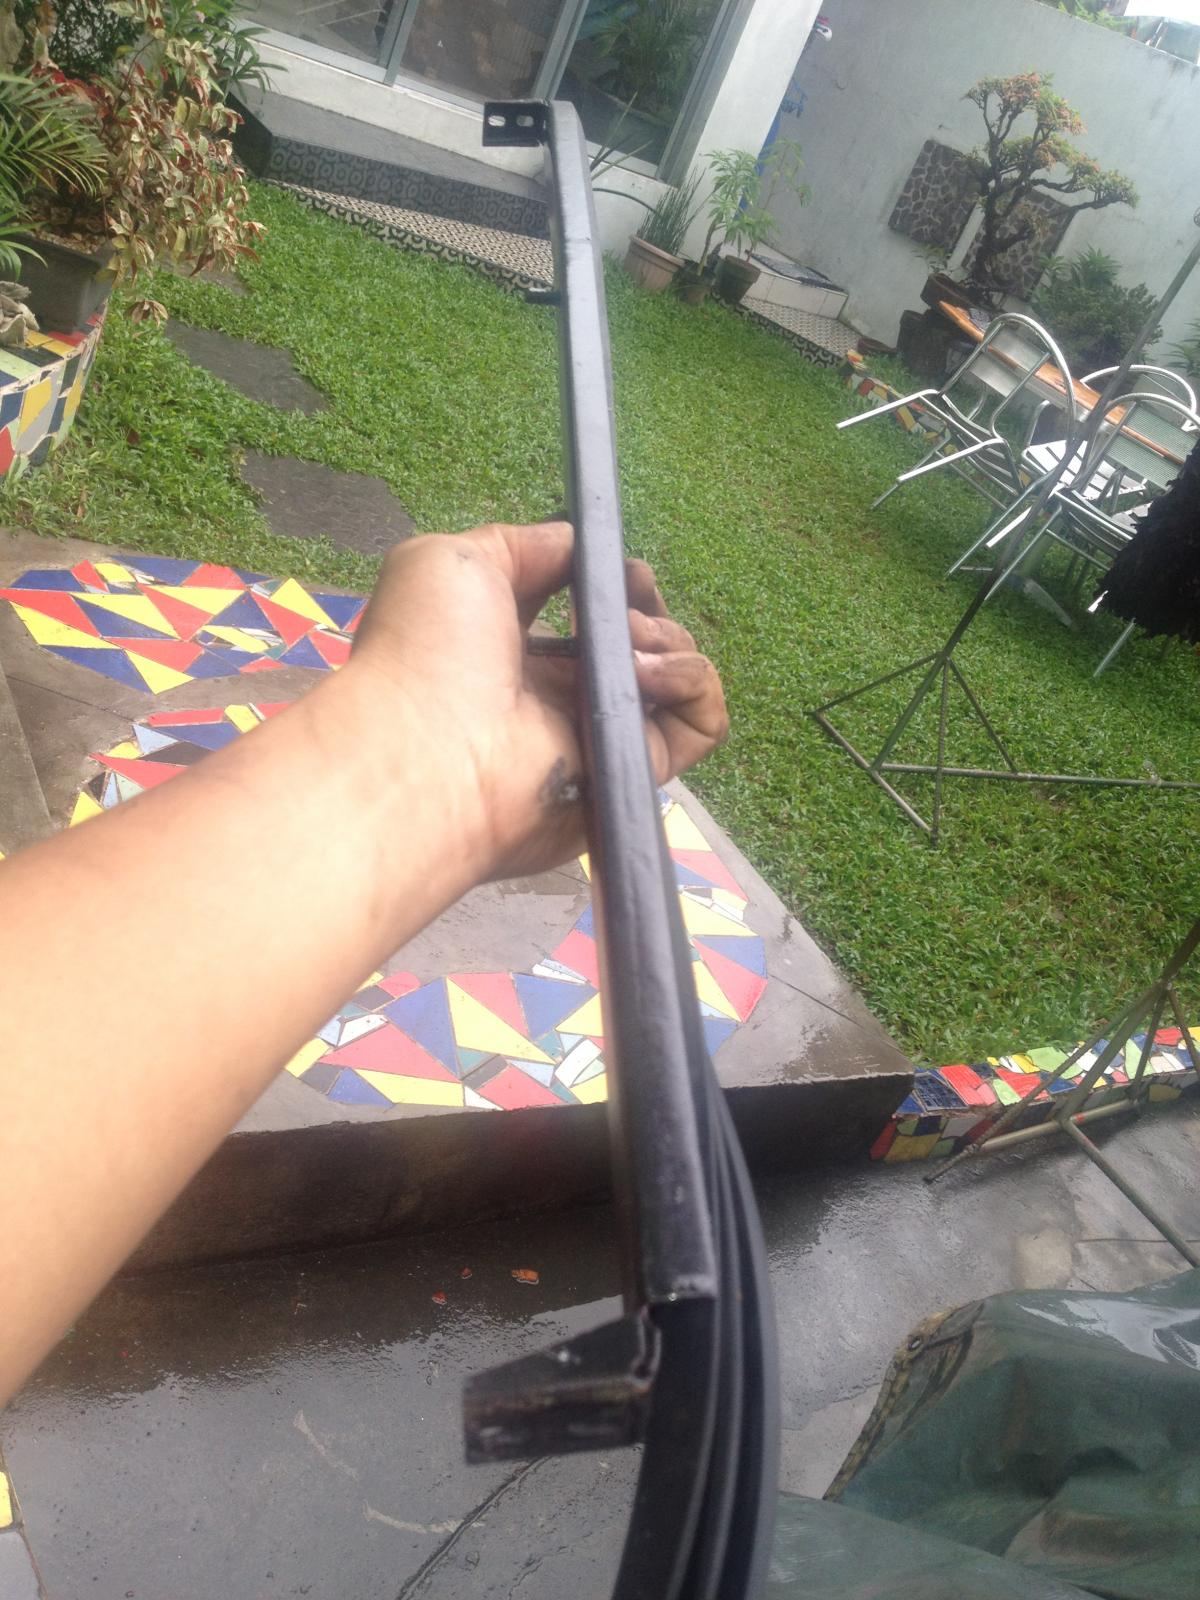
Using the brand new channels (locally made in the Philippines), I custom cut each end every channel using the old one as my guide.
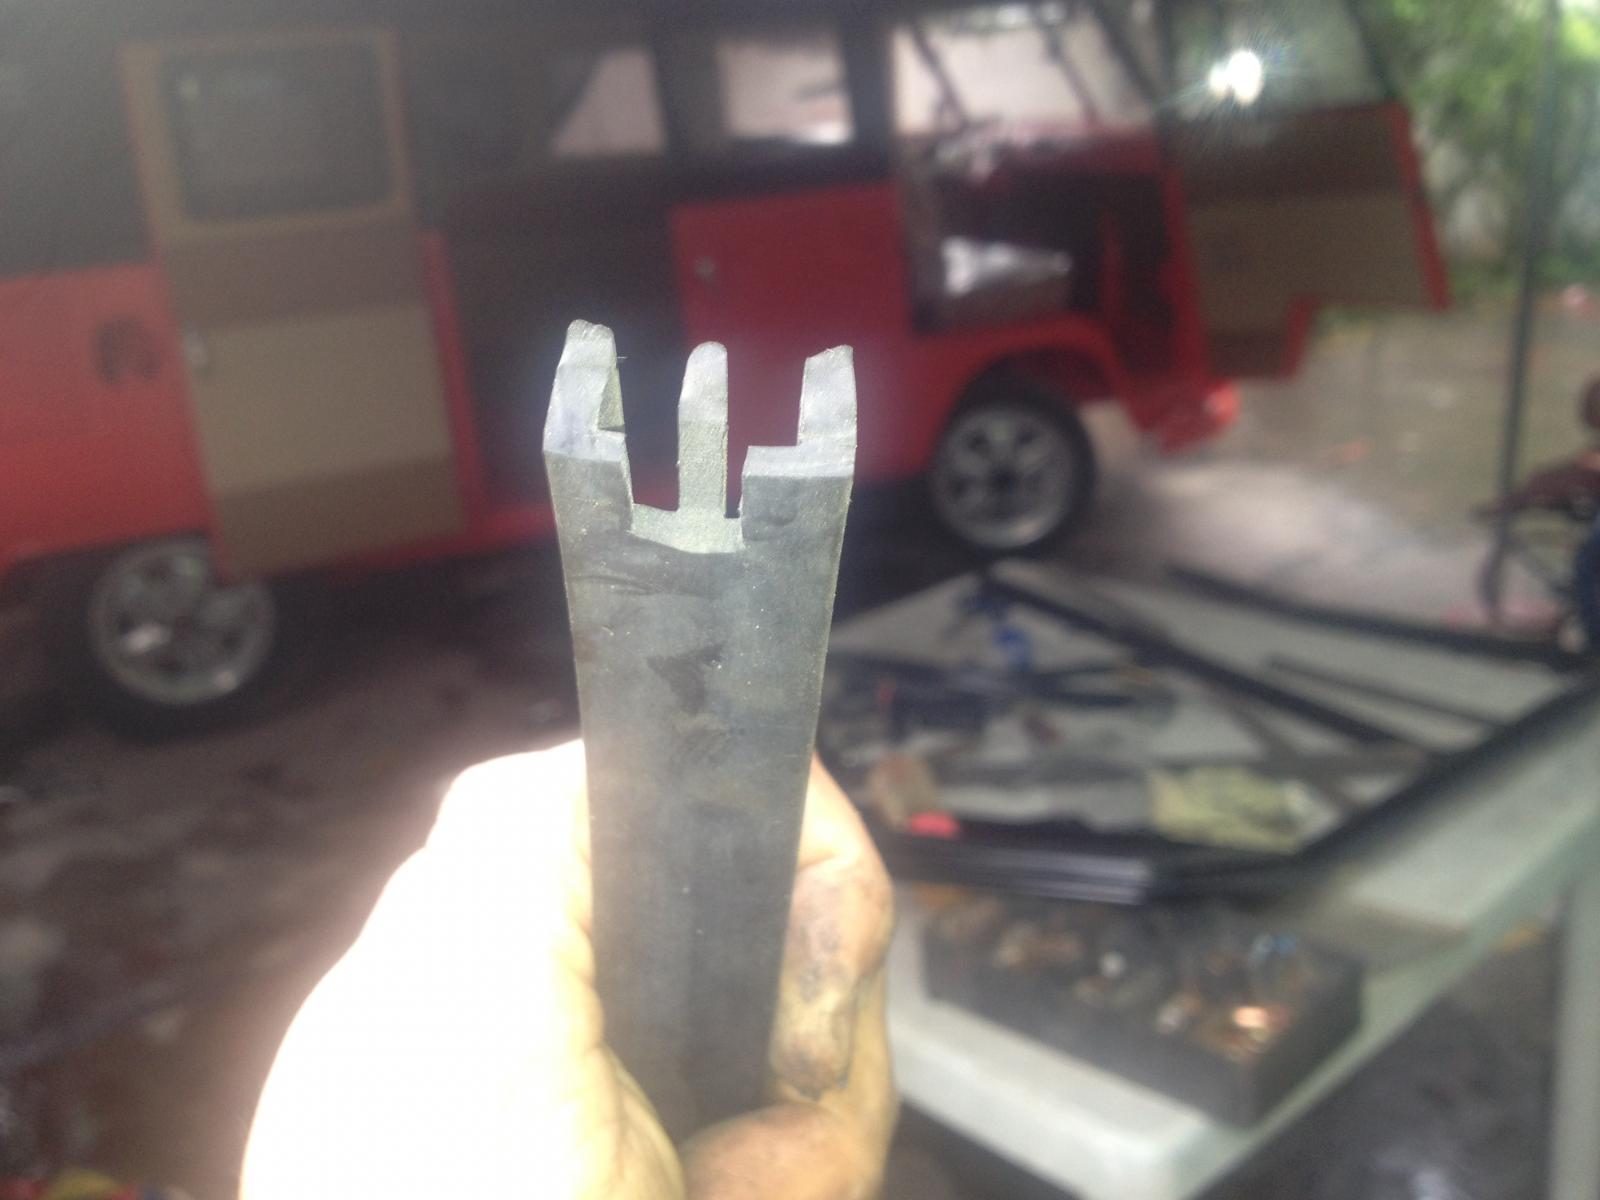
This one as to be cut properly so that the rain will be routed directly into the provided holes. Althought, my Split will not get to feel the rain in her lifetime ... (hopefully...)
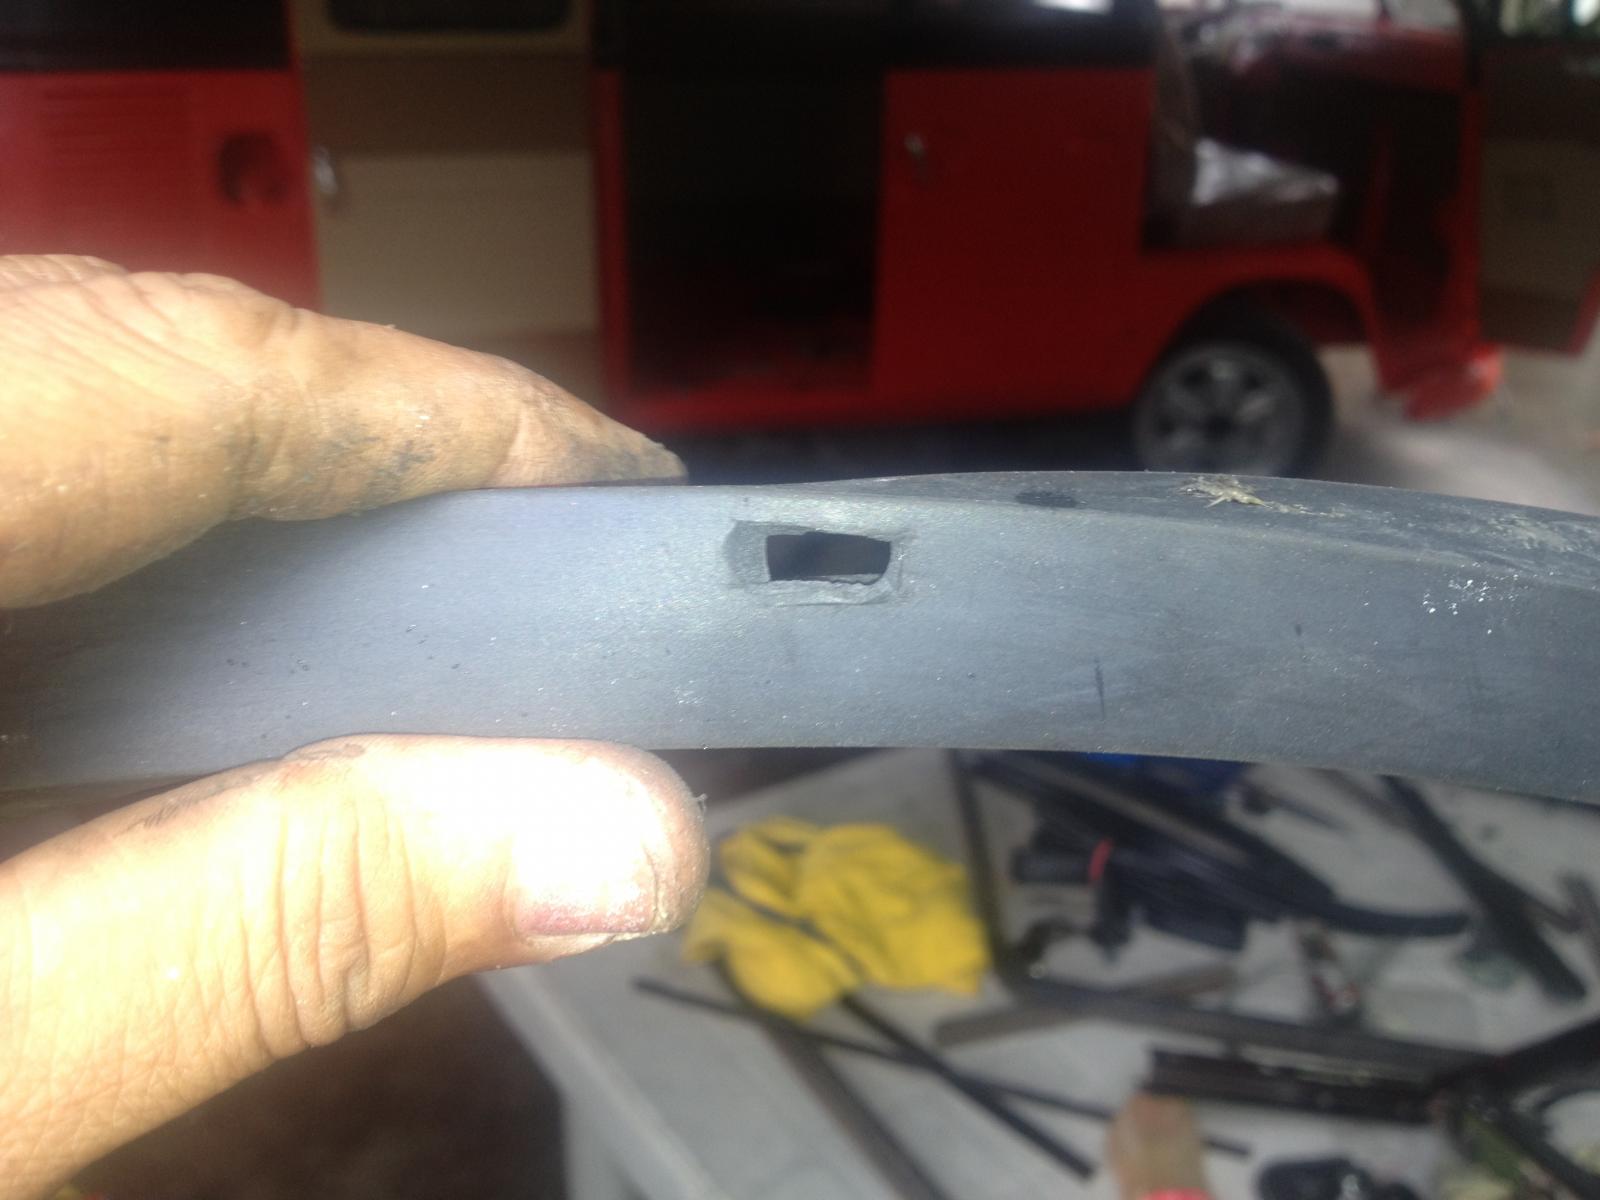
This one had to nbe cut property in sync with the holes on the frame and upper door frame.
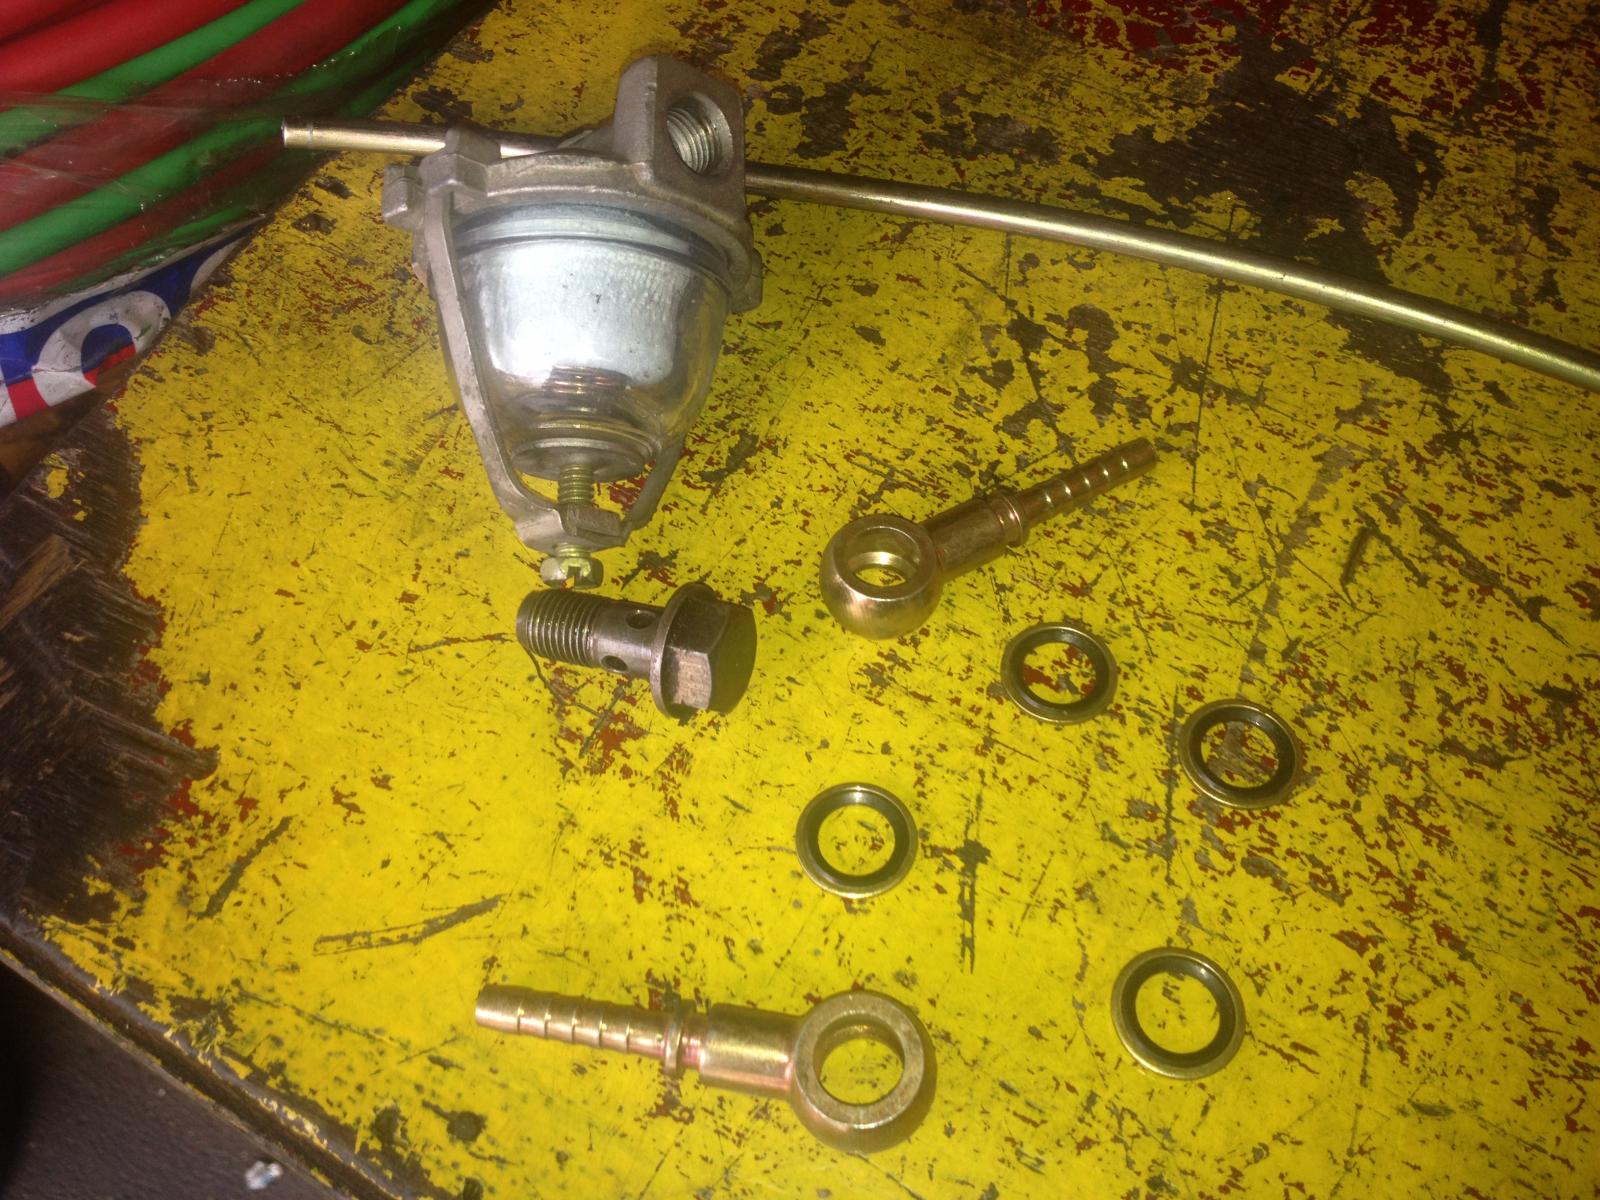
I also used this classic/vintage gas filter and both banjo bolts and other harwares to fit accordingly.
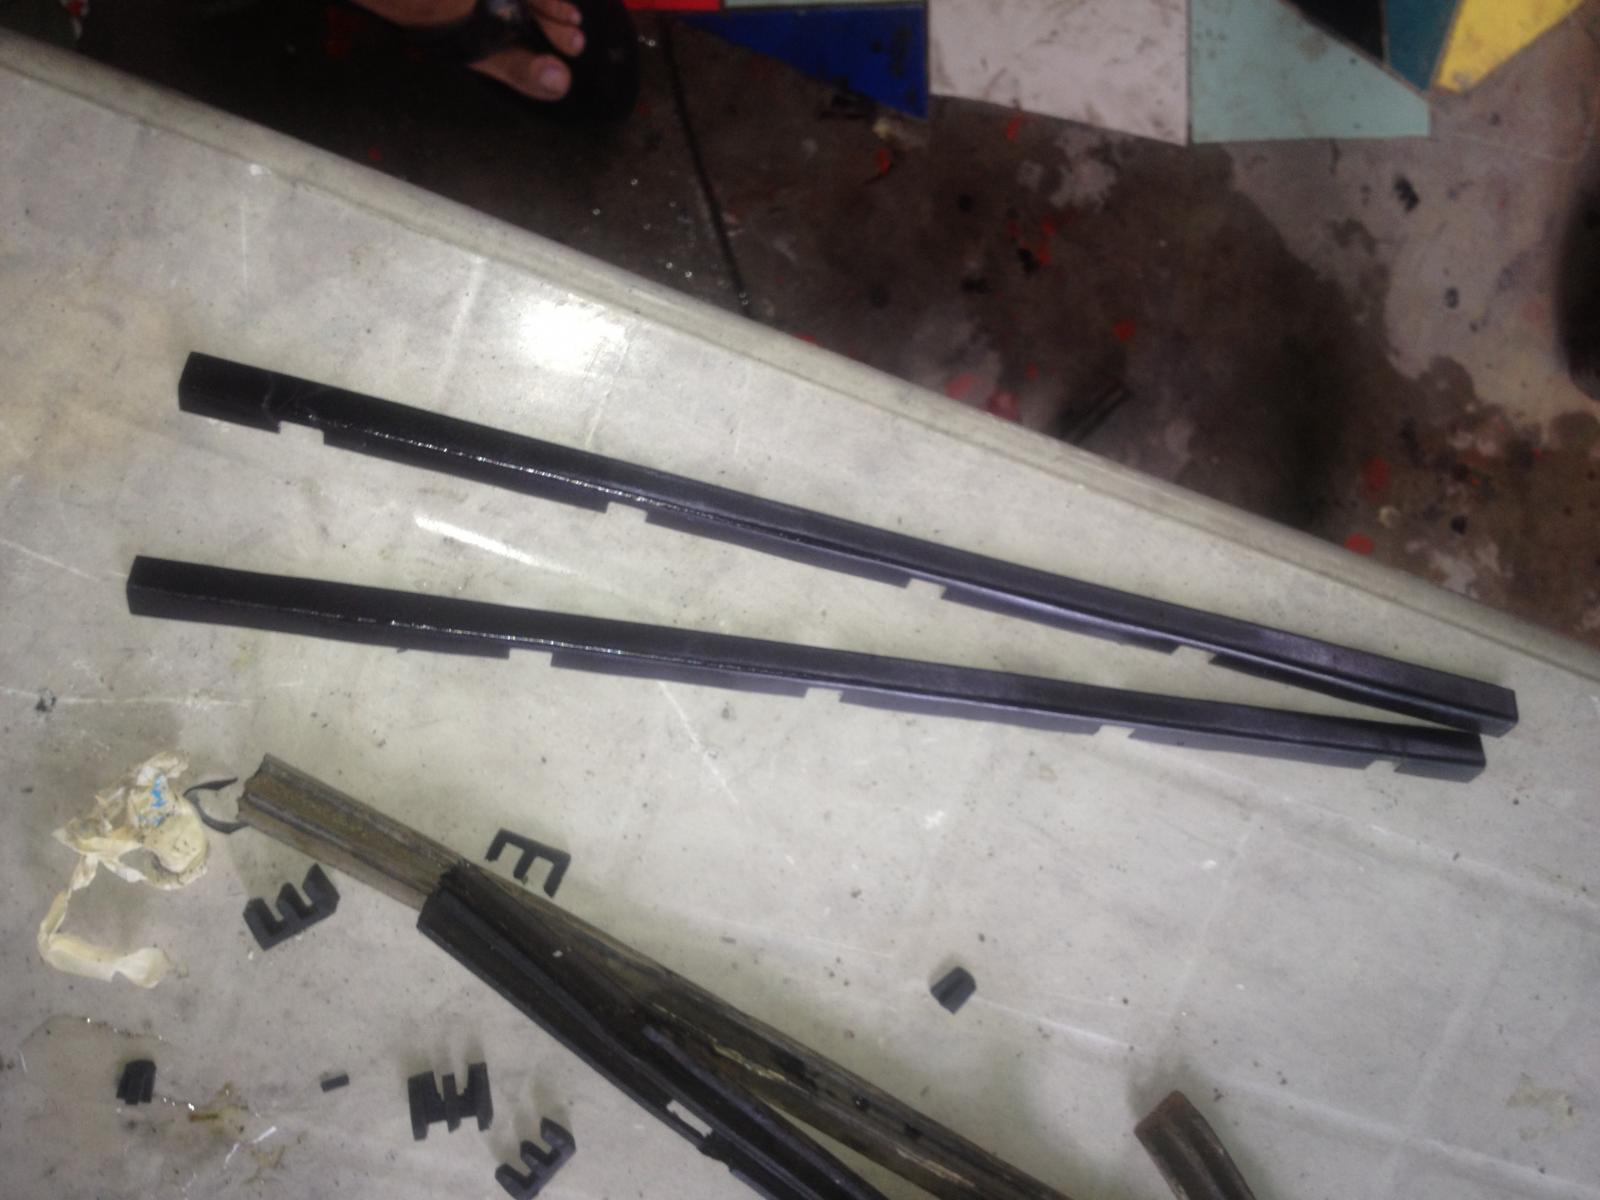
Installing these sloted harware and to get its proper allignment was difficult, it had to the installed and drilled with precision.

This over rider and bumper guards hd to be installed with countless measurements and allignments. It wasn't a walk in the park intalling this one!
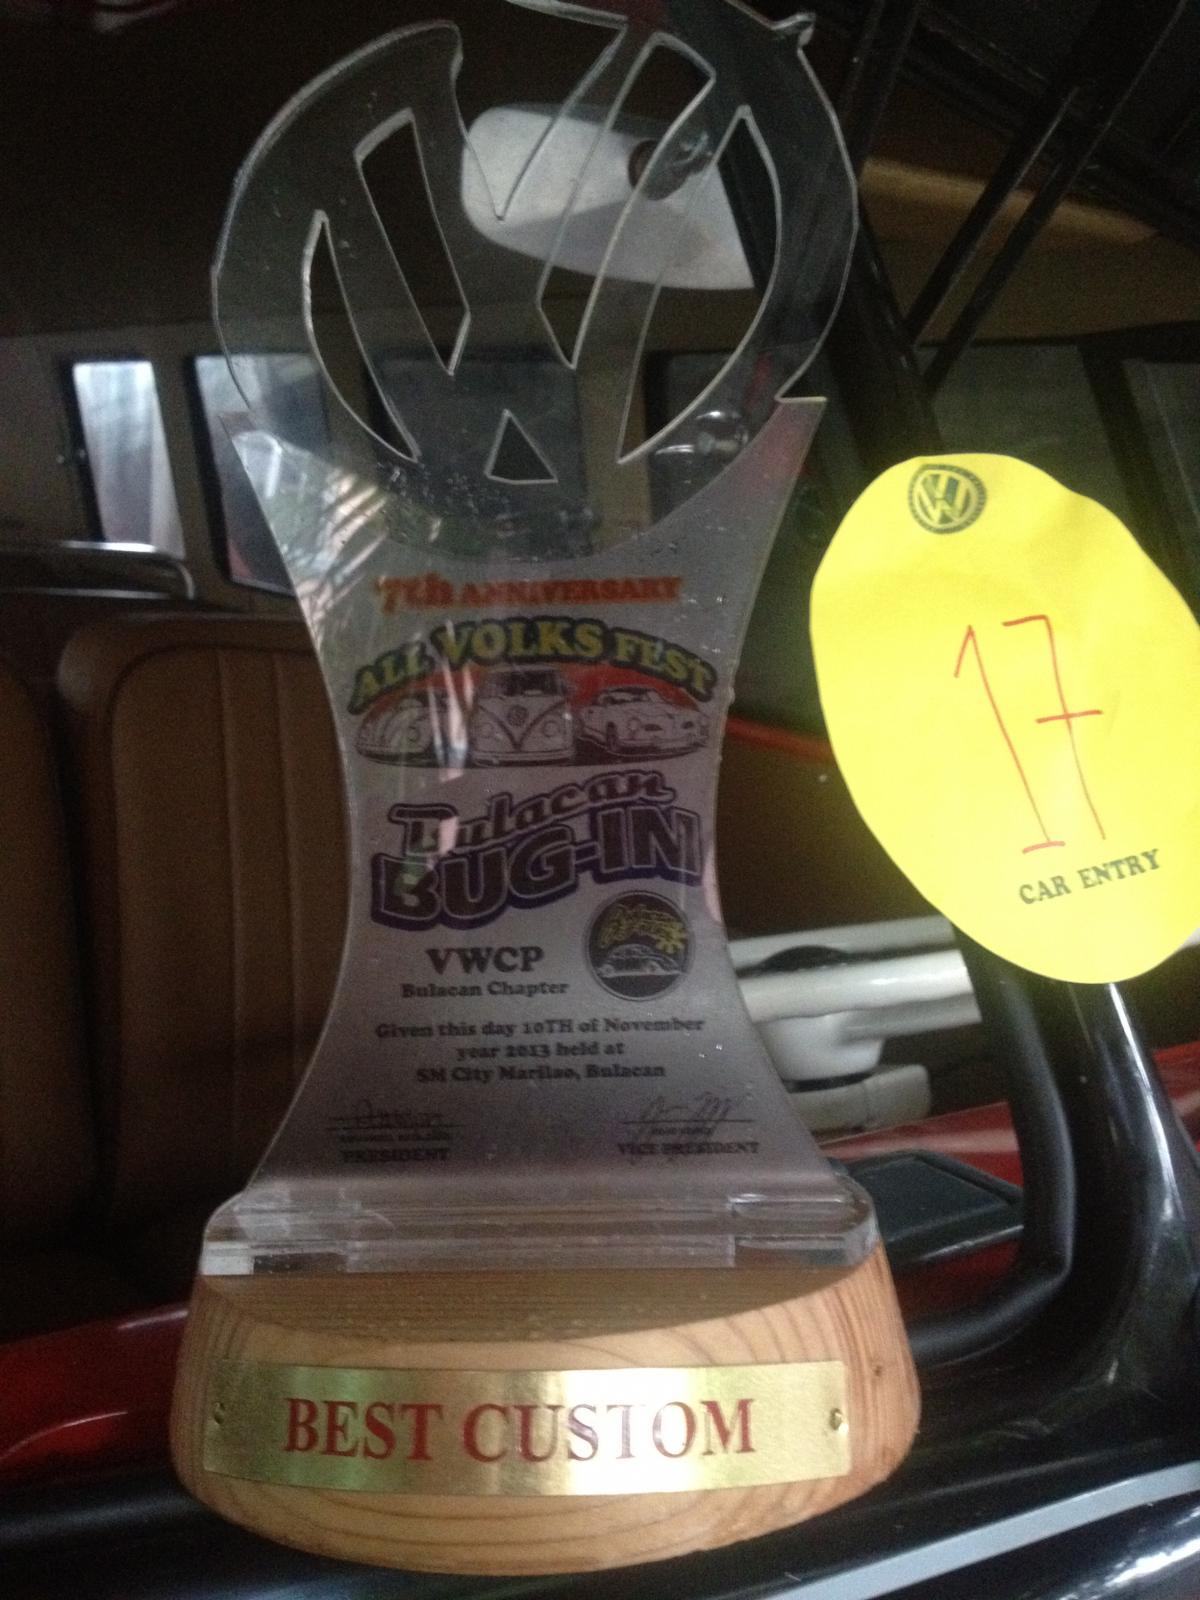
This is my trophy...
Thanks buddies!

About three days before the show, I brought the Split to the one whgo installed the muffler and had it modified so that the rear bumper would fit in.

After the muffler was modified.

On 9 November, Saturday, we finished the upholstery.

The siding for the rear portion of the spare tire.

Chcecking for allignments and other fitments for better custom fit.

We also made this one copied from available pictures, especiually @ TheSamba.

These siding channels are already worn out and old and needed to the replaced.

Using the brand new channels (locally made in the Philippines), I custom cut each end every channel using the old one as my guide.

This one as to be cut properly so that the rain will be routed directly into the provided holes. Althought, my Split will not get to feel the rain in her lifetime ... (hopefully...)

This one had to nbe cut property in sync with the holes on the frame and upper door frame.

I also used this classic/vintage gas filter and both banjo bolts and other harwares to fit accordingly.

Installing these sloted harware and to get its proper allignment was difficult, it had to the installed and drilled with precision.

This over rider and bumper guards hd to be installed with countless measurements and allignments. It wasn't a walk in the park intalling this one!

This is my trophy...
Thanks buddies!
dongkg
Registered user
Posts: 90
Joined: Tue Jul 16, 2013 7:58 am
Re: My '67 Split Bus Resto Thread in the Philippines
by dongkg » Wed Nov 27, 2013 10:42 am
I joined a car show called MVP Invitational Grand Auto Show, 16 November 2013 at Meralco Centerl, OrtigaAve, Pasig City, Metro Manila, Philippines.
Prior to the show:
I won the “Home Best Choice Award (2nd)”
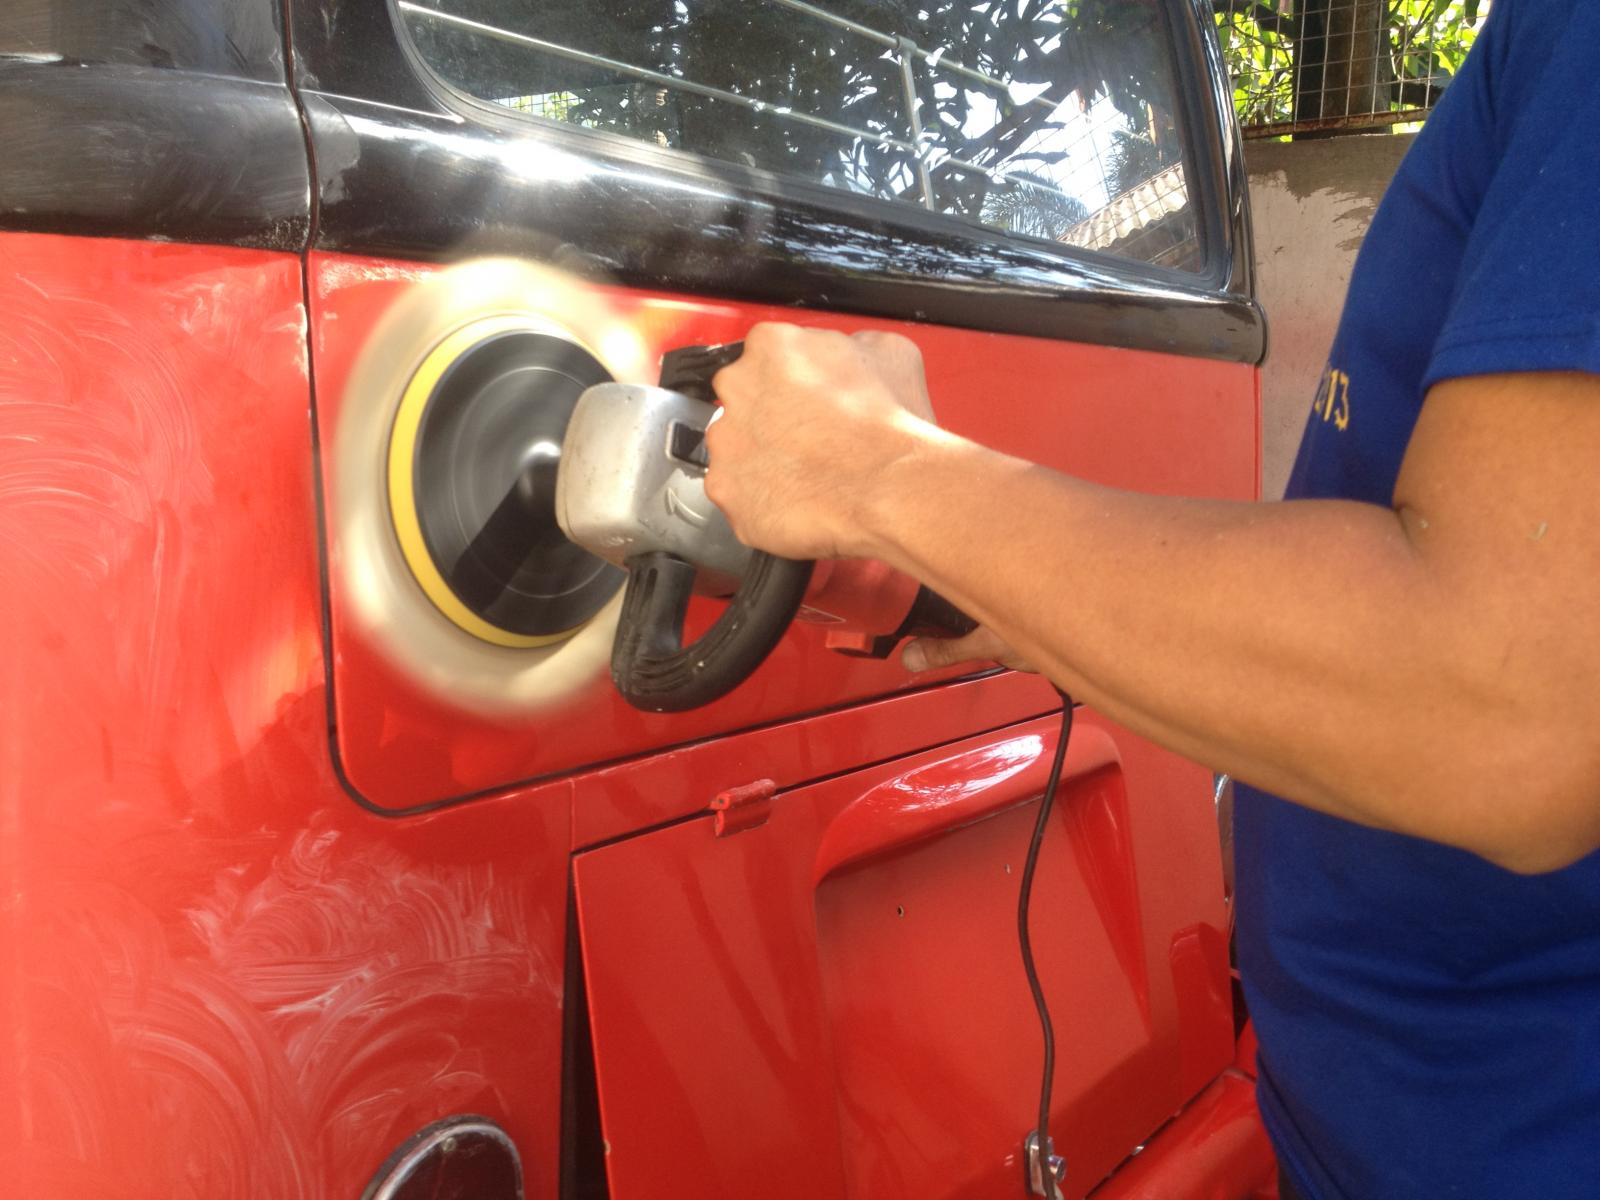
I borrowed a friend's buffer and gave the Split bus that shinny look..
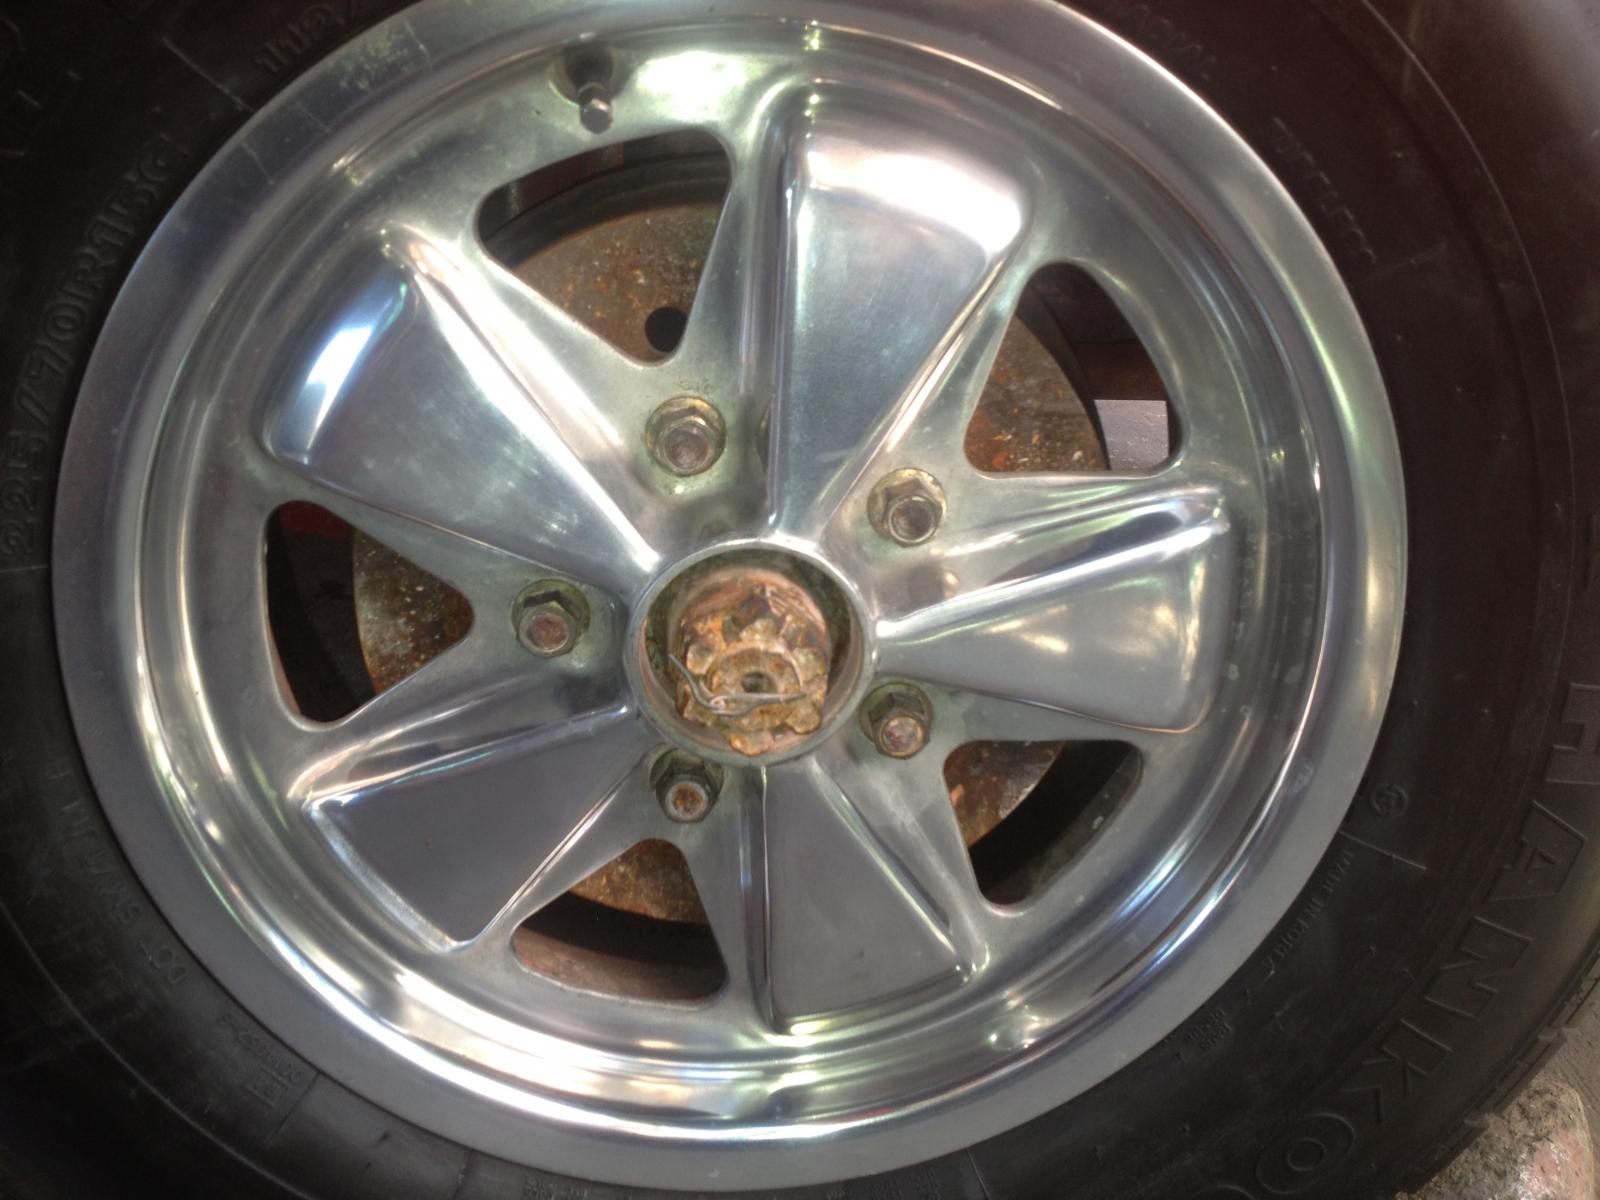
The Fuchs also got that shine using the Autosol Aluminum polisher.
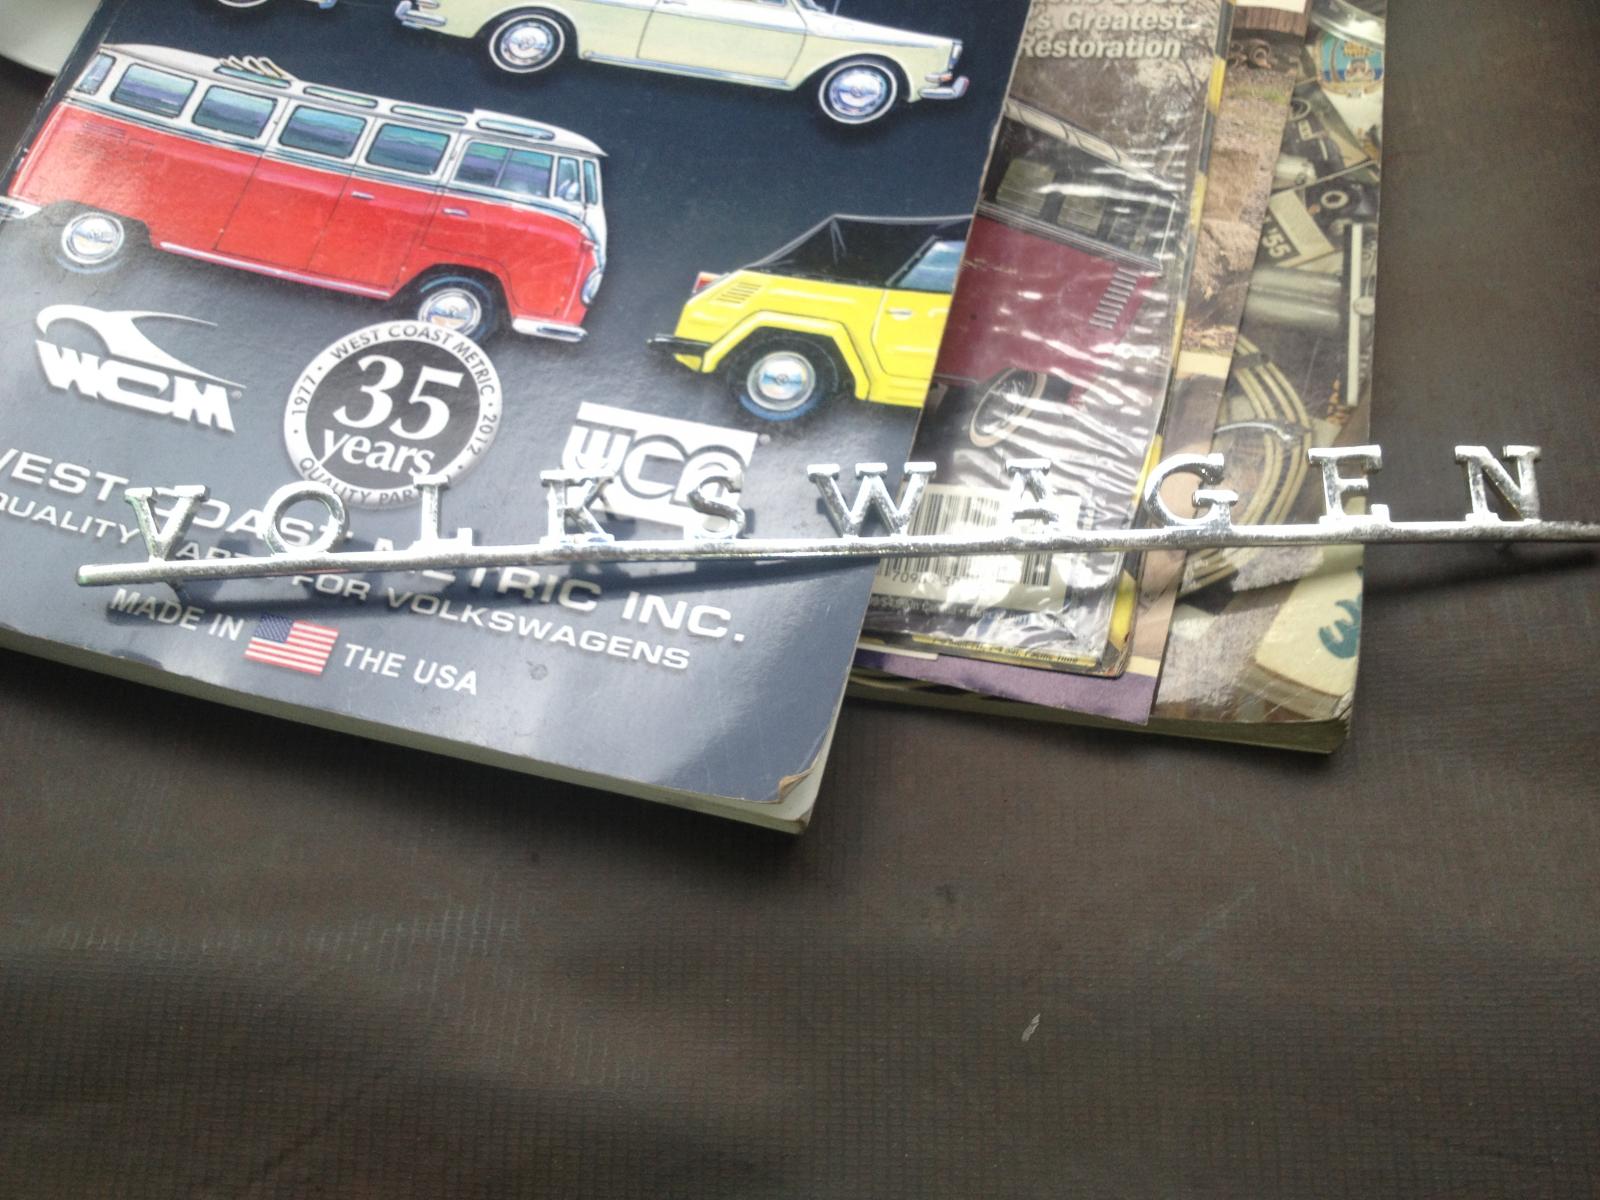
I forgot to install this one. So, I drilled some holes on the hatch and attached this Volkswagen Badge.
The Show’s Poster.
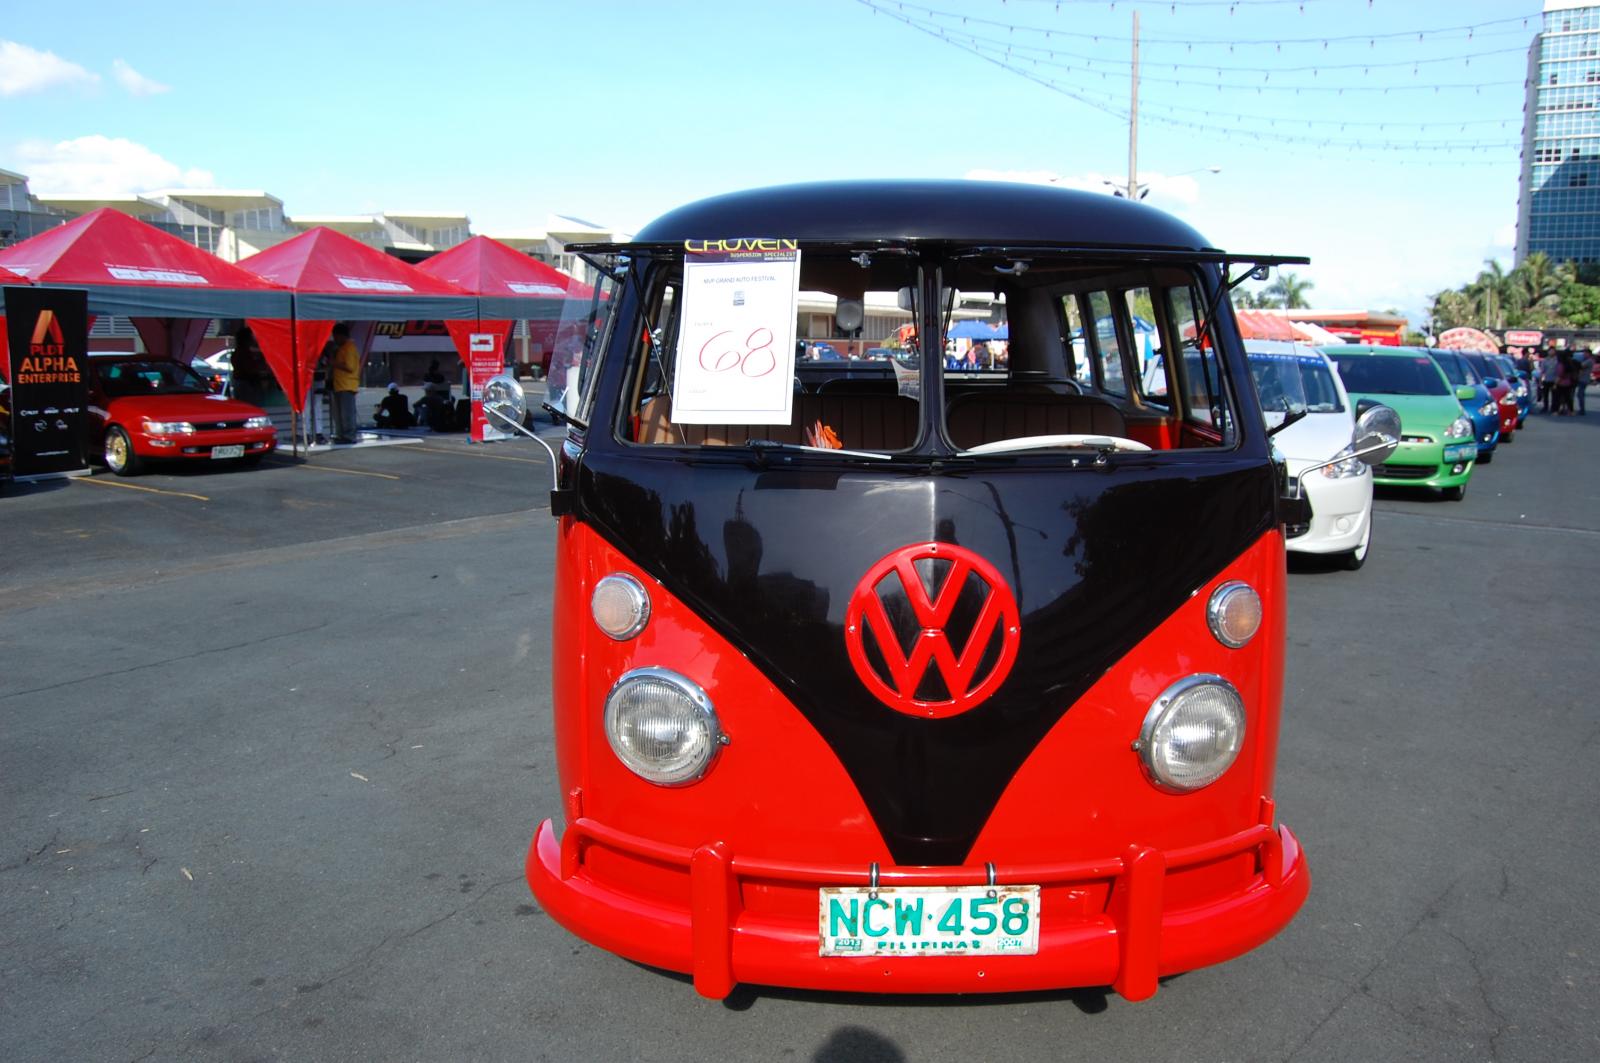
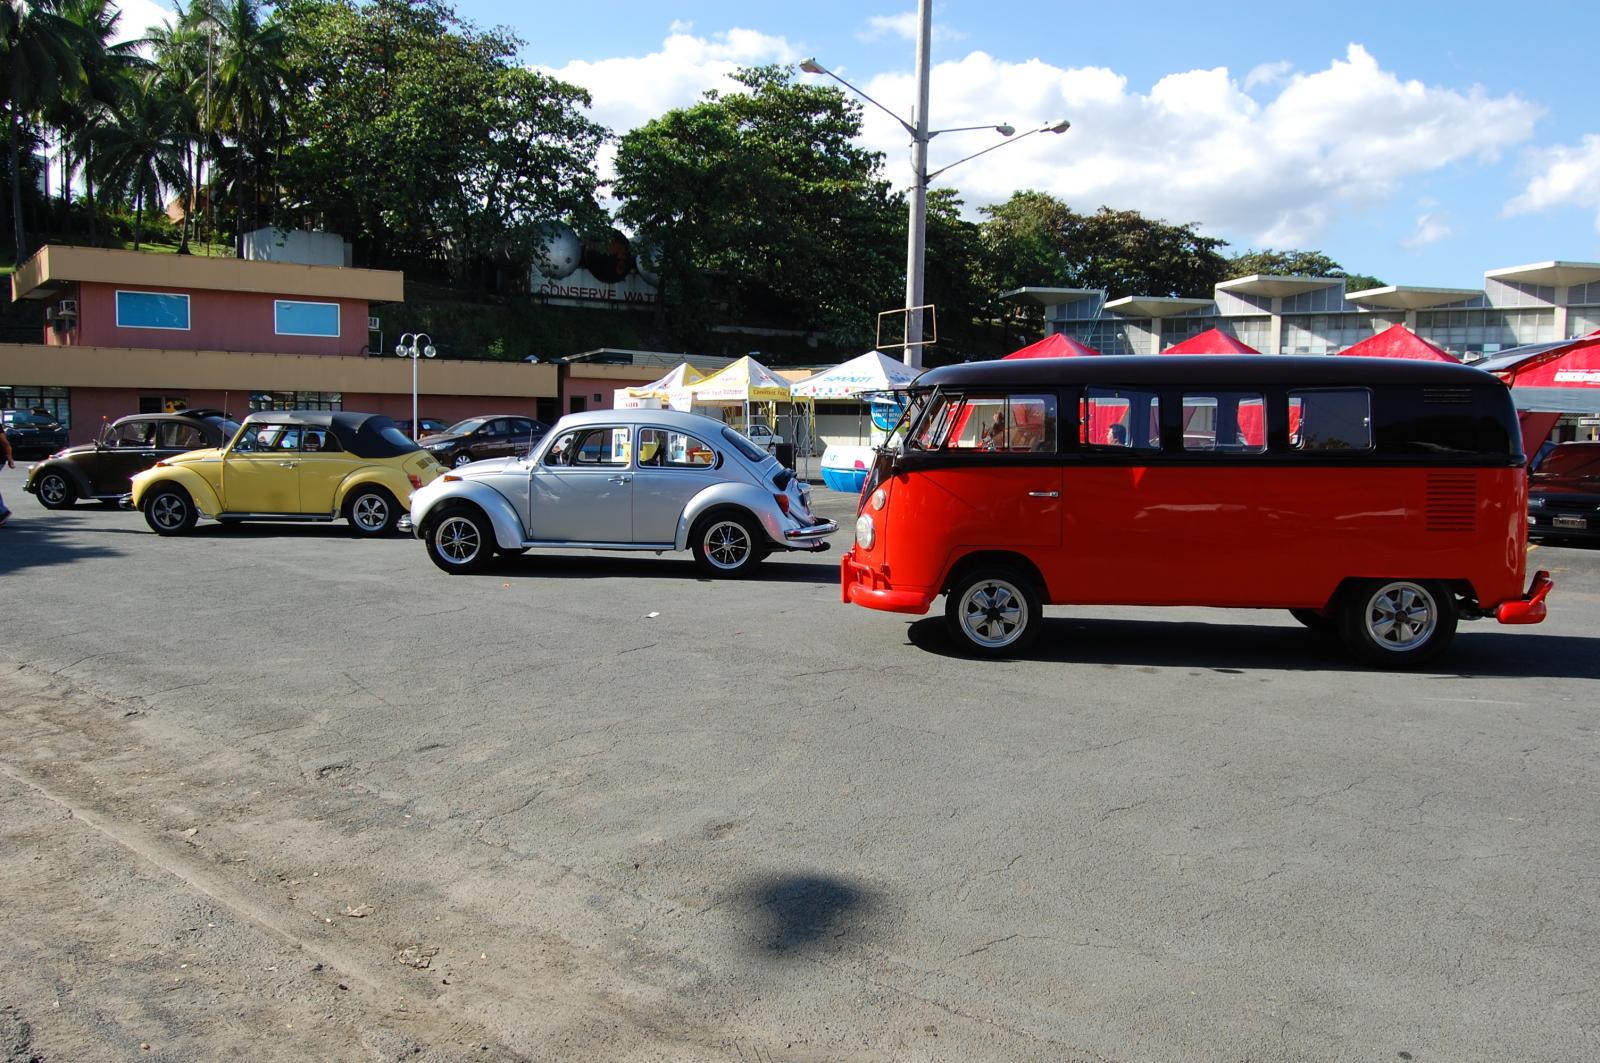
The other vee-dubs are owned by my fellow vw enthusiasts here. They are in car show quality too.
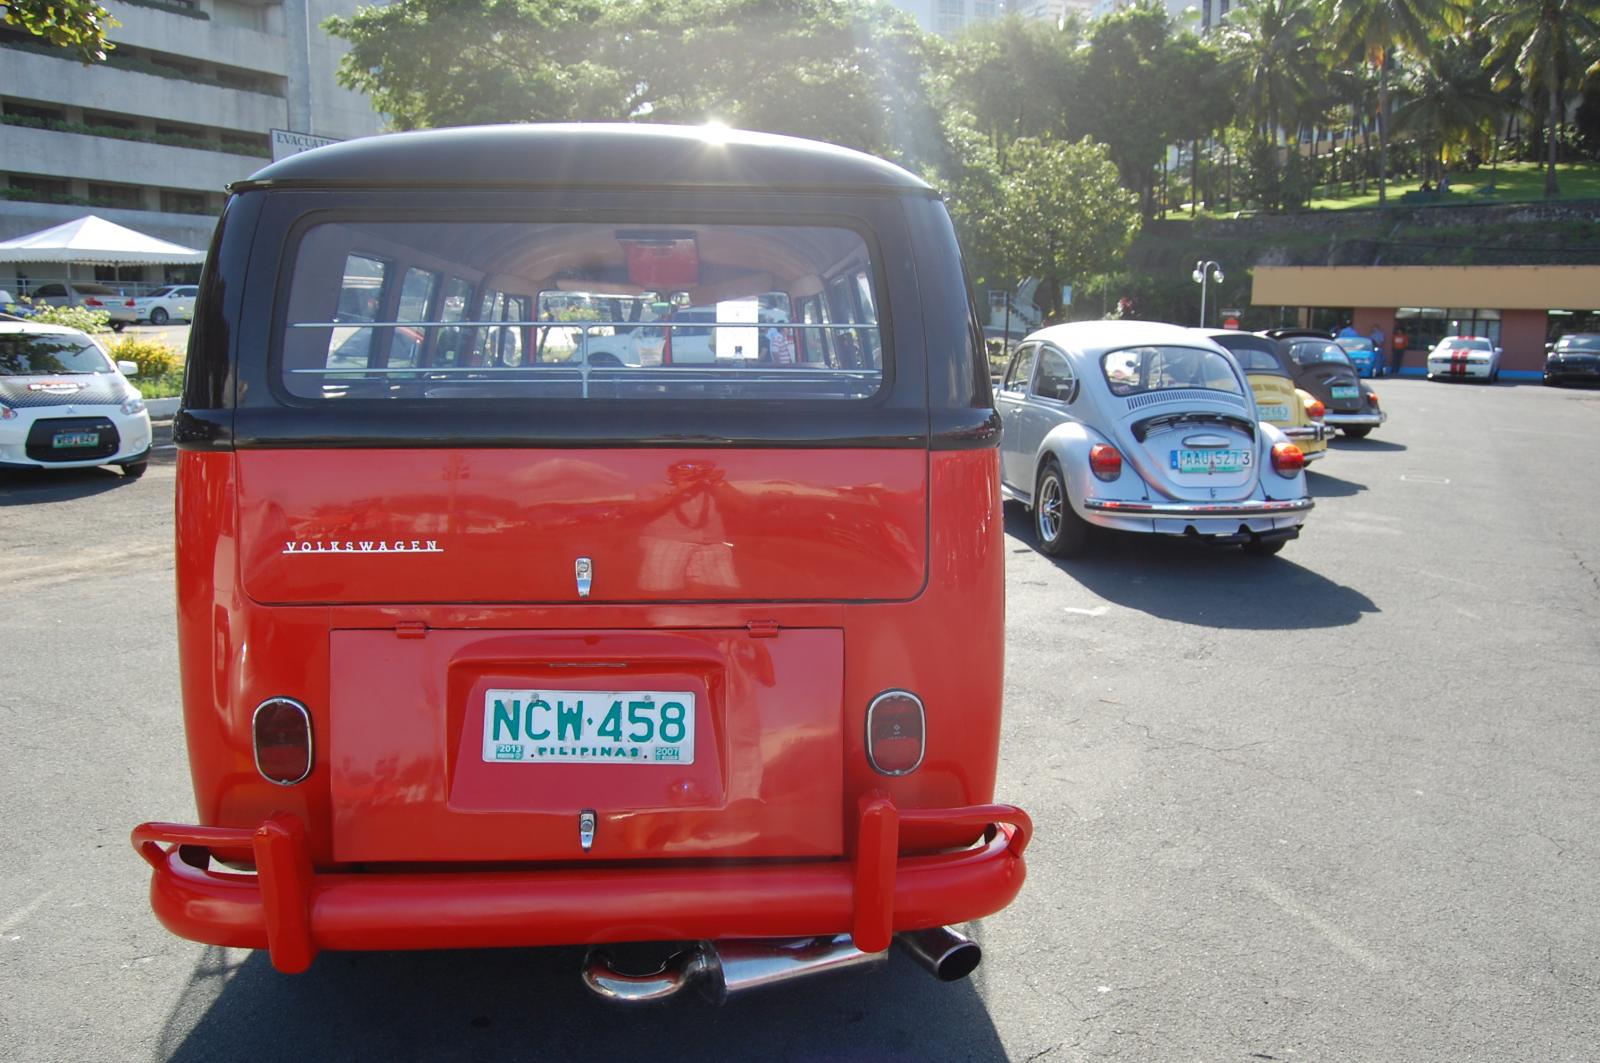
Another shot with the other vv-dubs.
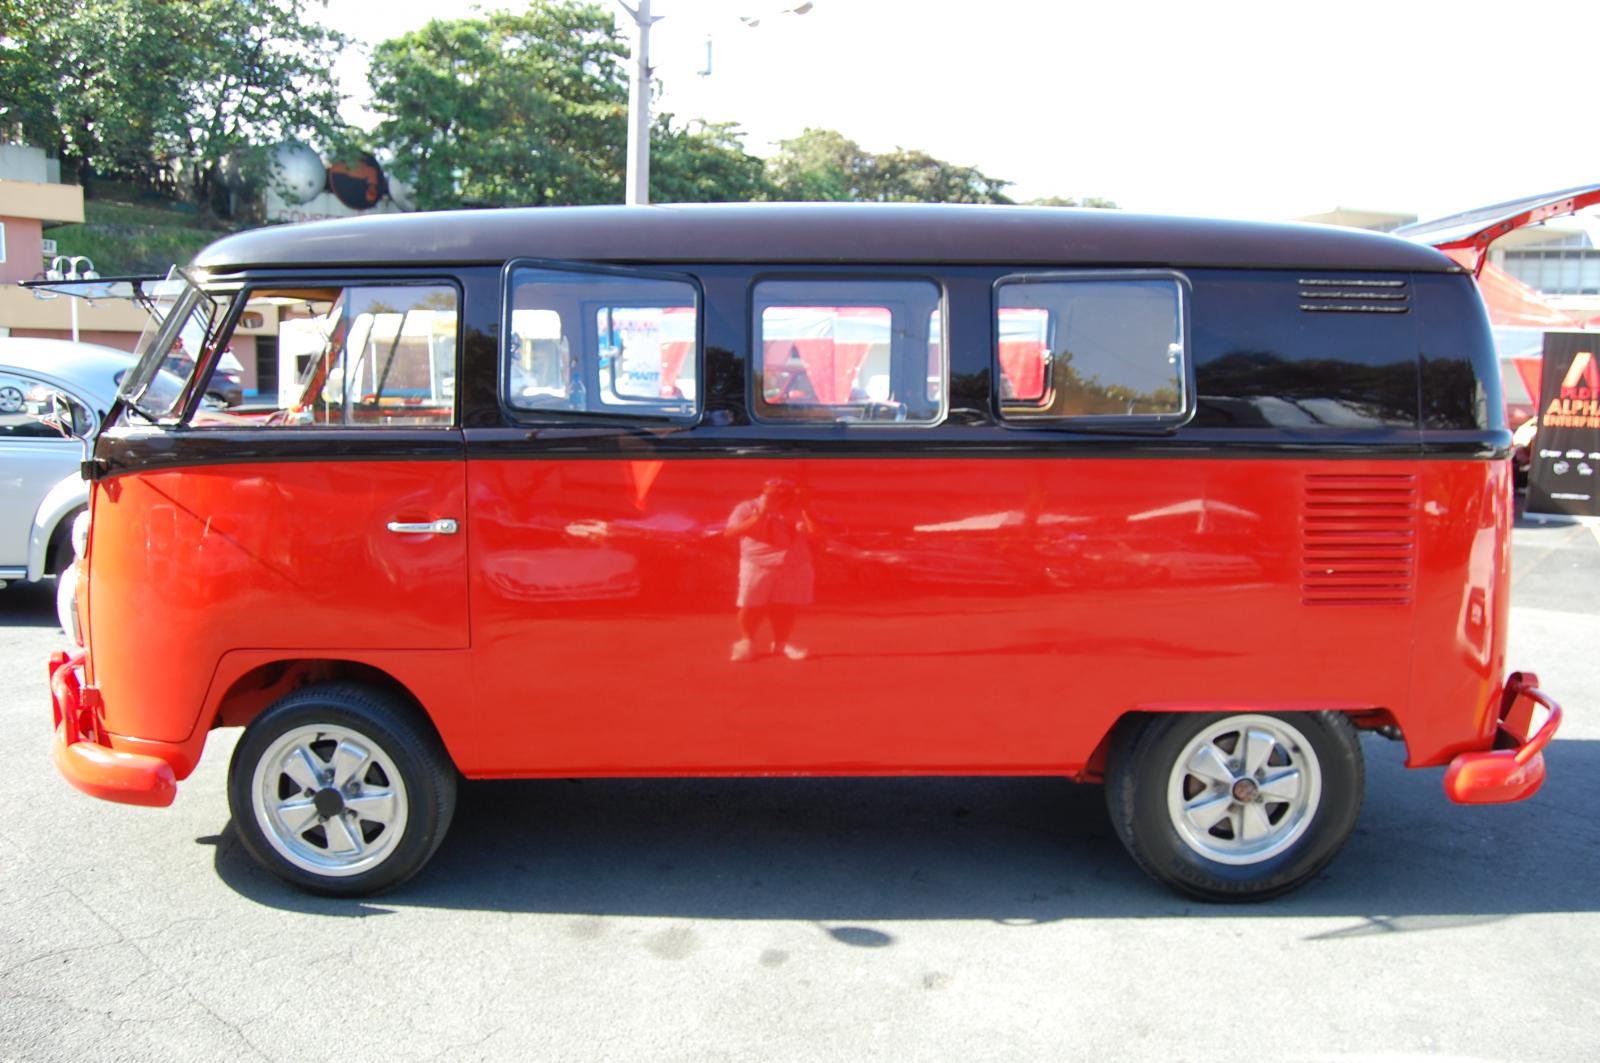
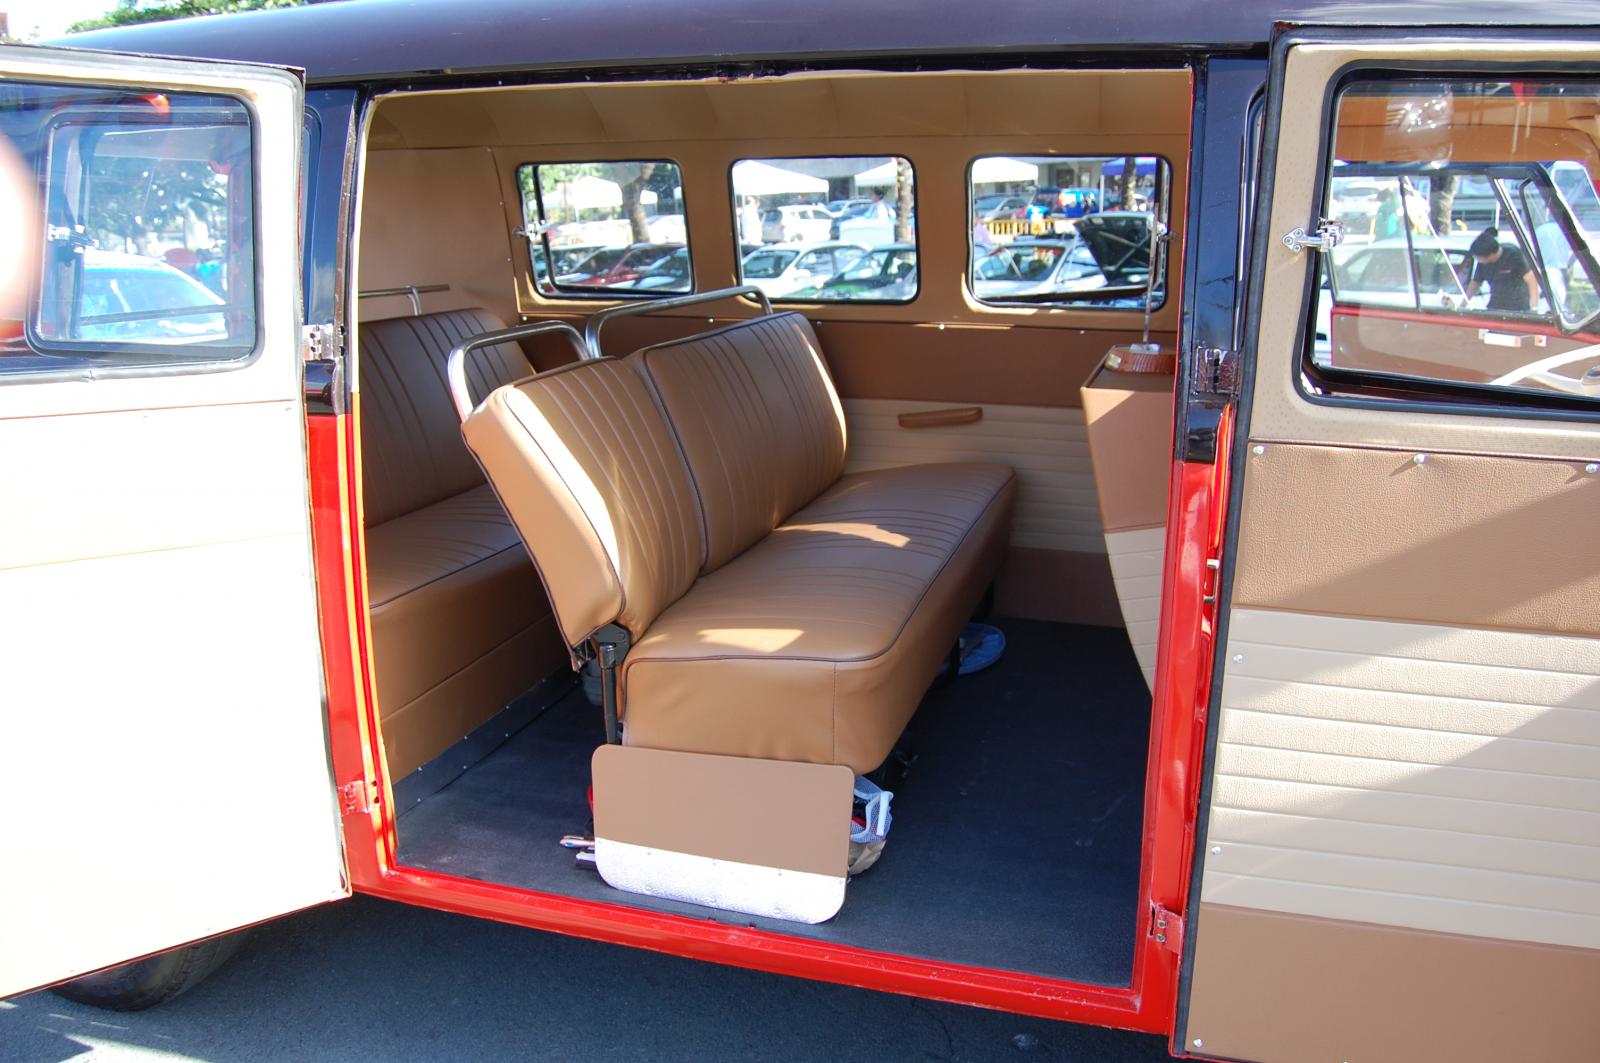
Everyone loved the Split and the interior was always their favorite for photo shoot.
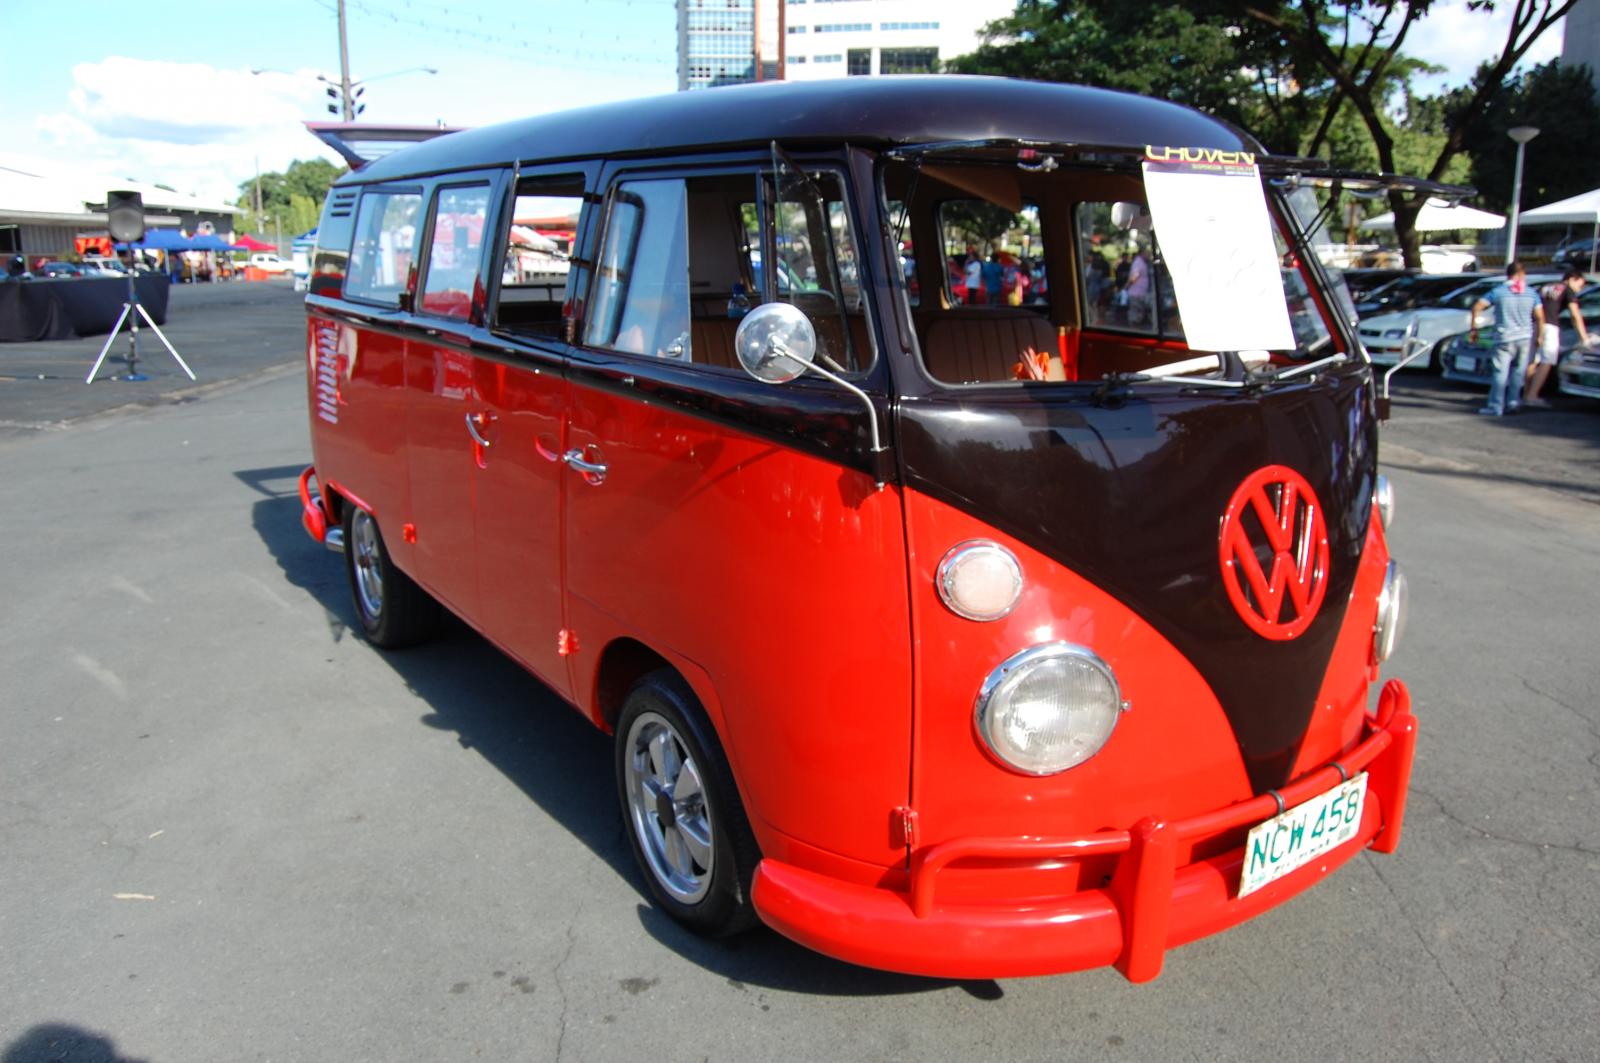
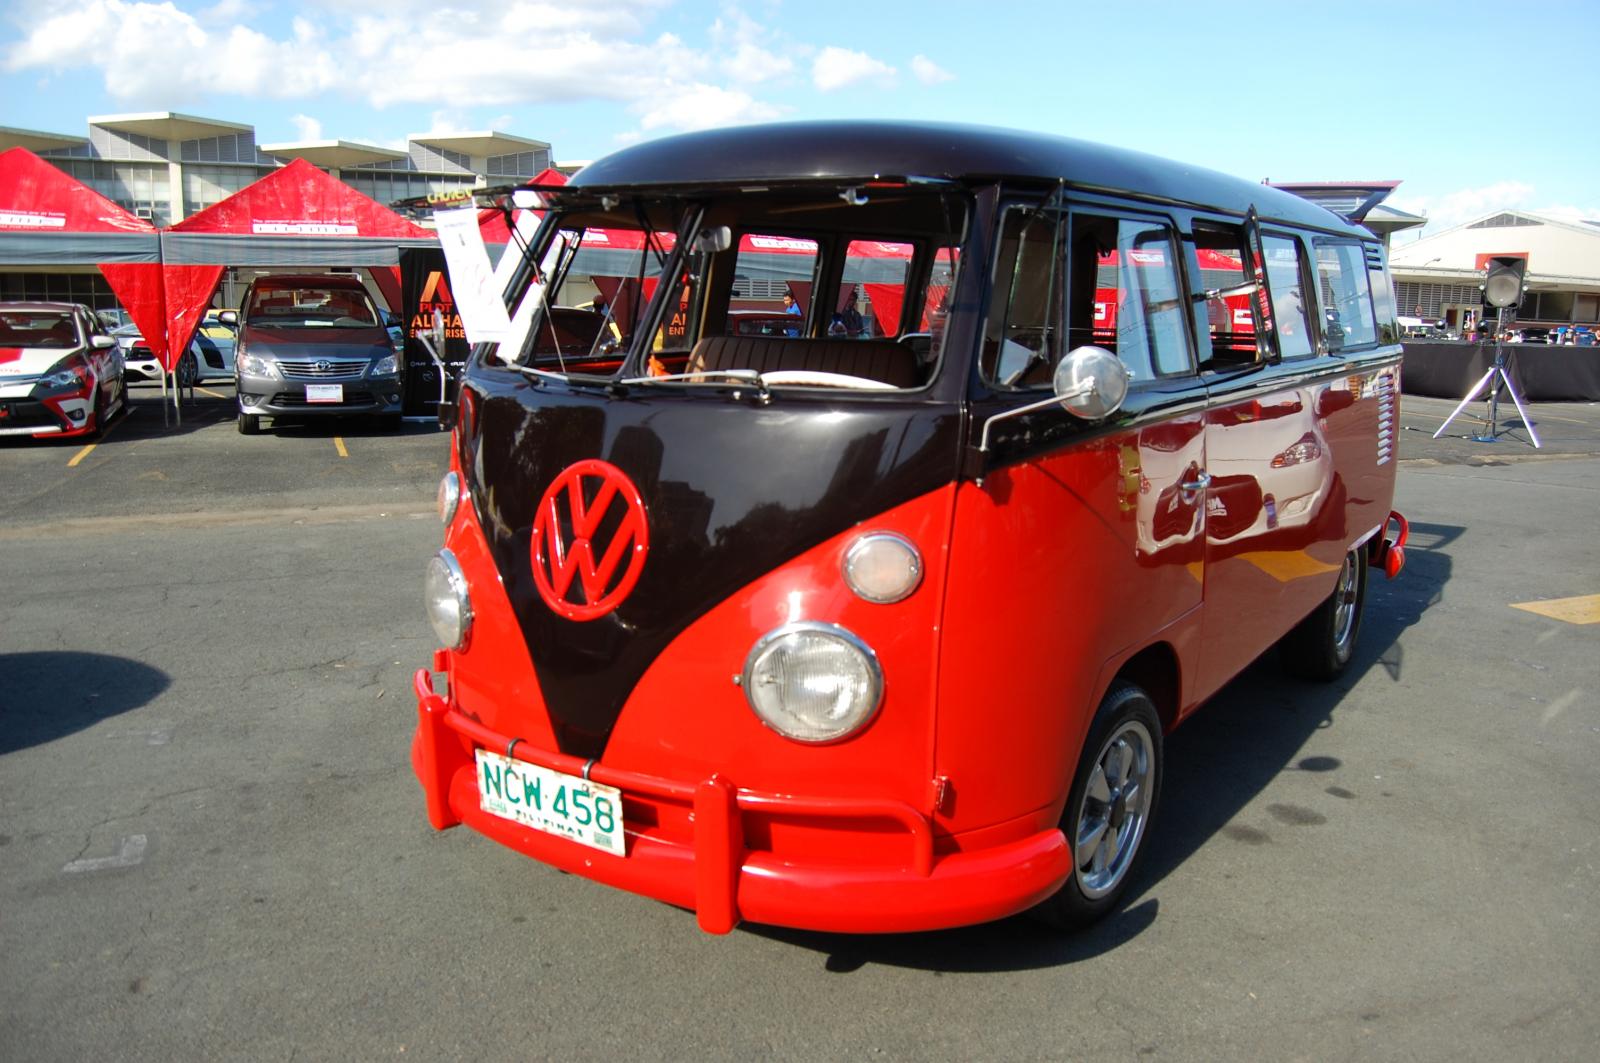
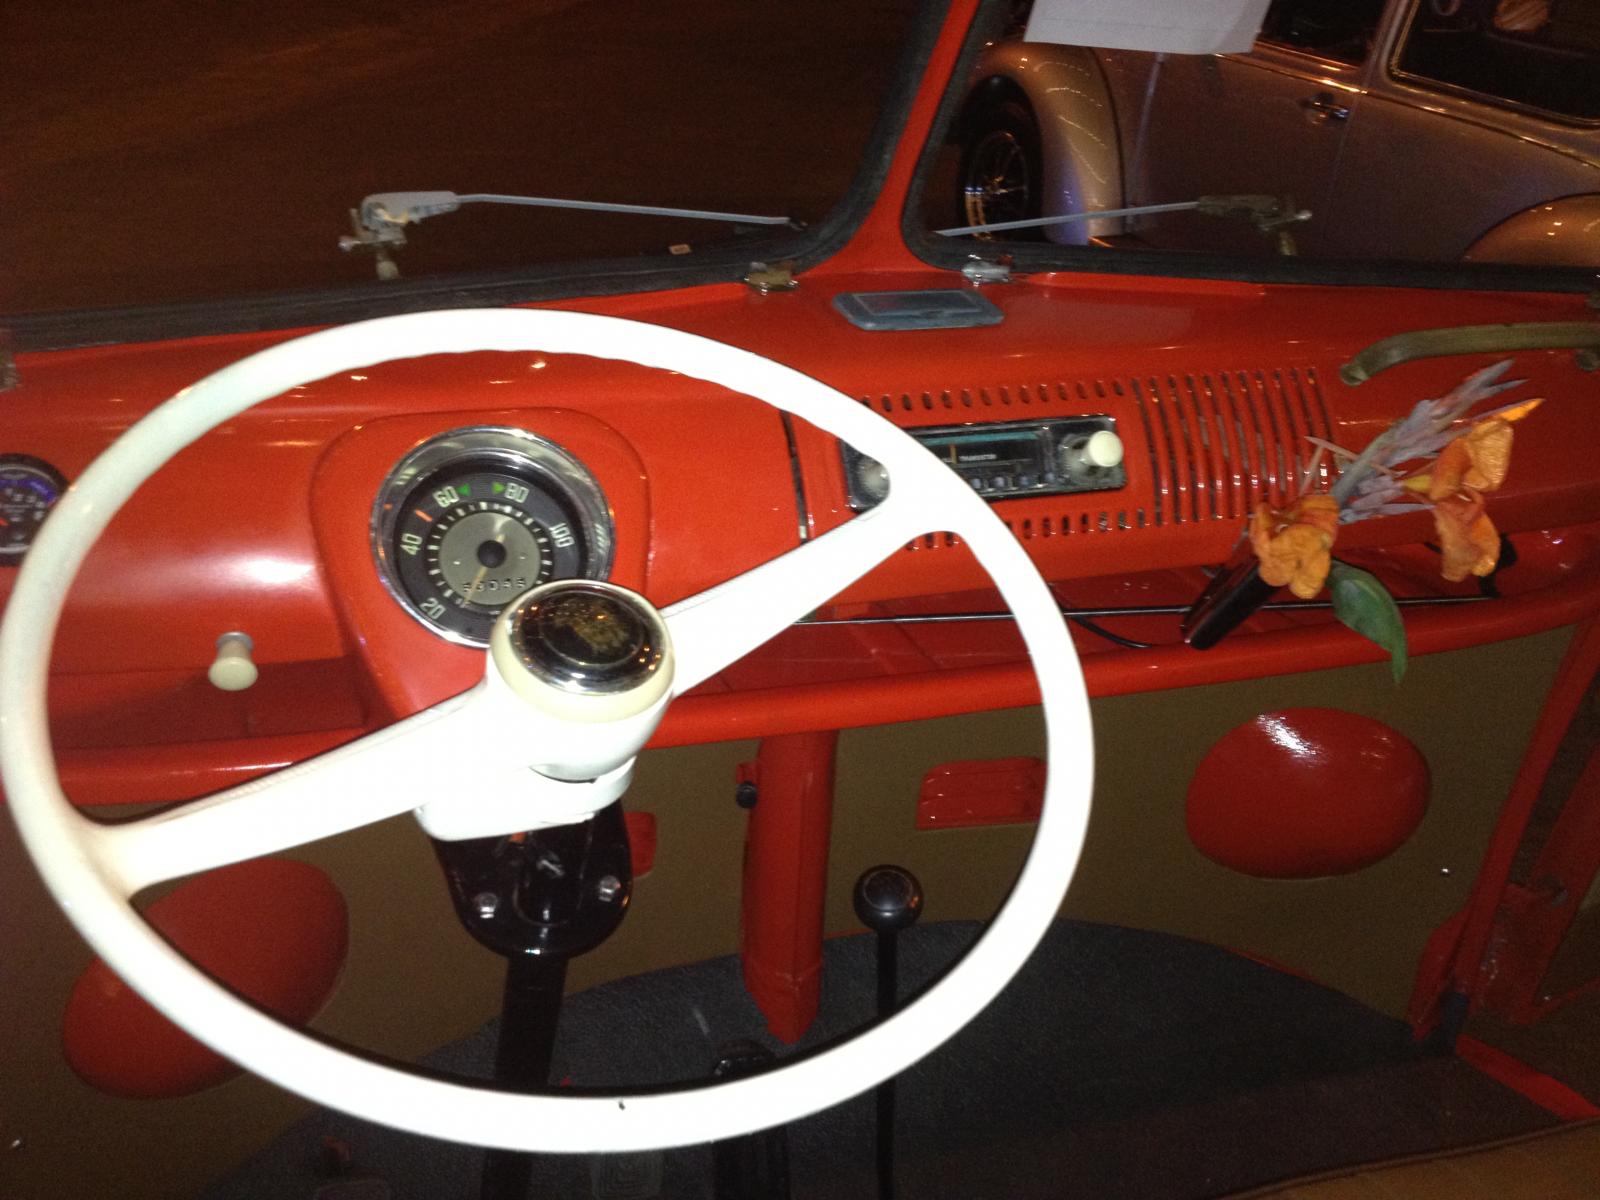
Prior to the show:
I won the “Home Best Choice Award (2nd)”

I borrowed a friend's buffer and gave the Split bus that shinny look..

The Fuchs also got that shine using the Autosol Aluminum polisher.

I forgot to install this one. So, I drilled some holes on the hatch and attached this Volkswagen Badge.

The Show’s Poster.


The other vee-dubs are owned by my fellow vw enthusiasts here. They are in car show quality too.

Another shot with the other vv-dubs.


Everyone loved the Split and the interior was always their favorite for photo shoot.


dongkg
Registered user
Posts: 90
Joined: Tue Jul 16, 2013 7:58 am
Re: My '67 Split Bus Resto Thread in the Philippines
by dongkg » Wed Nov 27, 2013 10:45 am
BTW, this is the trophy!


dongkg
Registered user
Posts: 90
Joined: Tue Jul 16, 2013 7:58 am
Re: My '67 Split Bus Resto Thread in the Philippines
by SplitBusVanatic » Thu Nov 28, 2013 12:03 am
Looks great Dong.

SplitBusVanatic

Registered user
Posts: 274
Joined: Wed Oct 12, 2005 12:19 pm
Re: My '67 Split Bus Resto Thread in the Philippines
by lee b » Thu Nov 28, 2013 1:22 am
well done dong
lee b
Registered user
Posts: 12
Joined: Sun Nov 04, 2012 1:45 am
Re: My '67 Split Bus Resto Thread in the Philippines
by dongkg » Mon Dec 02, 2013 11:27 am
SplitBusVanatic wrote:Looks great Dong.

Thanks, buddy!
dongkg
Registered user
Posts: 90
Joined: Tue Jul 16, 2013 7:58 am
Re: My '67 Split Bus Resto Thread in the Philippines
by dongkg » Mon Dec 02, 2013 11:28 am
These are the recent finishing touches I did on the Split.
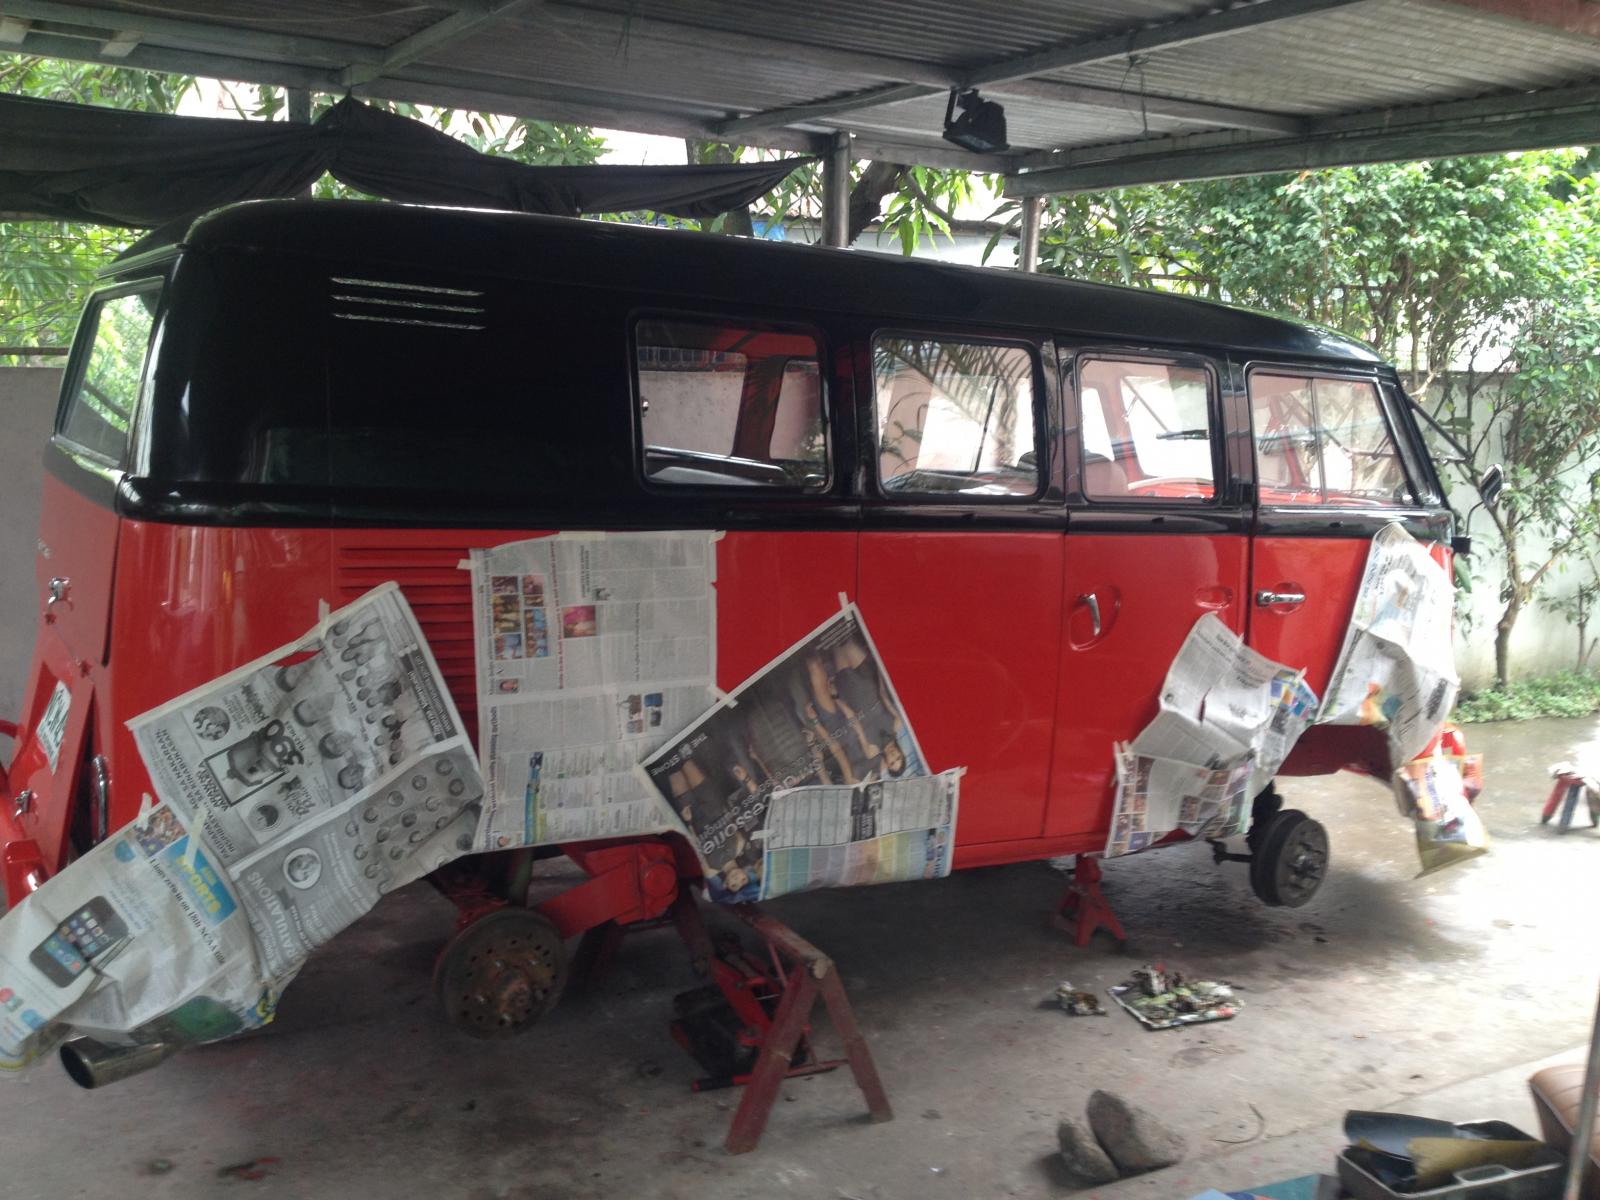
I painted the fenders and gave it a glossy look.
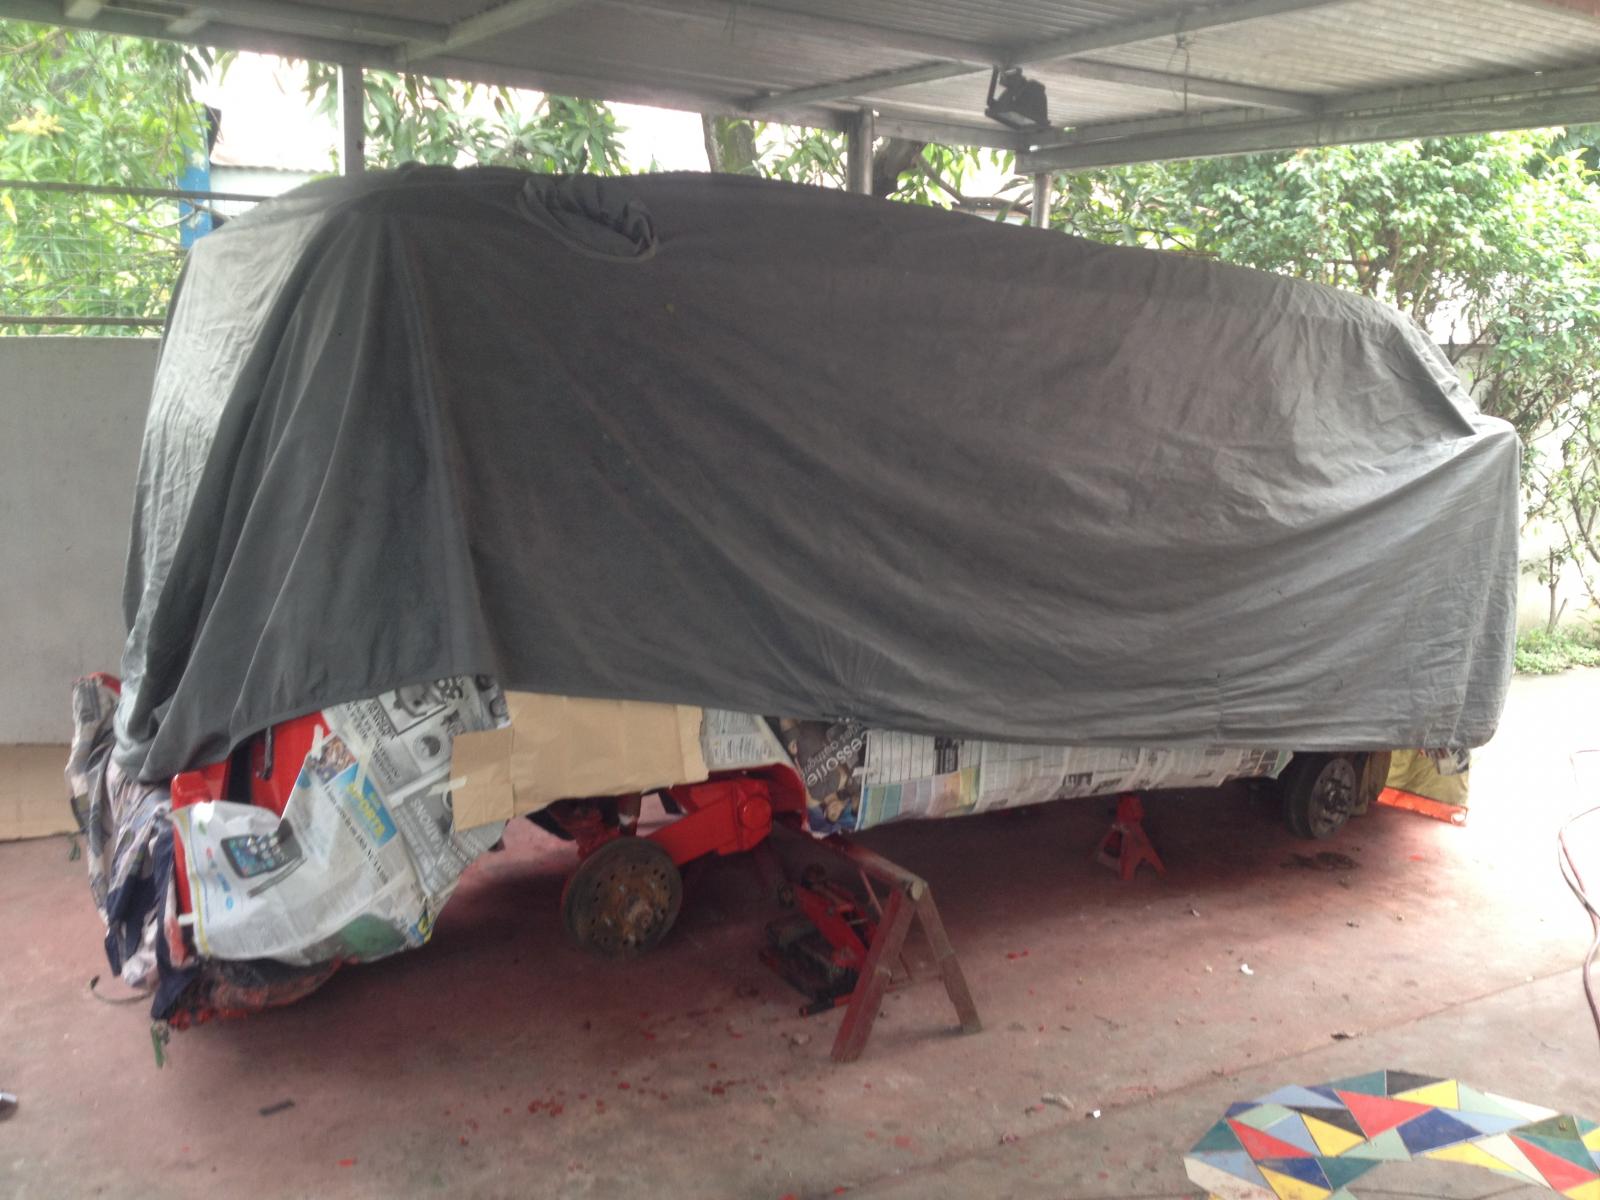
The body had to be covered. I also painted the drums and others gloss back.
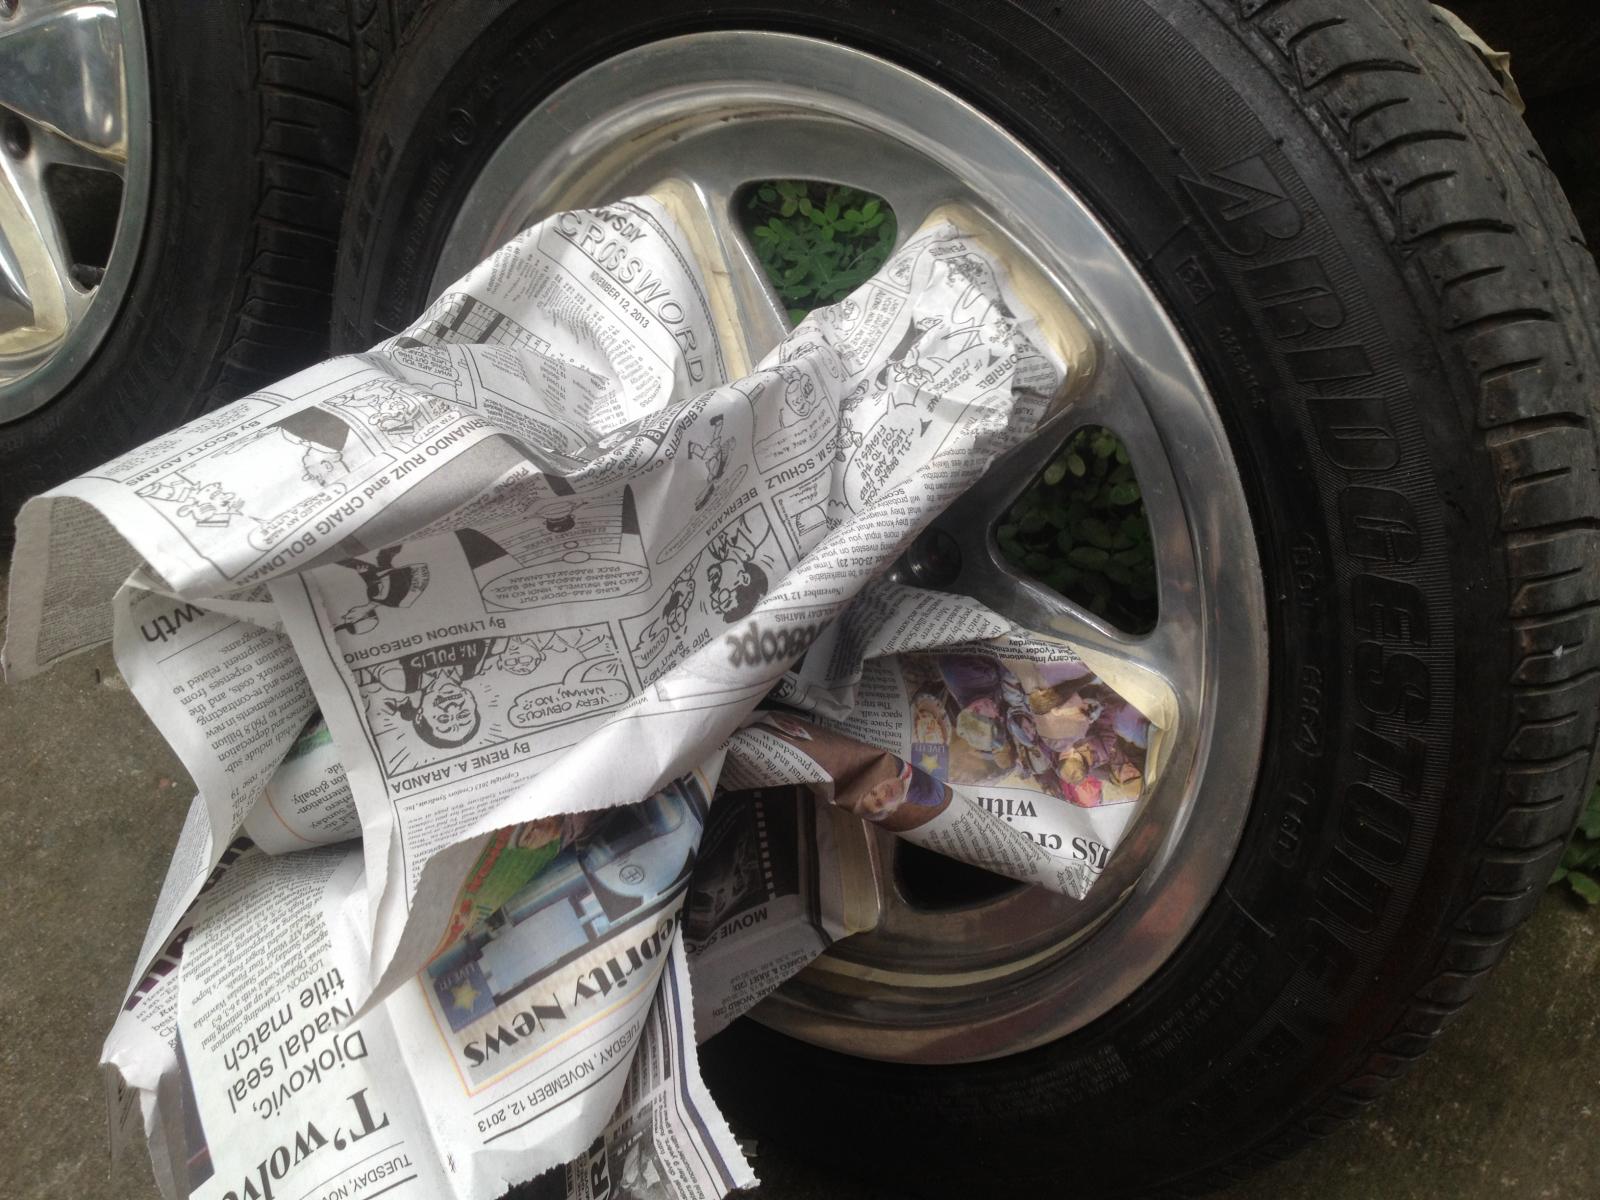
Since I already removed the tires, I then painted the Fuchs to accentuate the design of the Fuchs.
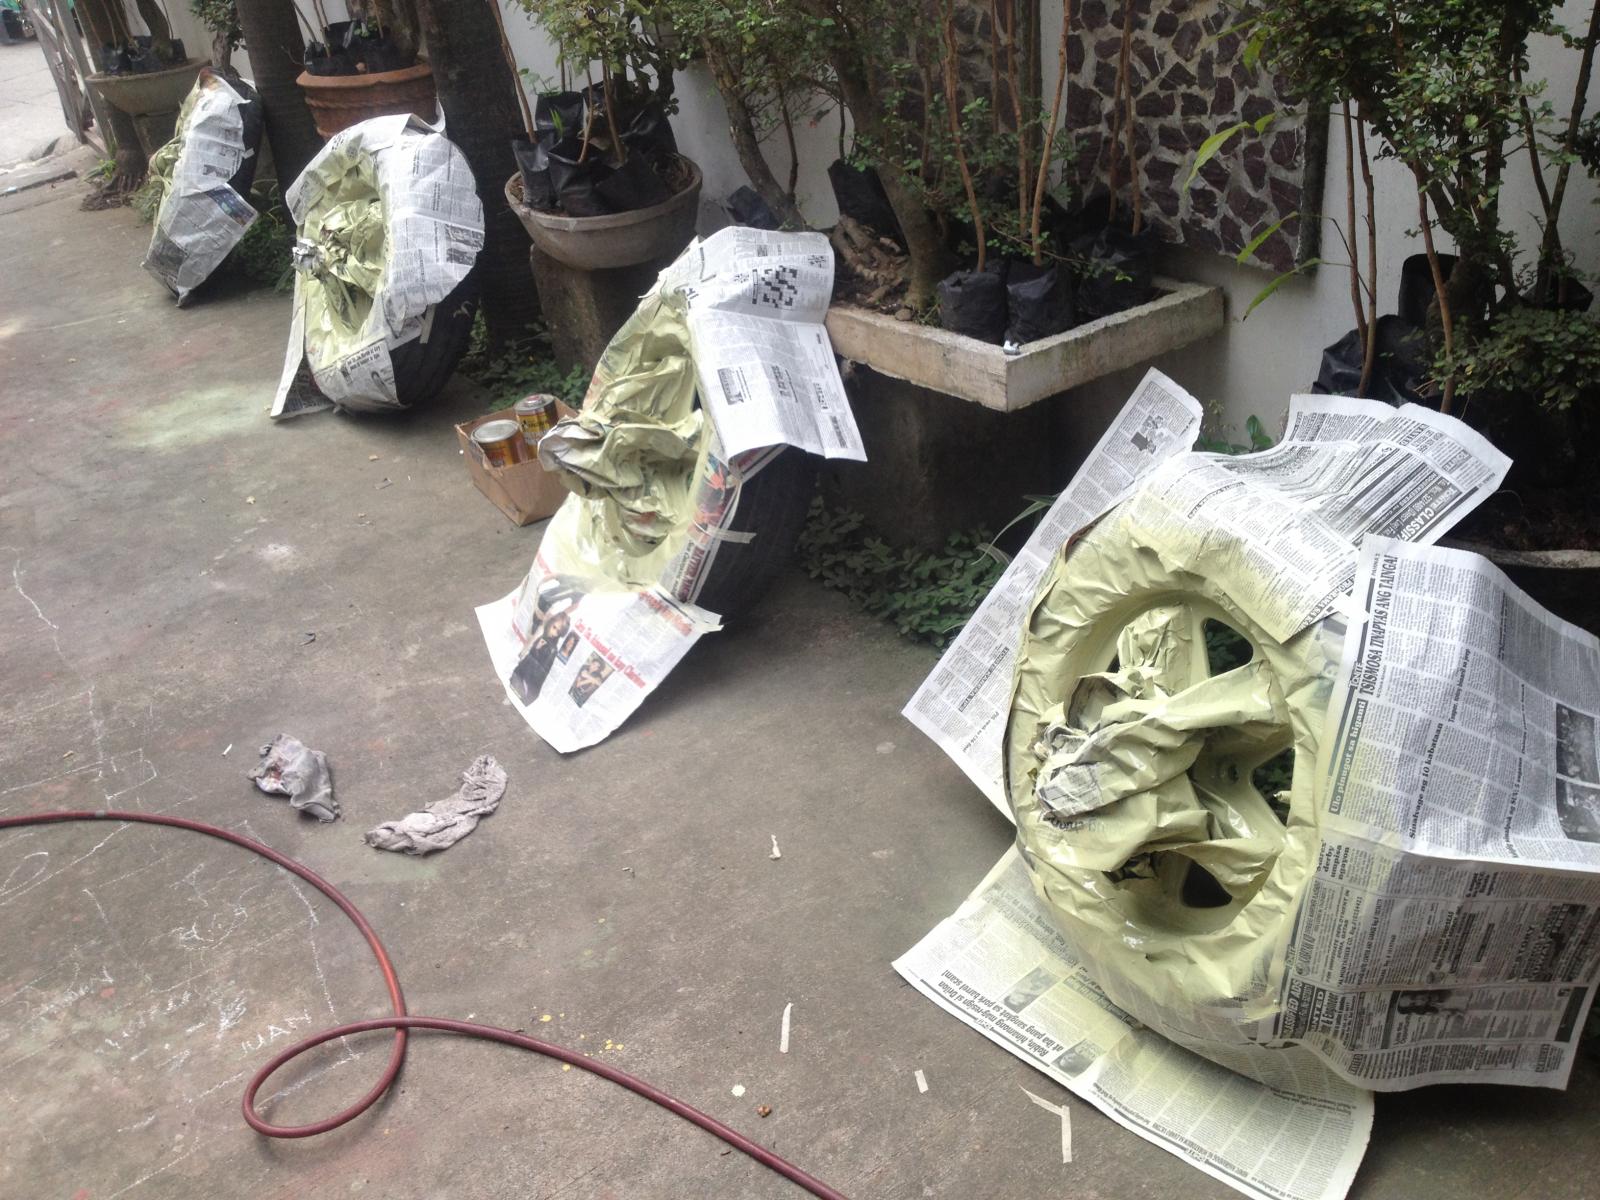
First things first, the primer should be applied.
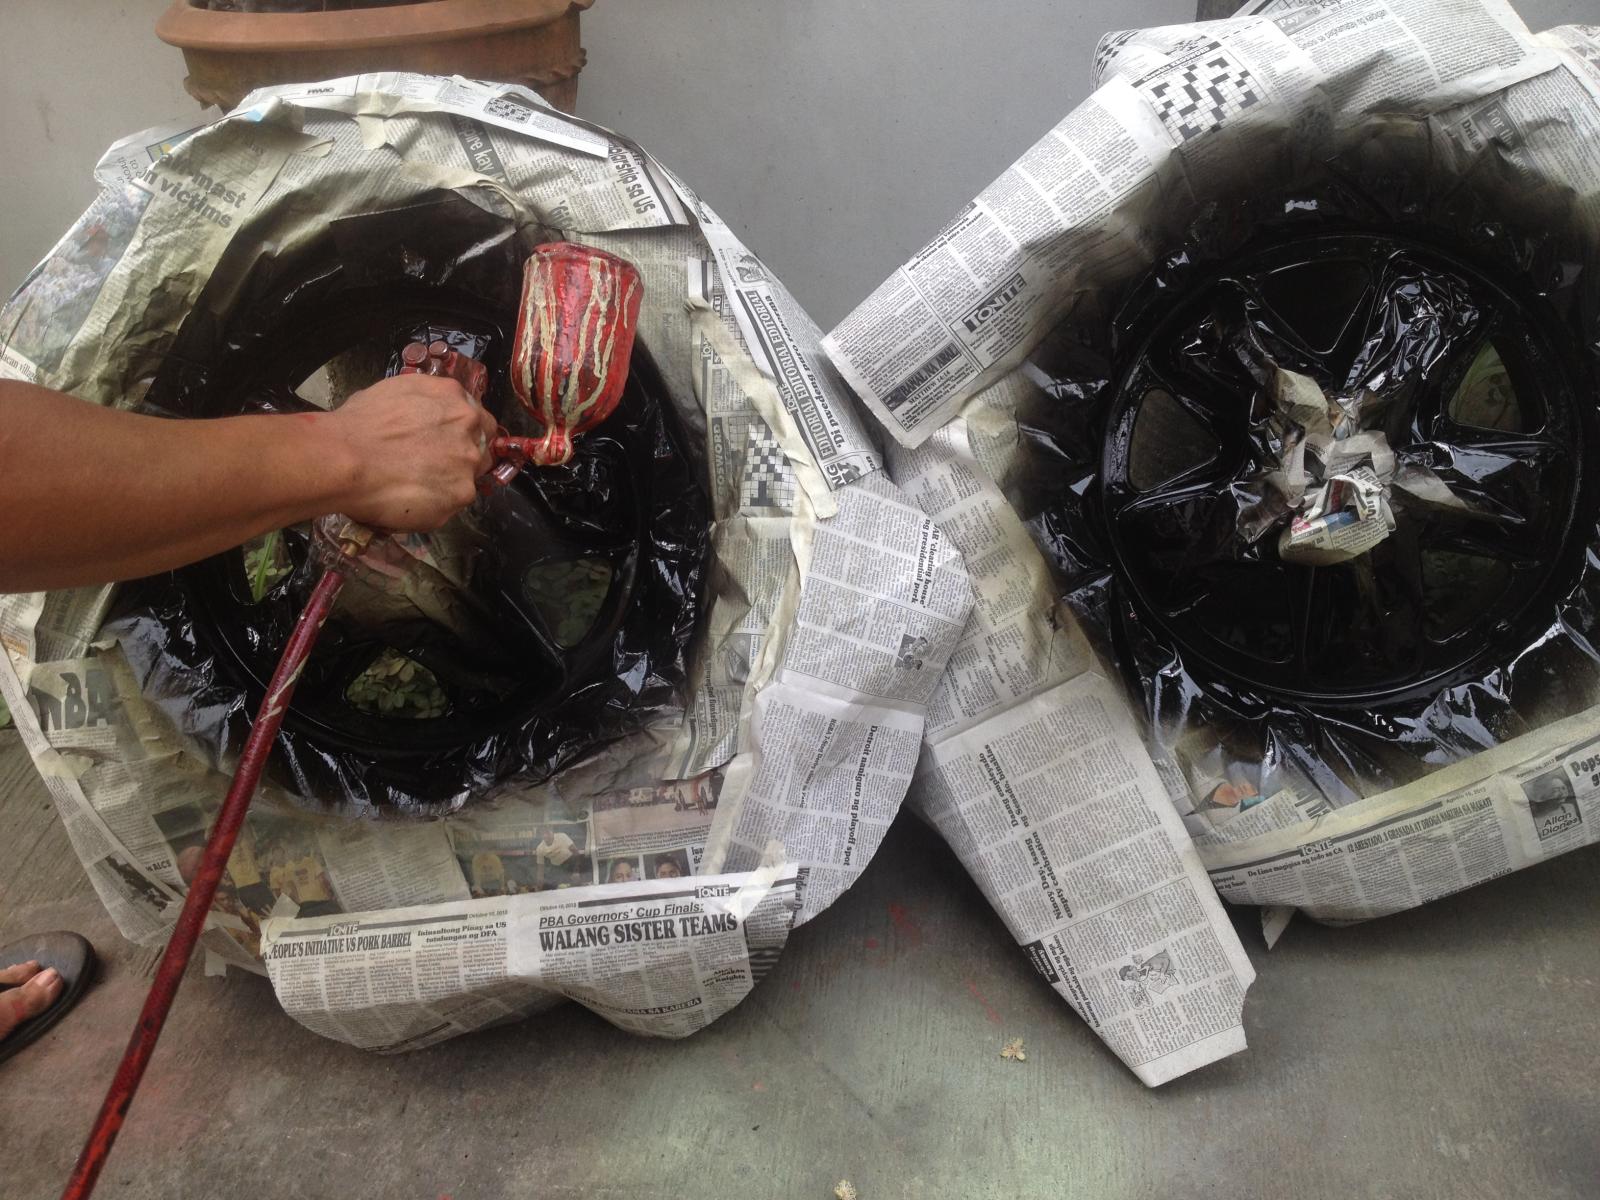
Applying the the gloss black and clear.
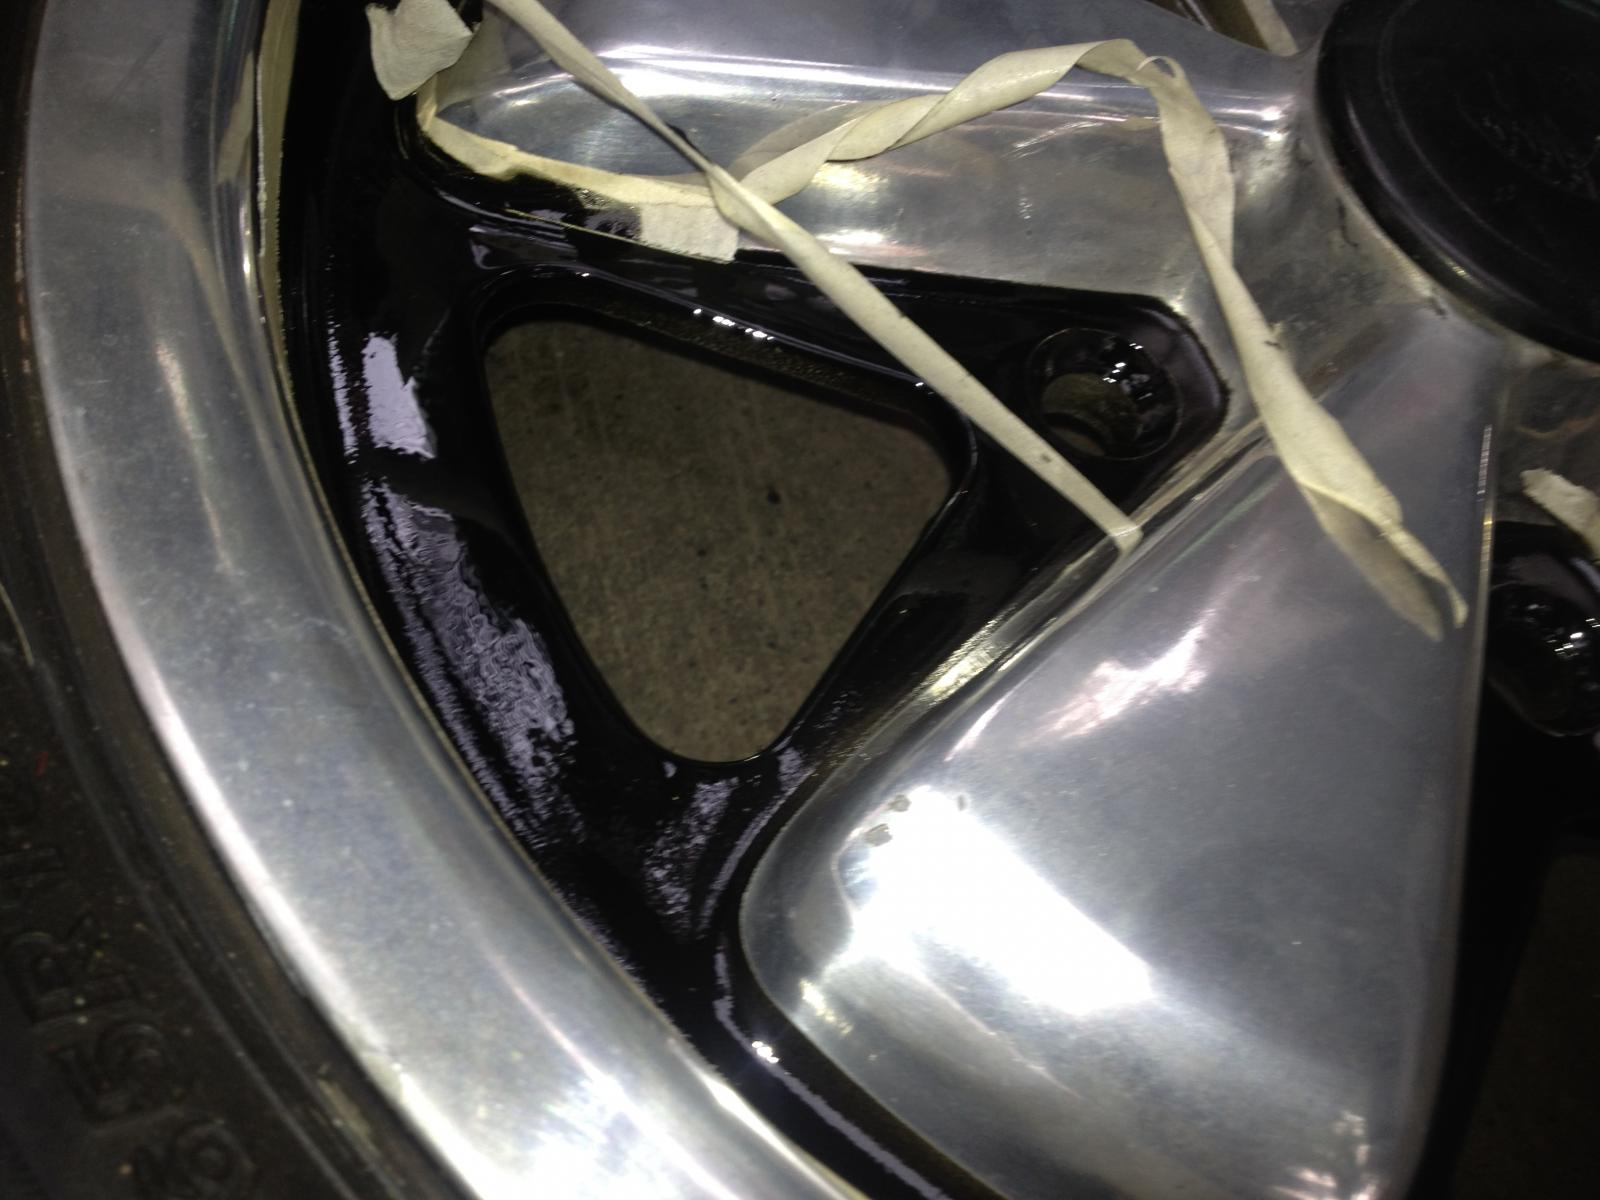
Removing the maskign tapes was touch.
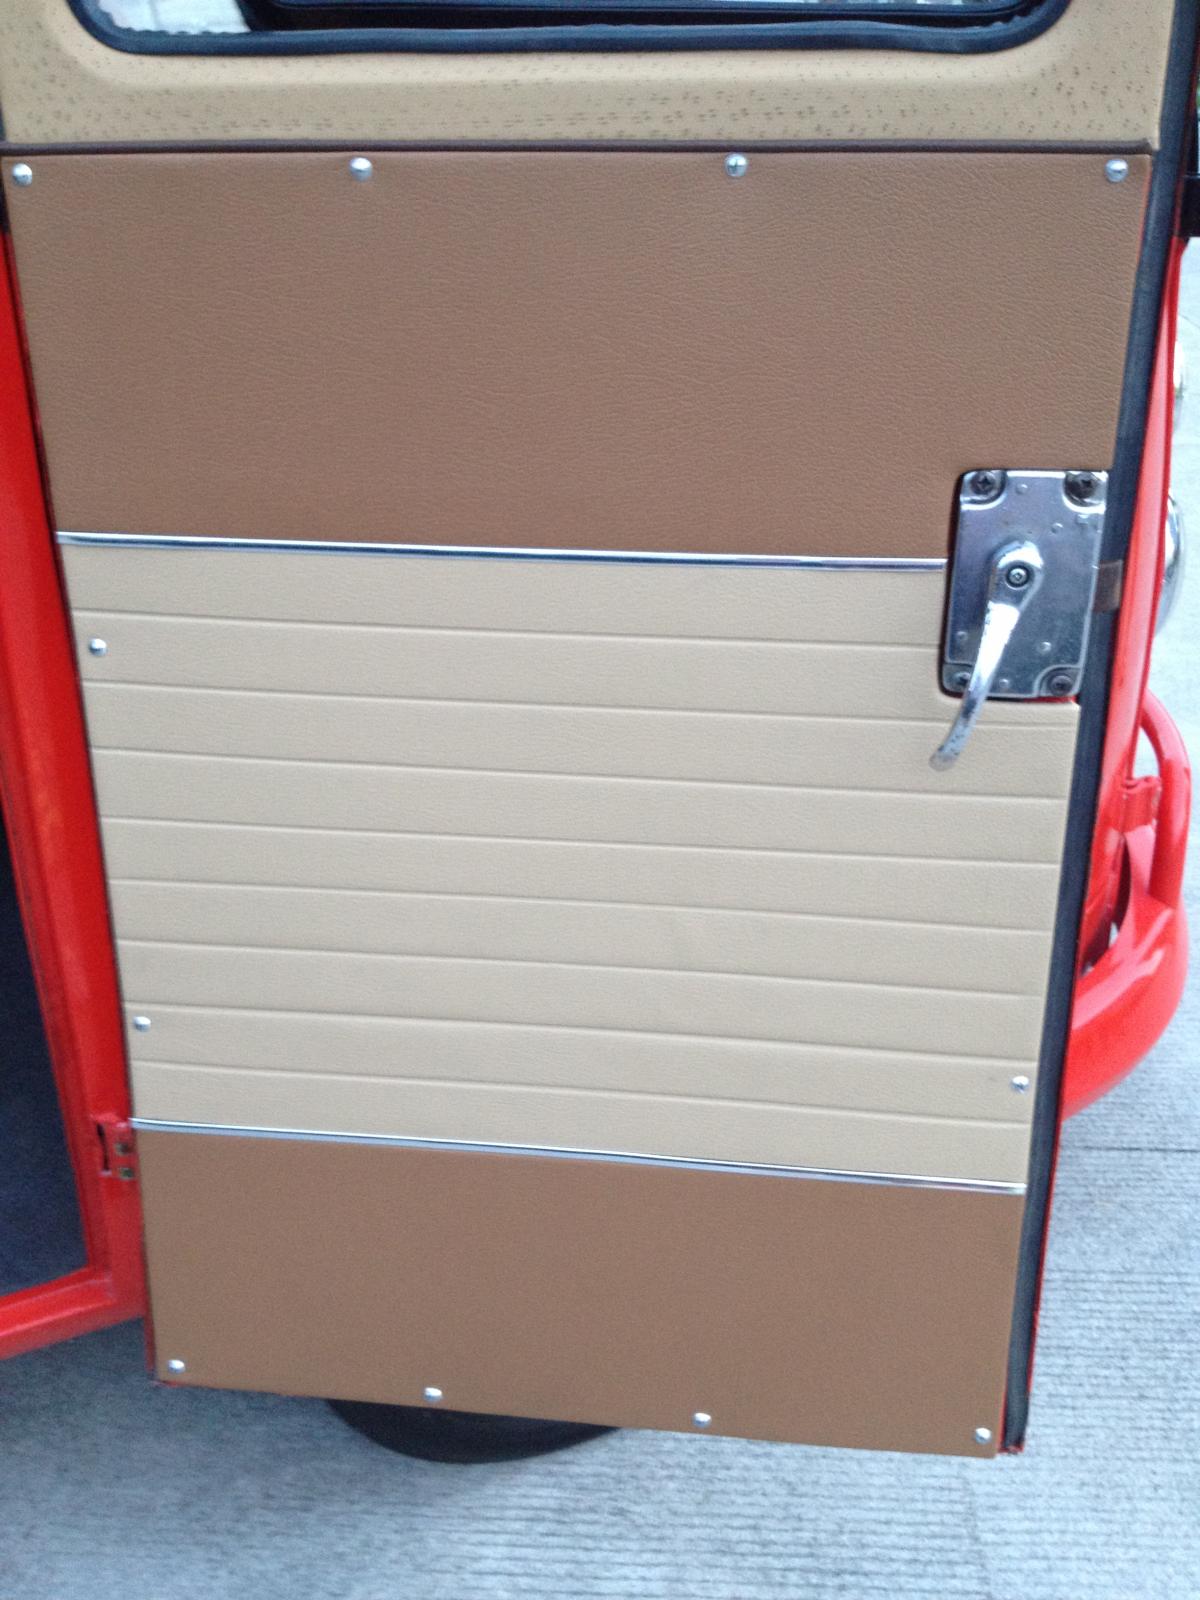
I also added this moldings with self adhesive just to get that classic look. I will replace the same with the aluminum moldings soon!
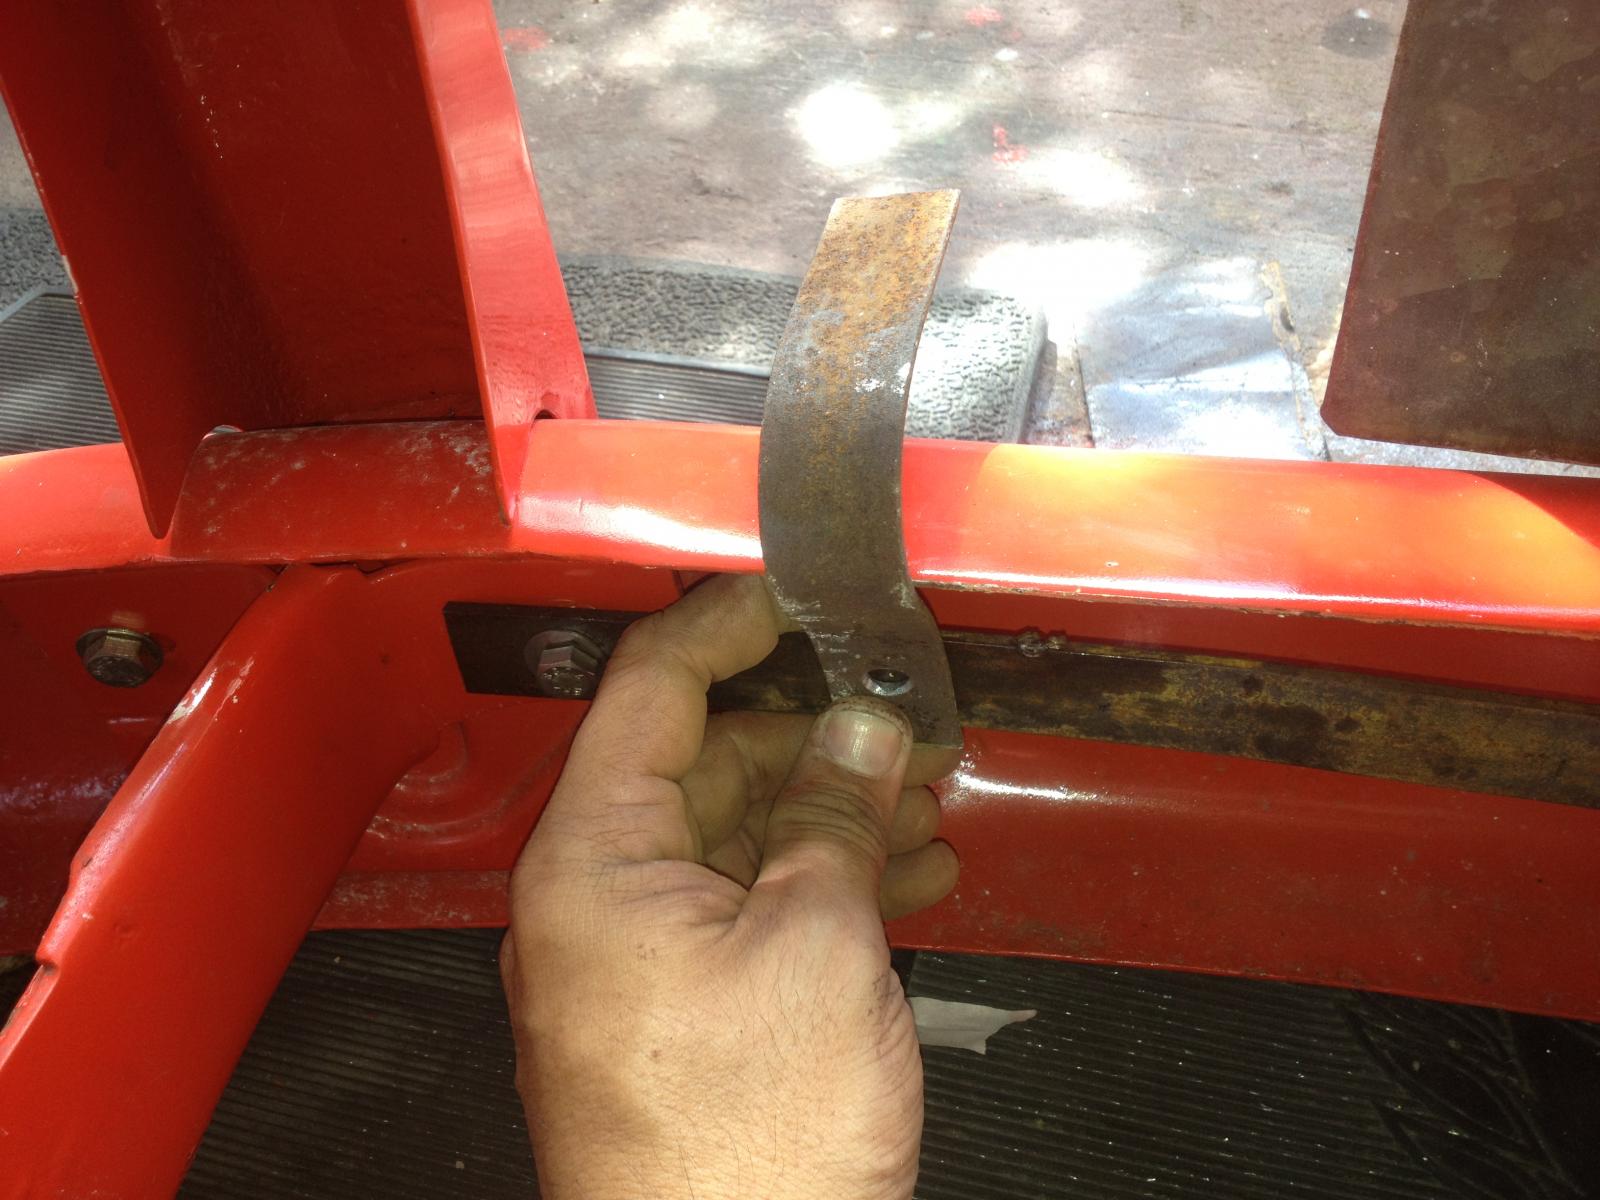
I also made a bracket for the Bosch Fog Lamps.
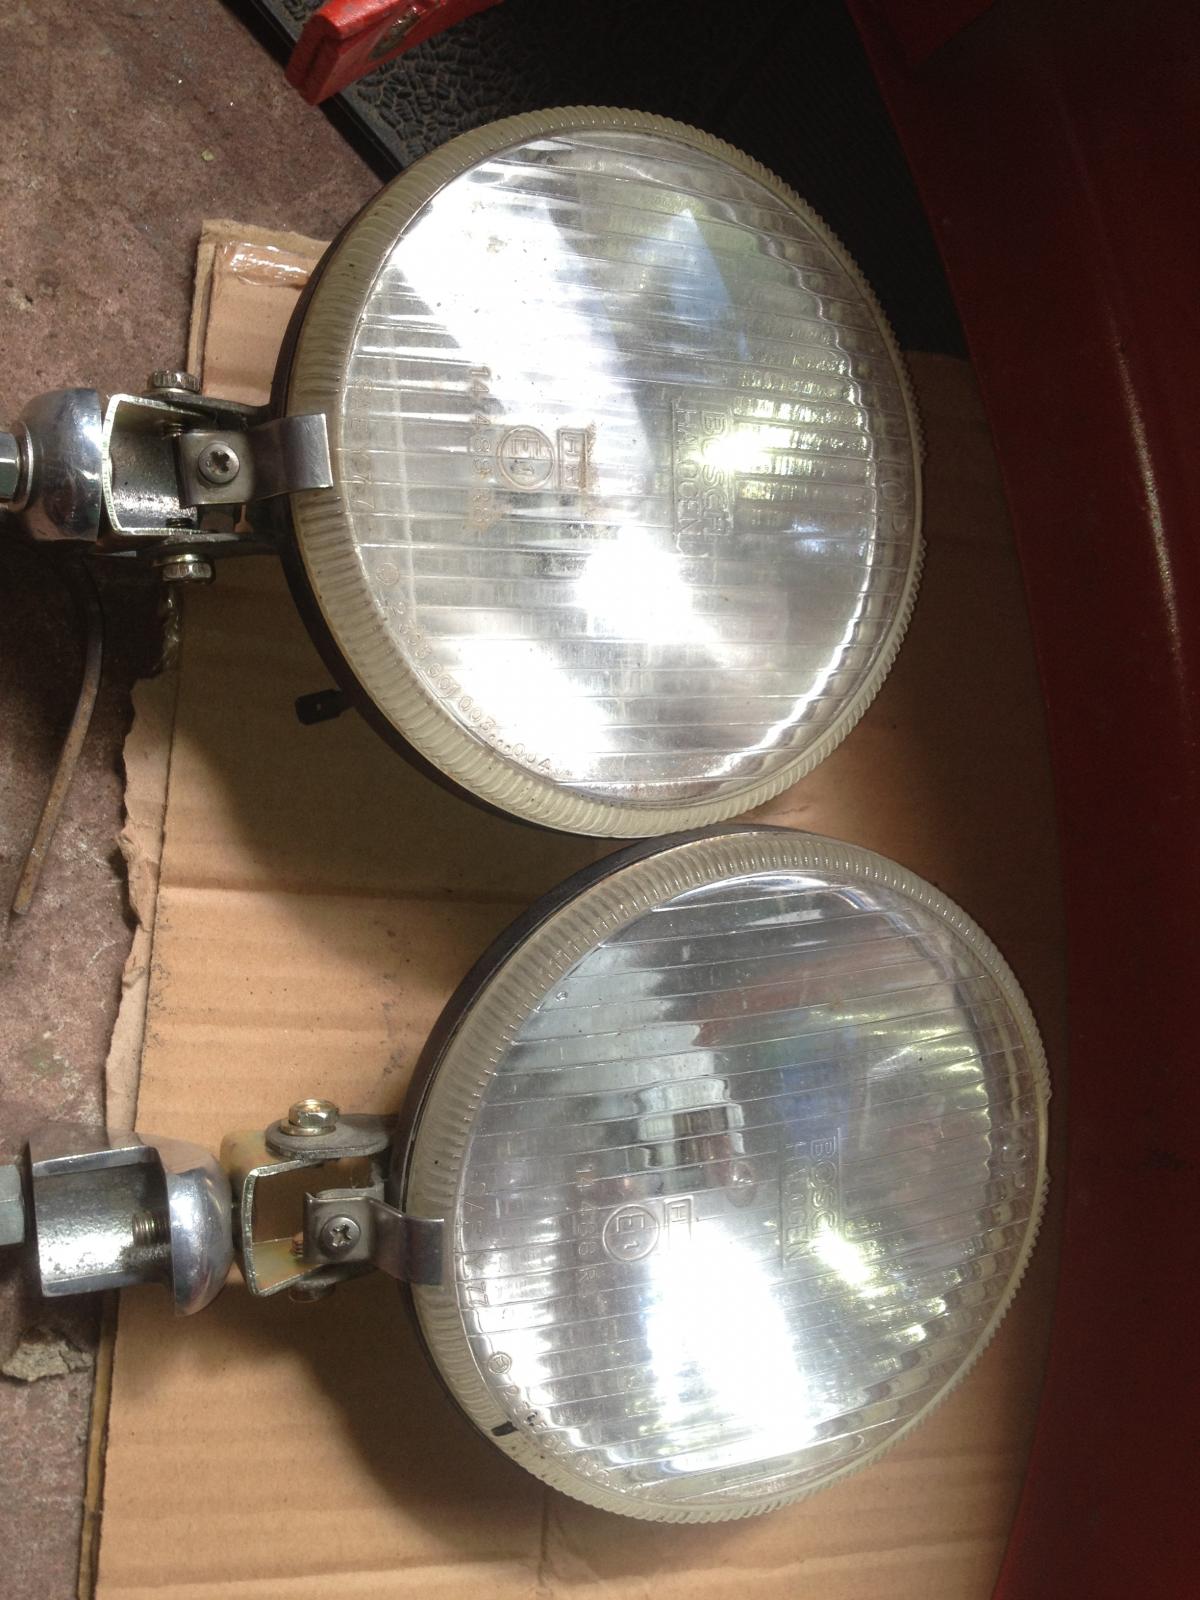
this is the pair of Bosch Fog Lamps that I a keeping and used it.
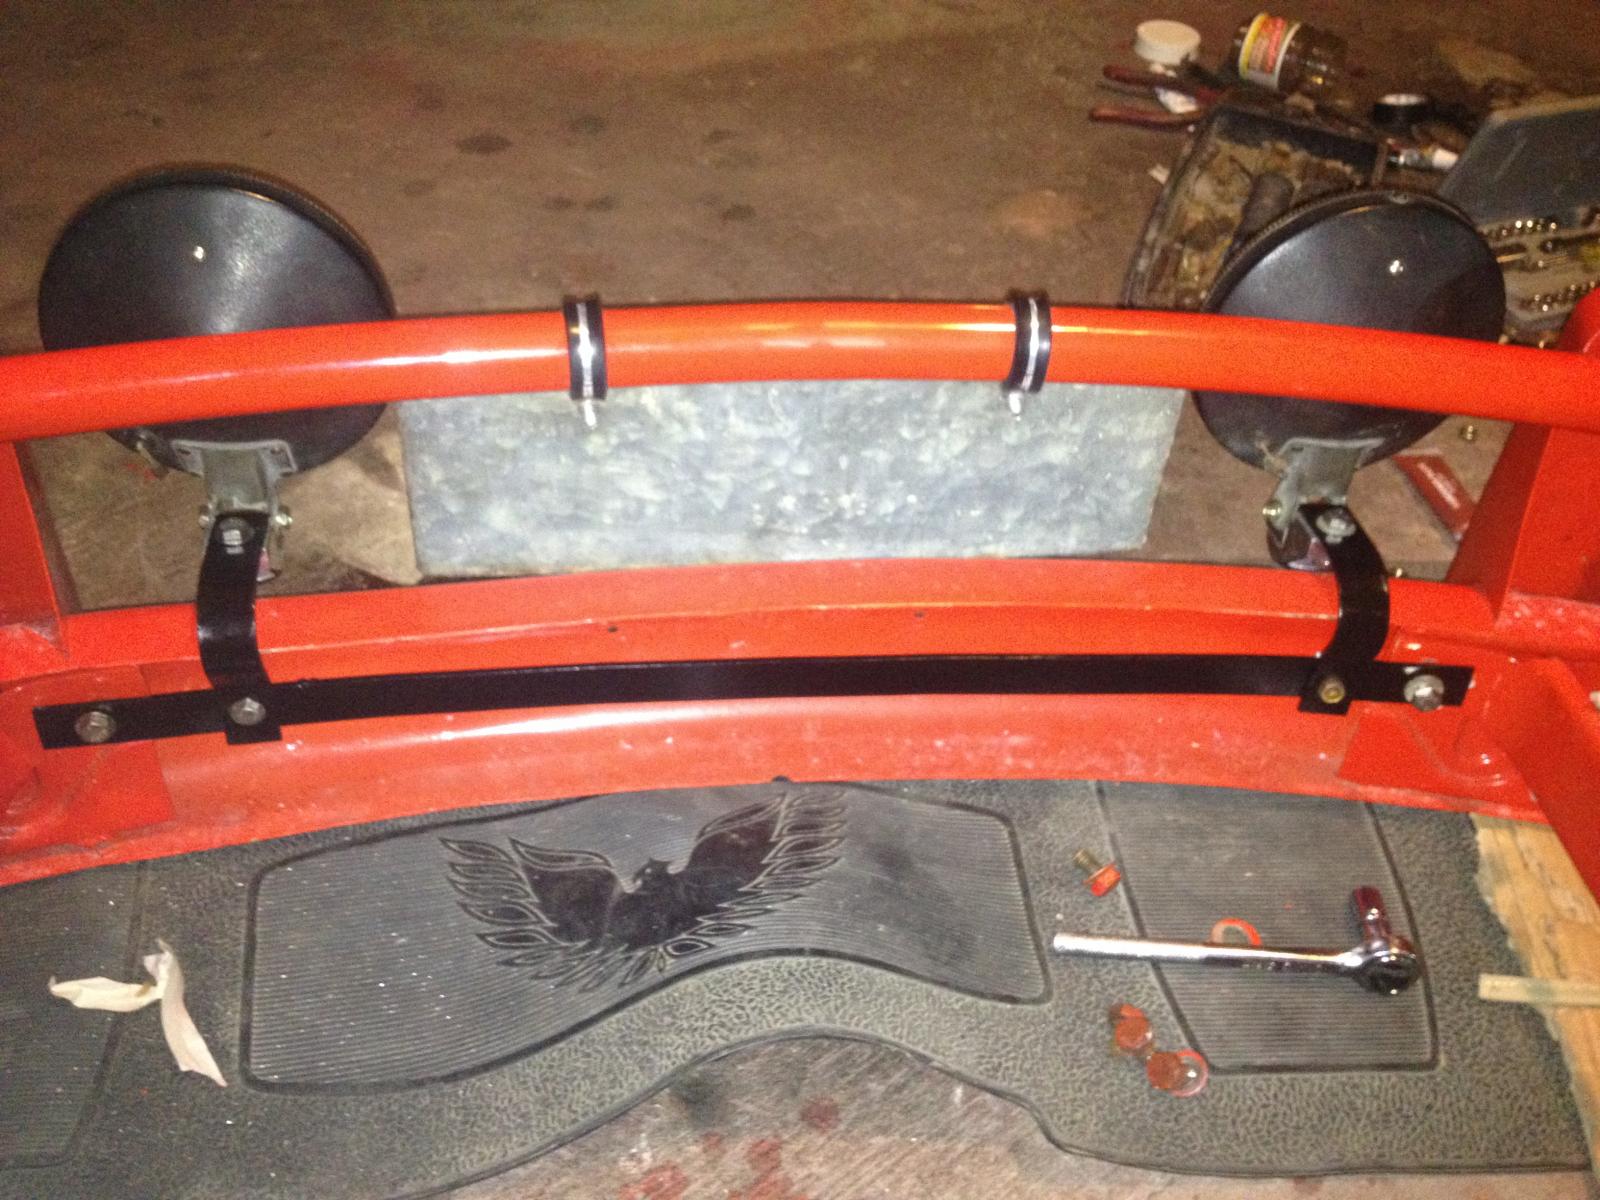
The finsihed one.

This is the lamps looks like. I dont really like it looked because it doesn't have that classic charisma. So I replaced it with the one with stainless body.
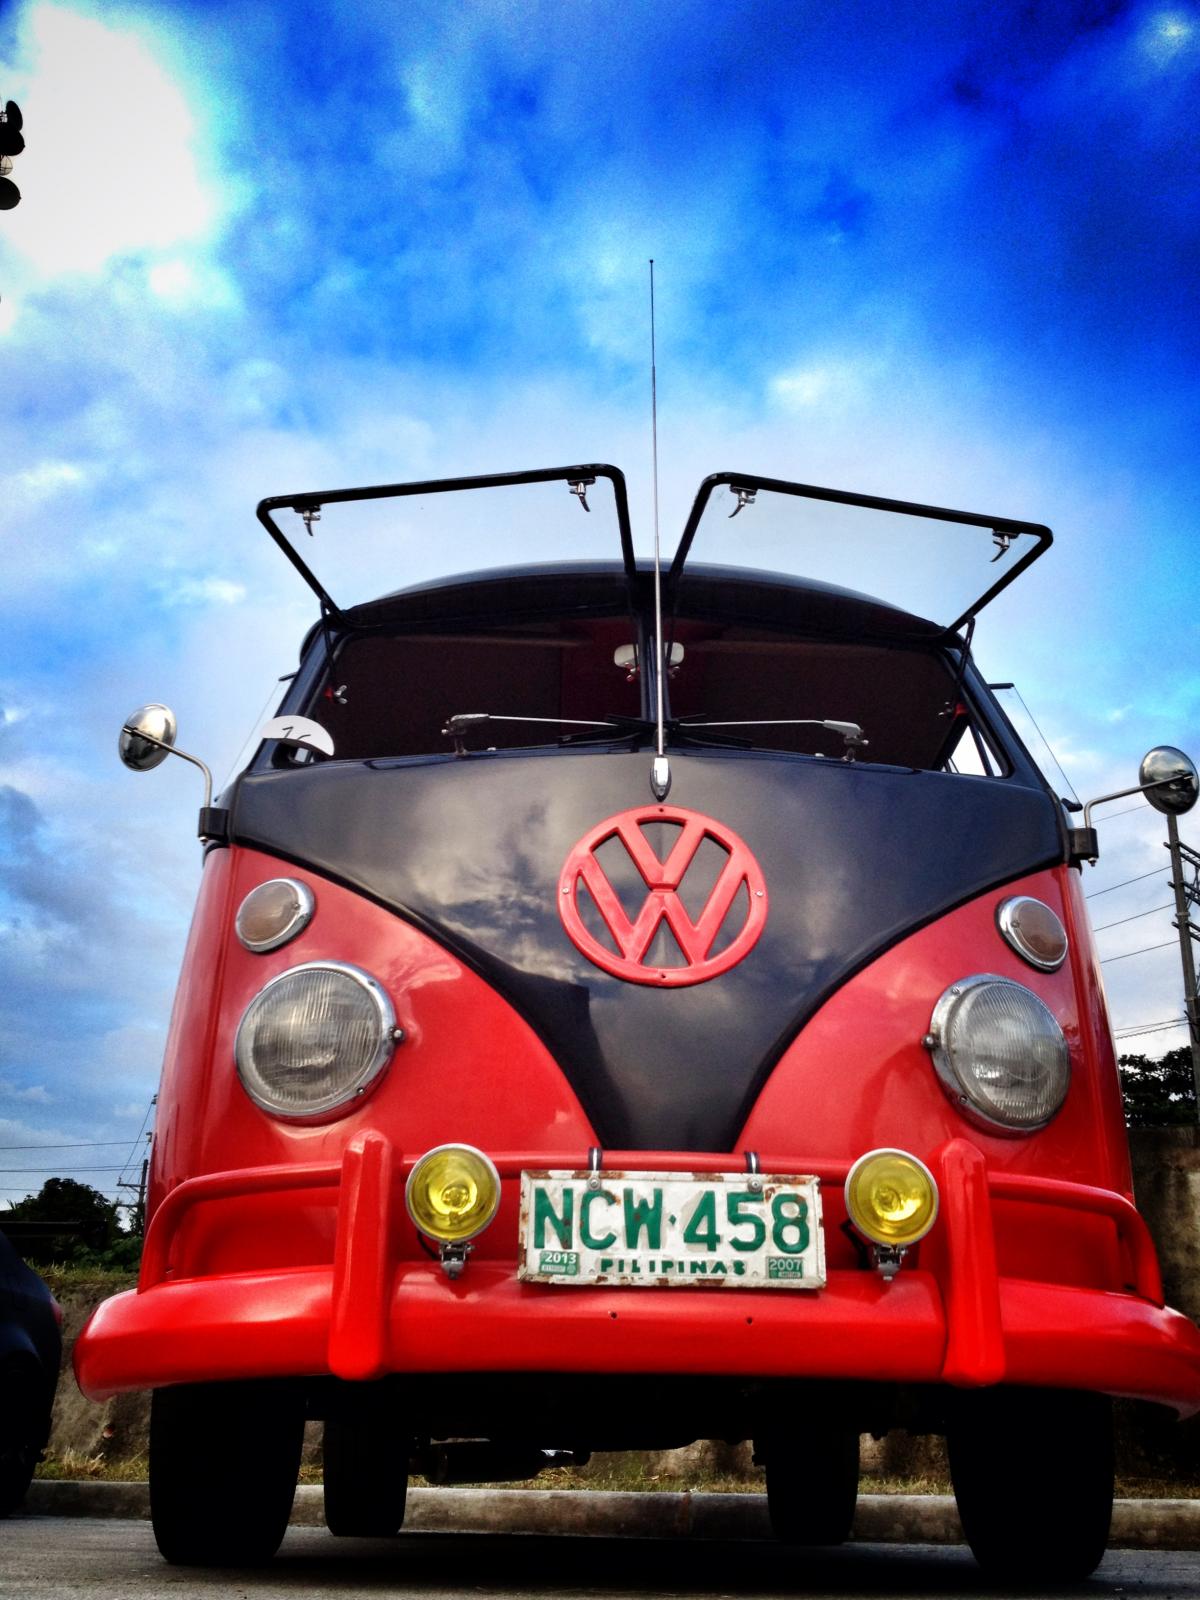
This is the other fog lamps I replaced to give that classic look.
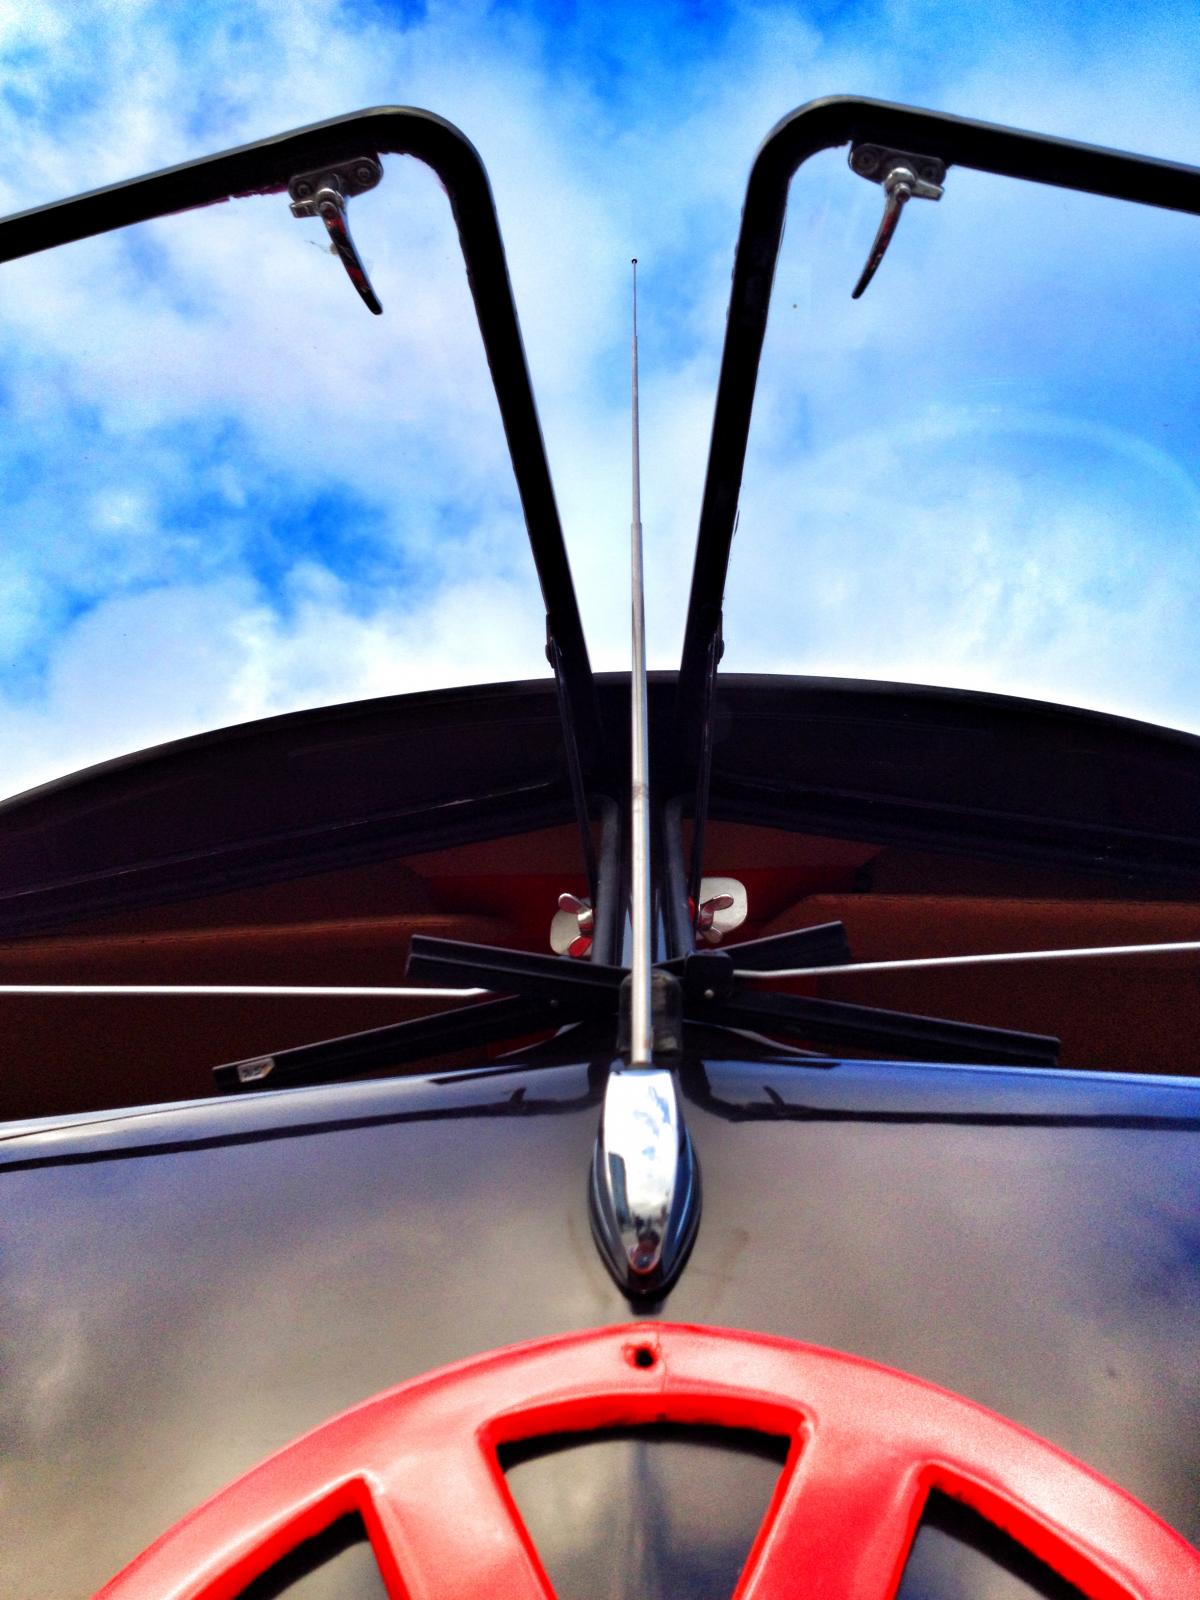
I also installed this antenna for the bus. I really like the center position.
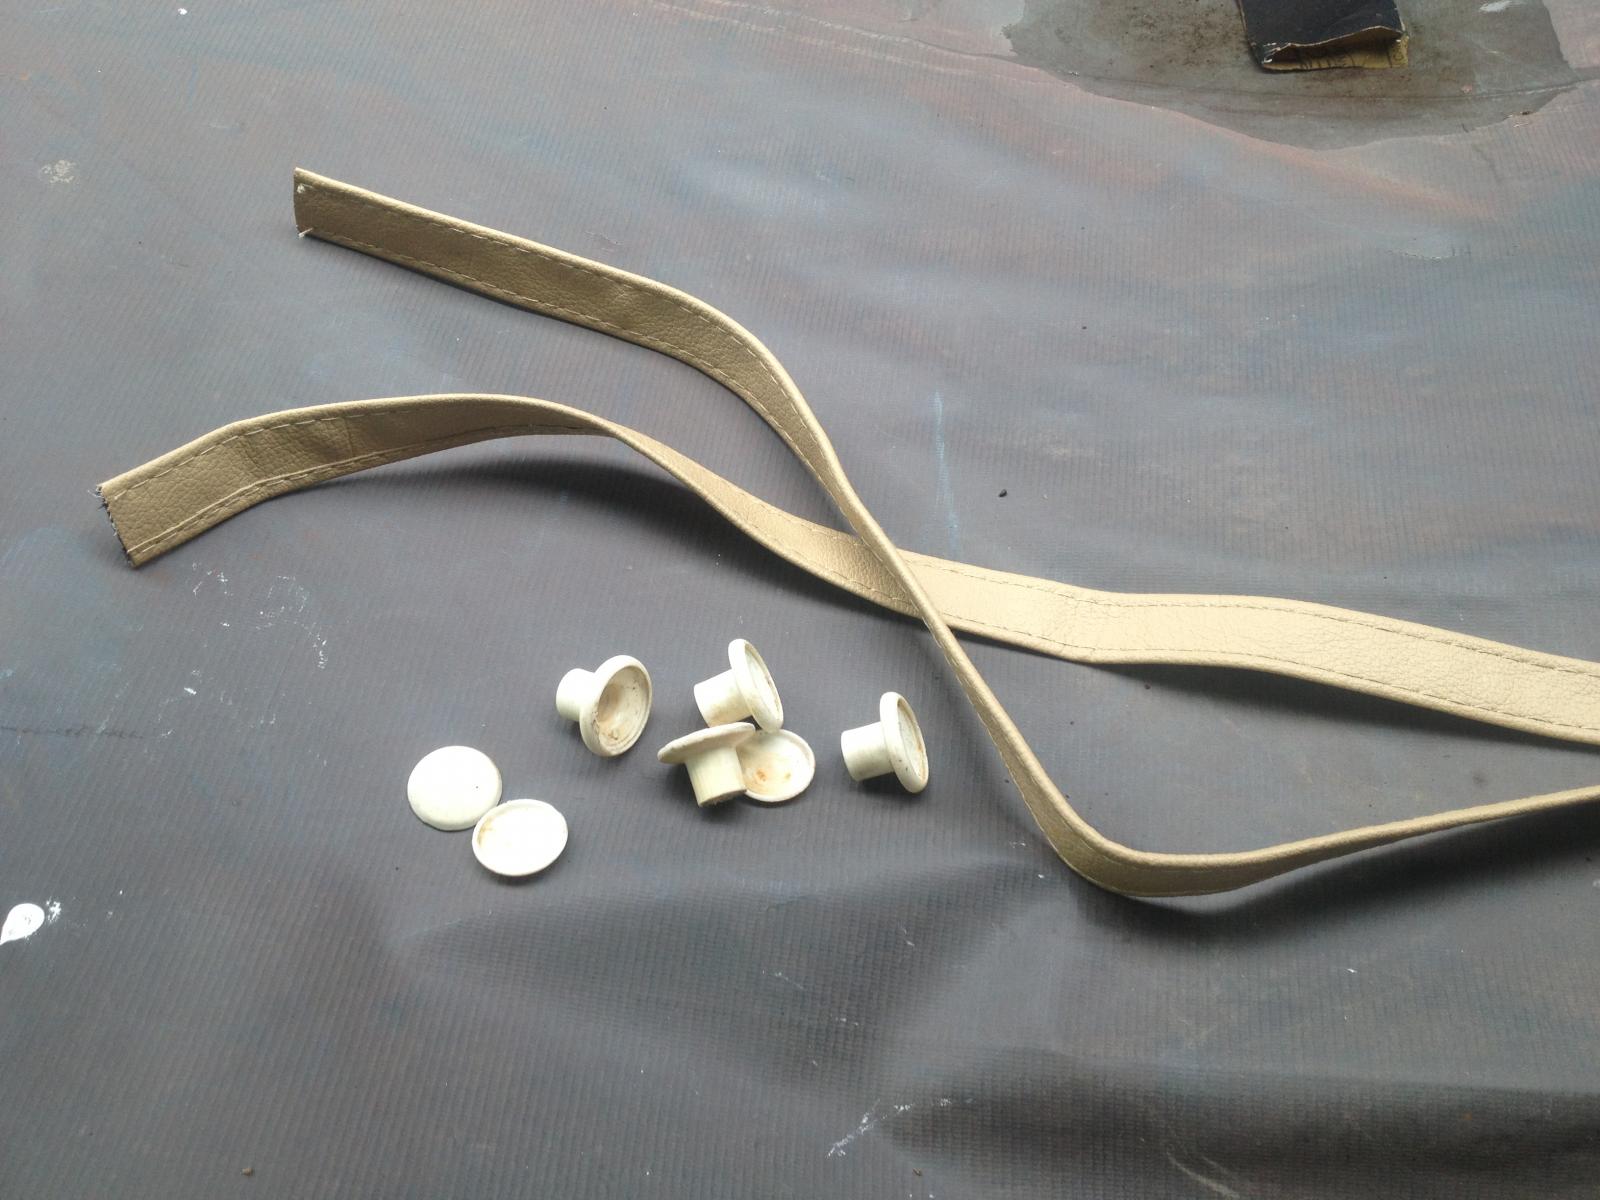
I also installed this post grab handle.
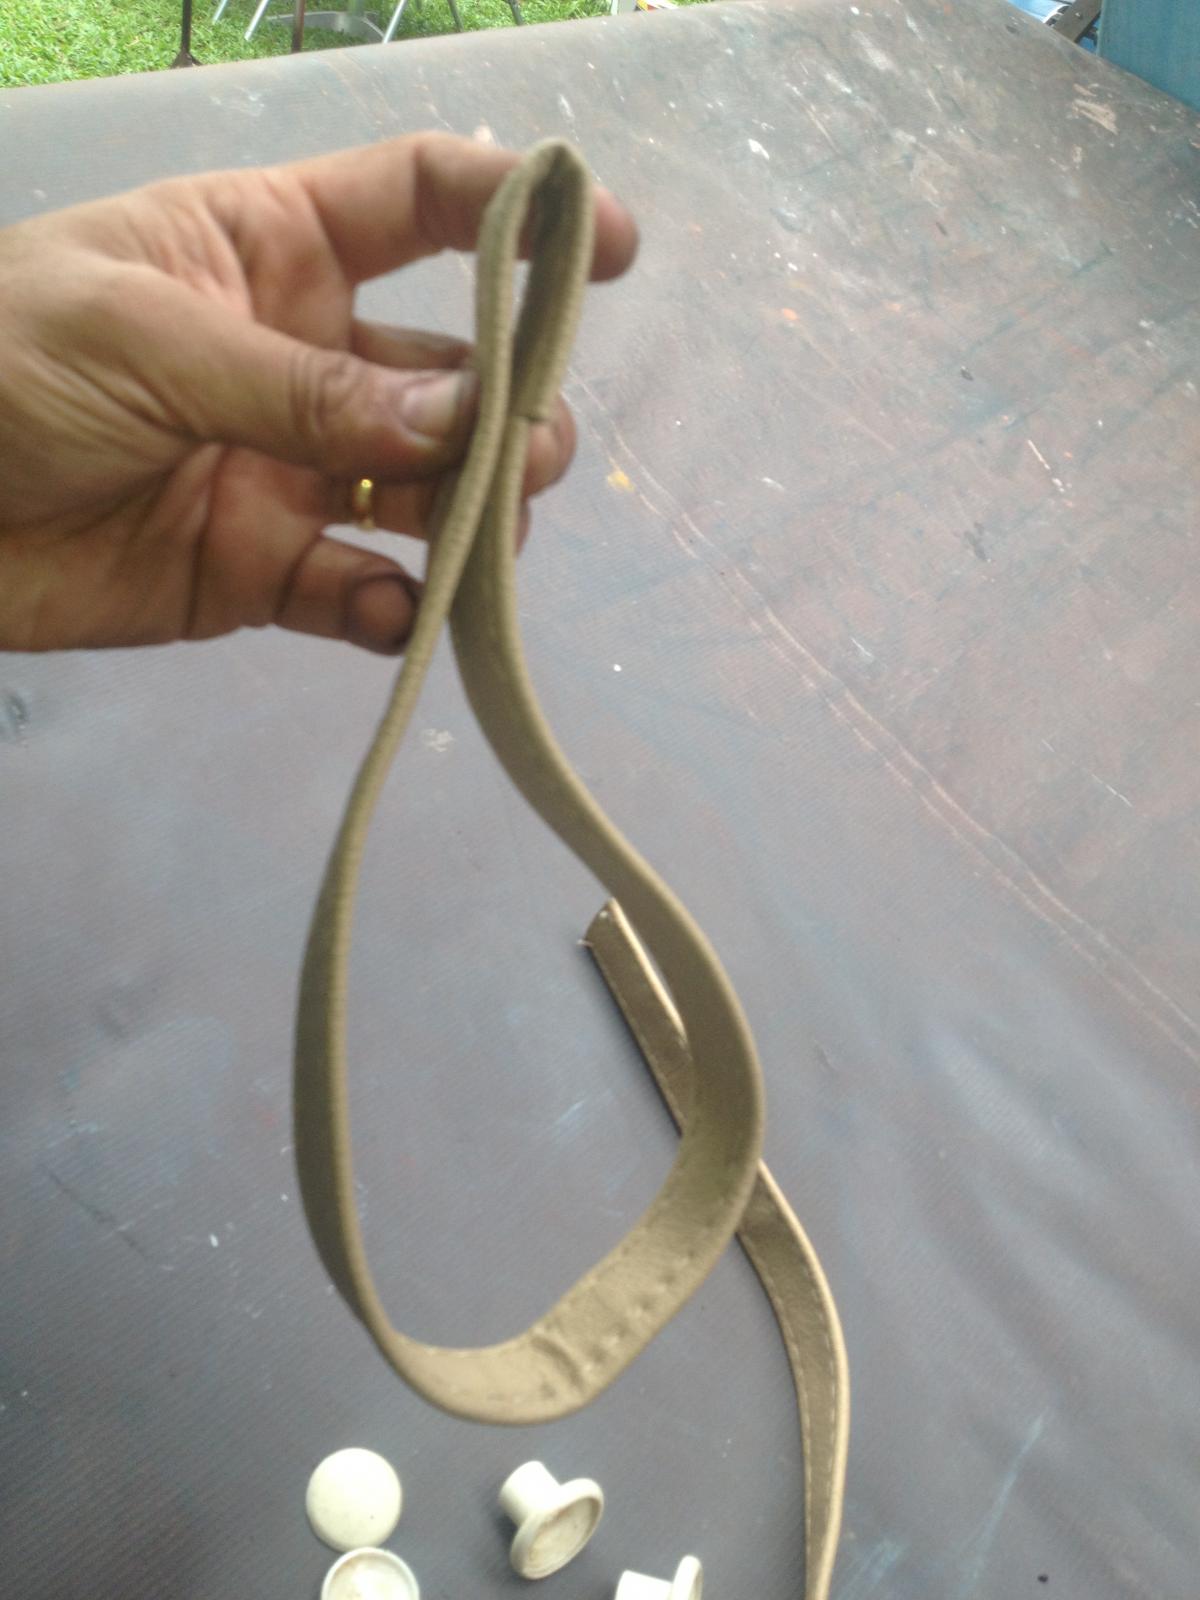
Checking on the size.
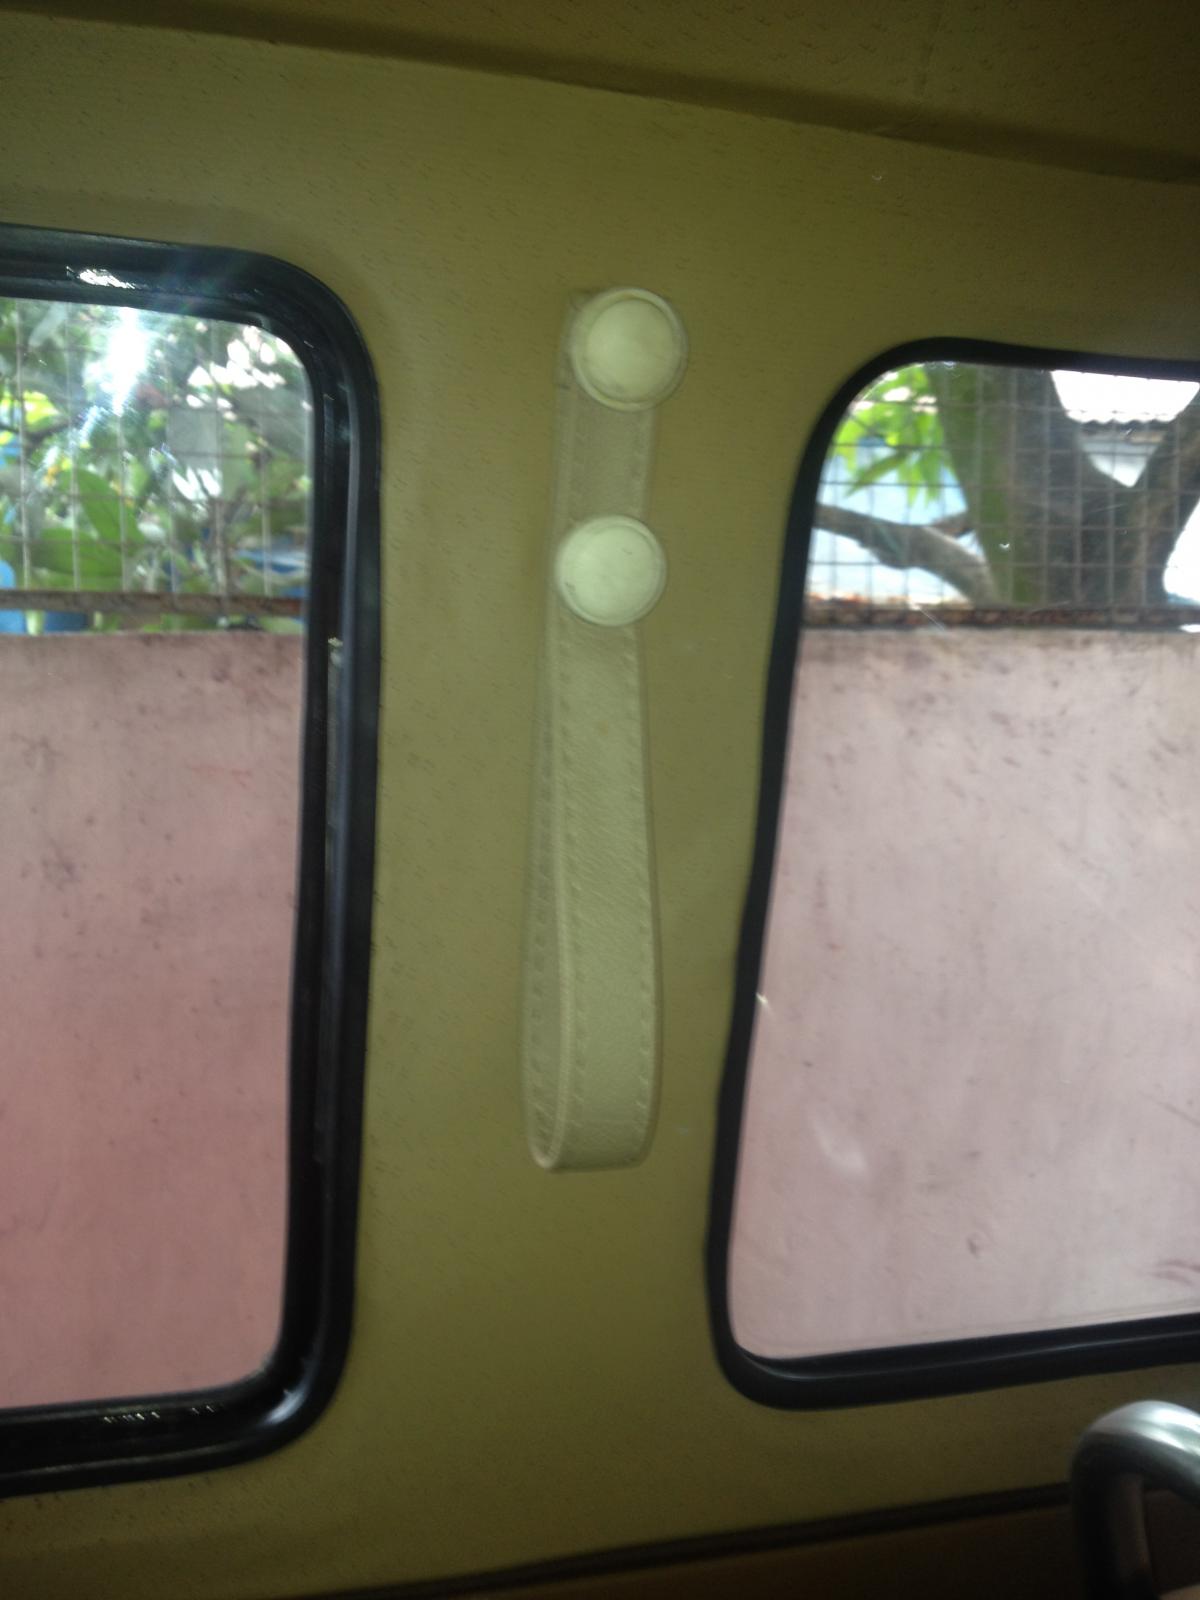
The finsihed one.
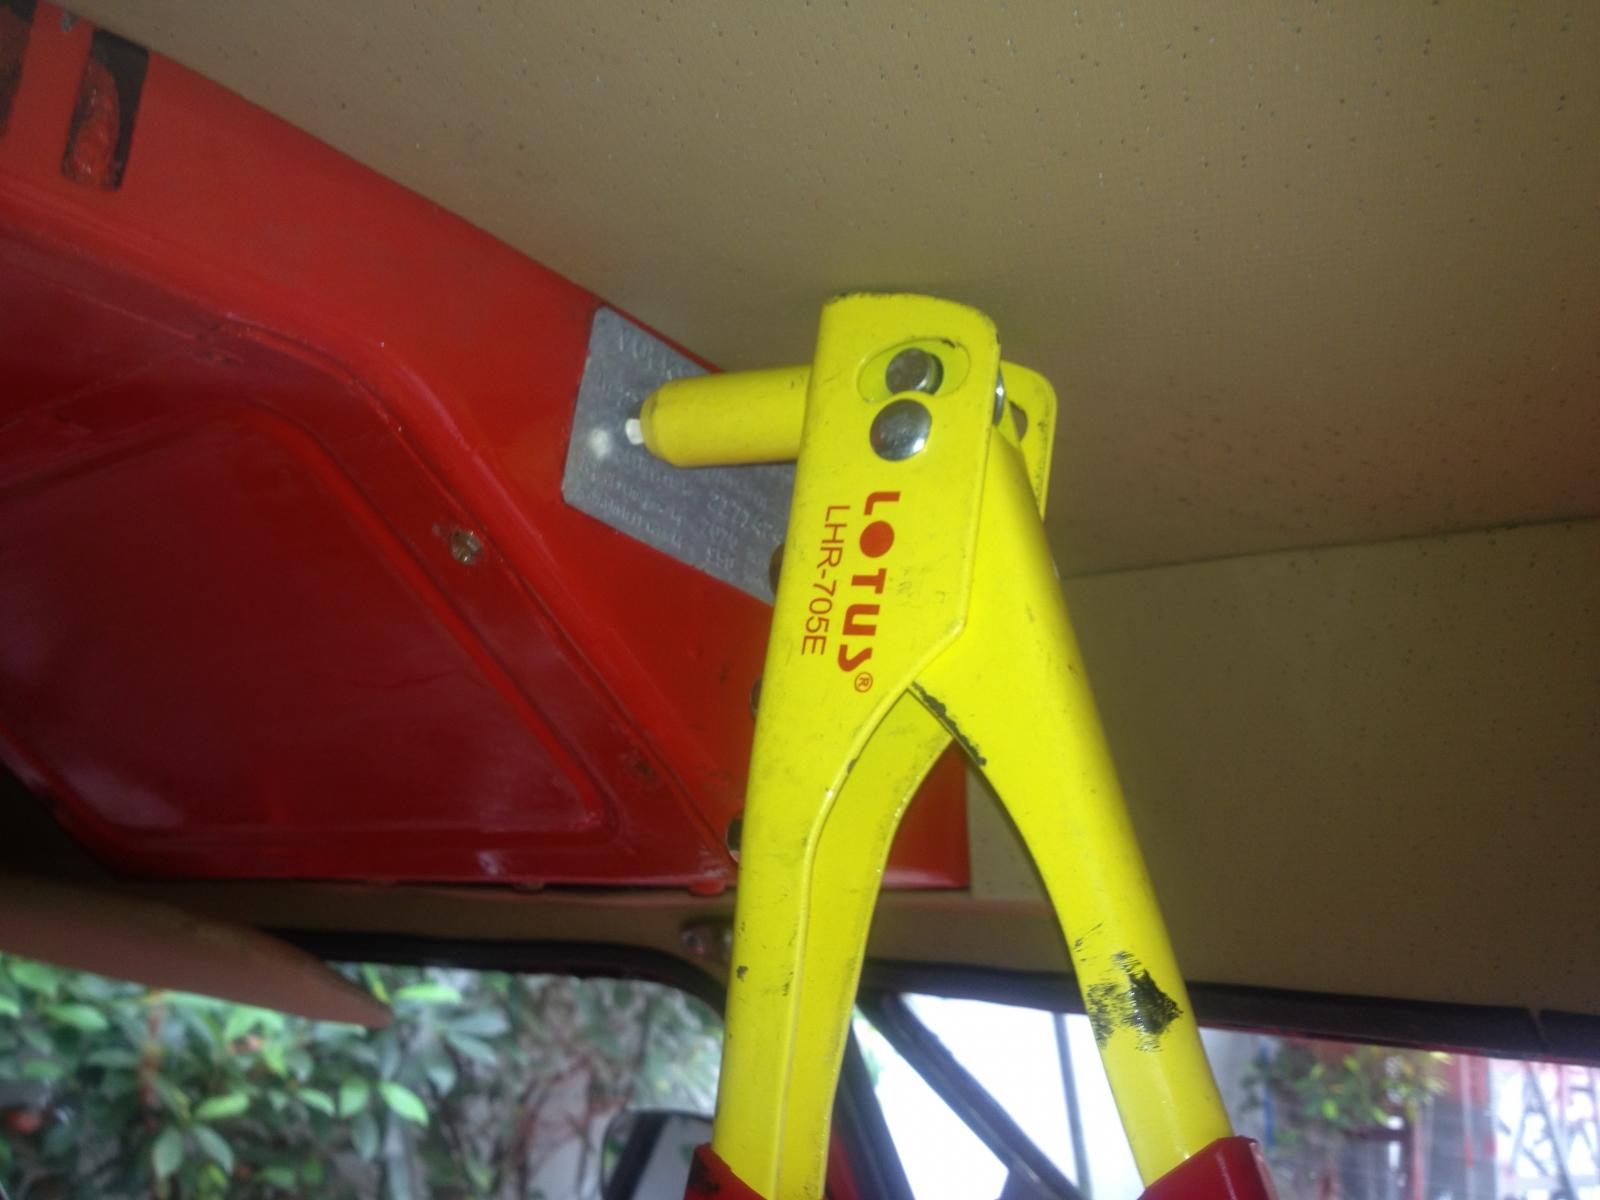
This project wont be complete without the VIN...............
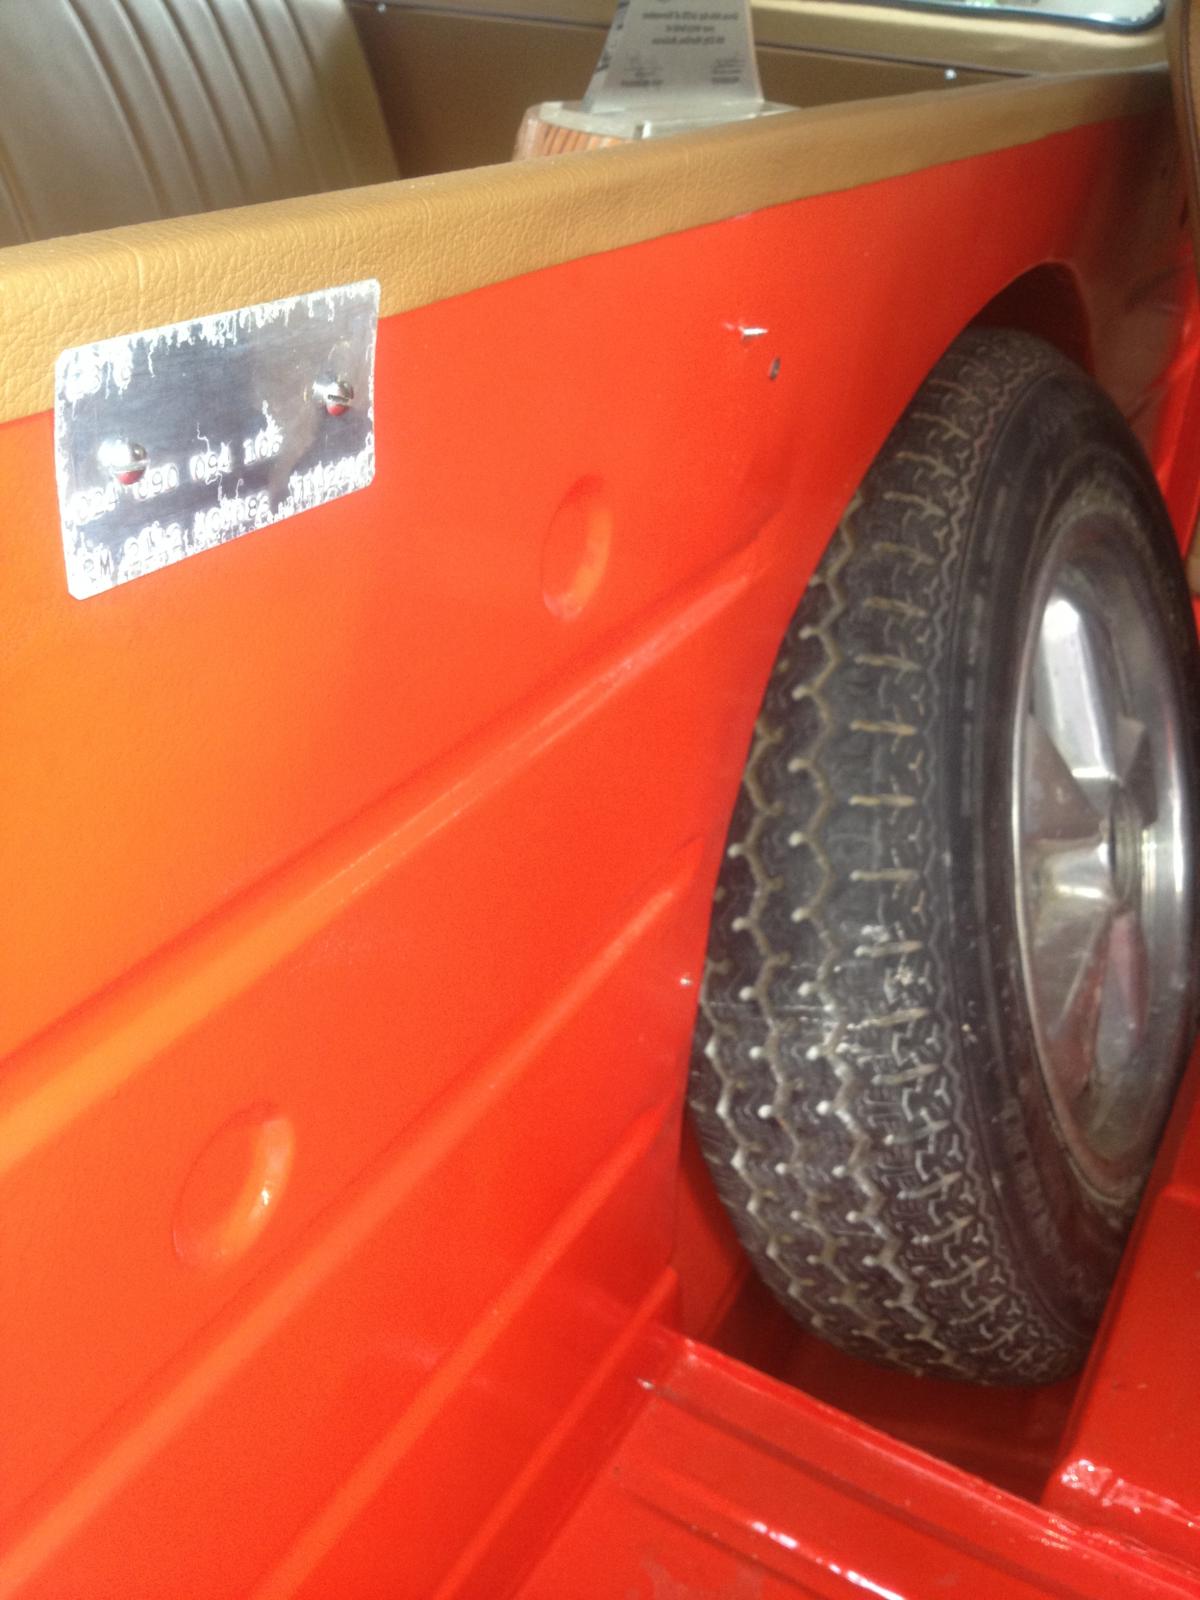
............. and the M-Code!
Thanks,
Dongkg

I painted the fenders and gave it a glossy look.

The body had to be covered. I also painted the drums and others gloss back.

Since I already removed the tires, I then painted the Fuchs to accentuate the design of the Fuchs.

First things first, the primer should be applied.

Applying the the gloss black and clear.

Removing the maskign tapes was touch.

I also added this moldings with self adhesive just to get that classic look. I will replace the same with the aluminum moldings soon!

I also made a bracket for the Bosch Fog Lamps.

this is the pair of Bosch Fog Lamps that I a keeping and used it.

The finsihed one.

This is the lamps looks like. I dont really like it looked because it doesn't have that classic charisma. So I replaced it with the one with stainless body.

This is the other fog lamps I replaced to give that classic look.

I also installed this antenna for the bus. I really like the center position.

I also installed this post grab handle.

Checking on the size.

The finsihed one.

This project wont be complete without the VIN...............

............. and the M-Code!
Thanks,
Dongkg
dongkg
Registered user
Posts: 90
Joined: Tue Jul 16, 2013 7:58 am
Re: My '67 Split Bus Resto Thread in the Philippines
by dongkg » Mon Dec 02, 2013 11:29 am
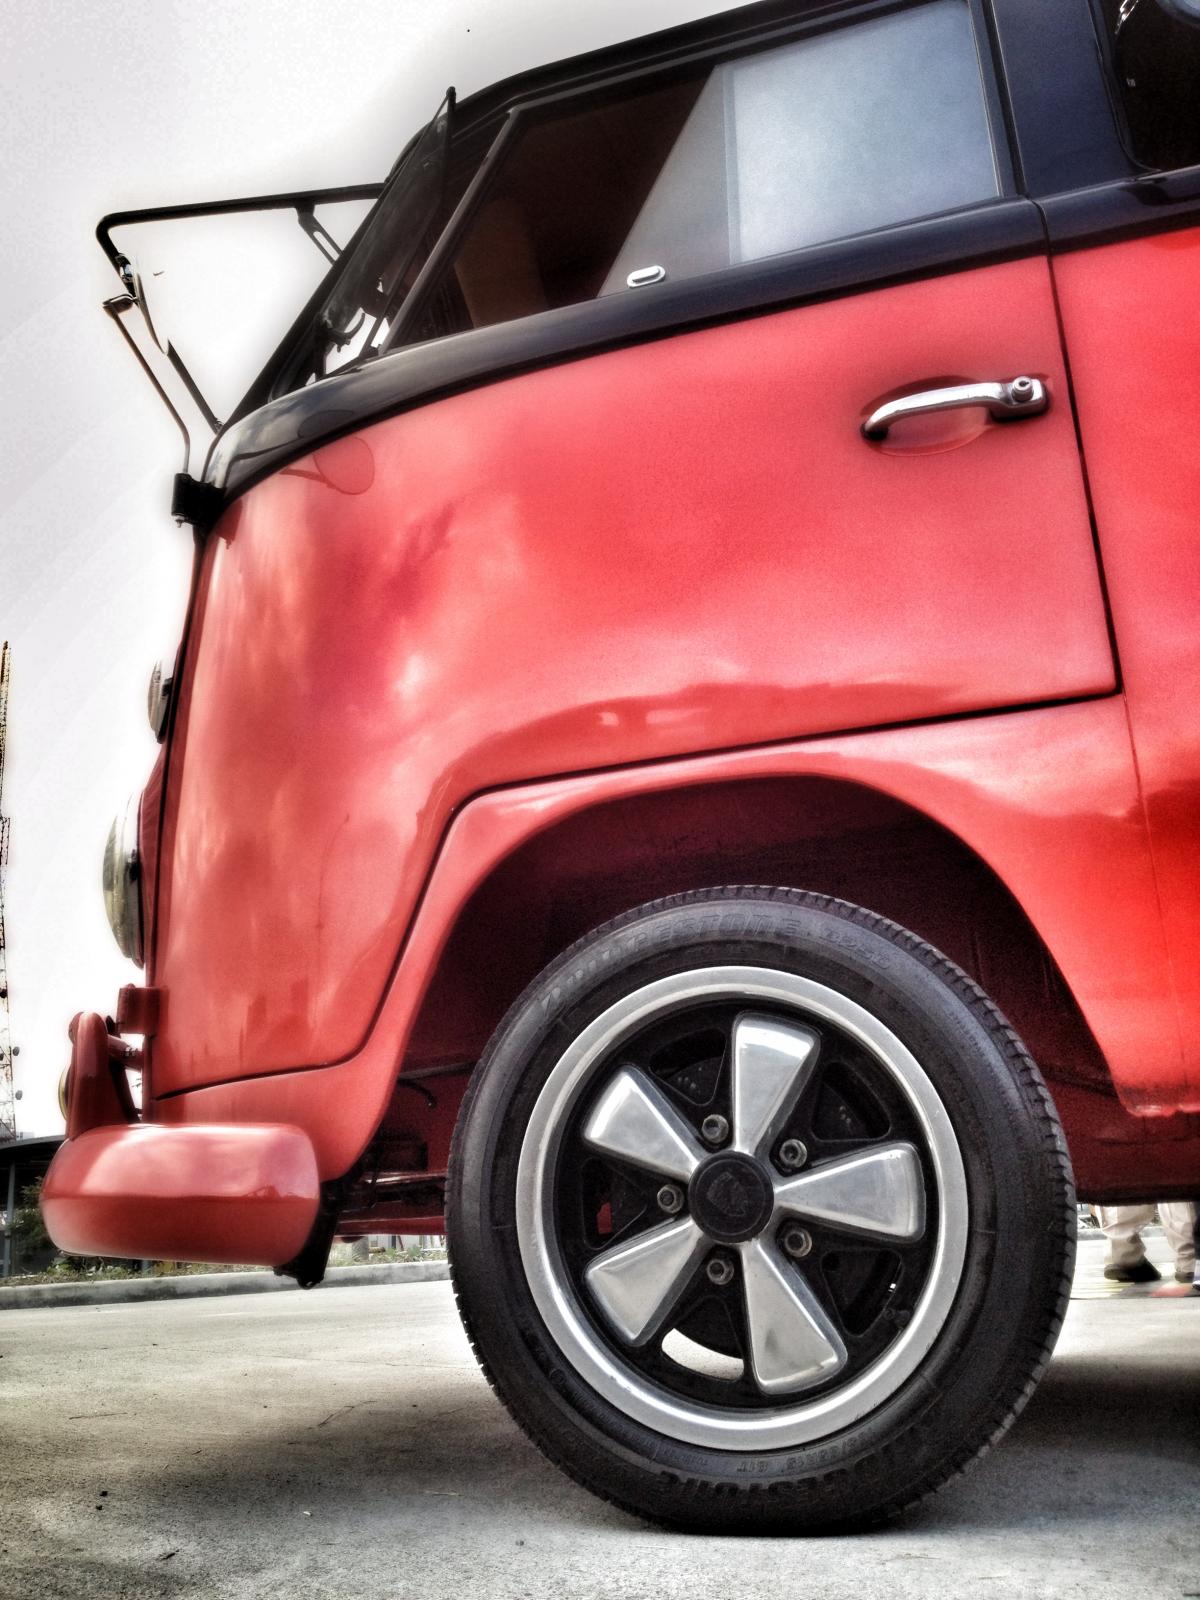
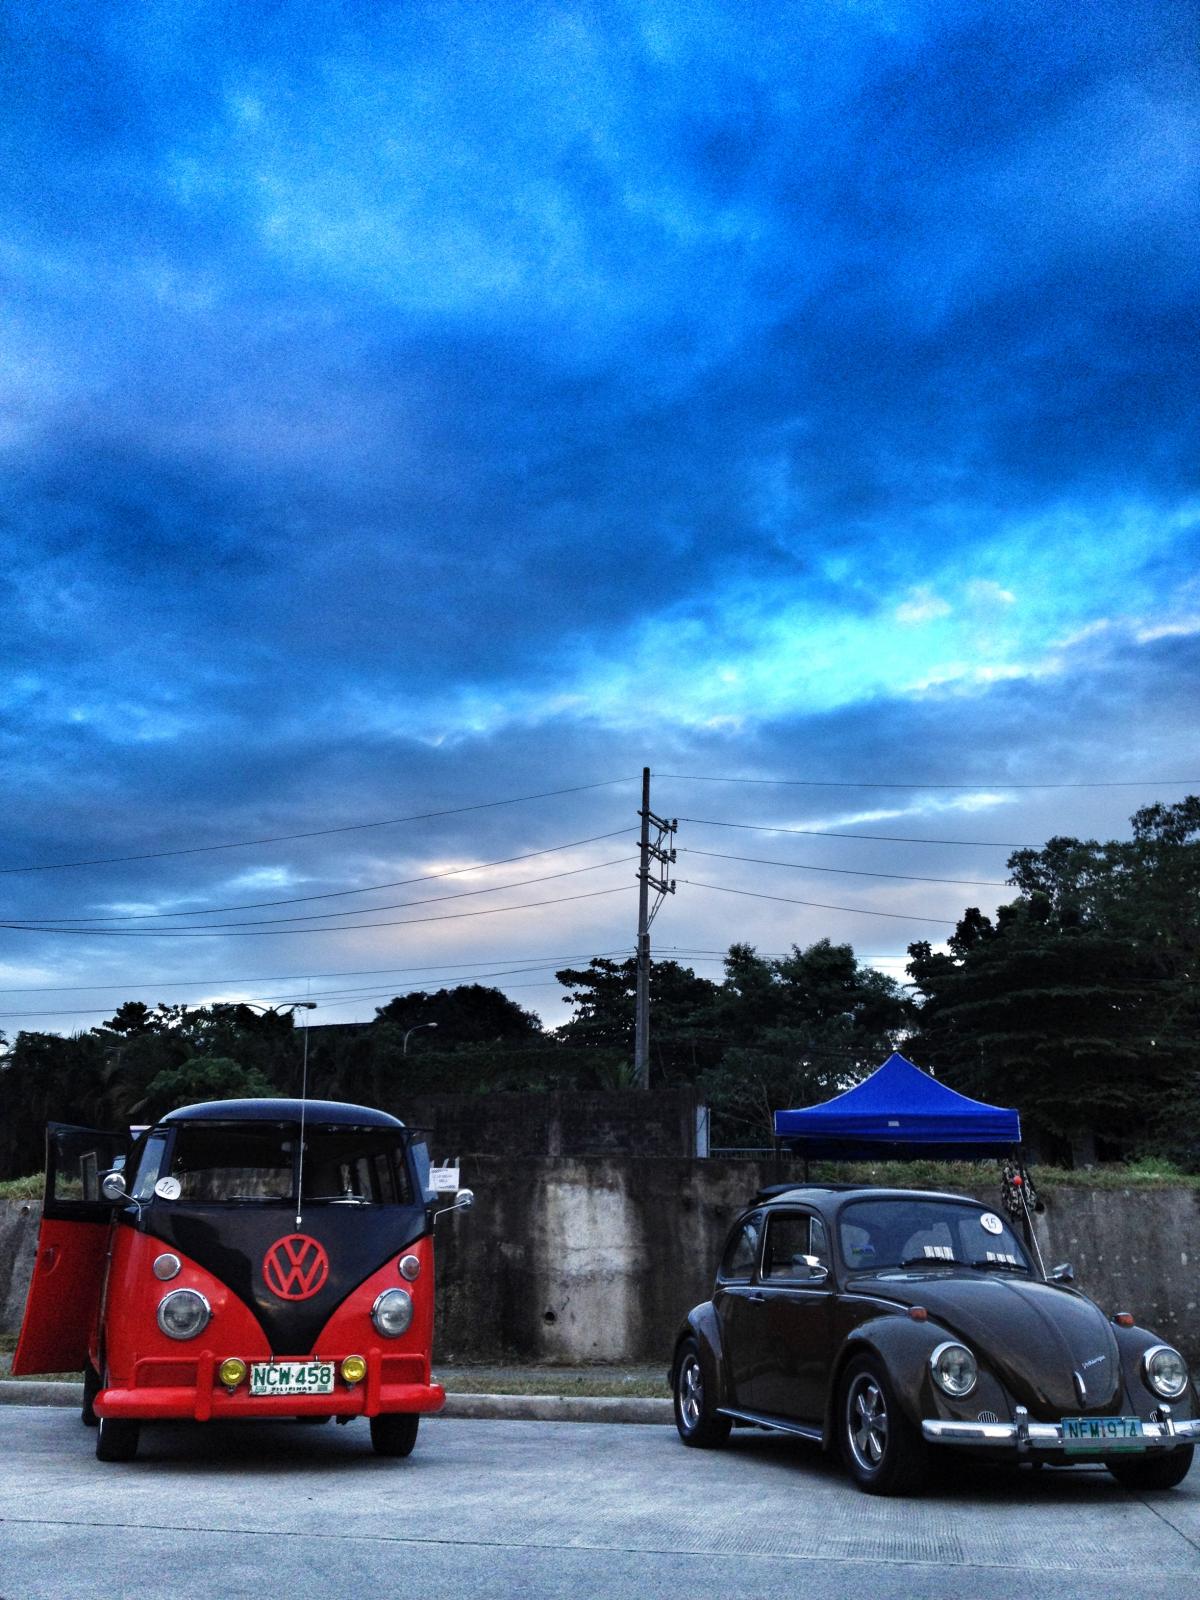
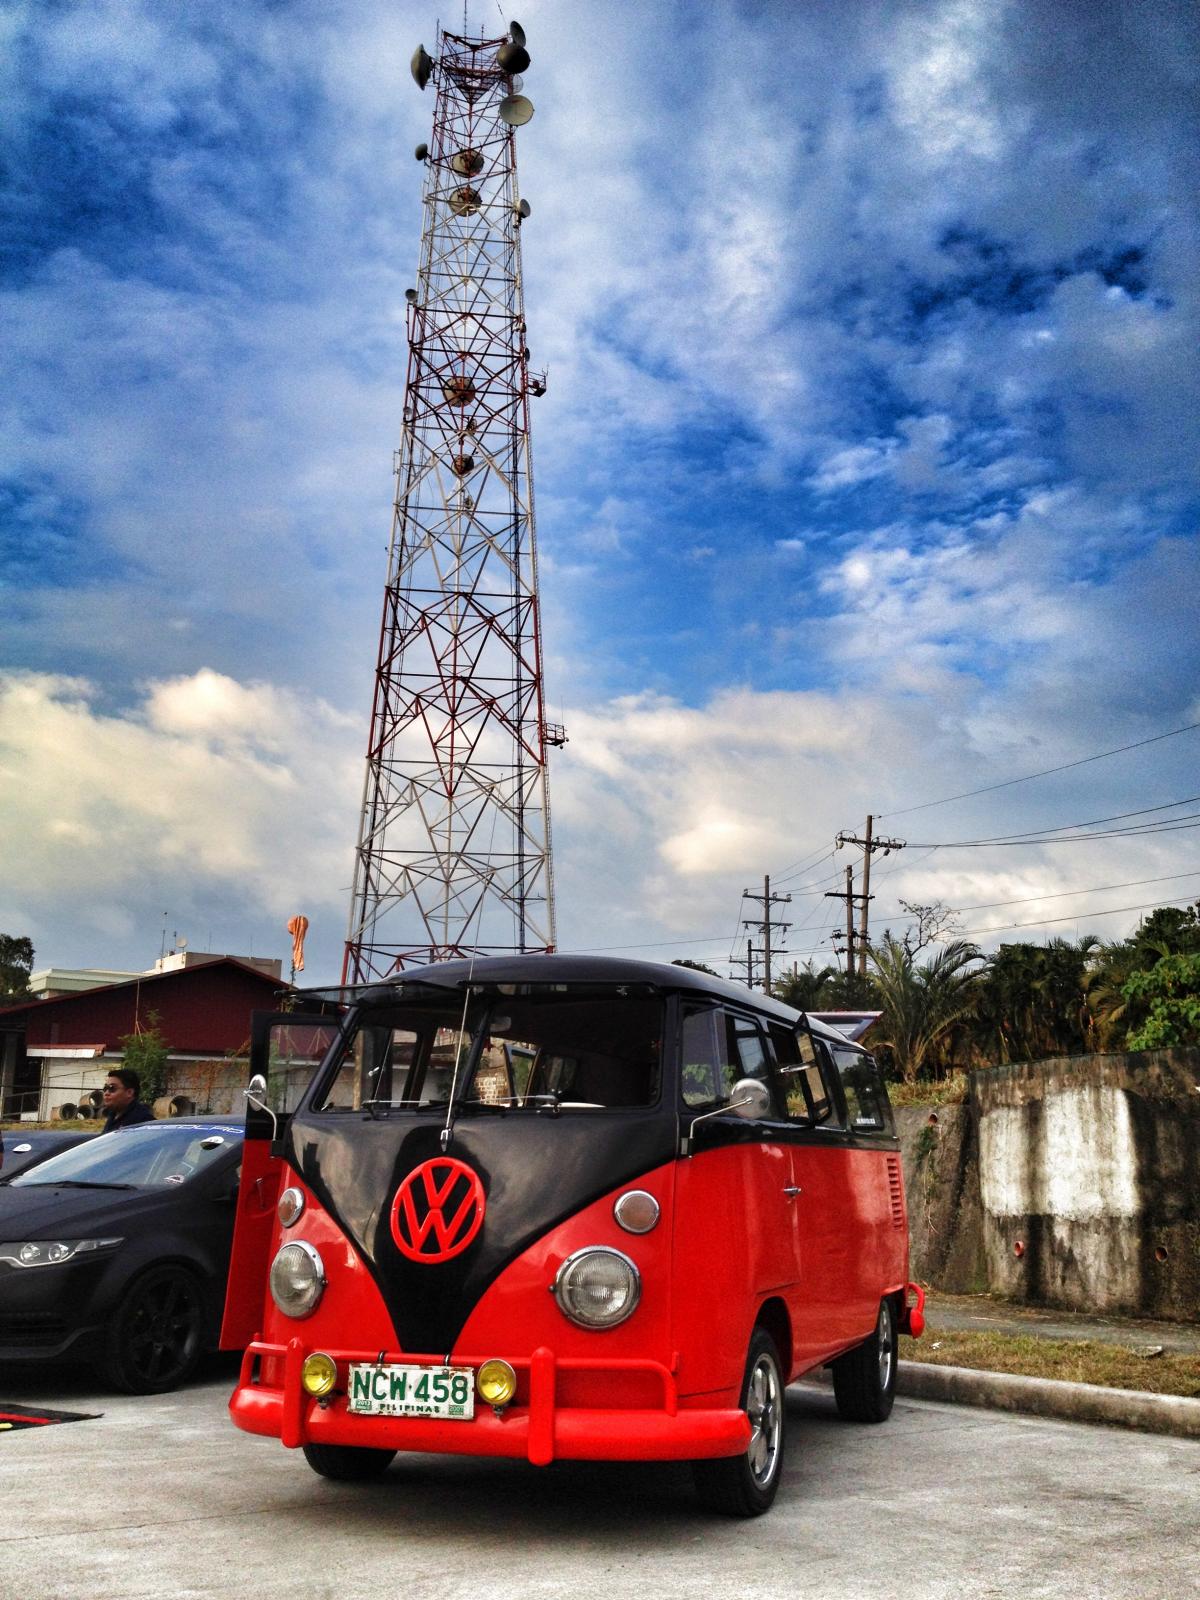
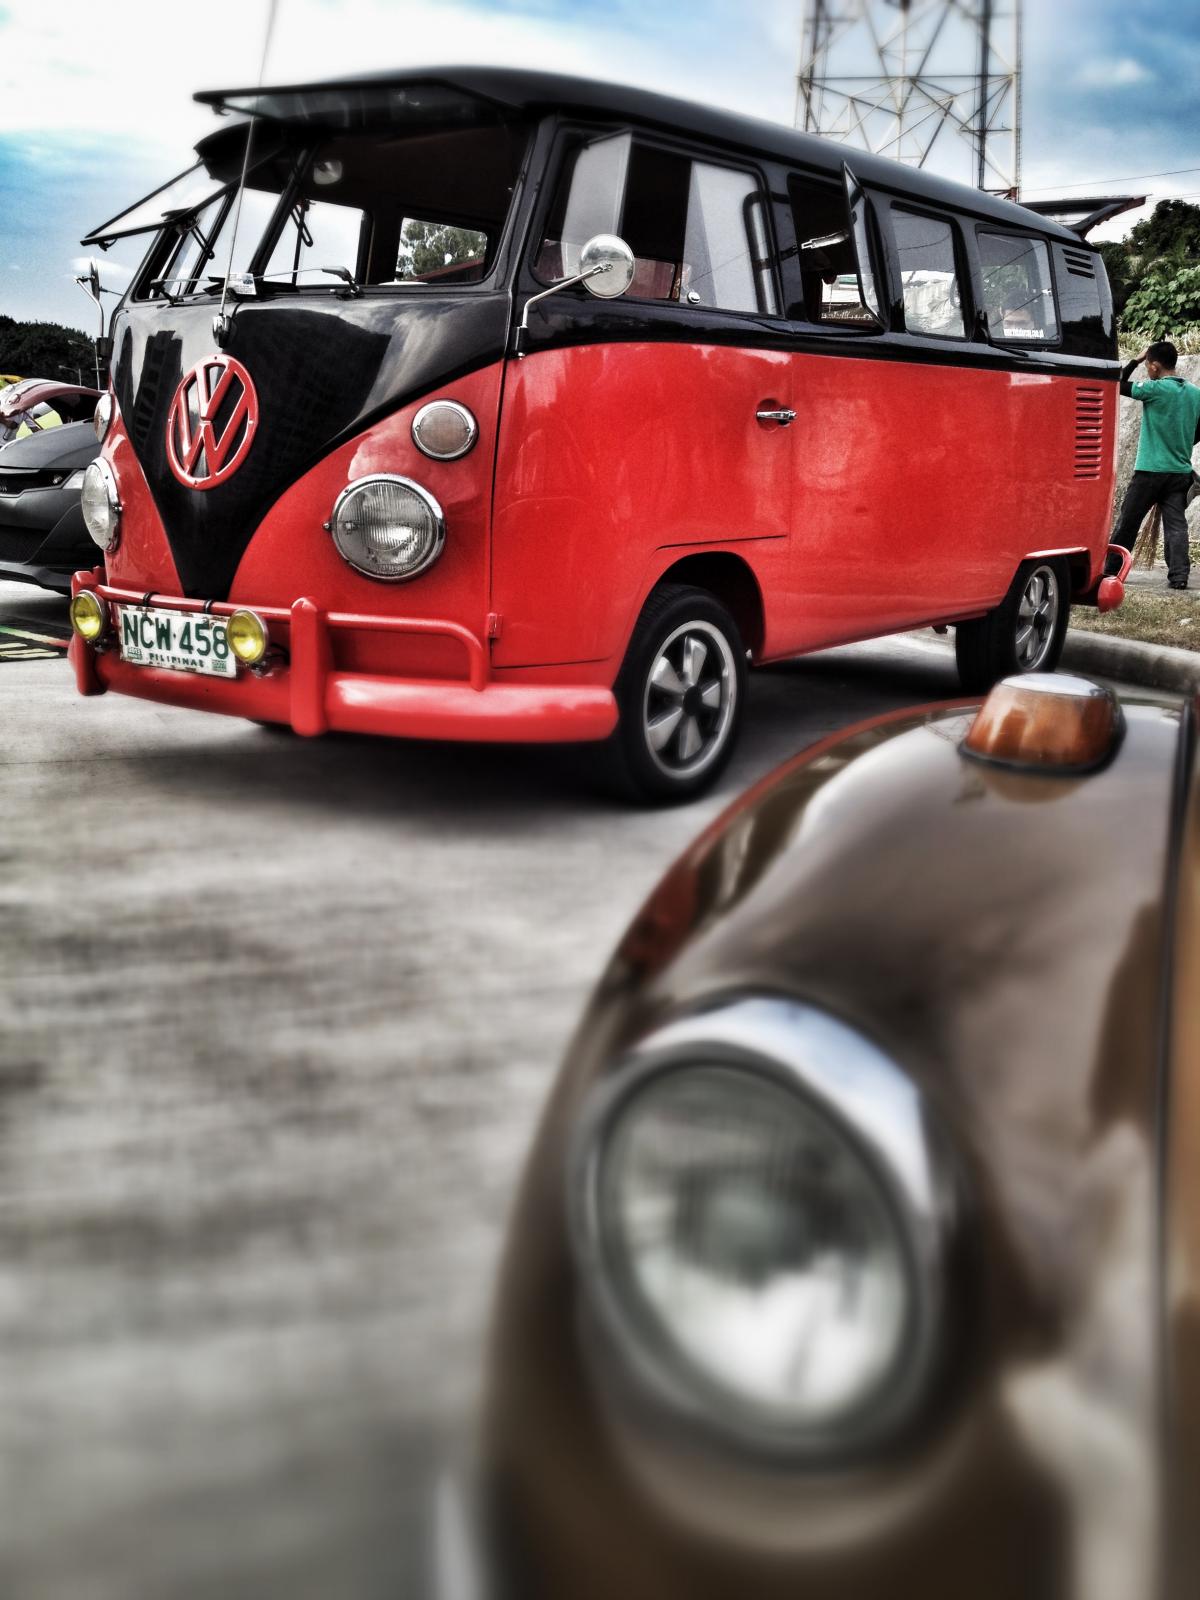
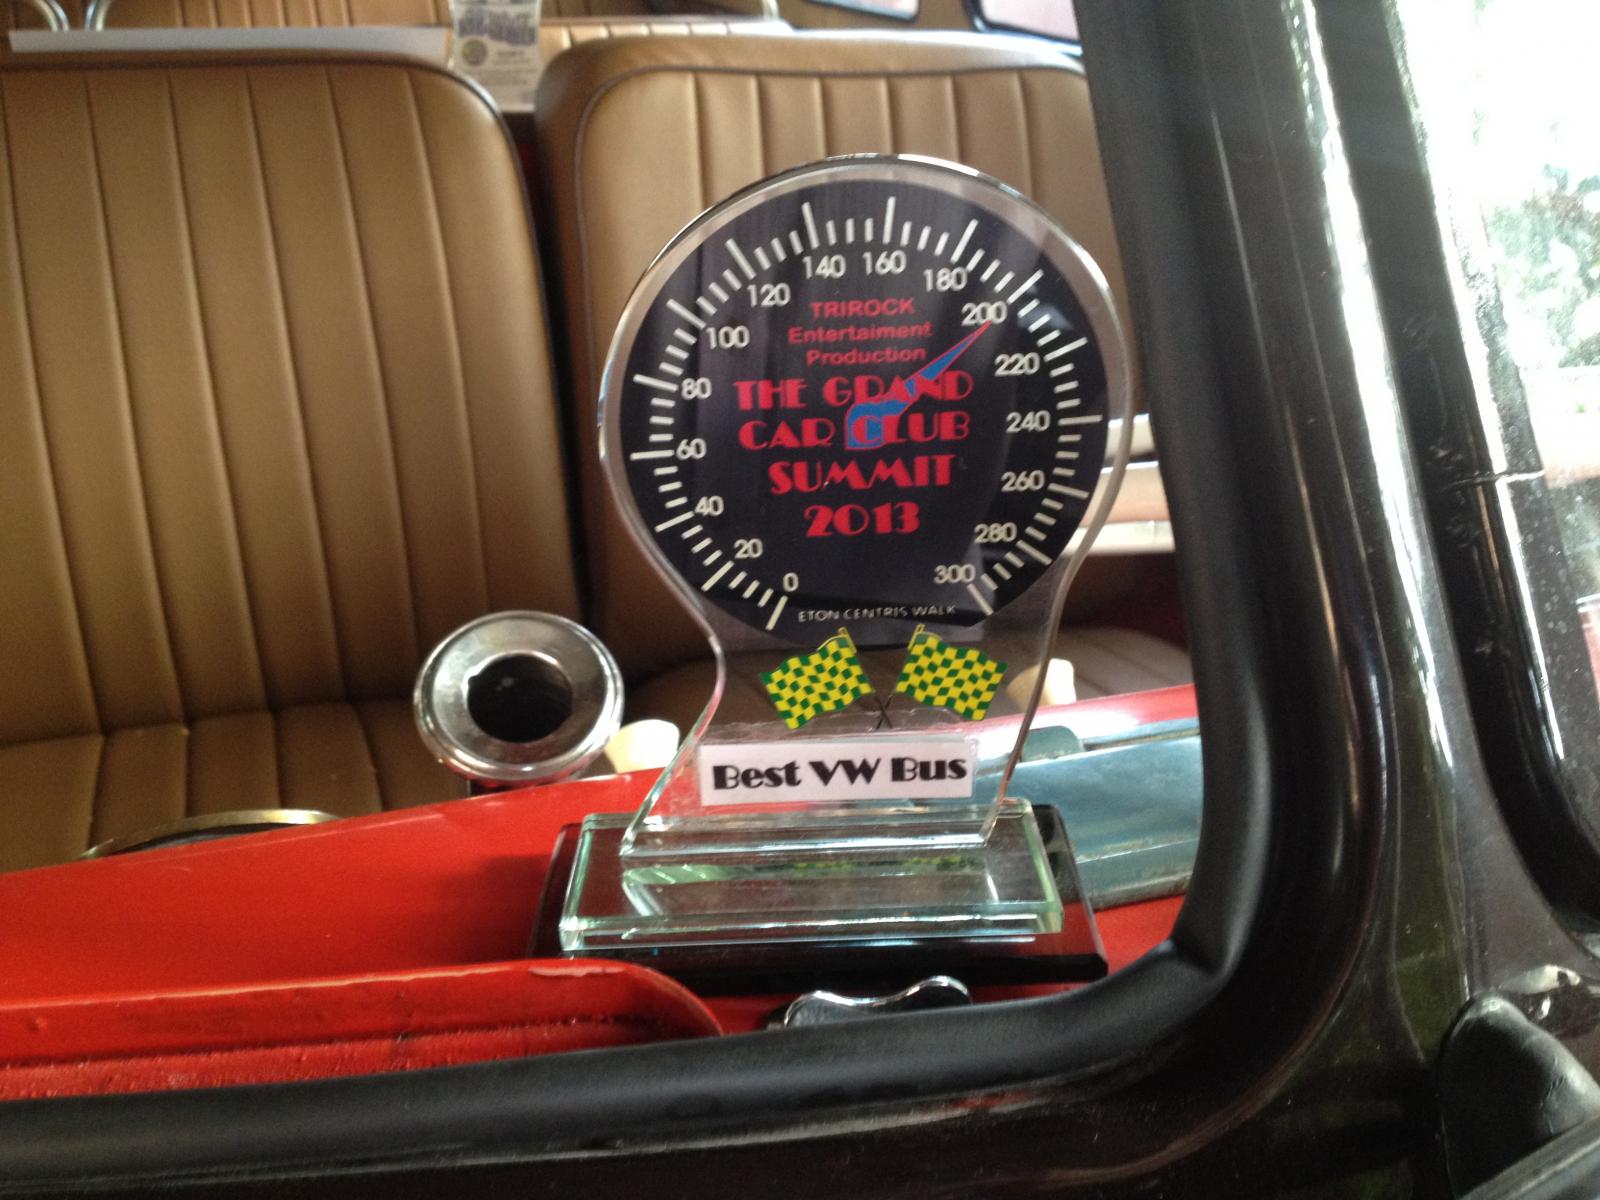
I joined another show called The Grand Car Club Summit and I won Best Volkswagen Van.
These are the pictures. (I just edited the pictures for that photography style)
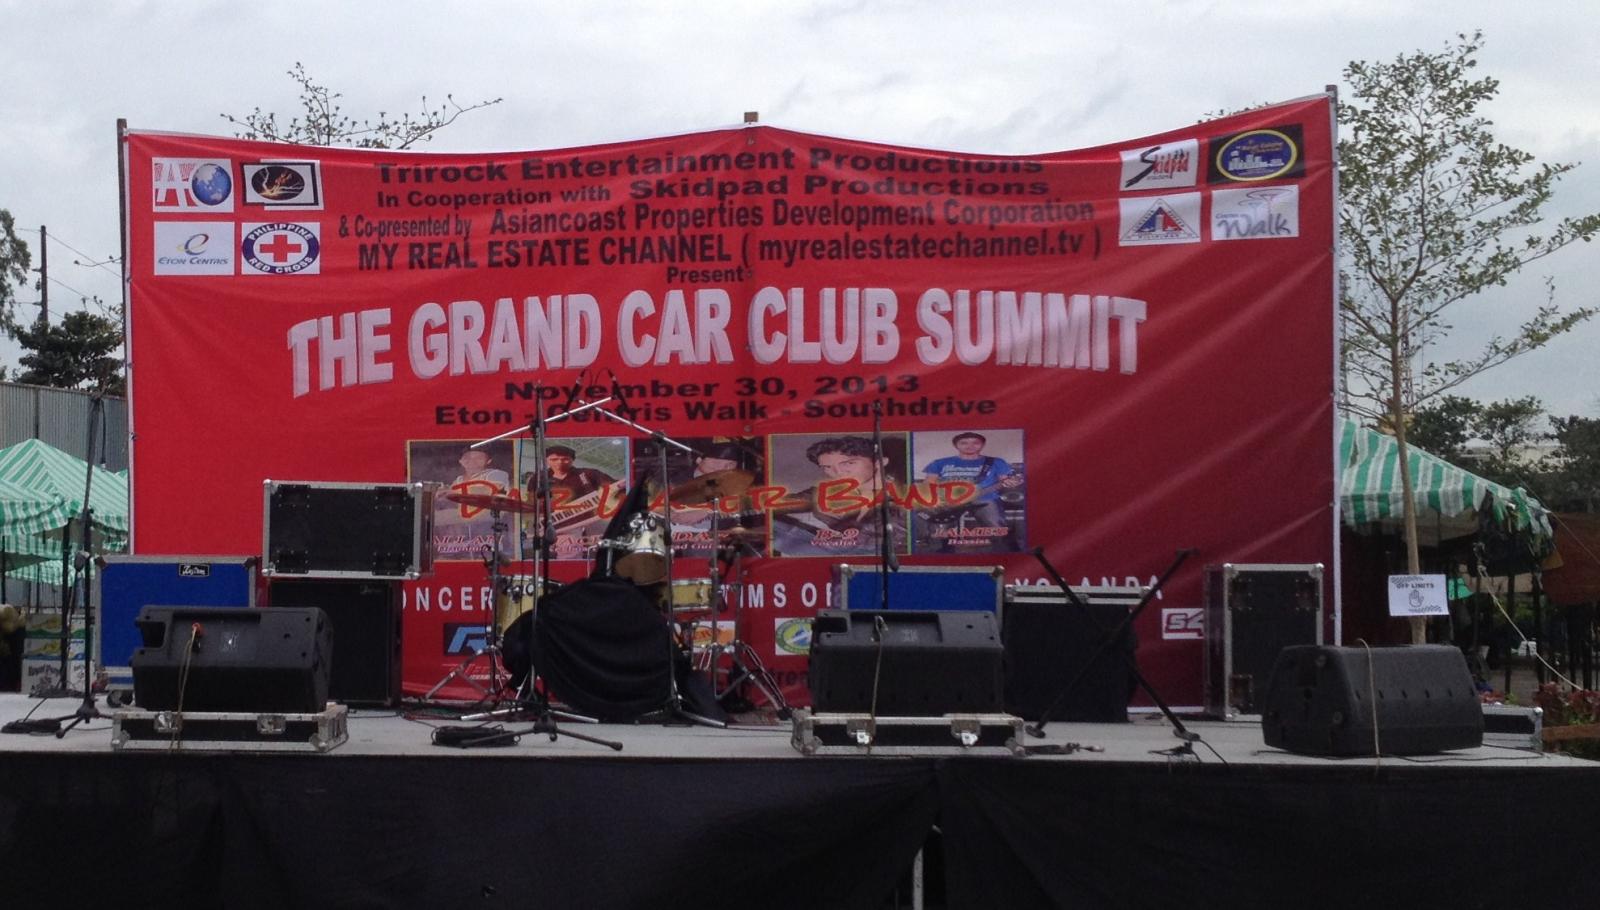
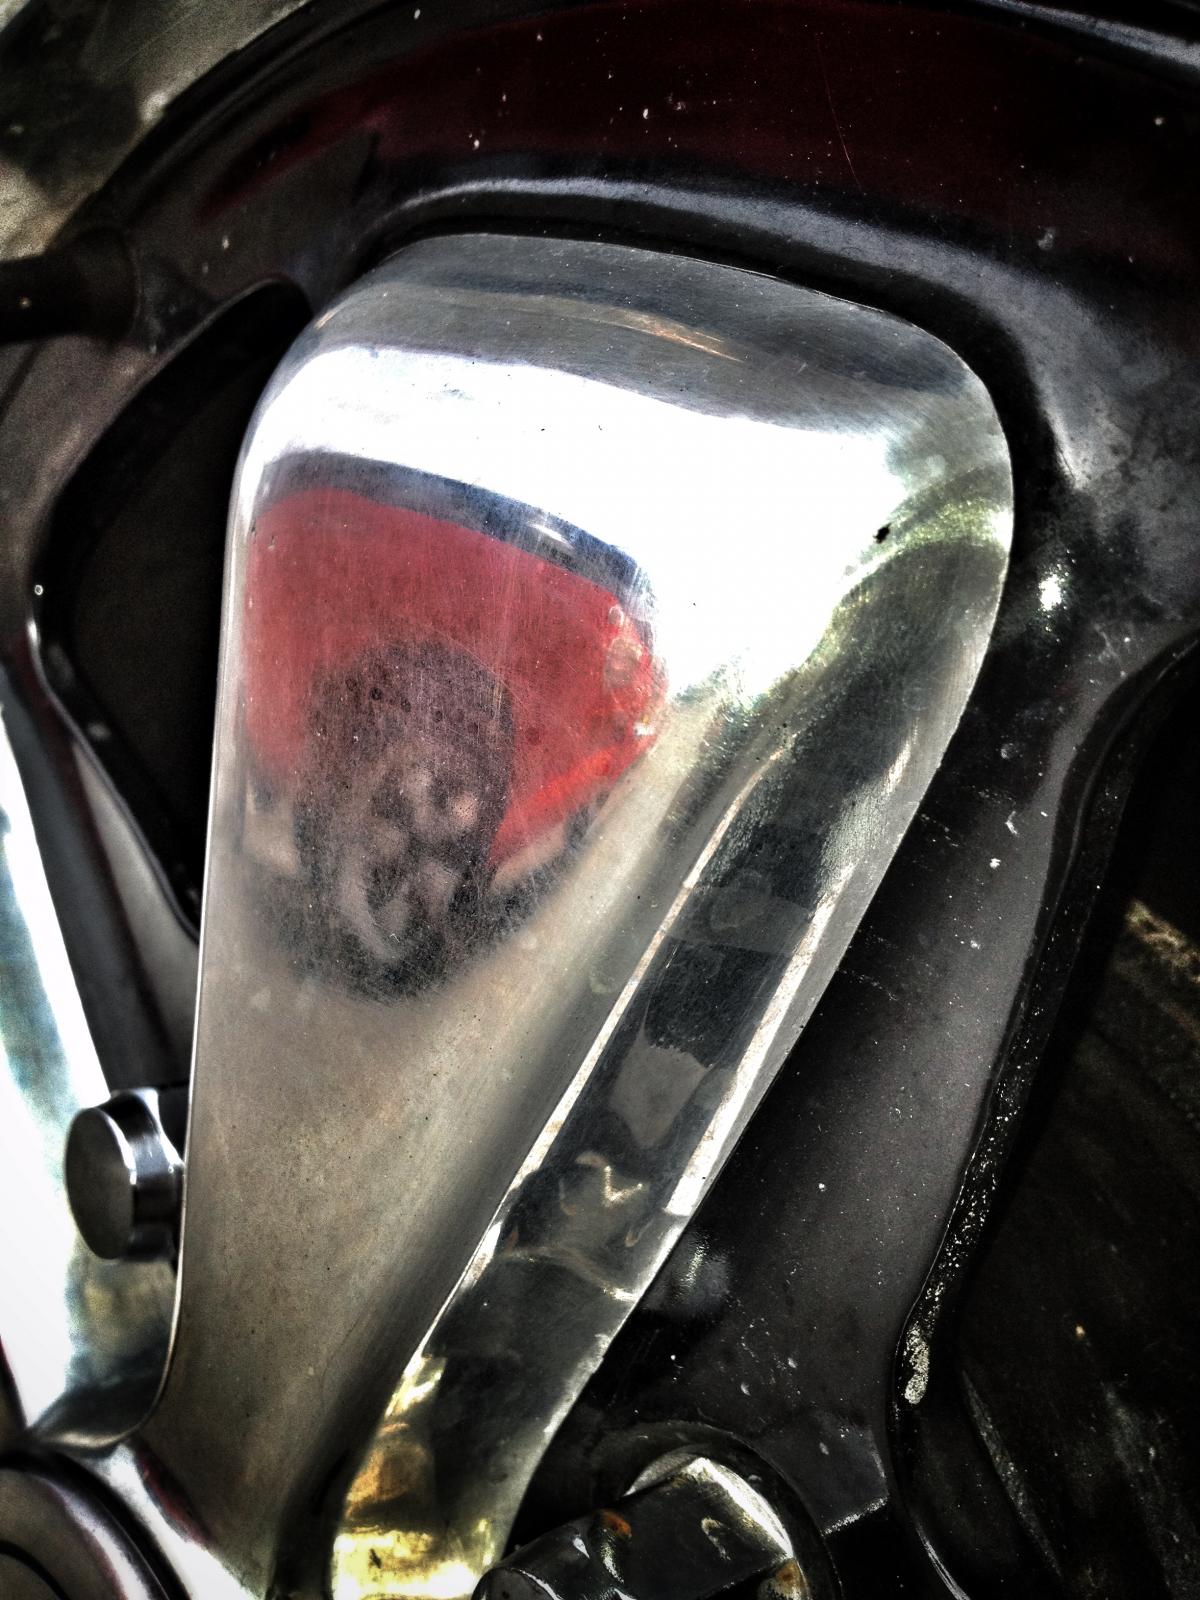
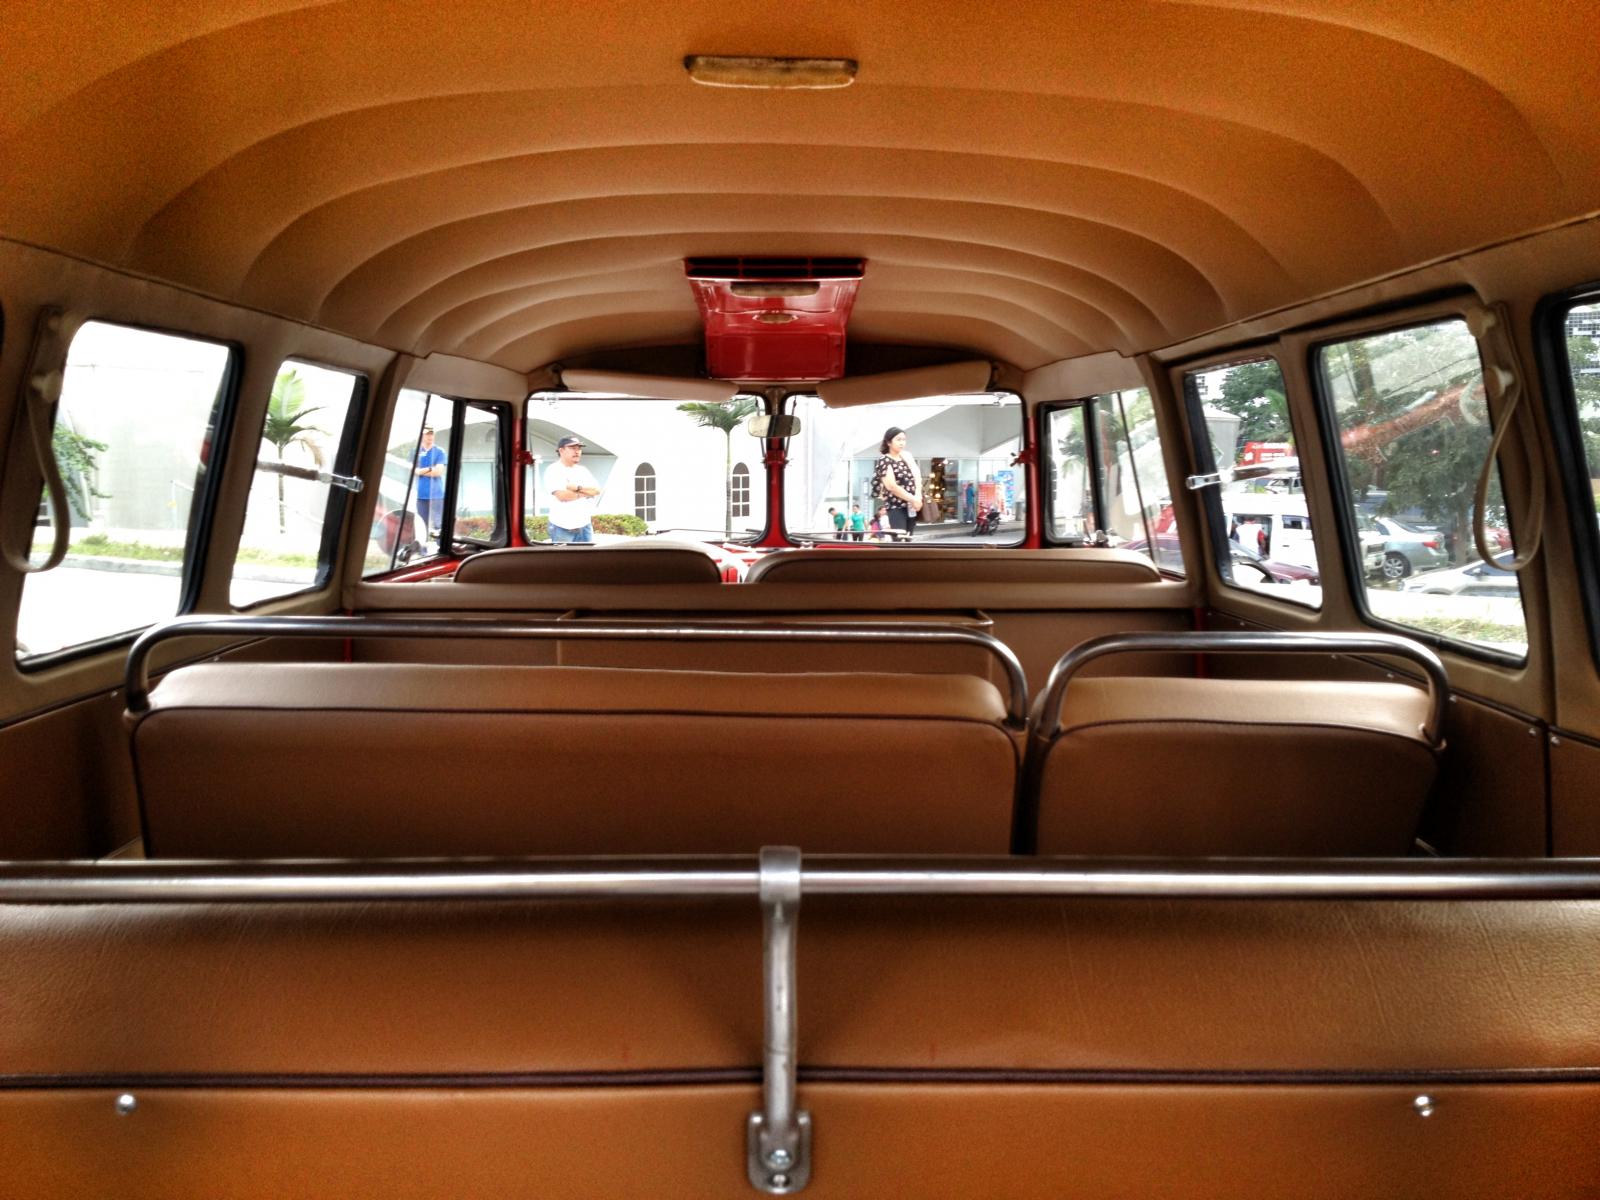


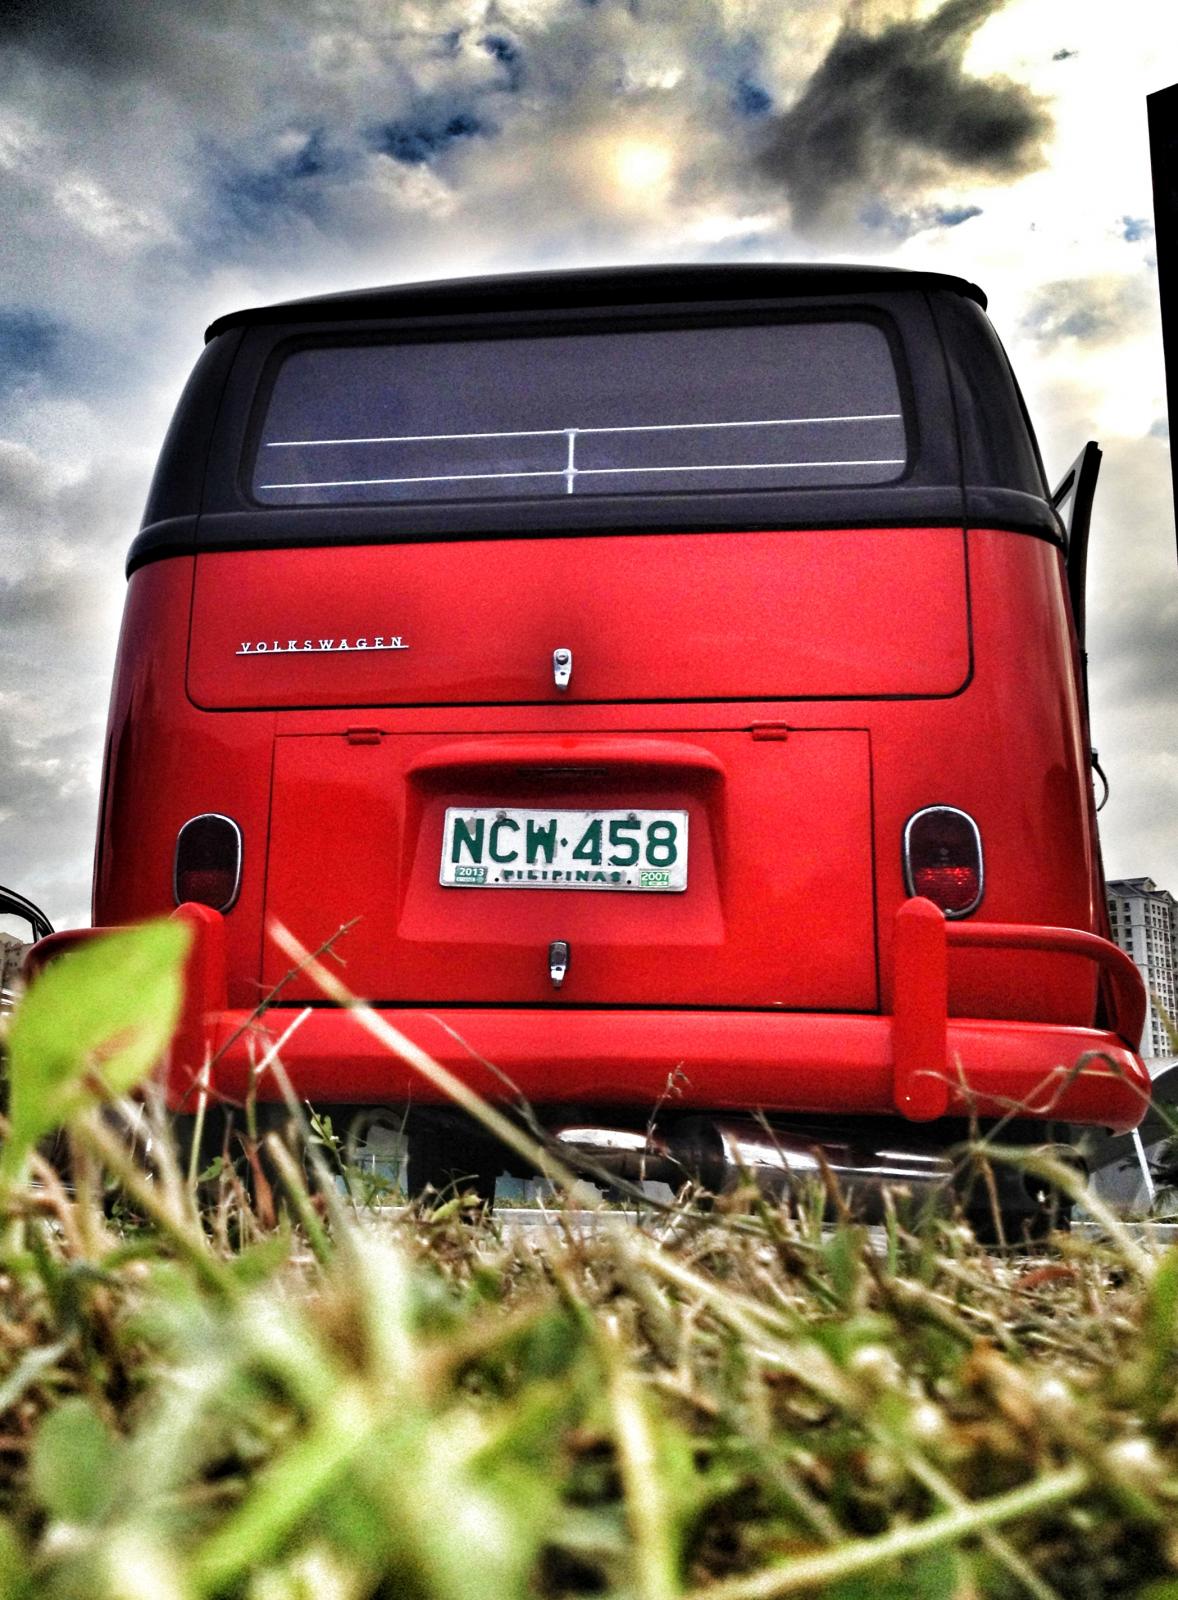
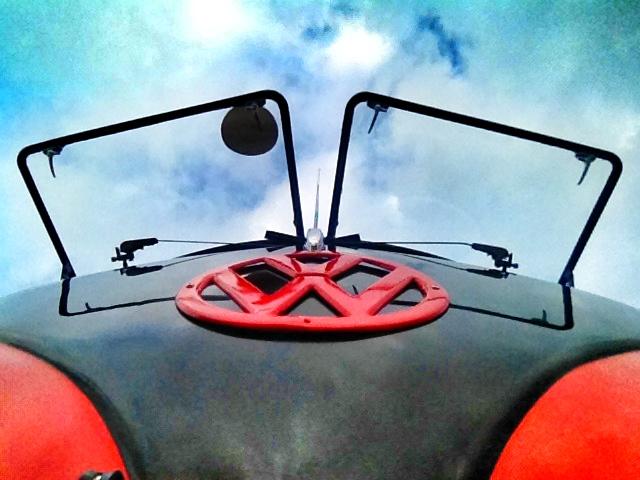

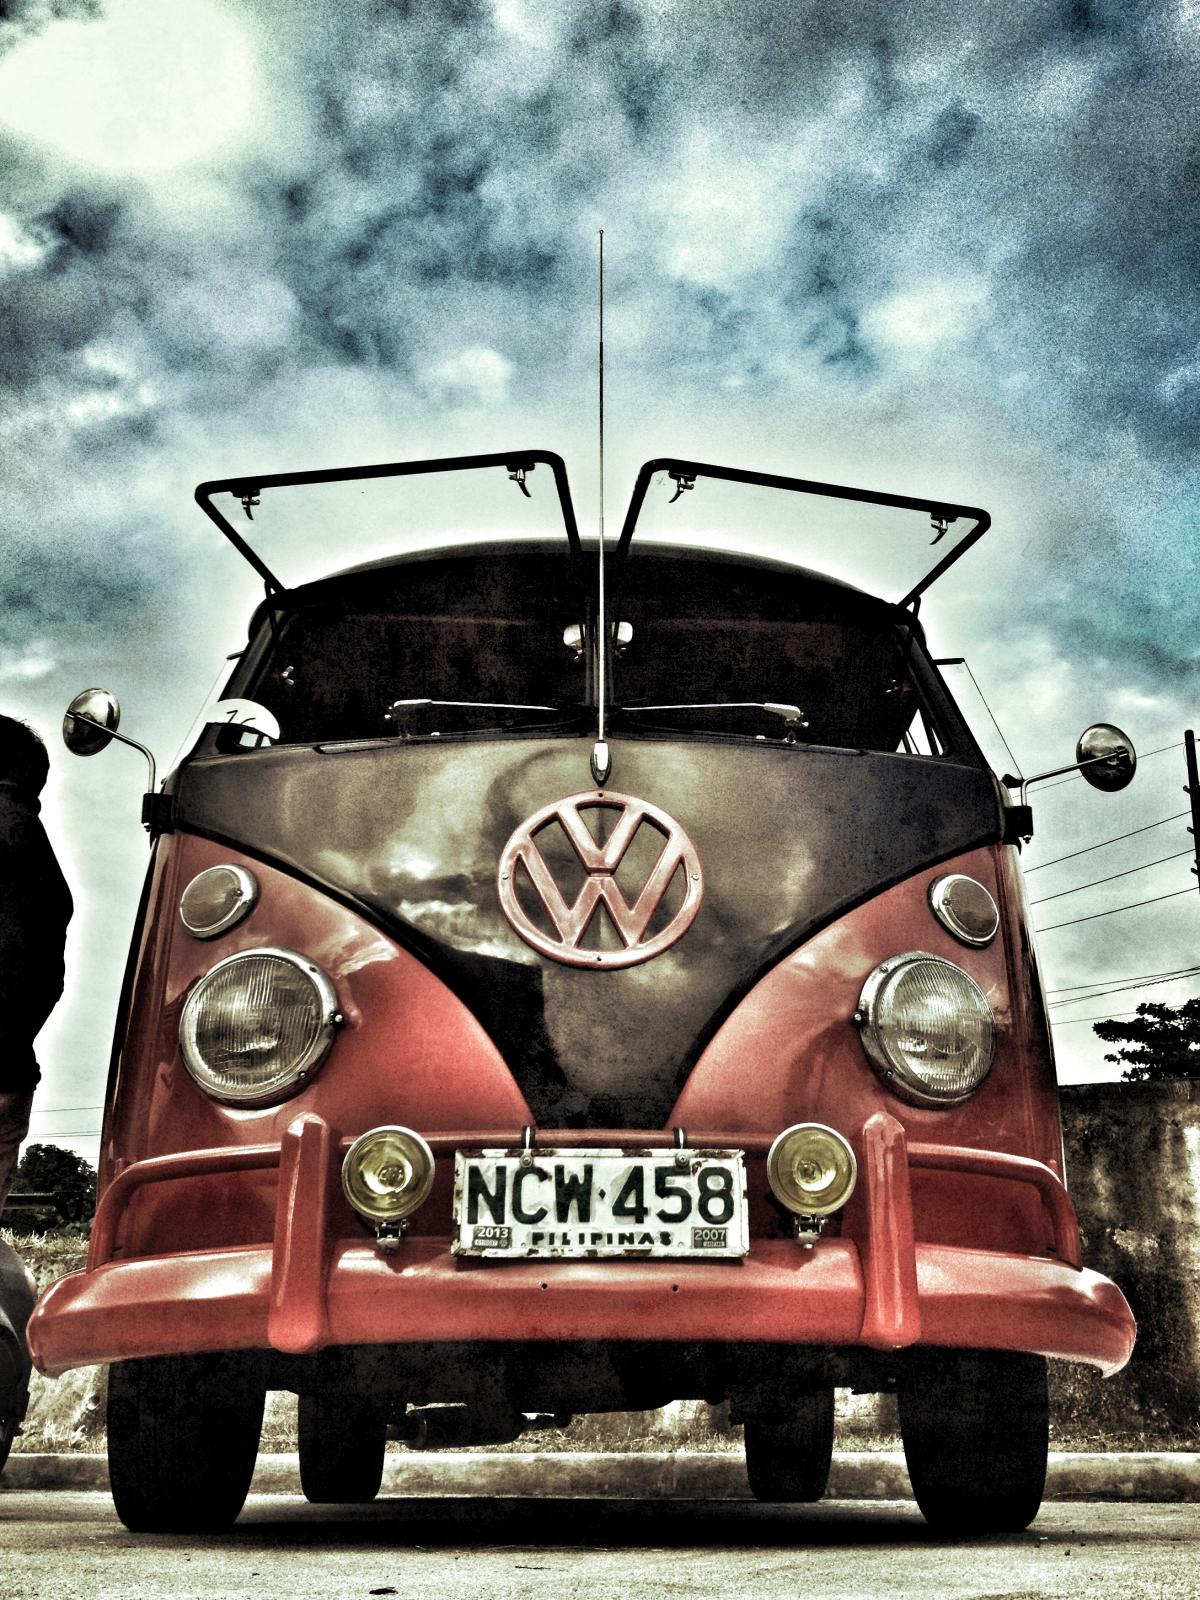
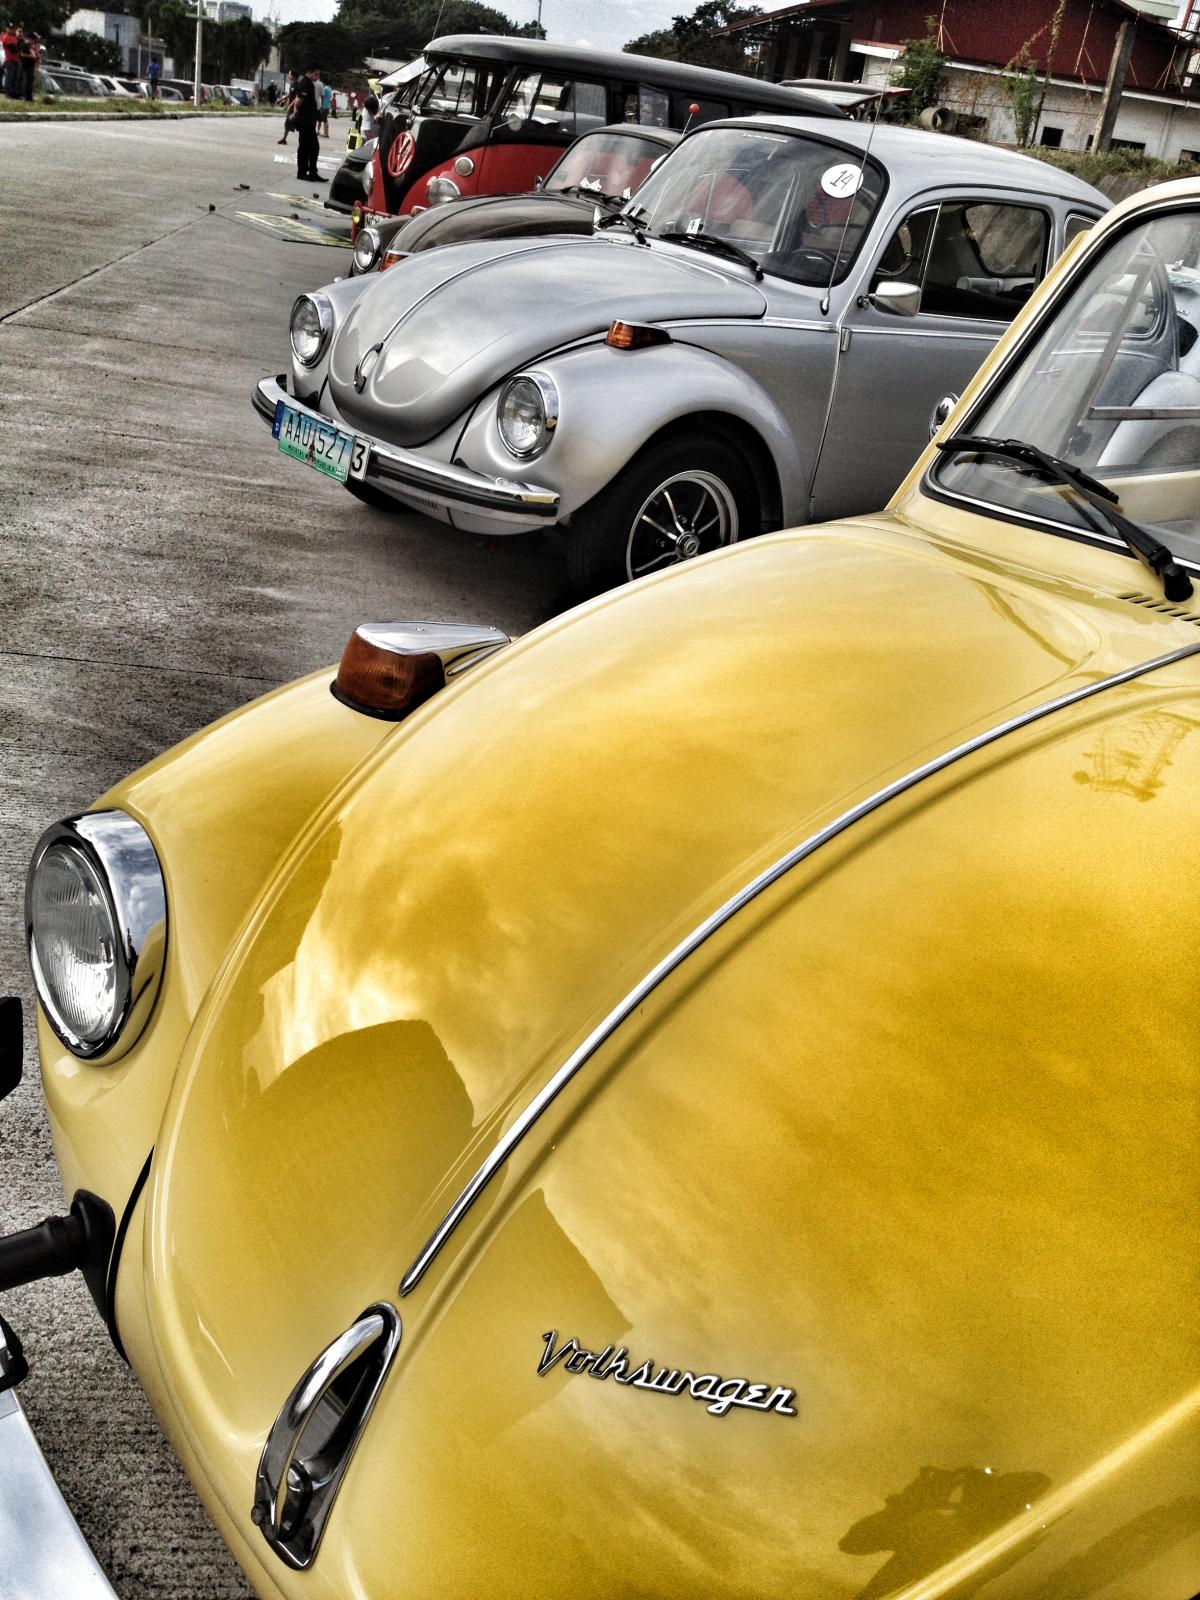
Thanks,
Dongkg
These are the pictures. (I just edited the pictures for that photography style)


Thanks,
Dongkg
dongkg
Registered user
Posts: 90
Joined: Tue Jul 16, 2013 7:58 am
Re: My '67 Split Bus Resto Thread in the Philippines
by dongkg » Wed Dec 11, 2013 10:47 am
Our trophy of the The Grand Car Club Summit that I won Best Volkswagen Van.
Thanks,
Dong

Thanks,
Dong
dongkg
Registered user
Posts: 90
Joined: Tue Jul 16, 2013 7:58 am
Re: My '67 Split Bus Resto Thread in the Philippines
by dongkg » Wed Dec 11, 2013 10:48 am
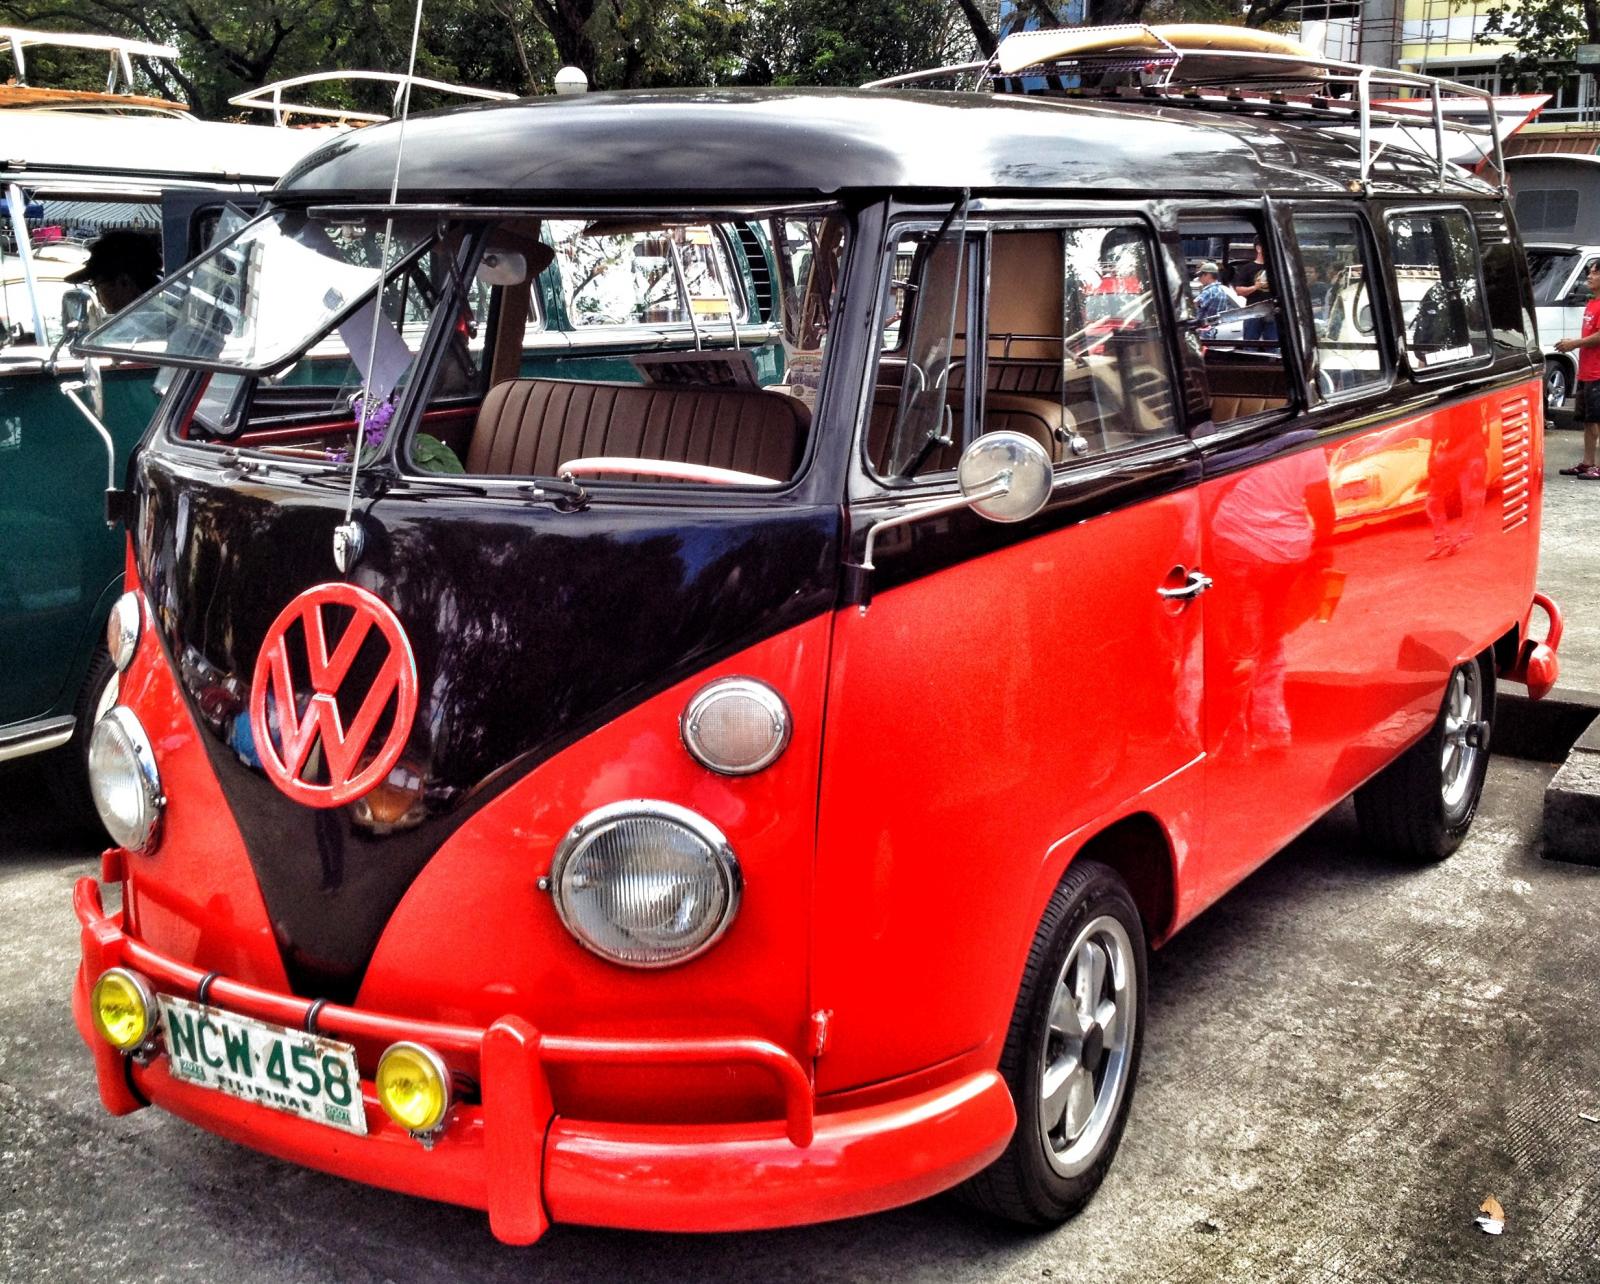
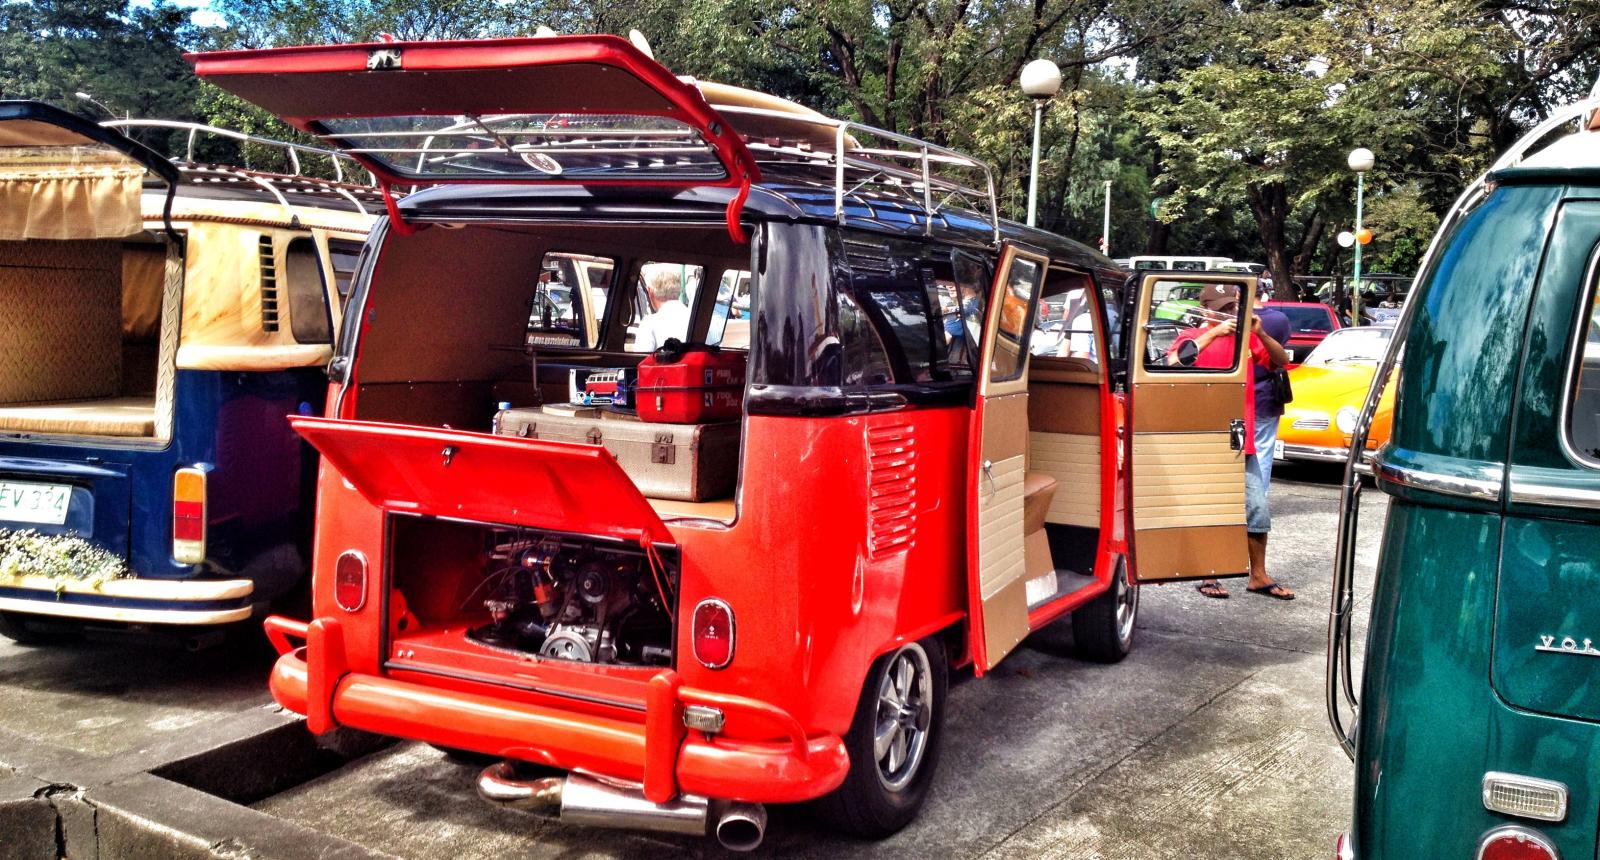
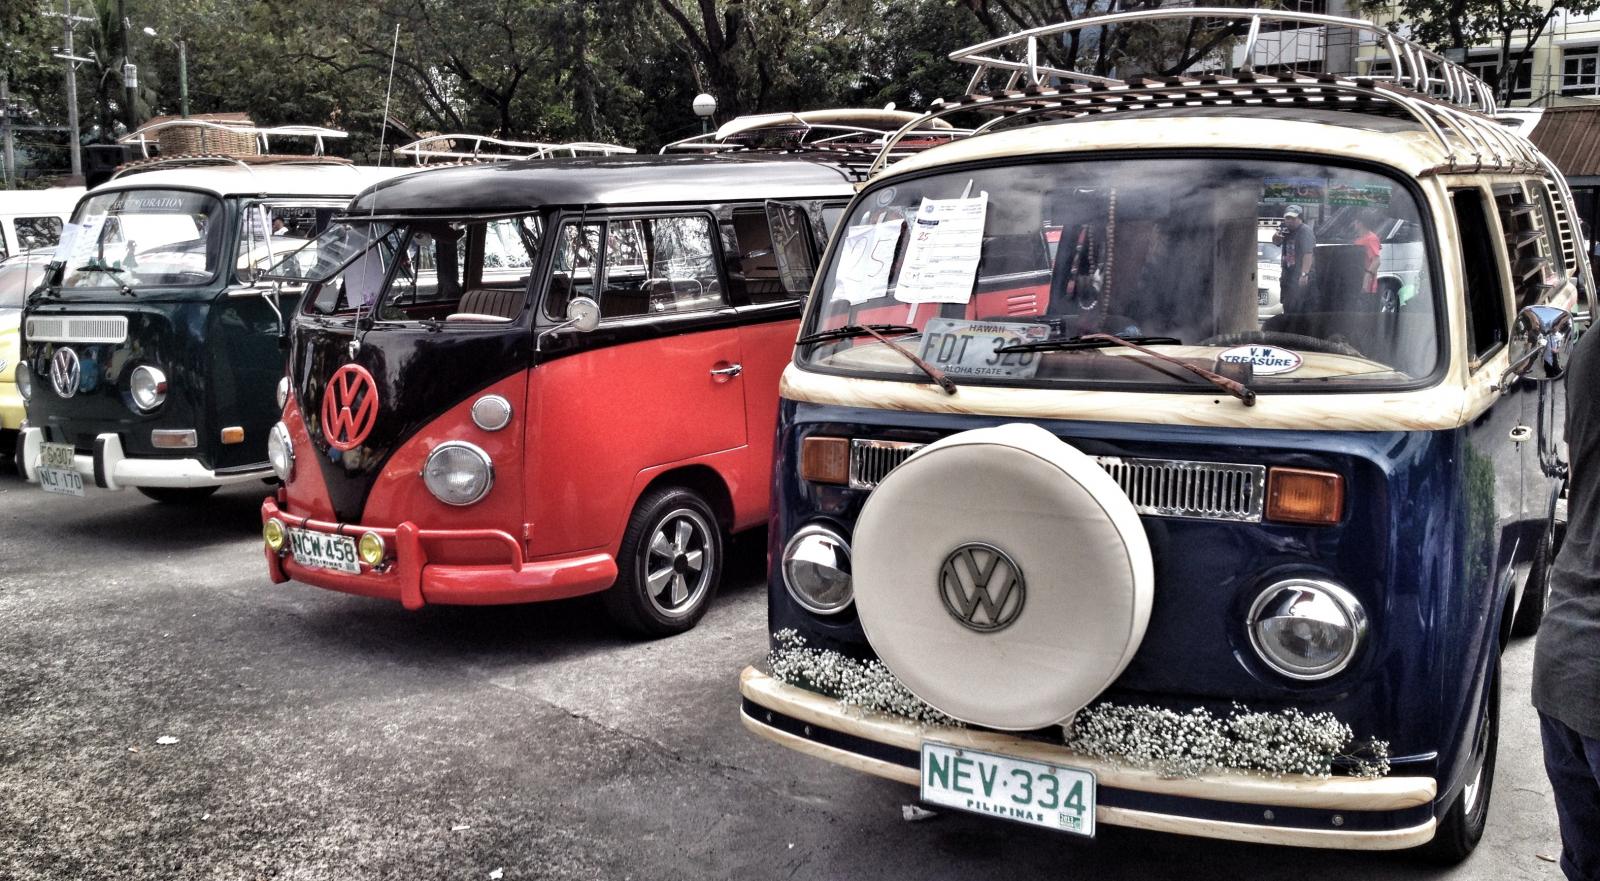
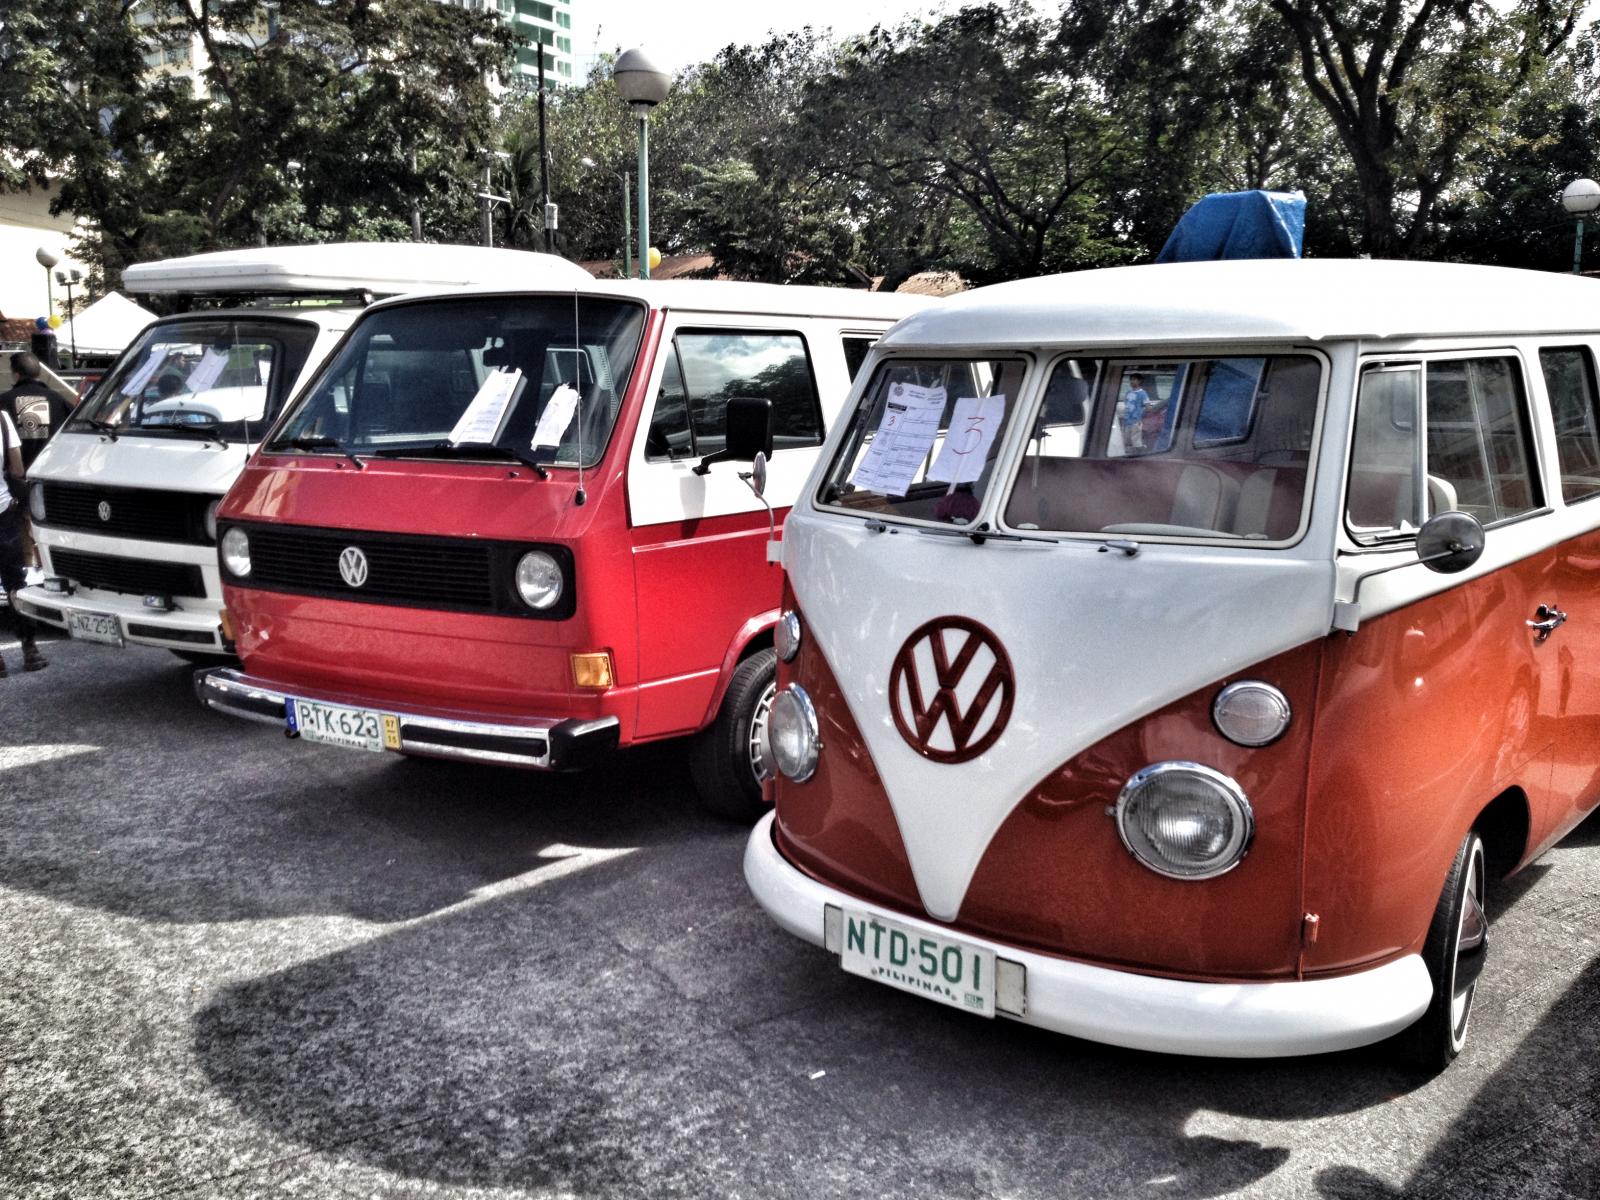
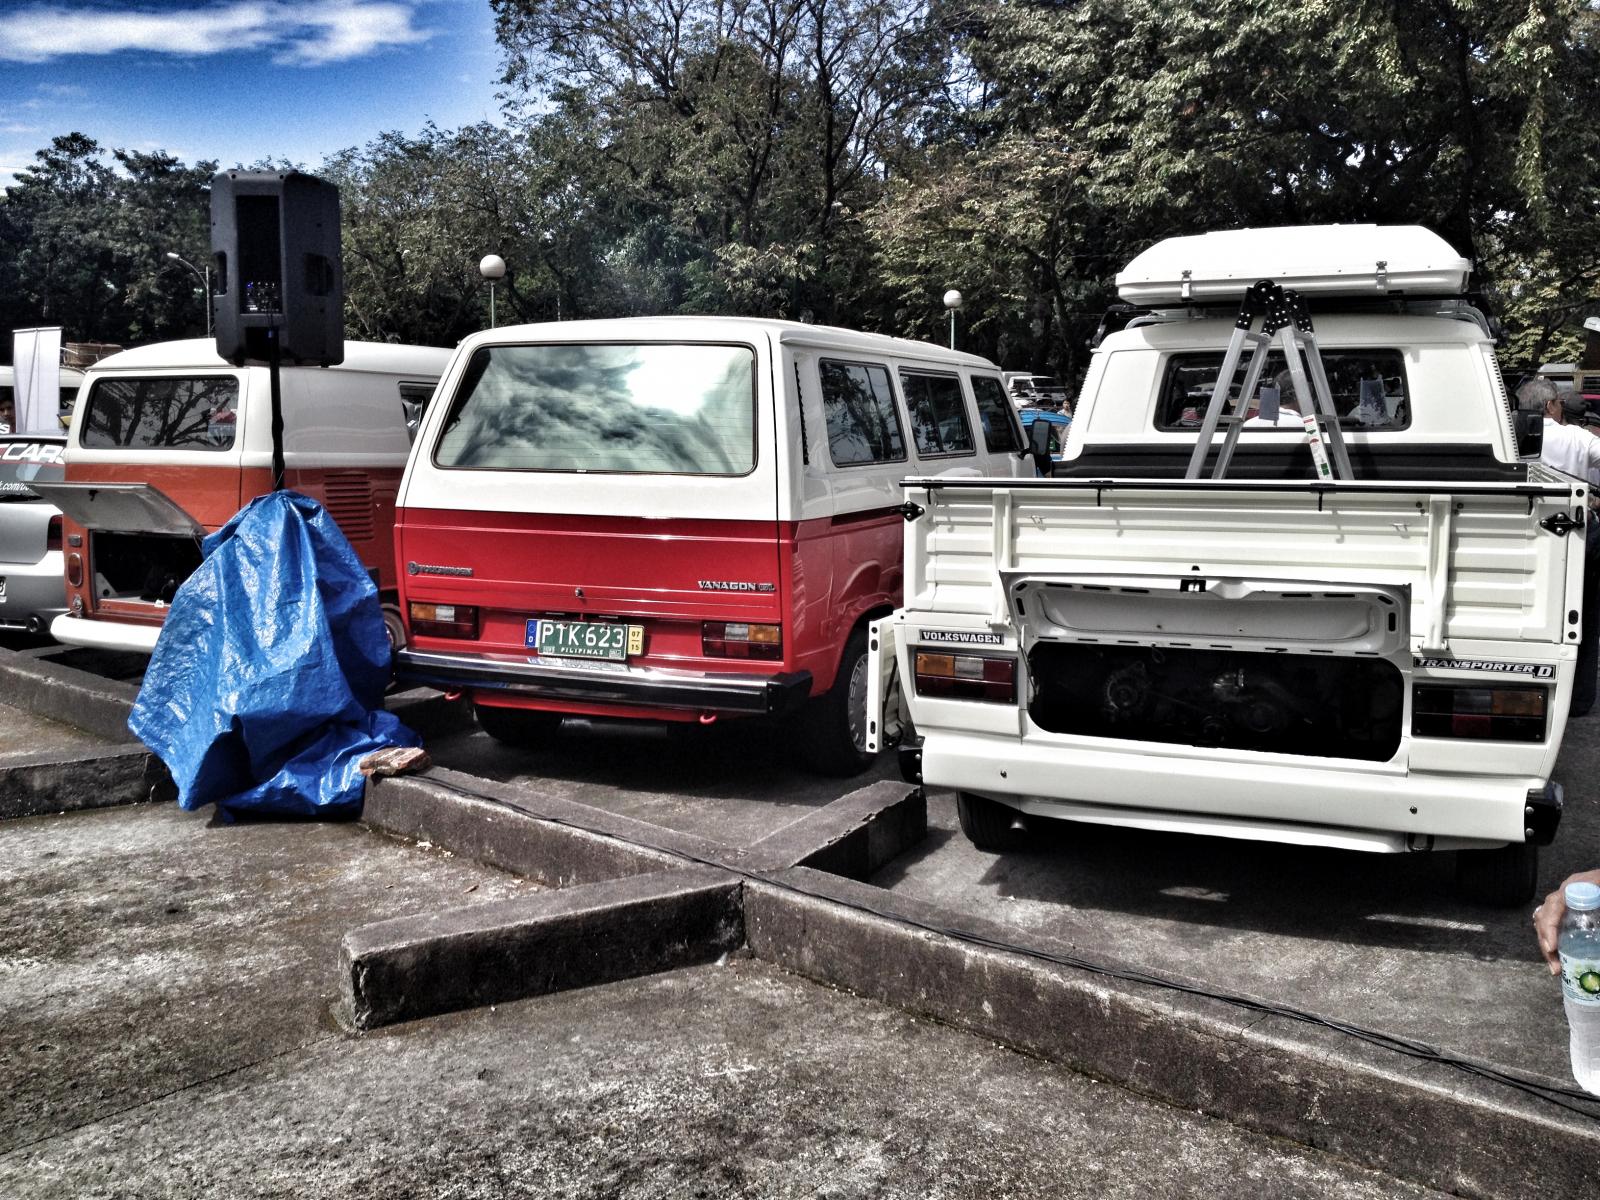
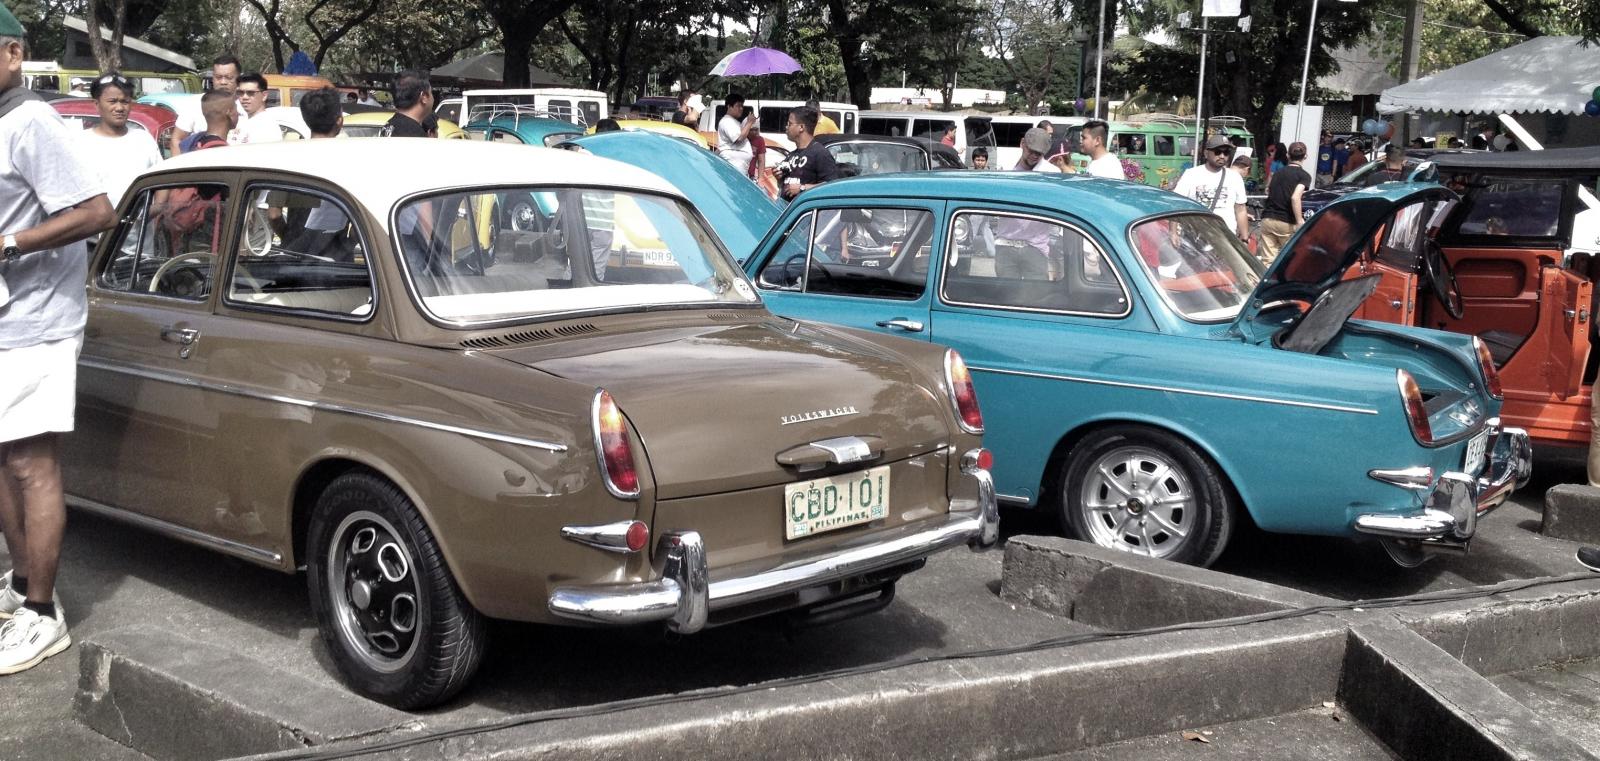
At the dec 8 2013 Main VW Show of the Volkswagen Club of the Philippines, I won Grand Price winner of all the buses that entered the VW Show (Split, Bay, Vanagon, etc.). Everyone appreciated the DYI I did on the Split bus! IT turned out to be cool!
These are some of the pictures.

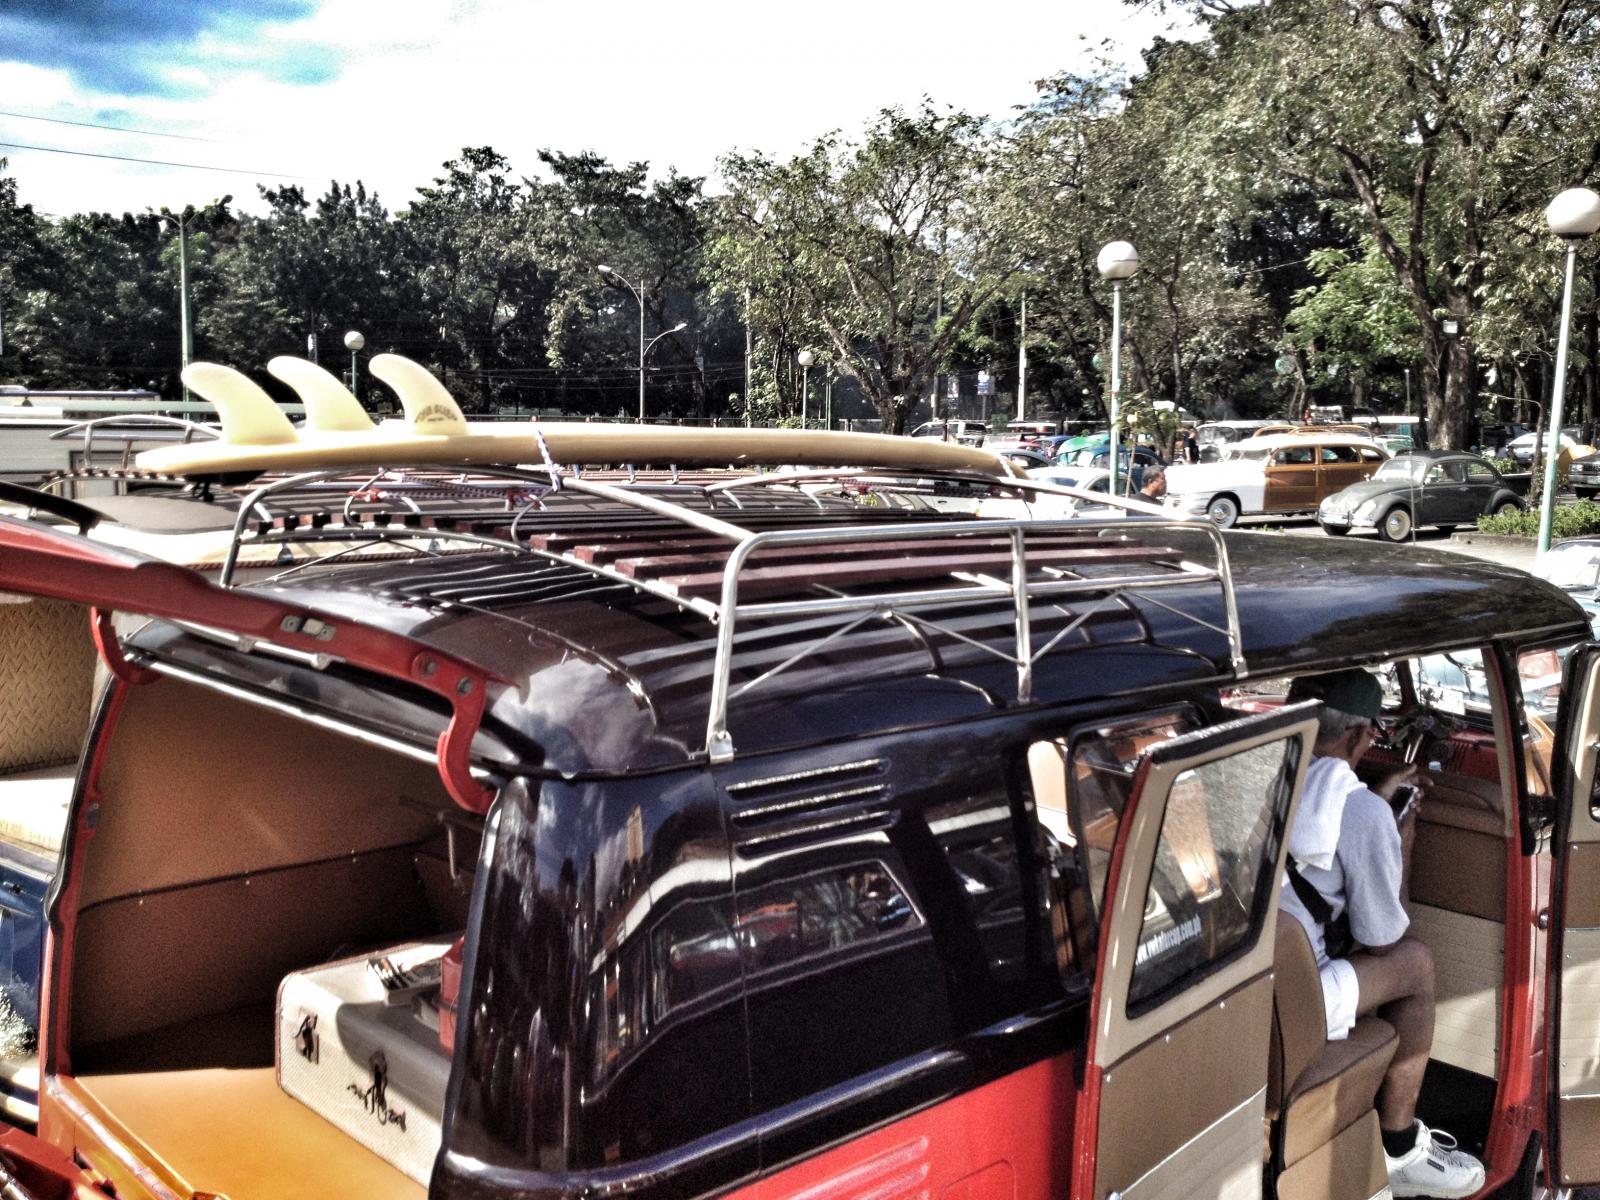
This is the roof rack I supervised when we built it. I will post build sequence soon.
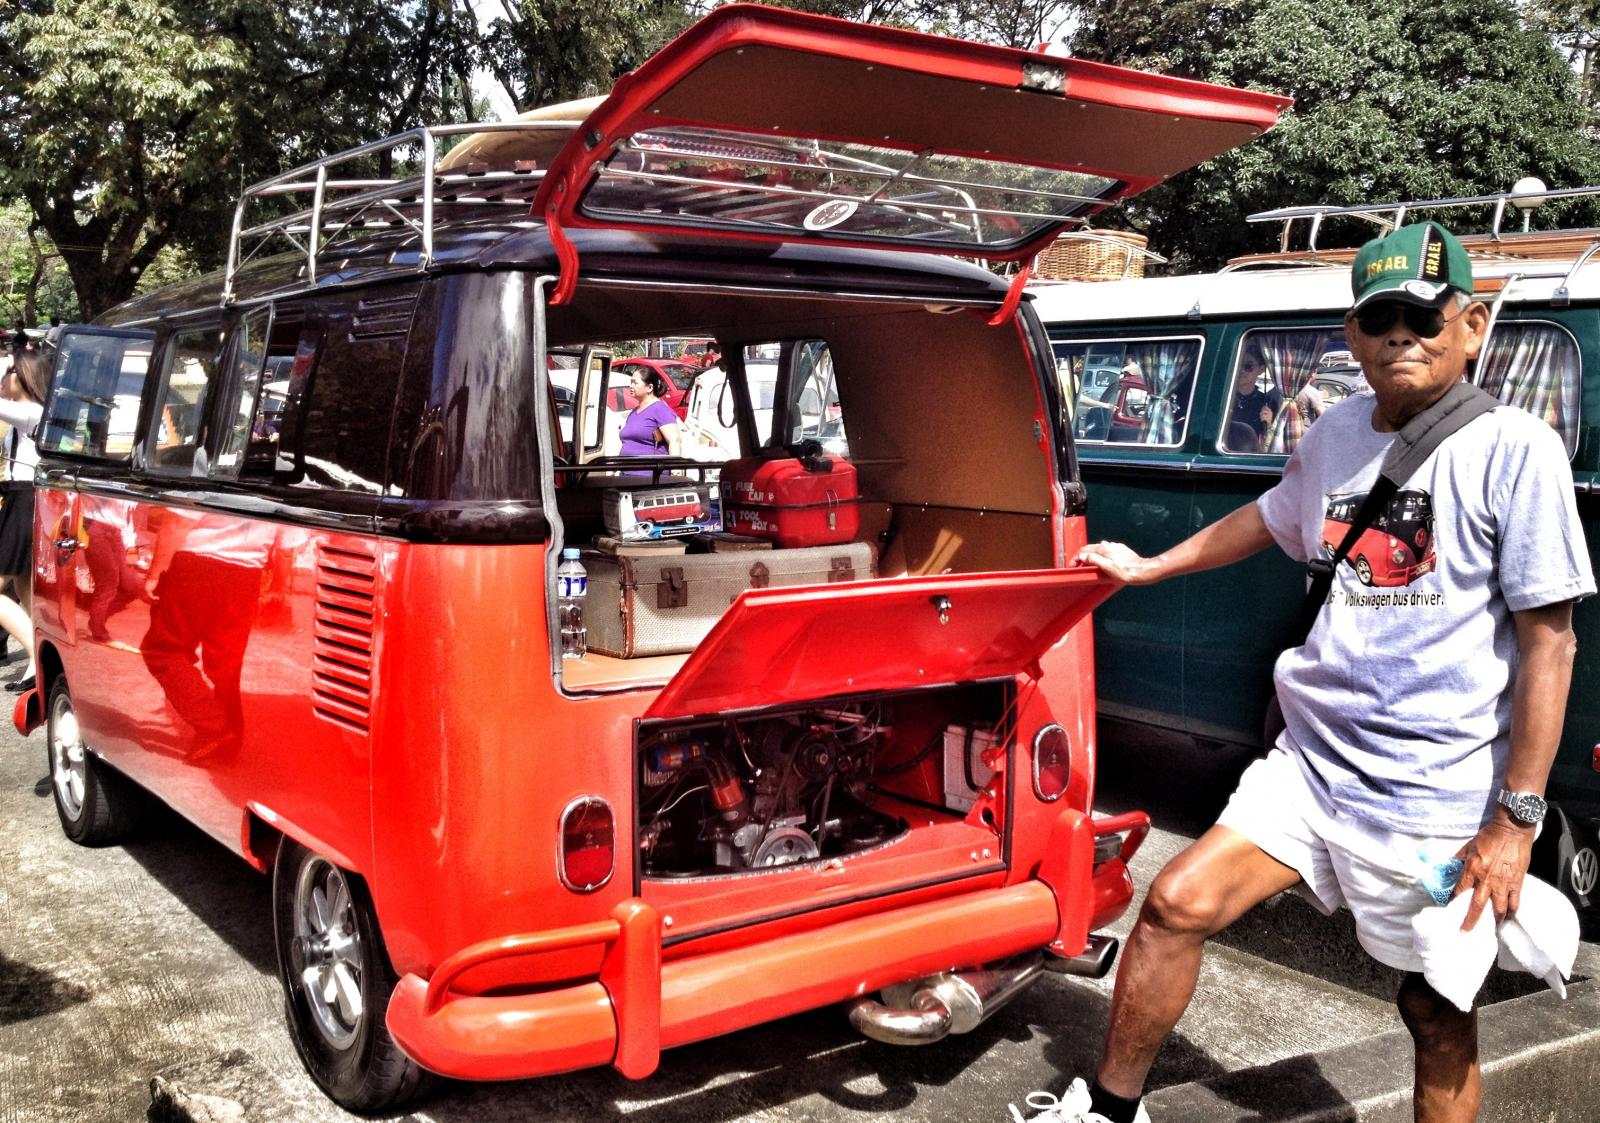
My father posing next to our Split!
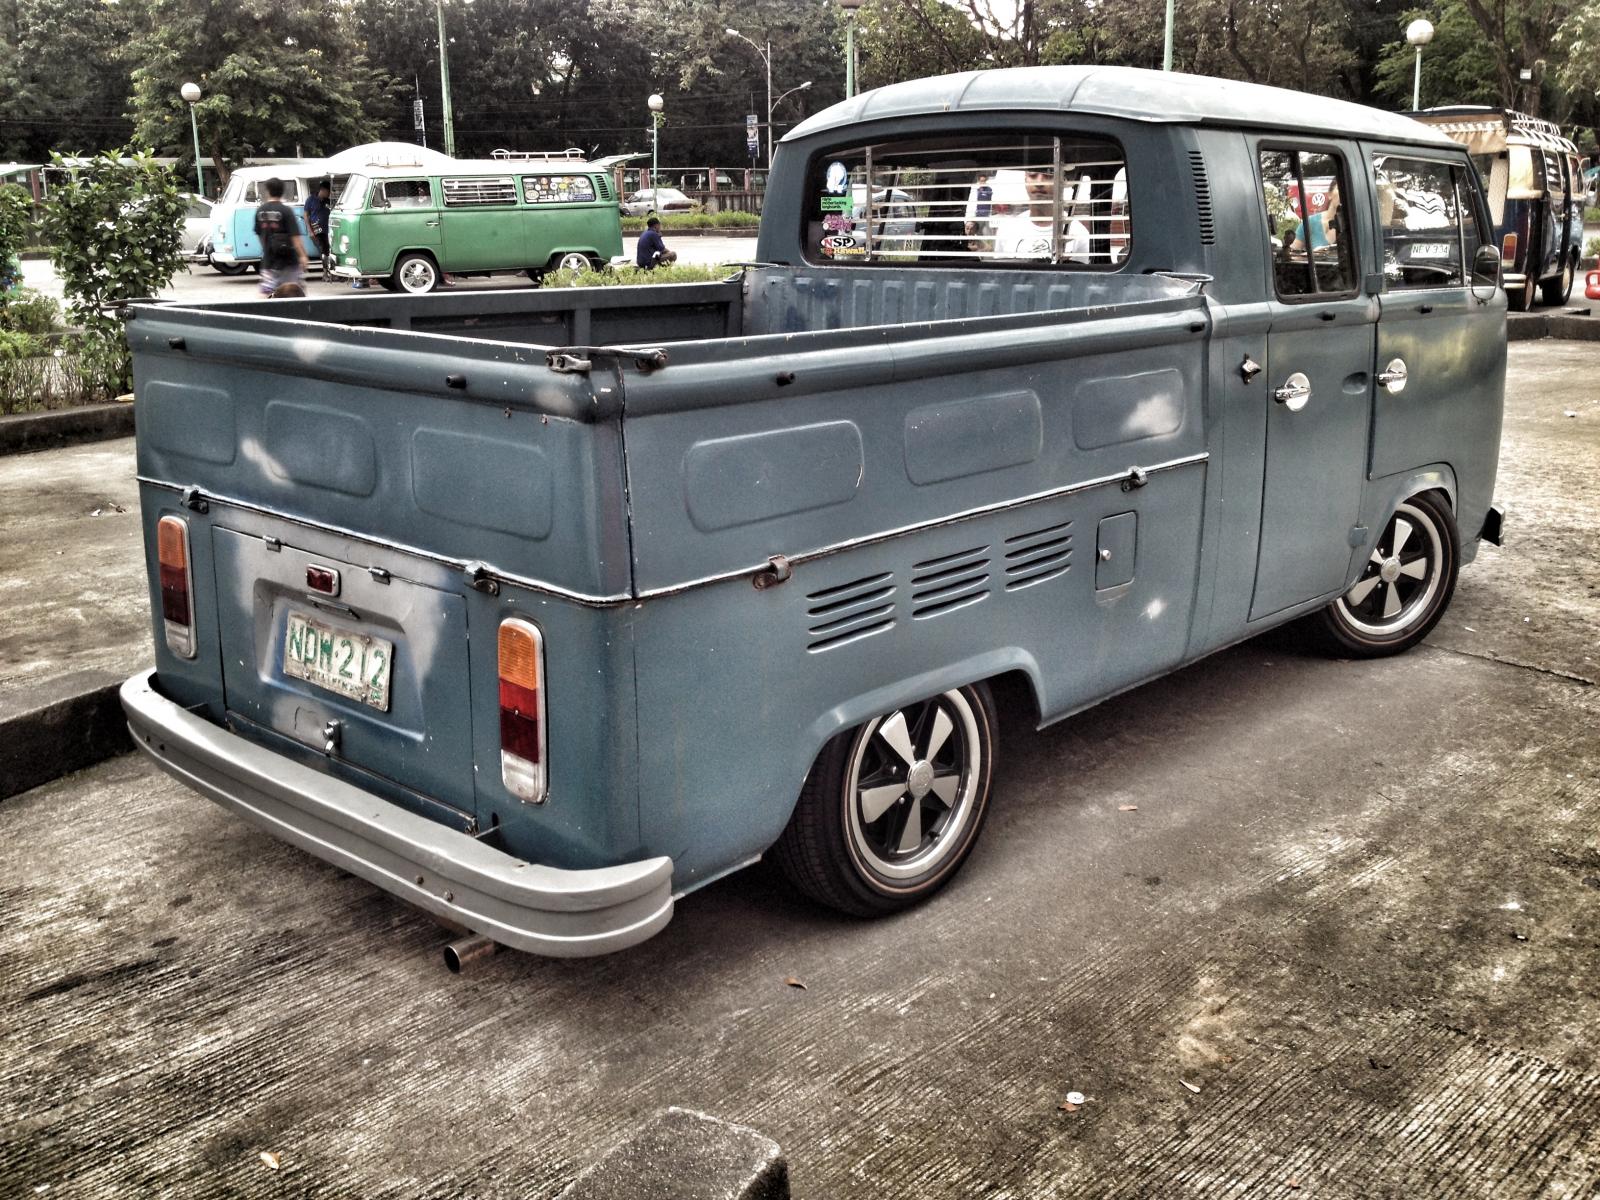
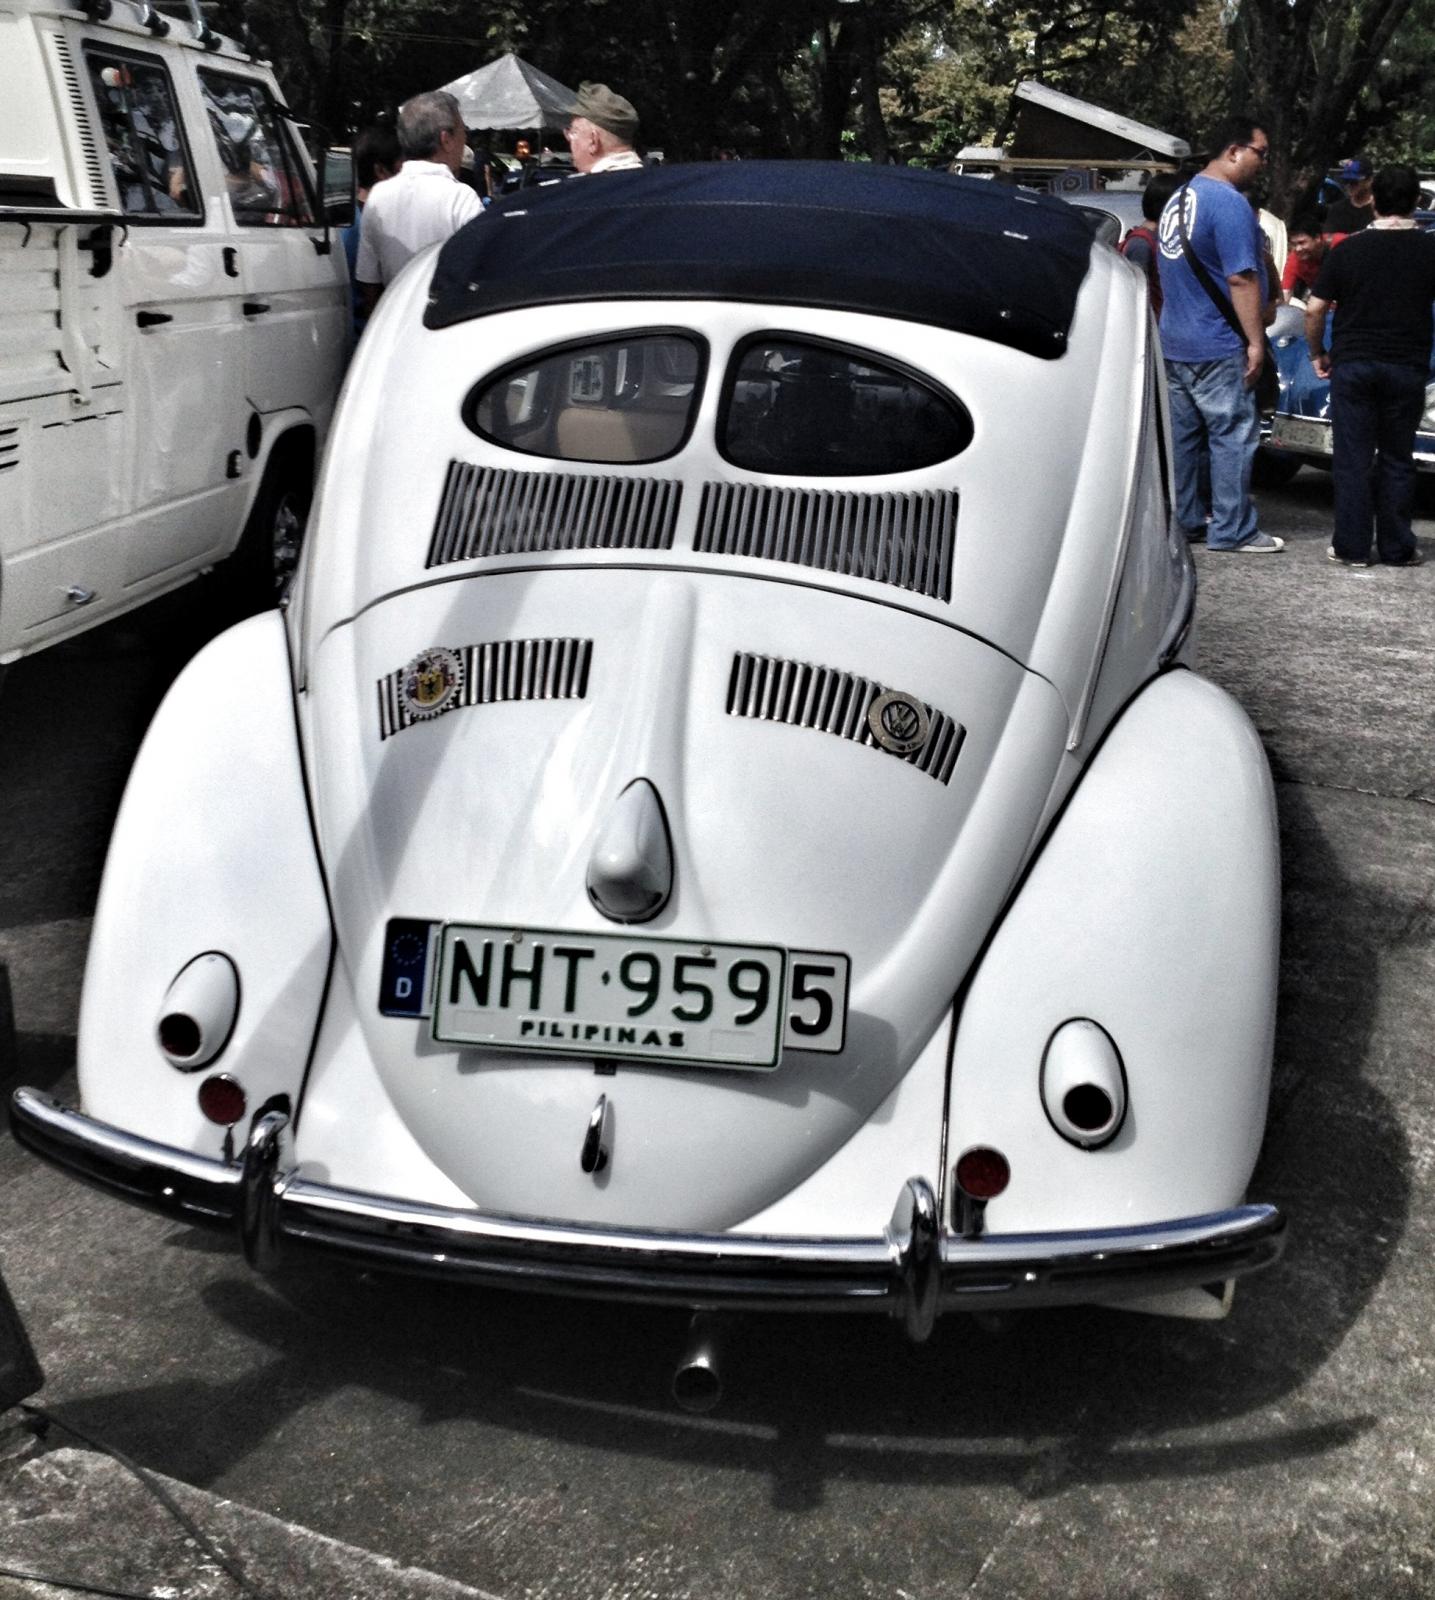
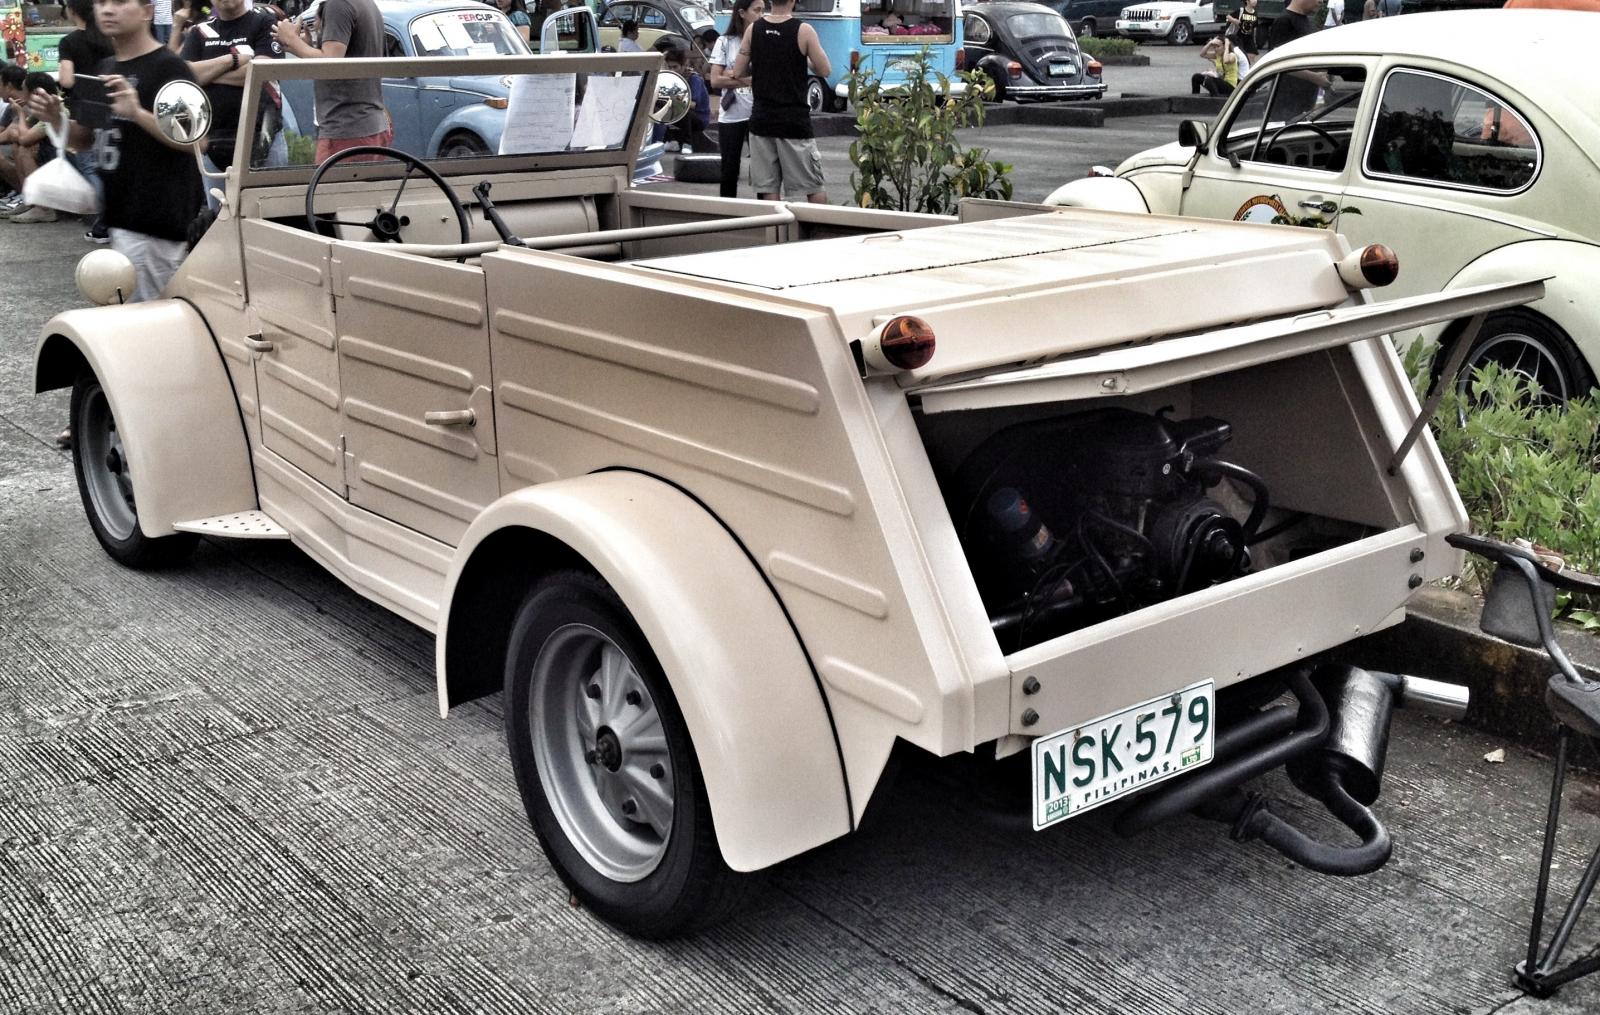
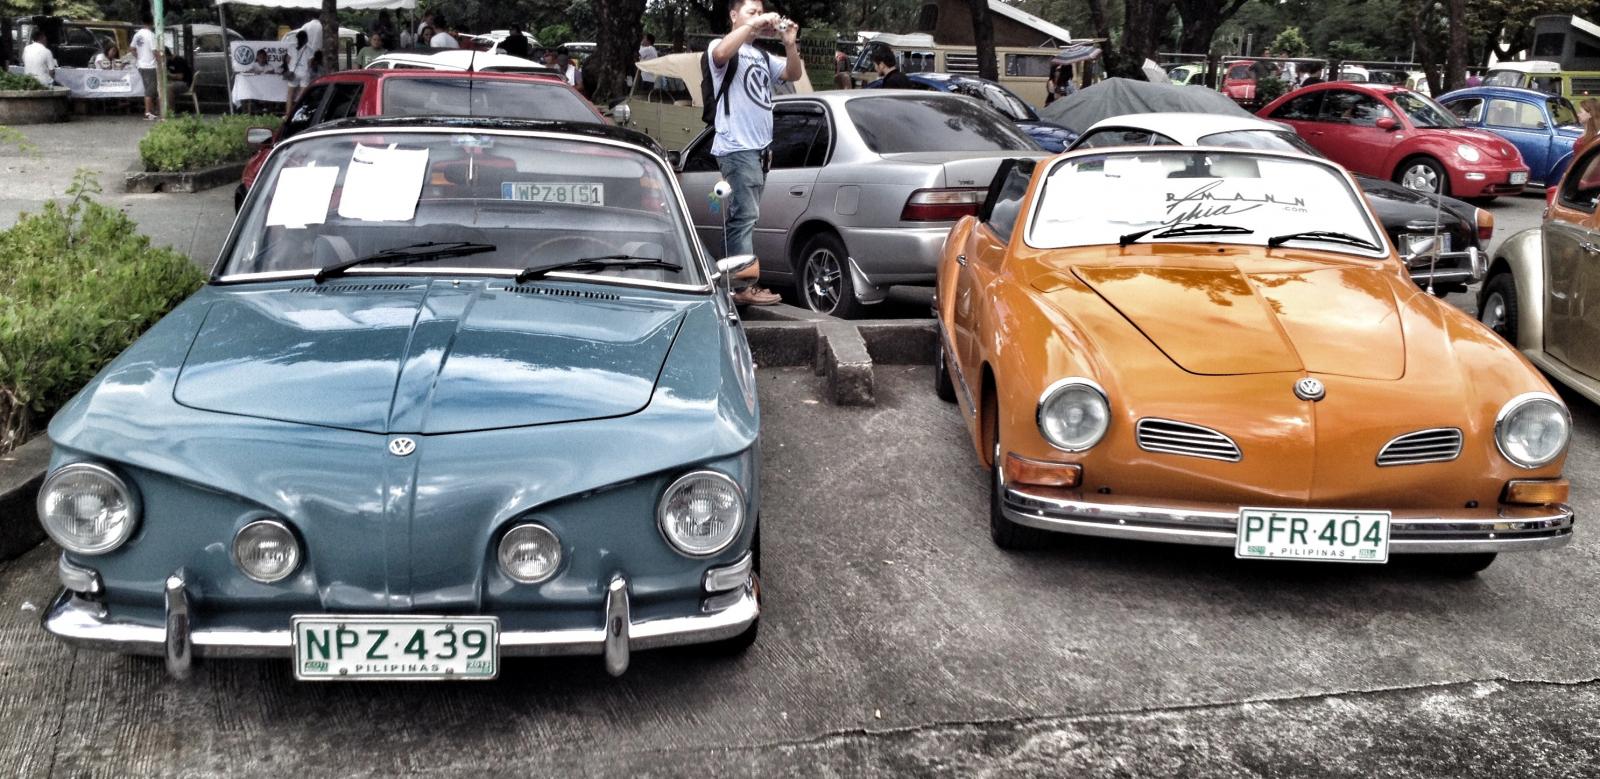
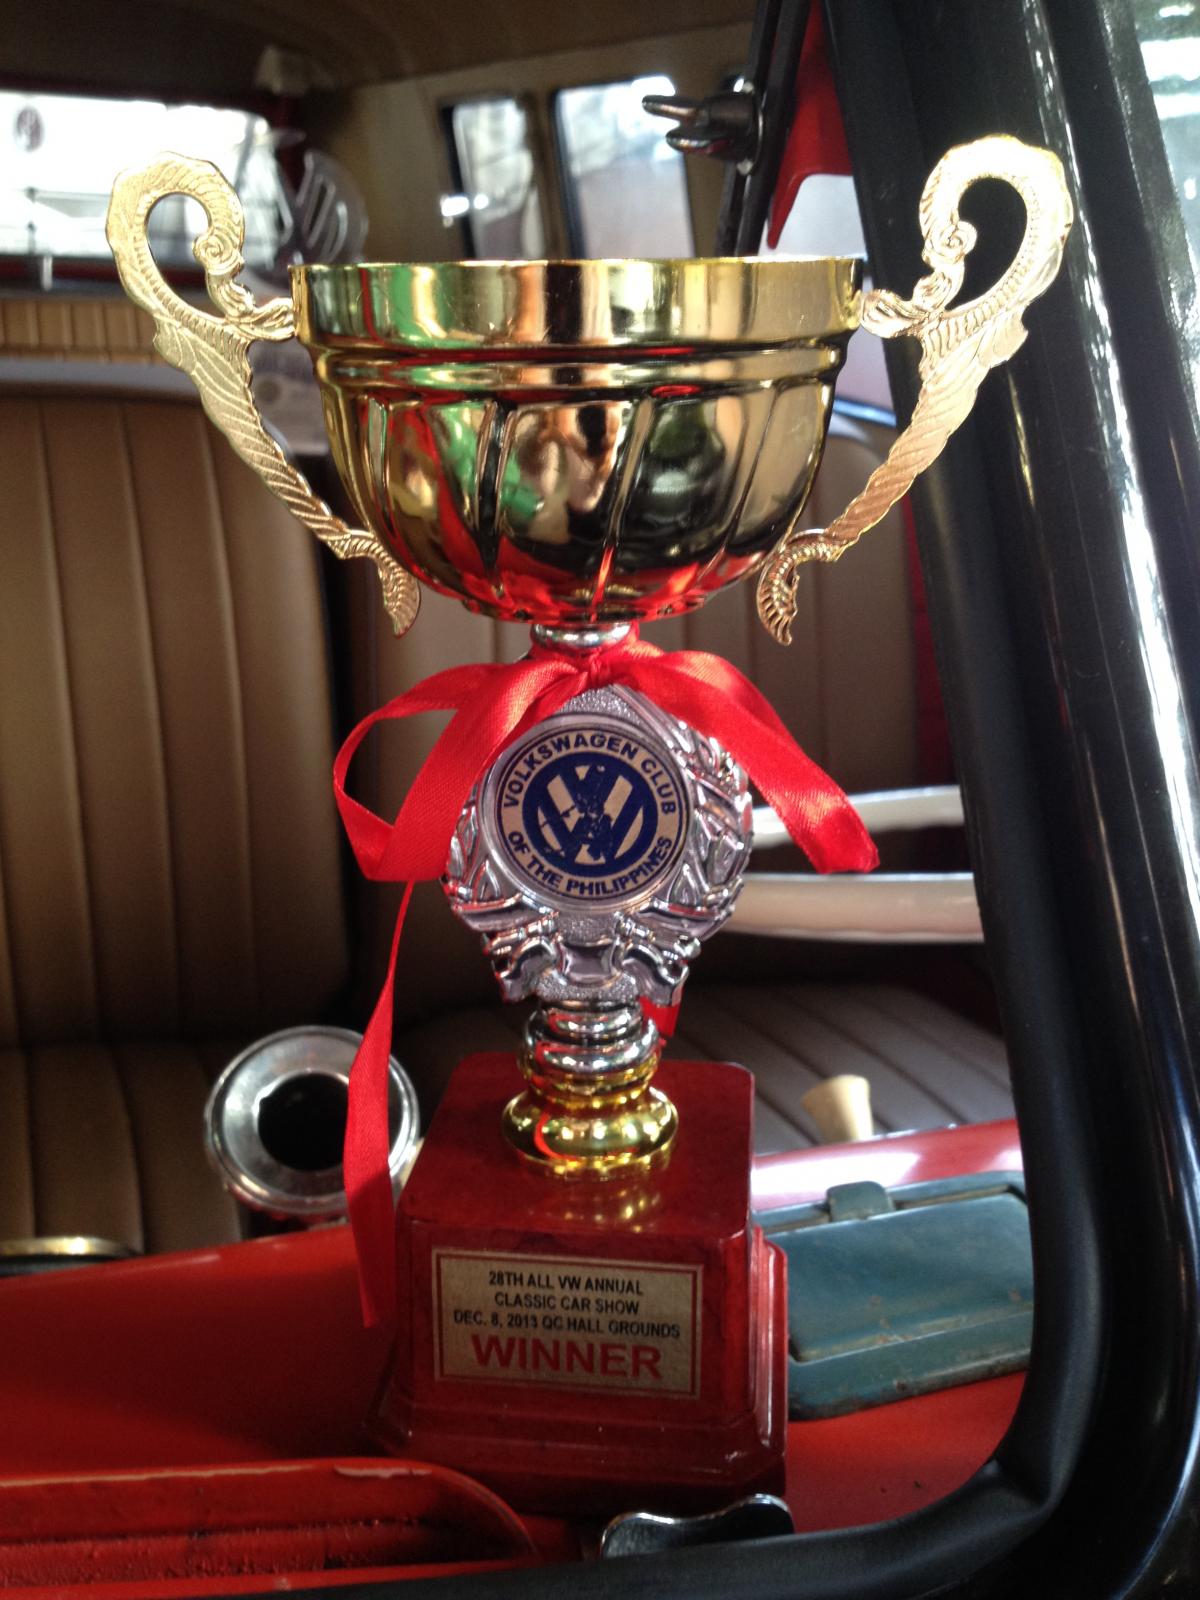
Our trophy.
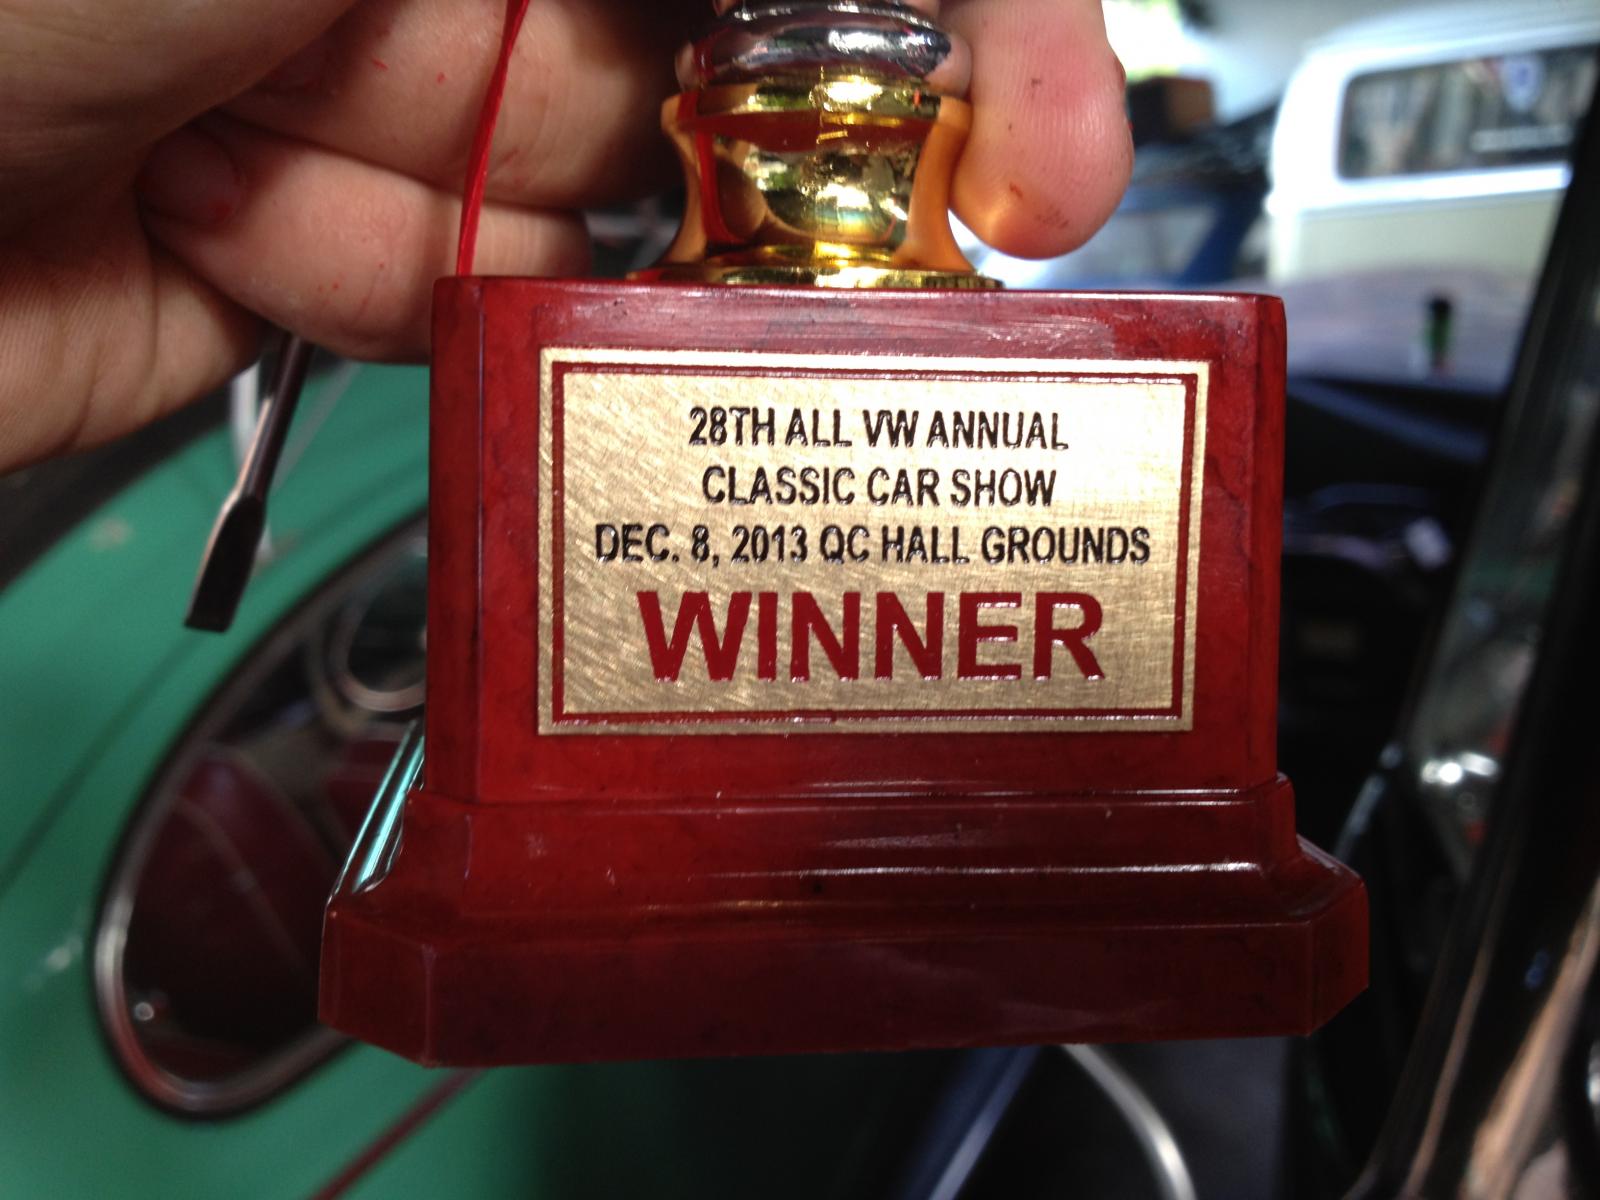
.............a closer look.
These are some of the pictures.


This is the roof rack I supervised when we built it. I will post build sequence soon.

My father posing next to our Split!


Our trophy.

.............a closer look.
dongkg
Registered user
Posts: 90
Joined: Tue Jul 16, 2013 7:58 am
Re: My '67 Split Bus Resto Thread in the Philippines
by dongkg » Fri Dec 13, 2013 9:22 am
I found this Type 2 ambulance overhead fan switch. I will install it this weekend. I wonder what size of fan can fit in?
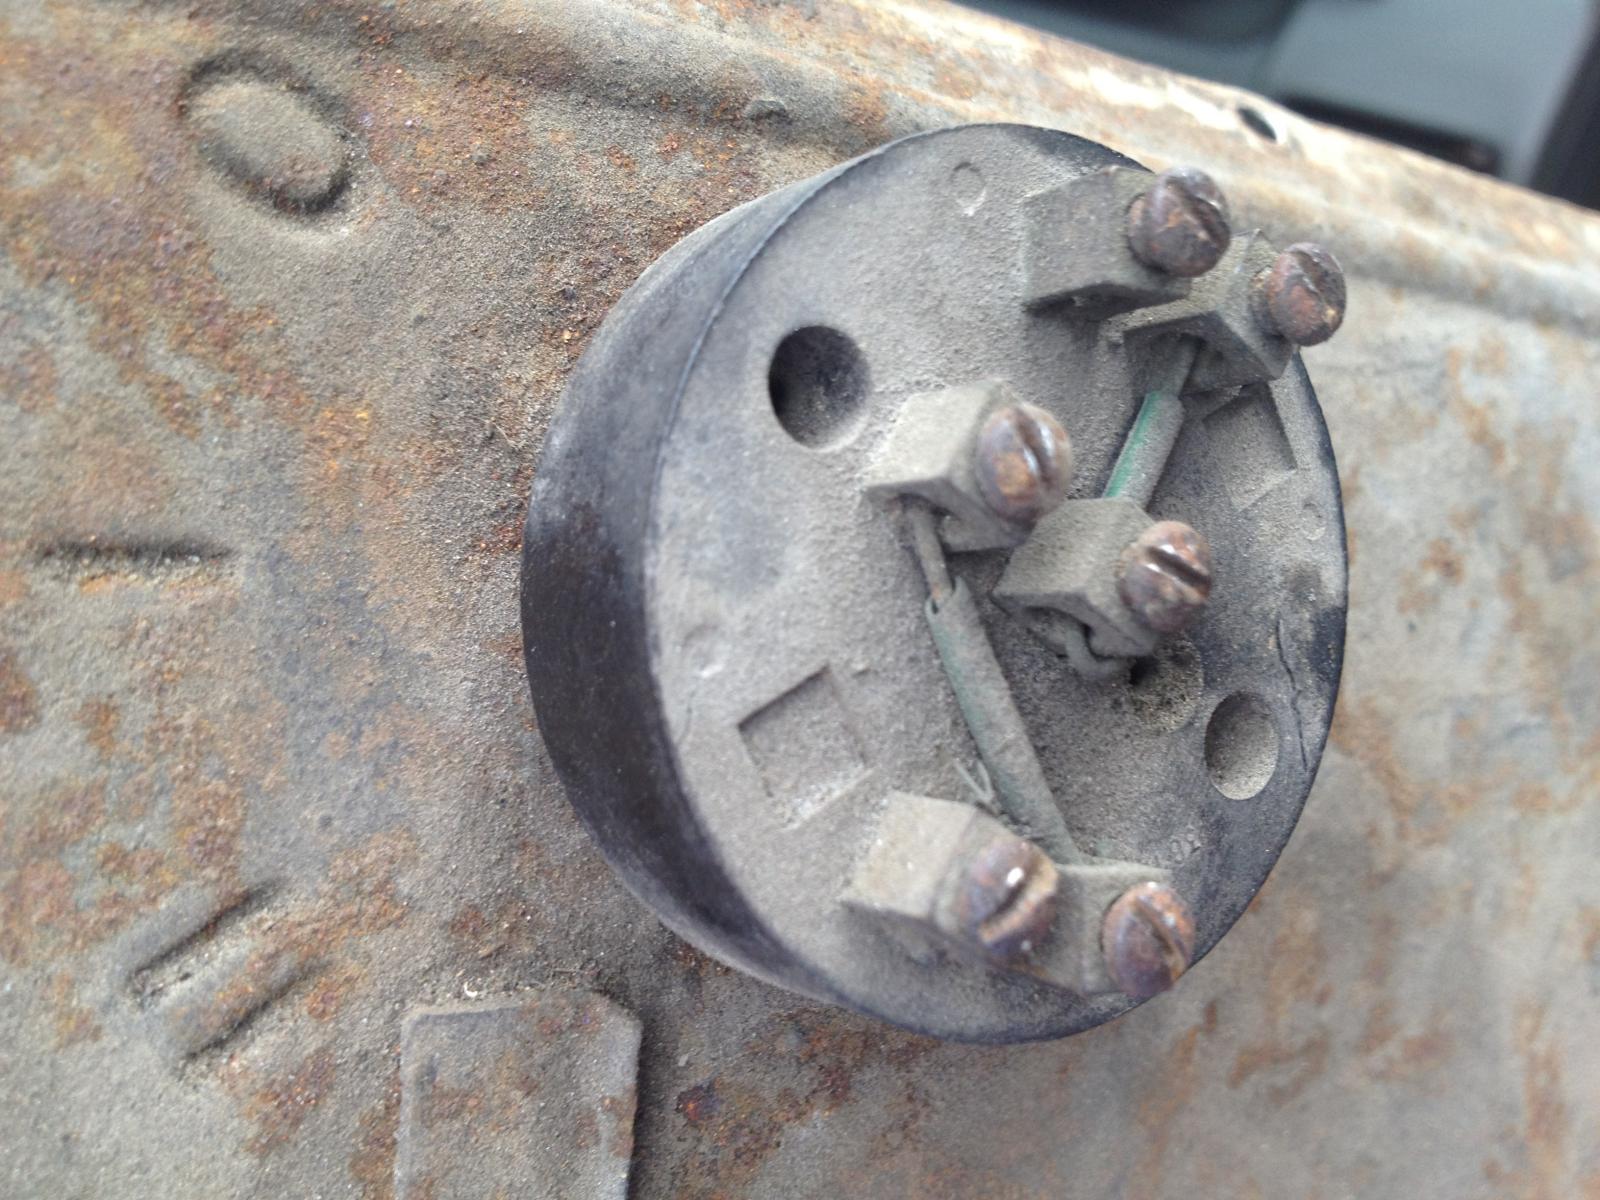
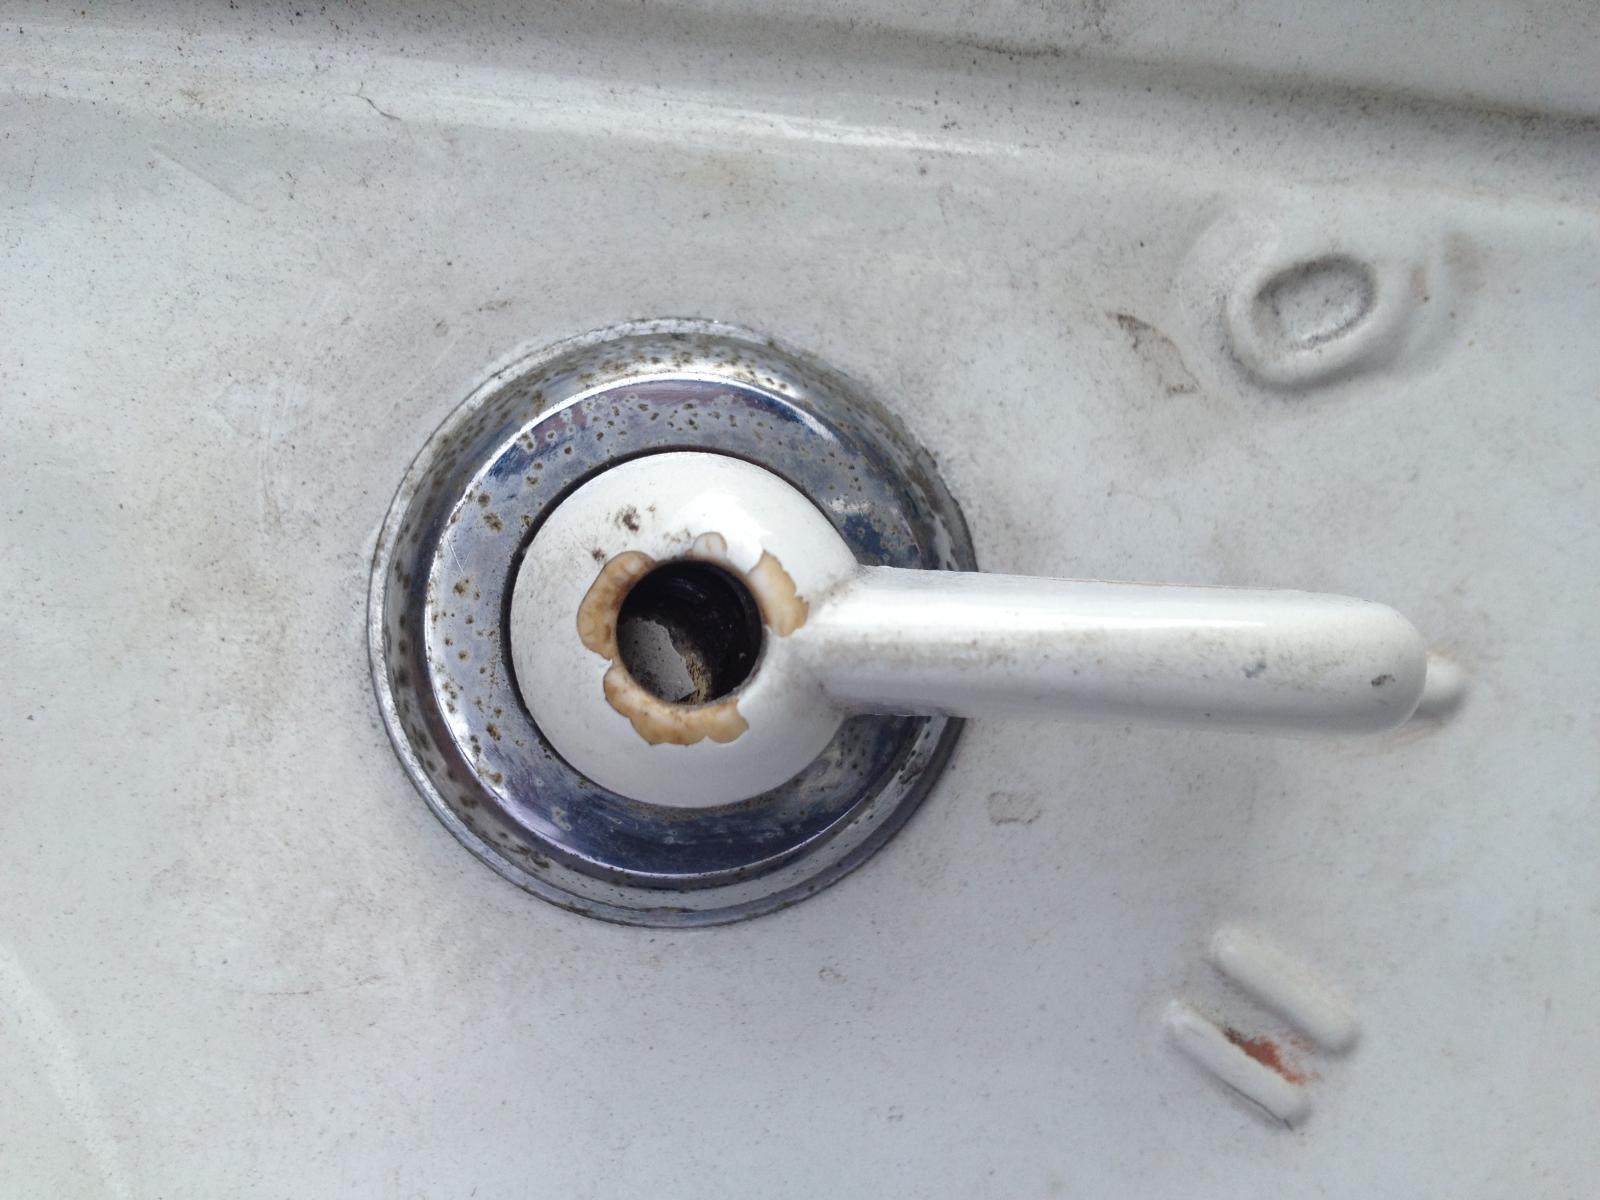
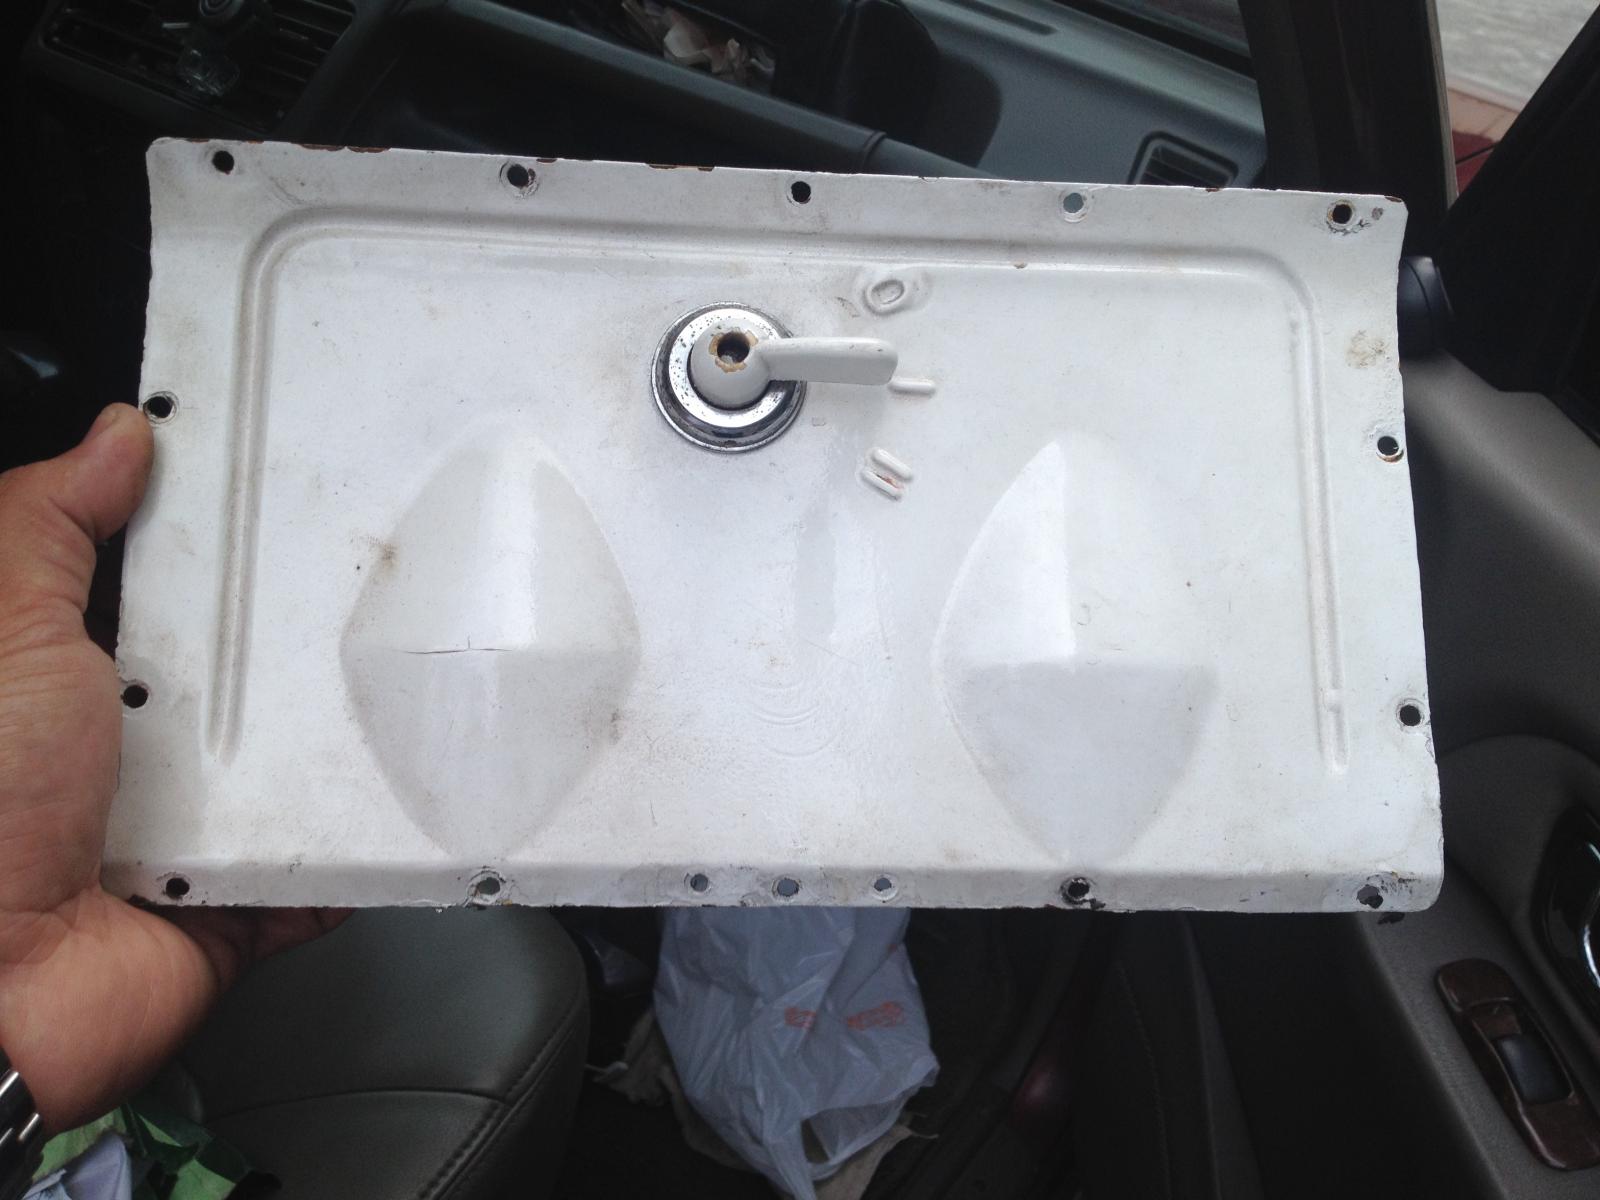
thanks,
Dong


thanks,
Dong
dongkg
Registered user
Posts: 90
Joined: Tue Jul 16, 2013 7:58 am
Re: My '67 Split Bus Resto Thread in the Philippines
by dongkg » Thu Jan 02, 2014 3:09 pm
Just made a video of our Split bus!
[youtube]http://www.youtube.com/watch?v=bnjVQbPYWDs&feature=youtu.be[/youtube]
Thanks,
Dong
[youtube]http://www.youtube.com/watch?v=bnjVQbPYWDs&feature=youtu.be[/youtube]
Thanks,
Dong
dongkg
Registered user
Posts: 90
Joined: Tue Jul 16, 2013 7:58 am
Re: My '67 Split Bus Resto Thread in the Philippines
by dongkg » Sun Oct 05, 2014 12:56 pm
http://s1125.photobucket.com/user/dong_ ... 2.mp4.html
just sharing a video of my split I made.. thanks a lot. I am busy now completing my kubelwagen replica project
dongkg
Registered user
Posts: 90
Joined: Tue Jul 16, 2013 7:58 am
Re: My '67 Split Bus Resto Thread in the Philippines
by dongkg » Wed Mar 18, 2015 10:12 am
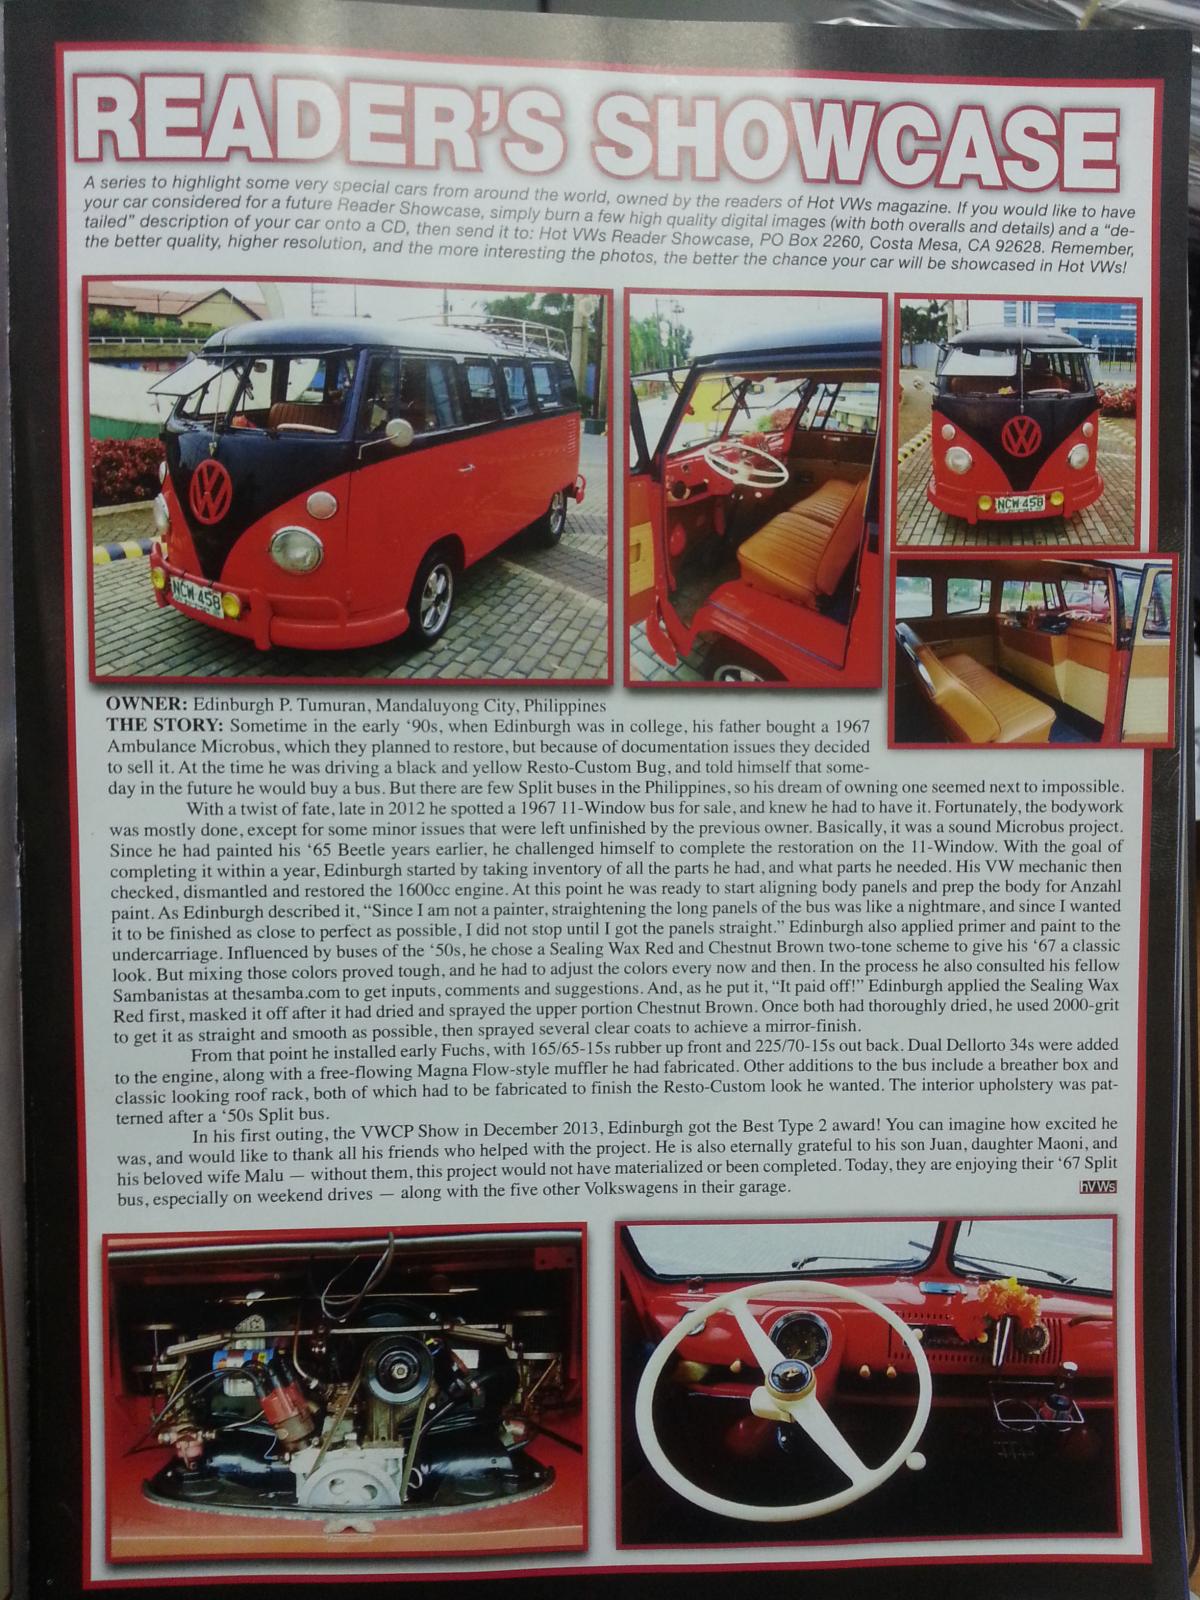
My 67 split bus. made it to the april 2015 issue of the hot vw magazine at reader's showcase section. thanks to the editors..
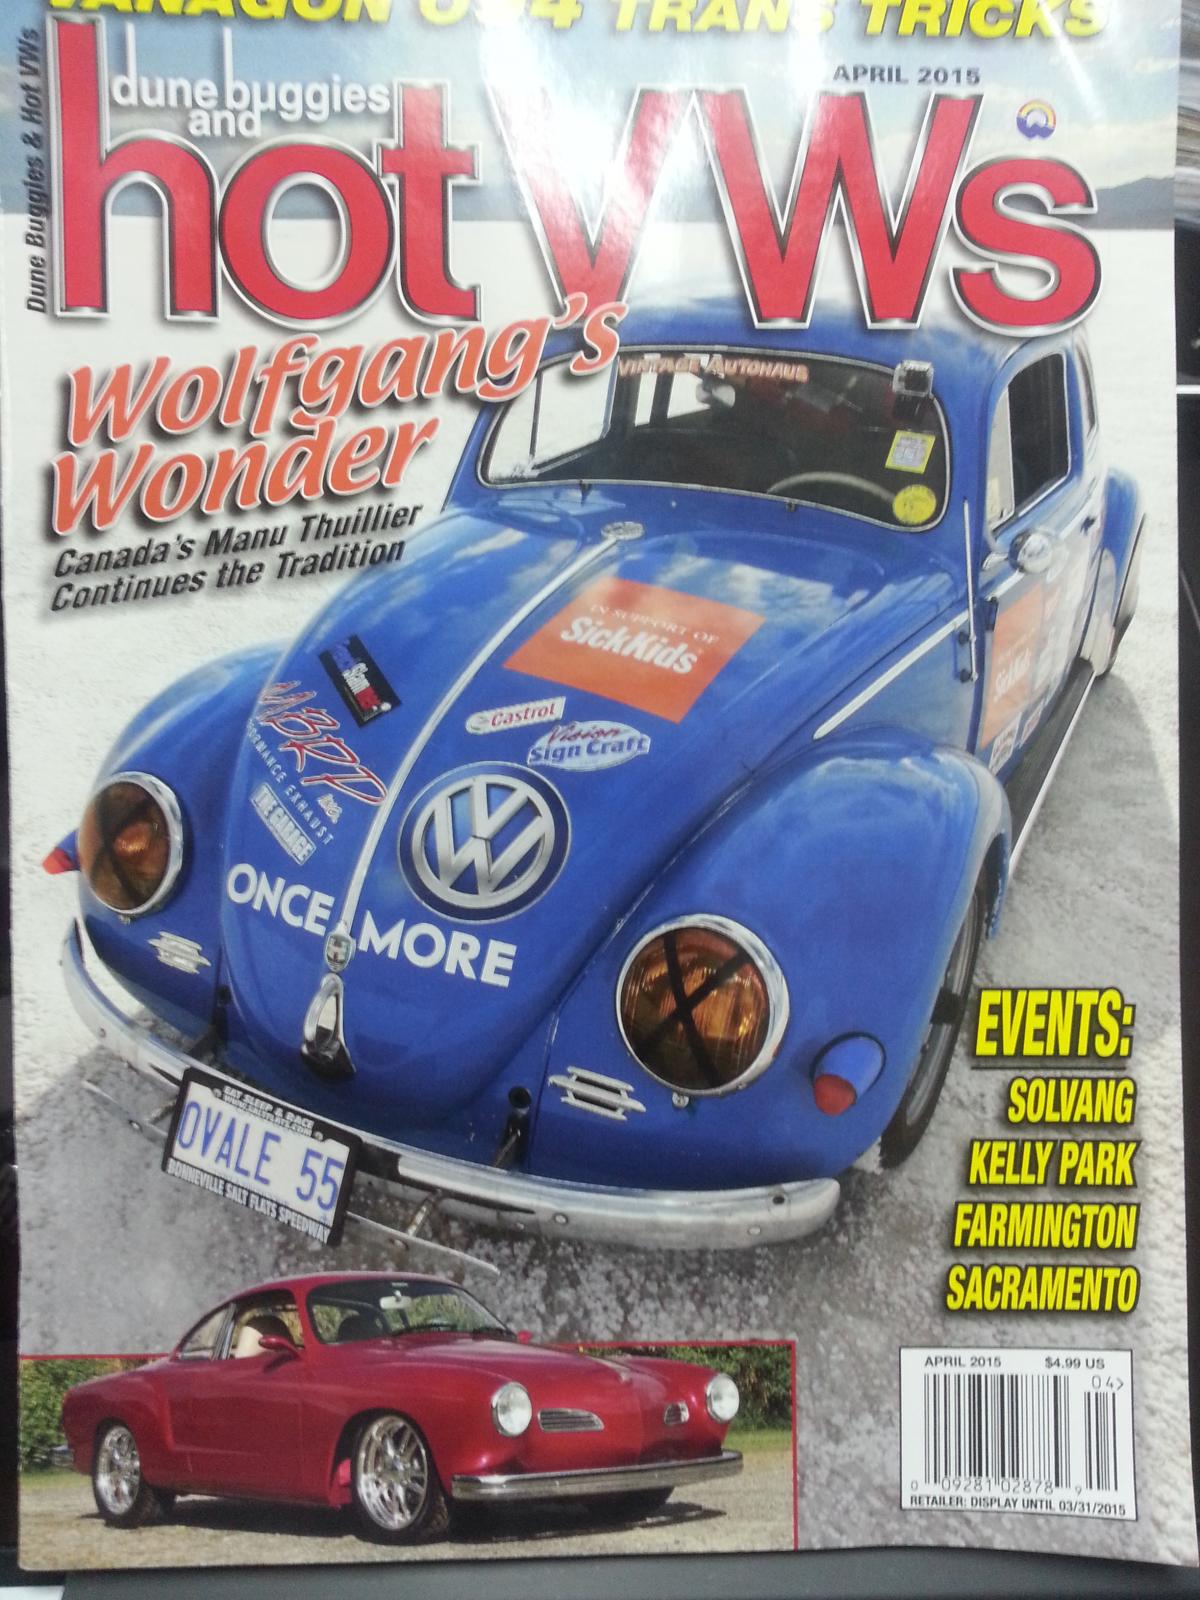


dongkg
Registered user
Posts: 90
Joined: Tue Jul 16, 2013 7:58 am
Re: My '67 Split Bus Resto Thread in the Philippines
by dongkg » Thu Sep 10, 2015 8:26 am
It has been a while since I posted an update on our 67 Splitty bus. I got this vintage Fram oil filter that I have been toying with the idea of installing the same. With a very busy schedule, work, family, biking and running and other weekend family getaways, I never had the chance to install it. Fortunately, I had the time last weekend and I installed it.
First, of course, removing all the necessary parts is a must. The game plan was to install the return of the oil onto the small covered hole on the base of the generator stand. Vintage Speed Theme.
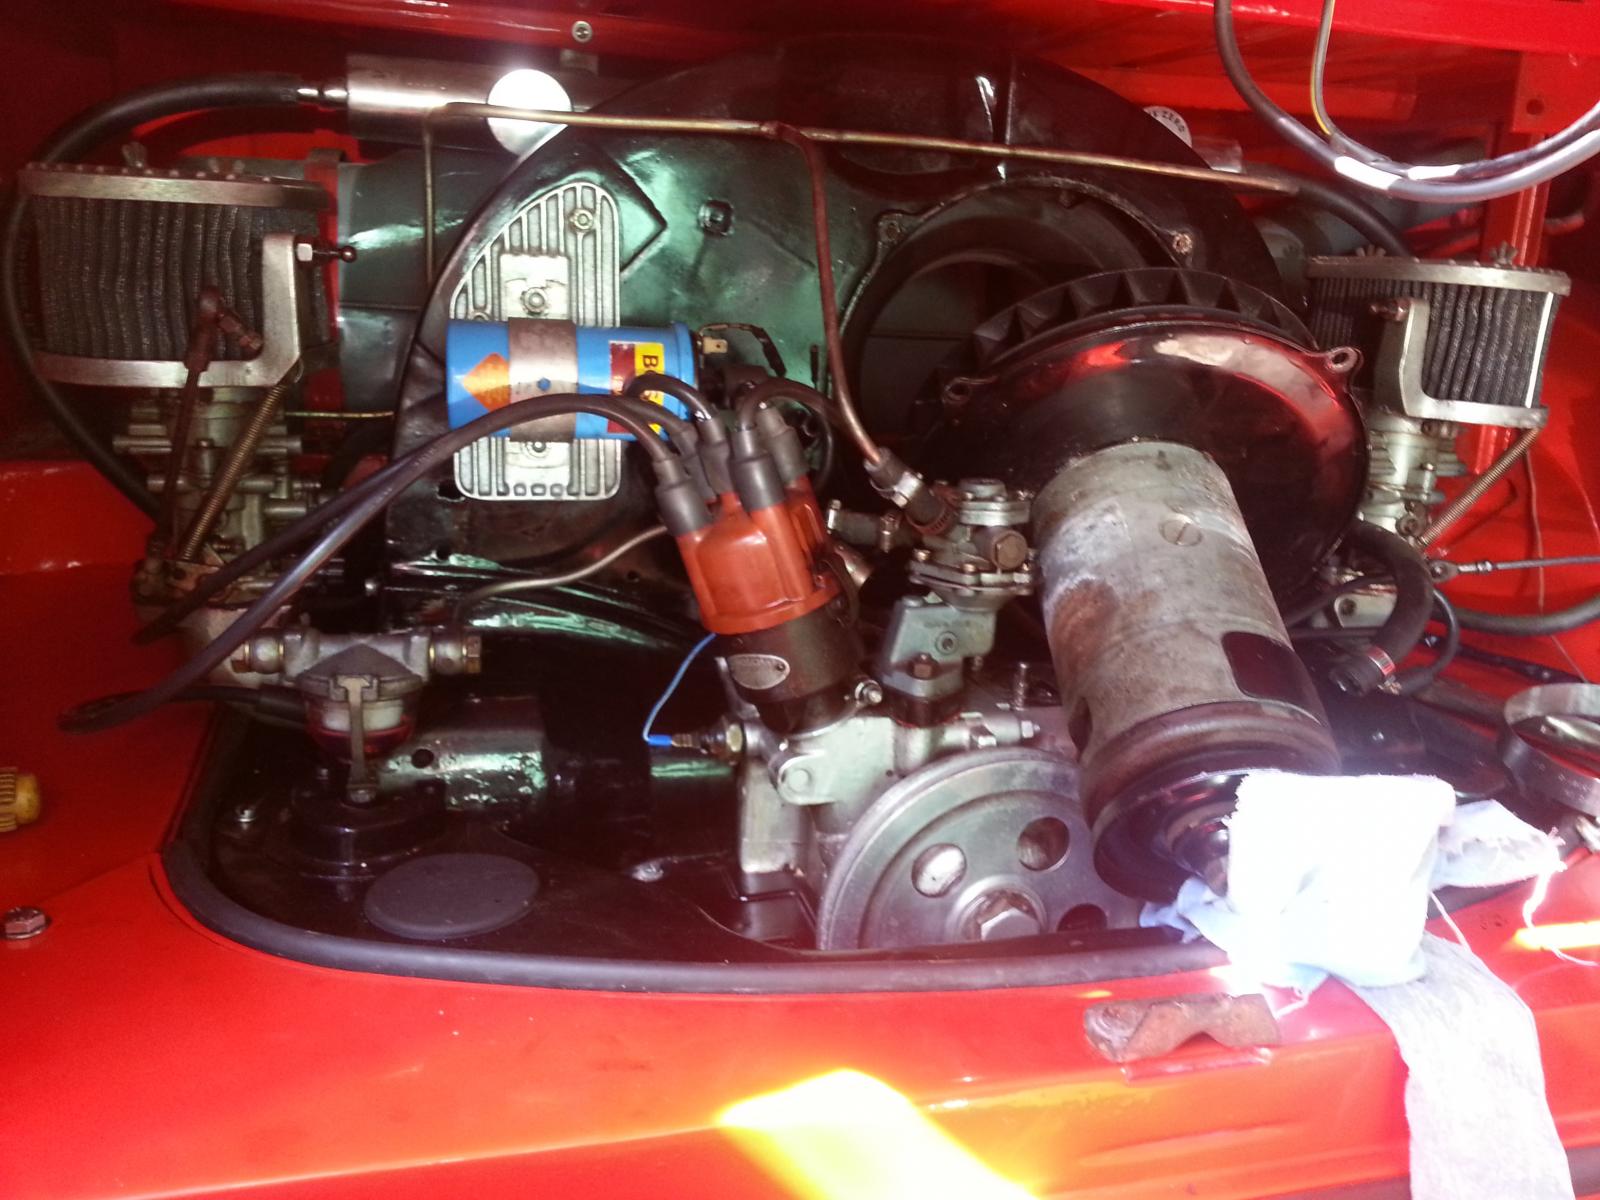
Removing the parts is quite easy.
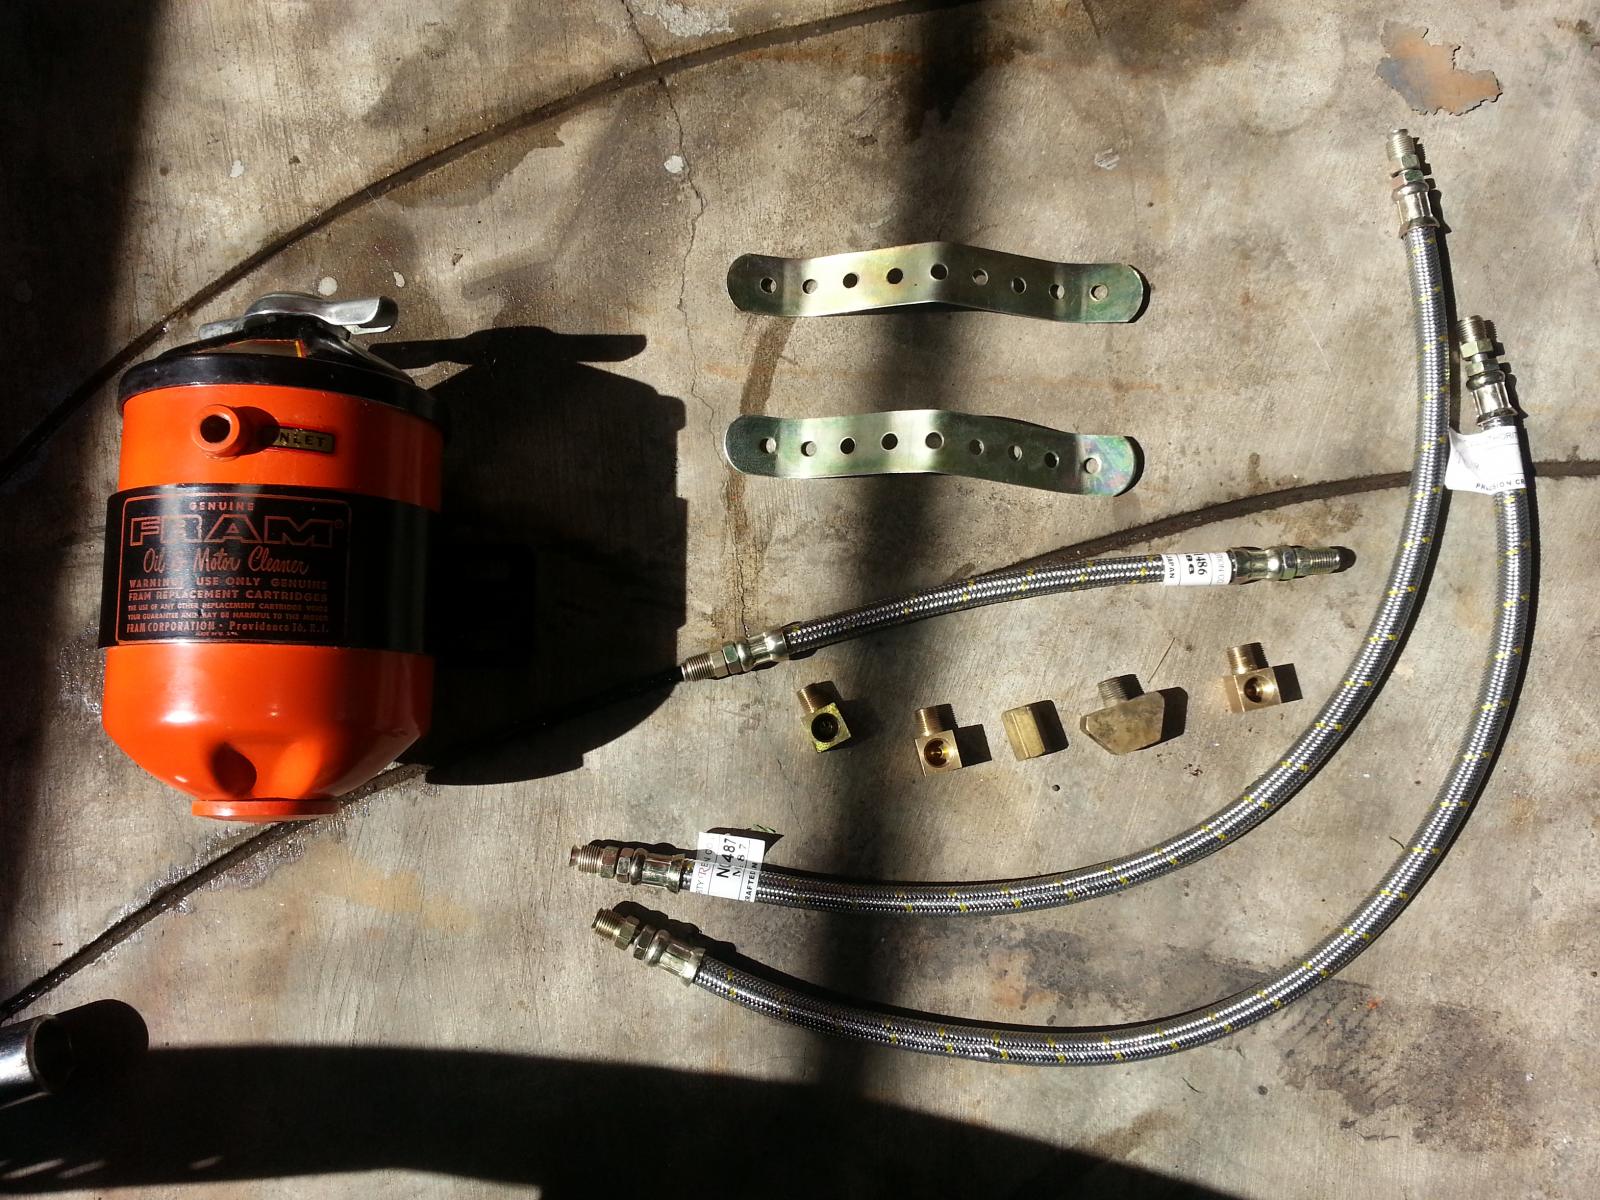
These are the parts that I gathered for the installation of the Fram. The elbow fittings came in handy. I bought the hoses that looked the same from the original used for the Vintage Speed Theme.

Measuring the diameter of the thread to select the correct tap to be used.
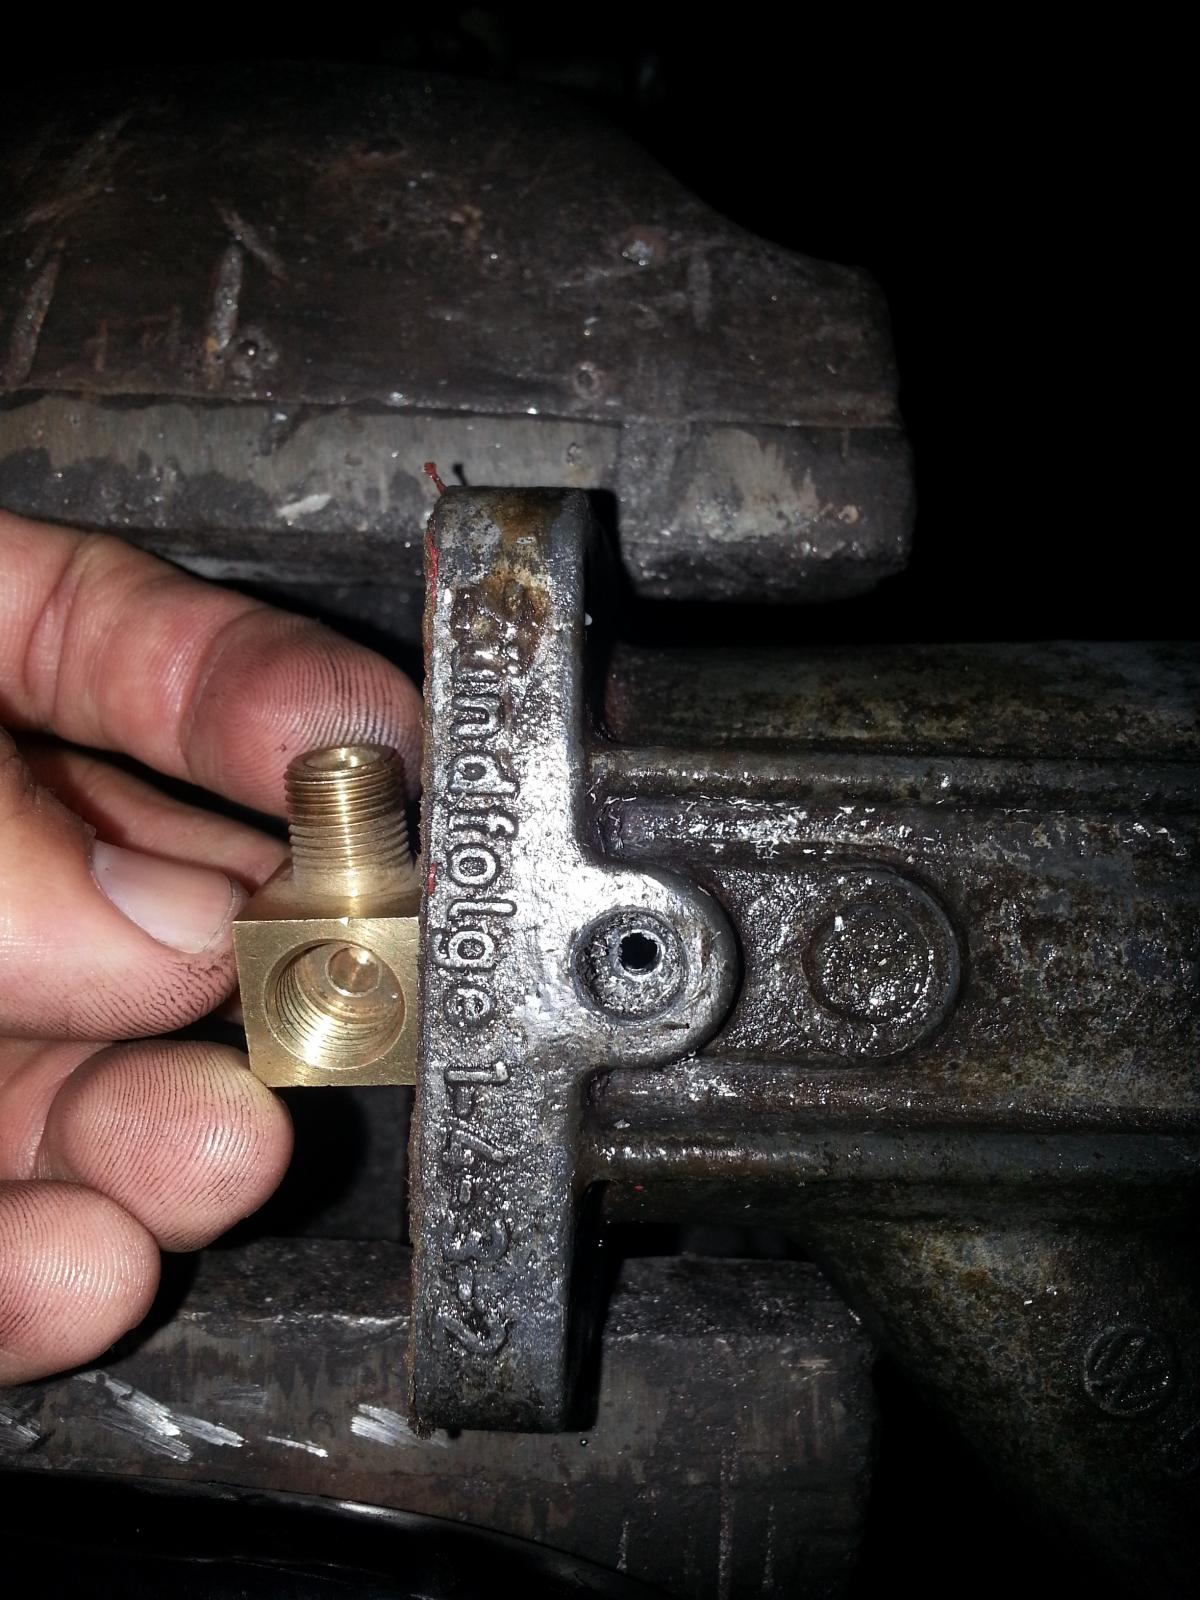
I used a drill bit that is as small as the hole in the fitting and drilled the base of the generator stand. As can be shown in this photo, the holes on both the fitting and the stands are quite the same size.
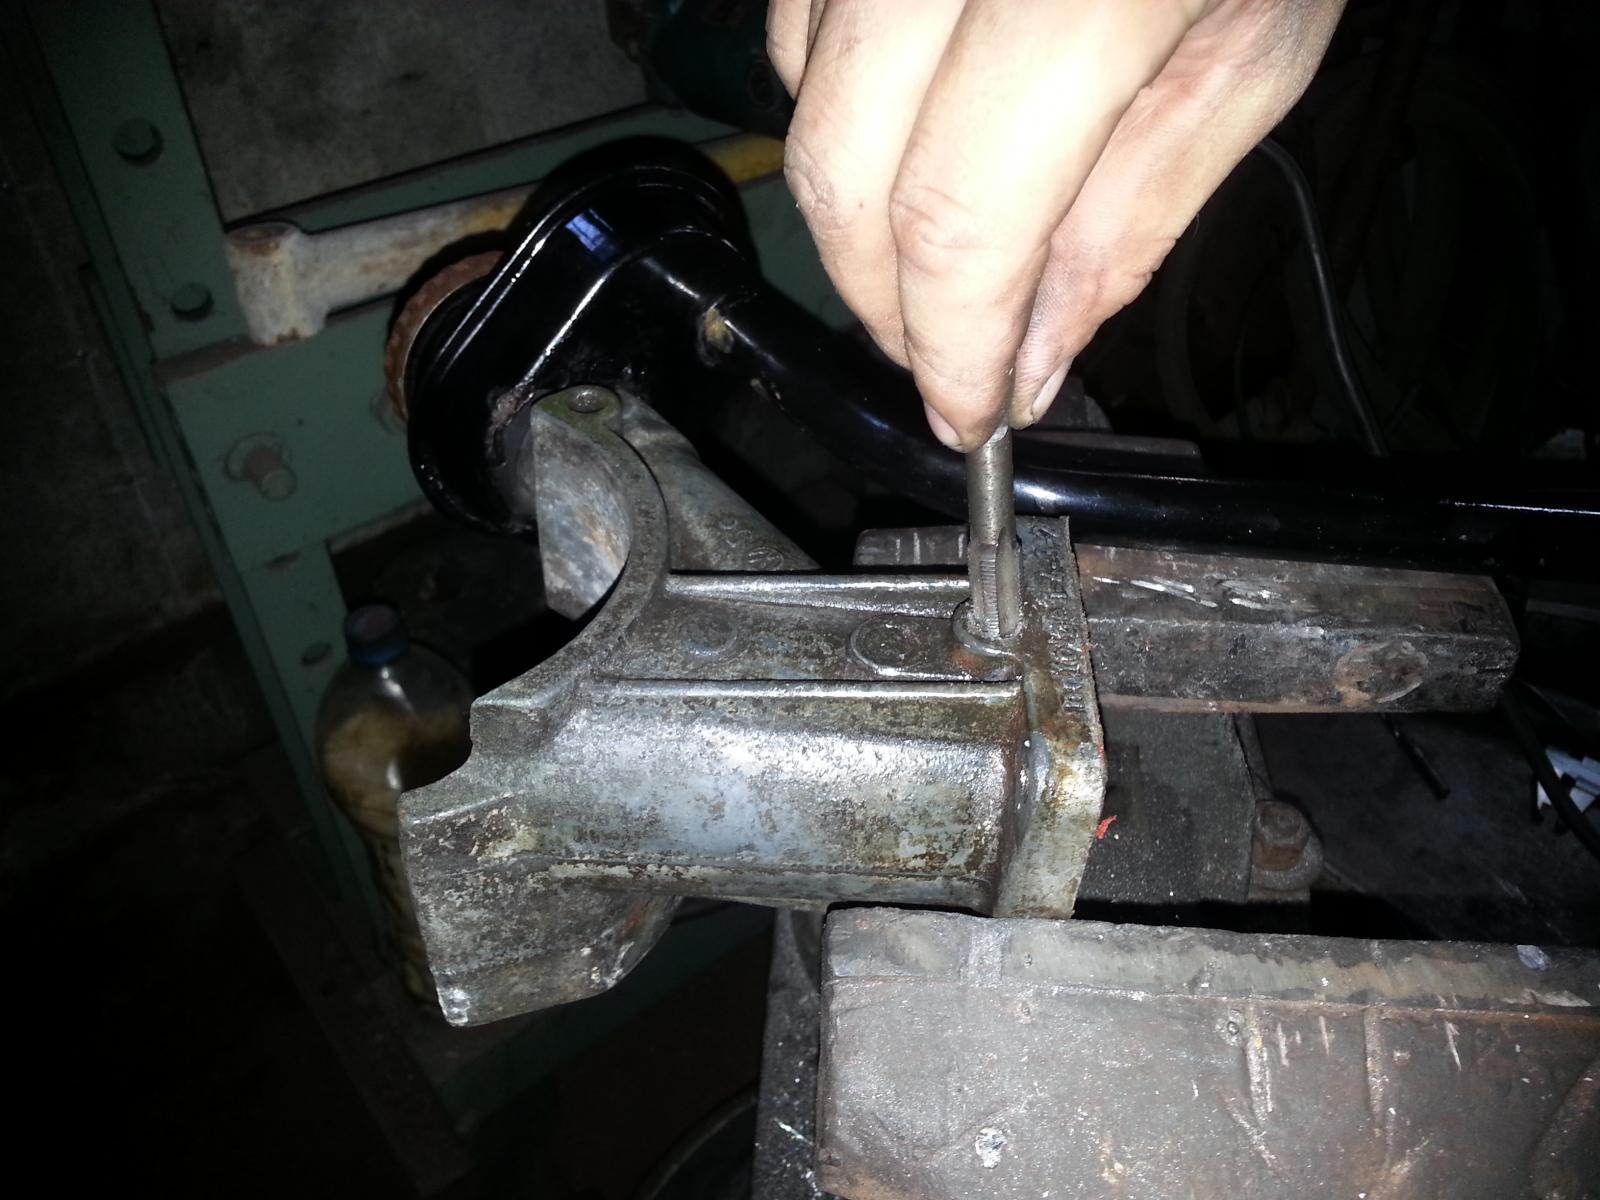
This procedure was quite tricky. the alignment of the tap should be proper so that the leading edge of the thread would to skip a beat. But, once it scrapped the outer portion of the hole, the thread went in smoothly.
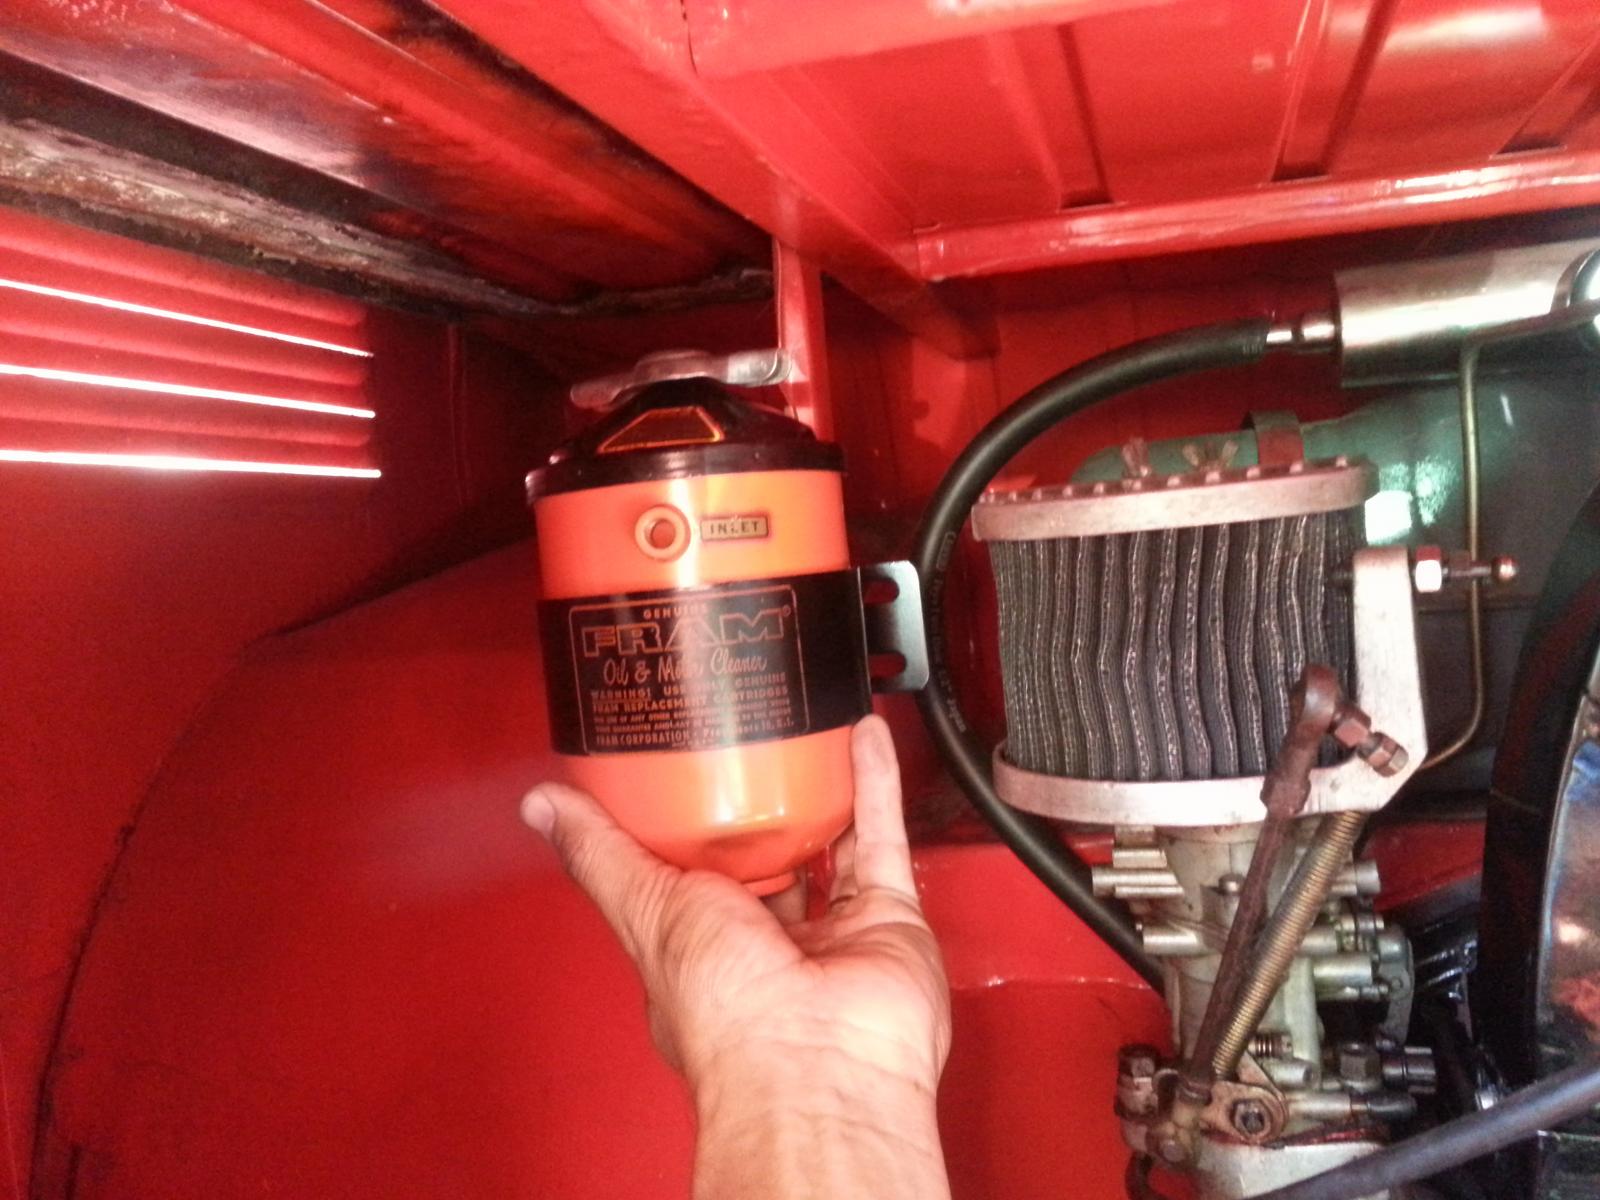
Before inspecting the Fram, I looked for a place where I would place it. And the bracket near the left card was the perfect place.
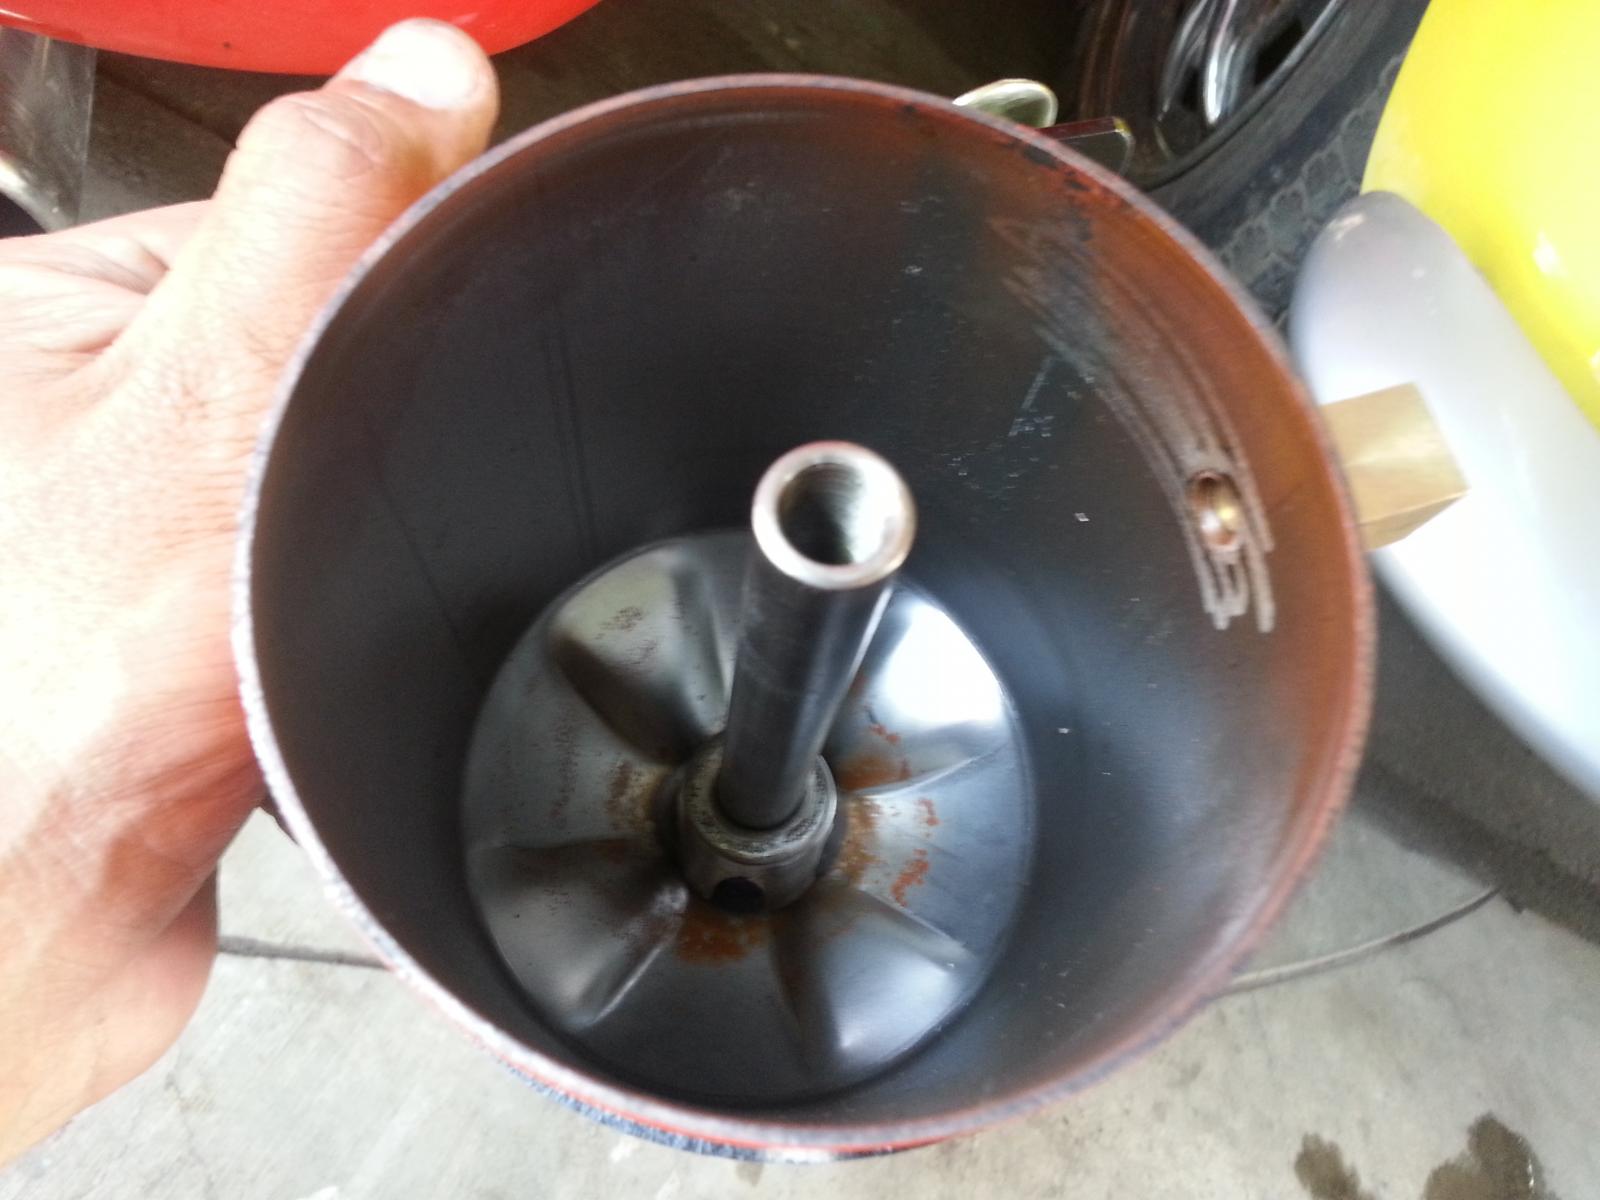
Since, the Fram was a NOS one, it looked pretty clean inside.
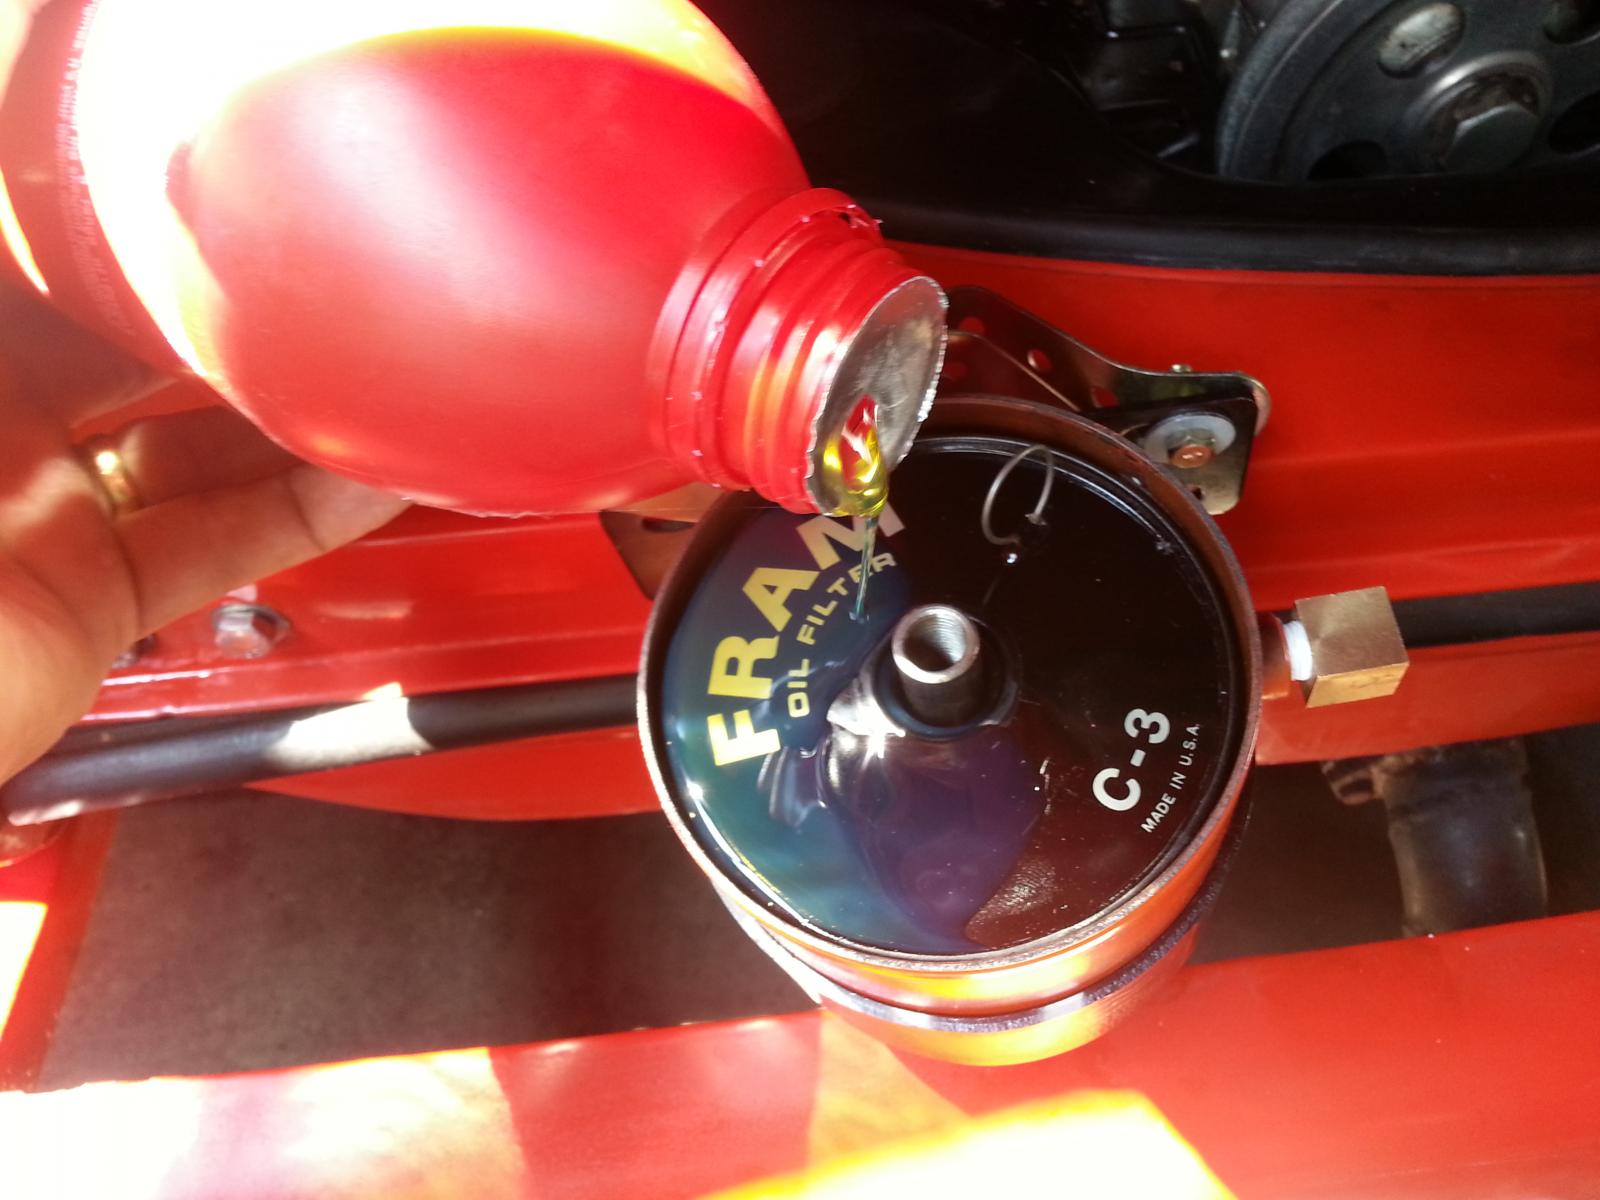
I poured some considerable amount of oil into the Fram so that once the engine stars running, there won't be some unwanted air that would interrupt the continuous flow of the oil.
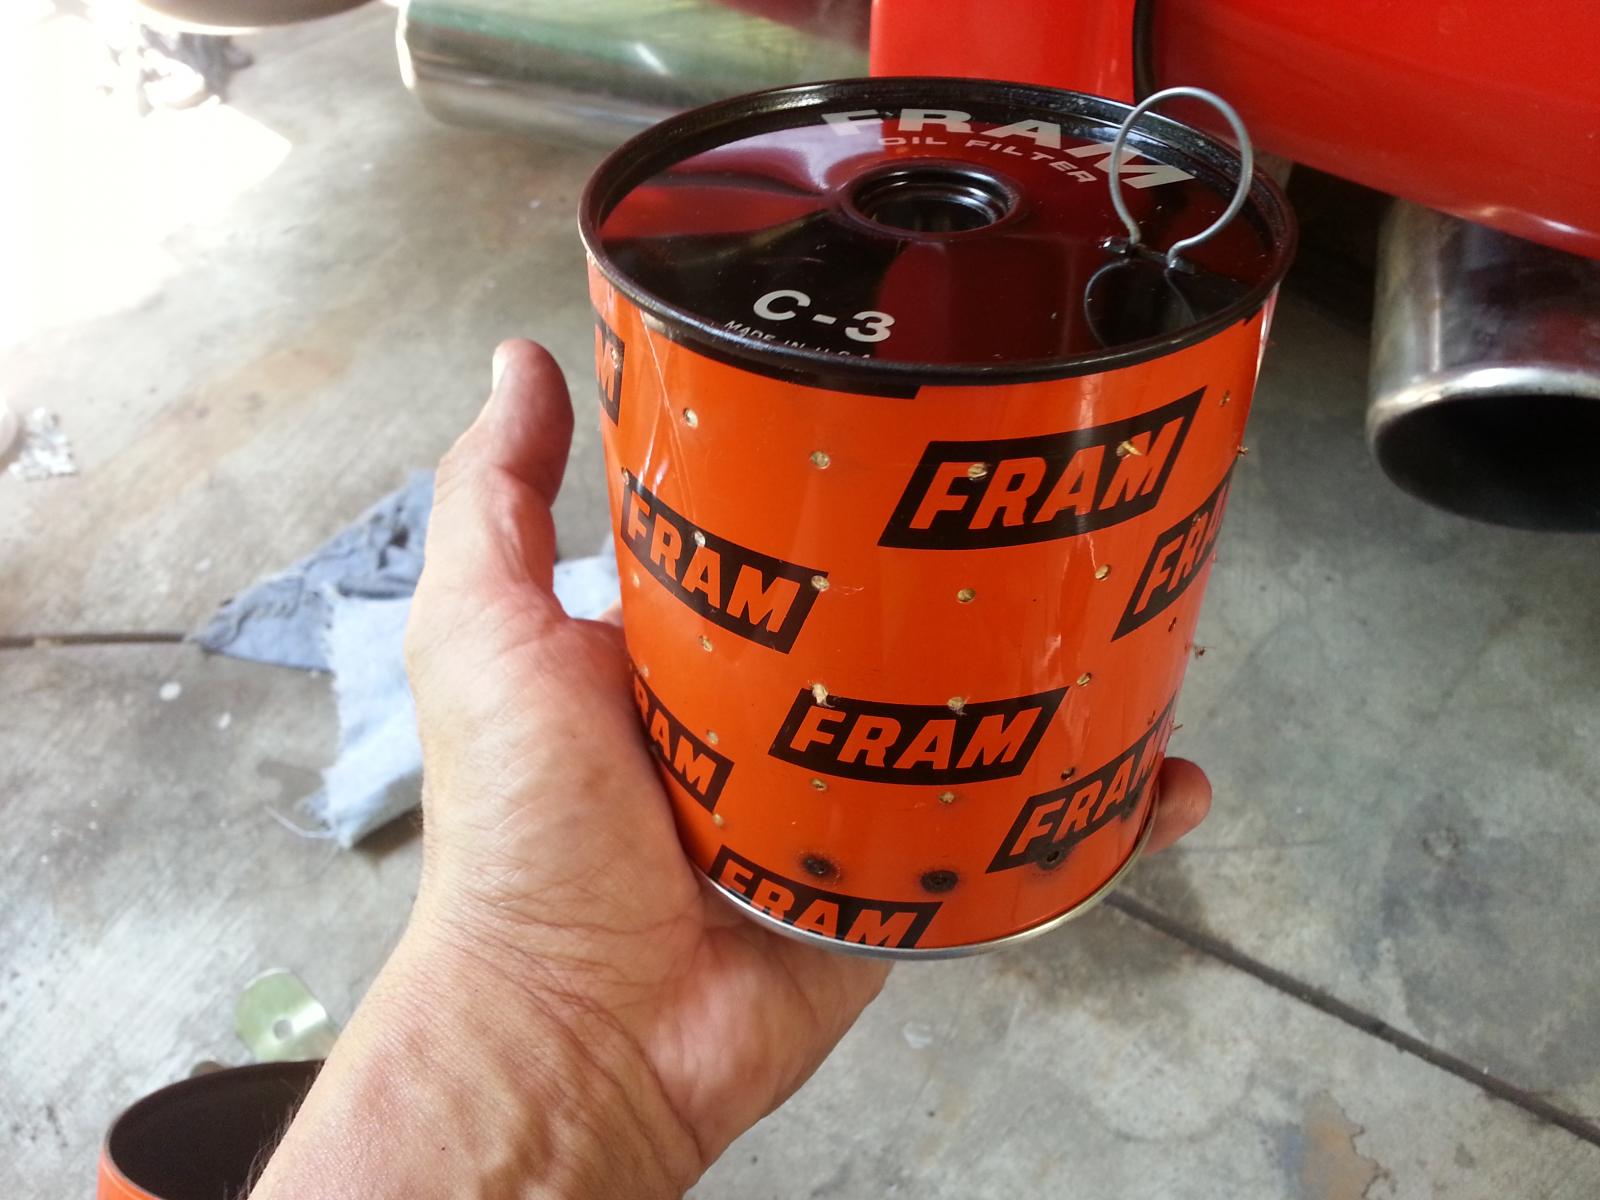
The filter was in great shape despite its age. I looks pretty okay to me.
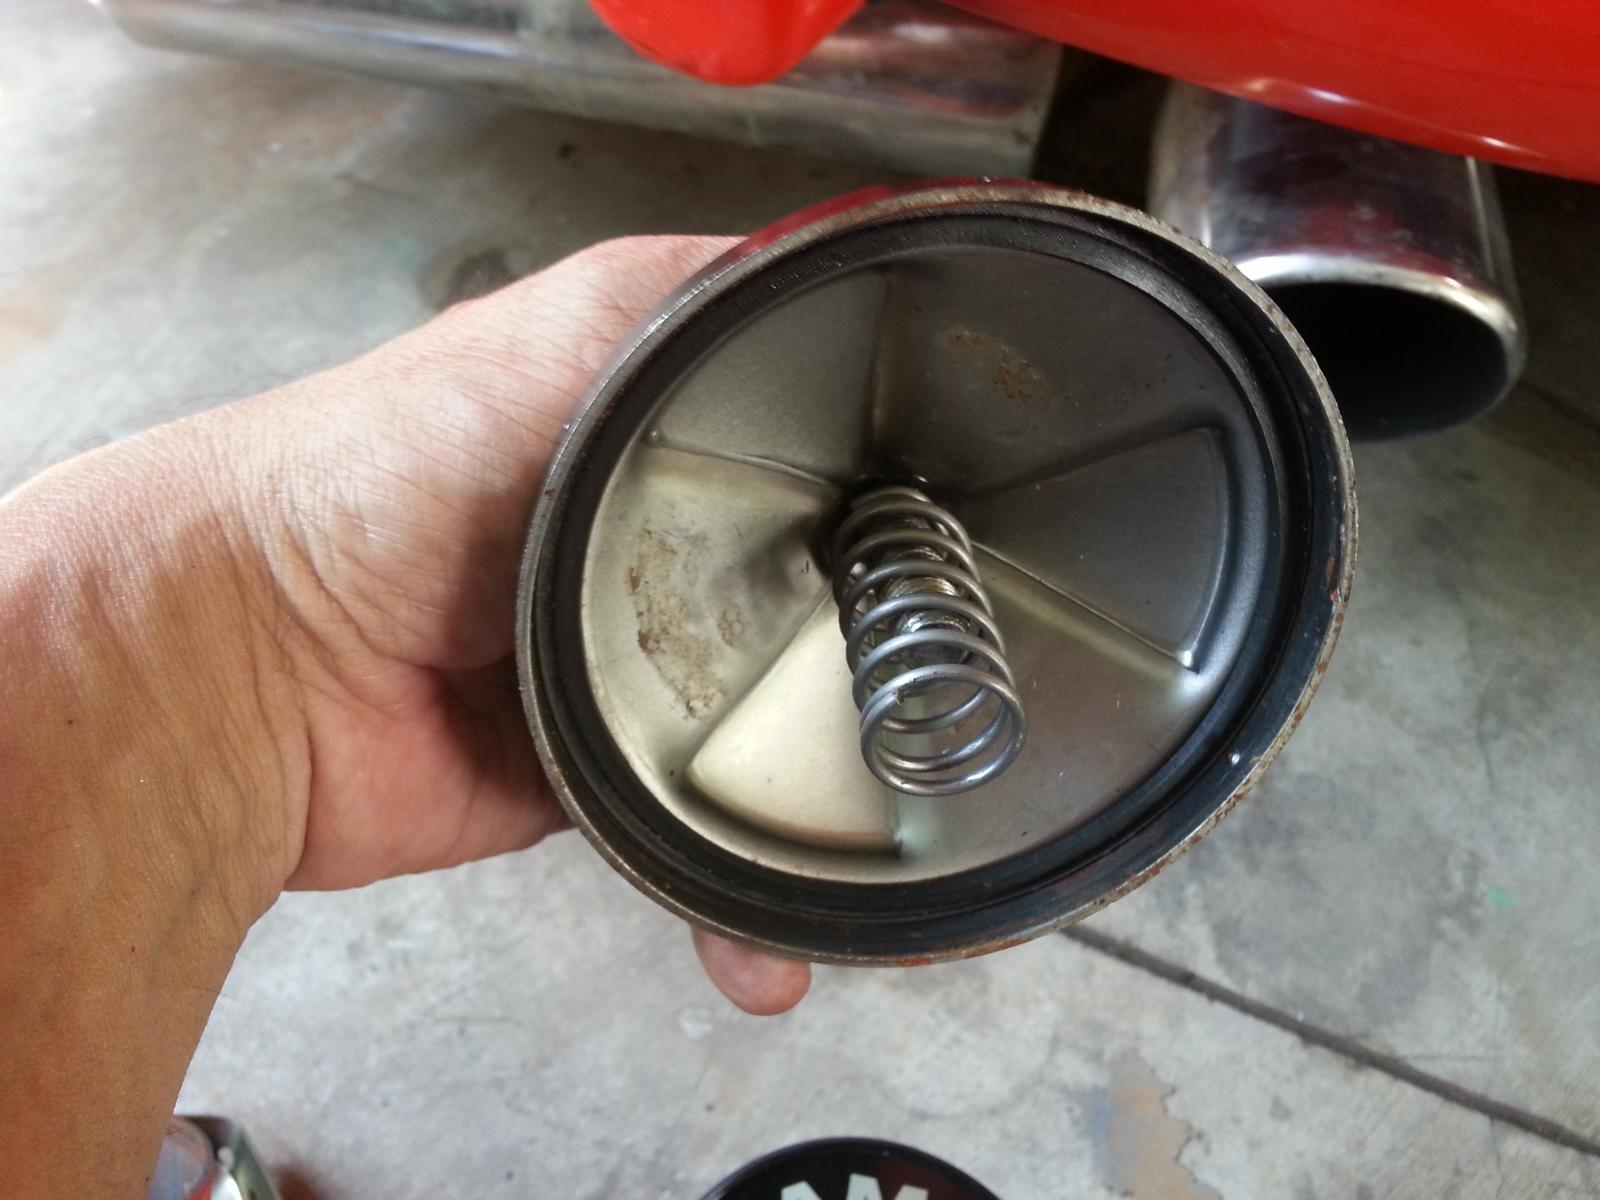
The cap and the the o-ring are still in tip-top shape.
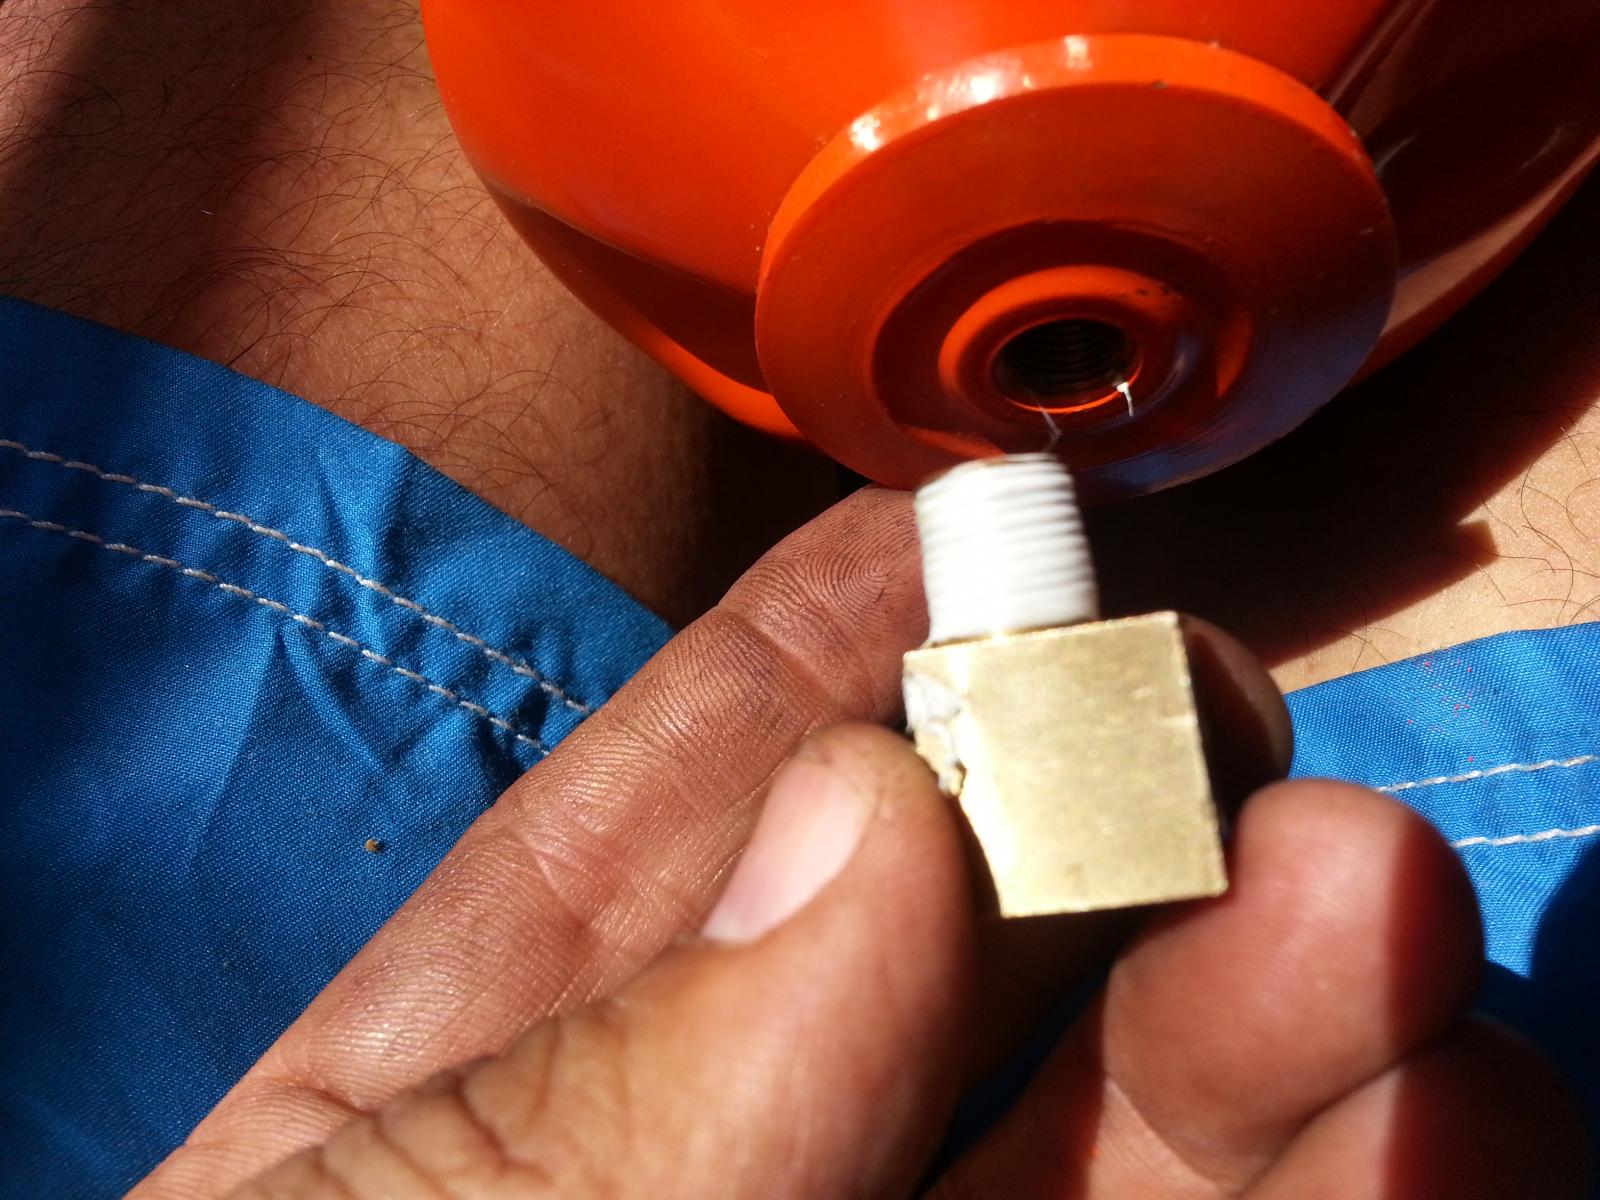
Of course, this sealing material will guaranty a leak-free operation of the Fram filter.
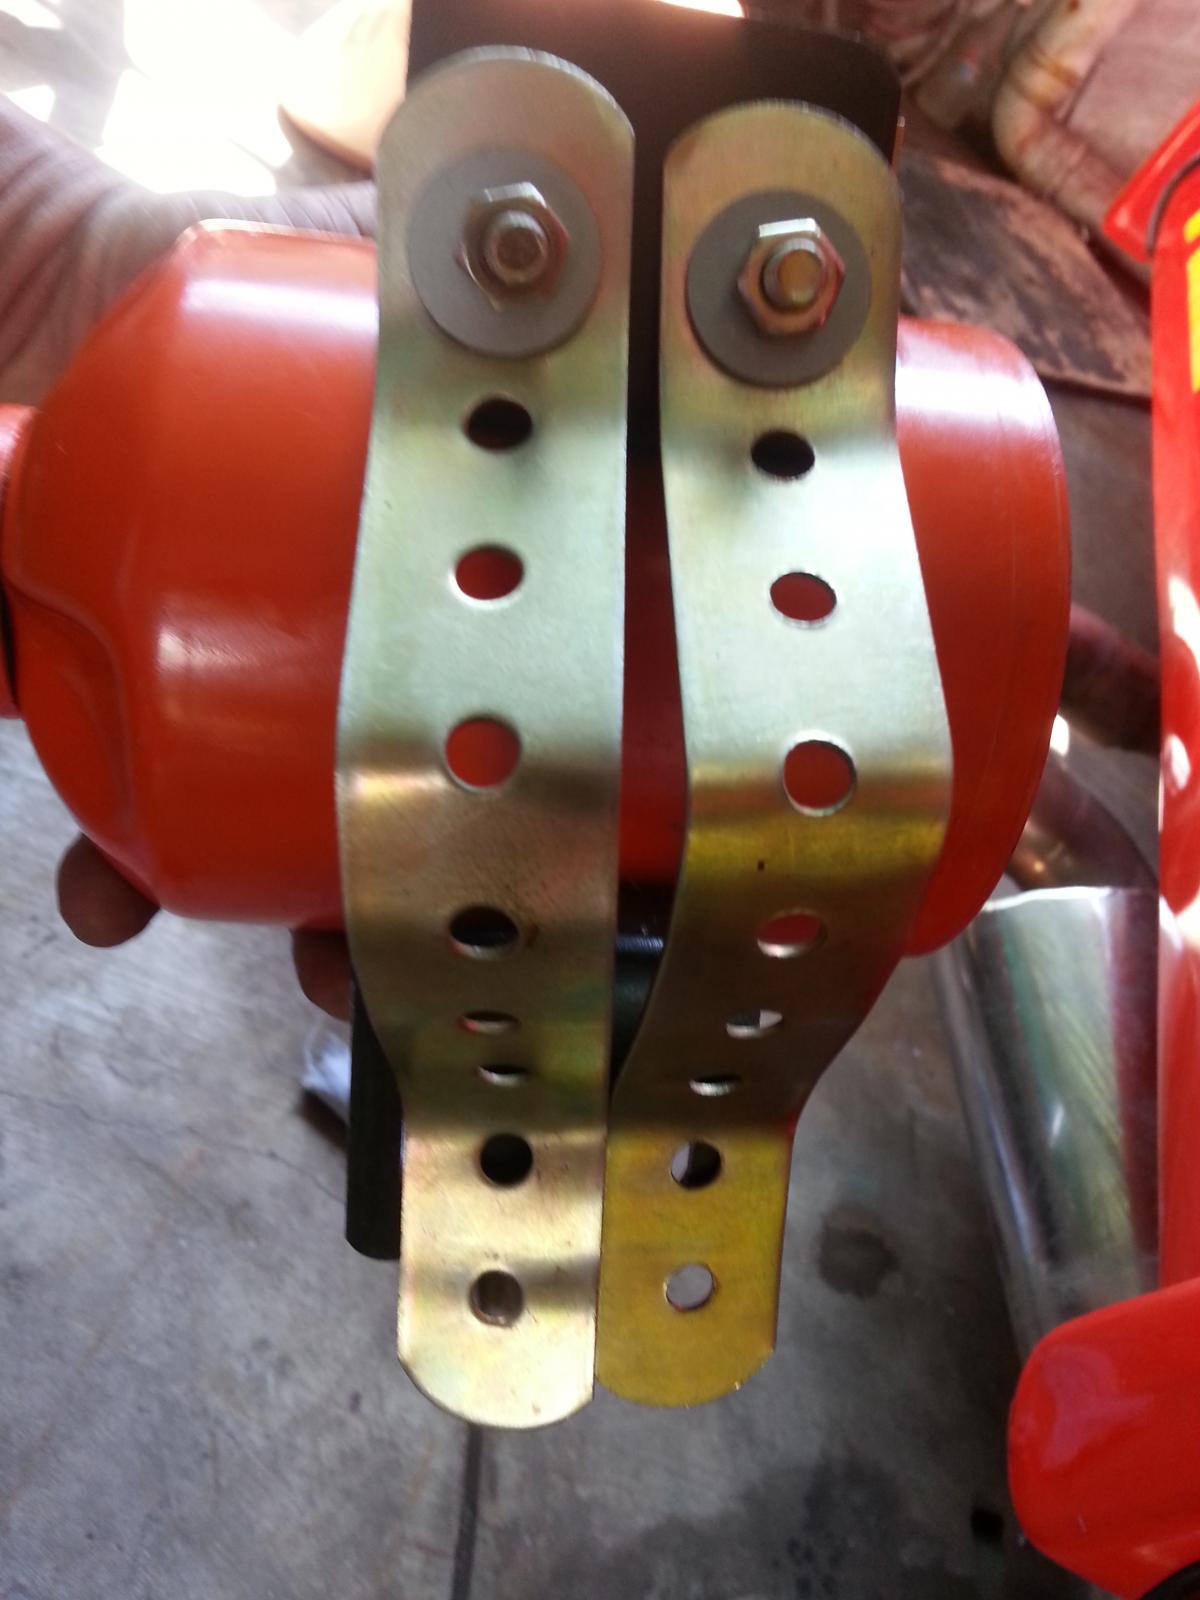
These brackets came in handy and it simplified the installation. The brackets are kept away from prying eyes too.
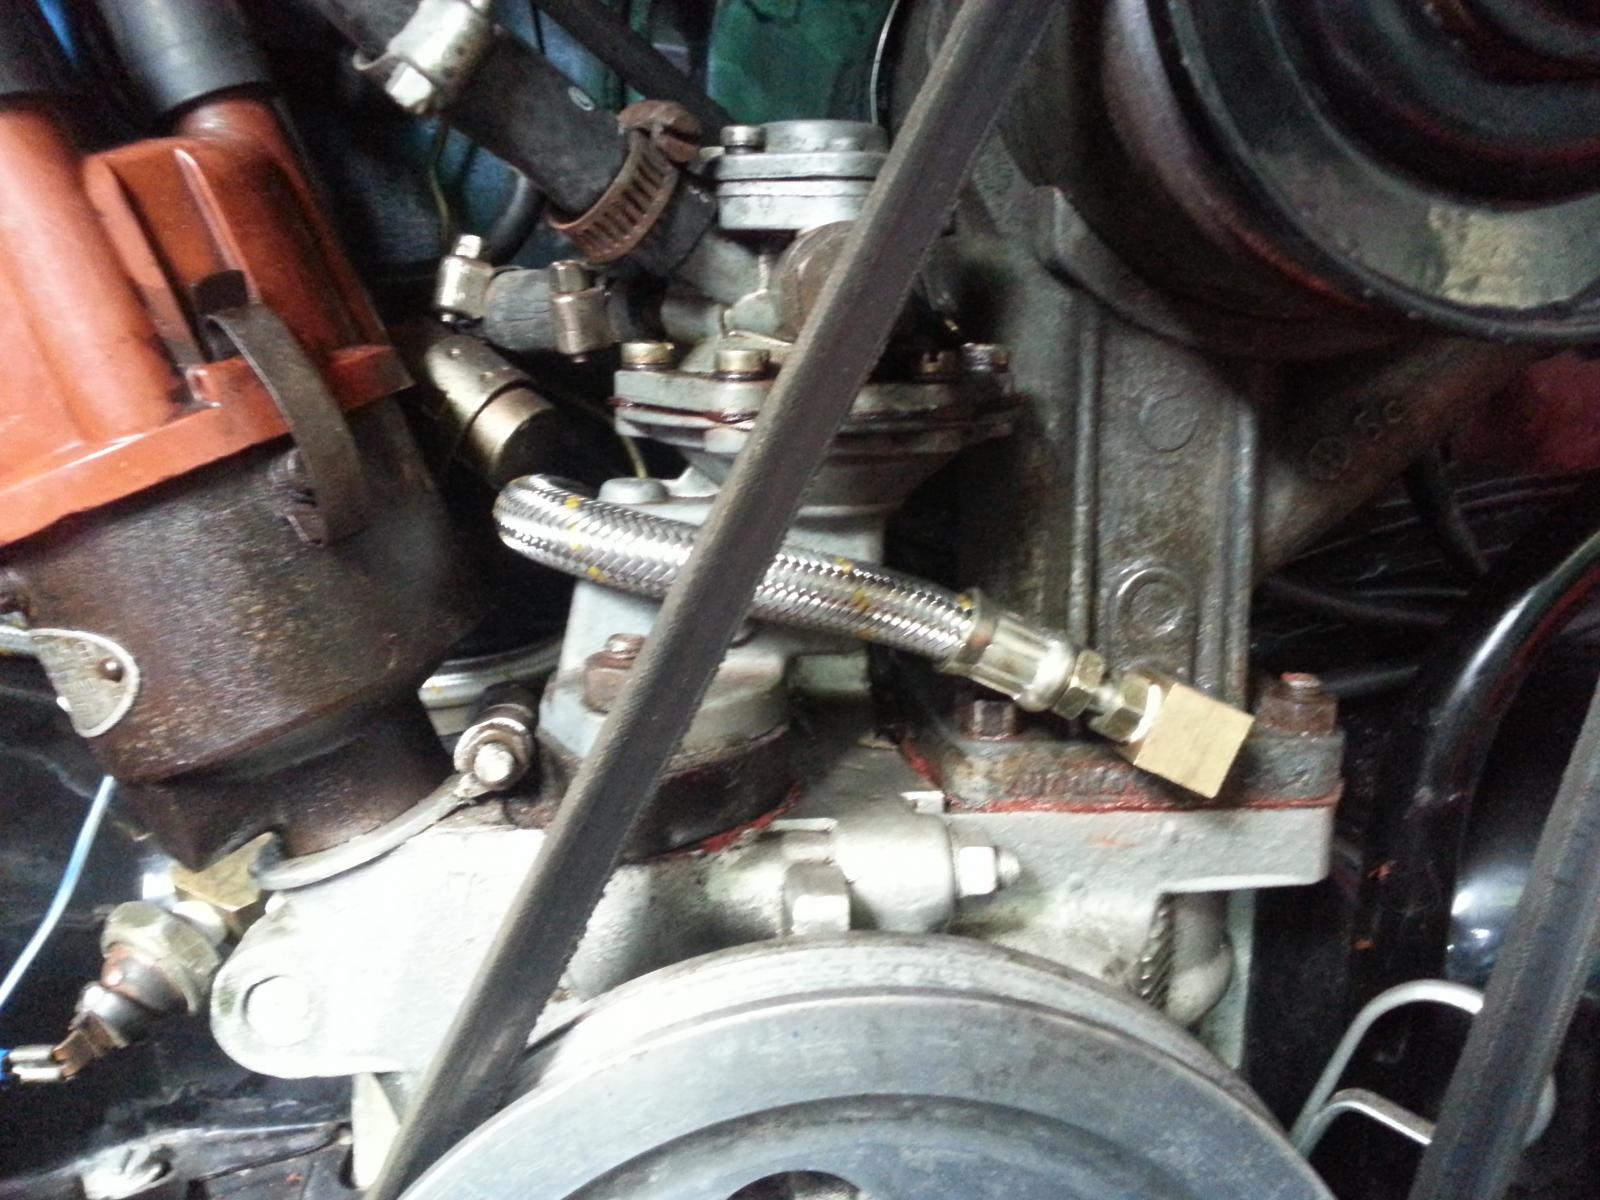
First in to be installed was the elbow fitting onto the base of the generator stand and then next was the flexible hose.
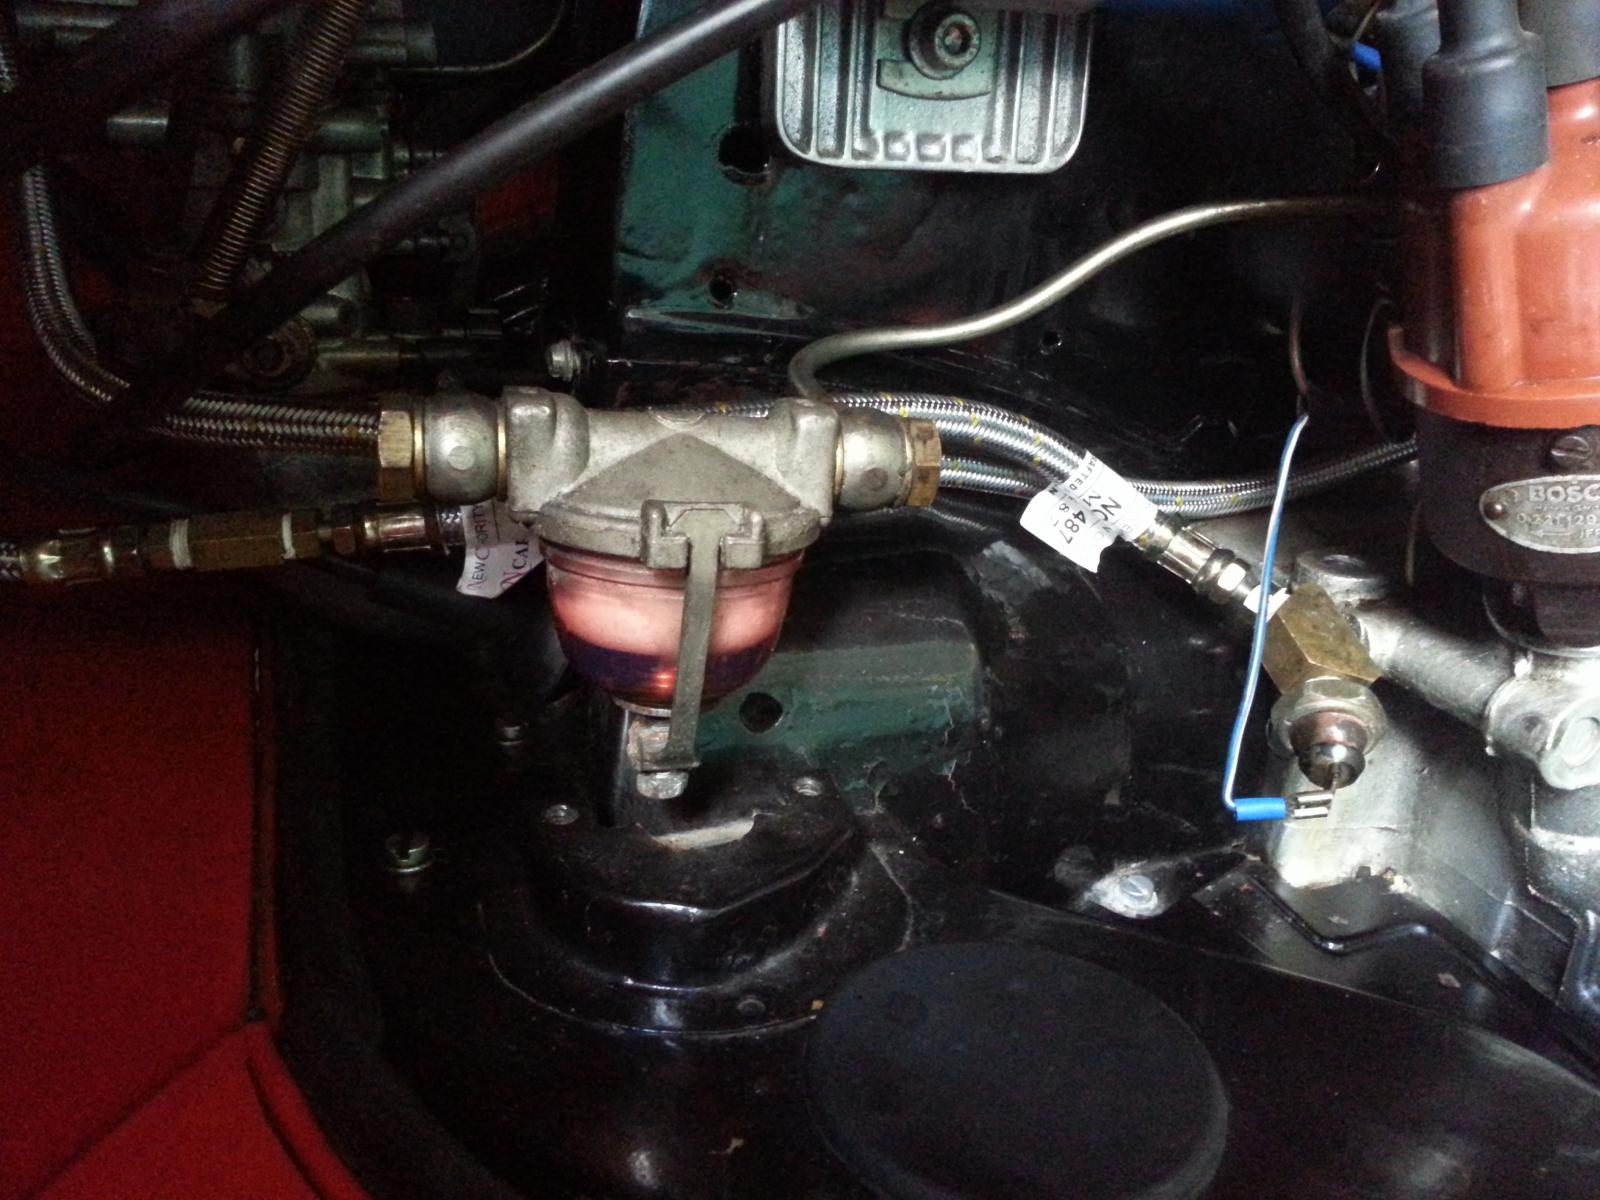
The "Y" fitting was essential to accommodate the hose going to the Fram and the needed oil pressure sending unit.
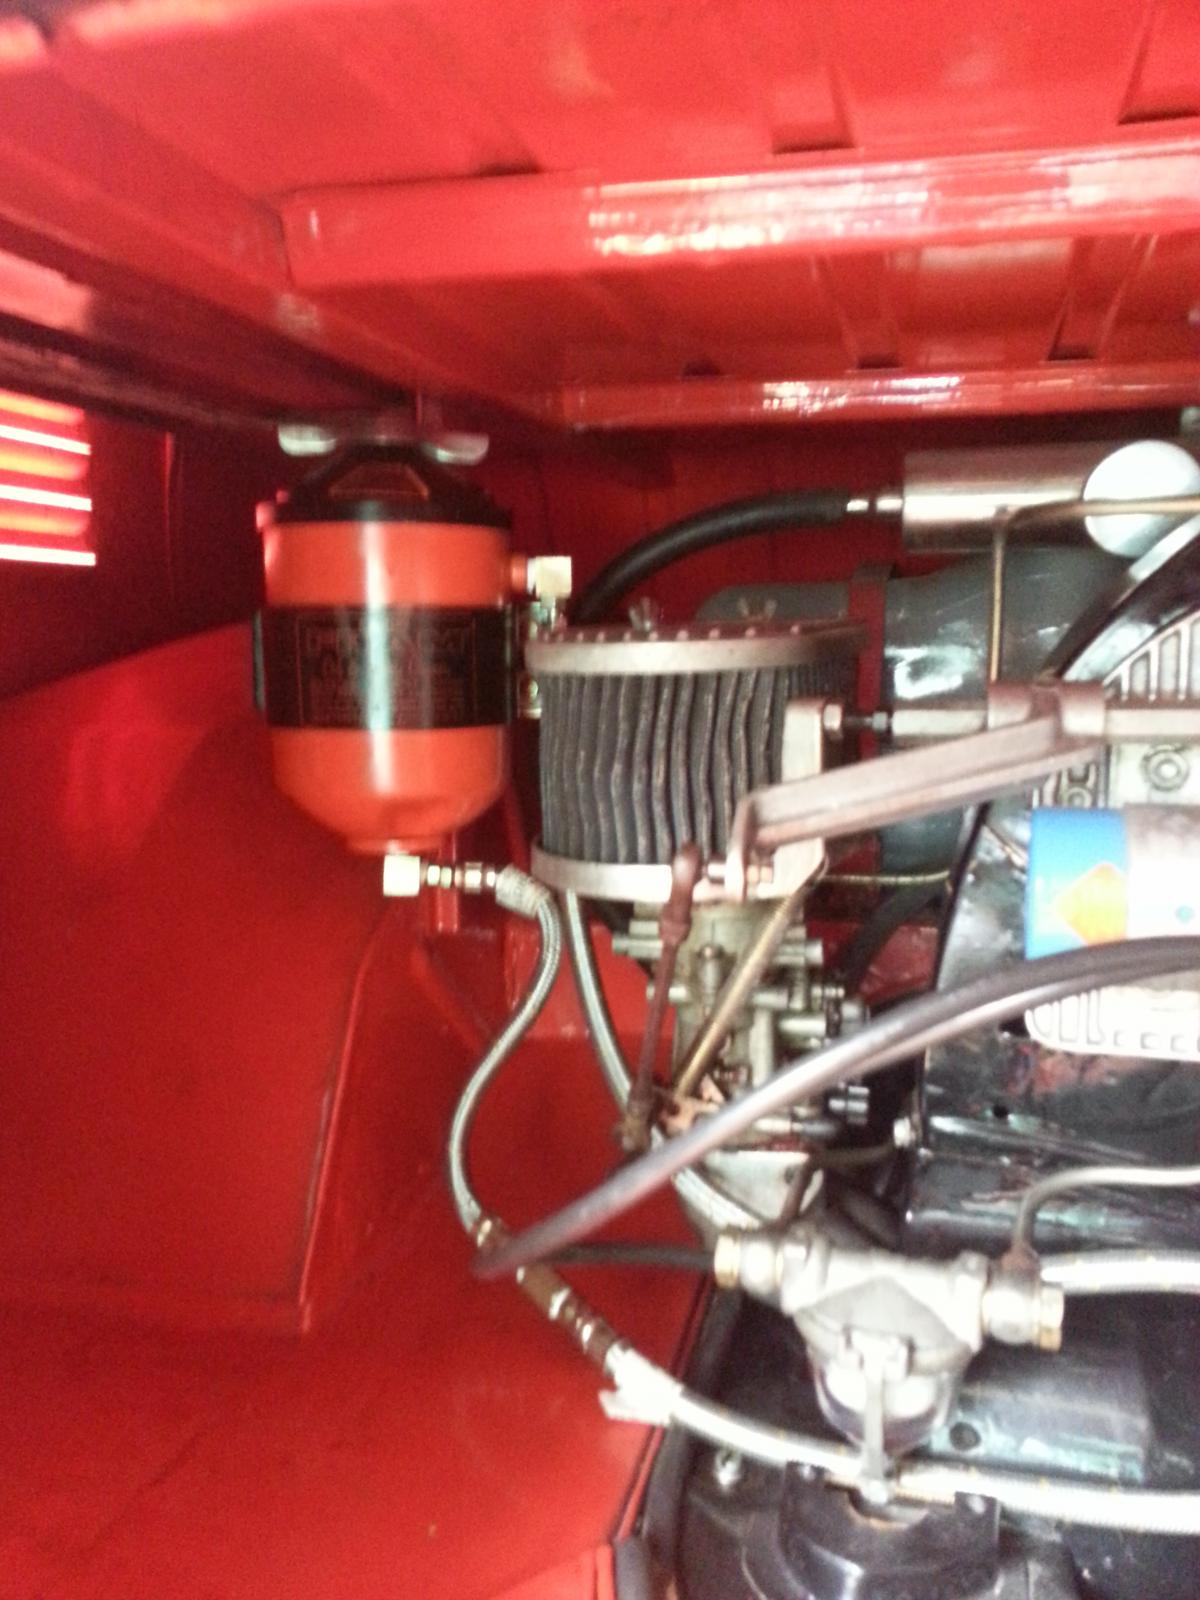
Installing the Fram was quite tiring, but it fits well. The hoses and fittings were secured at this point.
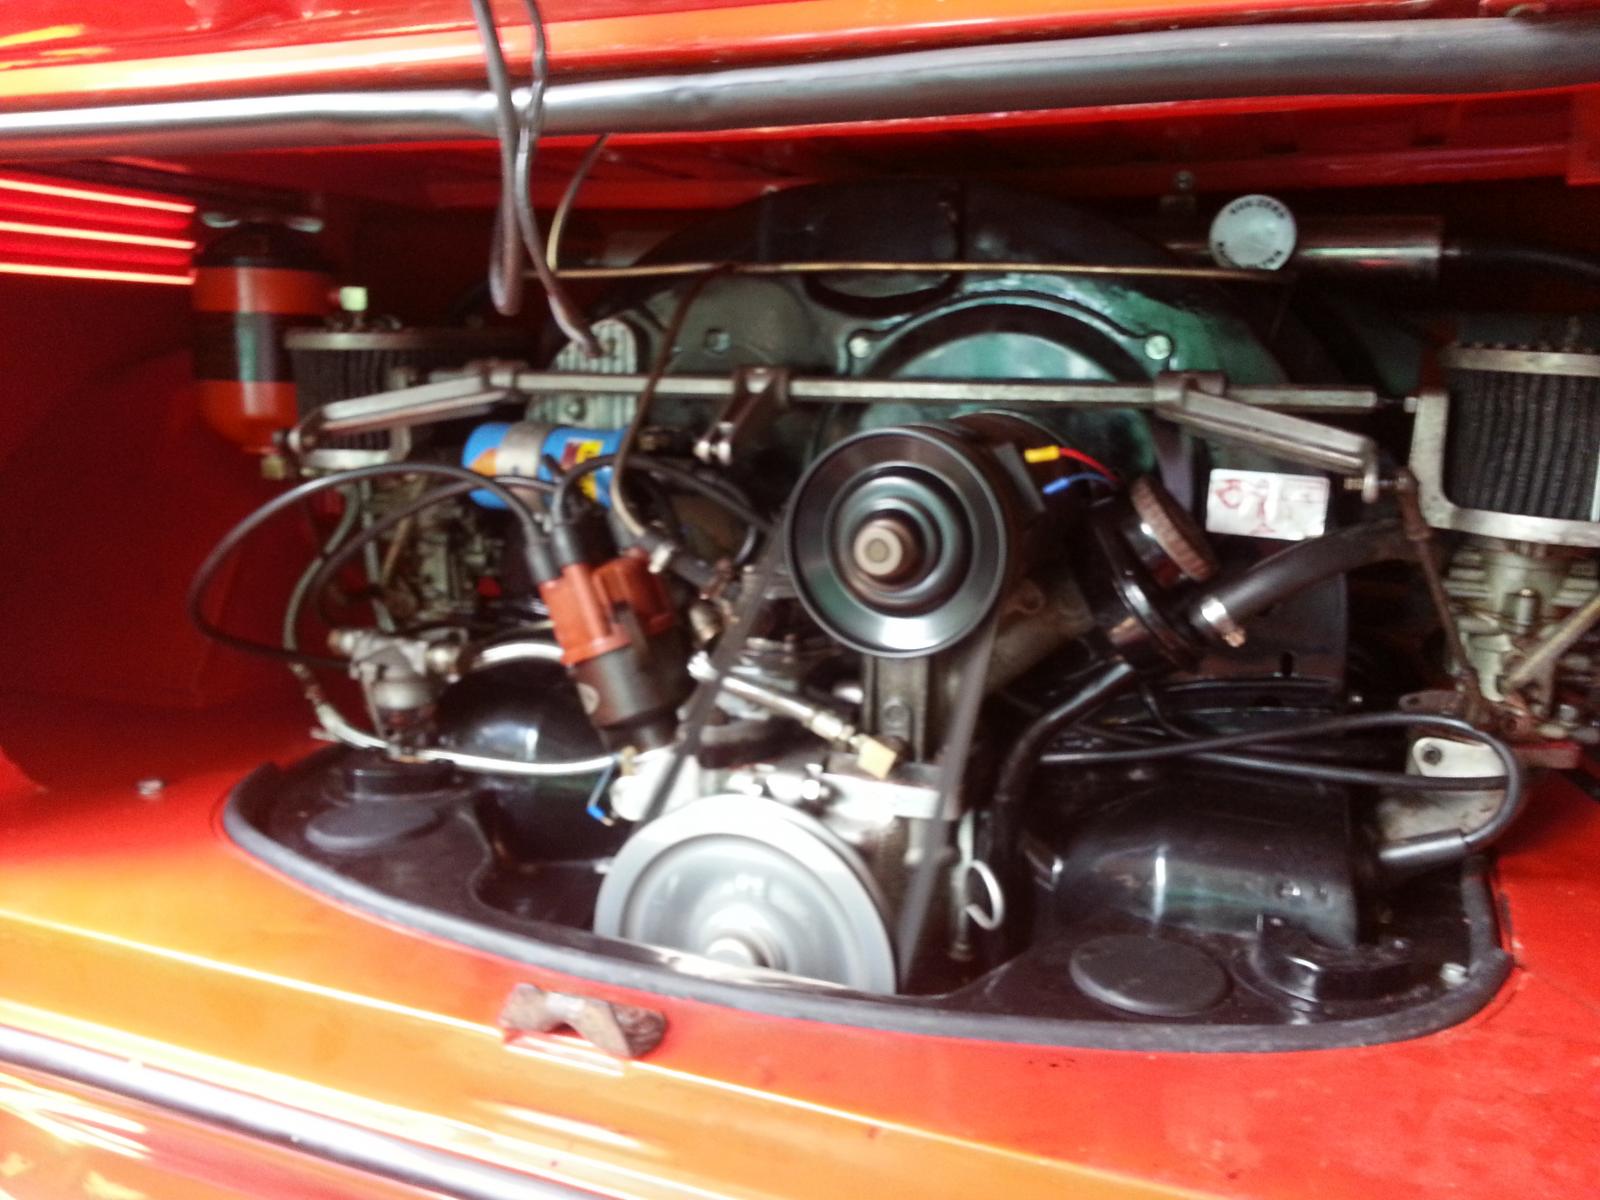
The Frams Oil Filter is not installed.The engine is running on this picture. I checked everything and it was working property.
Dong
First, of course, removing all the necessary parts is a must. The game plan was to install the return of the oil onto the small covered hole on the base of the generator stand. Vintage Speed Theme.

Removing the parts is quite easy.

These are the parts that I gathered for the installation of the Fram. The elbow fittings came in handy. I bought the hoses that looked the same from the original used for the Vintage Speed Theme.

Measuring the diameter of the thread to select the correct tap to be used.

I used a drill bit that is as small as the hole in the fitting and drilled the base of the generator stand. As can be shown in this photo, the holes on both the fitting and the stands are quite the same size.

This procedure was quite tricky. the alignment of the tap should be proper so that the leading edge of the thread would to skip a beat. But, once it scrapped the outer portion of the hole, the thread went in smoothly.

Before inspecting the Fram, I looked for a place where I would place it. And the bracket near the left card was the perfect place.

Since, the Fram was a NOS one, it looked pretty clean inside.

I poured some considerable amount of oil into the Fram so that once the engine stars running, there won't be some unwanted air that would interrupt the continuous flow of the oil.

The filter was in great shape despite its age. I looks pretty okay to me.

The cap and the the o-ring are still in tip-top shape.

Of course, this sealing material will guaranty a leak-free operation of the Fram filter.

These brackets came in handy and it simplified the installation. The brackets are kept away from prying eyes too.

First in to be installed was the elbow fitting onto the base of the generator stand and then next was the flexible hose.

The "Y" fitting was essential to accommodate the hose going to the Fram and the needed oil pressure sending unit.

Installing the Fram was quite tiring, but it fits well. The hoses and fittings were secured at this point.

The Frams Oil Filter is not installed.The engine is running on this picture. I checked everything and it was working property.
Dong
dongkg
Registered user
Posts: 90
Joined: Tue Jul 16, 2013 7:58 am
