You are viewing the Split Screen Van Club forum archive.
The forum archive is read-only.Unfortunately in 2021 the Split Screen Van Club forum suffered a ransomware attack and lots of the forum data was lost.
What threads that have been recovered are now searchable on this site. Some threads may be incomplete and some images are still being recovered.
Forum archive search
Rusty, our 1962 11 window bus, resto now in year two…...
Re: Rusty, our 1962 11 window bus, resto now in year two…...
by rusty1962 » Sat Aug 29, 2015 8:31 am
markp wrote:Hi Steve
Bus is looking fab .... Hard going ant it all that filler work ..... but O so worth it in the end
Sorry to read about your I and its sound like it's now getting better ...slowly
I bet the sunlights a nasty annoying this at the moment ... bright light and all that
anyway keep pushing mate it's getting there and it will very quickly change from nearly ready for paint too READY FOR PAINT you watch and see
I us my eye problem to my advantage can do the following as its risky with only one working eye
Cant do list
go food shopping
do the washing
unload the dish washer
make tea
smile at claire's mum ( only joking on that one Sue is lovely )
hoover
dust
iron
fold clothes
But what I've excelled at are the following
BBQ's
curry making
intake of beer
intake of beer
intake of beer
keeping Gerry clean
acting a fool
lol ...... keep going steve your doing a grand job mate and its looking mighty fine
Over and Out
Mark
Thanks Mark, I knew you, of all people, would understand
It's early days yet but I think it's stabilised but will take a while for the blood to dissipate.
I daren't cut the grass now either!
Off to block now, daren't weld just yet
Steve
rusty1962

SSVC Member
Posts: 1549
Joined: Wed Sep 11, 2013 10:35 pm
Re: Rusty, our 1962 11 window bus, resto now in year two…...
by rusty1962 » Sat Aug 29, 2015 8:10 pm
markp wrote:
Hi Steve
I bet the sunlights a nasty annoying this at the moment ... bright light and all that
Mark
It's the light from the PC screen that's the worst, but I must do the blog
Another day done and it's been mostly filled with ……………..filler
Tonight I came in for a beer looking like a snowman
I started with this.

It's had a little more in the low areas and I've got to flat it back and then we'll put another very fine coat over it to finish off
I took the worst off and then gave it a guide coat
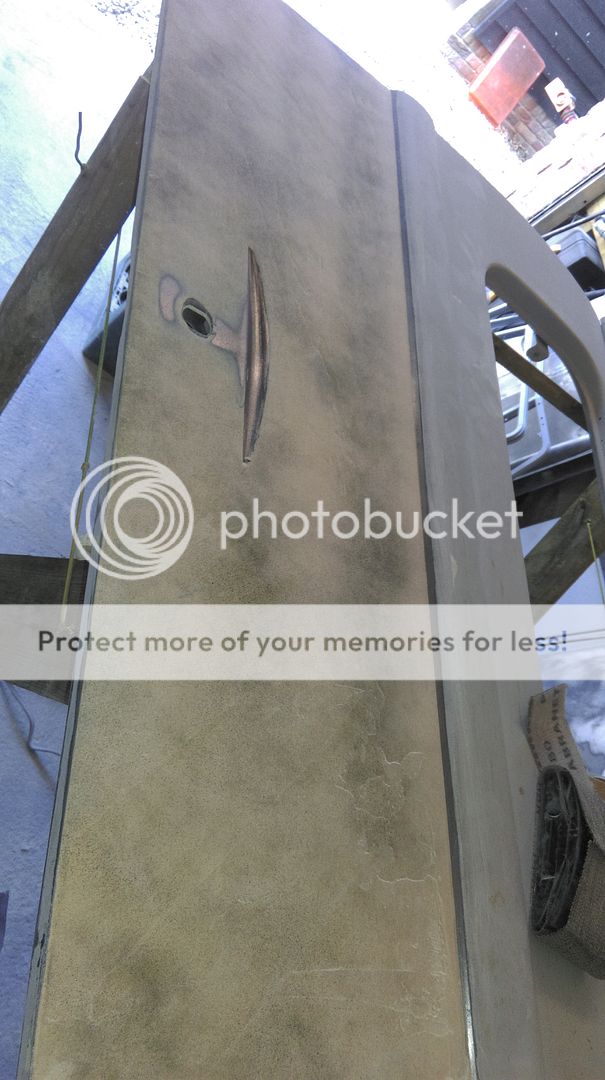
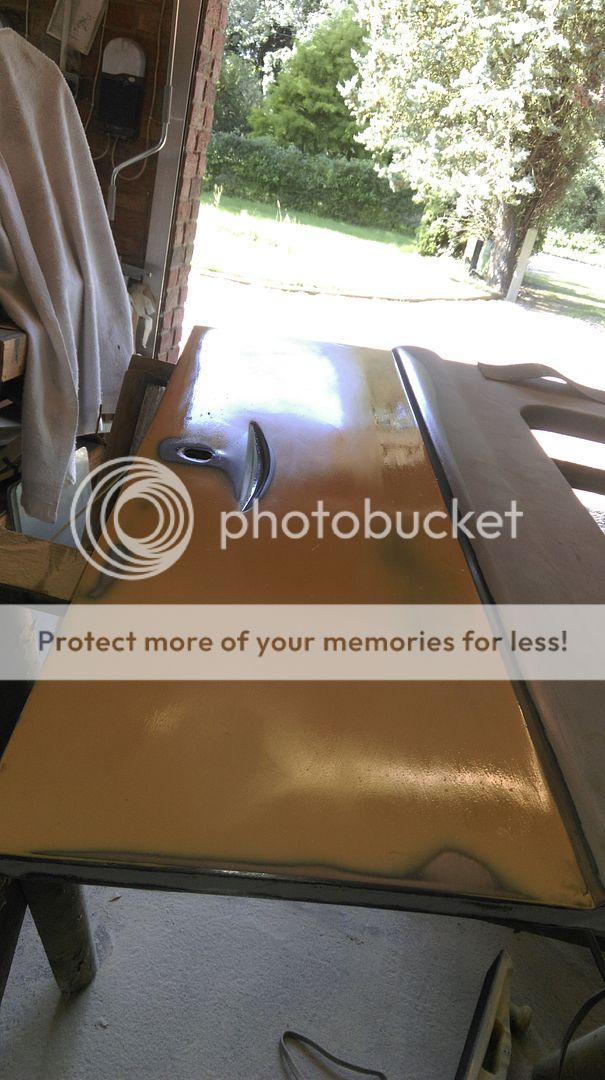
and then blocked for a while until I'd got it feeling pretty flat. There's another final coat going on but this is it in spirit wipe now, which is, apparently, how it will look in paint
next I moved on to the other dogleg, the o/s and tried to replicate what I had done with Gary on the n/s. I thought this photo was in focus…...

Gary had showed me a tip with adjoining panels of slavering the filler over the joint (scraping in with the edge of the spreader before it goes hard
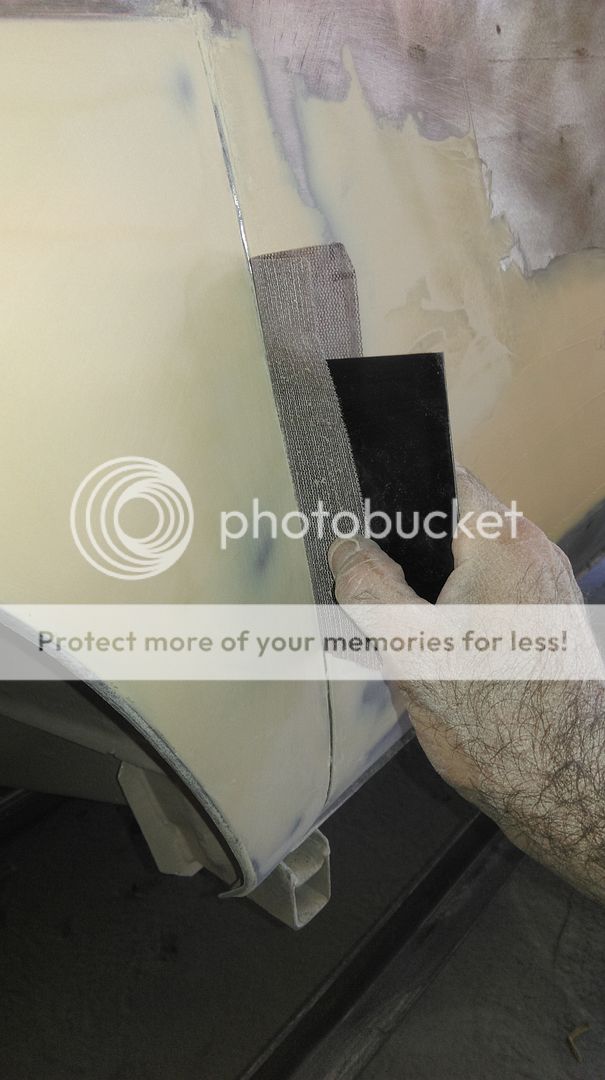
I laid on a bit of filler in the dog leg return to tidy that up a bit
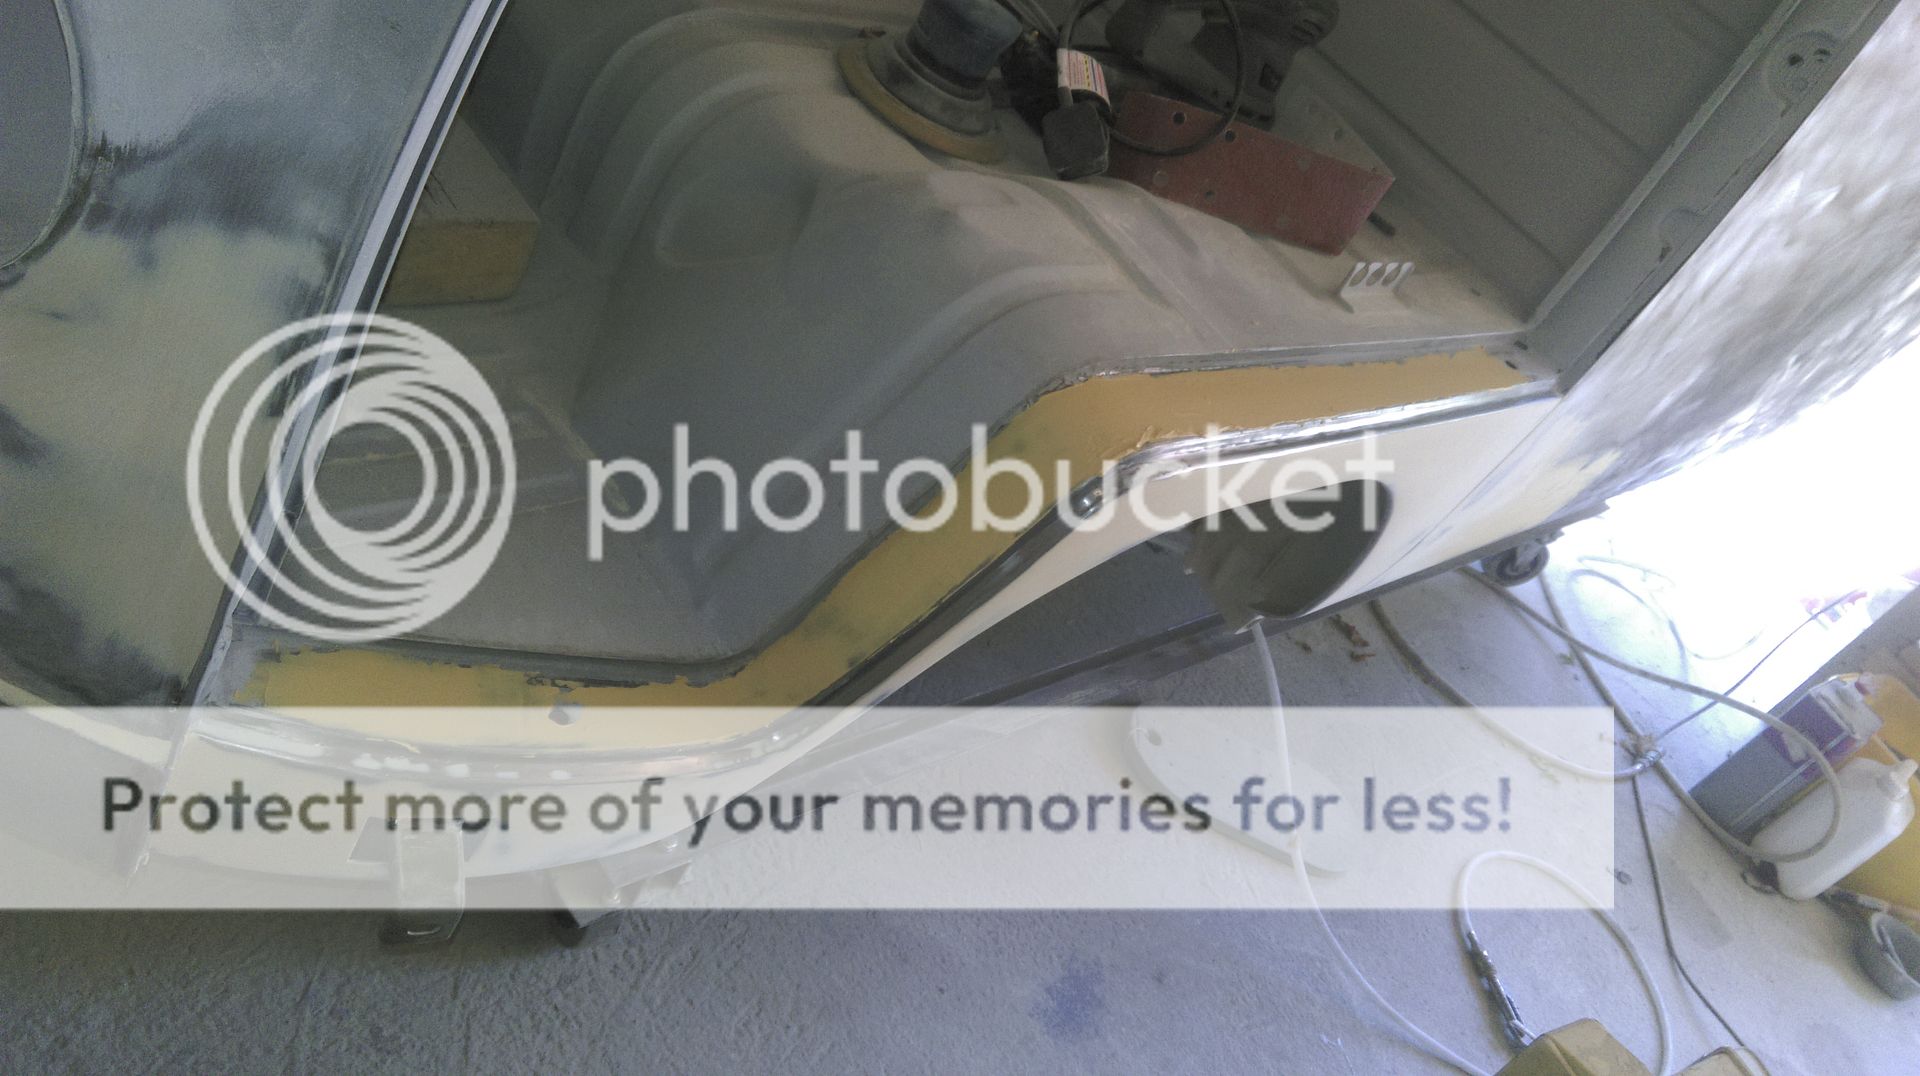
and then returned to the other side, there being several areas of filler going off at different times. I wasn't happy with how the lower part of the dogleg sat in relation with the sill…… it seemed to kick out a little,
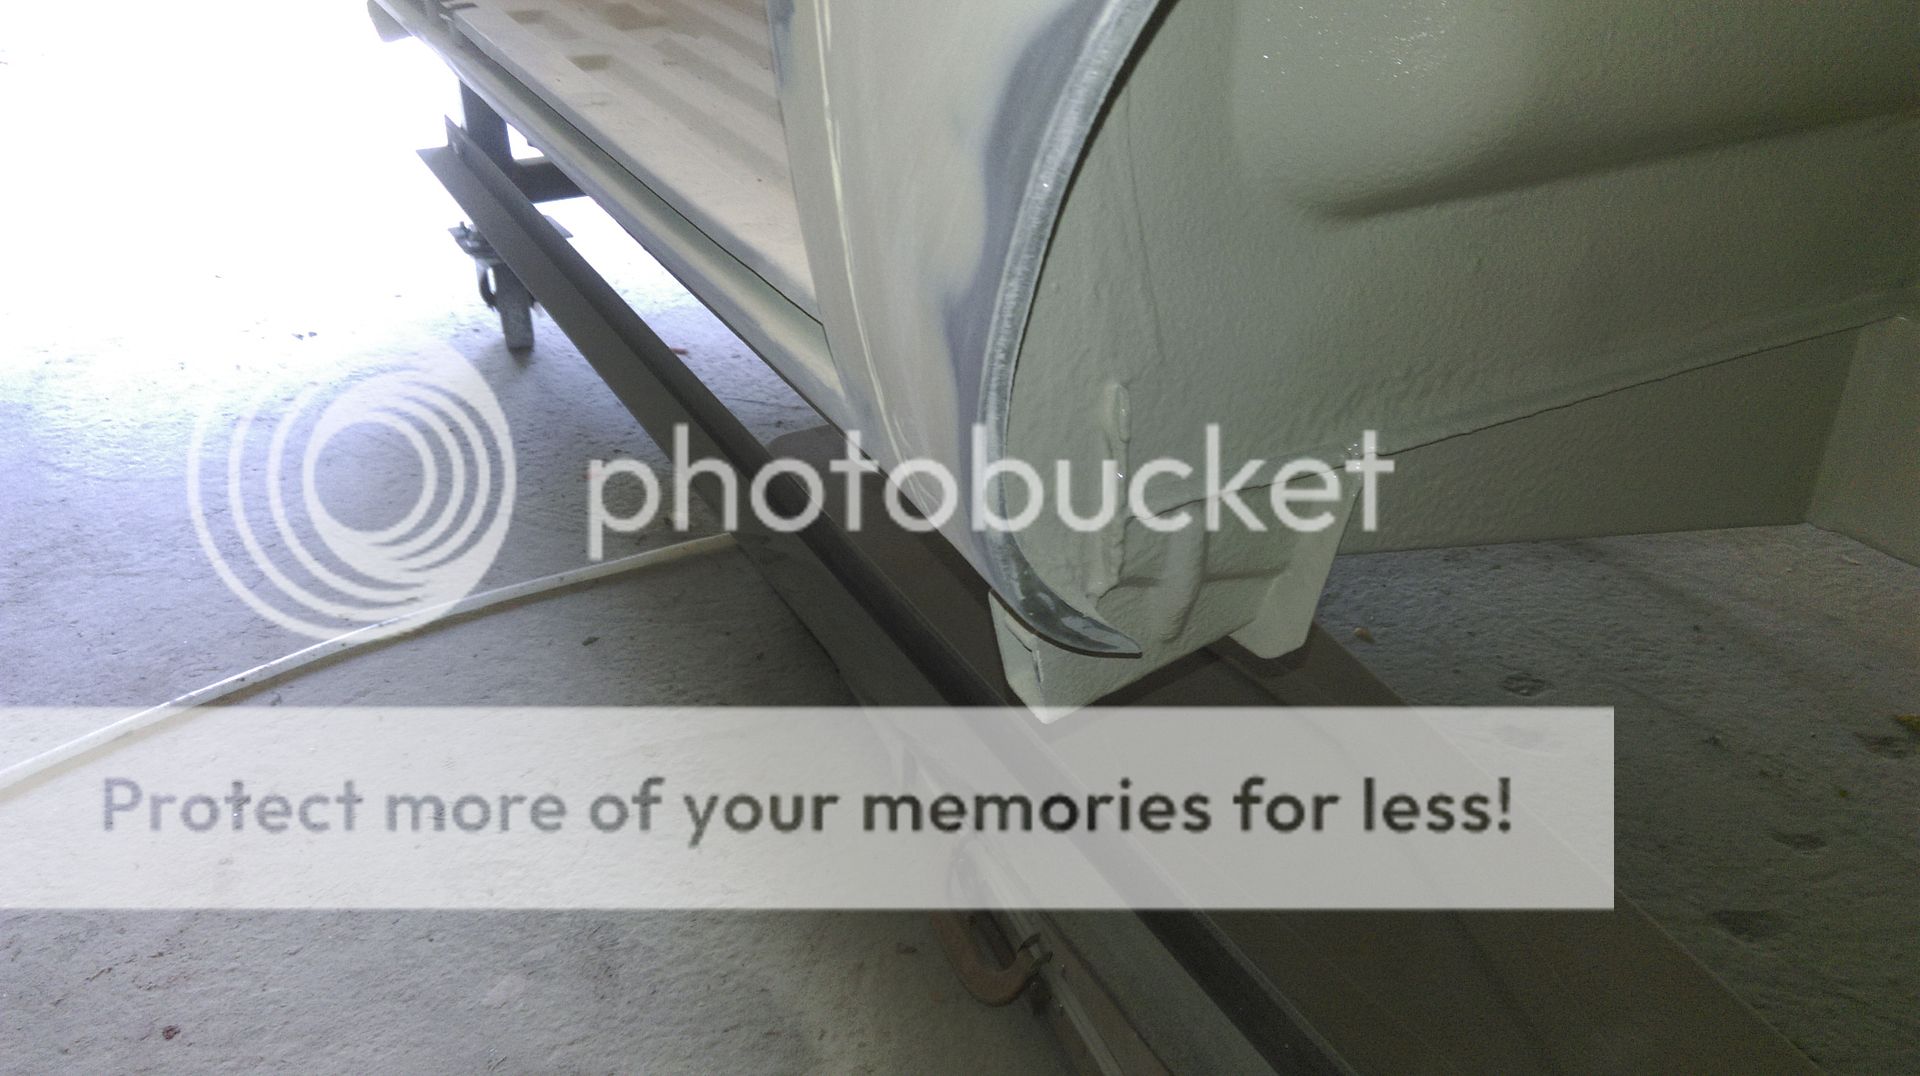
but if I just bent it, then it would kink so I made up a little tool to "tweak" the return - not wanting to use mole grips as the inside is all painted and finished. By tweaking the return I could bash the dog leg in a bit without it buckling

This was it all after the "first pass" of filler
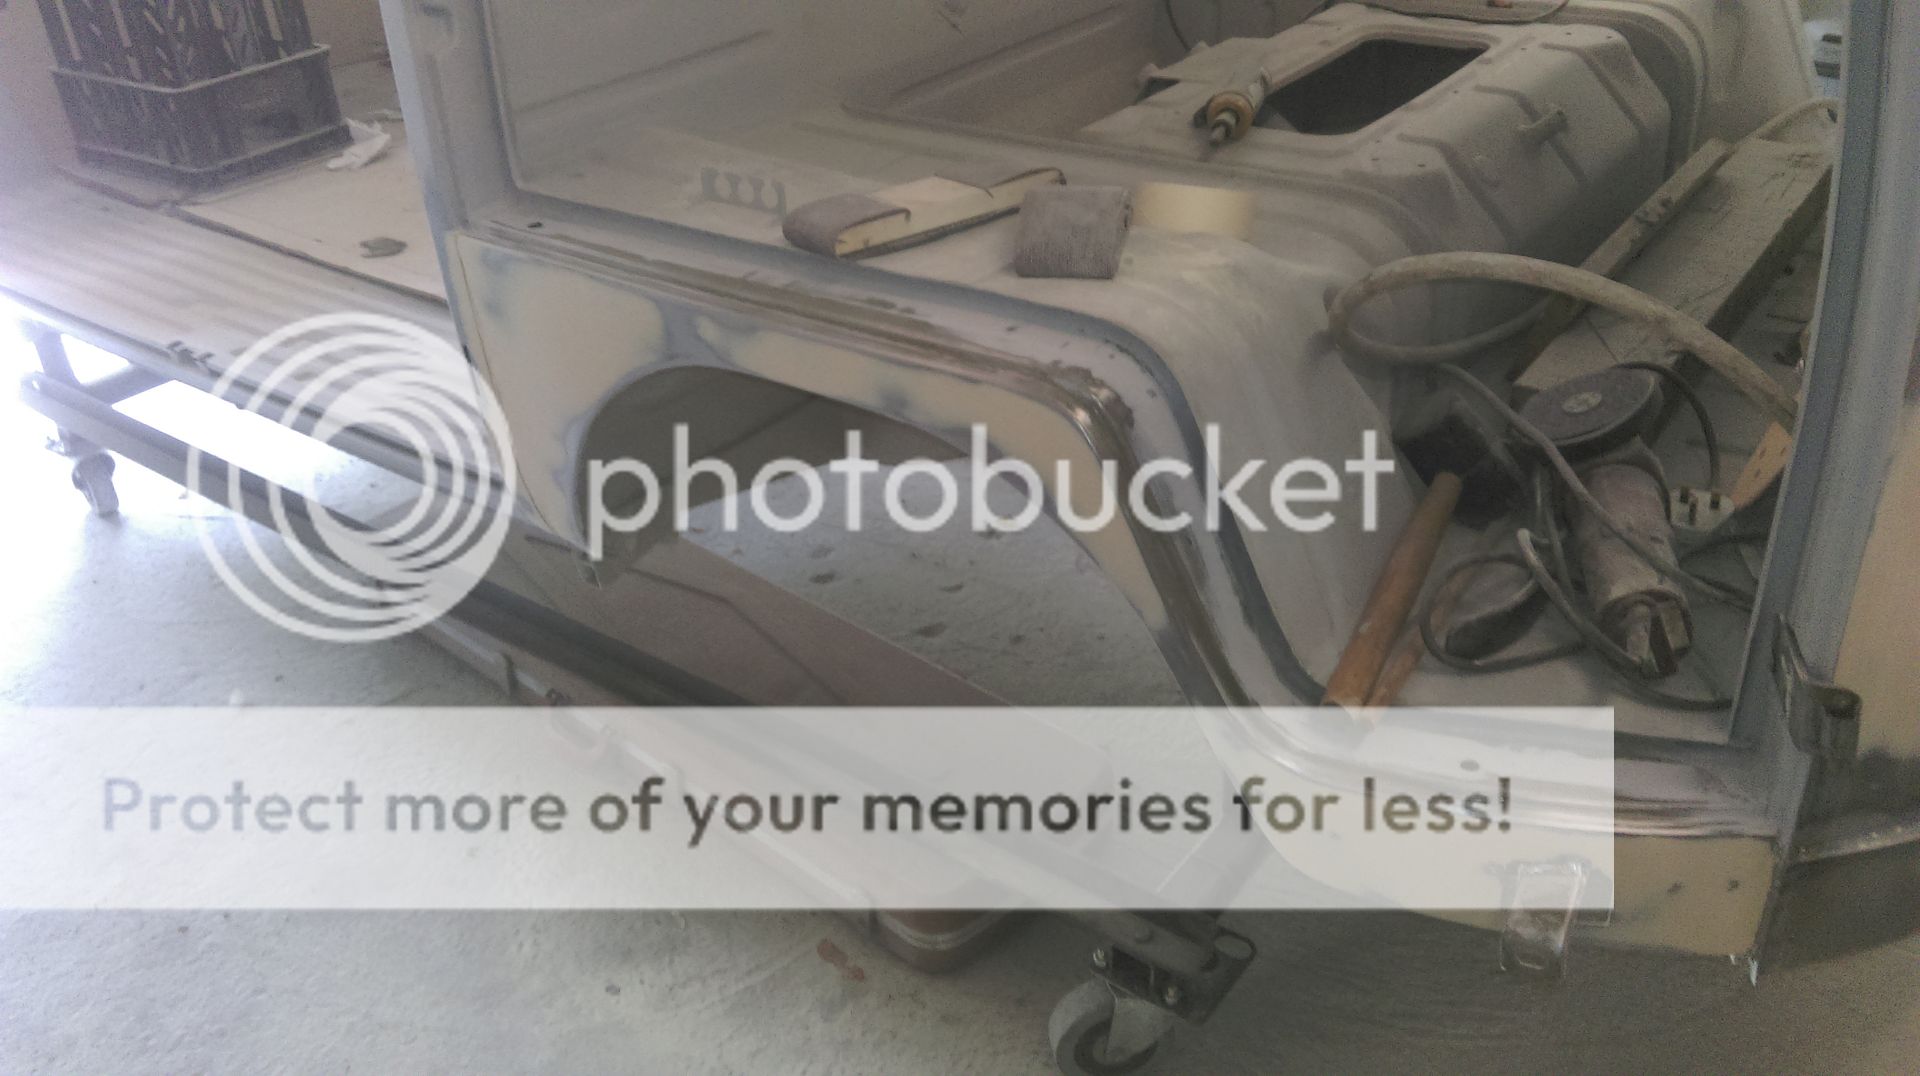
but I knew that Gary wouldn't pass it so re-slavered it ( is that a word) at the same time letting it run over to the "B" post and it's all starting to look rather good

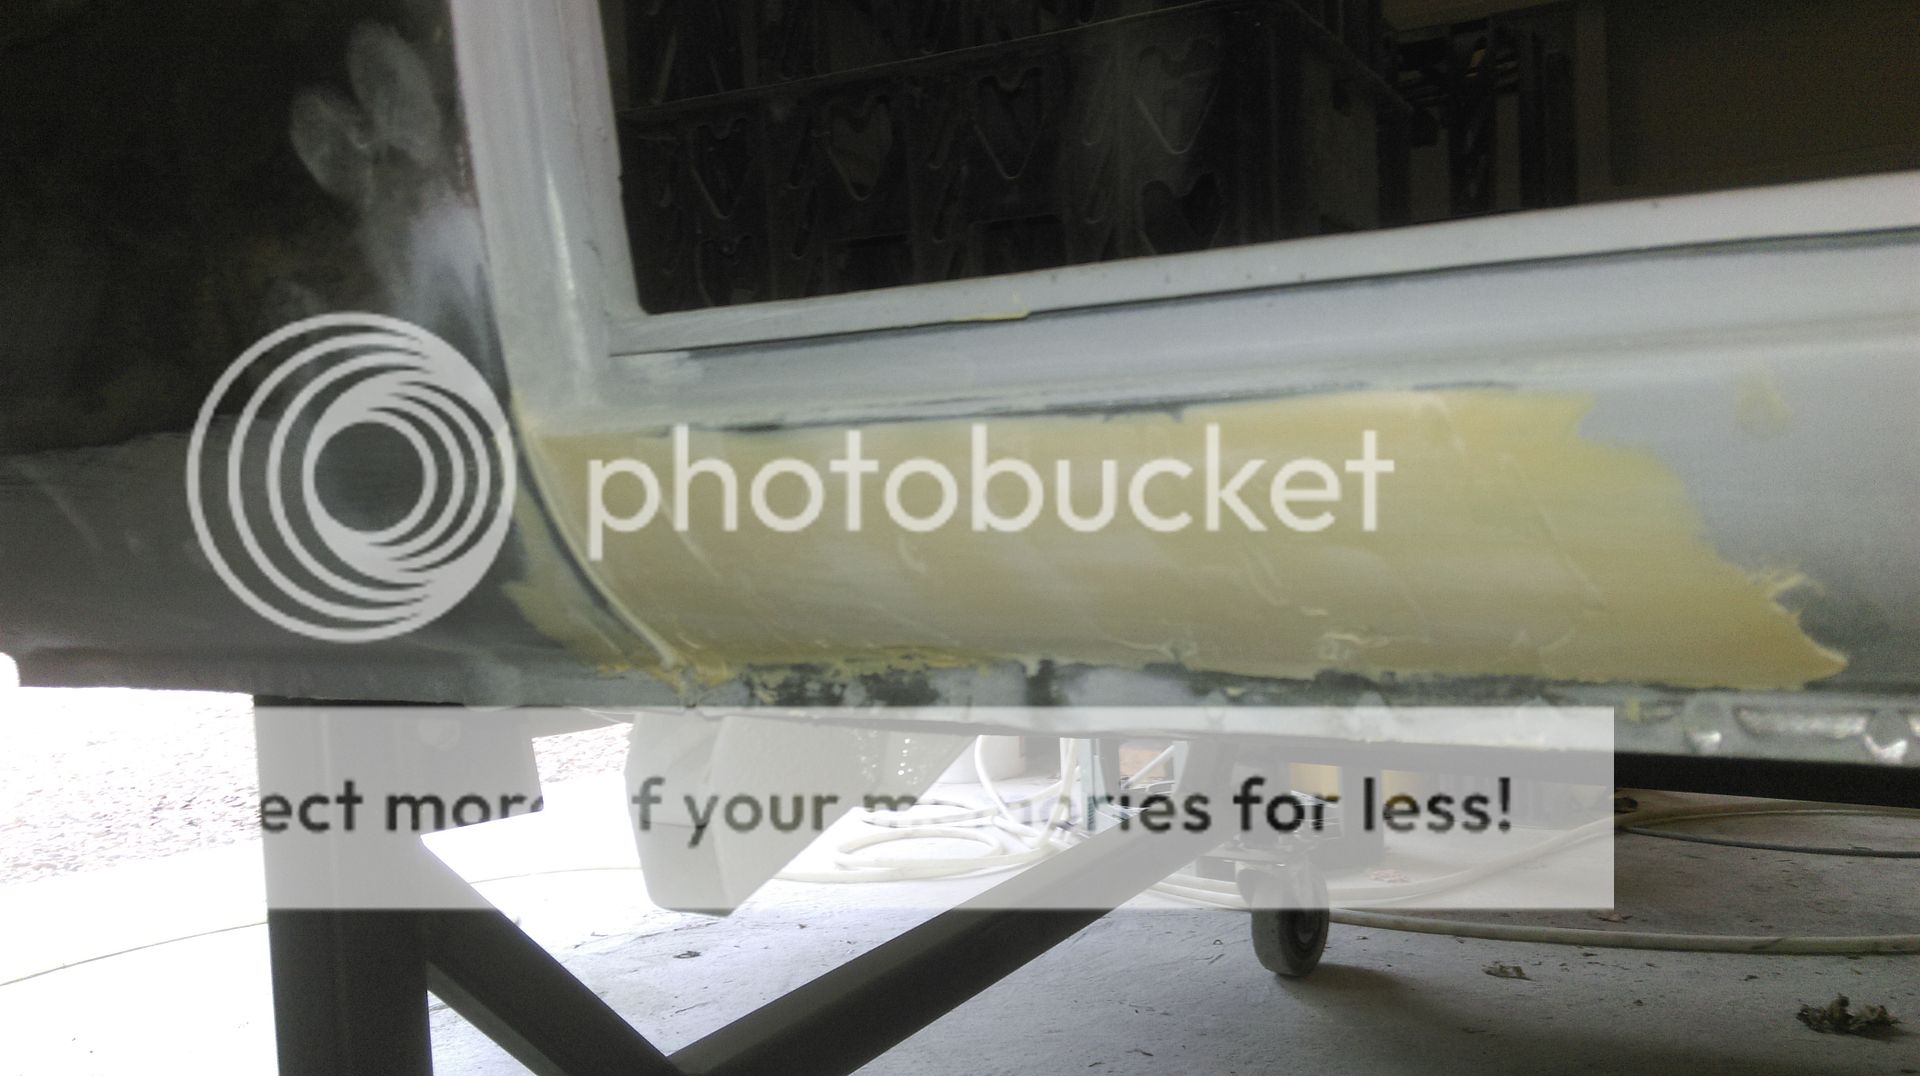
I let the filler run out along the sill so that I could lose the difference - the sill is pretty much perfect and doesn't need filling - but the alignment needs a little bit. Whether I coat the whole sill or not depends on how it looks, or what Gary decides
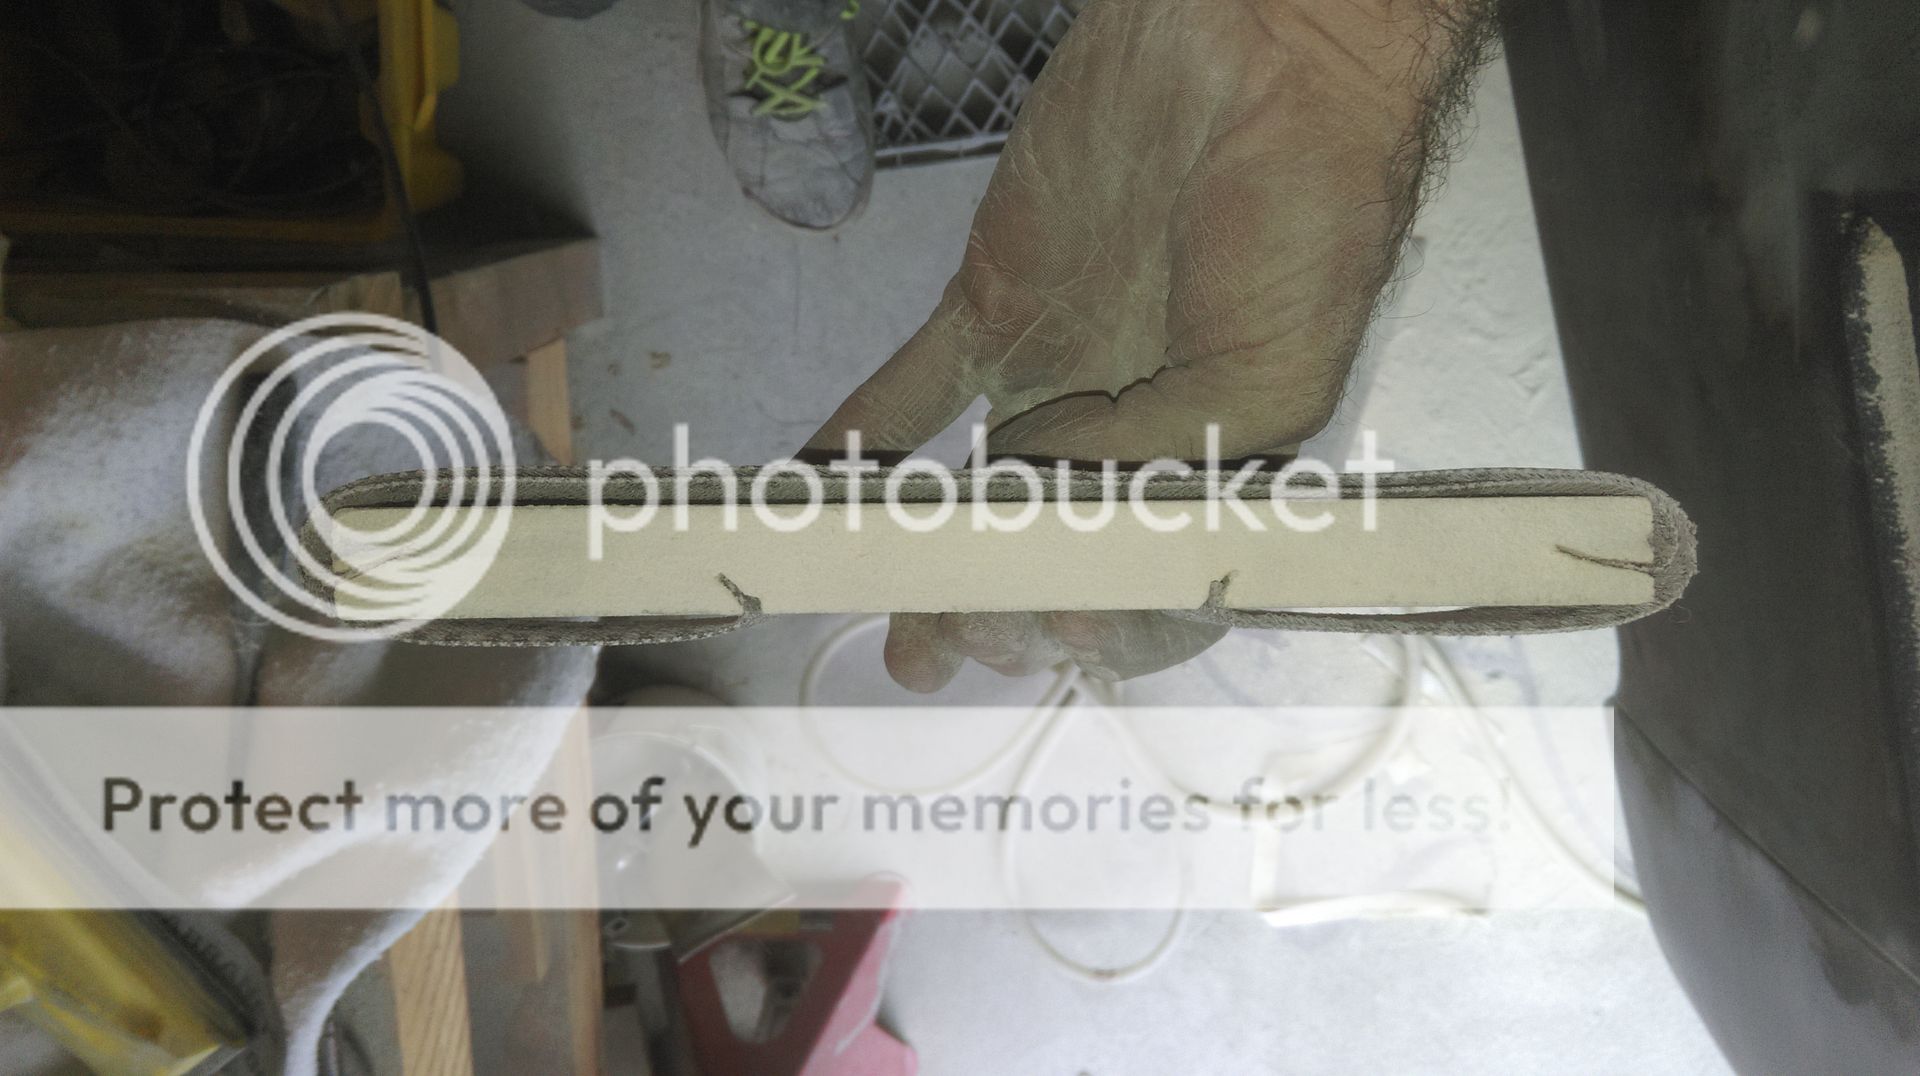
I even made myself a medium sized block out of some MDF
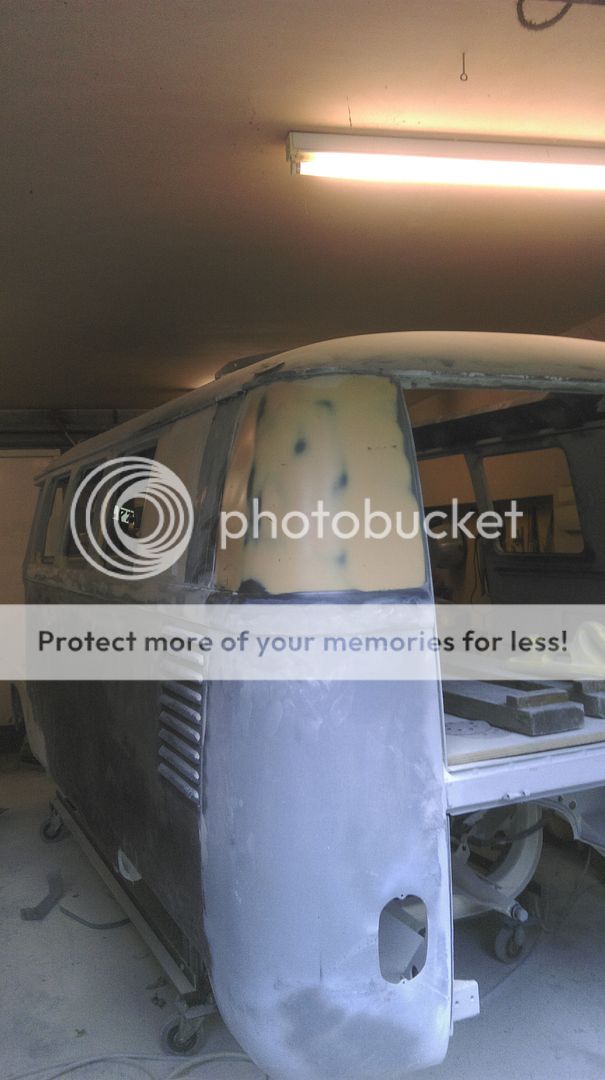
Next I moved back to the n/s rear panel. I'd got this panel looking fairly good a while ago, but when I attempted to do the rear upper corner, I'd cut into it and stuffed it up again, So I re-slavered it, this time with Topstop Gold and did it again. It's now looking good in the spirit wipe, although difficult to photograph as it's constantly drying up
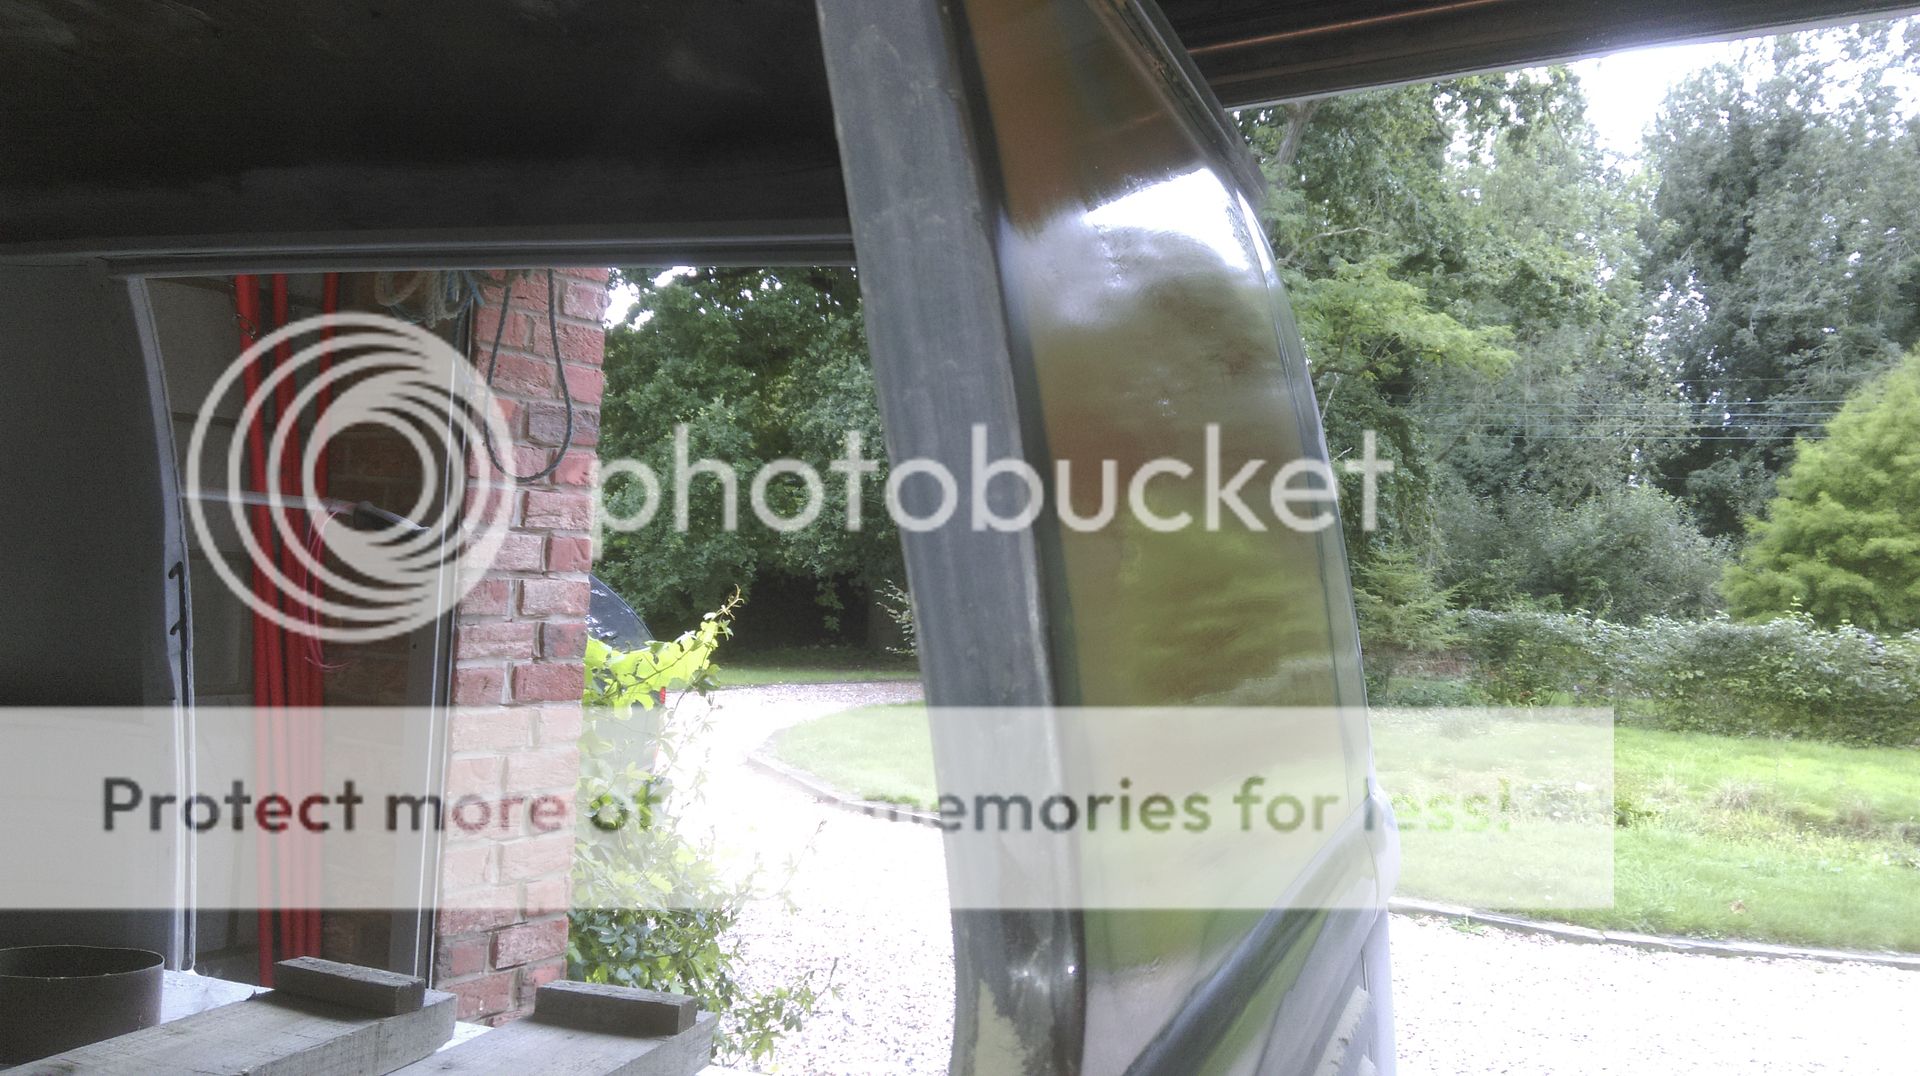
I've been instructed to cover it up with Duct tape next time to prevent me "scuffing it up" - I think that's what he said
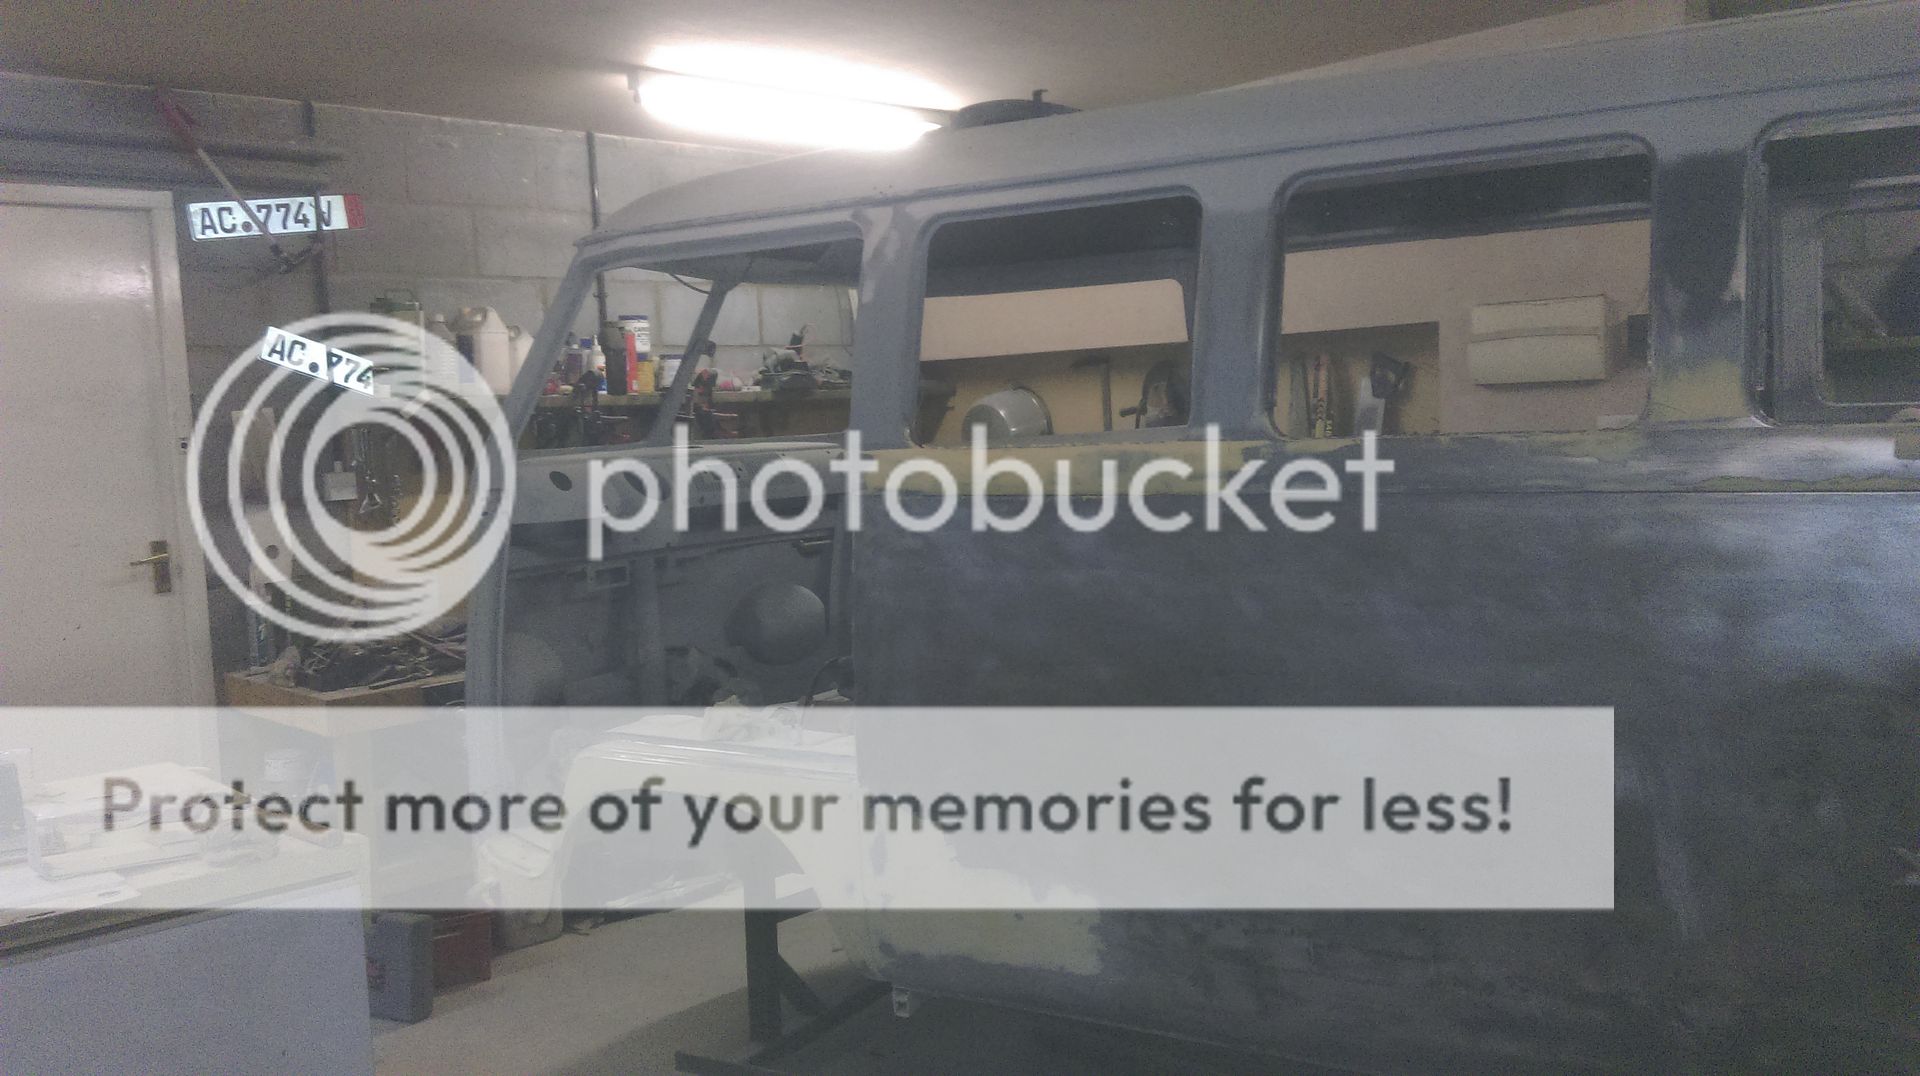
I've been doing other little bits with left over filler, but the bigger panels are fast approaching. I keep thinking of what MarkP said earlier in this thread that soon, "nearly ready for paint" would become "ready for paint" and I can see what he's getting at………..but there's a helluva lot more blocking to do before then
I had an email from Paul at Harry Harpics today which went thus…..
One question: do you have a breather box fitted to the vehicle, or are you planning to get one? AS the rocker blue]covers have vents in them, as does the oil filler, and these will need to go somewhere to vent crankcase pressure.
then I remembered that I had a bag of bits that came with the engine and what's more, I was able to find it
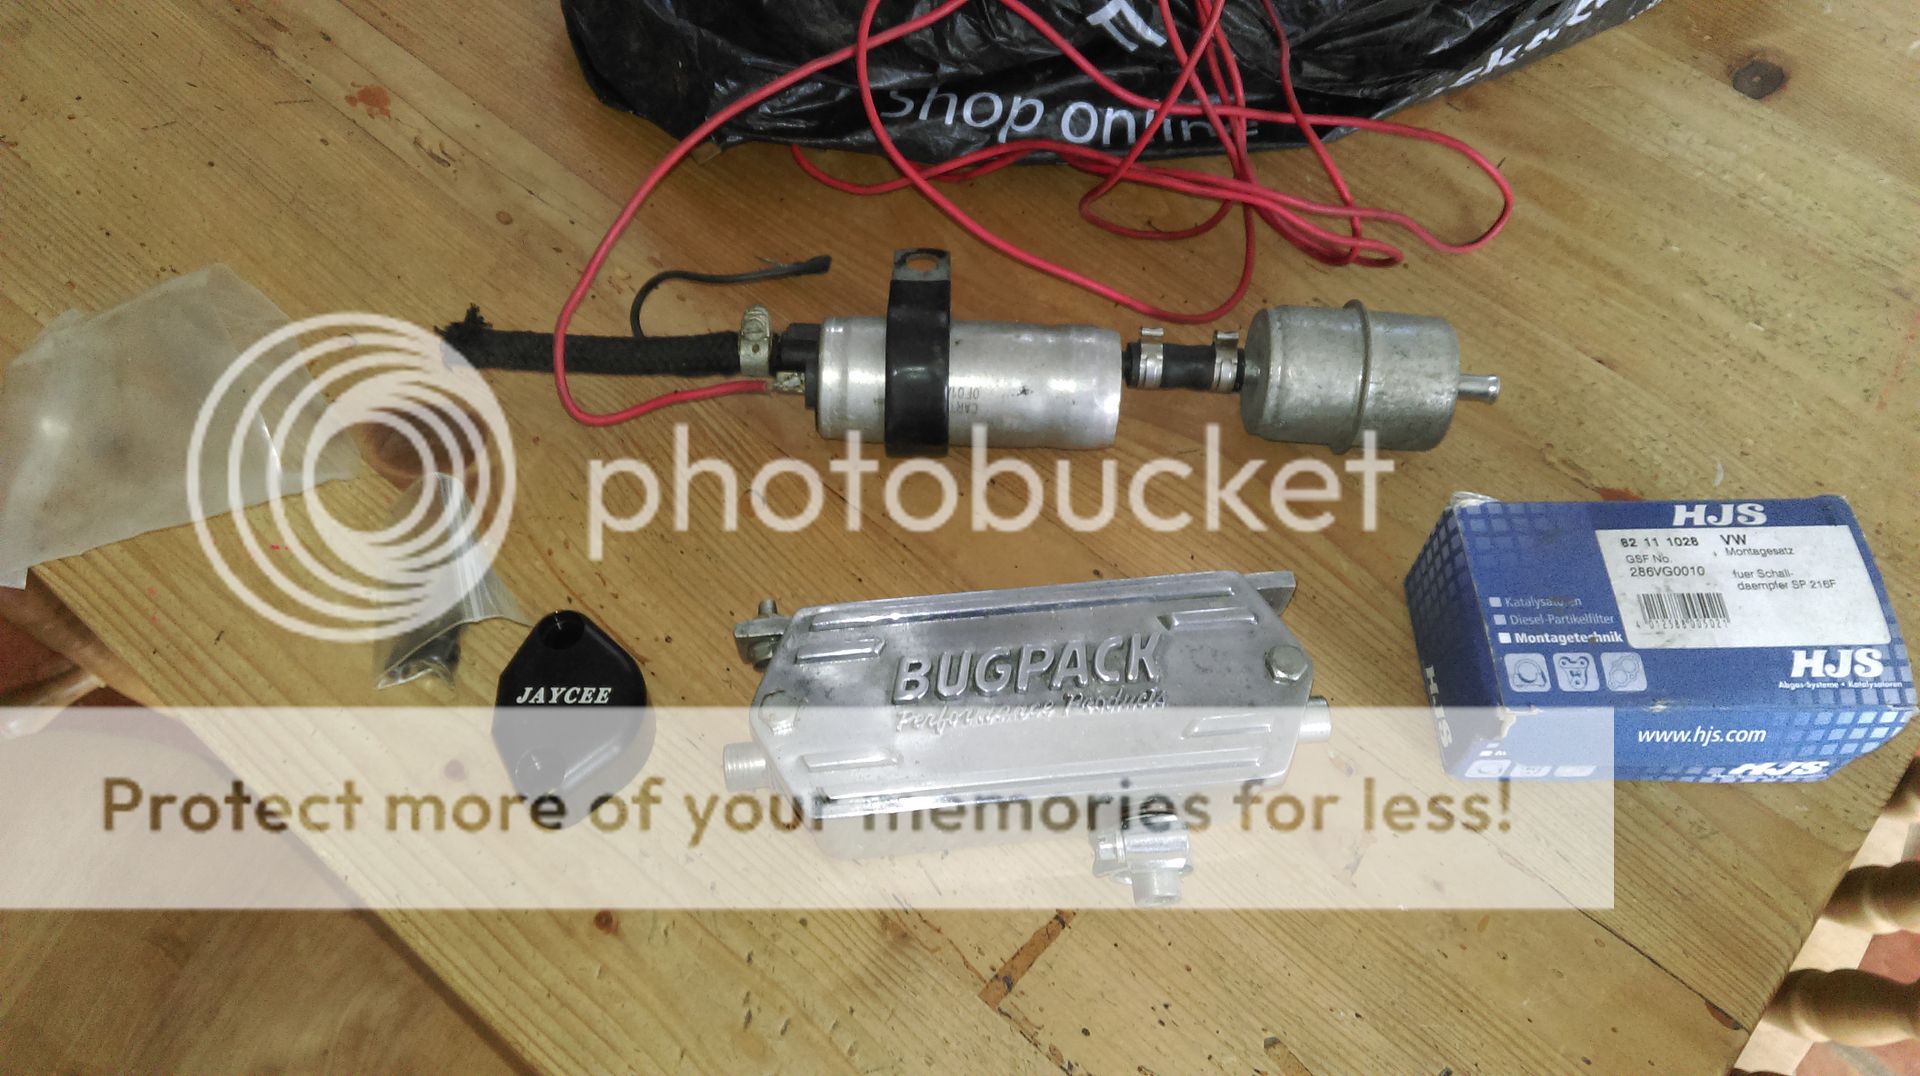
and that's what he needs, so happy days
and that's it. Just got to do it all again tomorrow
Cheers,
Steve
rusty1962

SSVC Member
Posts: 1549
Joined: Wed Sep 11, 2013 10:35 pm
Re: Rusty, our 1962 11 window bus, resto now in year two…...
by type21f » Sat Aug 29, 2015 10:33 pm
Had my fix. ... Cheers
G
G
type21f

SSVC Member
Posts: 7398
Joined: Tue May 29, 2007 12:55 pm
Re: Rusty, our 1962 11 window bus, resto now in year two…...
by wejjy » Sun Aug 30, 2015 7:09 am
Nice work again Steve and fair play for updating even though the glare hurts your eyes. Cheers.
You move quickly with the filler by the way! Paint time soon I feel!!!
You move quickly with the filler by the way! Paint time soon I feel!!!
wejjy
Registered user
Posts: 1190
Joined: Sun Jun 05, 2005 8:40 am
Re: Rusty, our 1962 11 window bus, resto now in year two…...
by type21f » Sun Aug 30, 2015 7:16 am
I for one cannot wait to see the acid etch primer high build primer and into the final colour stage.
Stop reading your posts. .
Get on with the blocking.
Your eye suffers if you keep reading
Hope it does not hurt too much.
G
Stop reading your posts. .
Get on with the blocking.
Your eye suffers if you keep reading
Hope it does not hurt too much.
G
type21f

SSVC Member
Posts: 7398
Joined: Tue May 29, 2007 12:55 pm
Re: Rusty, our 1962 11 window bus, resto now in year two…...
by rusty1962 » Sun Aug 30, 2015 6:11 pm
Blocking hell…… I'm beginning to appreciate the "Rat Look"
Would it be that wrong to give it a nice all over coat of Gravitex? Or perhaps Sandtex in a green camouflage pattern…..
Anyway…..here's today's update.
O/s dog leg return tidied up
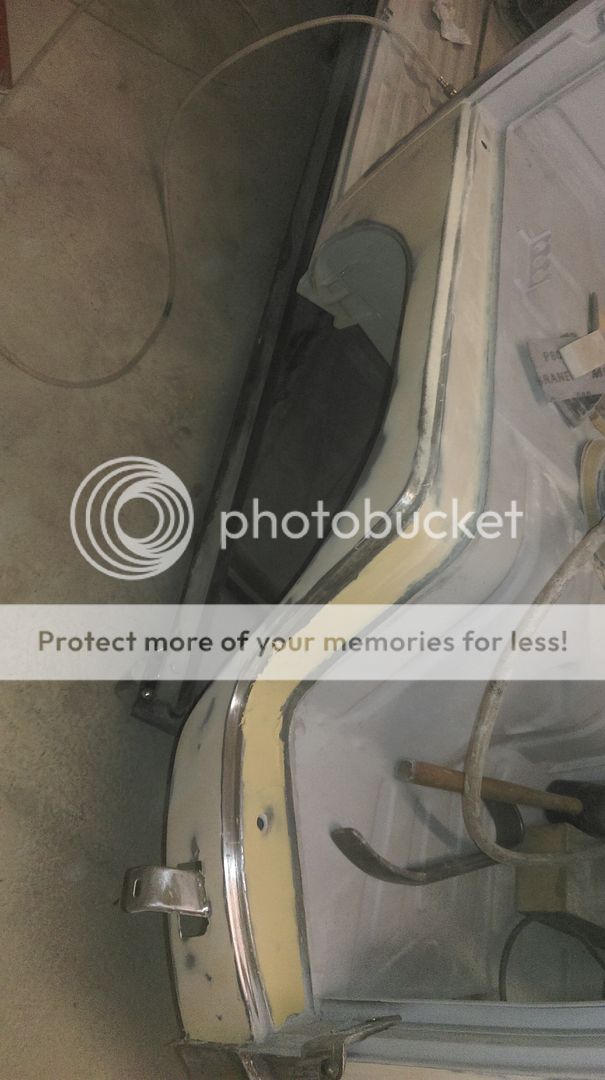
I checked out the rear o/s panel and waistline with spirit wipe - that's a great tip, and if it looks ok in spirit wipe it's only going to improve with a couple of coats of high build - and I'm happy with the panel - I didn't scuff this side as much as the other - but I found a small dent in the waistline so I fixed that
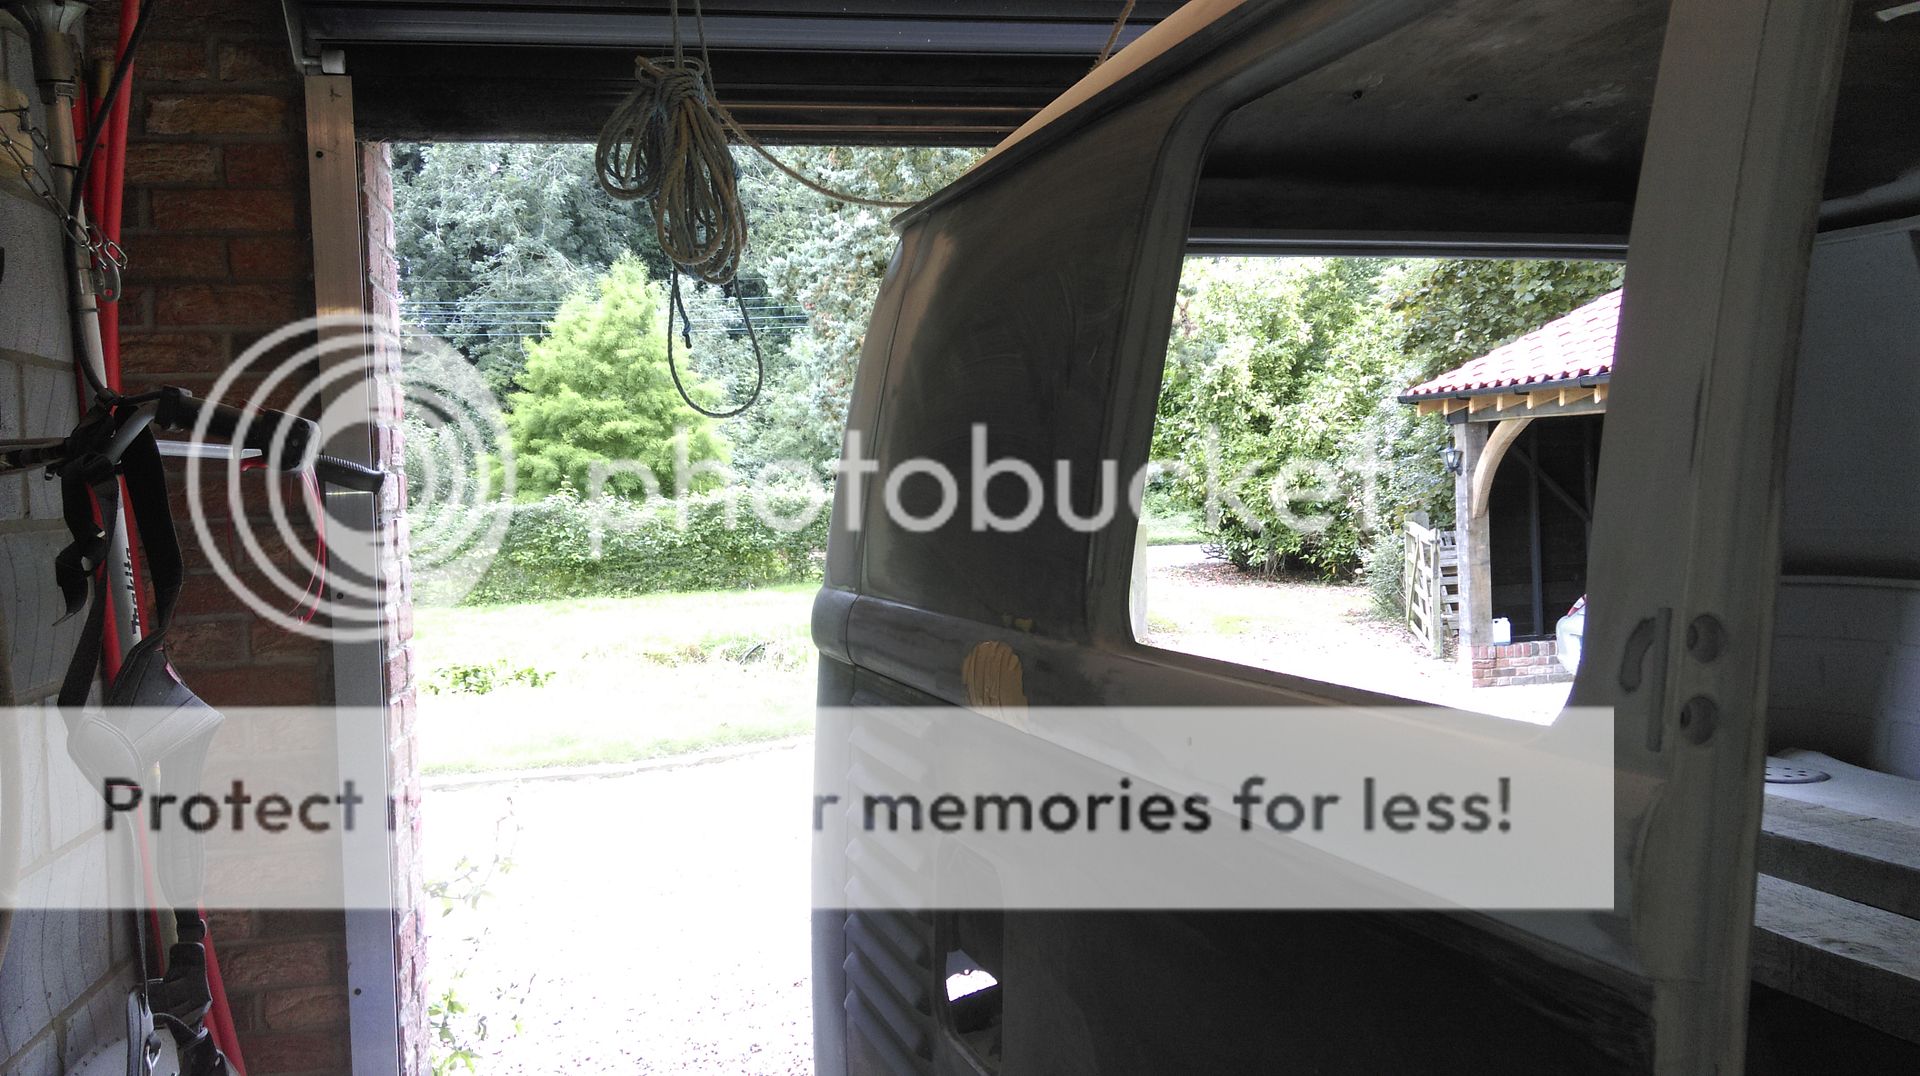
The waistline the other side was a bit ripply so I put a fine coat of filler over the lot and proceeded to work at it between other jobs

The n/s rear corner was next up. I've spent ages getting the panel next to it looking good, and already scuffed it last time when doing the rear corner so this is Gary's "tip of the day" DUCT TAPE

First a good slavering of Topstop Gold _ I now prefer this to the Fantastic as it gives a better finish and can be spirit wiped without it soaking in. I bet all the Pro's reading this are having a right good chuckle but I am getting better at spreading filler

While that was going off I spirit wiped the top section of there rear door and found a couple of small imperfections to sort out

I did a first pass with some coarse Abranet - I knew it was coarse as it kept swearing at me

The last time I tried this panel I used a long block but despite my best endeavours ended up with several flat areas rather than a "flowing curve" so this time I used a short block and also wrapped some Abranet round a spreader which meant I could bend it to the contour
I've got it feeling pretty good now, but I'll put another very fine finishing coat on tomorrow to see if I can get it RIGHT

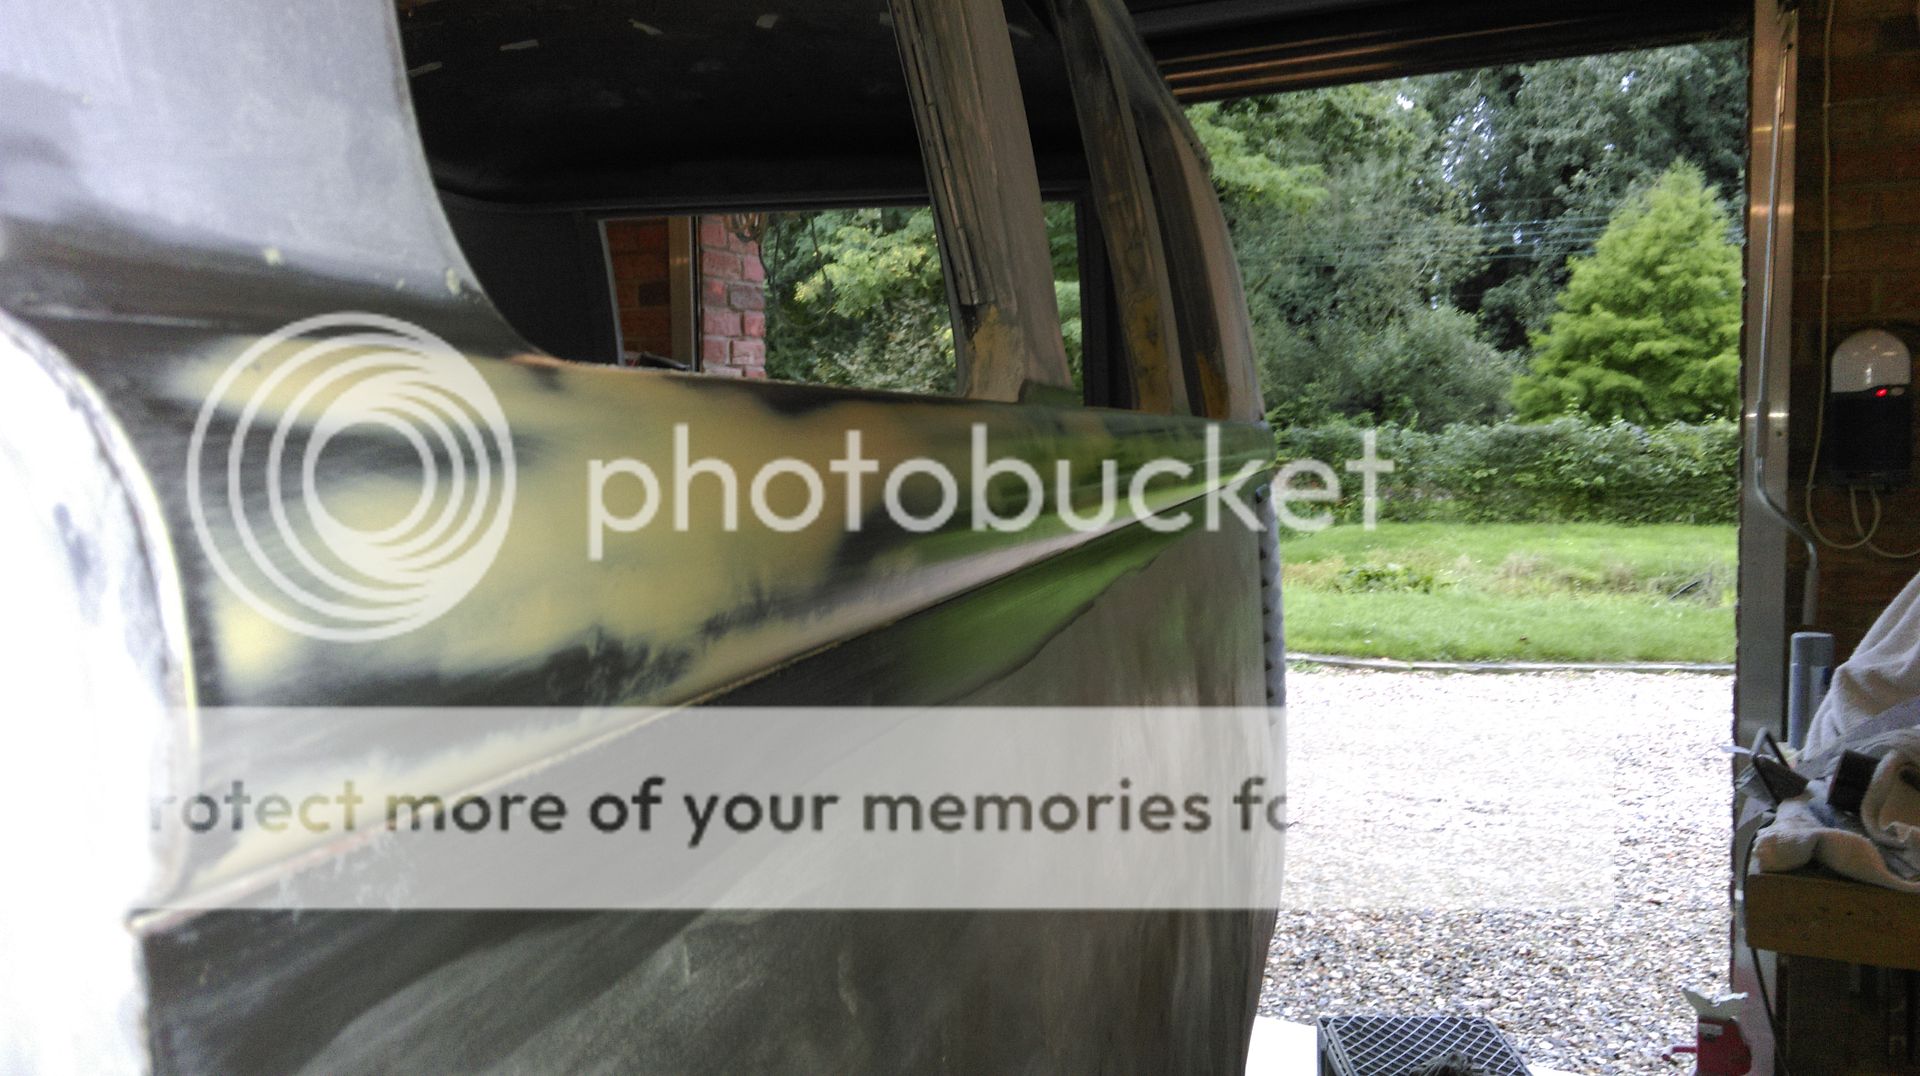
I finished of the long side waist band and it looks good in spirit - ripple free
It won't be long before I can try some of those fancy-smancy reflected photos that I've seen others on here do
That's it for today. Eye slightly better. Checkup in two weeks.
Cheers,
Steve
rusty1962

SSVC Member
Posts: 1549
Joined: Wed Sep 11, 2013 10:35 pm
Re: Rusty, our 1962 11 window bus, resto now in year two…...
by Coops » Mon Aug 31, 2015 4:21 pm
Awesome work Steve, you seem to be back in the flow now.
Always hard getting motivated again especially when you can't see!
Every bit you do is one step closer.....
See you soon
Always hard getting motivated again especially when you can't see!
Every bit you do is one step closer.....
See you soon
Coops
SSVC Member
Posts: 280
Joined: Mon Jul 01, 2013 7:24 pm
Re: Rusty, our 1962 11 window bus, resto now in year two…...
by rusty1962 » Mon Aug 31, 2015 5:16 pm
Coops wrote:Awesome work Steve, you seem to be back in the flow now.
Always hard getting motivated again especially when you can't see!
Every bit you do is one step closer.....
See you soon
Thanks Mike.
Just came in from the cave and found your post. Always good for morale to have posts on my thread
I look like a snowman again
rusty1962

SSVC Member
Posts: 1549
Joined: Wed Sep 11, 2013 10:35 pm
Re: Rusty, our 1962 11 window bus, resto now in year two…...
by rusty1962 » Mon Aug 31, 2015 6:43 pm
So, the end of another long and extended week. Mary's mum's been with us for a spell but yesterday the wind was in the right direction and she flew home. I escaped relatively unscathed…………. apart from the "eye of newt" bit……...
Gary's been and gone again and the money I've invested in him for a couple of days is really starting to pay dividends. Not only have I had a couple of day's work from a fella at the top of his game, but I've been able to work with him and LEARN
I always reckon in life that we can do more or less anything, it's just that, most of the time, we don't know how. My filler work is definitely improving and having Gary's input has given me the confidence to take on jobs that just a few weeks ago would have been beyond me
Today I've spent quite a lot of time gently caressing Rusty's rear end and, having become fairly intimate with all his curves, I can understand why most buses have female names
First up was to ladle the final layer of filler onto the o/s "upstairs" I was particularly proud of the spreading here

I've now gained the confidence to tackle the cargo doors, so with some left over filler, a little "fillip" to start me off

and then I went for it, big style

always wear a glove on your spreader hand and clean the spreader as you go (another great tip) They get better with use. The gloves work inside out the next time and then you don't get bits of dried filler in your new wet filler
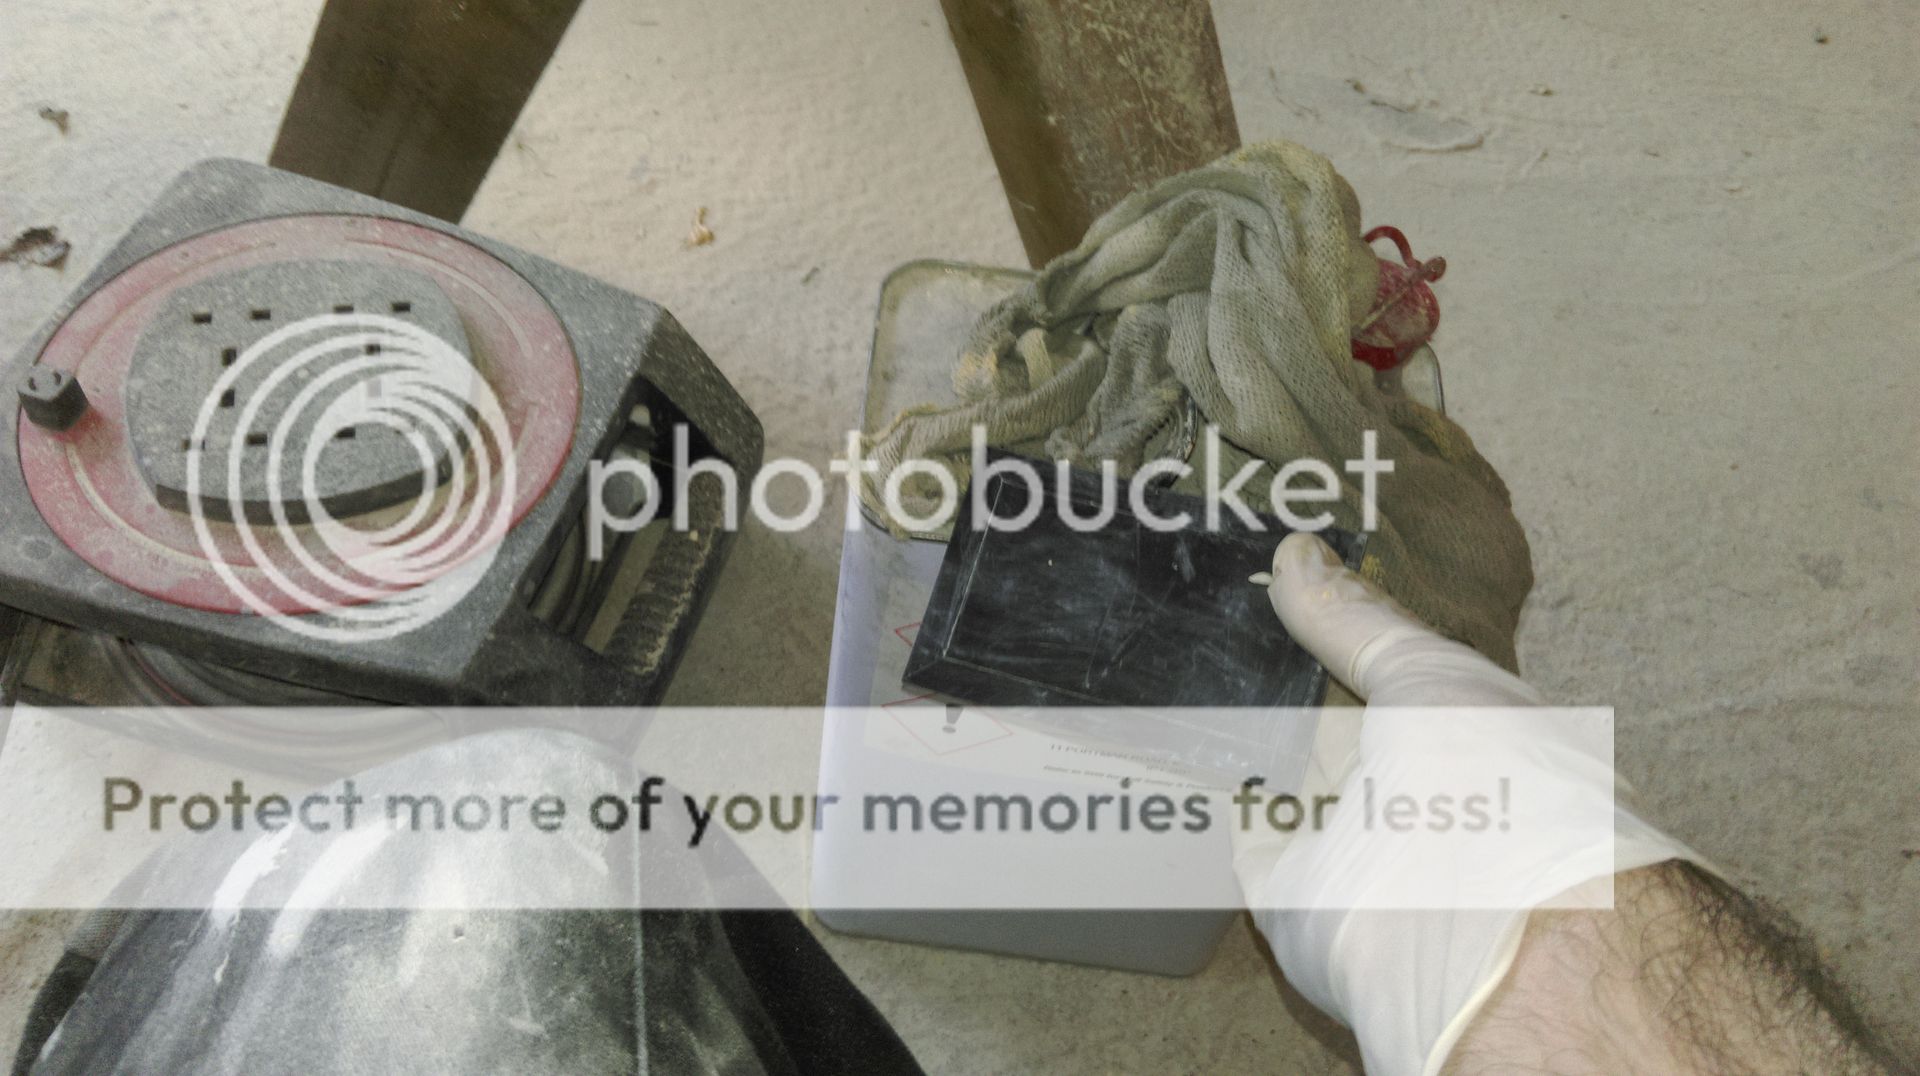
I knocked the door into shape but it needed a little more through the middle. Once I'm happy it's more or less there I'll cover the entire door with a very thin layer to finish off

Meanwhile I got to waist level
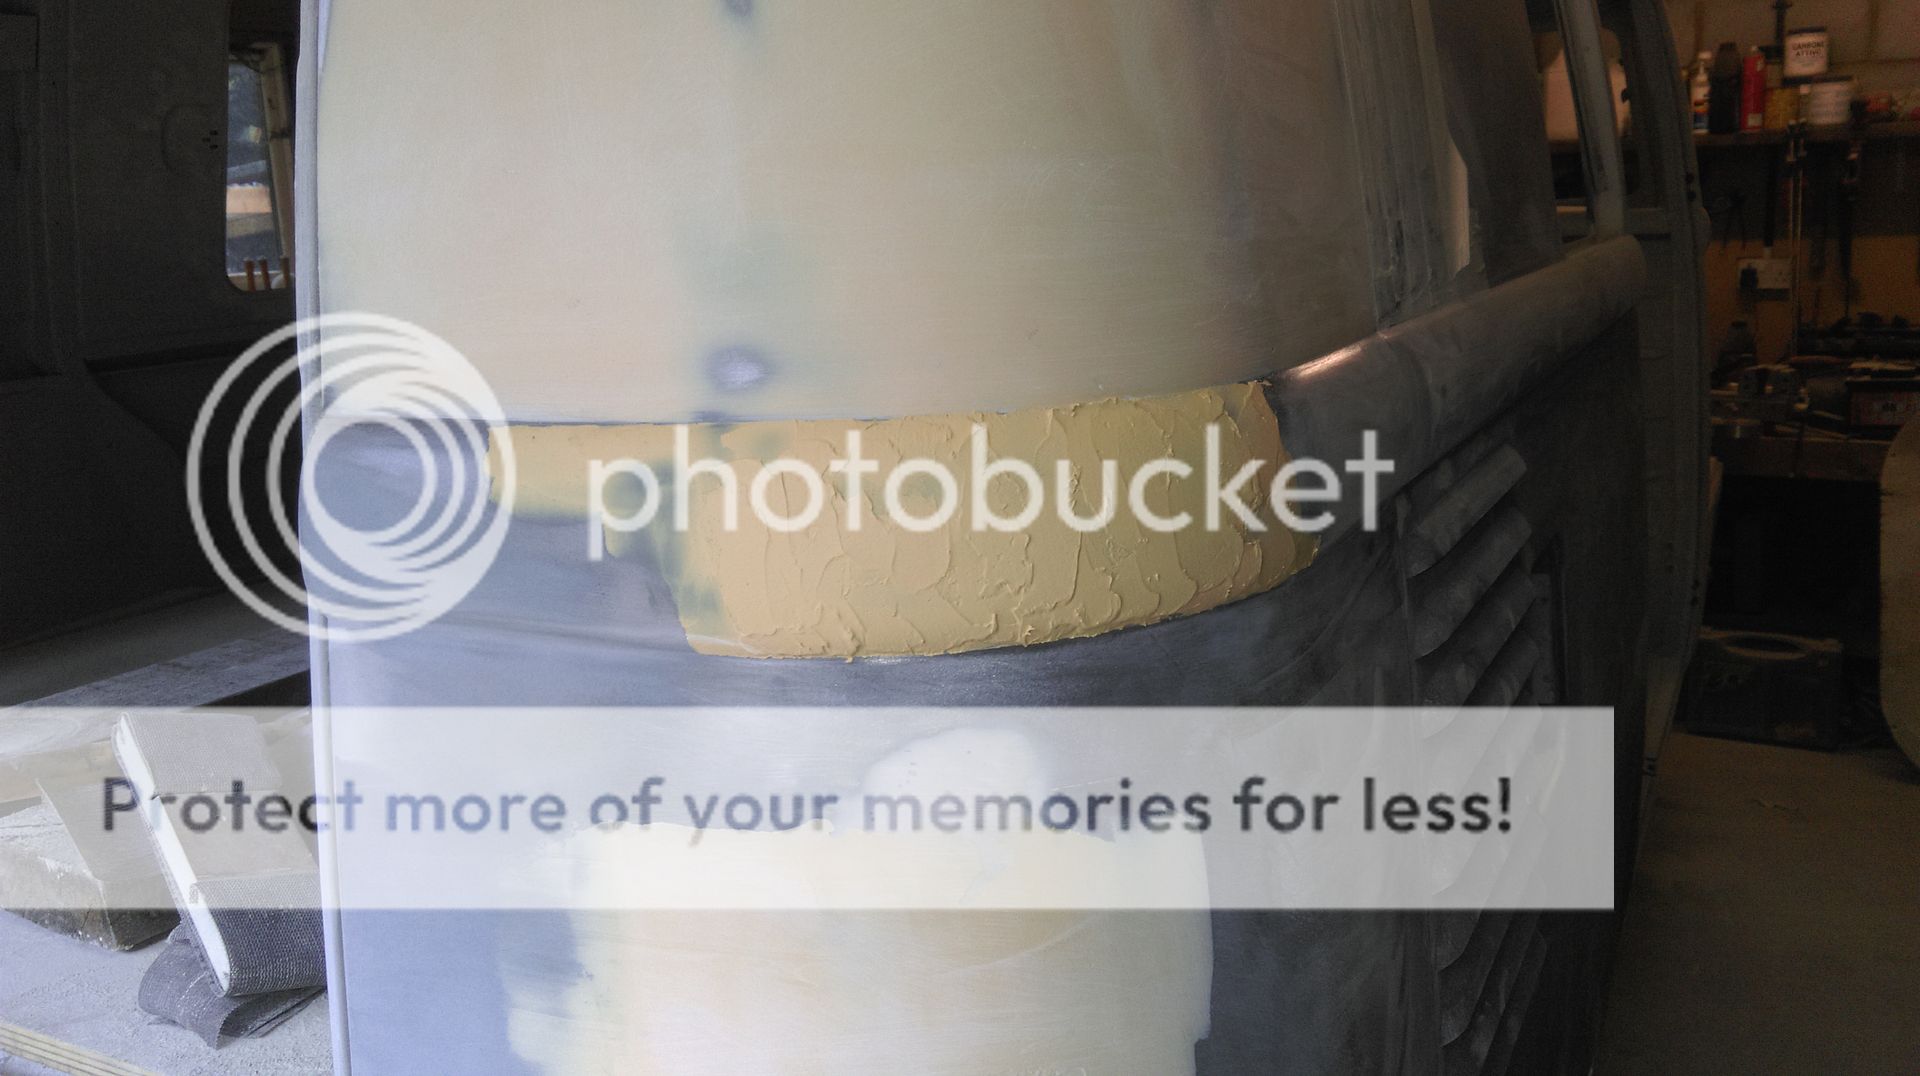
and then I bare metalled the "downstairs"
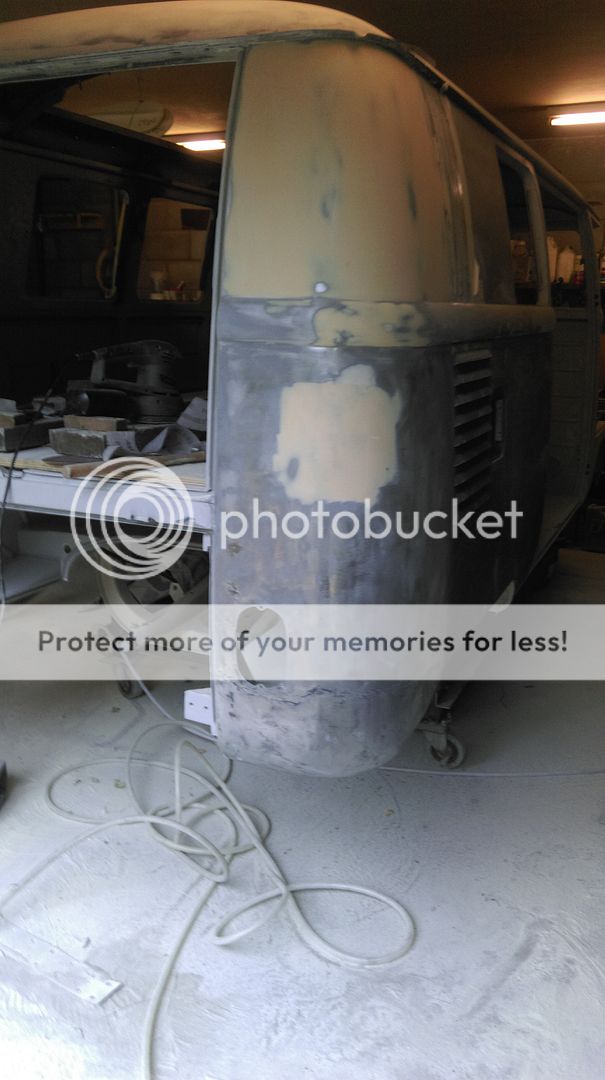
bits of leftover filler in the worst spots
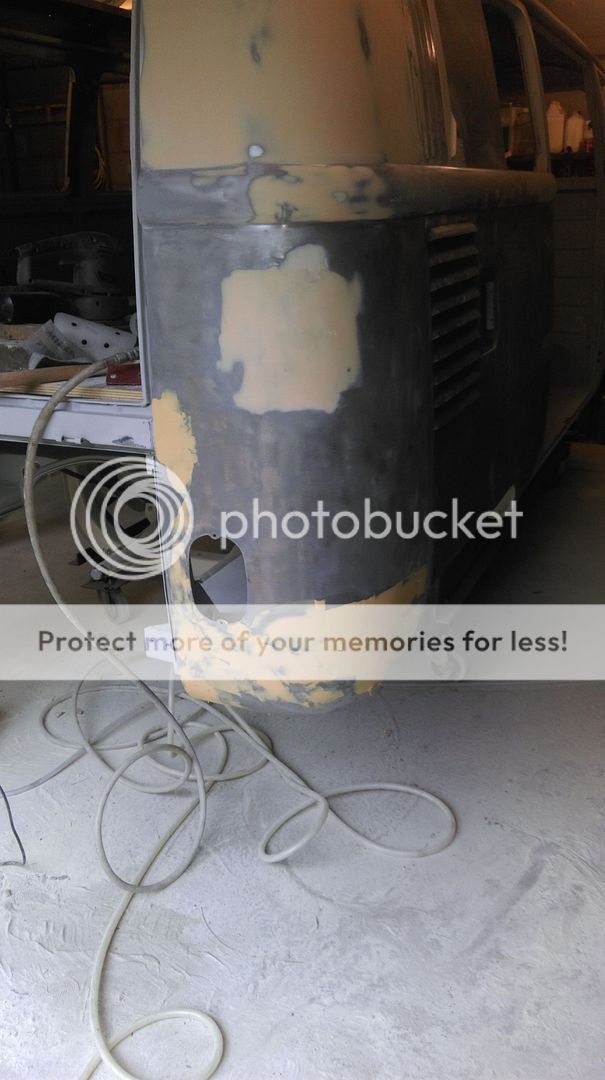
and I finished by getting a good coat over the lower "rump" and ran out of filler

So that was another day in the resto. Some big panels looming though…….
Cheers,
Steve
rusty1962

SSVC Member
Posts: 1549
Joined: Wed Sep 11, 2013 10:35 pm
Re: Rusty, our 1962 11 window bus, resto now in year two…...
by type21f » Mon Aug 31, 2015 7:11 pm
Steve
As always excellent work...I only wish I had the skills you are learning and yet again exhibiting...
All looking to be coming along well!
Hope the eye is feeling a little better..
I am very bad with eyes...UGGGH>>>>
I worked in Body assembly and had too many visits myself..
Yuk...
still got a few scars...but avoided anything major...
A "female friend" tore her retiba because she had a sneezing bout!
So you never know...!
I even hate going to the optician because he/she always says...
Oh yes...let me see Ah yes damage to the...
Yuk..
Oh and is the colour choice all decided?
P.S. markp used to be my daily fix...Now it is rusty n you...and the pleasure in helping just a little where I can....
G
G
type21f

SSVC Member
Posts: 7398
Joined: Tue May 29, 2007 12:55 pm
Re: Rusty, our 1962 11 window bus, resto now in year two…...
by wejjy » Tue Sep 01, 2015 6:44 am
Wow you work fast Steve!! Bounding through the bodywork!! So, will you be in colour before the weather turns? When are you aiming for??
wejjy
Registered user
Posts: 1190
Joined: Sun Jun 05, 2005 8:40 am
Re: Rusty, our 1962 11 window bus, resto now in year two…...
by jonthebuilder » Tue Sep 01, 2015 5:20 pm
Nice work Steve. I didn't enjoy that stage of the resto at all, and mine isn't perfect in some areas, whereas with your dedication and patience I think your going to have a first class paint job....and then spend the next 6 month being terrified of scratching it whilst putting it back together....I've got got my first chip on mine putting the door tops on!
jonthebuilder
Registered user
Posts: 349
Joined: Thu Aug 12, 2010 7:00 pm
Re: Rusty, our 1962 11 window bus, resto now in year two…...
by clymoj » Tue Sep 01, 2015 5:32 pm
So the gaffa tape goes on top of the masking tape to protect the masking tape from scuffing as you get the next door panel done?
clymoj
Registered user
Posts: 930
Joined: Tue Mar 27, 2012 12:10 pm
Re: Rusty, our 1962 11 window bus, resto now in year two…...
by rusty1962 » Tue Sep 01, 2015 7:01 pm
clymoj wrote:So the gaffa tape goes on top of the masking tape to protect the masking tape from scuffing as you get the next door panel done?
The masking tape was my idea
I thought it might not leave as much sticky residue to remove as the duct tape would. I'll let you know when I remove it, but it has prevented me from scuffing a finished panel
rusty1962

SSVC Member
Posts: 1549
Joined: Wed Sep 11, 2013 10:35 pm
Re: Rusty, our 1962 11 window bus, resto now in year two…...
by rusty1962 » Tue Sep 01, 2015 7:02 pm
jonthebuilder wrote:Nice work Steve. I didn't enjoy that stage of the resto at all, and mine isn't perfect in some areas, whereas with your dedication and patience I think your going to have a first class paint job....and then spend the next 6 month being terrified of scratching it whilst putting it back together....I've got got my first chip on mine putting the door tops on!
I'm not going to actually use it so it won't get scratched
rusty1962

SSVC Member
Posts: 1549
Joined: Wed Sep 11, 2013 10:35 pm
