You are viewing the Split Screen Van Club forum archive.
The forum archive is read-only.Unfortunately in 2021 the Split Screen Van Club forum suffered a ransomware attack and lots of the forum data was lost.
What threads that have been recovered are now searchable on this site. Some threads may be incomplete and some images are still being recovered.
Forum archive search
Fleetline Hightop
by Ed Toogood » Tue Aug 14, 2012 11:53 am
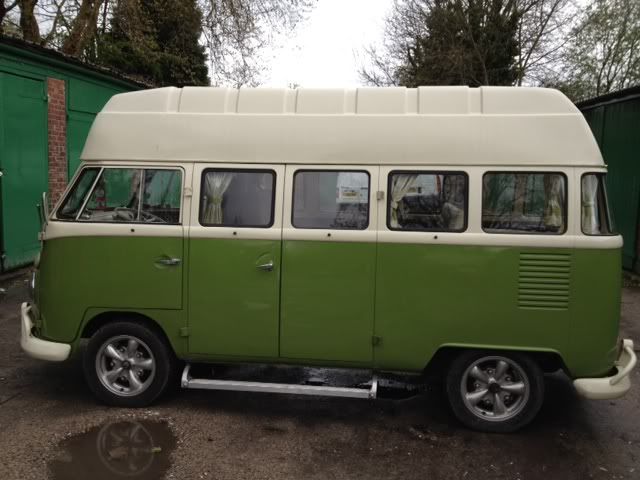
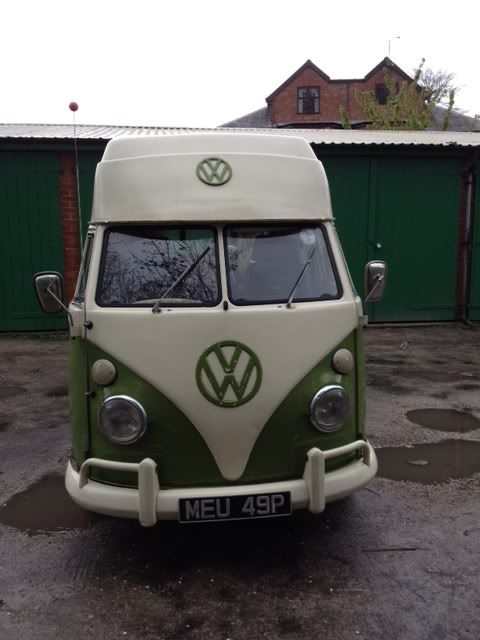
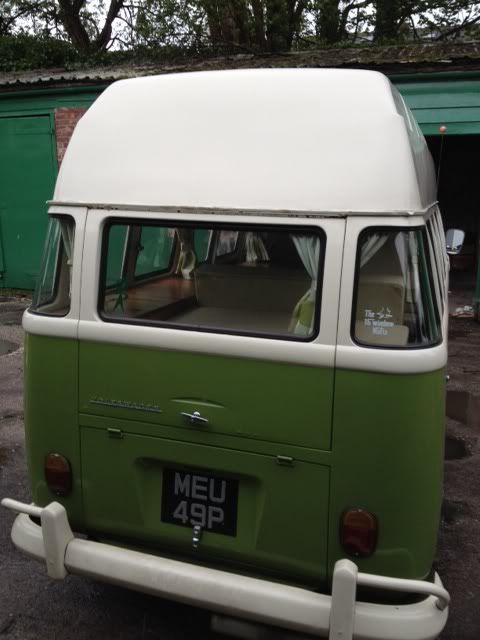
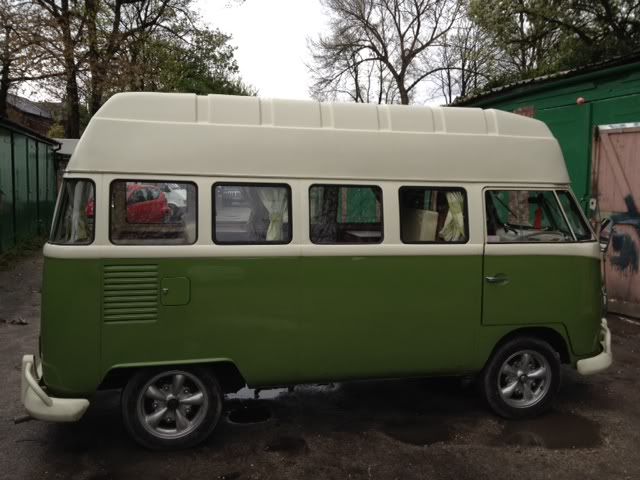
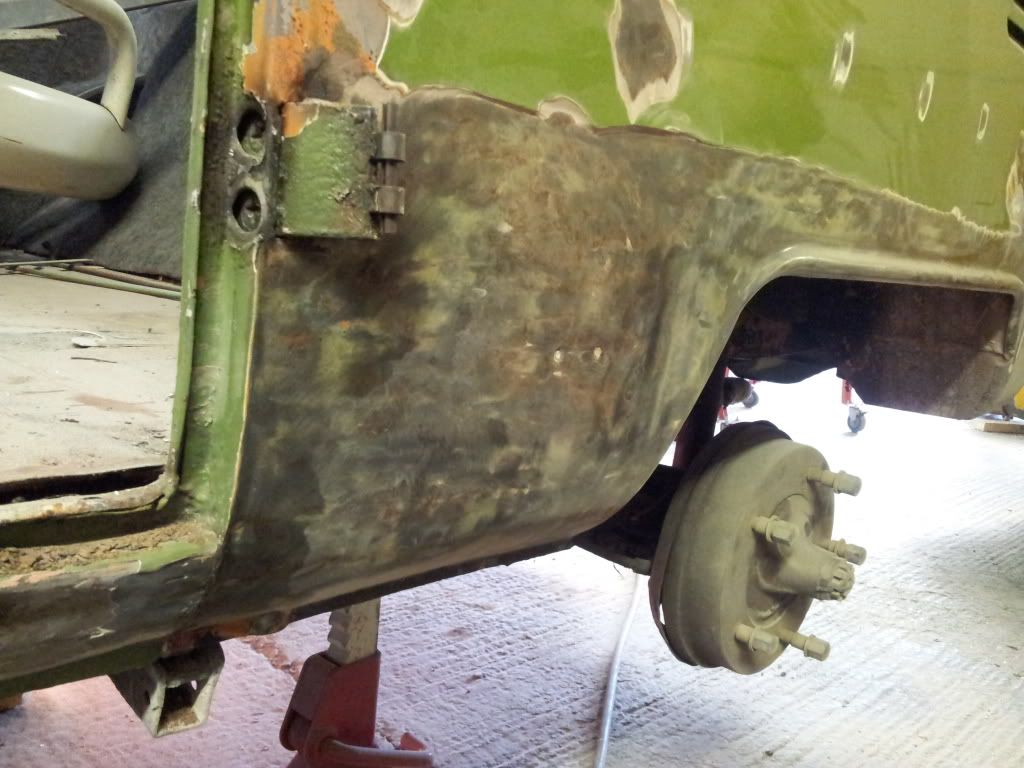
In March this year it was clear that my van was going to fail the MOT due to a rusty inner sill, so I took the decision to get the rest of the bodywork done at the same time. Here are a few picture before anything was done. She wasn't bad, but there were a few areas, particularly lower few inches and guttering that needed some TLC.
I hope the pic upload works as it's my first time
I hope the pic upload works as it's my first time
Ed Toogood
Registered user
Posts: 72
Joined: Fri May 25, 2012 8:15 am
Re: Fleetline Hightop
by Ed Toogood » Tue Aug 14, 2012 12:07 pm
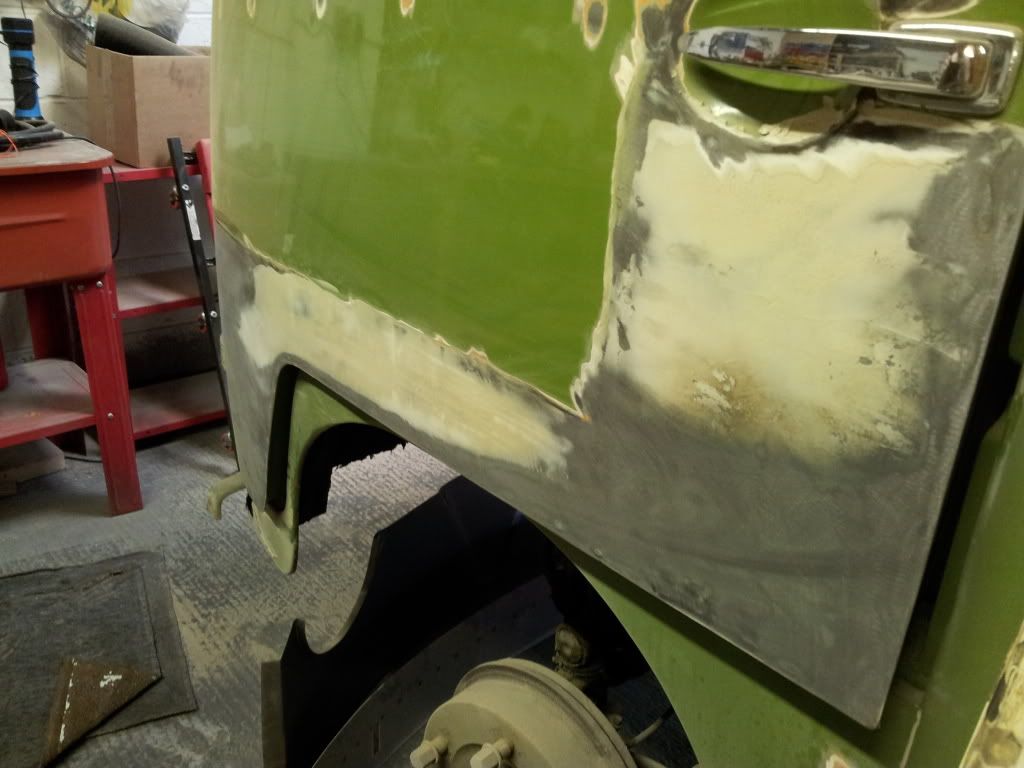
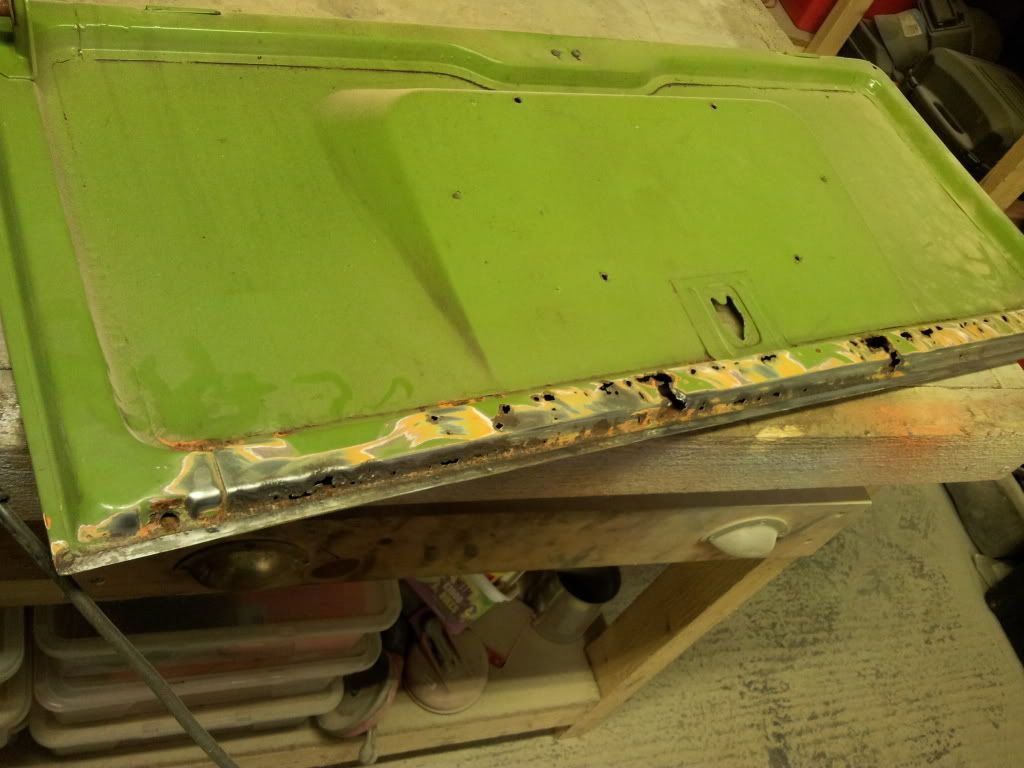
Due to a lifetime spent as a minibus in South Africa it's probably no wonder there was a fair amount of filler to be worked through:
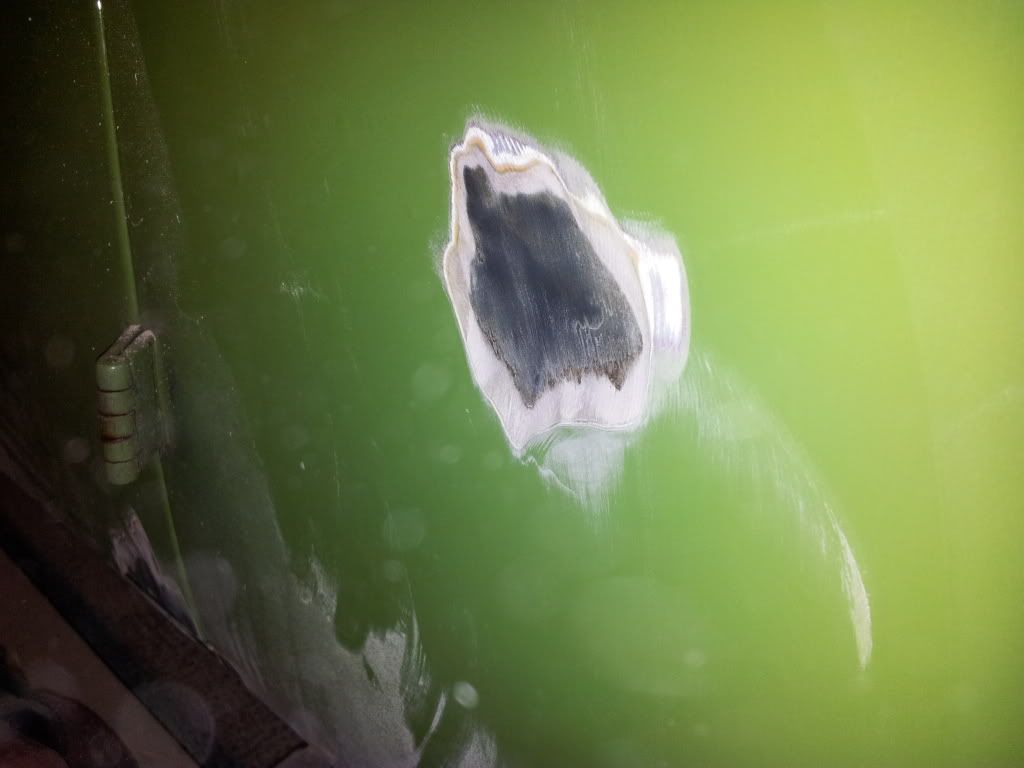
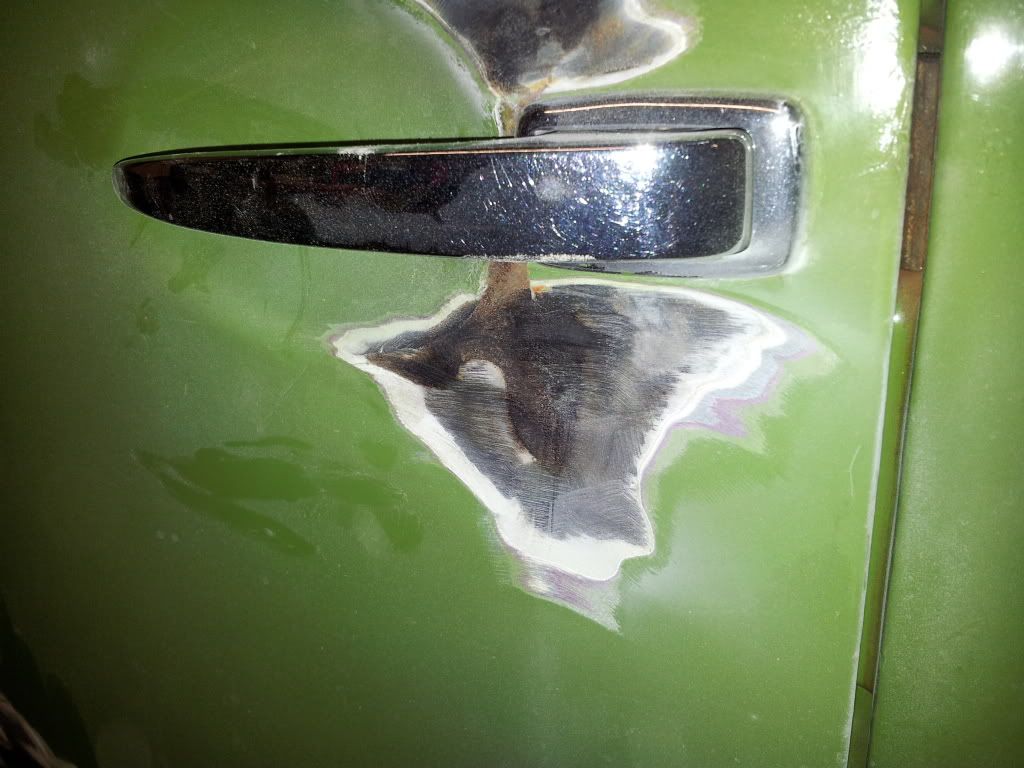

The cab doors were bubbling up at the bottom
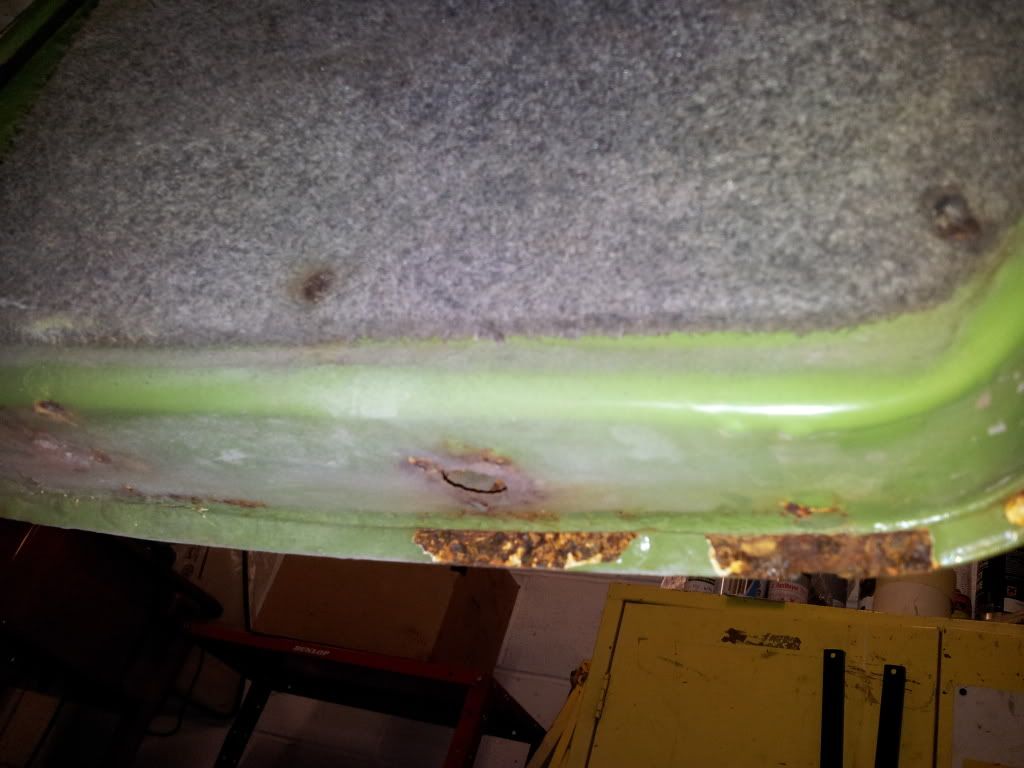
The cab doors were bubbling up at the bottom
Ed Toogood
Registered user
Posts: 72
Joined: Fri May 25, 2012 8:15 am
Re: Fleetline Hightop
by Ed Toogood » Tue Aug 14, 2012 12:15 pm
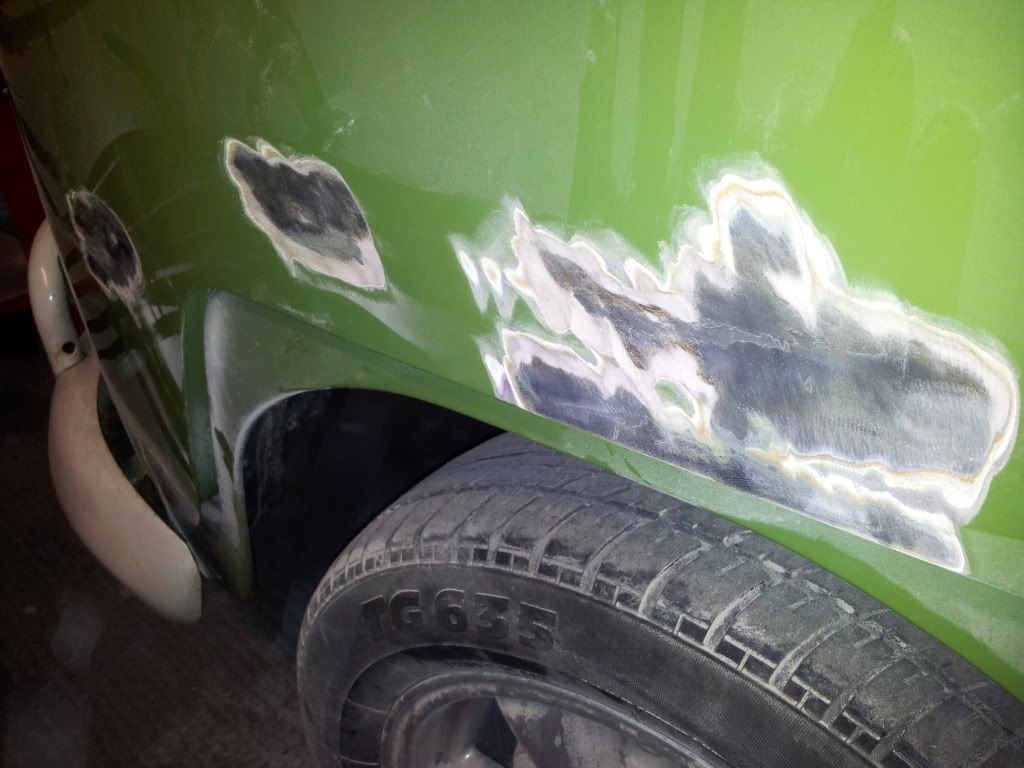
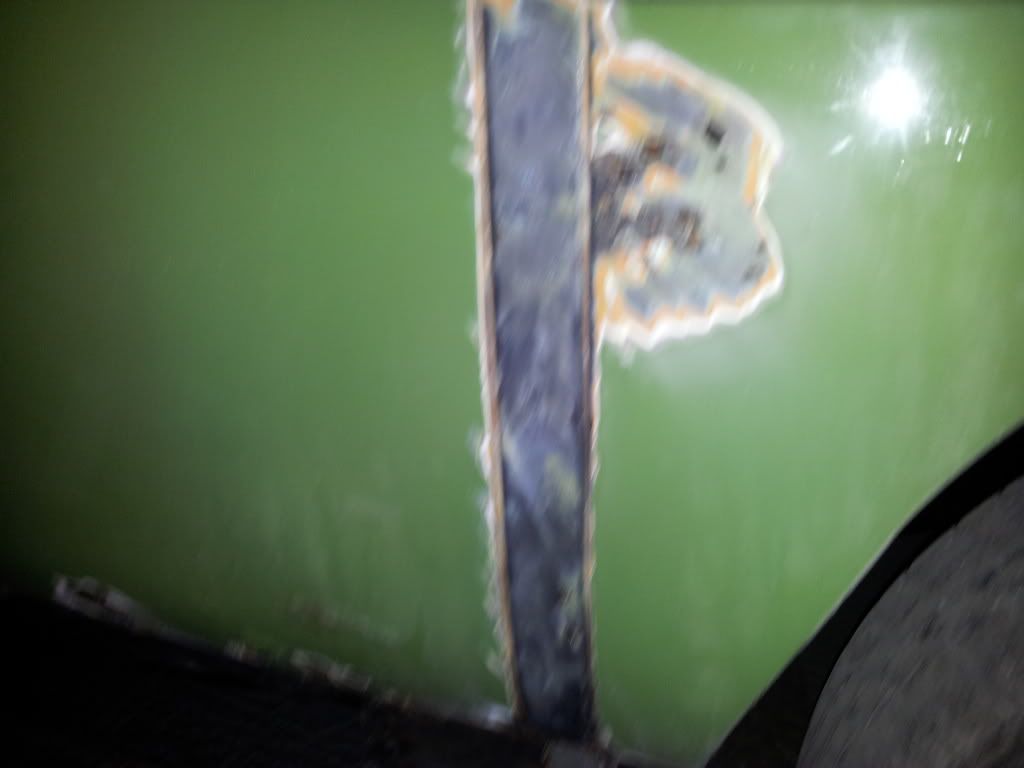
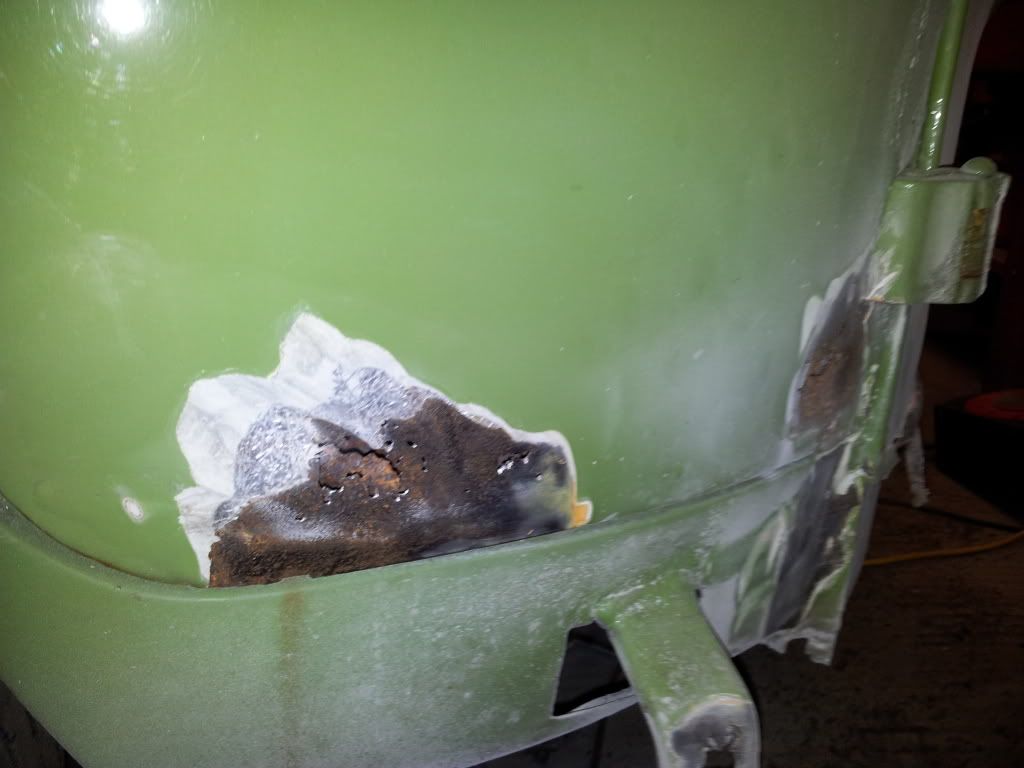
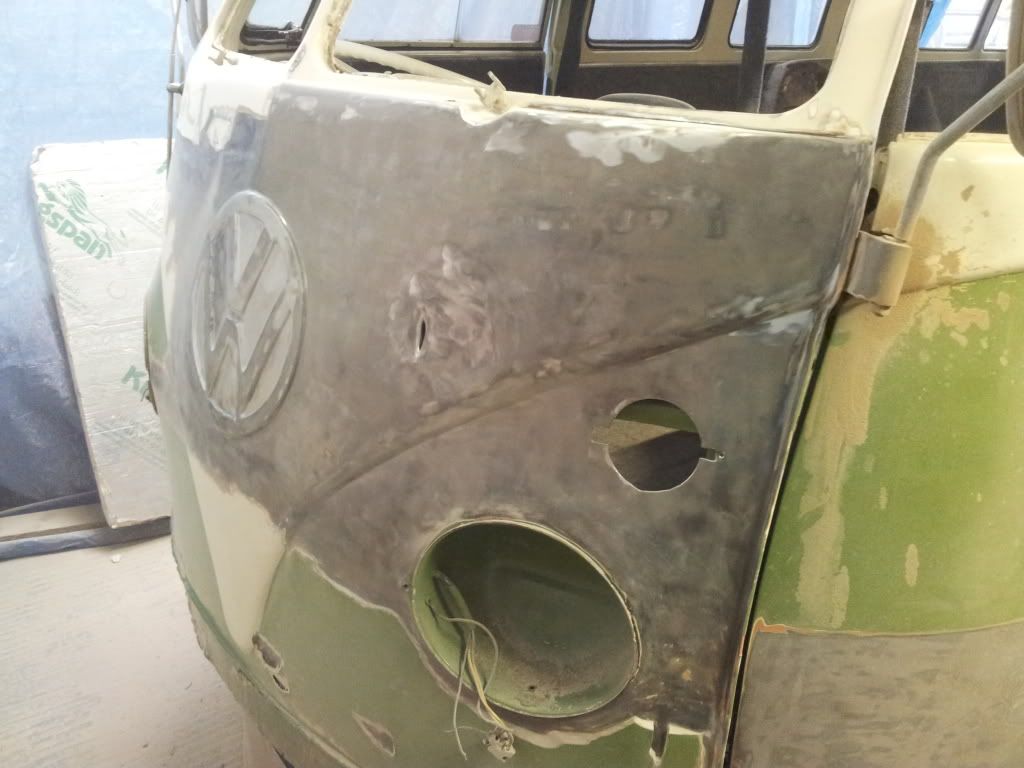
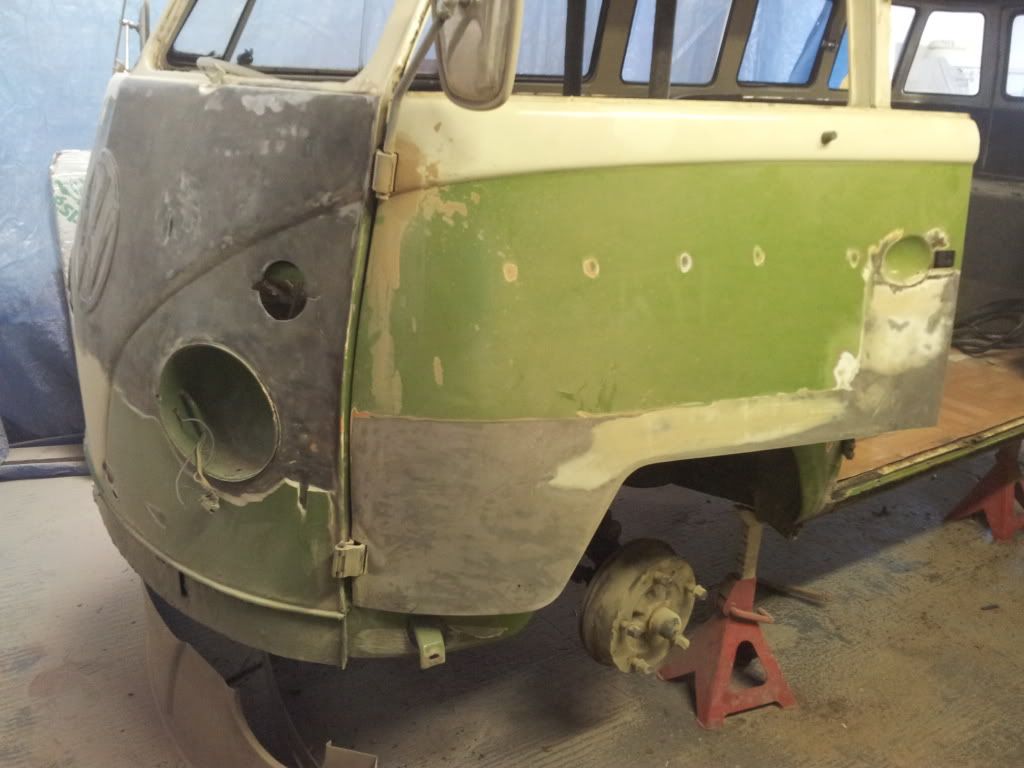
Fortunately as more of the paint and filler was worked through it became clear that the bodywork underneath was much more rust free than we had first thought. The layers of filler had caused the paintwork to bubble, which looked like there may be rust underneath. As you can see there is loads of good metal

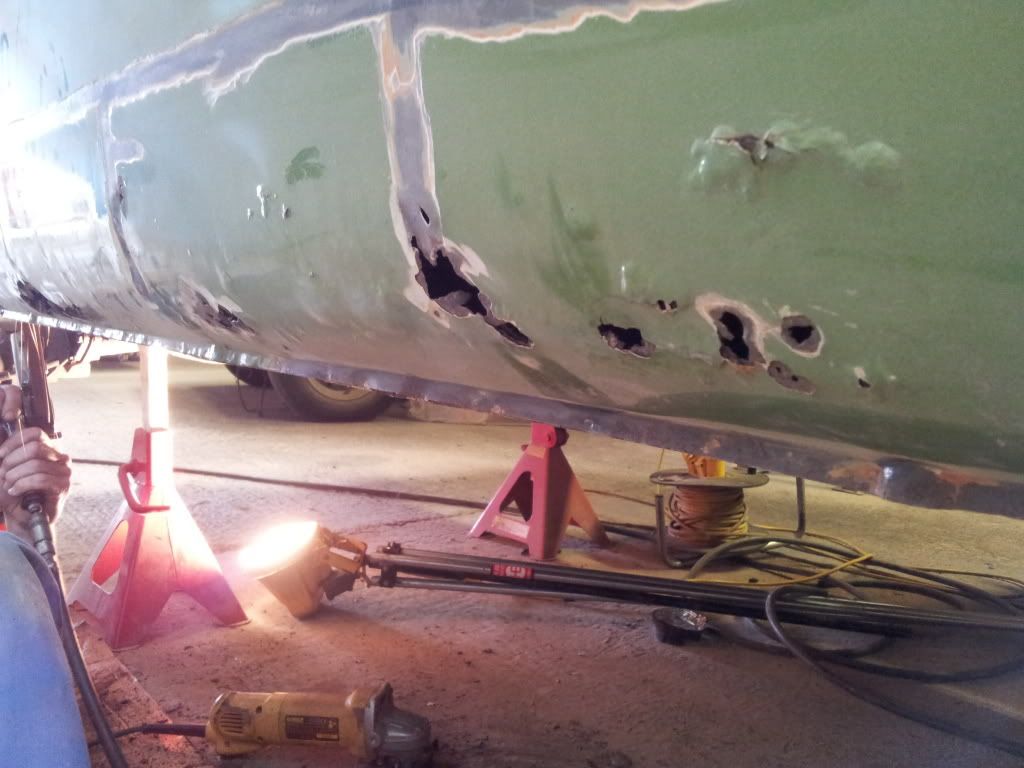
This corner is perfect
Not too much needed here either

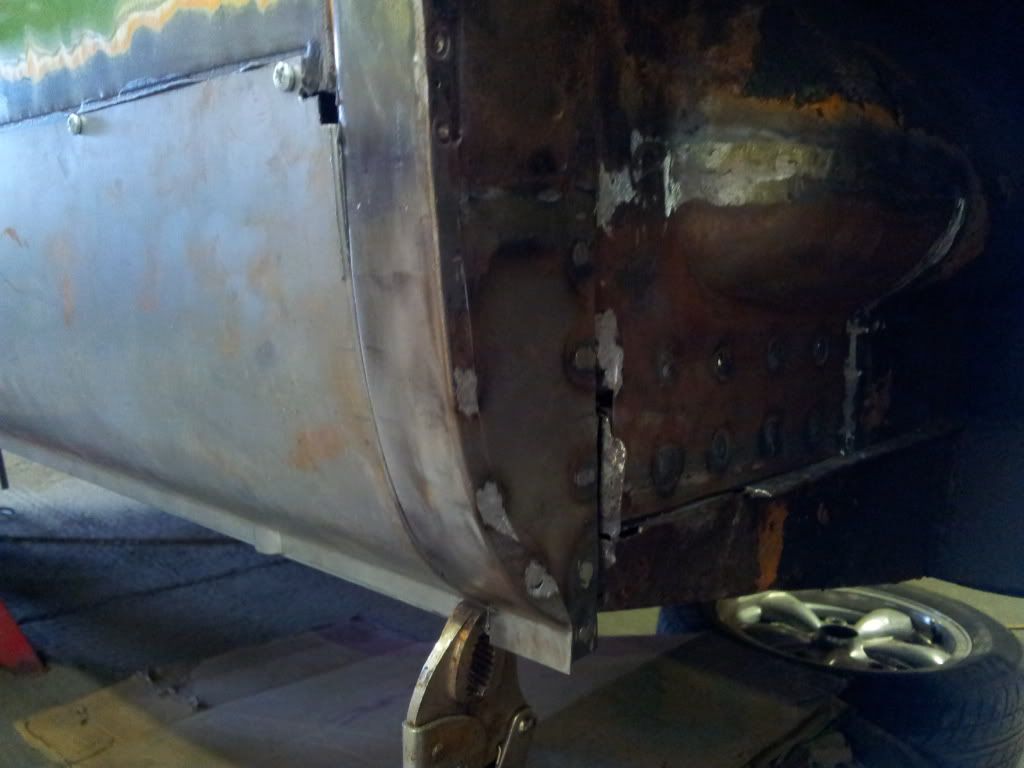
A new lower front section needed. I intend to make up a spear based tale about the hole to the left of the badge (third pic down)...

This corner is perfect
Not too much needed here either
A new lower front section needed. I intend to make up a spear based tale about the hole to the left of the badge (third pic down)...
Ed Toogood
Registered user
Posts: 72
Joined: Fri May 25, 2012 8:15 am
Re: Fleetline Hightop
by Ed Toogood » Tue Aug 14, 2012 3:46 pm
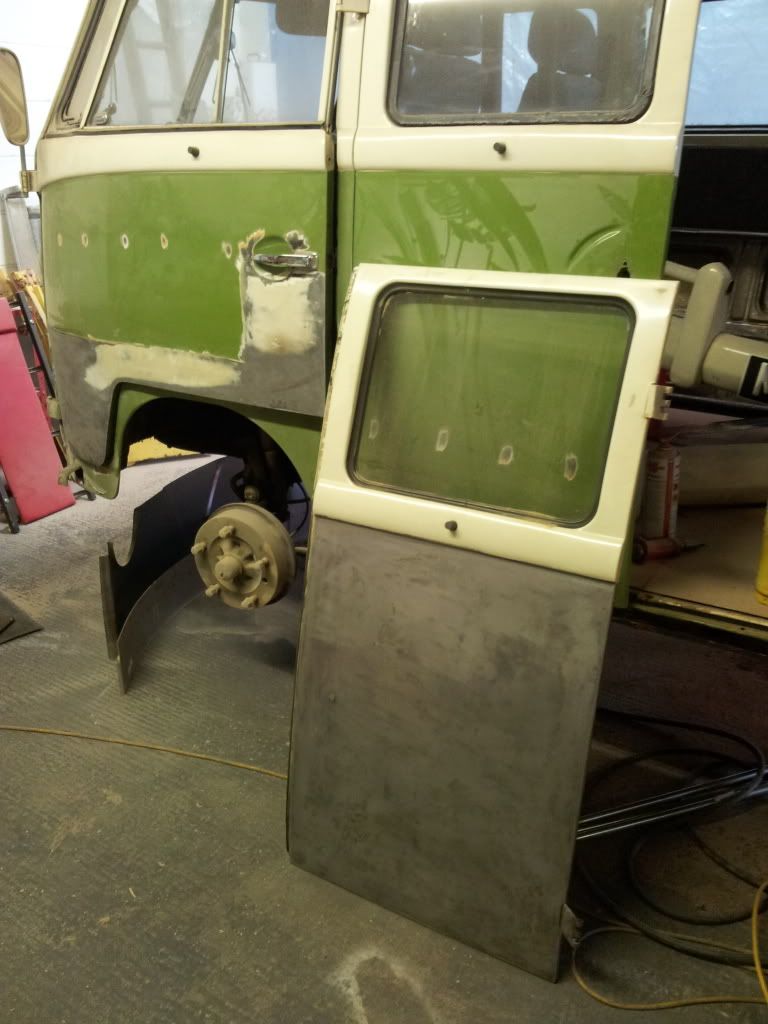
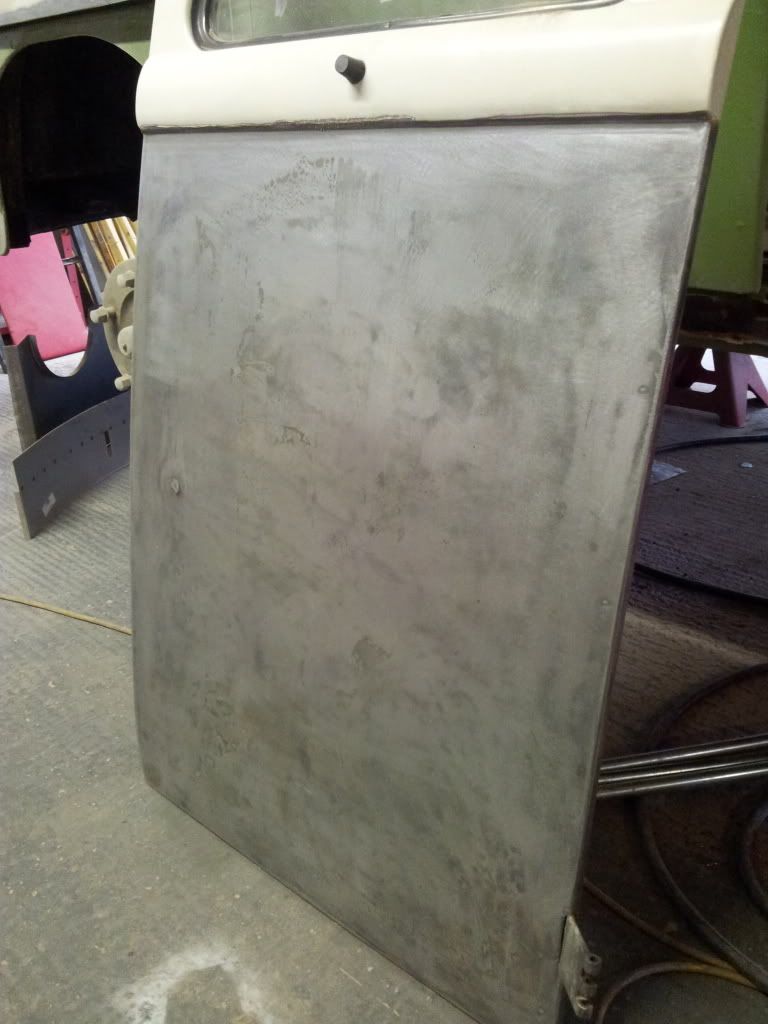
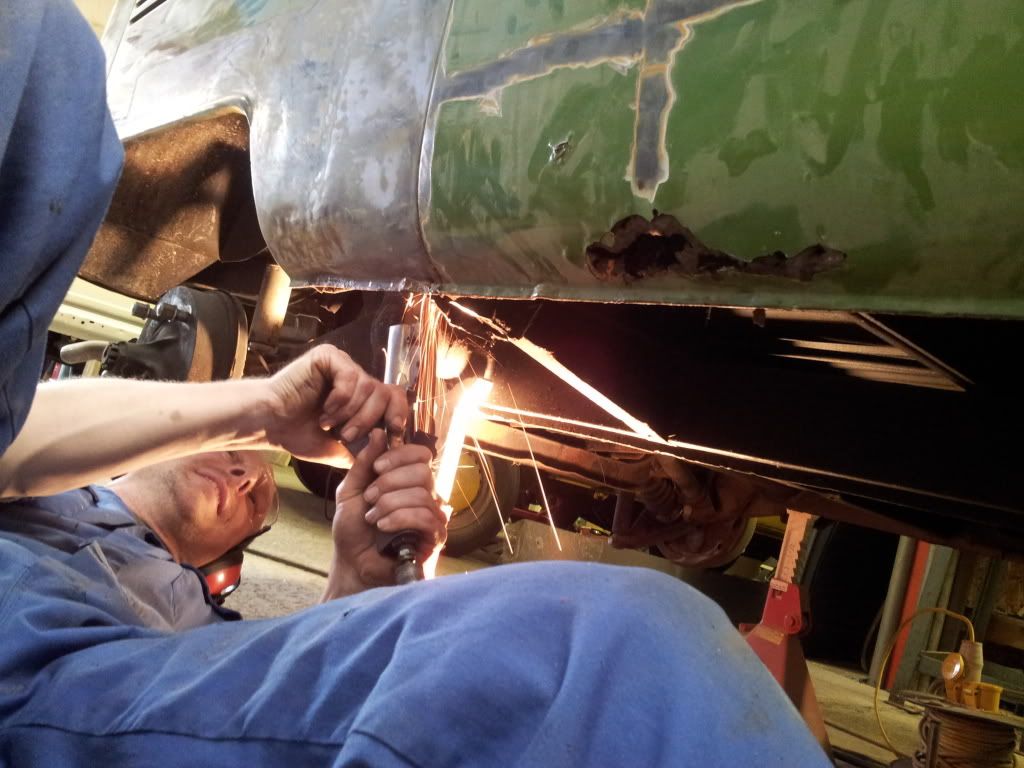
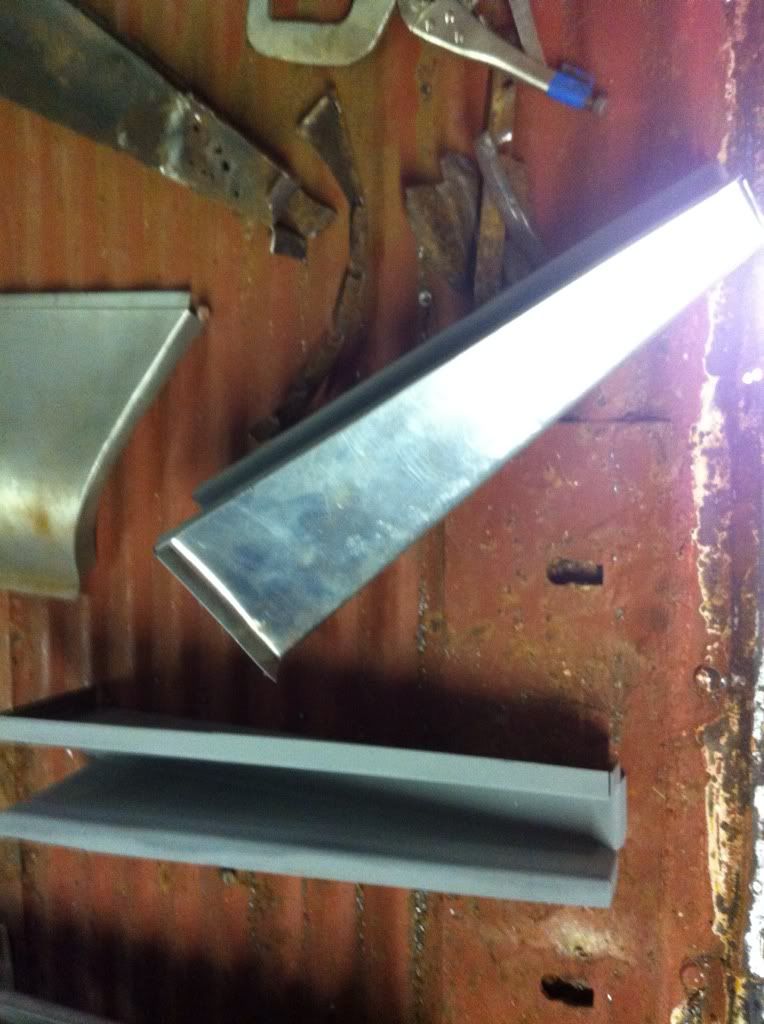
A few moe pics as the cutting gets started.
Ed Toogood
Registered user
Posts: 72
Joined: Fri May 25, 2012 8:15 am
Re: Fleetline Hightop
by Ed Toogood » Tue Aug 14, 2012 3:48 pm
Taylor and Sons Campers are doing the work and used the van as part of their stand at NWVW at Tatton on Sunday. Not sure if anyone on here saw it...

Ed Toogood
Registered user
Posts: 72
Joined: Fri May 25, 2012 8:15 am
Re: Fleetline Hightop
by e m p i » Wed Aug 15, 2012 8:34 pm
Ed Toogood wrote:Taylor and Sons Campers are doing the work and used the van as part of their stand at NWVW at Tatton on Sunday. Not sure if anyone on here saw it...
Wow dude, that's a cool display
Shalom, Lee
e m p i
Registered user
Posts: 5152
Joined: Fri Jan 28, 2005 3:51 pm
Re: Fleetline Hightop
by Ed Toogood » Wed Aug 15, 2012 10:12 pm
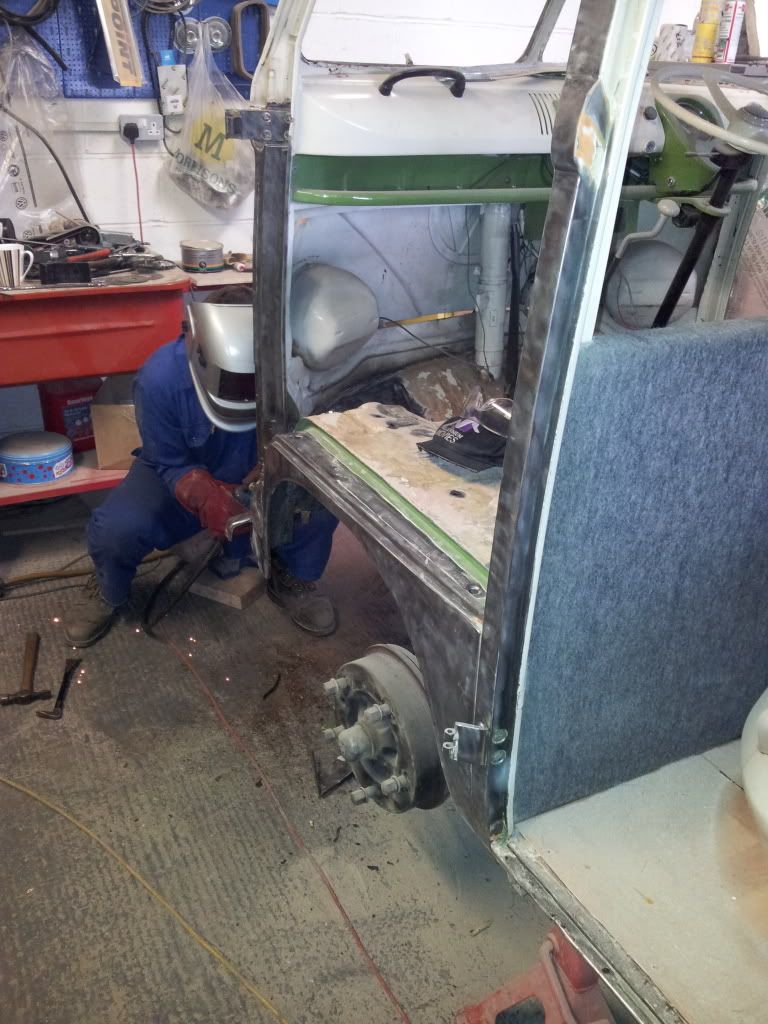
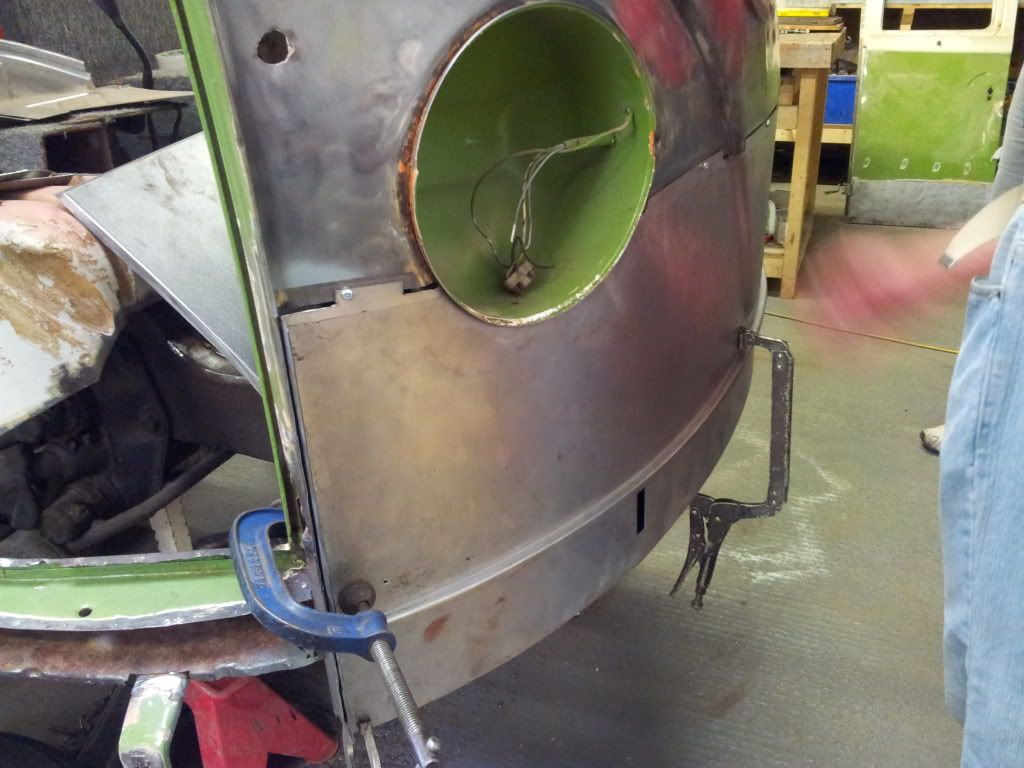
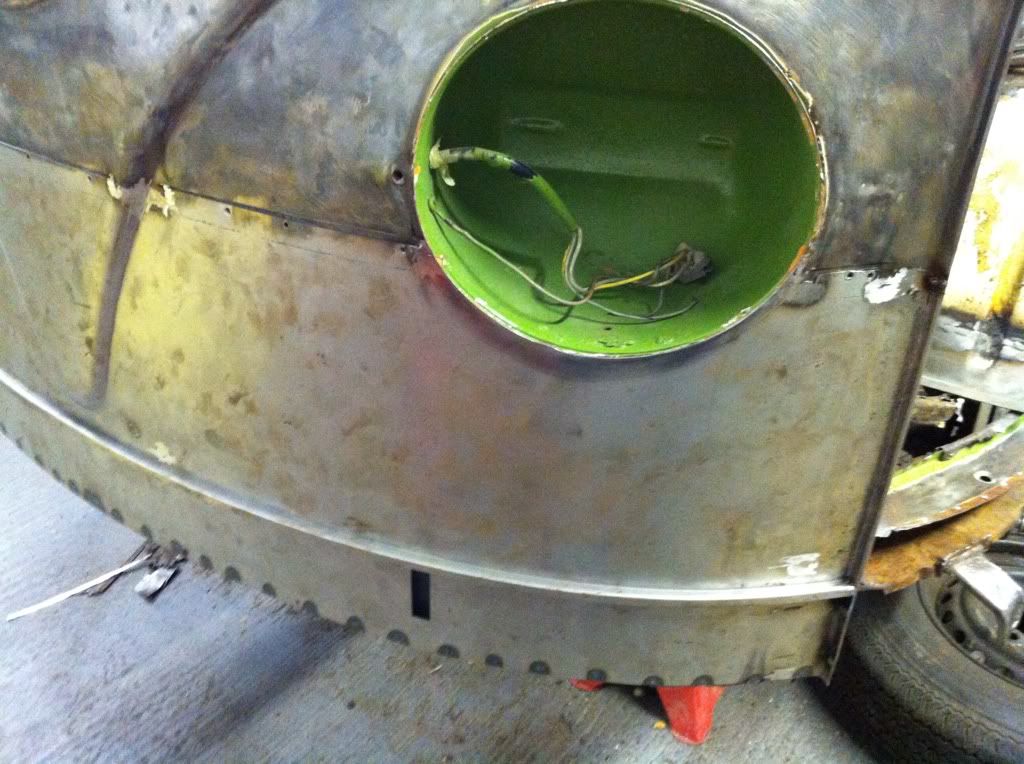
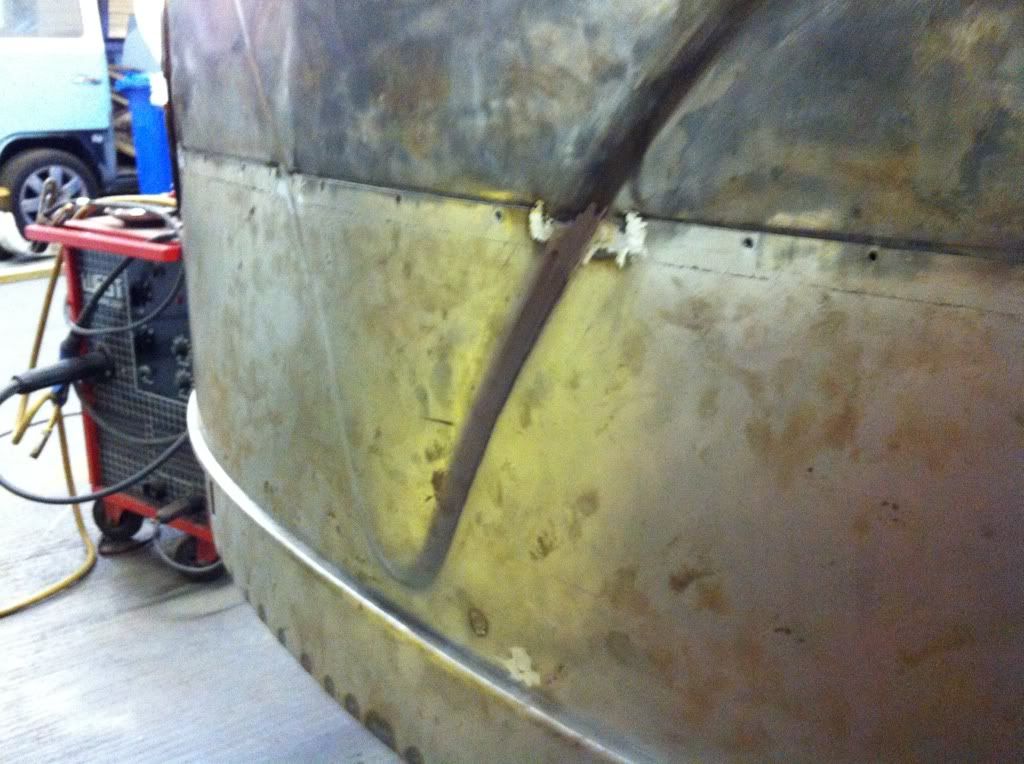
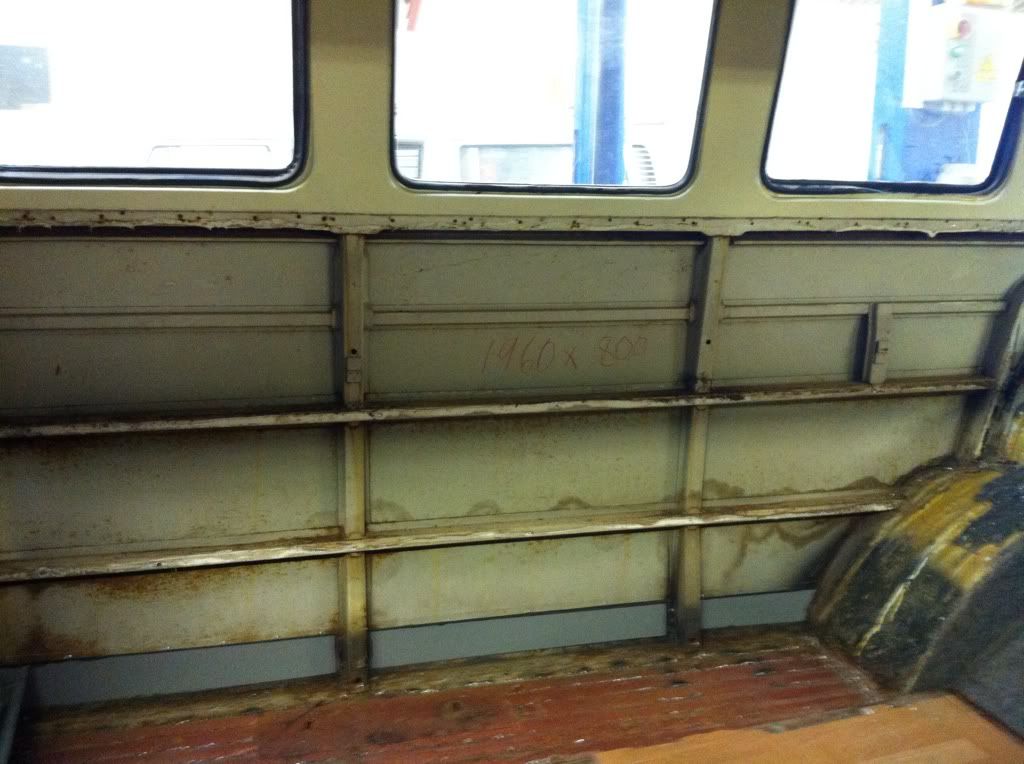
The guys are starting to position lots of the new metal ready for welding now.
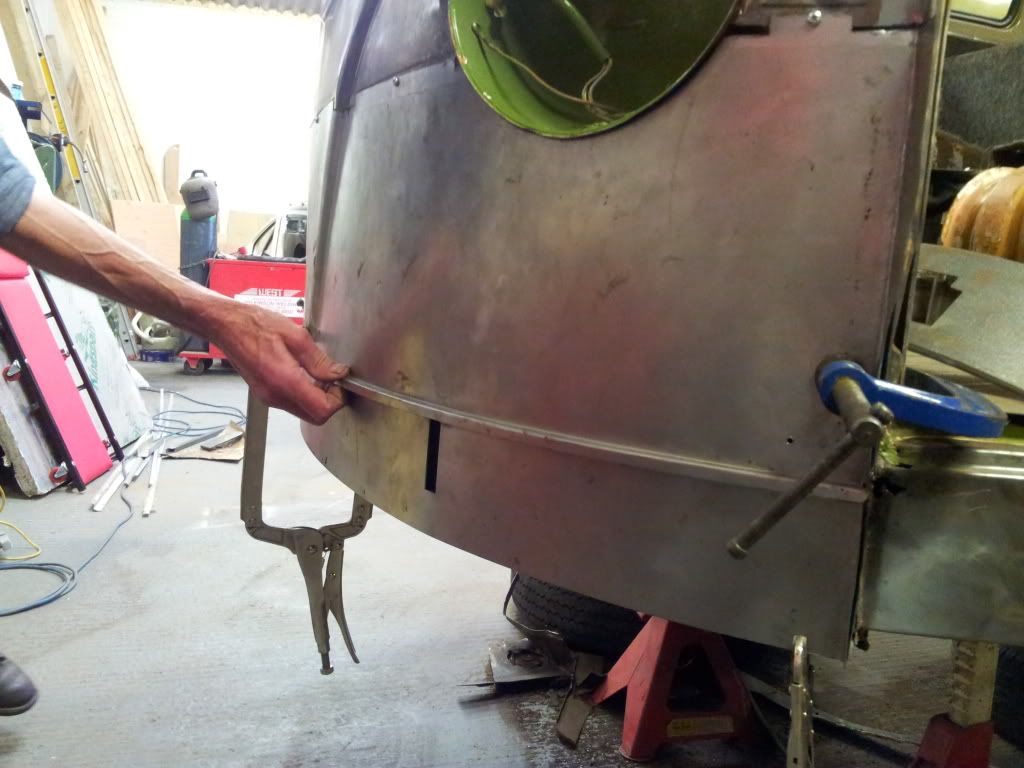
The scary bit is yet to come though, which will be the gutter repairs. The hightop is fibreglass and has been bonded just above the gutter. So the fibreglass will need to be cut away in those sections to allow the metal to be cut. Not too sure how 40 year old fibreglass will take to being cut into, but I think it's the only option
Hopefully soon we will be on to the decision of what colours to go for... Thinking of sticking to green and white / cream, but with so much choice I'm finding it tough. Pretty sure we won't go back to the original orange colour though as I think it might be a bit much on a hightop. Any suggestions?
Ed Toogood
Registered user
Posts: 72
Joined: Fri May 25, 2012 8:15 am
Re: Fleetline Hightop
by e m p i » Wed Aug 15, 2012 10:31 pm
Ed Toogood wrote:Hopefully soon we will be on to the decision of what colours to go for.... Any suggestions?
Satin Black all the way. But then i would say that because everything i own ends up painted satin black
just out of in terest when make of panel dod you go from on the lower front and how was the fit???
shalom, Lee
e m p i
Registered user
Posts: 5152
Joined: Fri Jan 28, 2005 3:51 pm
Re: Fleetline Hightop
by Ed Toogood » Thu Aug 16, 2012 10:39 am
Hi,
The front panel is from Autocraft, as are all of the other ones in fact. The fit and quality of these has been excellent. I hope I'm not speaking too soon before the welding starts in earnest, but at the moment thay are lining up a treat.
Ed
The front panel is from Autocraft, as are all of the other ones in fact. The fit and quality of these has been excellent. I hope I'm not speaking too soon before the welding starts in earnest, but at the moment thay are lining up a treat.
Ed
Ed Toogood
Registered user
Posts: 72
Joined: Fri May 25, 2012 8:15 am
Re: Fleetline Hightop
by readyboy61 » Thu Aug 16, 2012 3:32 pm
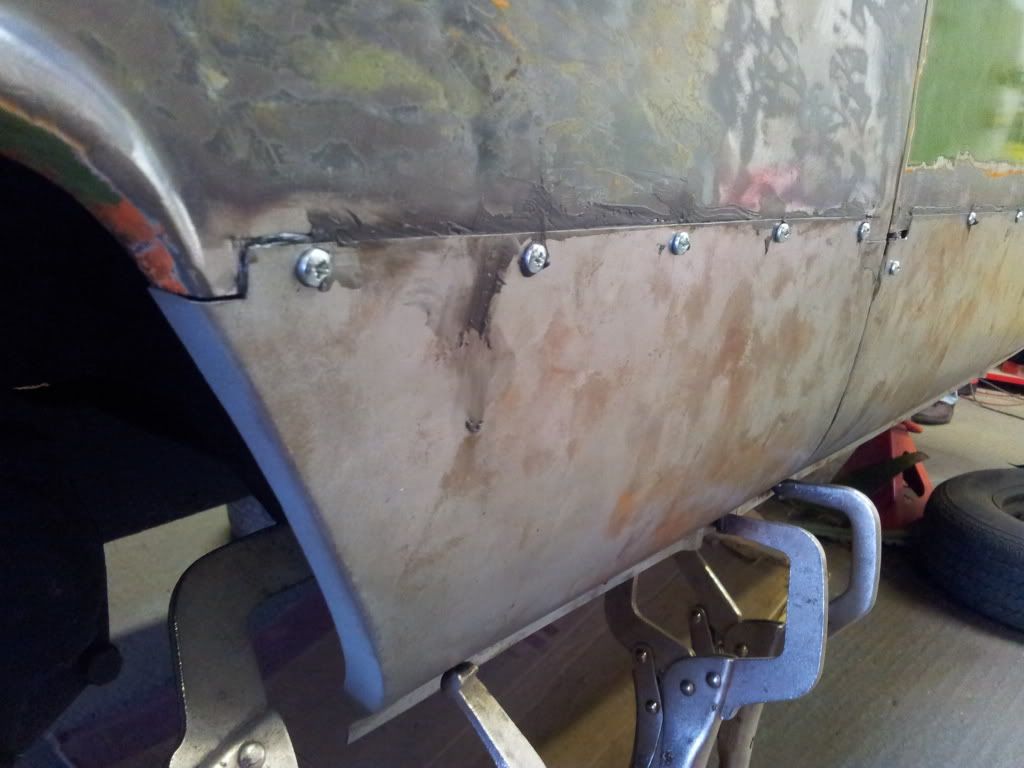
are they bonding the panels at the top and when the adhesive is set removing the screws and plug welding? or is that not adhesive
readyboy61
SSVC Member
Posts: 2640
Joined: Sat Jan 26, 2008 8:36 pm
Re: Fleetline Hightop
by Ed Toogood » Thu Aug 16, 2012 6:18 pm
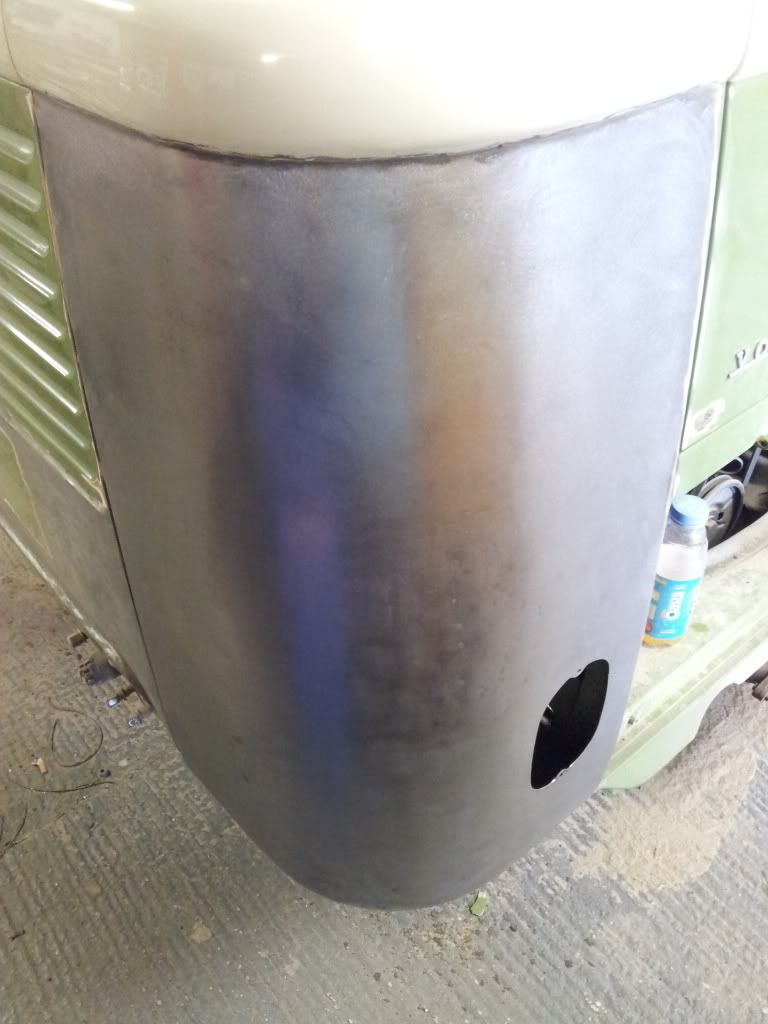
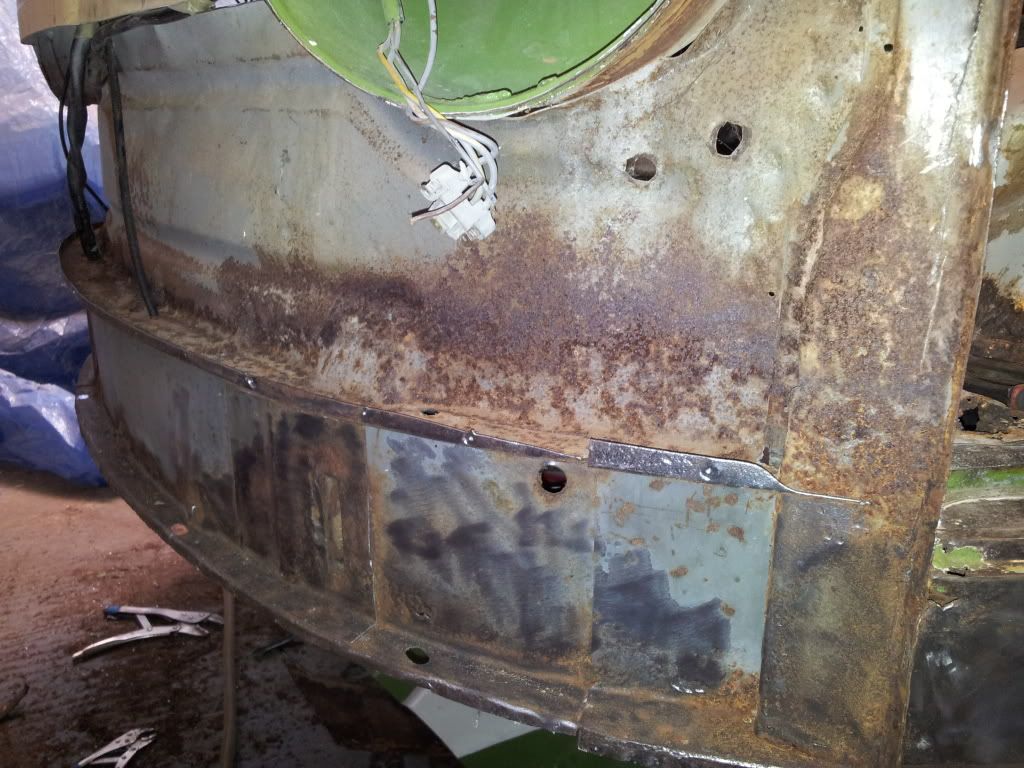
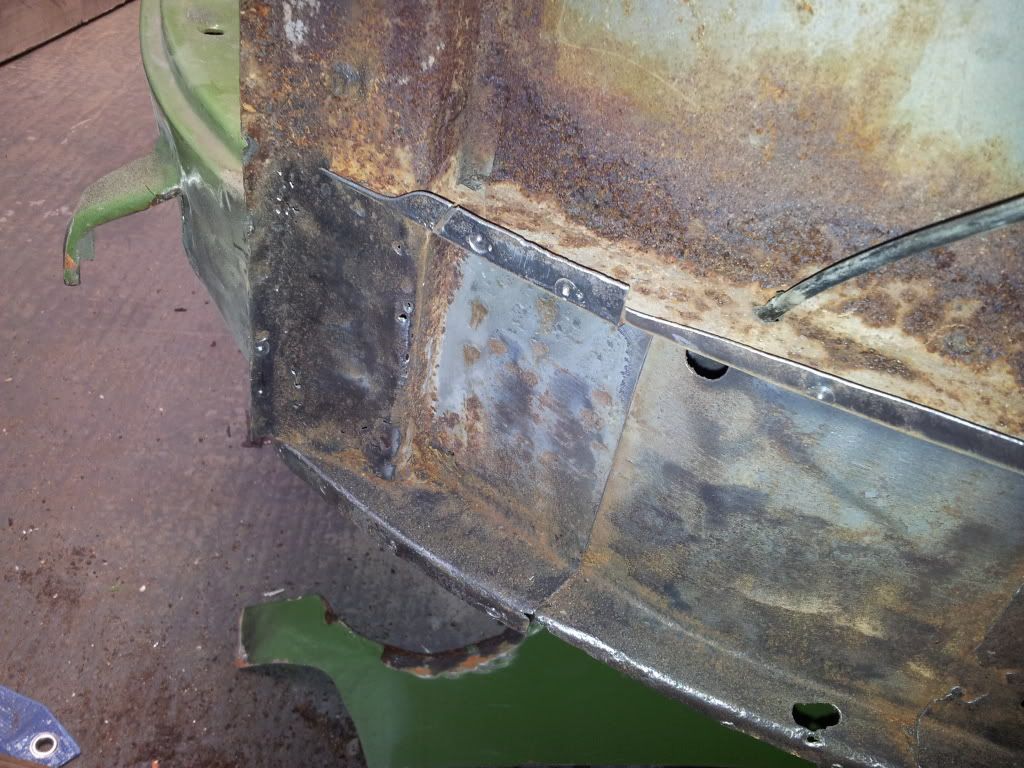
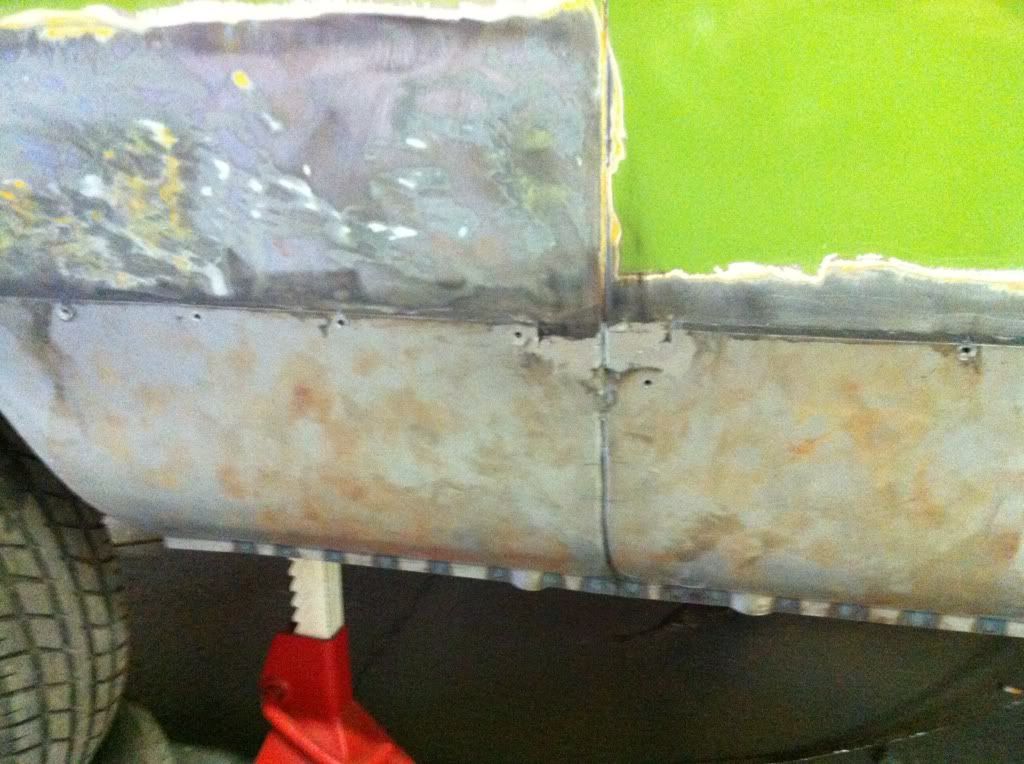
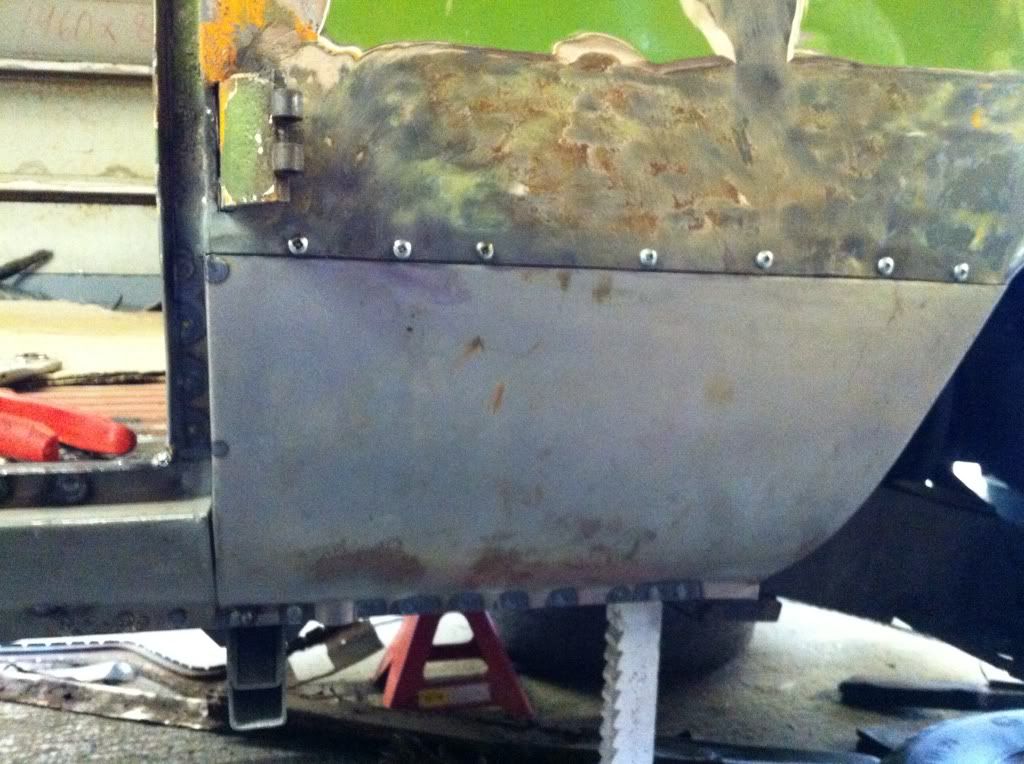
Yeh the panels are bonded at the top, now done.
Ed Toogood
Registered user
Posts: 72
Joined: Fri May 25, 2012 8:15 am
Re: Fleetline Hightop
by Ed Toogood » Thu Aug 16, 2012 6:21 pm
The adhesive will stay at the top as its a specific panel adhesive, so as far as I understand it won't need welding. As you can see its spot welded underneath.
Ed Toogood
Registered user
Posts: 72
Joined: Fri May 25, 2012 8:15 am
Re: Fleetline Hightop
by Ed Toogood » Sat Aug 25, 2012 5:38 pm
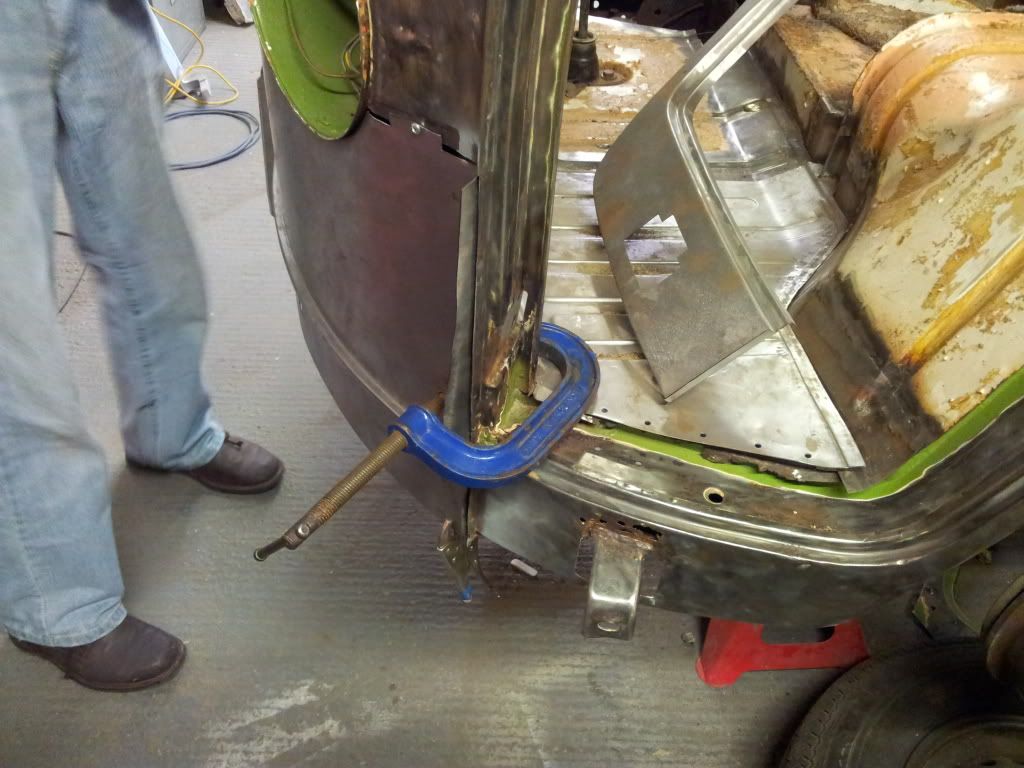
A few more pics of progress...

Ed Toogood
Registered user
Posts: 72
Joined: Fri May 25, 2012 8:15 am
Re: Fleetline Hightop
by Ed Toogood » Thu Aug 30, 2012 10:46 am
I got a call from Trev today to say he's got some ideas about things he'd like to do to the van.... Looking forward to finding out what he is thinking of! He sounded excited an has done some sketches, hmm, interesting.
Trev recently bought Taylor's campers from Chris and has some really good plans for the business. Chris has put the business in good hands I think.
Trev recently bought Taylor's campers from Chris and has some really good plans for the business. Chris has put the business in good hands I think.
Ed Toogood
Registered user
Posts: 72
Joined: Fri May 25, 2012 8:15 am
Re: Fleetline Hightop
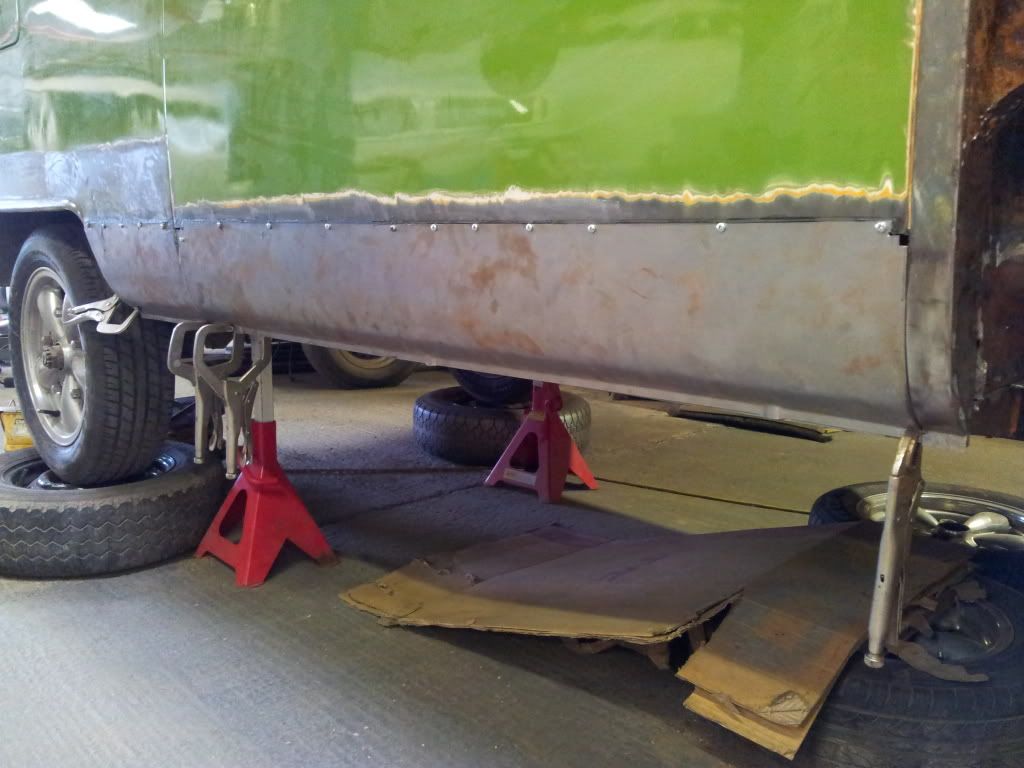
by Ed Toogood » Thu Sep 06, 2012 12:24 pm
The outriggers and sills are now welded into place, along with some repair patches to the front wheel arch. Next up the new steps/outer arch skin needs to go on.

Ed Toogood
Registered user
Posts: 72
Joined: Fri May 25, 2012 8:15 am